Dungeons of Hinterberg nailed it: Half the fun of traveling is collecting those passport stamps. Solving a dungeon is like getting through airport customs — you’re not getting out without a headache or two.
At the core of Dungeons of Hinterberg‘s gameplay sits the dungeon-crawling aspect of the game. Sure, you may do some Persona-like social interactions in the evening, but something tells me Luisa didn’t come to Hinterberg to smooch hipster photographers and magic gurus. In this guide, I’ll show you how to solve every dungeon in Dungeons of Hinterberg.
Table of contents
- How to complete the Beginner Dungeon in Dungeons of Hinterberg
- How to Open Red Locked Treasure Chests in Dungeons of Hinterberg
- How to Remove Goo from Weapons and Armor in Dungeons of Hinterberg
- How to increase Familiarity, Amusement, Relaxation and Reknown Stats in Dungeons of Hinterberg
- Dungeons of Hinterberg: Doberkogel
- Doberkogel Skill Shrine
- Doberkogel Dungeons
- Reaching the Abandoned Mineshaft
- Clearing the Abandoned Mineshaft
- Reaching the Giant Cavern
- Clearing the Giant Cavern
- Clearing Jelly Tunnels
- Clearing the Minecart Workshop
- Reaching Tatzelwurm
- How to beat Tatzelwurm
- Reaching Old Quarry
- Clearing Old Quarry
- Reaching Shredding Facility
- Clearing Shredding Facility
- Dungeons of Hinterberg: Hinterwald Dungeons and Skill Shrine
- Dungeons of Hinterberg: Kolmstein Dungeons and Skill Shrine
- Dungeons of Hinterberg: Brünnelsumpf Dungeons and Skill Shrine
How to complete the Beginner Dungeon in Dungeons of Hinterberg
| Visual Reference | Instructions |
|---|---|
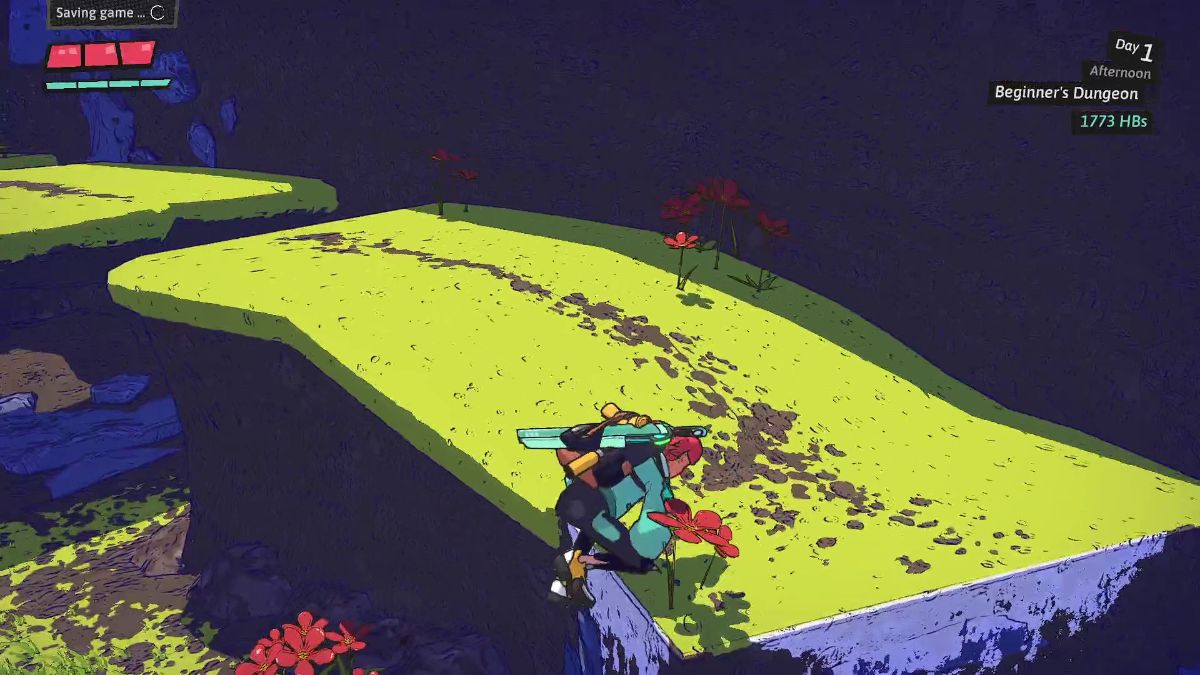
 | After speaking with Klaus inside the dungeon, grab onto the ledge on the right to find your first hidden treasure chest. |
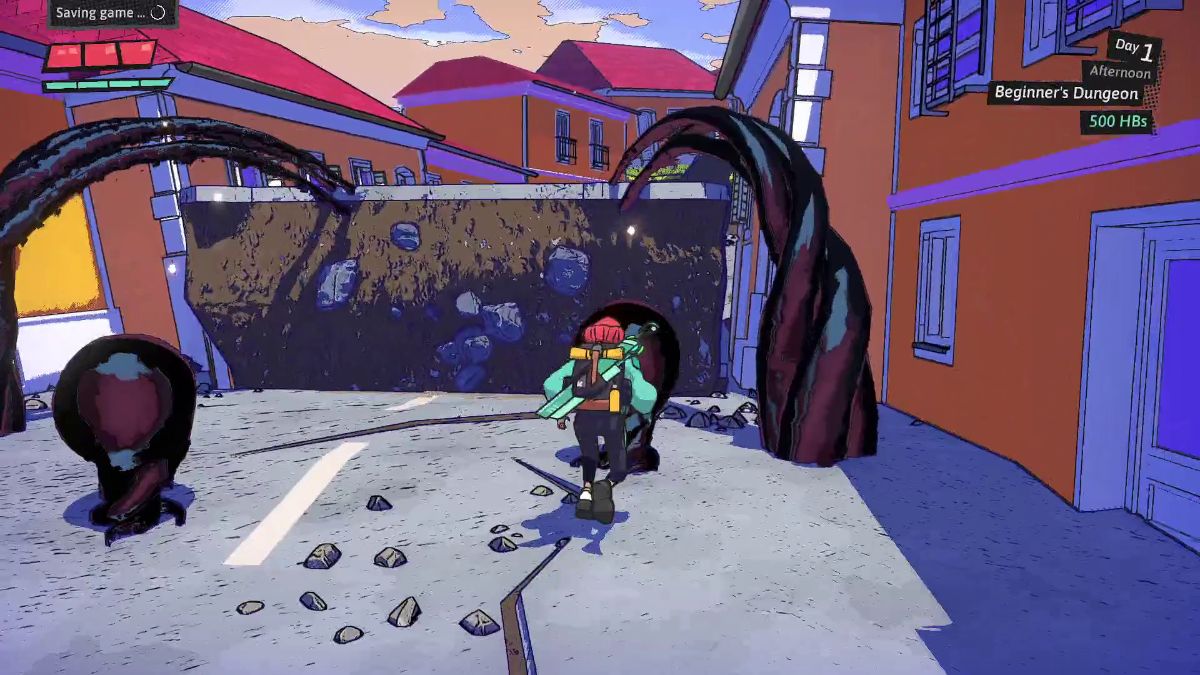 | Defeat the enemies in the town square. To progress past this area, hit the black tentacles on each side of the street. |
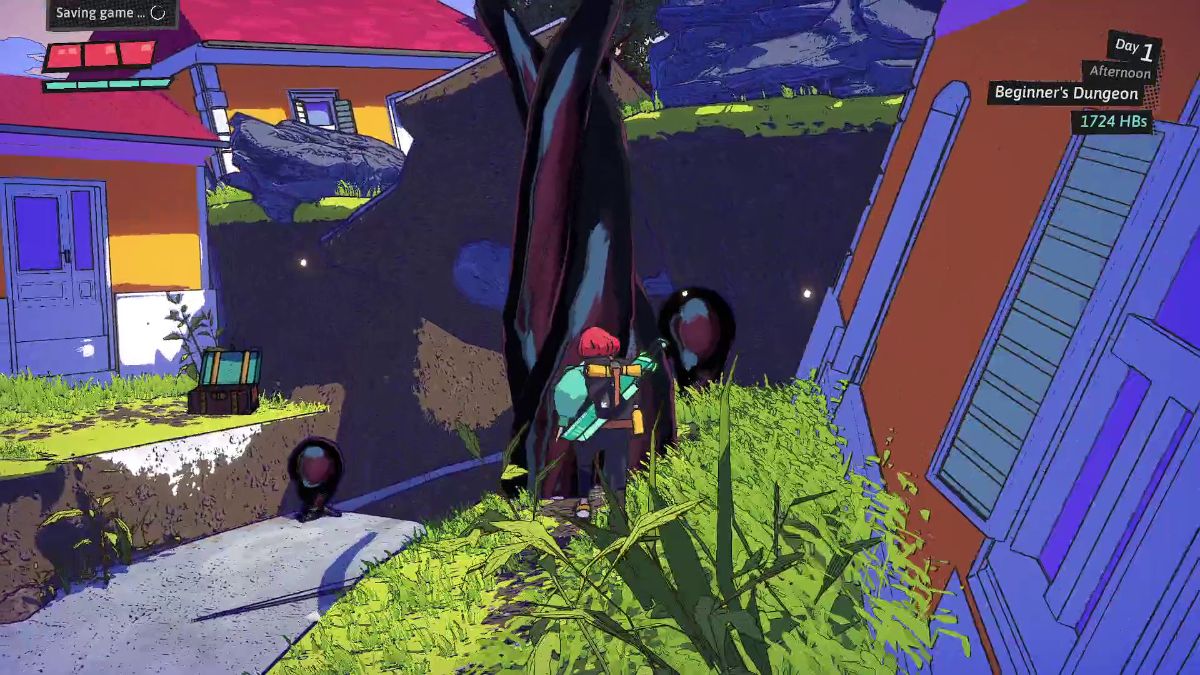
 | To the right, you can find a chest with 500 Hinterbucks. |
 | Climb onto the ledge to the left and open this chest to get 500 Hinterbucks. |
 | Turn around, cross the bridge, and hit the black tentacle holding the path ahead. |
 | Jump onto the ledge to the left and climb your way to the left and upward to reach the first black tentacle. |
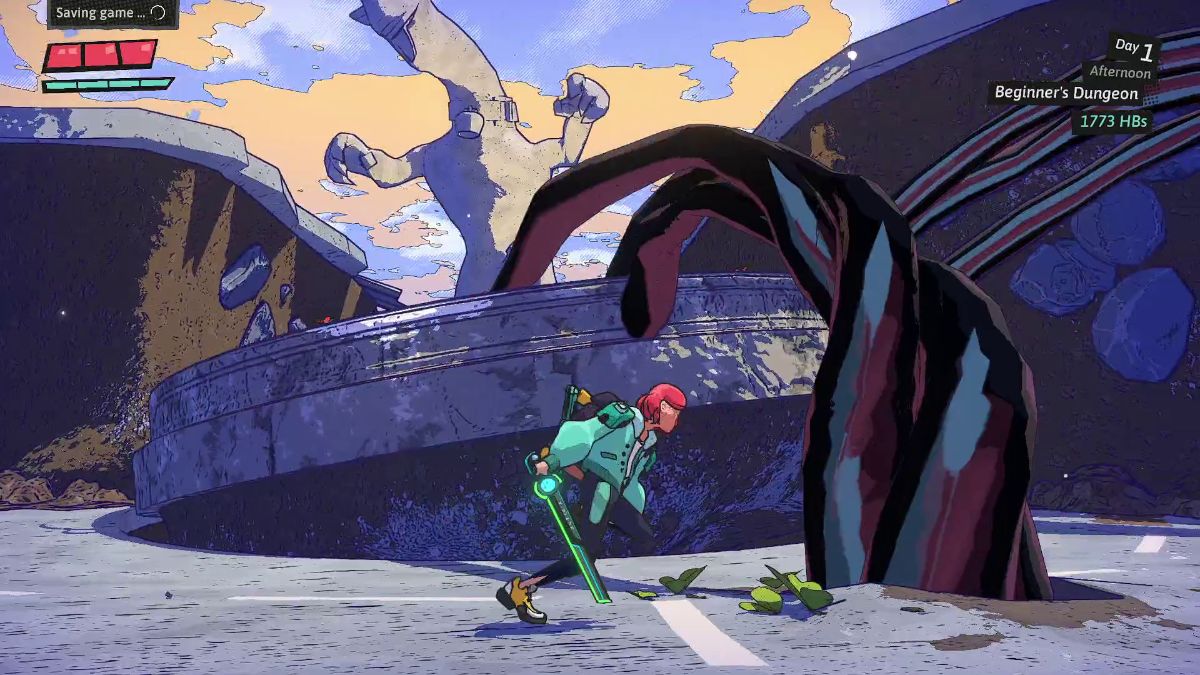 | Hit the black tentacle in the center. |
 | Climb the ledge to the right and jump ahead to reach the last black tentacle to open the way forward. |
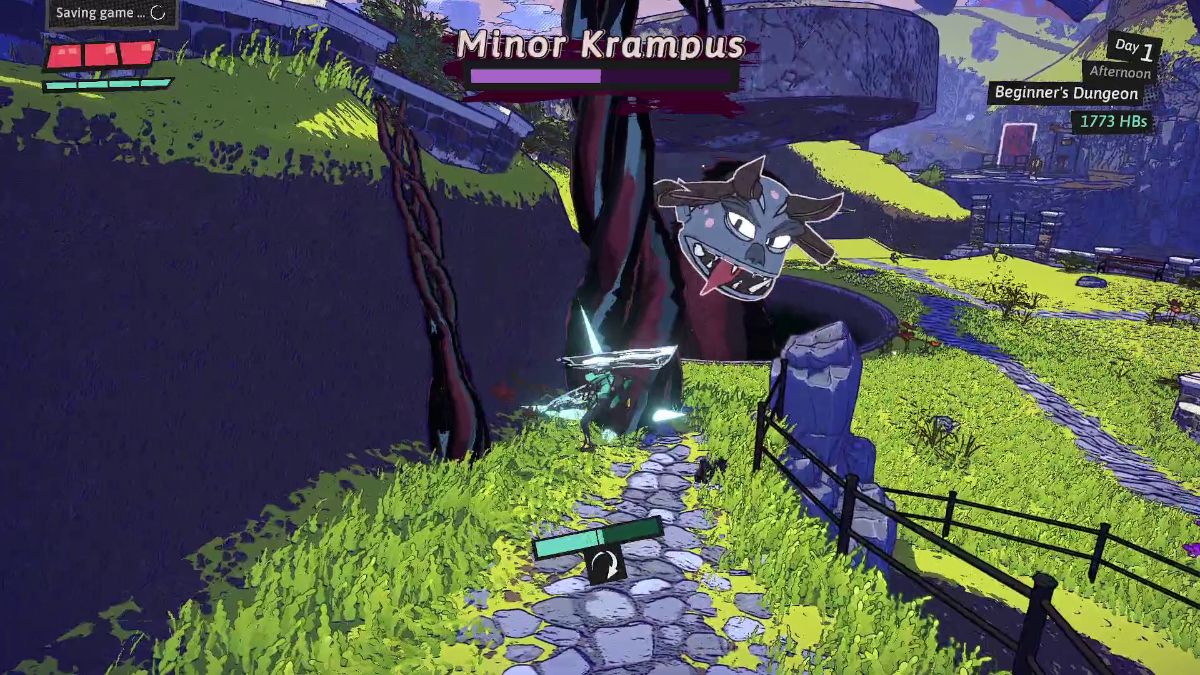
 | To defeat Minor Krampus, you must drop the giant stone fountain on his head. |
 | Rush to the right while ignoring the smaller tentacles to hit the tentacle on this side. |
 | Head to the left and hit the black tentacle on that side as well. |
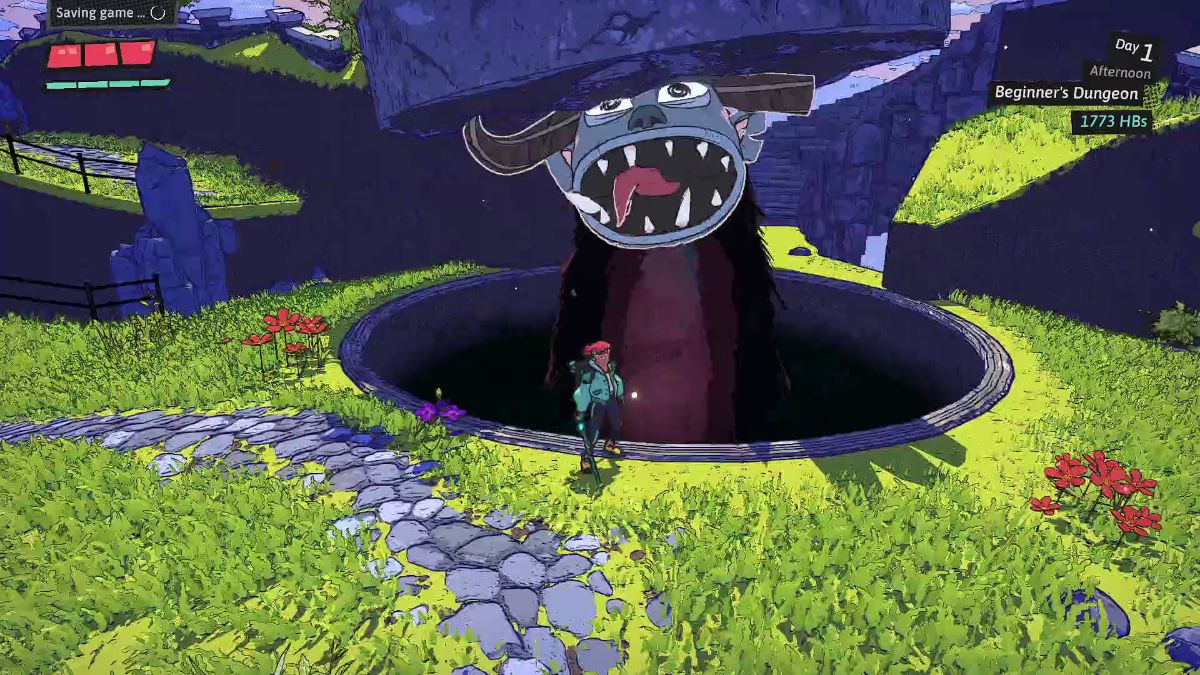 | Stand in front of Krampus and deal damage until he’s down. |
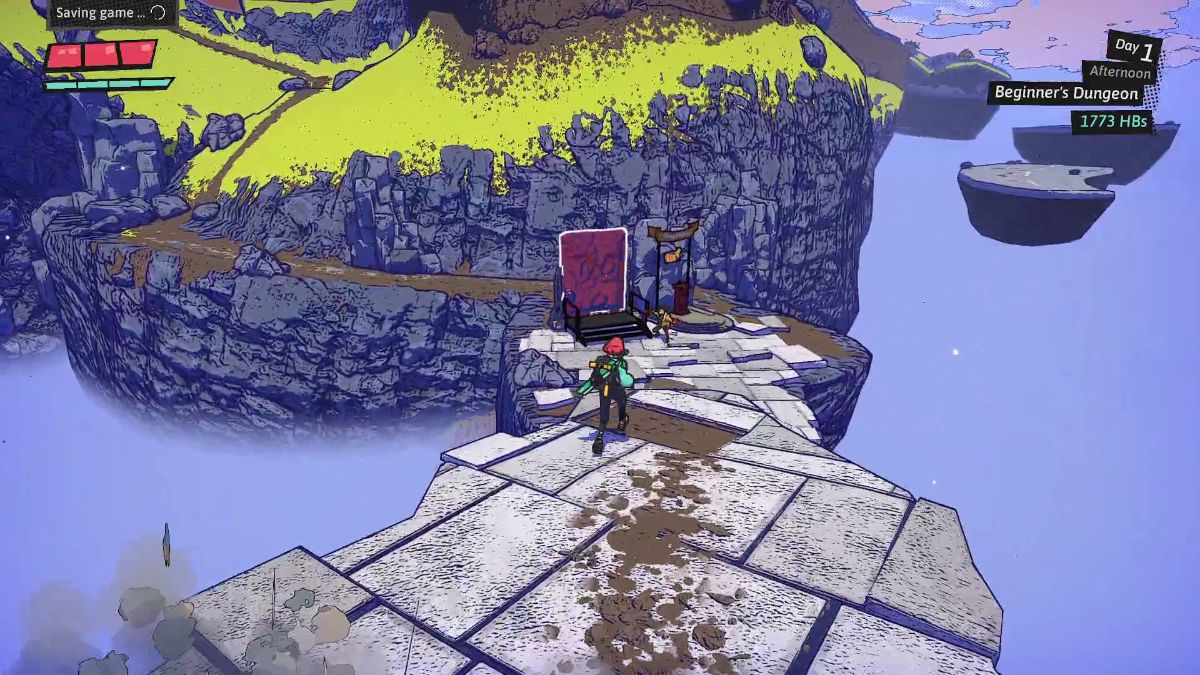 | Rush to the Beginner Dungeon’s exit to leave. |
How to Open Red Locked Treasure Chests in Dungeons of Hinterberg

To open red locked chests in Dungeons of Hinterberg, you need the locked treasure chest key. You get this key by bonding with Thea to the Acquainted level.
Thea and David are outside the construction building near the movie theater on Shopping Street. You only need to spend time with Thea twice to increase your bond.
It’s best to focus on Thea’s social link early, as she is important to the story. With the key, you can unlock red chests, which often contain valuable gear or HP/MP potions.
How to Remove Goo from Weapons and Armor in Dungeons of Hinterberg
To remove goo from weapons and armor in Dungeons of Hinterberg, raise your friendship with Klaus to Level 2. Once you reach Level 2 friendship, Klaus, located in the Tourist Center, will offer a cleaning option.
To increase your friendship with him, hang out in the evenings after exploring dungeons. This quick interaction should boost your friendship to Level 2.
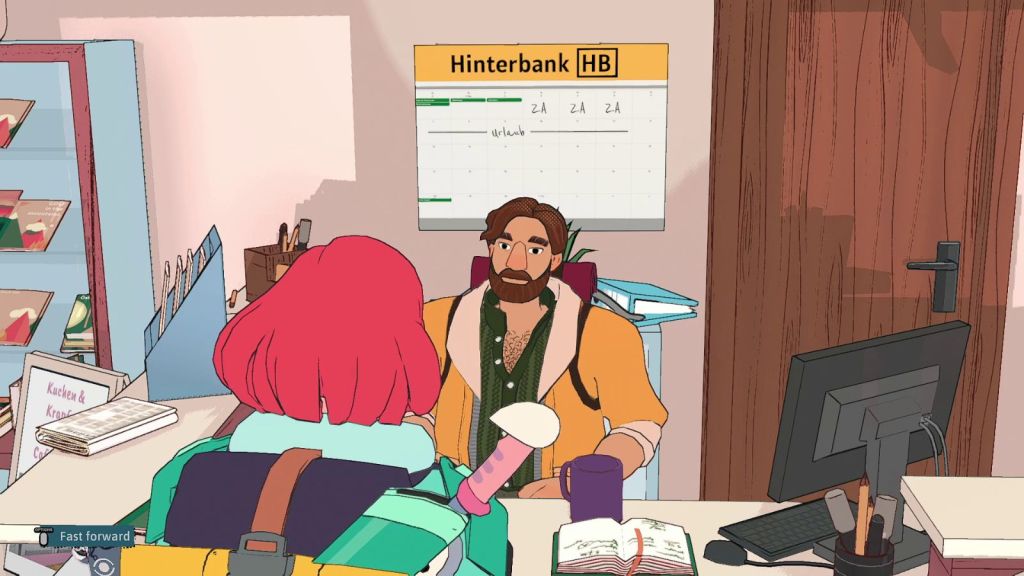
How to increase Familiarity, Amusement, Relaxation and Reknown Stats in Dungeons of Hinterberg
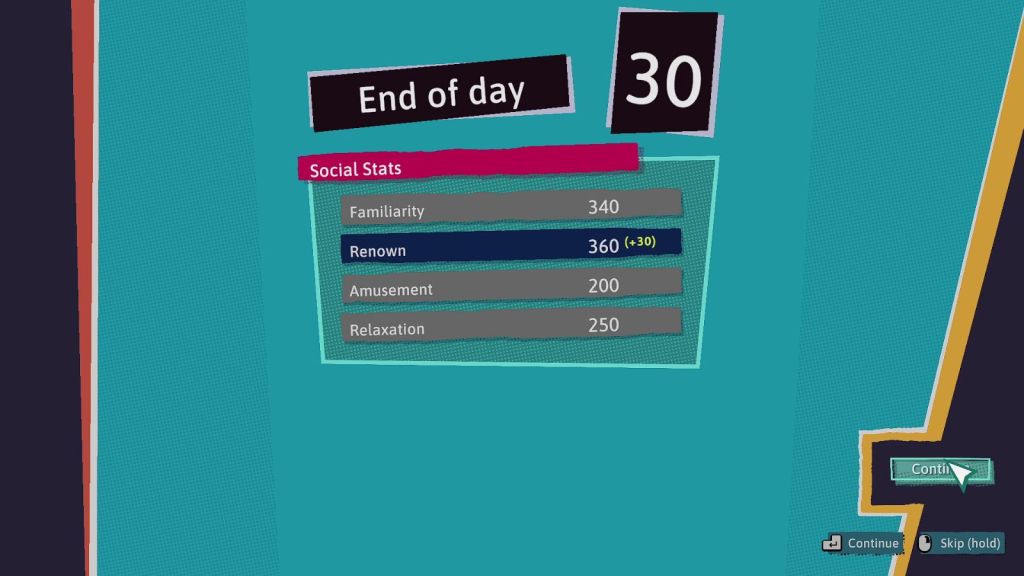
To increase Luisa’s social stats, follow these steps:
- Renown: Reflects her fame as a Slayer; affects interactions with other Slayers and NPCs. Socializing with certain NPCs like Renaud enhances Luisa’s renown.
- Amusement: Indicates her ability to relax; determines socializing with certain NPCs. Watching TV, going to the movies, and interacting with Travis or Kai can help increase Luisa’s amusement.
- Familiarity: Represents her knowledge of Hinterberg and its history. Reading a book at night or interacting with NPCs like Gertrude or Thea will increase Luisa’s familiarity.
- Relaxation: Governs her ability to unwind; impacts her overall well-being. Going to the spa in the evenings or hanging out in relaxation spots at noon will increase Luisa’s relaxation.
Dungeons of Hinterberg: Doberkogel

Doberkogel Skill Shrine
| Visual Reference | Instructions |
|---|---|
 | Speak with Marina in Kiddie Land to get a couple of potions. |
 | Follow the path to the right to head to the Skill Shrine |
 | After a cutscene, you get two magic powers: Main: Wrecking Ball Ranged: Ball and Chain |
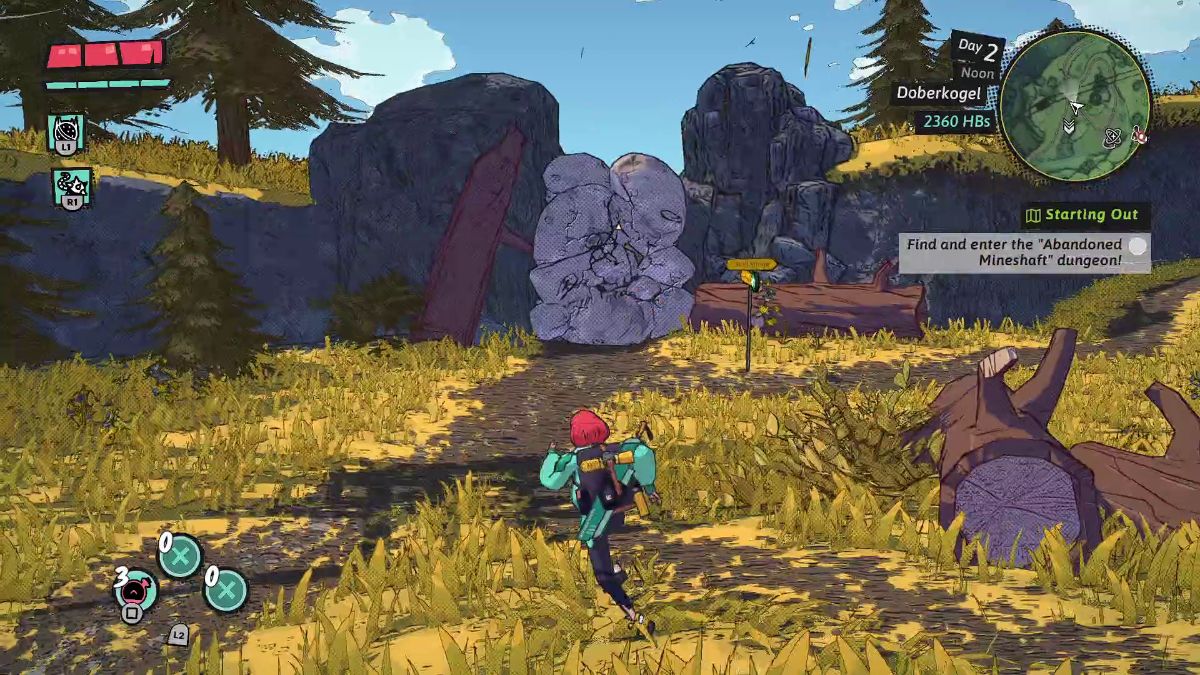 | Throw a Wrecking Ball at the boulders blocking the exit and make it explode. Time to find your first dungeon, the Abandoned Mineshaft. |
Doberkogel Dungeons

Abandoned Mineshaft
Giant Cavern
Jelly Tunnels

Minecart Workshop
Tatzelwurm’s Lair

Old Quarry
Shredding Facility
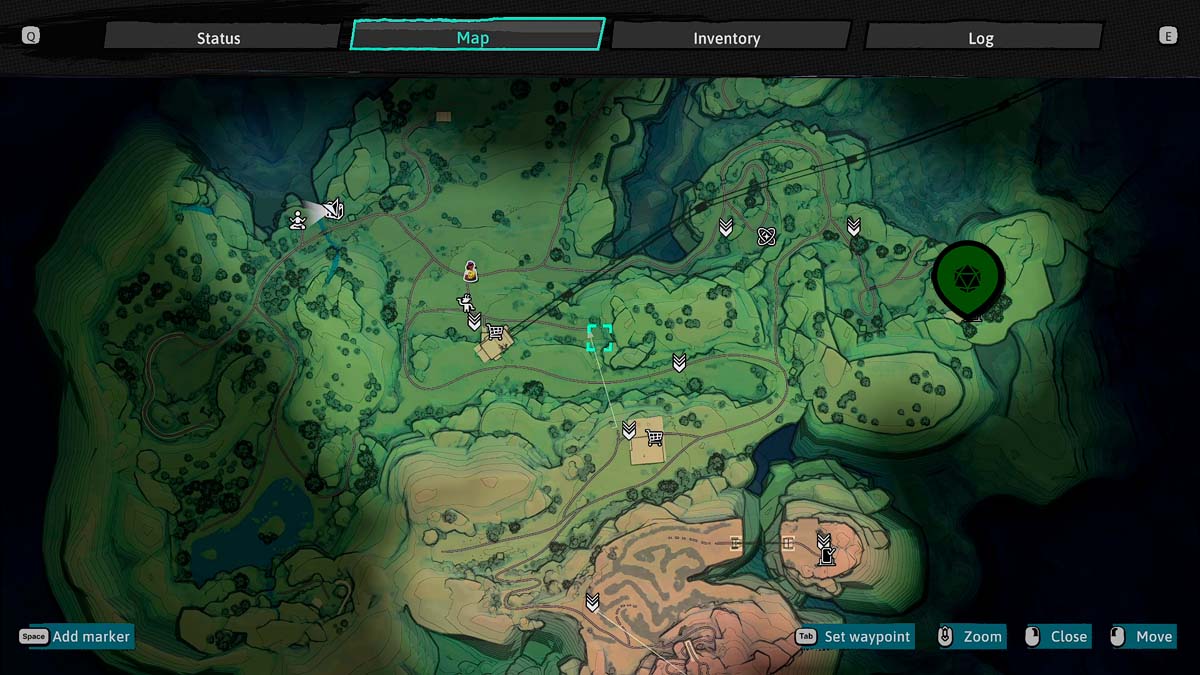
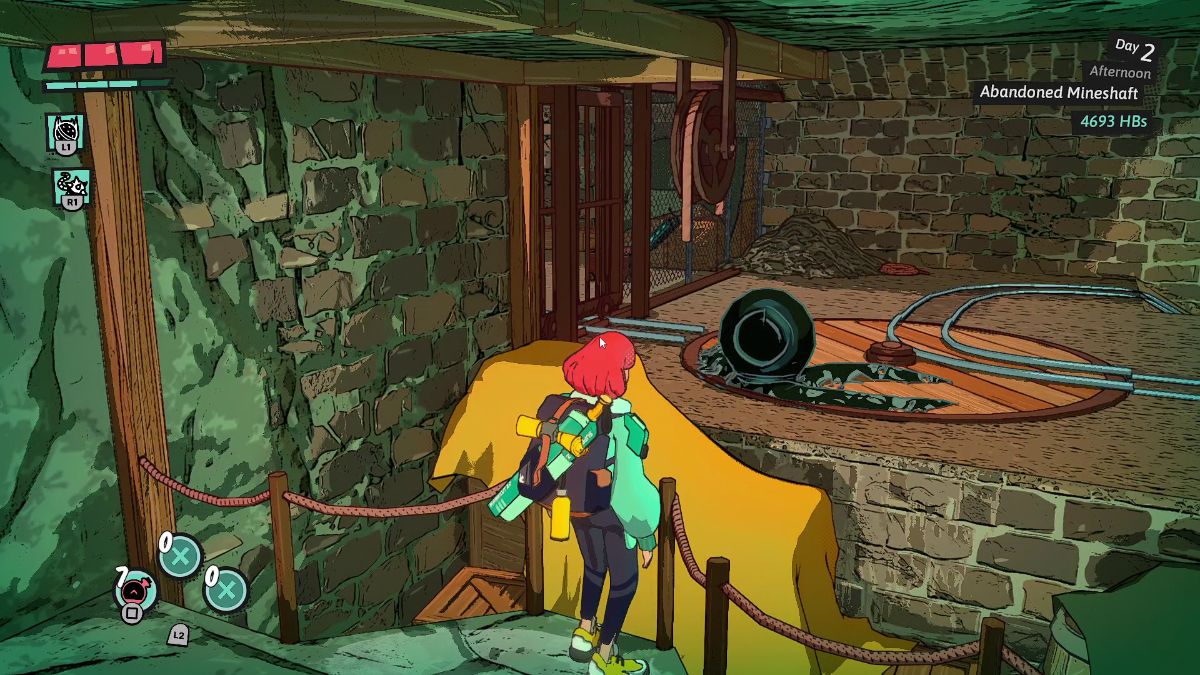
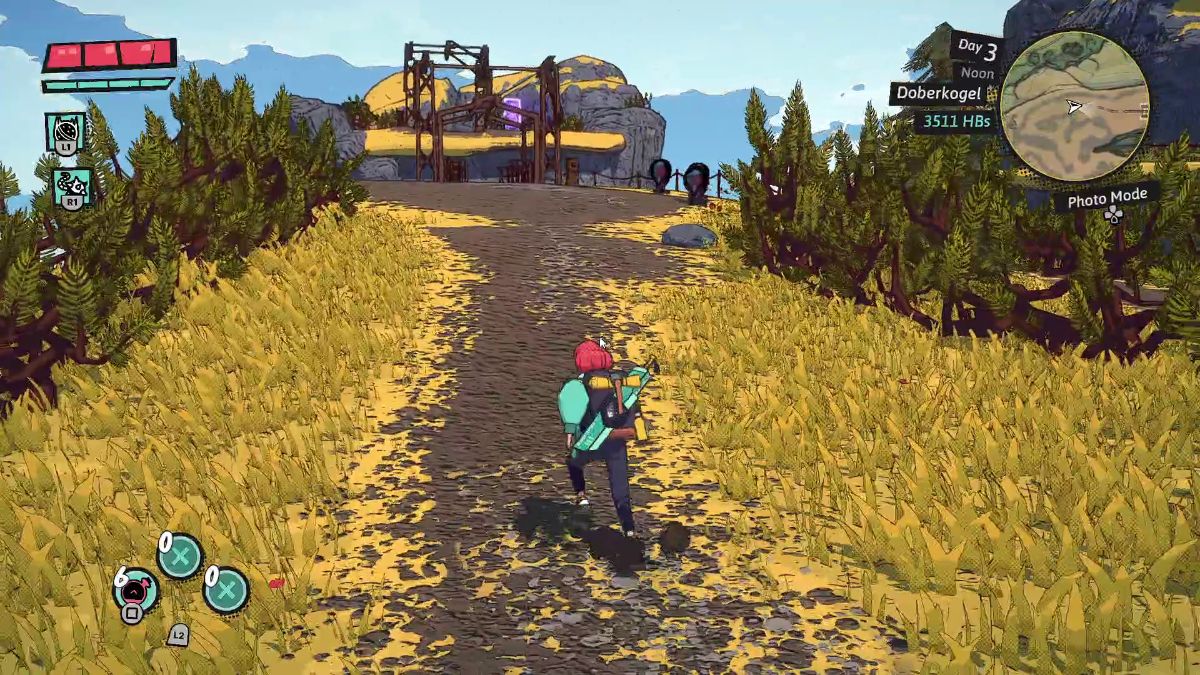
Reaching the Abandoned Mineshaft
| Visual Reference | Instructions |
|---|---|
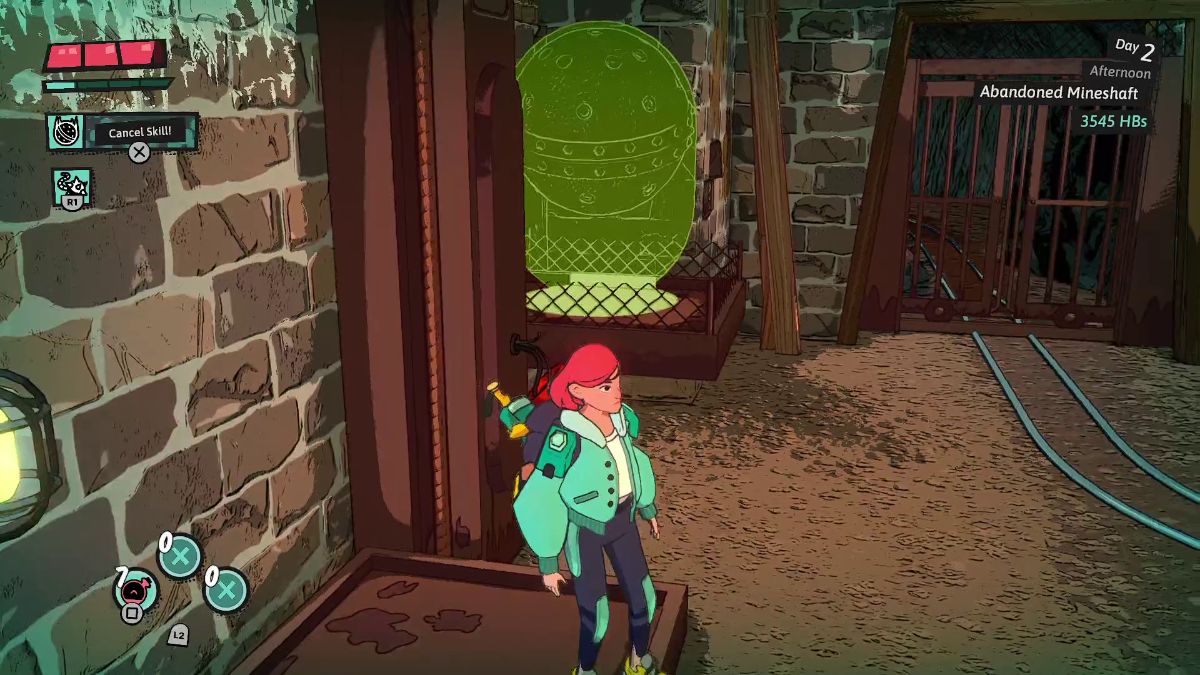
 | Follow the signs leading to the Abandoned Mineshaft. When you find a girl sitting on the ground, it’s time to use your Ranged Skill. Throw and pull your Ball and Chain at the black slime hanging on the log. |
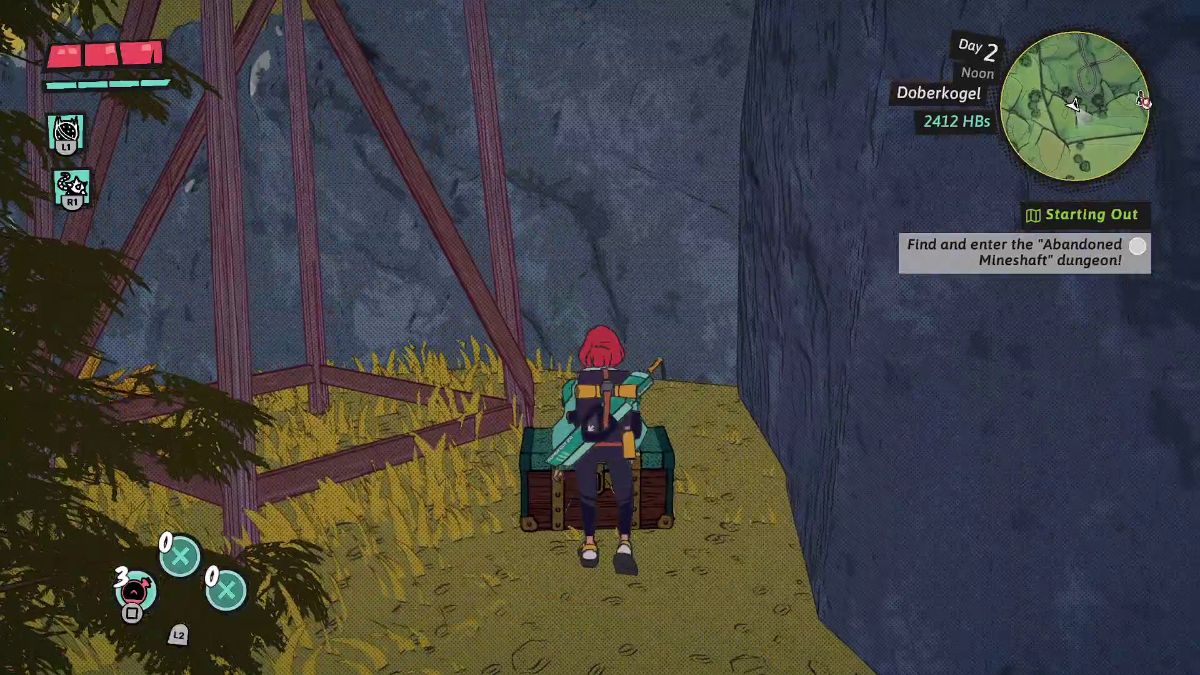 | Before crossing over the log, look behind you and follow the trail up the hill. There’s a treasure chest with three HP potions here. |
 | Climb the ledges to the top of the cliff to find the Abandoned Mineshaft. |
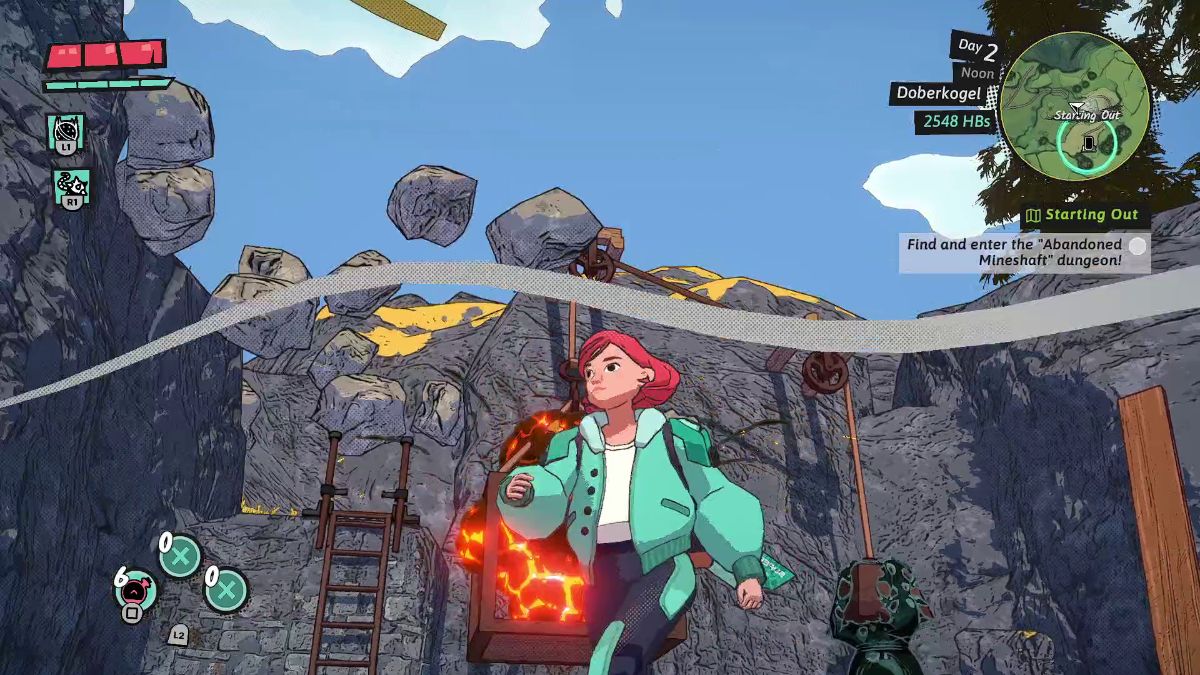
 | Drop your Wrecking Ball in front of the wooden lift. |
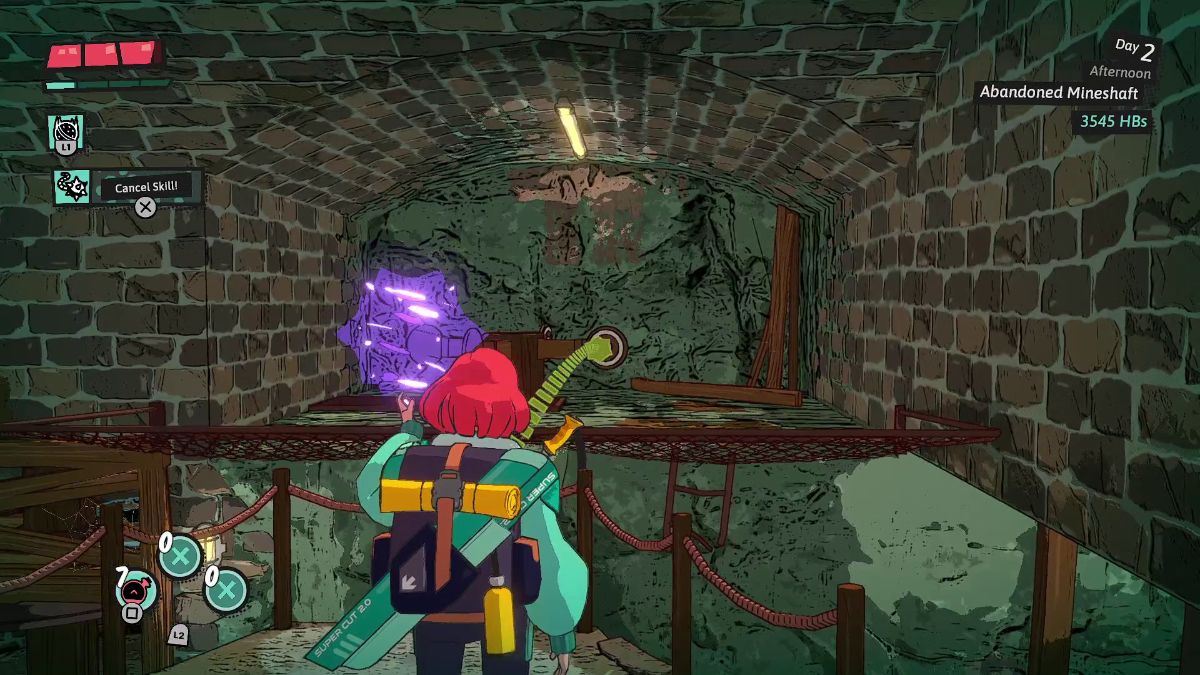
 | Aim and throw your Ball and Chain to the black slime on the other side of the lift. Then, pull. |
 | As the Wrecking Ball stands right next to the boulders blocking the way, detonate it. |
 | Climb the ladder to reach the platform above. Don’t forget to open the chest to get a new weapon: Nouveau Heart 1000. |
Clearing the Abandoned Mineshaft
| Visual Reference | Instructions |
|---|---|
 | Head down the stairs to reach the bottom of the mine. |
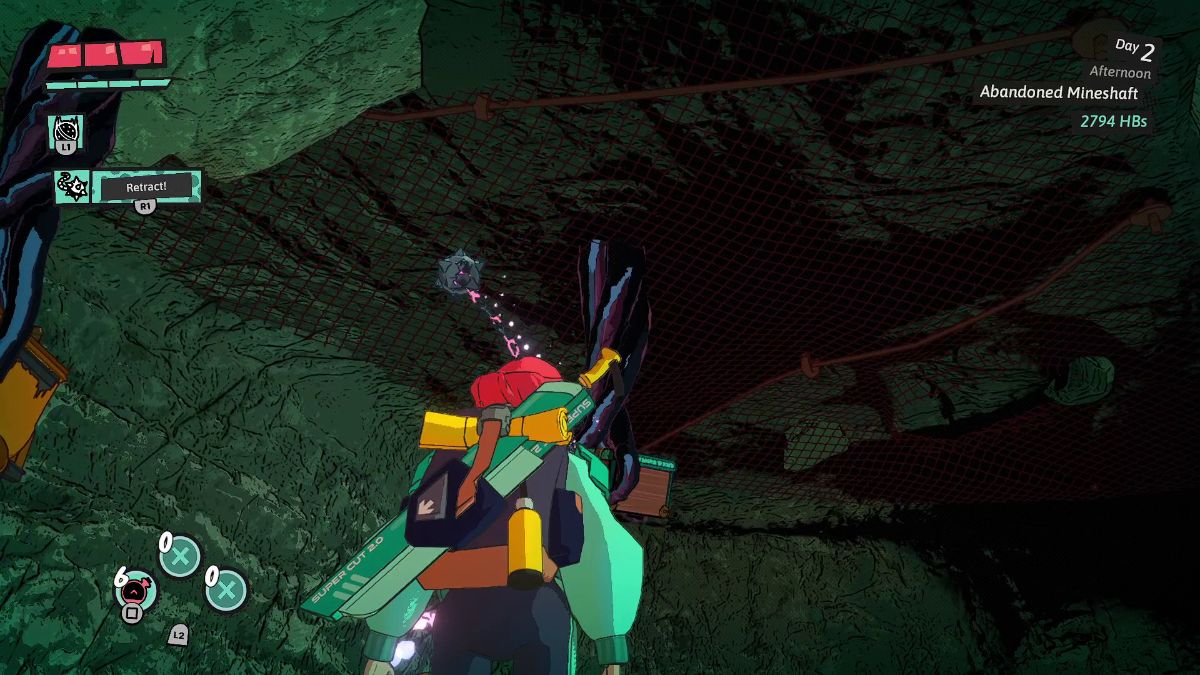 | After defeating all enemies, use your Ball and Chain to hit the black tentacles holding a treasure and a yellow mine cart above you. |
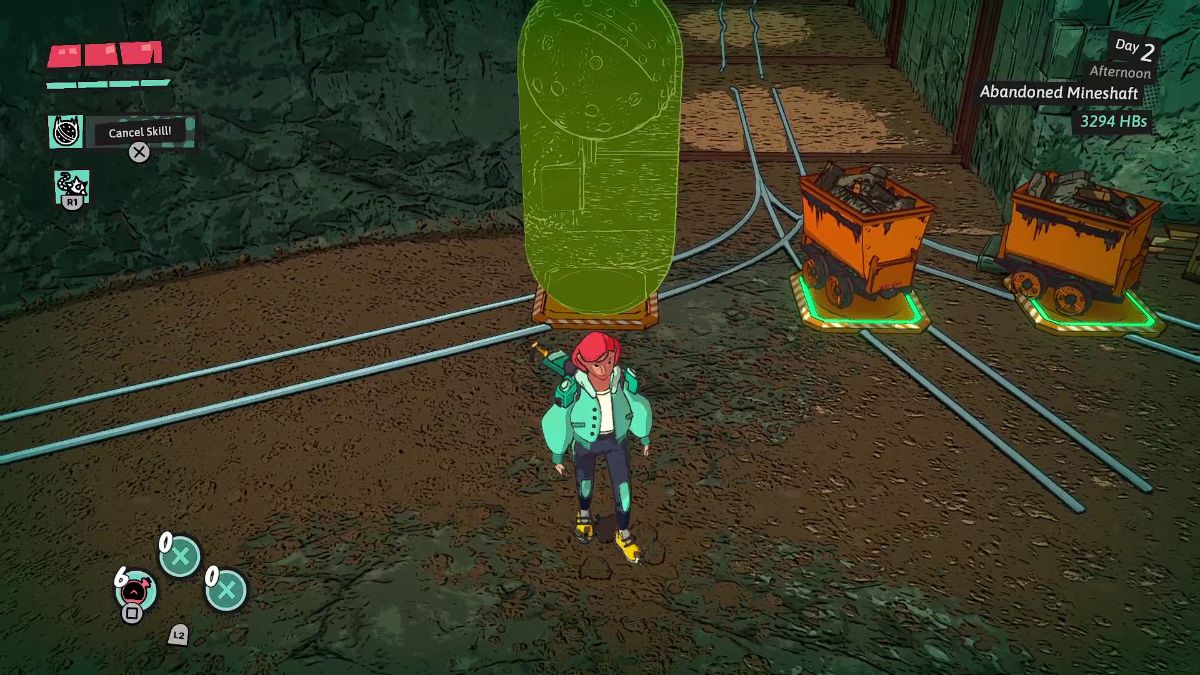 | Push both mine carts so they stand on the buttons below. Then, drop a Wrecking Ball on the remaining button. With all buttons pressed, proceed to the next room. |
 | Speak with Travis and climb the ledges to reach the area on the upper right. |
 | Throw your Ball and Chain to pull the teal platform toward you. |
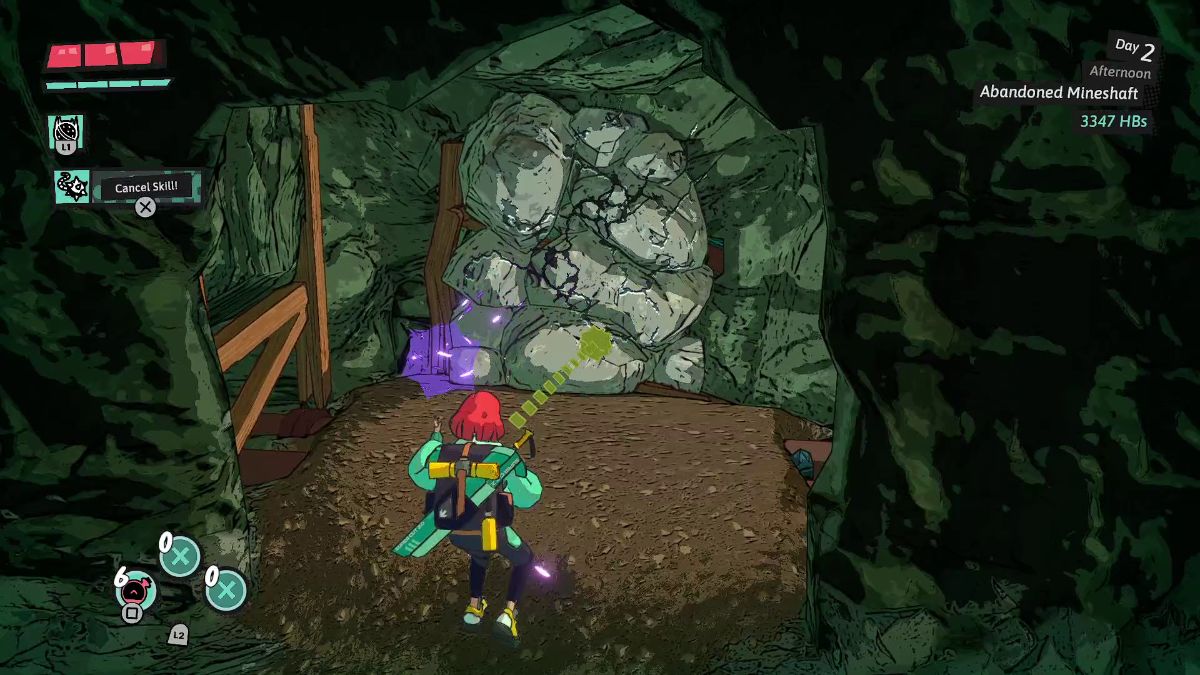
 | After defeating a wave of Kobolds, throw your Wrecking Ball at the boulders blocking the way to the right. |
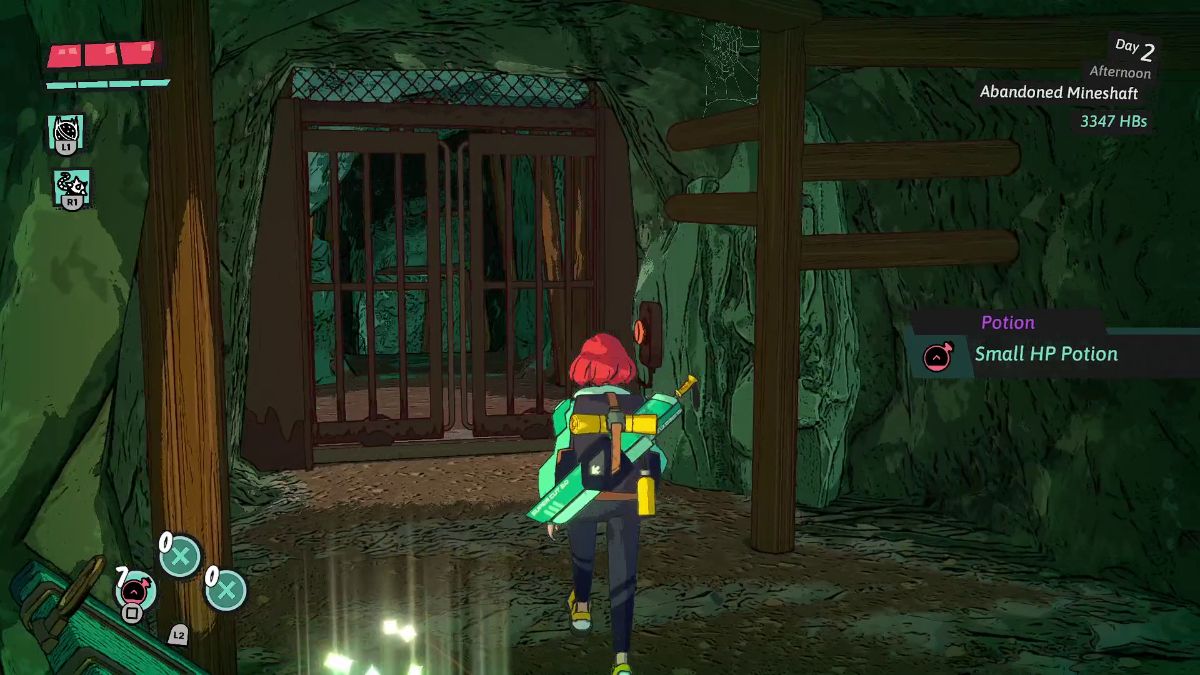
 | Grab the treasure chest inside the cell to get 500 Hinterbucks. Press the red button to open the way. |
 | Head back through the unblocked path and climb the trail ahead to find a new type of enemy. |
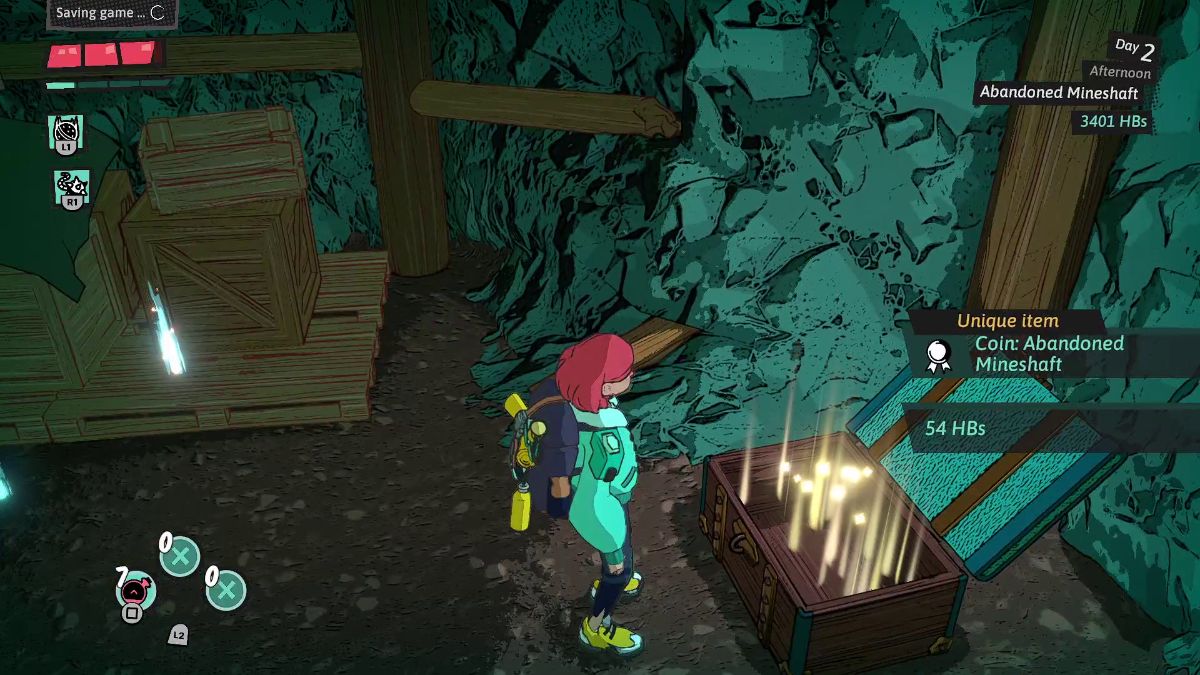
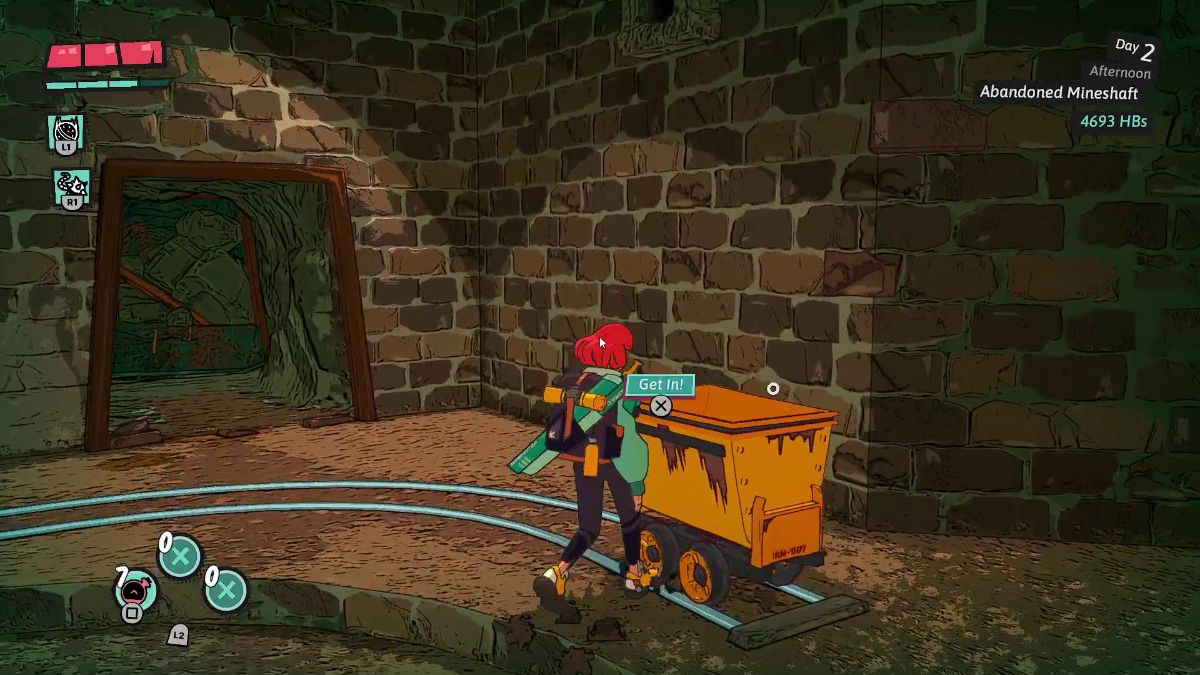
 | After defeating this enemy, hop on the yellow mine cart up the ladder. Before you progress, get back on the mine cart to find a treasure with a Unique Coin: Abandoned Mineshaft. |
 | Stand on the left side of the lift and drop a Wrecking Ball on the right side to reach the platform above you. |
 | Hit the target on the opposite side with your Ball and Chain. |
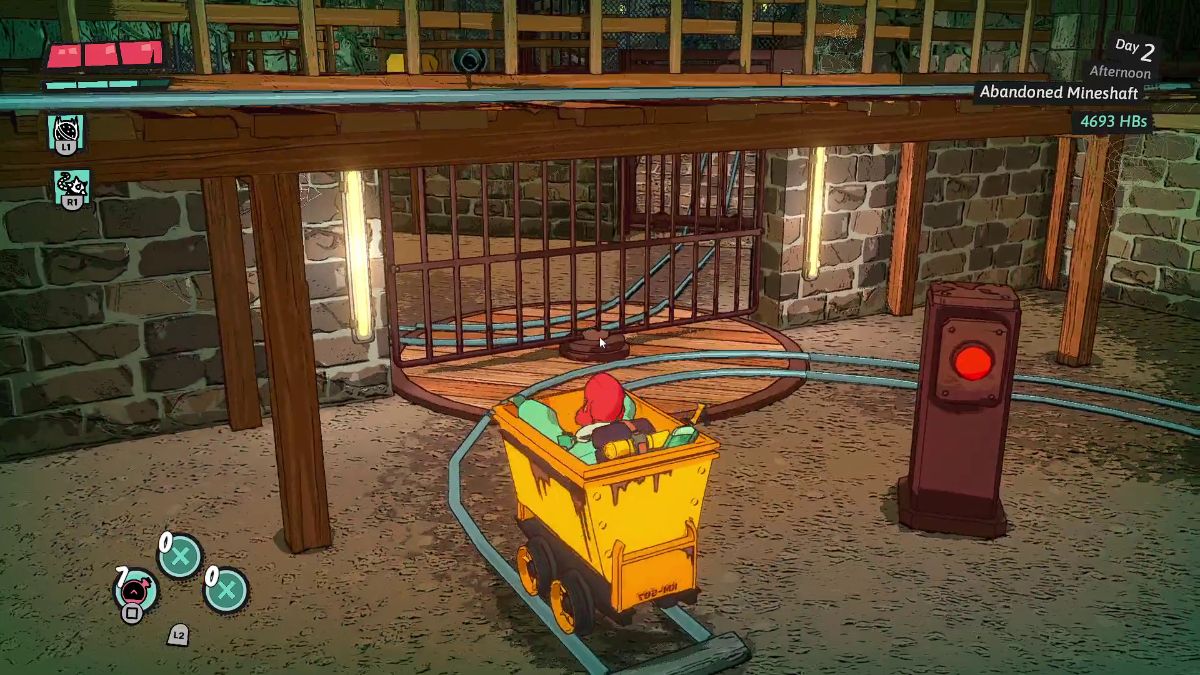
 | Use your Ball and Chain on the slime next to the mine cart below. Then, hop on this mine cart. |
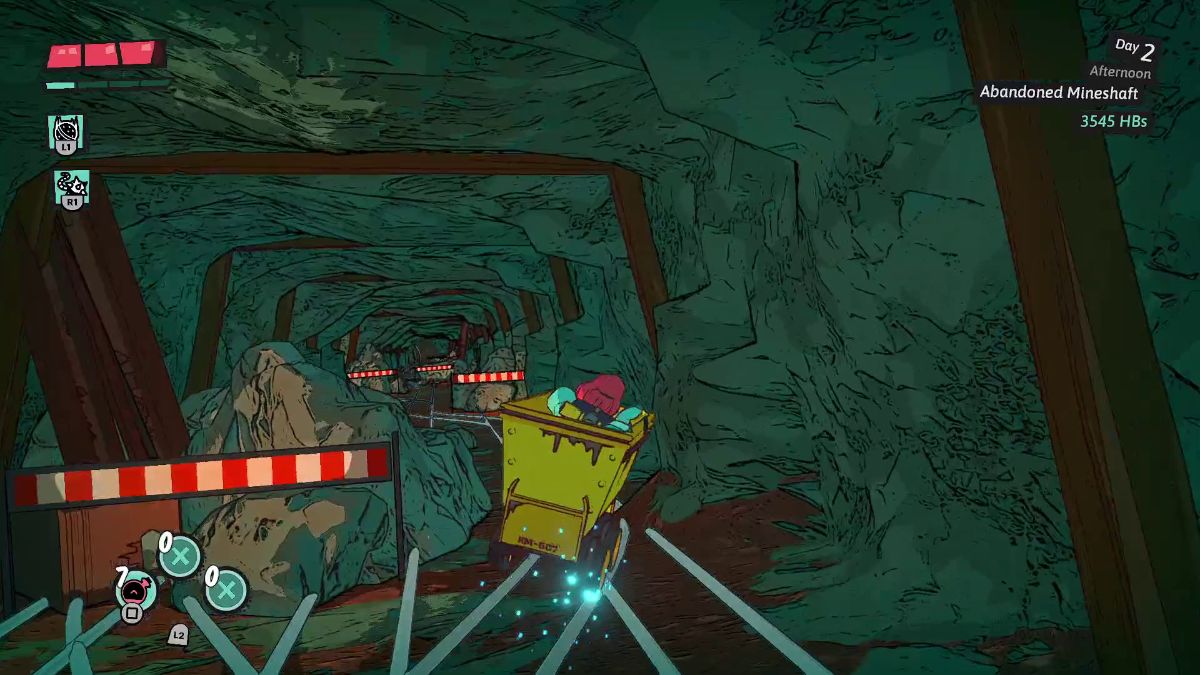 | Guide the mine cart to the right twice and avoid the obstacles. |
 | Hit the red button to move the rails. The button should be green, for now. |
 | Head up the rails on the right and hop on this mine cart. |
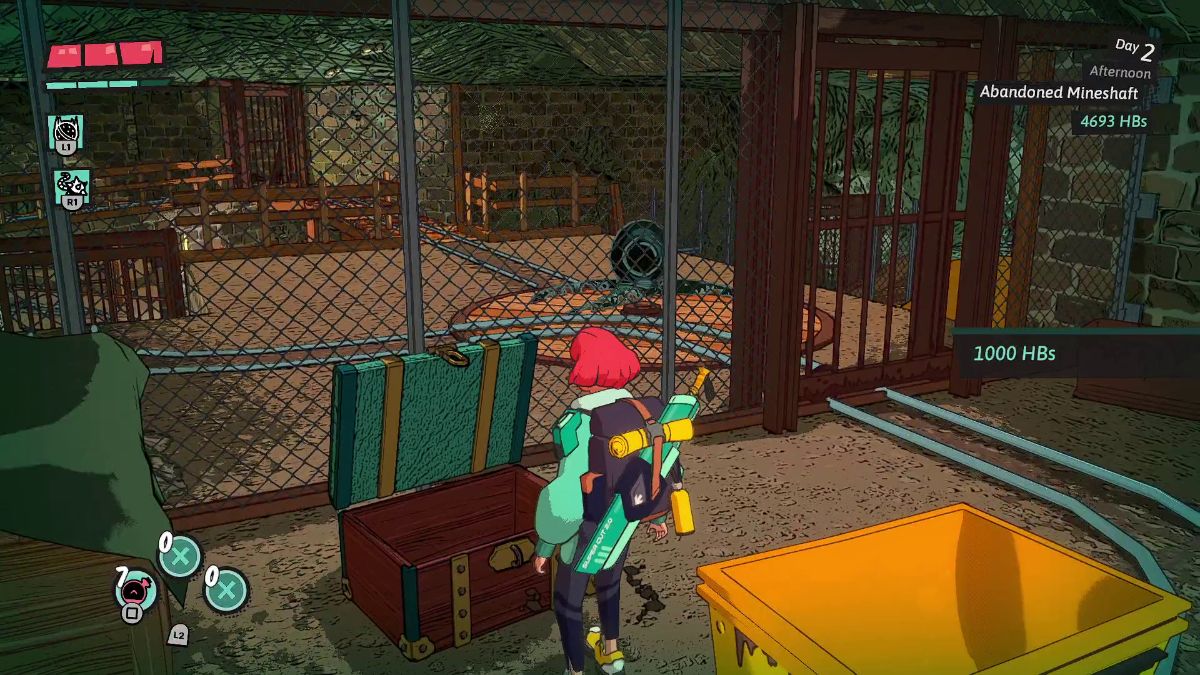 | Once you reach the end of the rail, hop on the mine cart once again to reach the other end. Here, open this treasure chest to get 1000 Hinterbucks. Get back on the mine cart. |
 | Push the green button to make it red. Ride the mine cart. Then, push the red button to make it green and ride the mine cart again. |
 | Use the Ball and Chain the black slime in front of you to rotate the rails. Then, get back on the mine cart. |
 | Push the green button to make it red. Hop inside the mine cart. |
 | Push the red button to make it green. Inside the mine cart you go. |
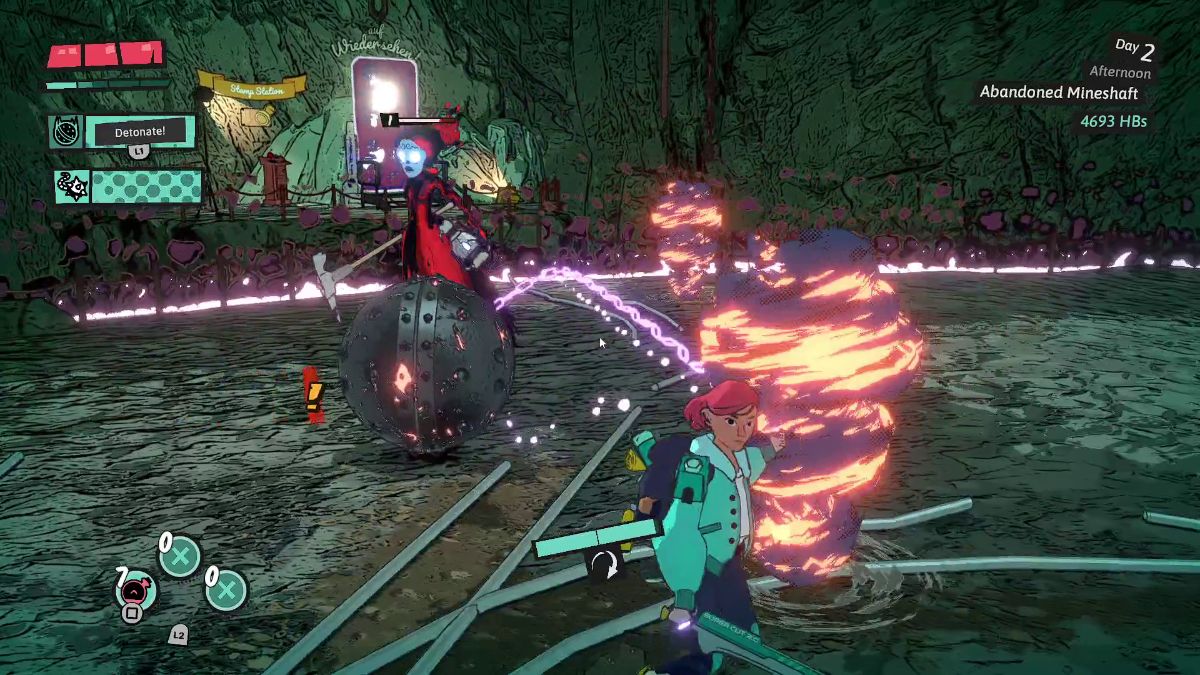 | After defeating the final boss, stamp your book and exit this dungeon. |
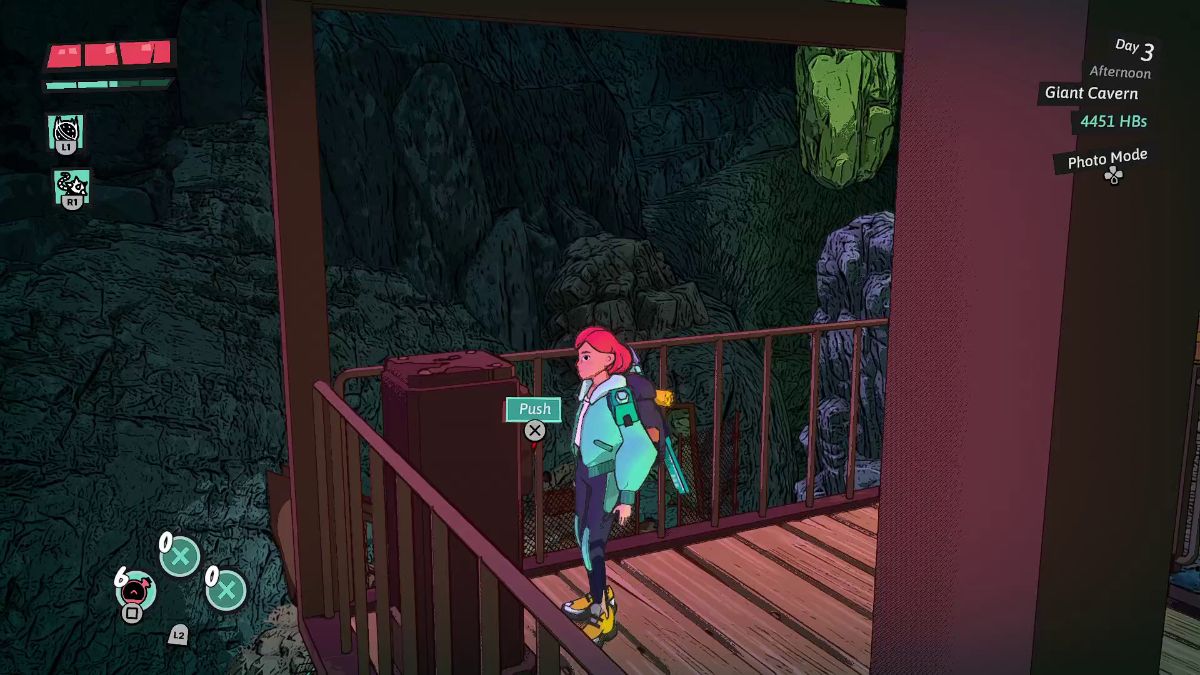
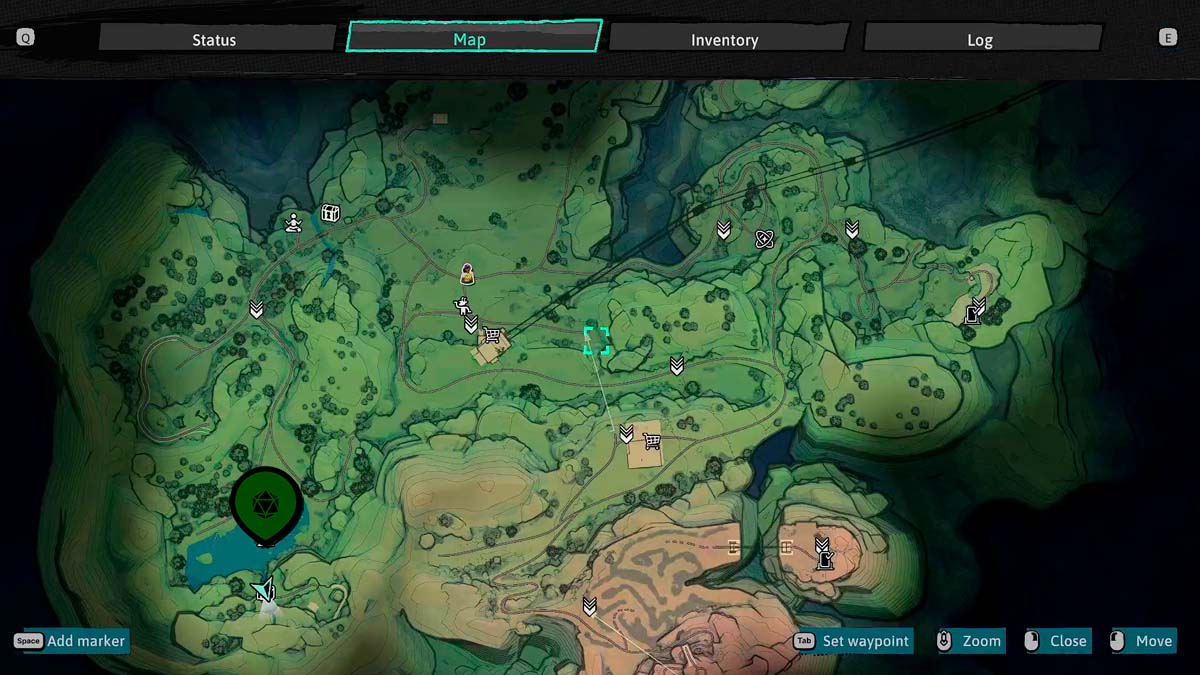
Reaching the Giant Cavern
| Visual Reference | Instructions |
|---|---|
 | Once you reach the labyrinth before the Giant Cavern Dungeon, follow these steps. |
 | Head forward until the path branches. Here, choose the left curve. |
 | When the path branches again, choose the left once more. |
 | Follow that path to reach the lift. Head inside it and push the button to reach the Giant Cavern in Dungeons of Hinterberg. |
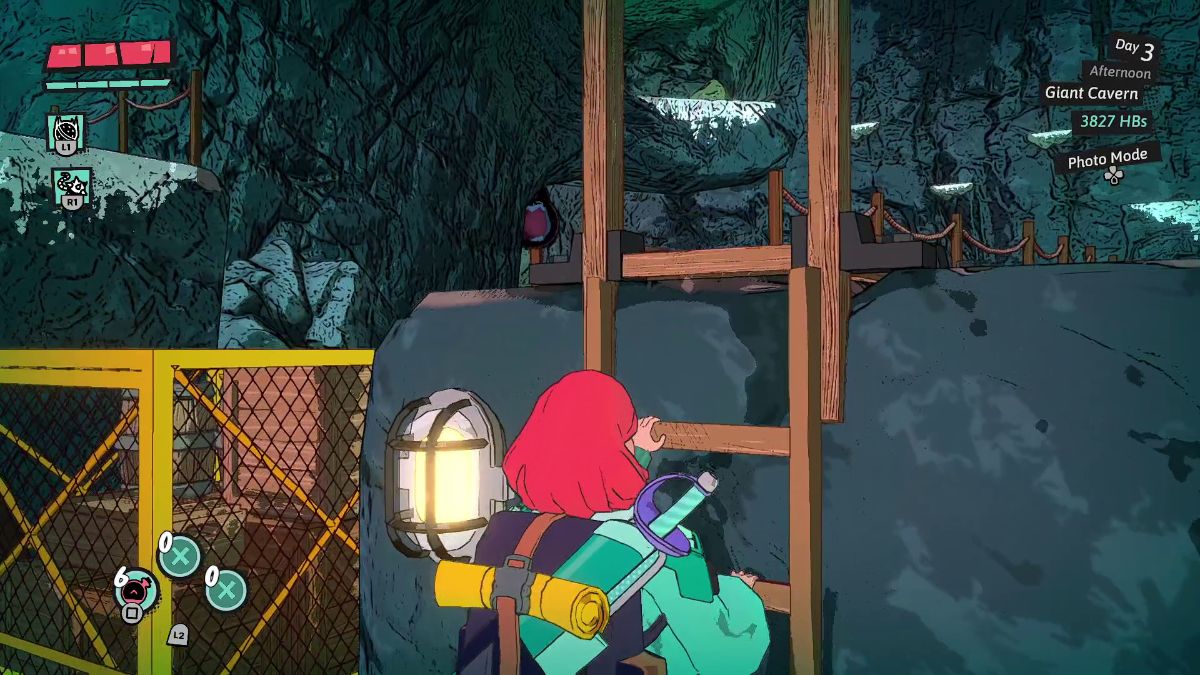
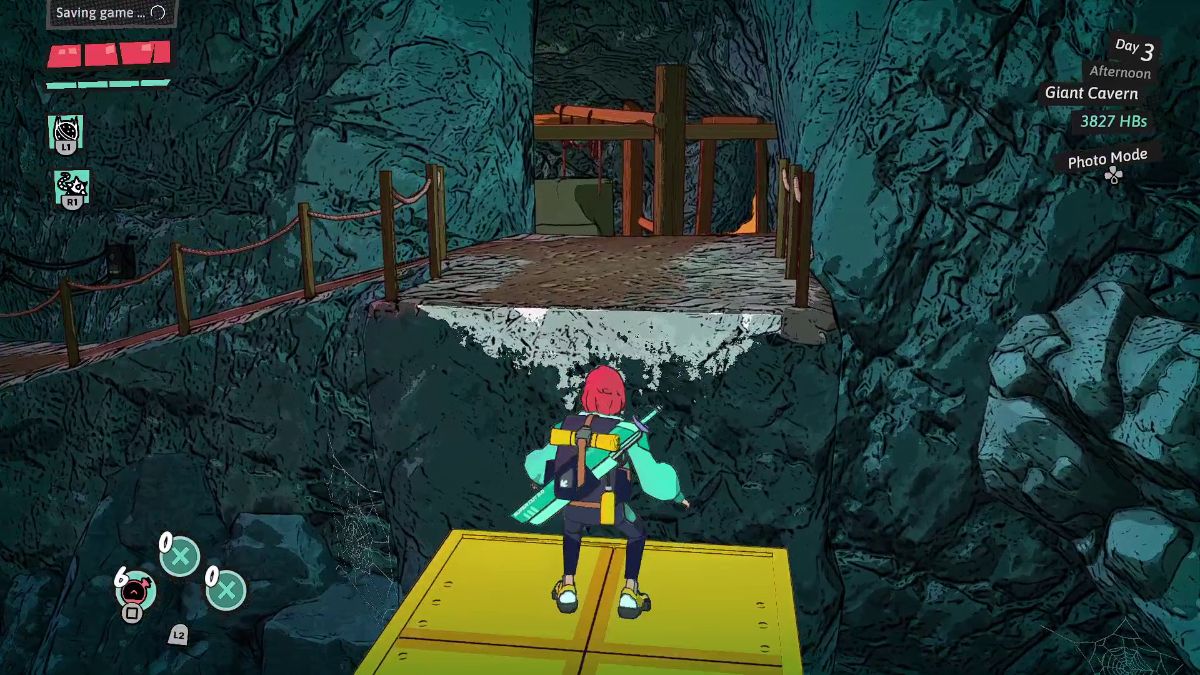
Clearing the Giant Cavern
| Visual Reference | Instructions |
|---|---|
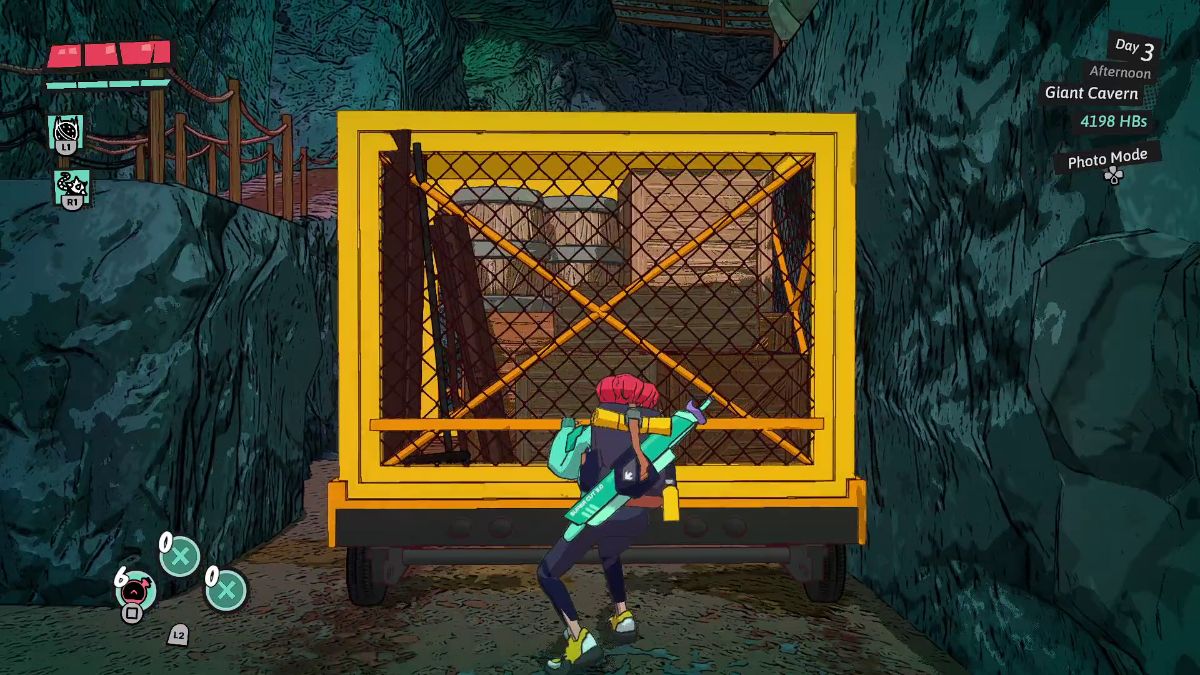
 | Push the large yellow crate forward to bridge the gap between the platforms above you. |
 | Climb the white ledges to the right to reach the upper platform and cross to the other side with the yellow crate’s help. |
 | Break the boulders blocking the way with your Wrecking Ball. |
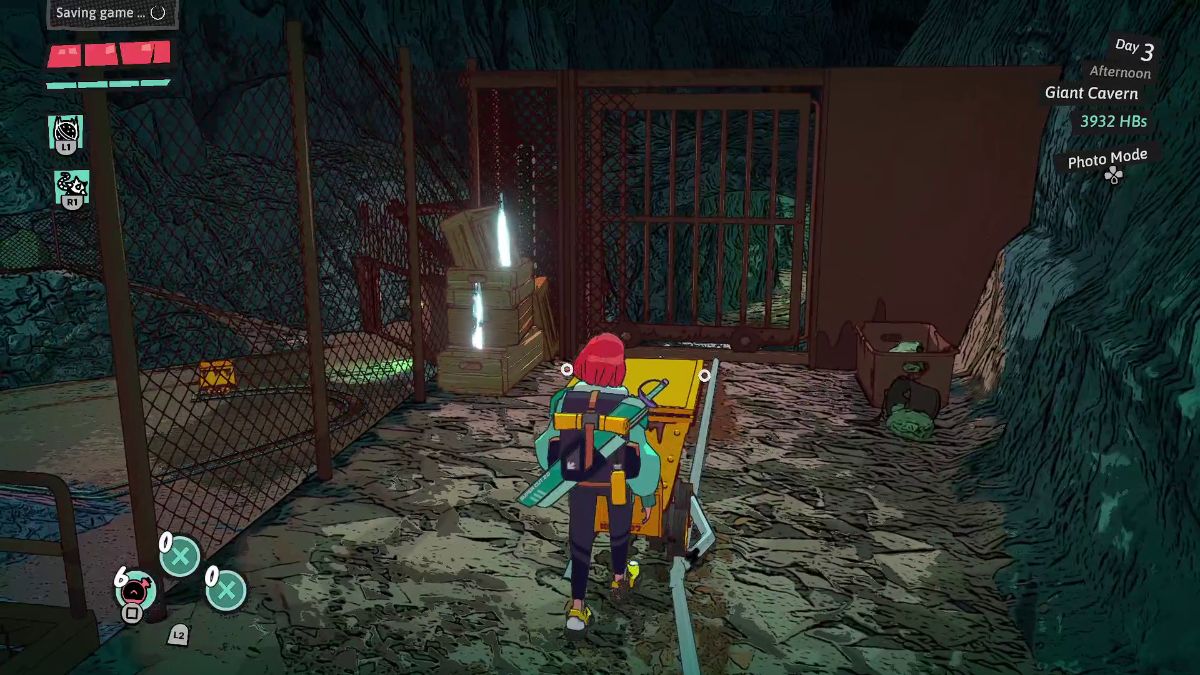
 | Push the button on this side of the room to open the gates. Then, push the yellow crate forward until it bridges the gap with the platforms above you. |
 | Climb the ladder on the right. Then, cross to the other side with the yellow crate’s help. |
 | Open this treasure to get the SlayTector Body Armor X-1. Then, hop on the yellow mine cart. |
 | Push the yellow crate to the very back of the room. Then, climb the ladder on the right and use the white ledges to climb upward. On the top platform lies a chest with Resonator Pads 1. |
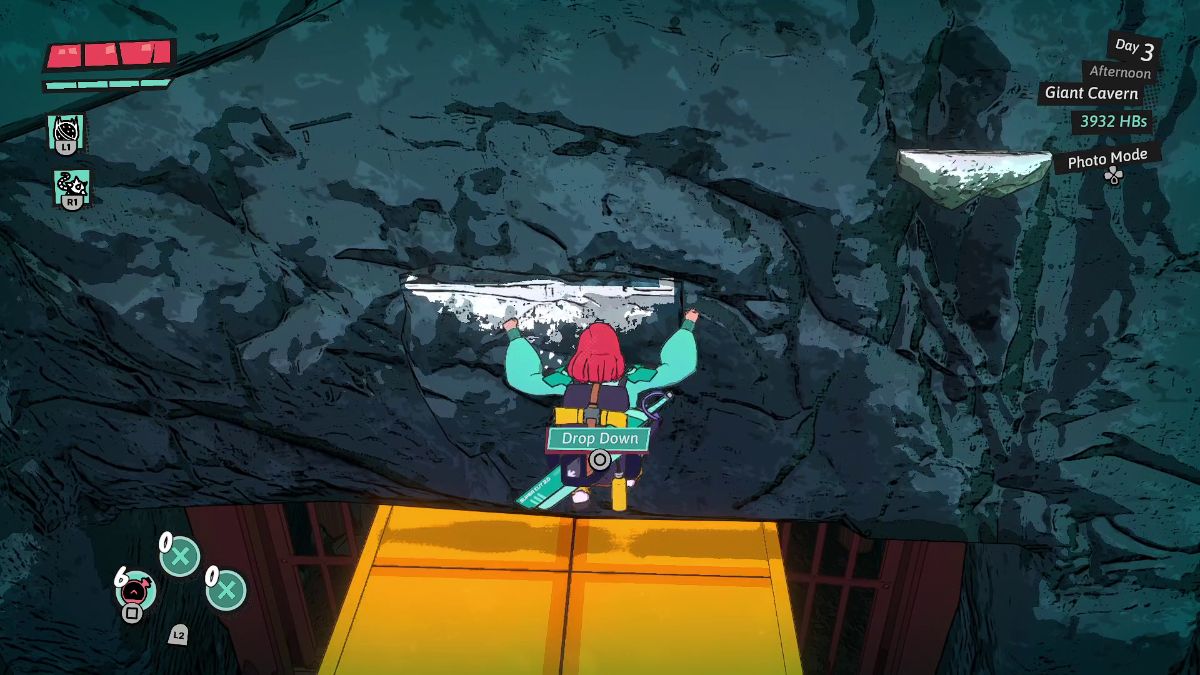 | As you grab onto the ledge on the bottom center, drop down to stand on the yellow crate. Then, jump onto the ledge to the left. |
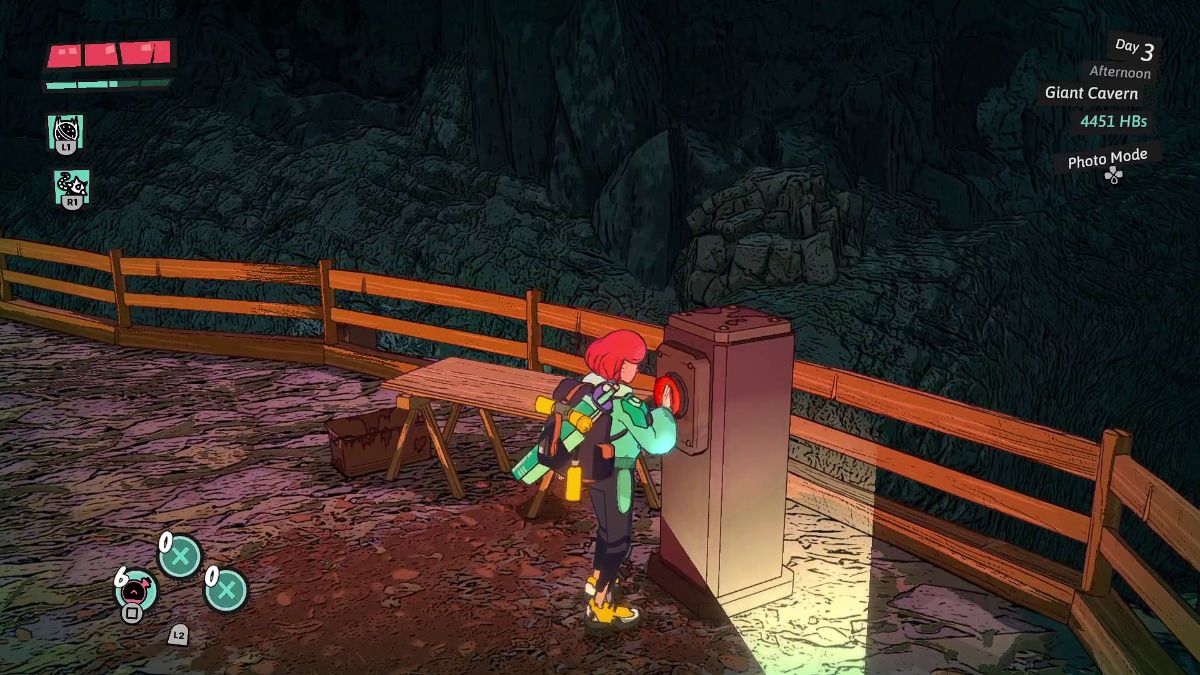
 | Push this button to rotate the bridge and reach the platform ahead. Before you leave, look behind you to find a chest with the Unique Coin: Giant Cavern. |
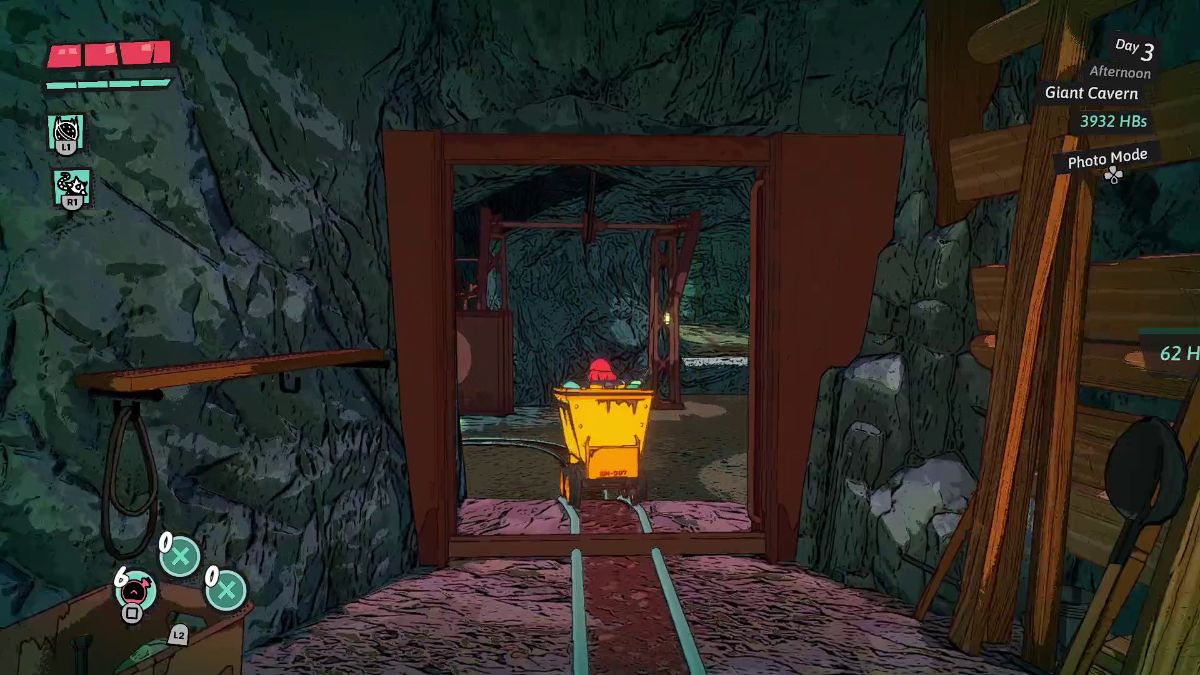
 | Hop on this mine cart to head back down. |
 | Now, repeat the process of climbing the ladder on the hallway’s right, dropping down on the yellow crate, and hopping on the ledge to the left. Here, push the button to rotate the bridge. Head back to the hallway. |
 | Pull the yellow crate to bridge the gap between the first platform, the one with the boulders blocking the way on the right. |
 | As you stand on the platform on the left, throw your Wrecking Ball on top of the yellow crate, and cause it to explode to break the boulders. |
 | Here, hop on the yellow mine cart on the left. Then, use the bridge to reach the lift on the left. |
 | Time to stamp your book and get out of here! |
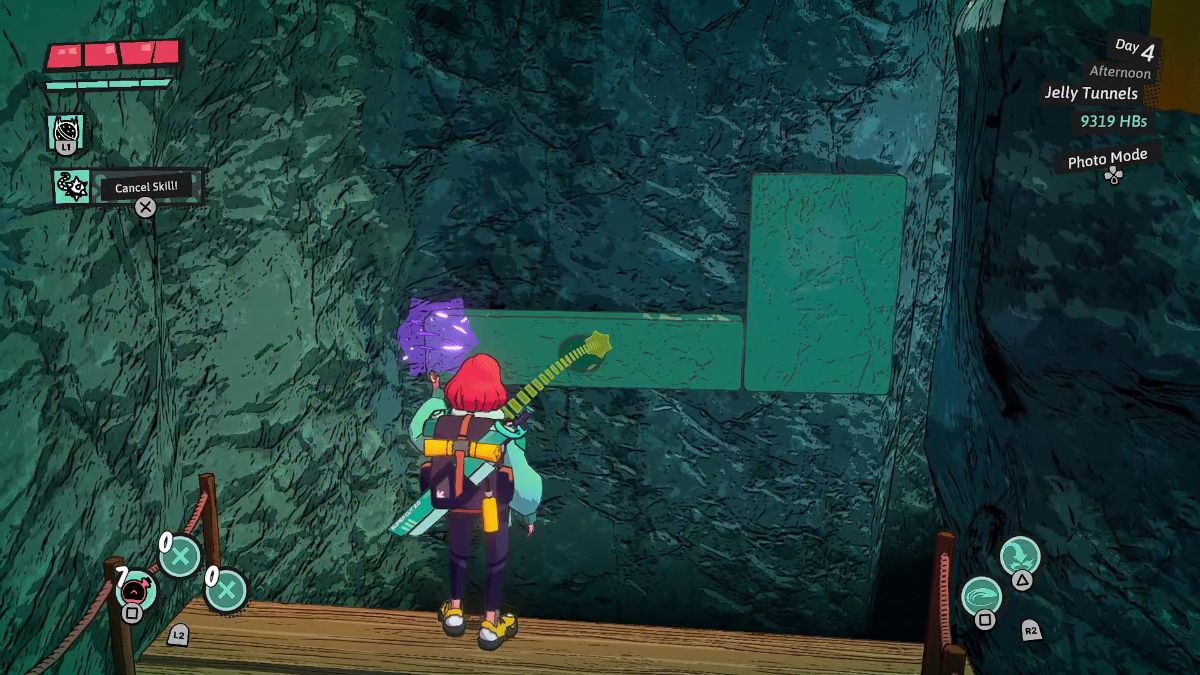
Clearing Jelly Tunnels
| Visual Reference | Instructions |
|---|---|
 | Use your Ball and Chain to pull the teal platform toward you. |
 | Here, repeat that process to reach the door on the right. |
 | To unblock the door, pull the teal jelly device at the bottom right. |
 | Pull the teal platform toward you and climb it to the right. |
 | Turn to the right and pull the teal platform there. |
 | Turn around and pull the teal platform above you. |
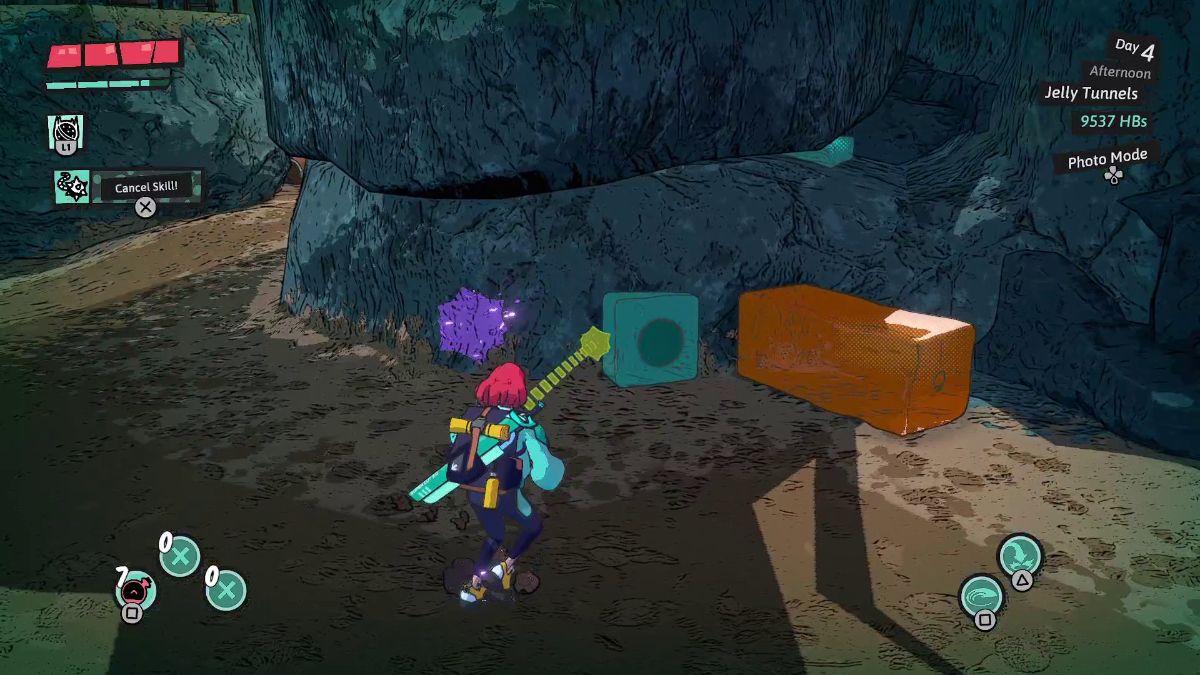
 | Walk slightly upward, turn around, and drop your Wrecking Ball. Explode the boulders blocking the way. |
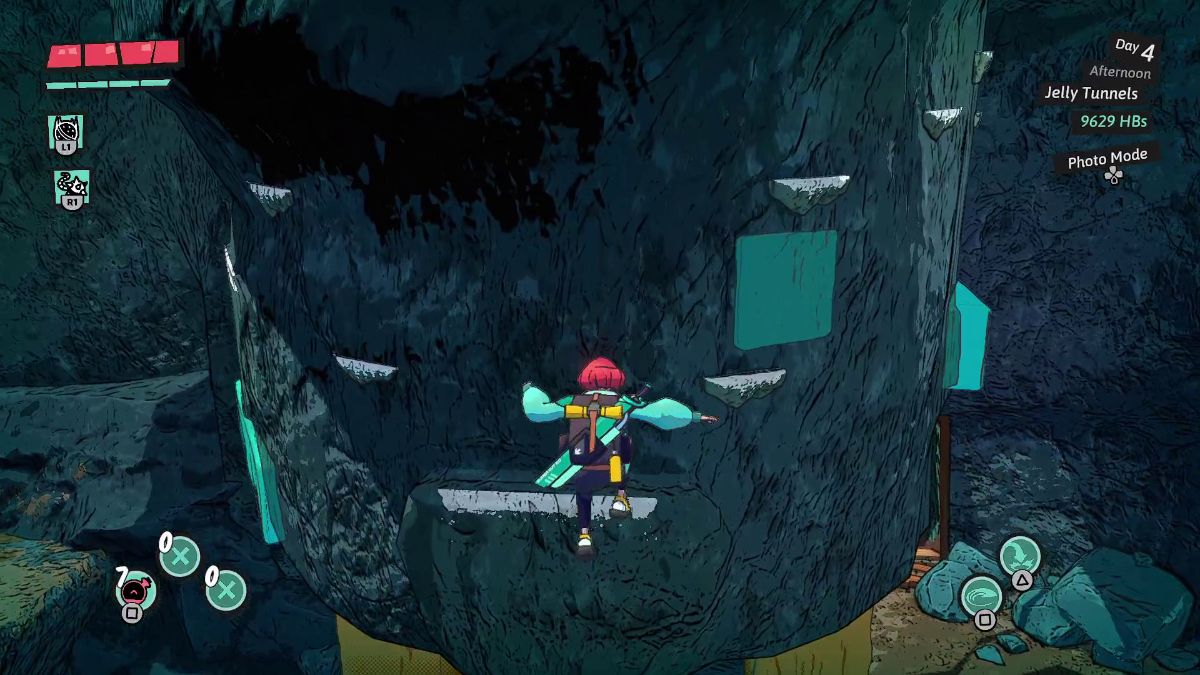
 | As you stand on the teal jelly platform, use your Ball and Chain to pull the teal platform to the spikes’ left to cause it to rise. Then, jump onto the white ledge behind you. |
 | In the room ahead, hug the trail upward and climb onto the white ledges to the left and upward. |
 | Drop down on the orange jelly platform. |
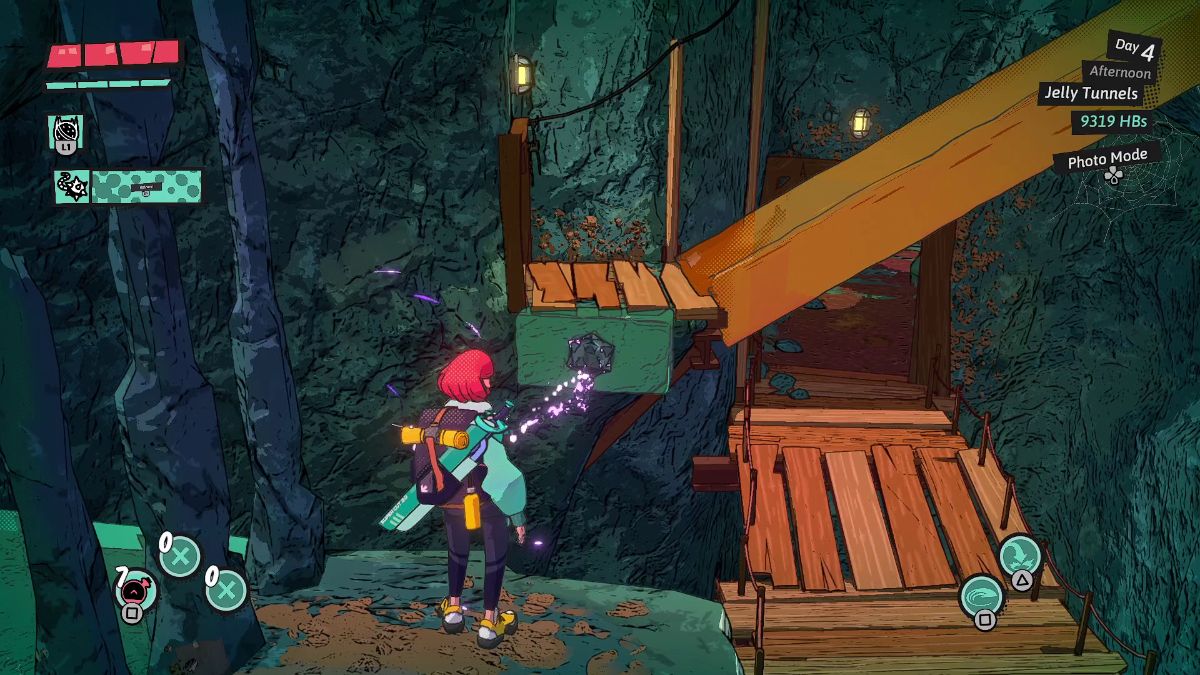
 | Drop your Wrecking Ball in the catapult base to the right. Then, pull the teal jelly platform to push it forward. This knocks off the ladder ahead. |
 | At the base of the circle-shaped stone at the center, pull the teal jelly platform. |
 | Climb the ladder you knocked down and jump off the edge of the platform to reach the white ledges on the circle-shaped stone. Head to the right. |
 | Pull the teal jelly platform here and drop down to the left. |
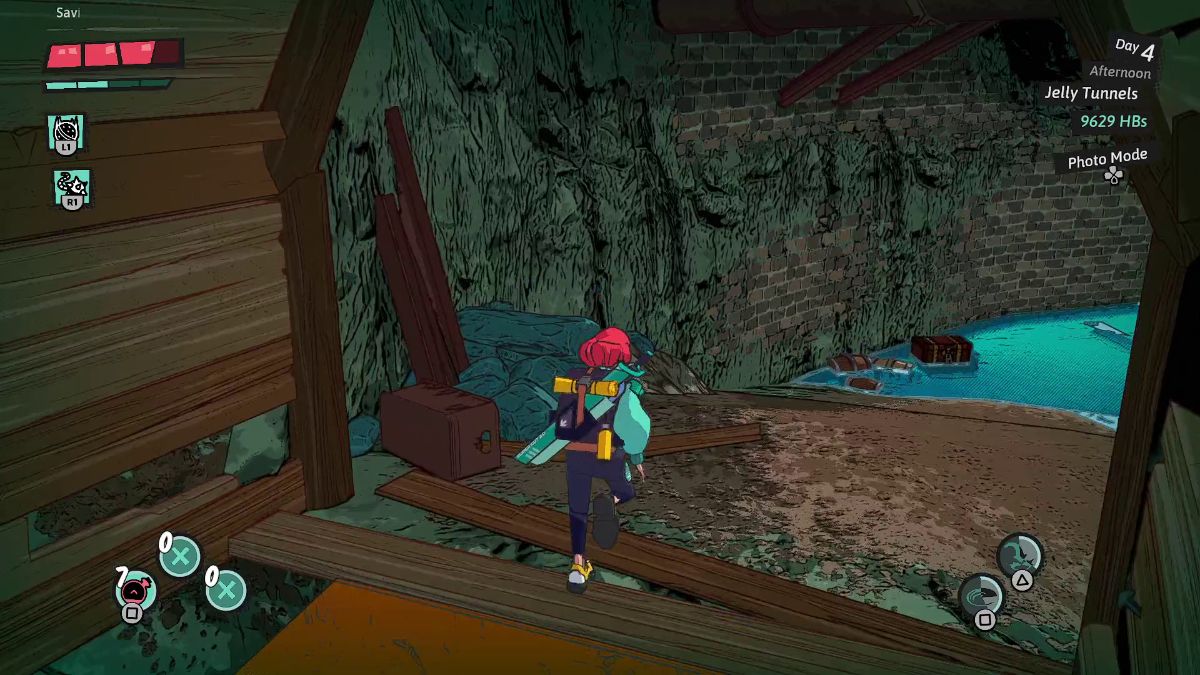 | Save at the Waystone, defeat the enemies, and use the Ball and Chain to pull the platforms toward you and reach an open area with water. |
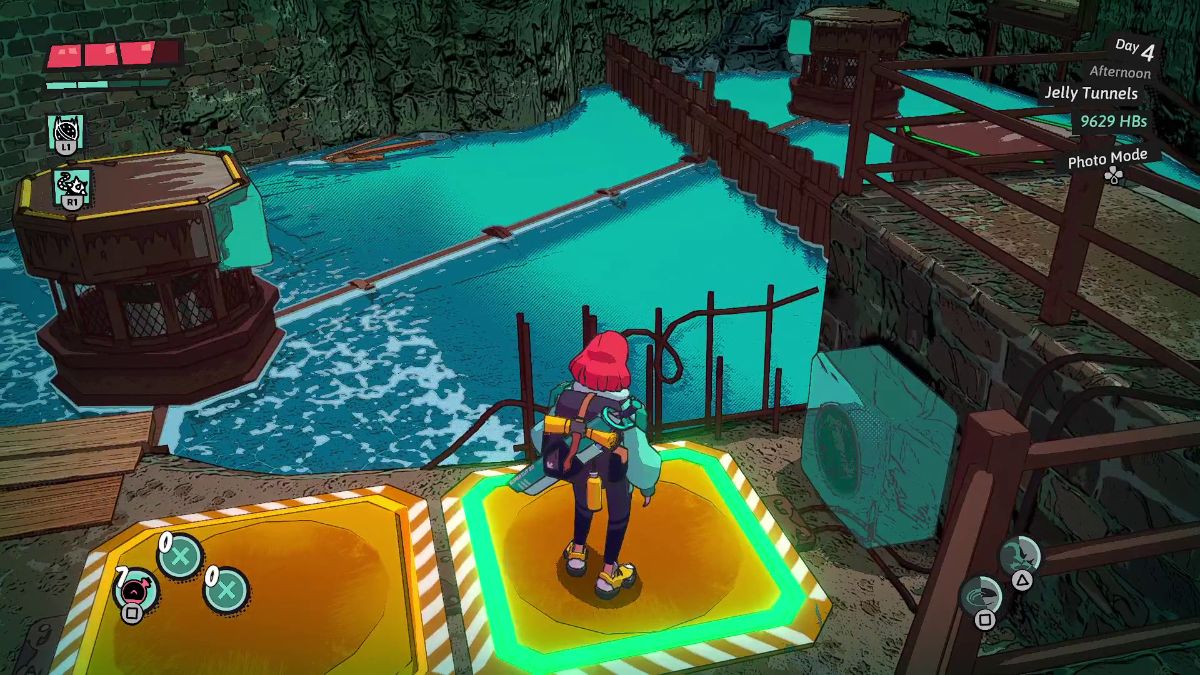 | To solve this puzzle in Jelly Tunnels in Dungeons of Hinterberg, you must stand on the yellow buttons to align the spinning platforms. Standing on the button on the right spins the platform on the lower right. Standing on the button on the left spins the platforms on the lower left and upper right. Your goal is to make the front of each platform touch (or stay close) at some point of the spin so Luisa can cross over. |
 | To the lower right platform’s right lies a chest, so don’t forget to pick it up. |
 | Here, use the Ball and Chain to pull this jelly platform and reach the portal ahead. |
Clearing the Minecart Workshop
| Visual Reference | Instructions |
|---|---|
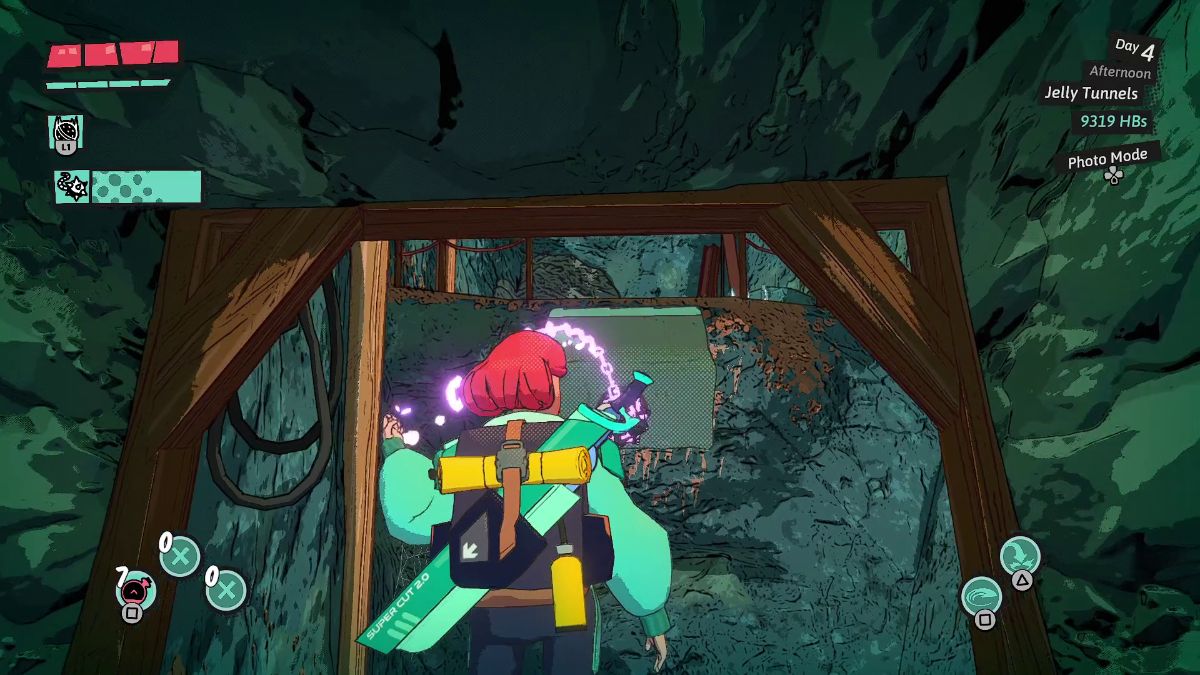
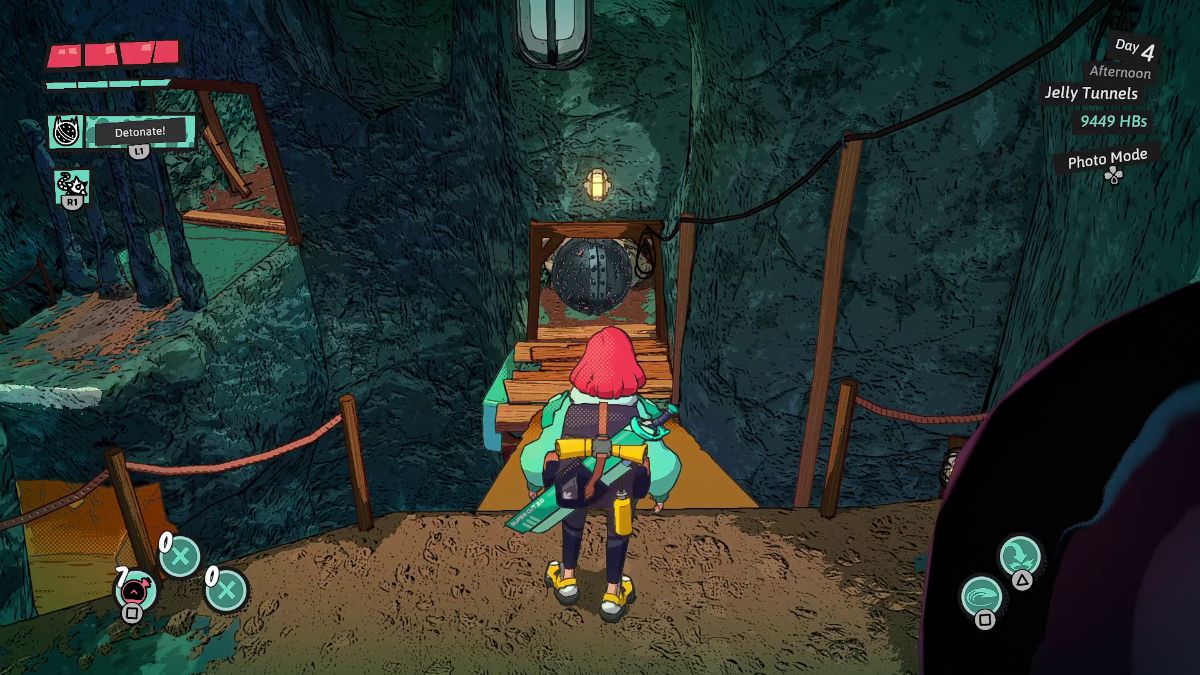
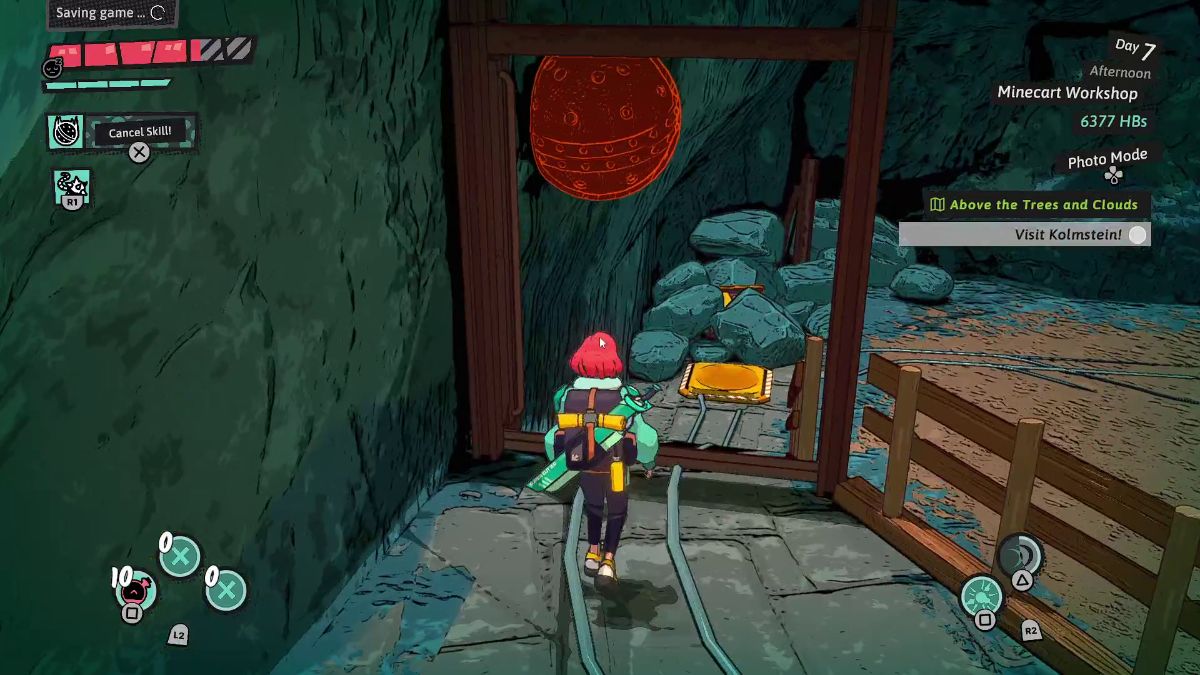 | Get on the mine cart and defeat a wave of enemies. To solve this puzzle, go past the first frame and, as you look down, drop a Wrecking Ball. Hop back on the mine cart. |
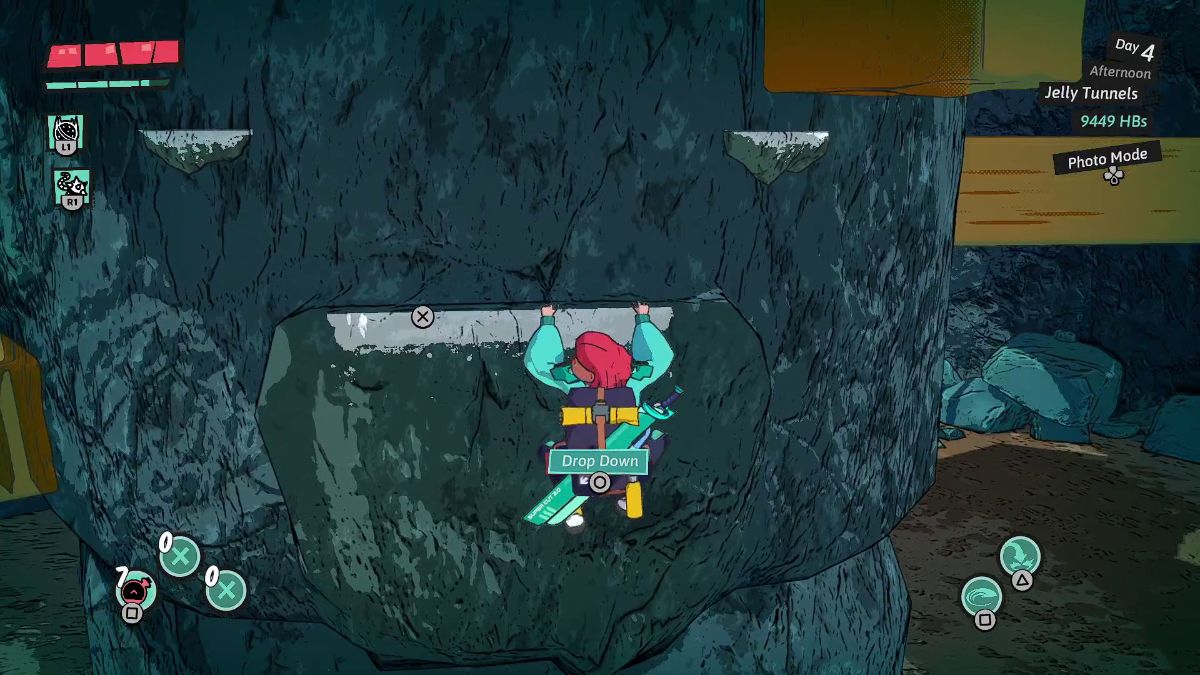
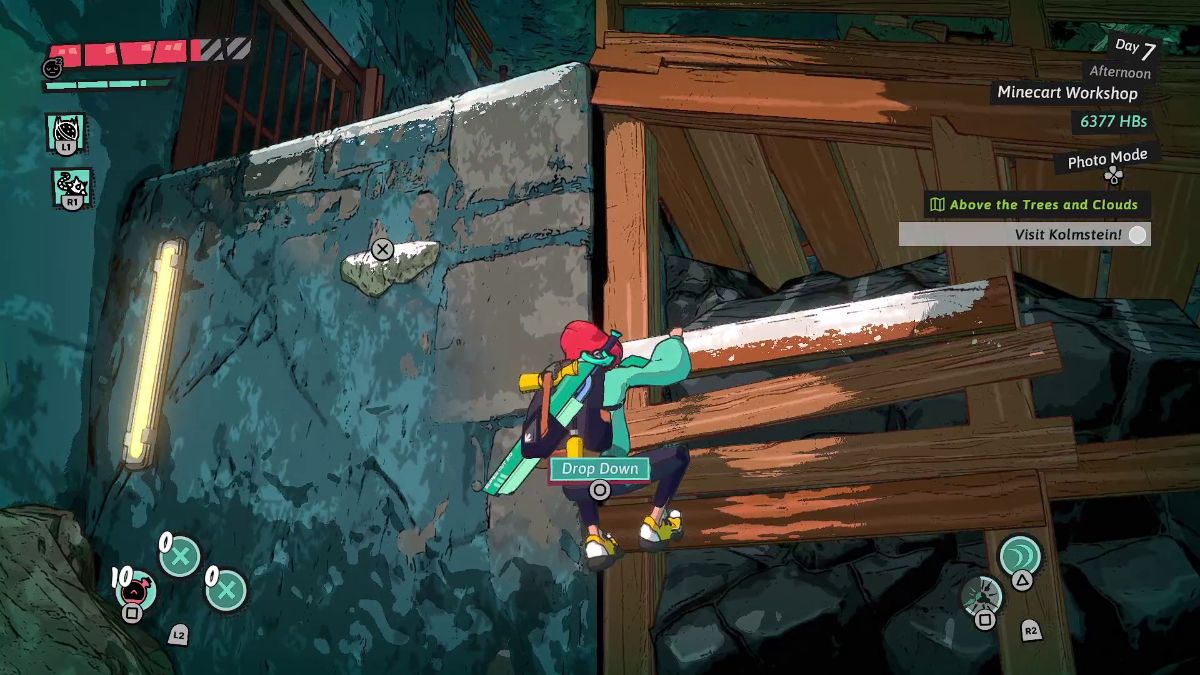 | After defeating another wave of enemies, hop on the white ledges on the left. |
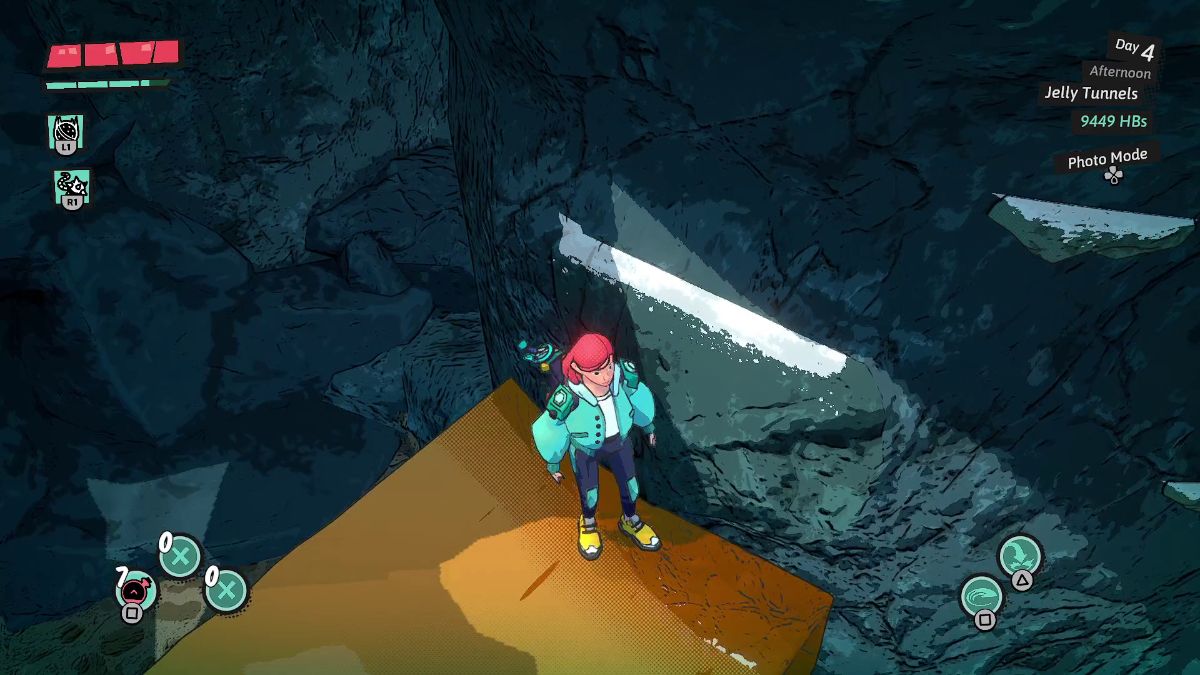
 | Go up the ladder to the left to find a treasure with a Small HP Potion. |
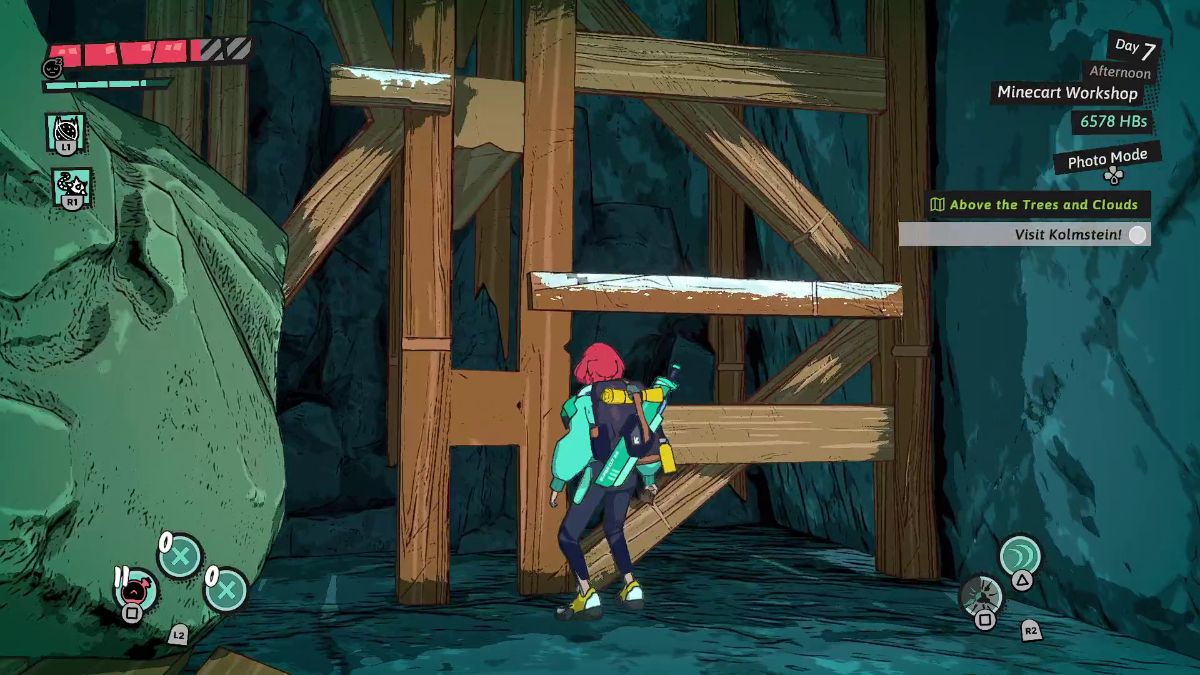 | Head back down and hop to the other side. Here, climb up the white ledges to reach the higher platform. |
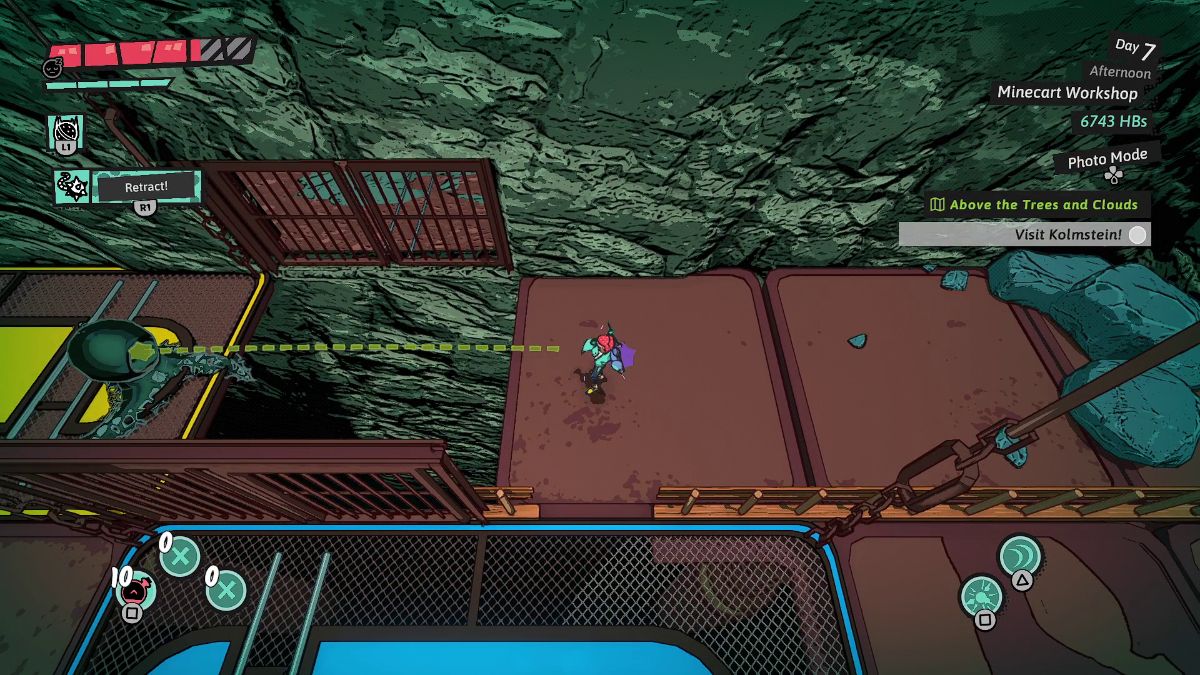
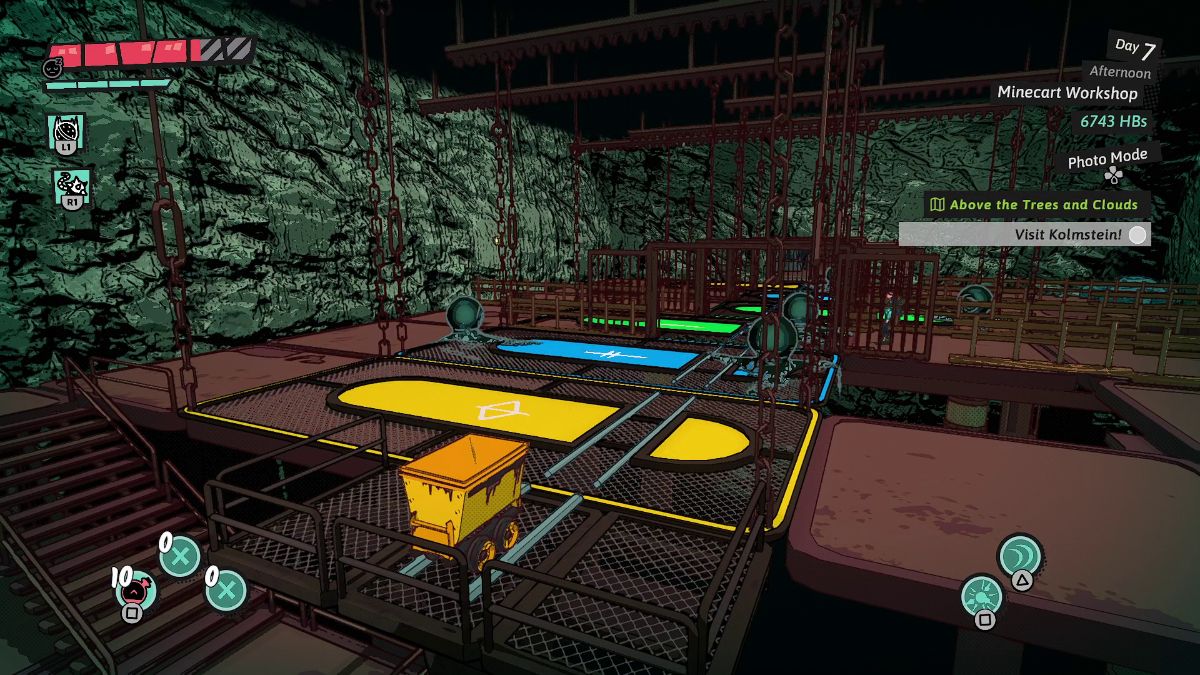
 | Save at the Waystone, defeat a wave of enemies, and push forward until you reach this area. To solve this puzzle in the Minecart Workshop in Dungeons of Hinterberg, you must align the rails for the yellow mine cart to reach the other side. The rails are tied to a color mechanism you must pull and push with your Ball and Chain. |
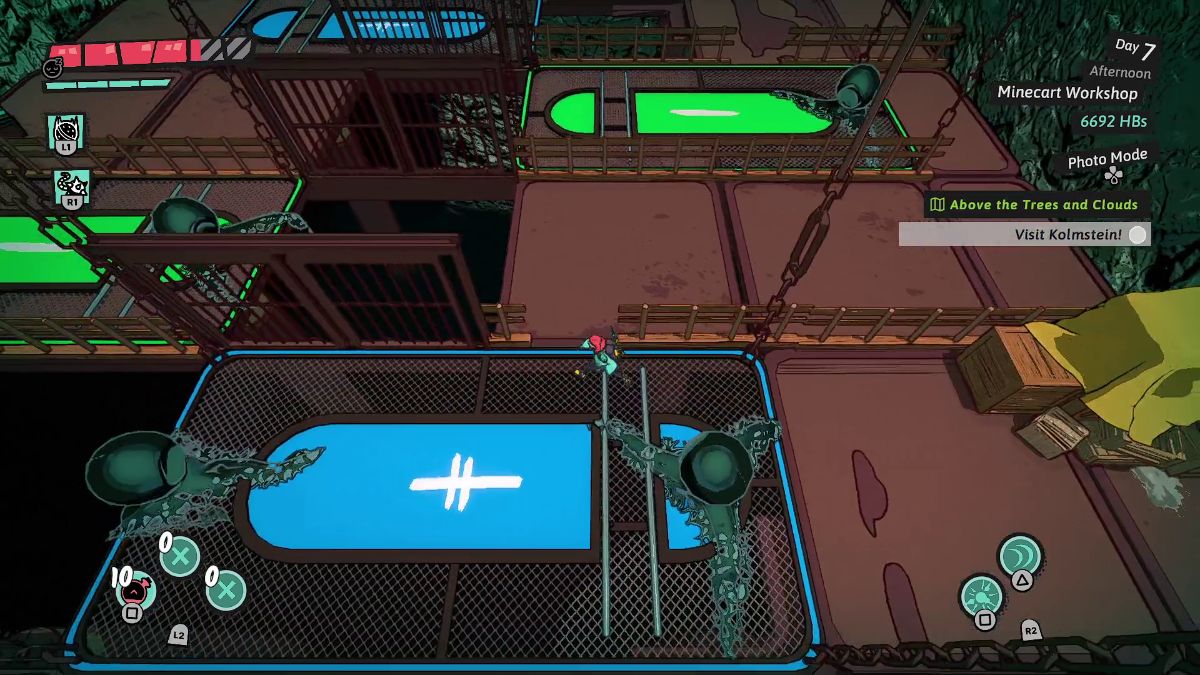 | First, go through the fence past the first blue platform. |
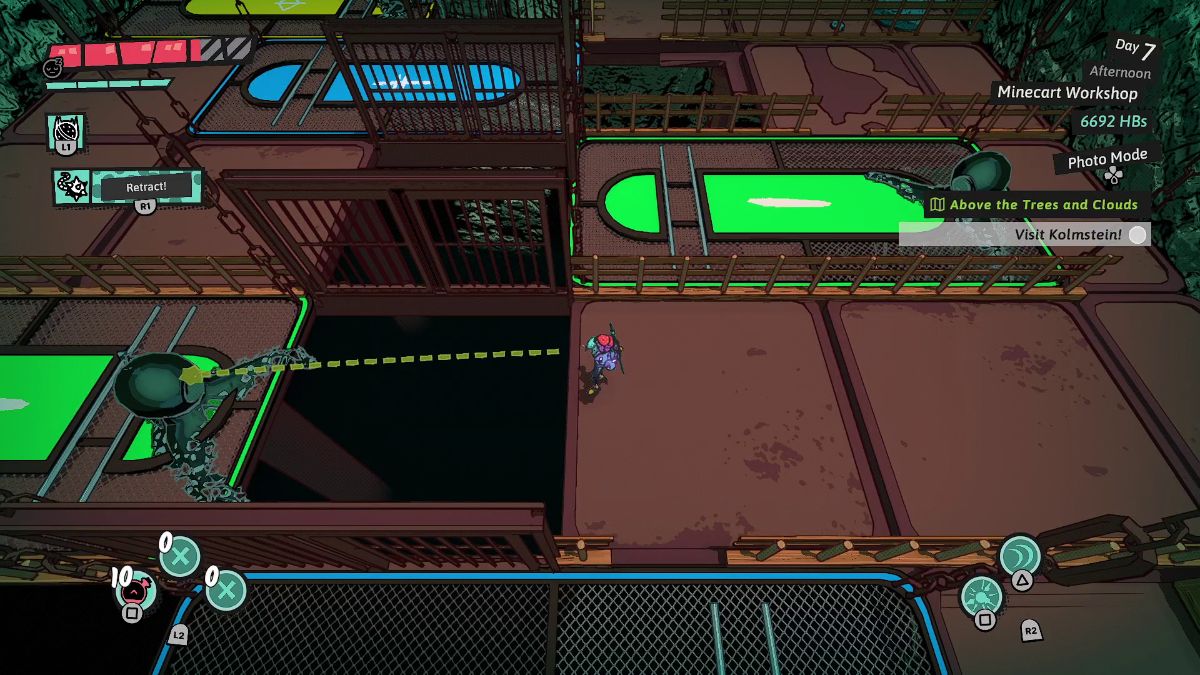 | Use your Ball and Chain to pull the first green platform to the right. |
 | Walk the narrow path on the right and pull the green platform to the right. |
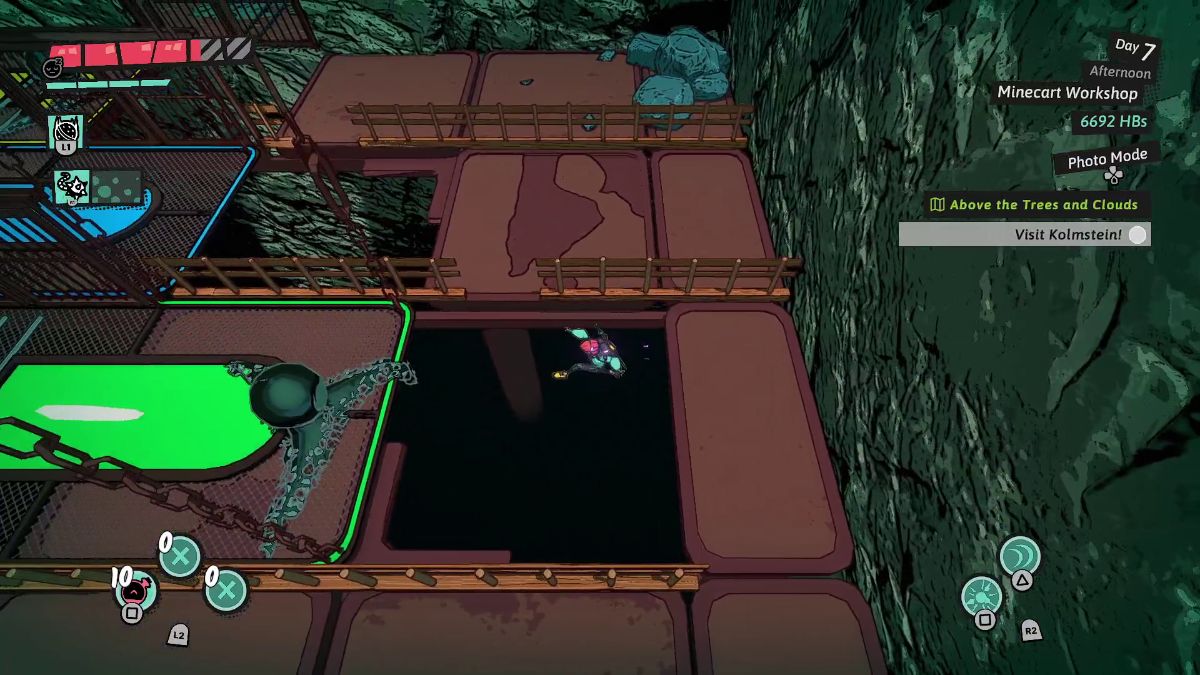
 | Head back to the first blue platform and pull it to the left. This affects the blue platform on the back and moves it to the right. |
 | Go through the fence to reach the last yellow platform. Pull this one to the right |
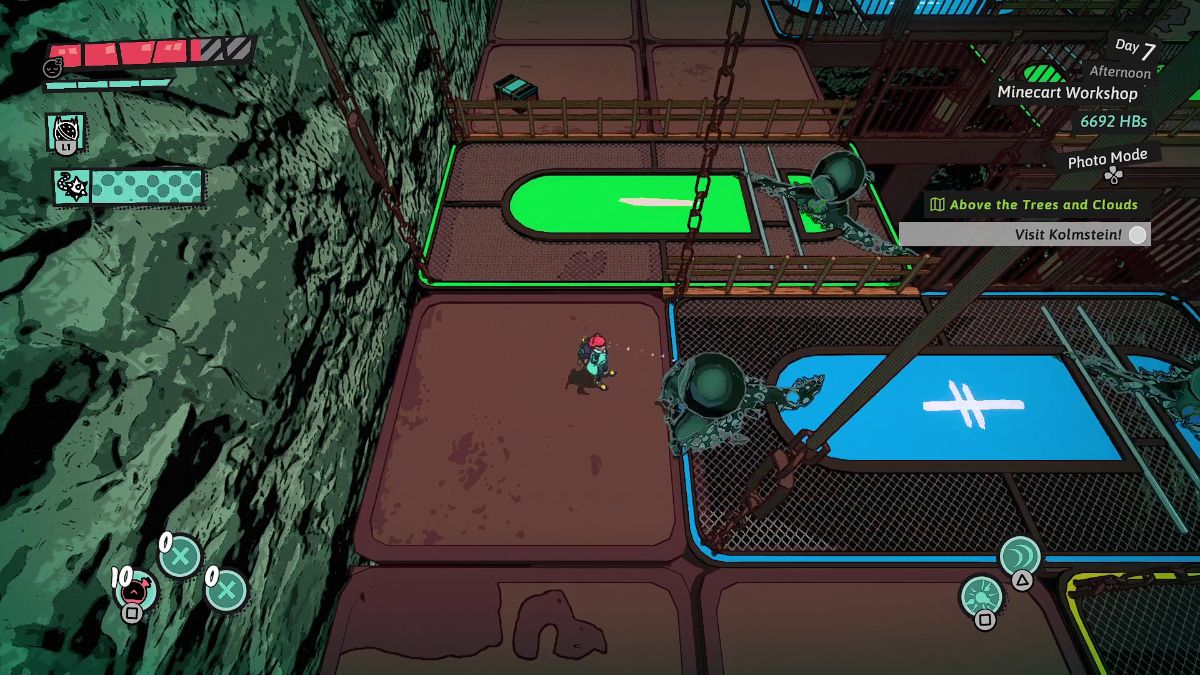
| As you make your way back to the front, pull the first green platform to the left. |
 | The rails are fully aligned. Hop on the cart to reach the other side. You’re one last wave of enemies away from stamping your book and getting out of here. |
Reaching Tatzelwurm
| Visual Reference | Instructions |
|---|---|
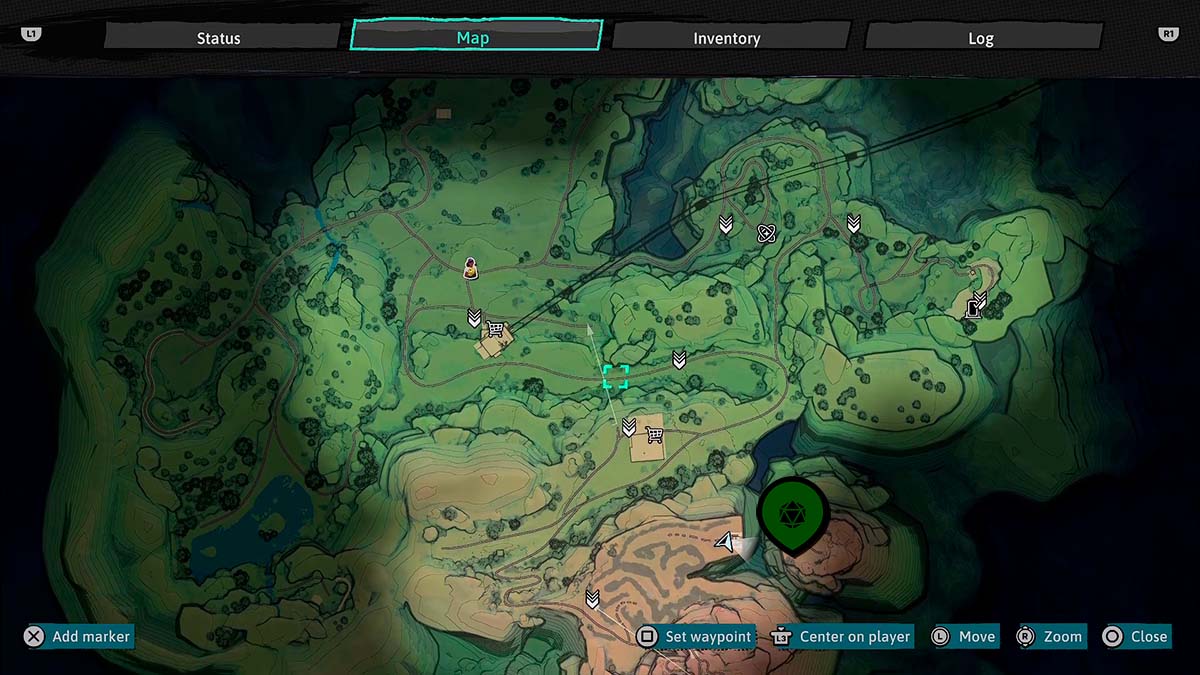
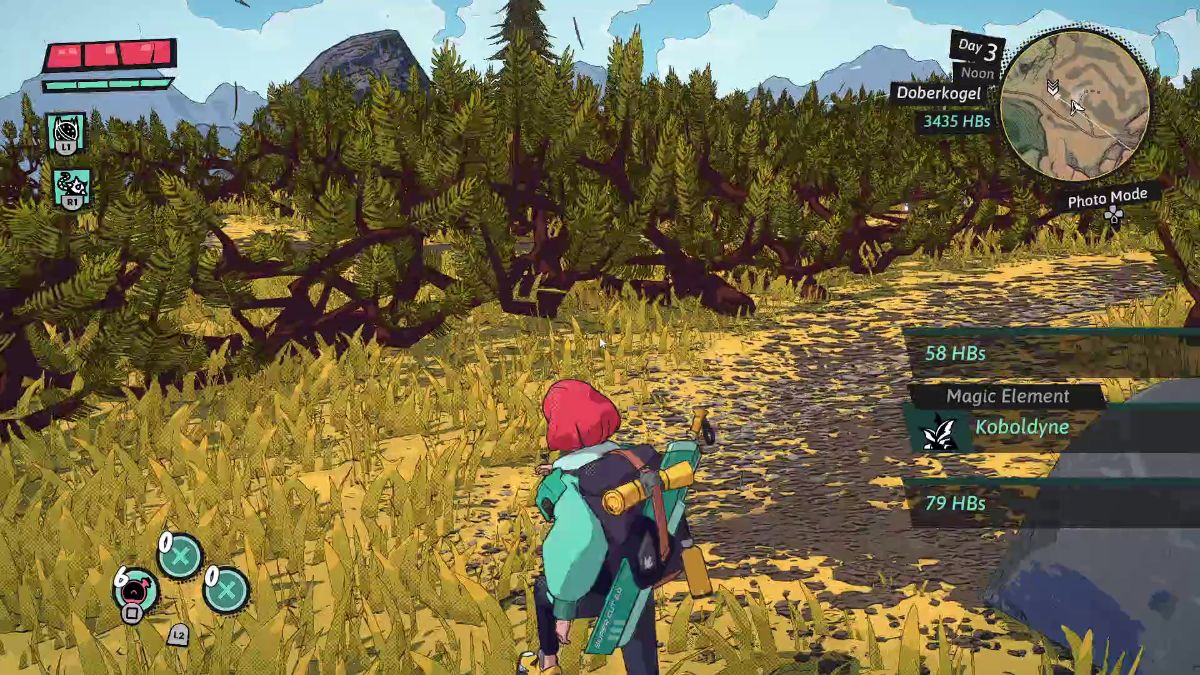
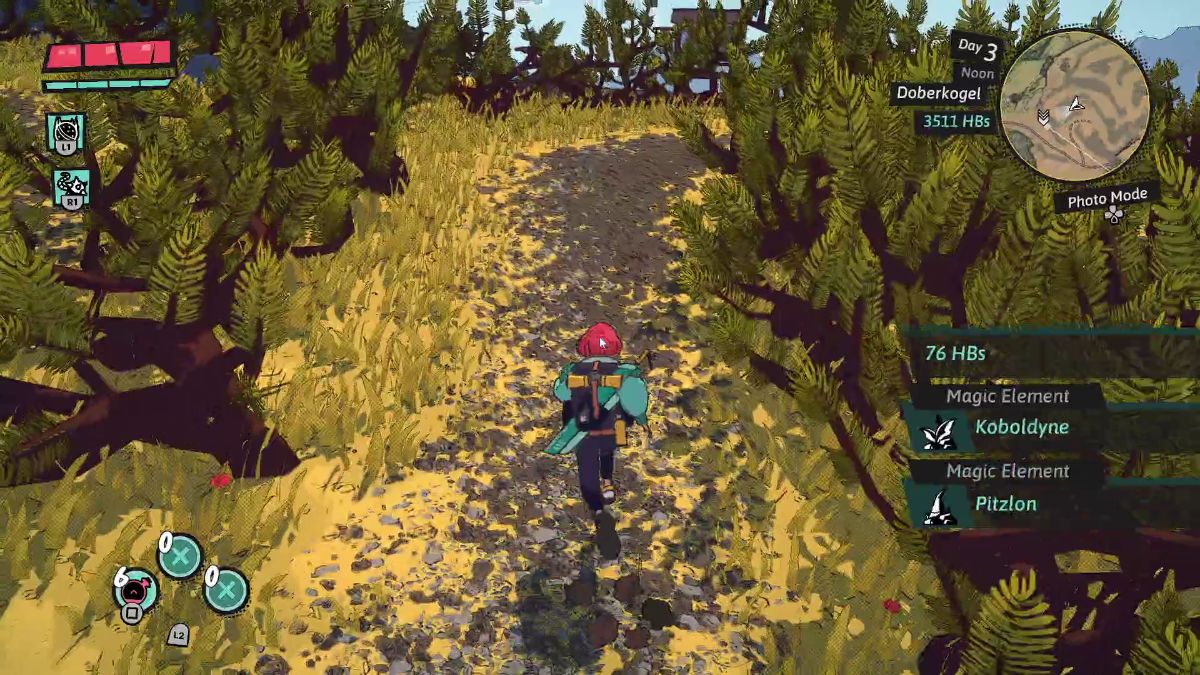
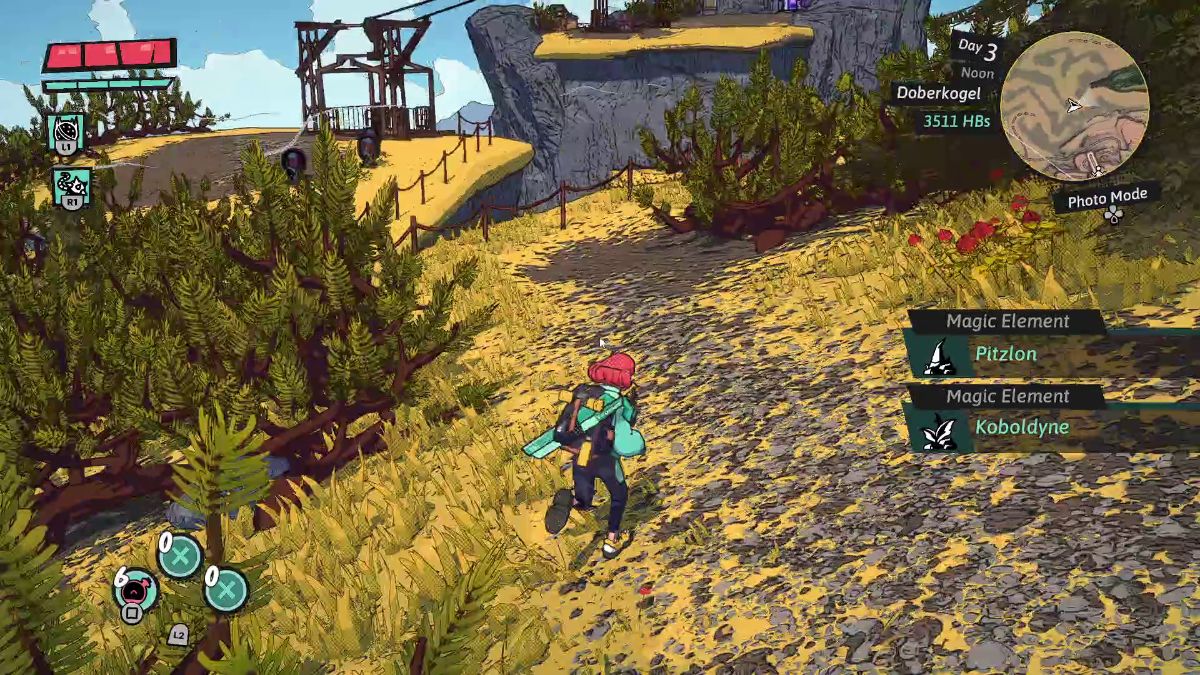
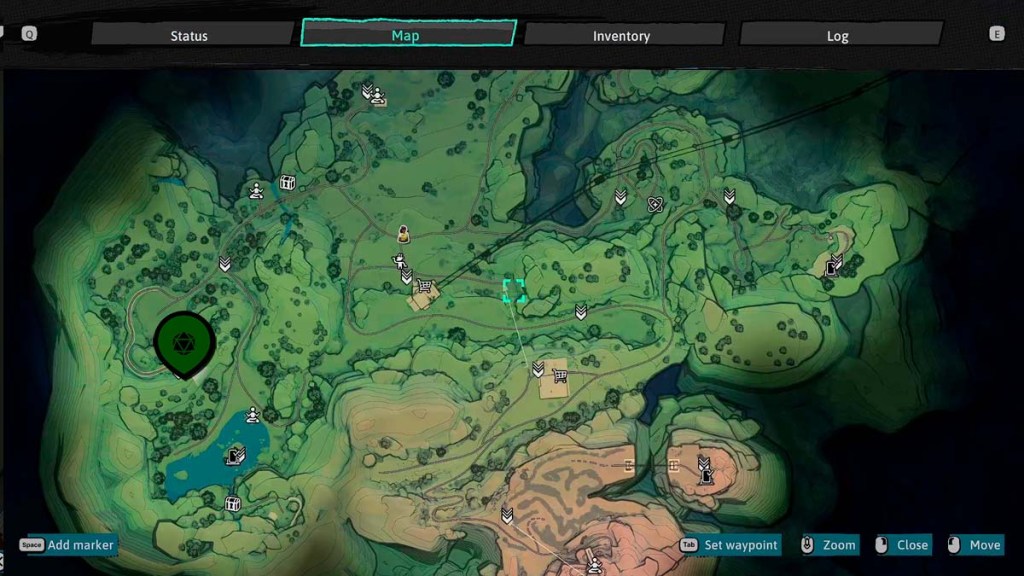
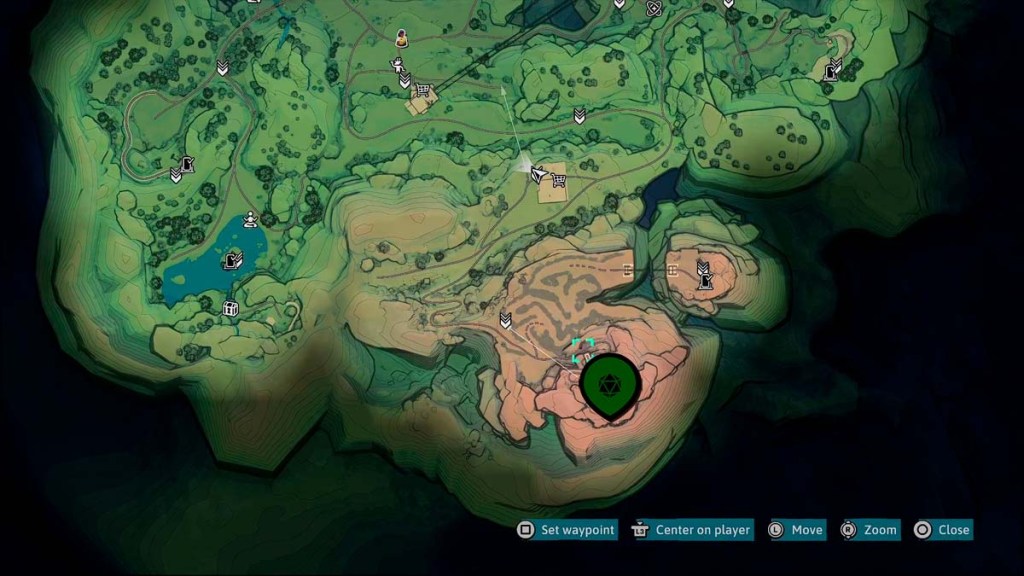
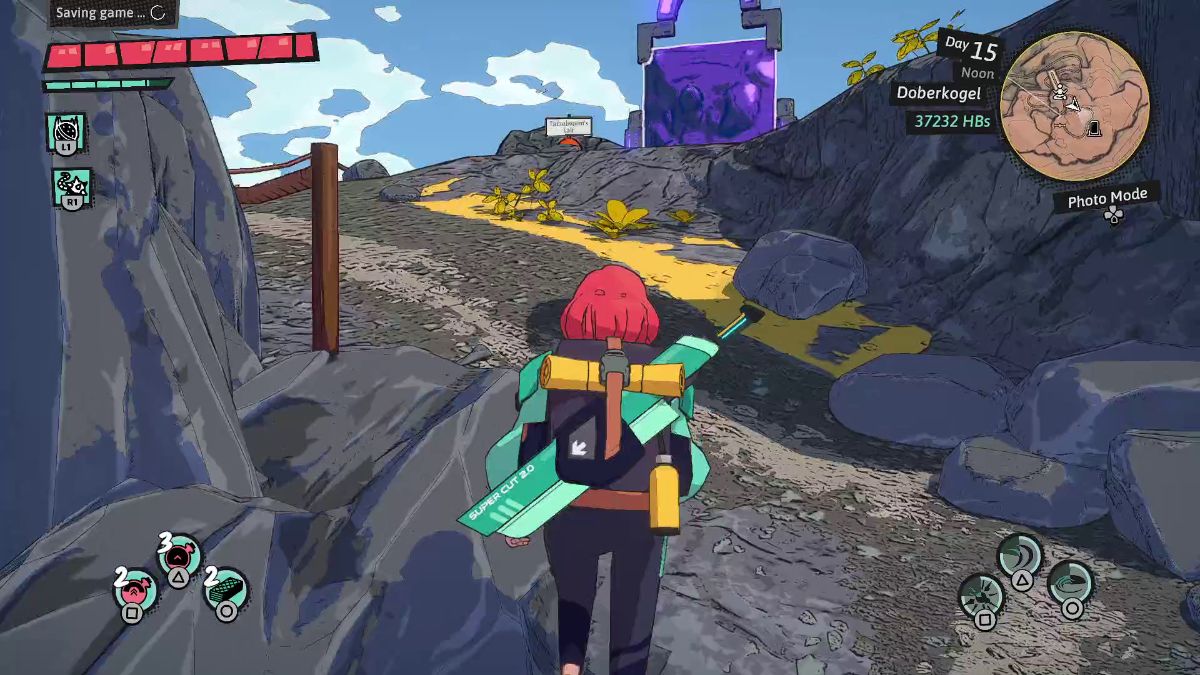 | You can find Tatzelwurm’s Lair by climbing the mountain past the labyrinth southeast of Doberkogel. Then, when you reach the relaxation area, look behind you and to the right to spot a path leading to this dungeon. |
 | Use the Wrecking Ball to break the boulders blocking the way. |
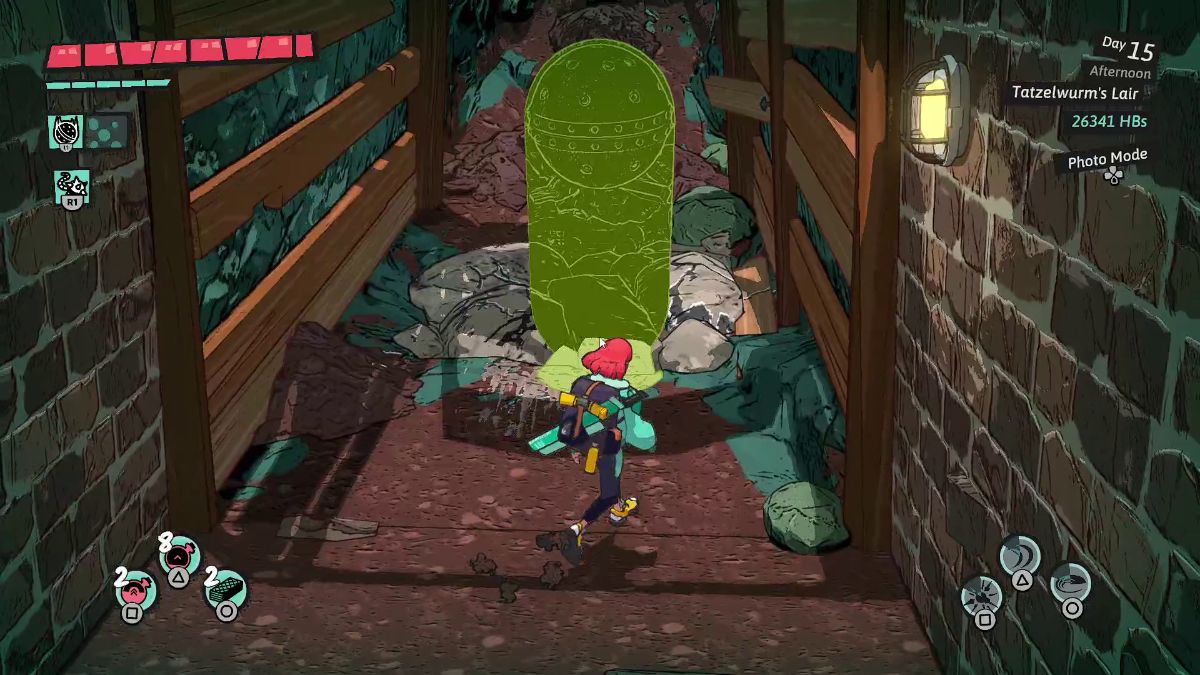 | Again, use the Wrecking Ball to break these boulders on the floor. |
 | Break these boulders behind the wall to find a treasure chest with Resonant Sword 5. |
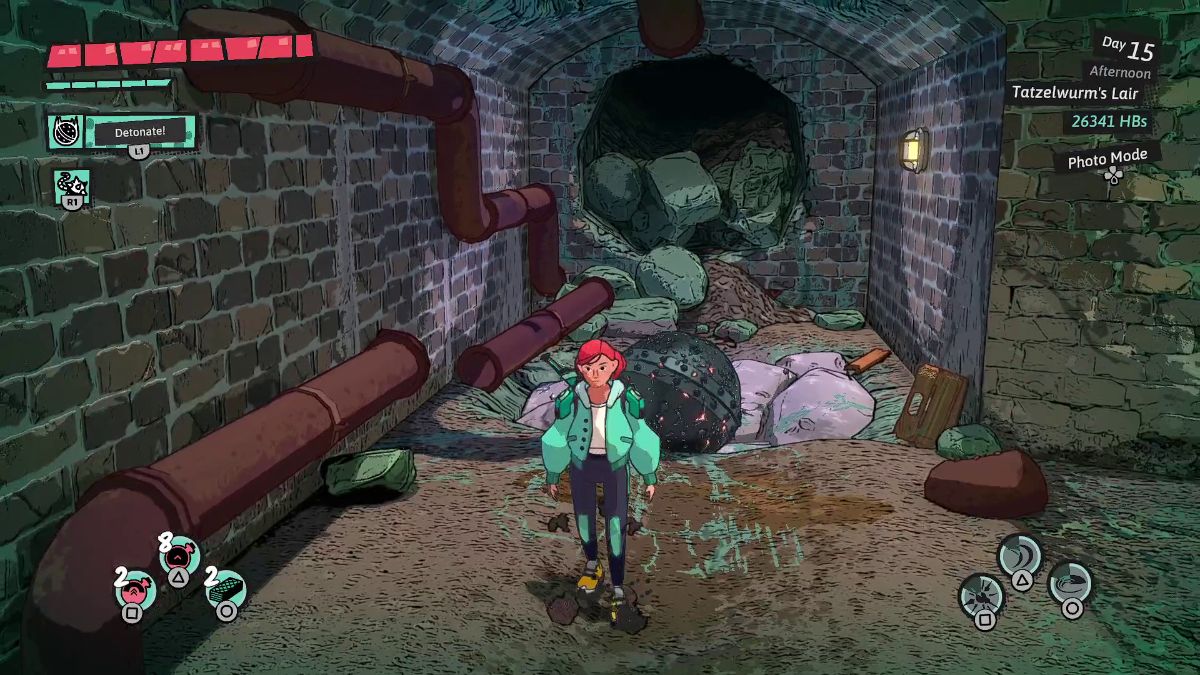 | Then, break the boulders on the floor here to reach the bottom floor. |
 | With your Ball and Chain, pull the bridge down. You’re one boulder blockade away from running into Tatzelwurm. |
How to beat Tatzelwurm
| Visual Reference | Instructions |
|---|---|
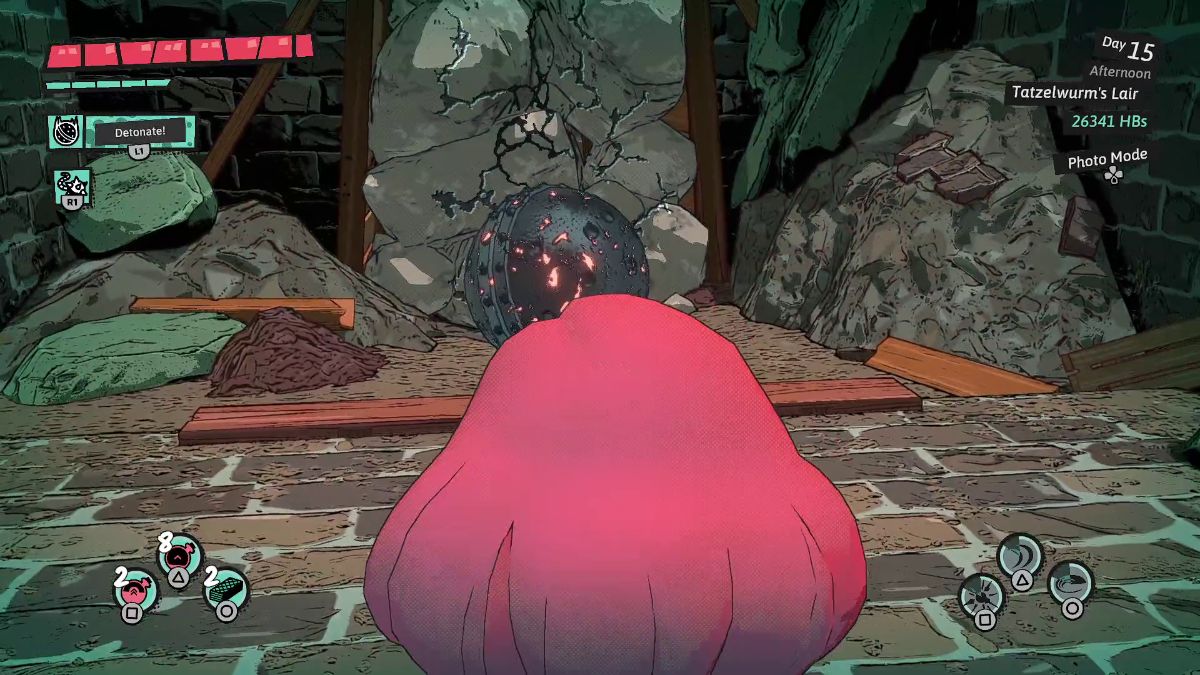
 | To defeat Tatzelwurm, wait for it to hide underground. |
 | When it comes out, it opens its mouth to deal damage to you. As soon as its mouth opens, throw your Ball and Chain at it and pull to bring it down. |
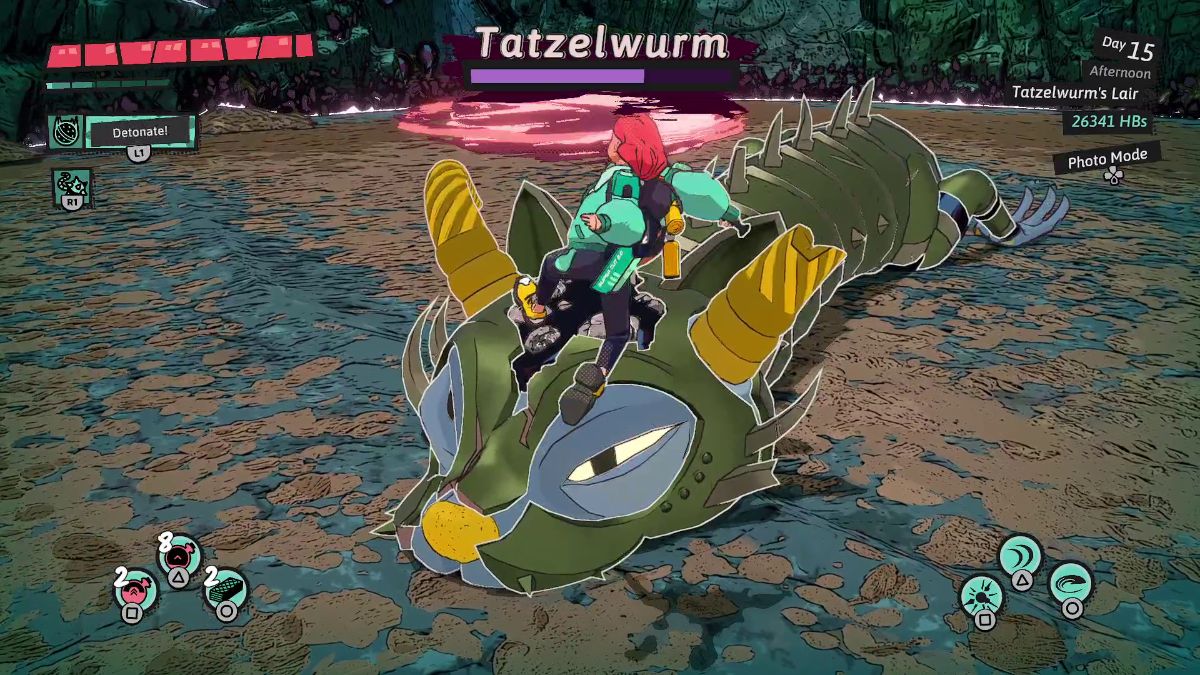 | Drop a Wrecking Ball on its head and cause it to explode. Repeat this process three times to break its armor. |
 | Now that the armor’s broken, deal damage as you normally would while avoiding damage yourself. |

Reaching Old Quarry
| Visual Reference | Instructions |
|---|---|
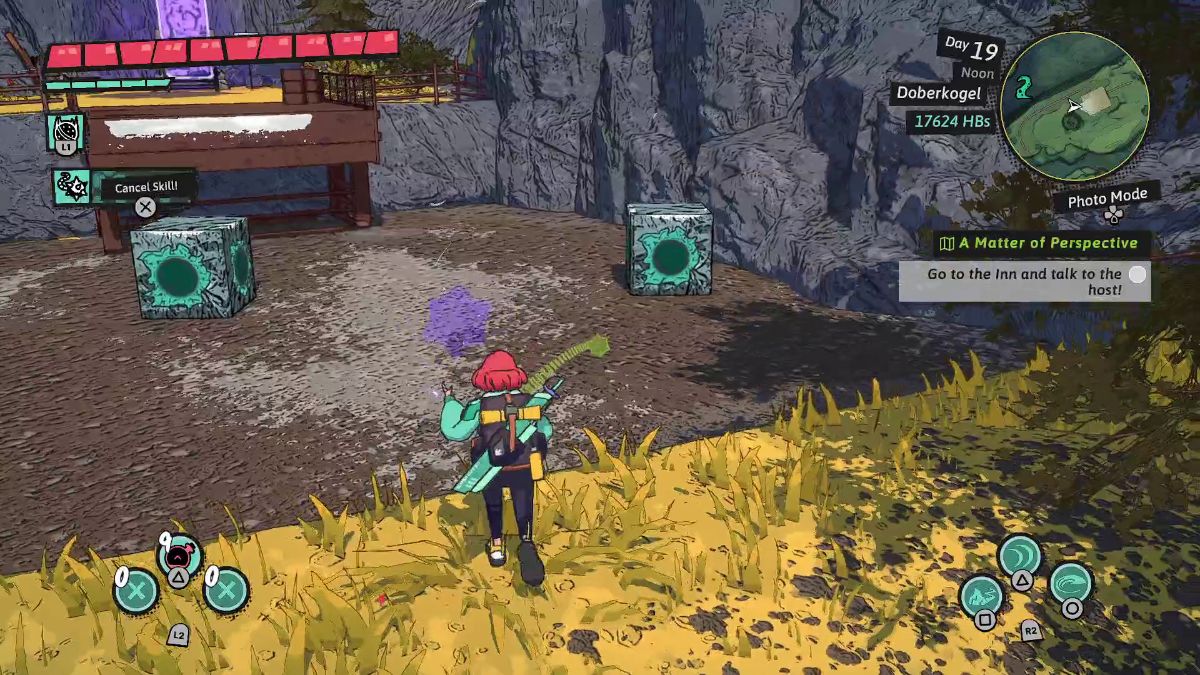
 | Head up the tentacle near the Jelly Tunnels dungeon. If there are no tentacles around, progress through your main objectives. |
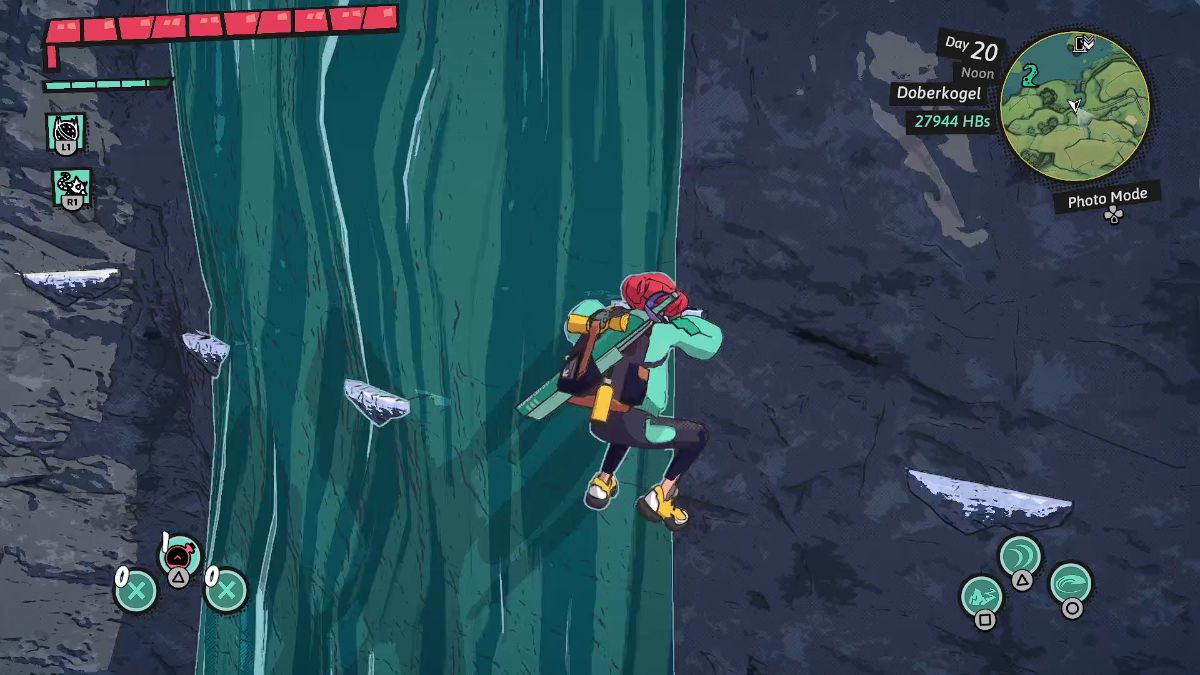 | Climb over the white ledges until you reach the other side of the waterfall. |
 | Push the red button to cause a treasure chest to drop. |
Clearing Old Quarry
| Visual Reference | Instructions |
|---|---|
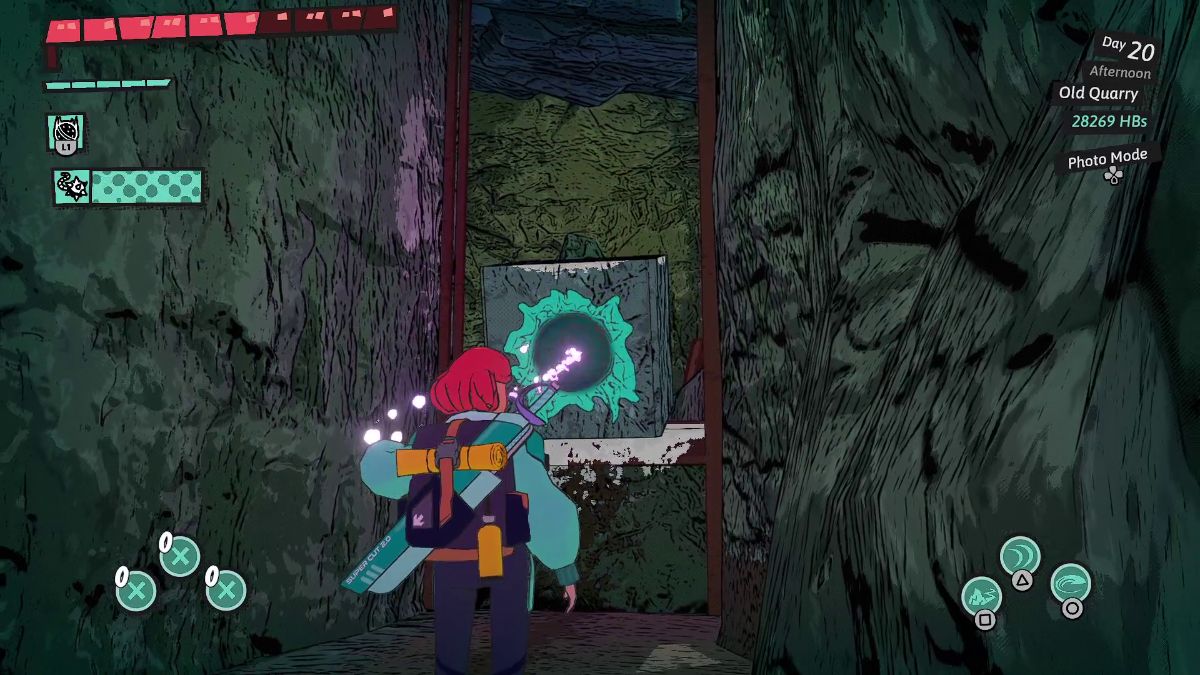
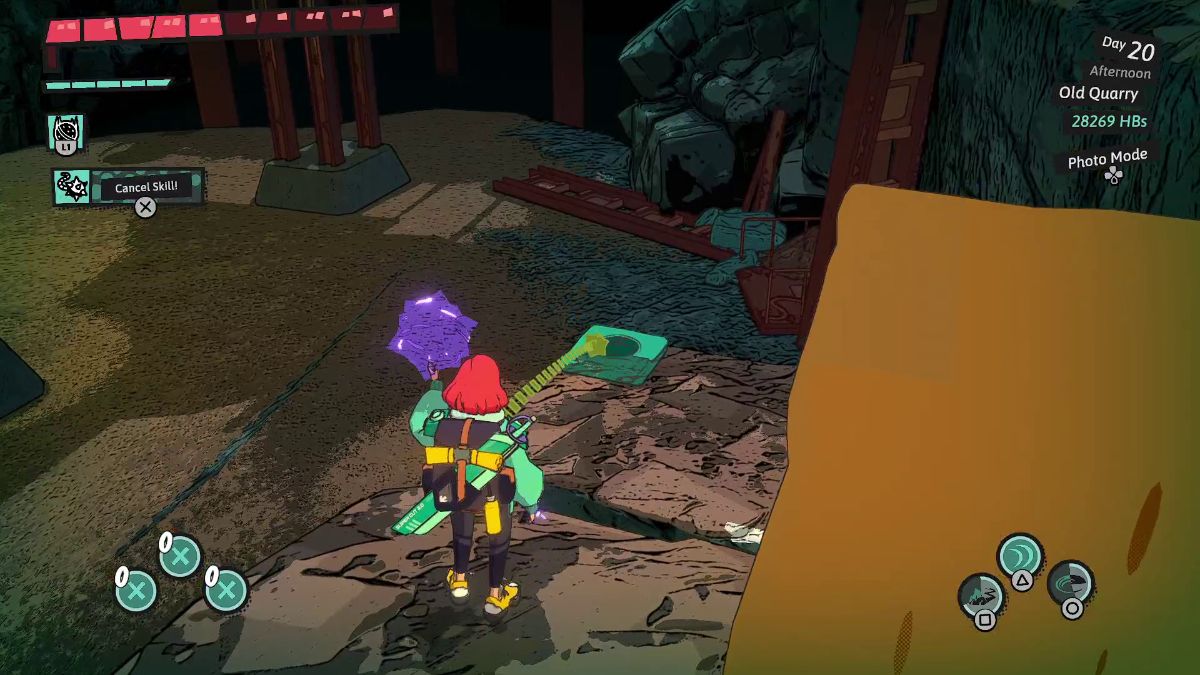
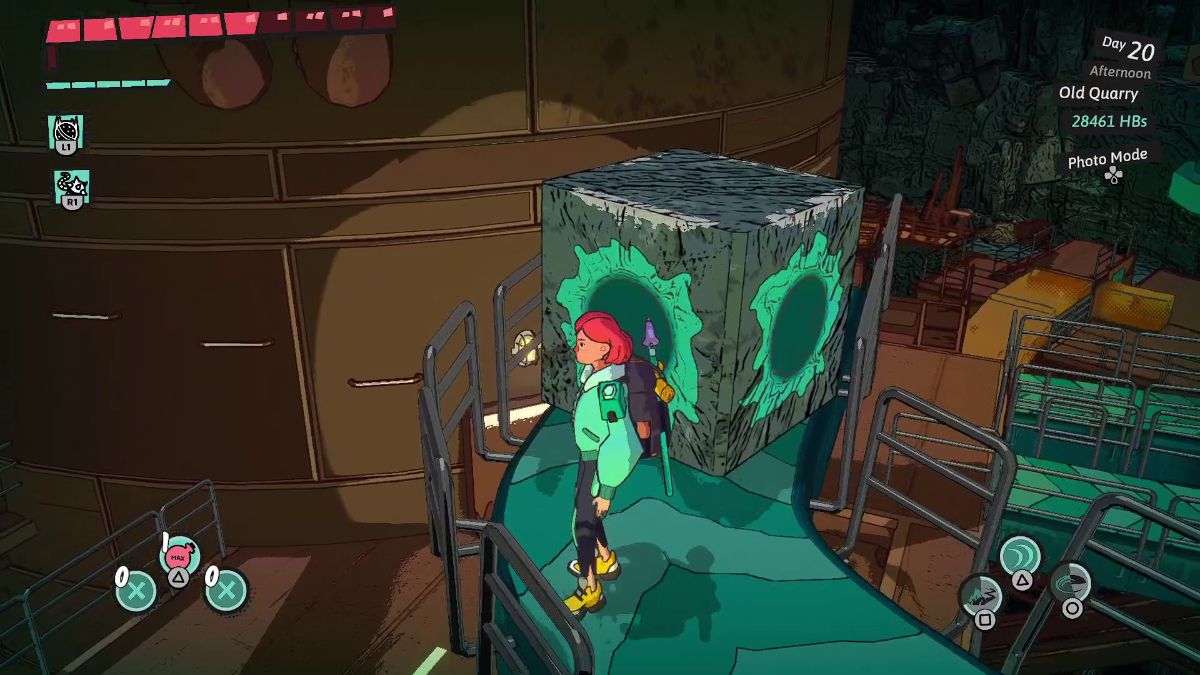
 | Pull the jelly block ahead and defeat the wave of enemies in the next room. |
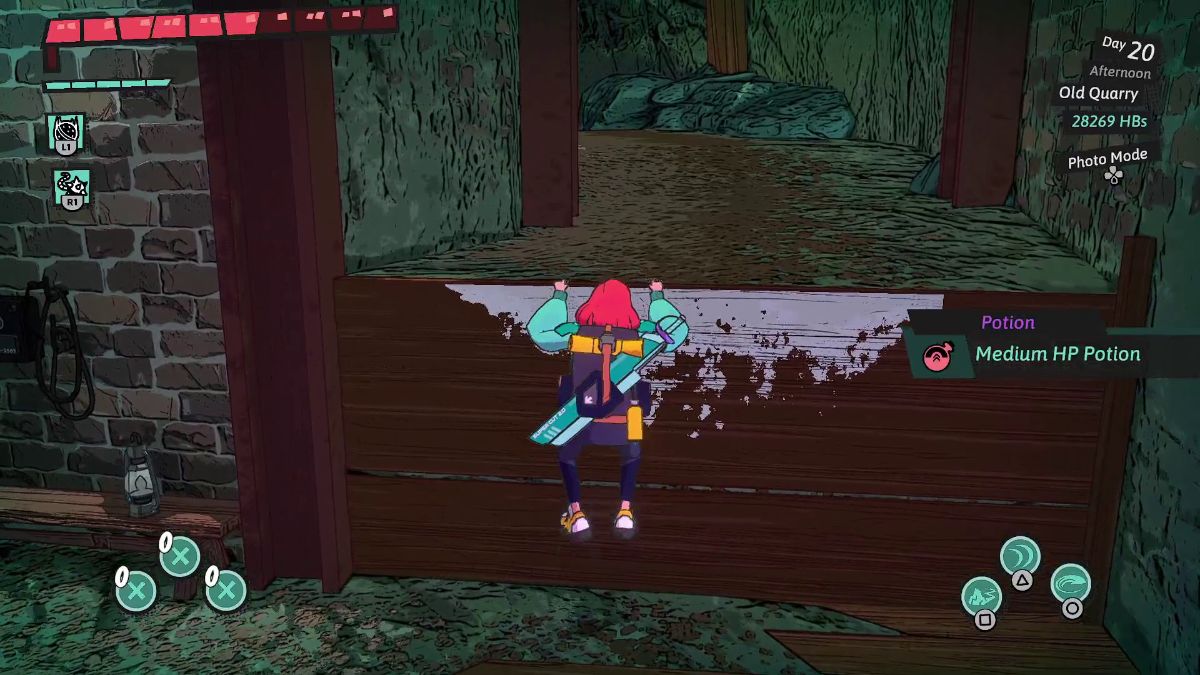
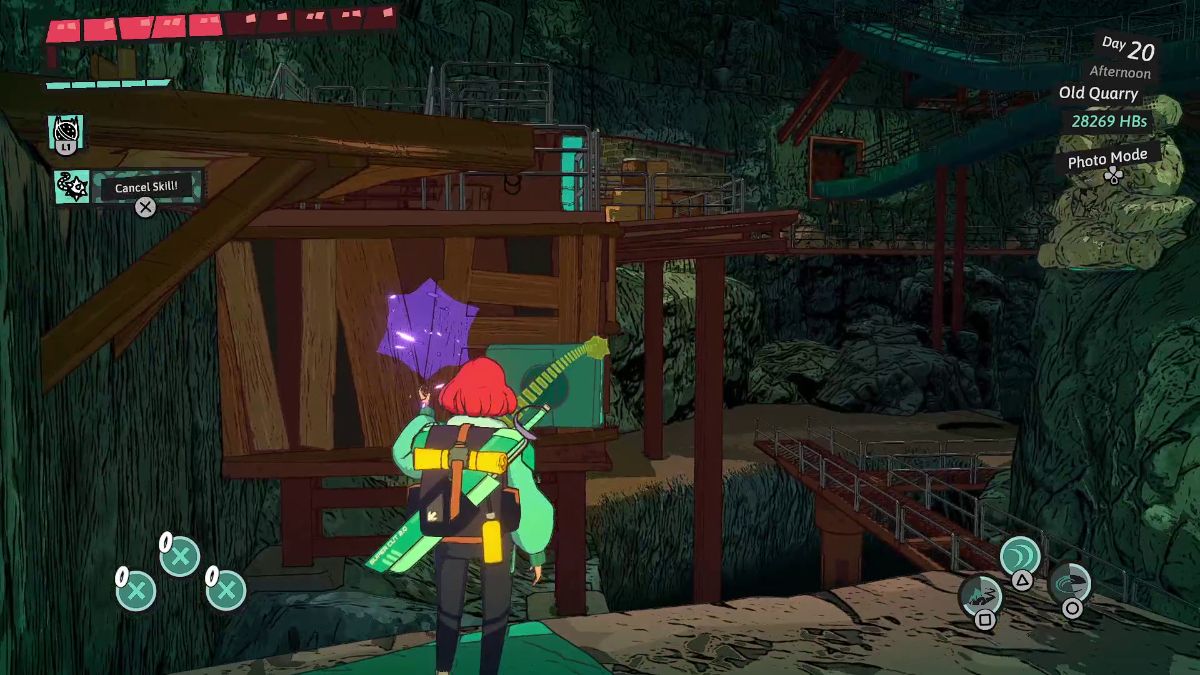
 | In the next room, look to the left to find a block. Pull it toward you to reach the room on the other side of this passage. |
 | In the next room, look again to the left and climb the white ledge. |
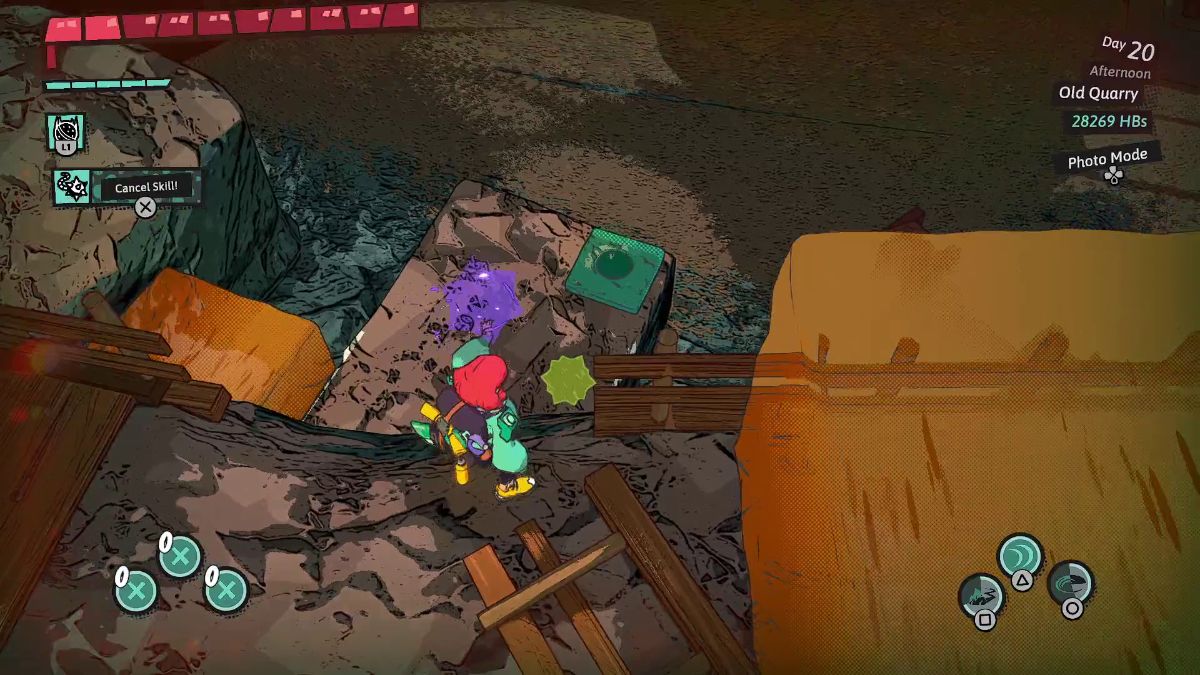
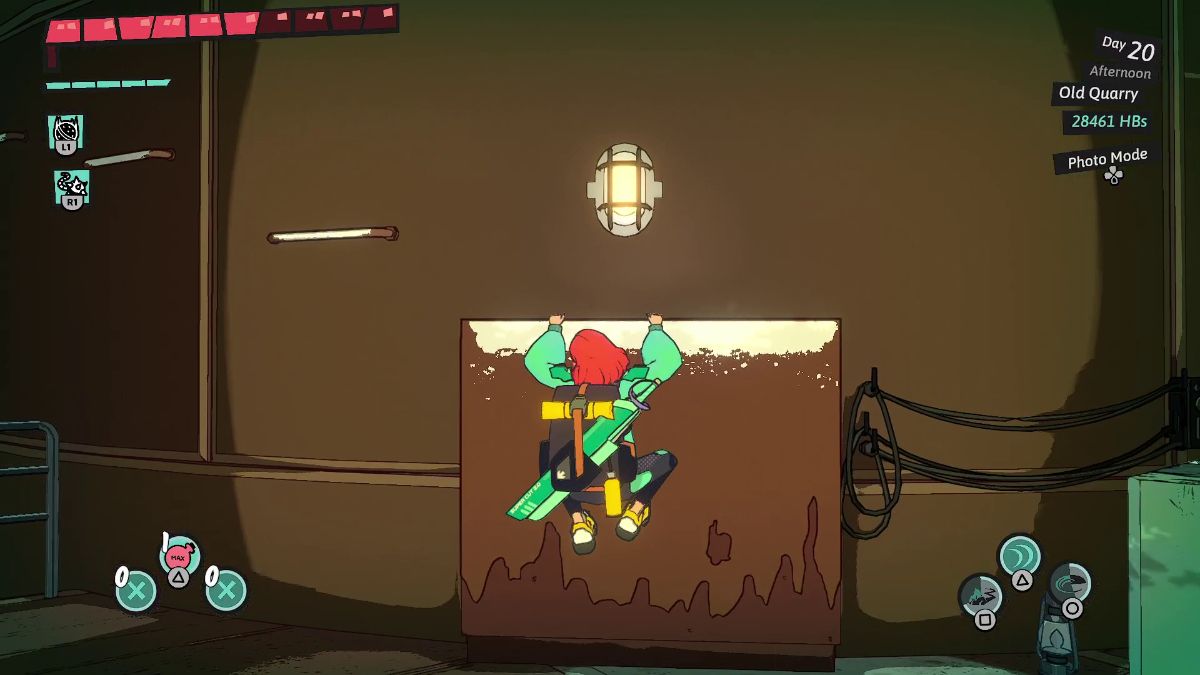
 | As you look at the jelly block below, pull out your Ball and Chain to pull it upward. Then, jump toward the now orange jelly block and climb the white ledge to progress through this dungeon. |
 | In this room, look for a tiny jelly block to pull. Prepare for battle! |
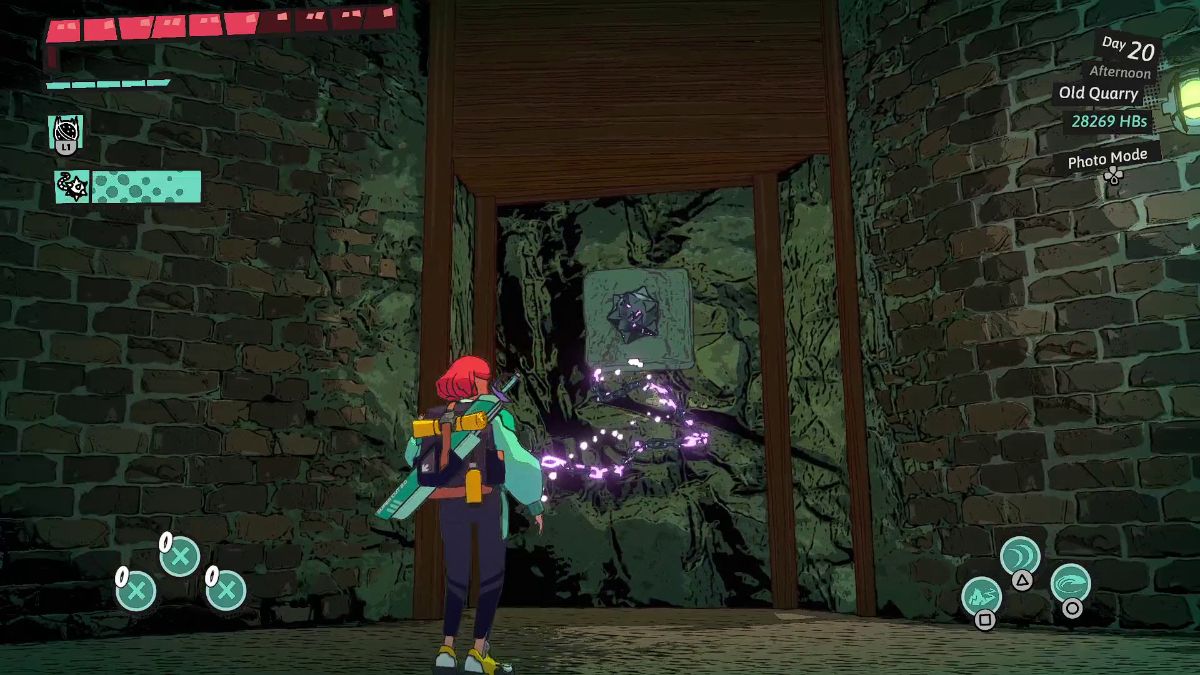
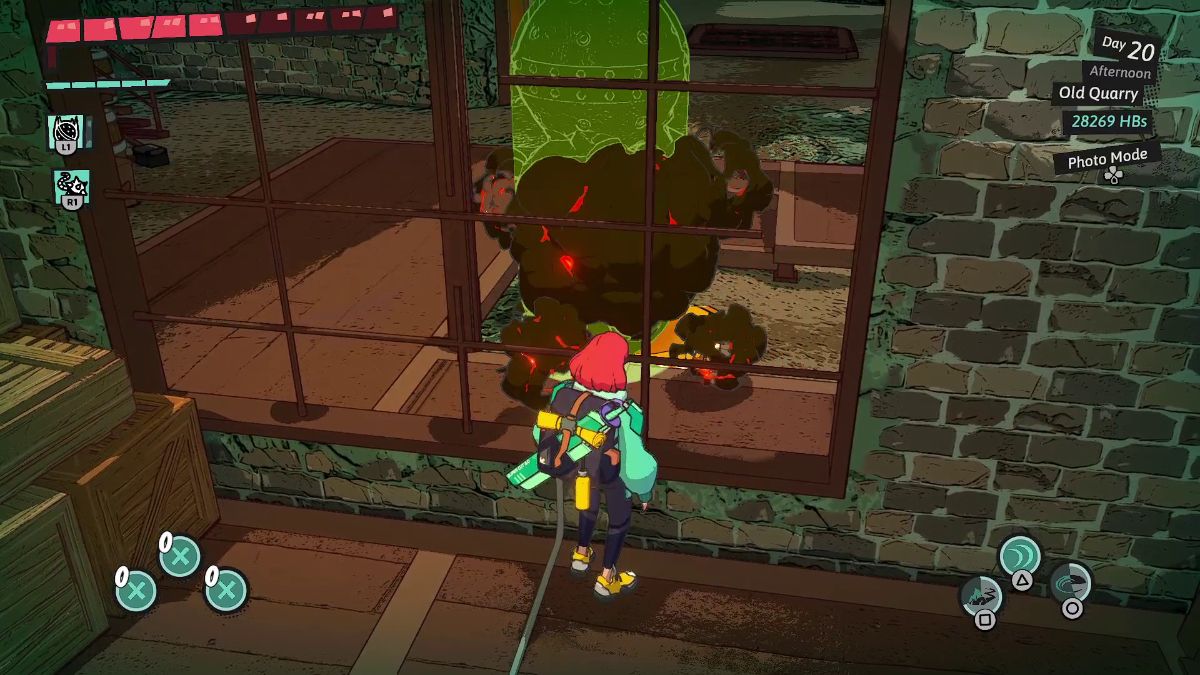 | Go through the tunnel to the yellow button’s left. Then, as you look to the yellow through a window, place a Wrecking Ball on top of it. Now, turn around and exit through the gate. |
 | In the next room, pull the jelly block toward you. |
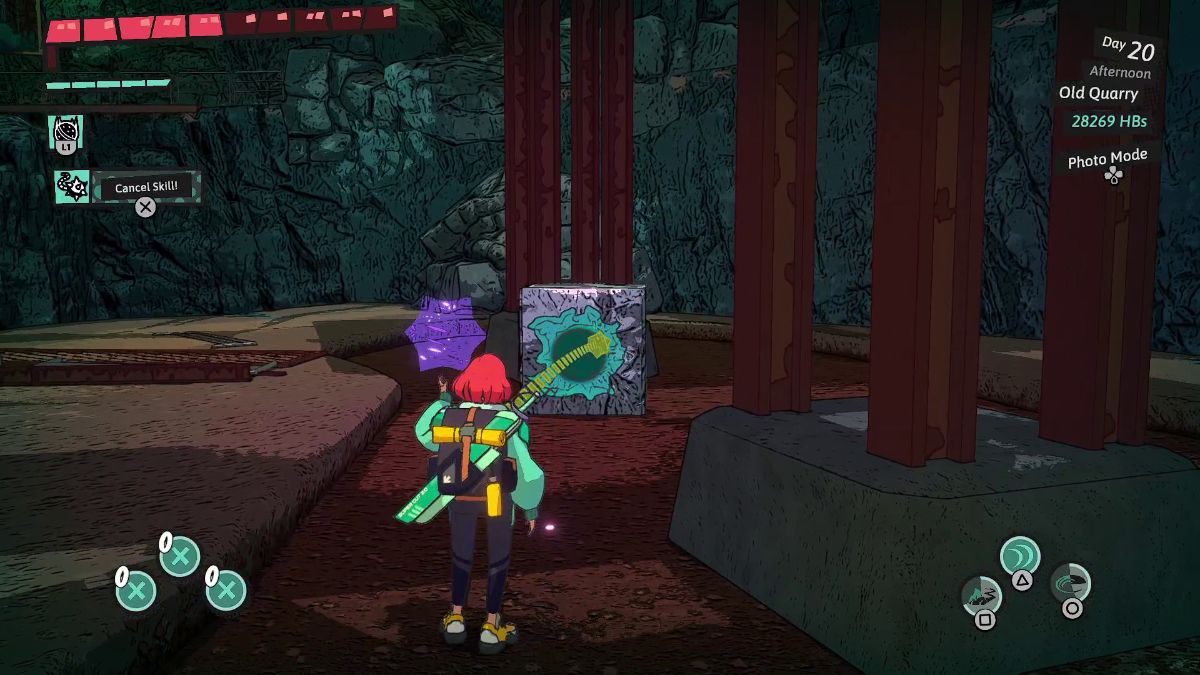 | Pull the block on your right toward the orange jelly block. |
 | Use the block and then the jelly block to reach the area past the abyss. |
 | Here, pull the jelly block on the center and climb the stairs. |
 | As you reach the top, look behind you and pull the jelly block below. |
 | Stand on the jelly square and look for a jelly block to pull behind you. |
 | As you hover over the first jelly block below, pull it to open the way to the right and get the Unique Coin for the Old Quarry. |
 | Place a Wrecking Ball on top of the jelly block in front of the platform with rails. Then, pull the jelly block on the left to propel the Wrecking Ball forward, and cause it to explode. |
 | Then, pull the jelly block on the other side to deploy a bridge. Use the lift to reach the area above. |
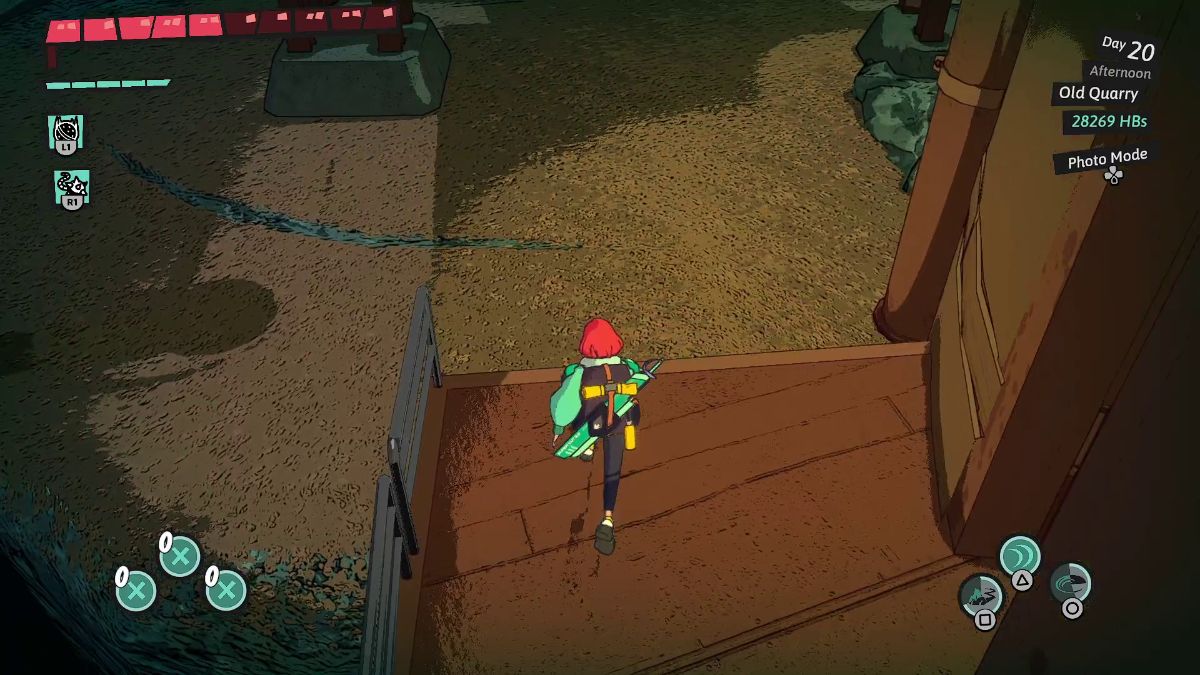
 | Here, go through the walking pad on the right and drop down. |
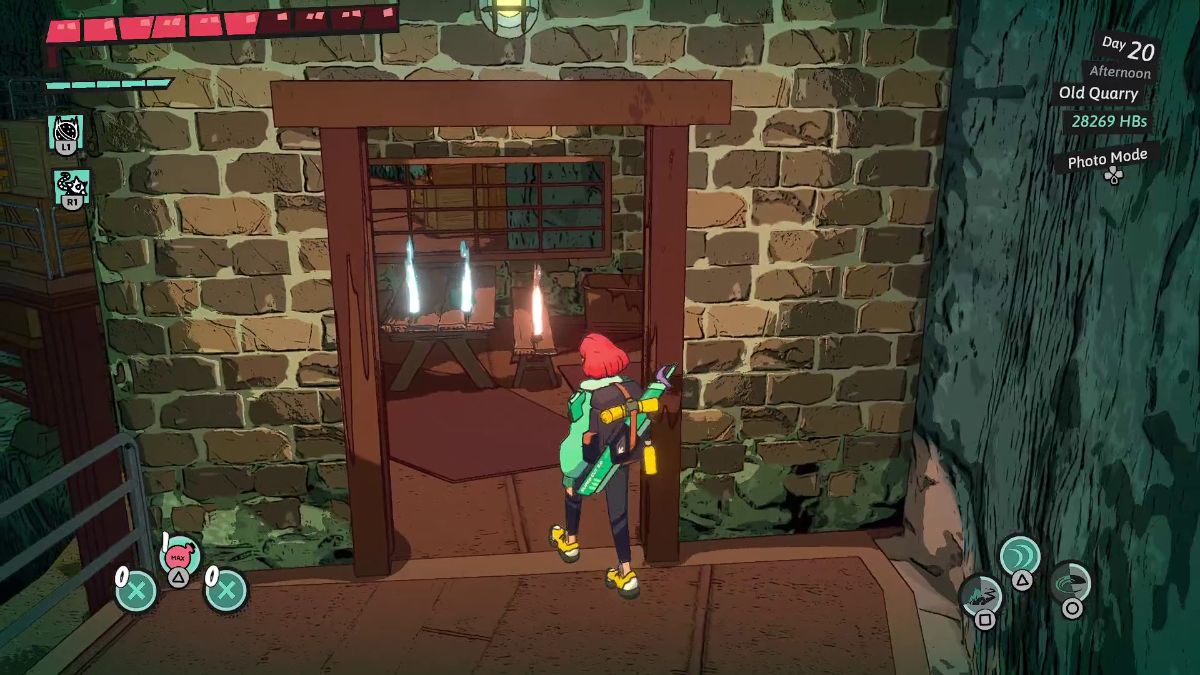 | Enter this tiny house and climb the ladder. |
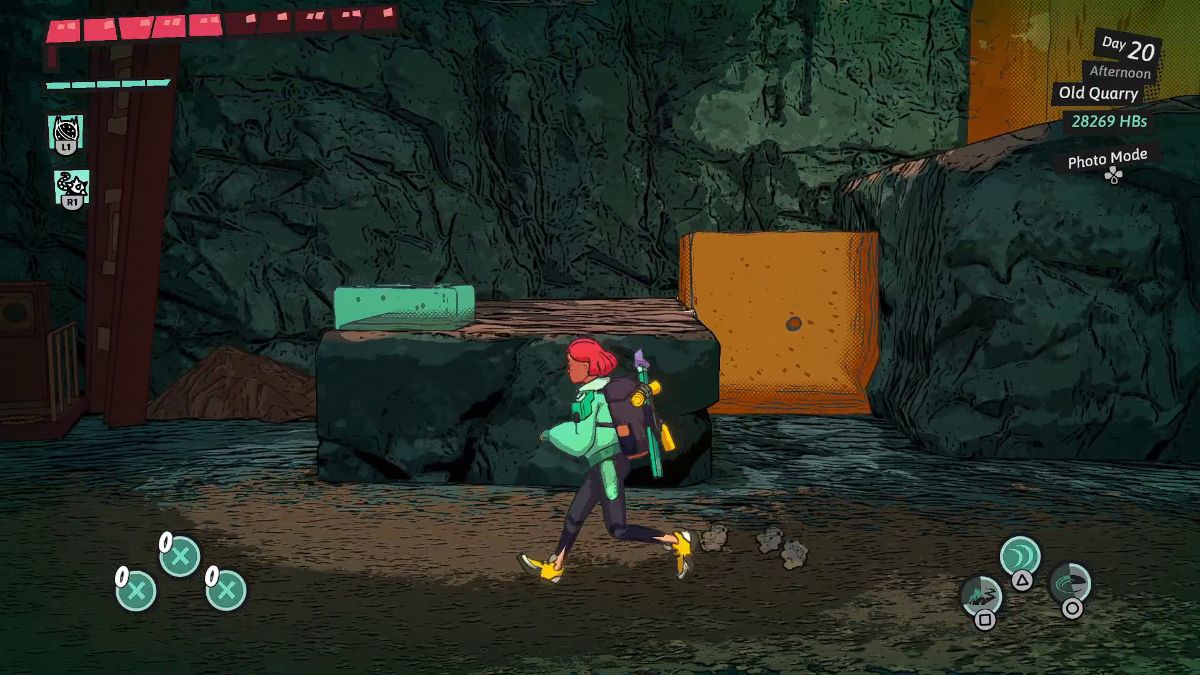
 | Wait for the iron block to stand before you. Then, push this red button to halt the walking pad. Now, pull it toward you to bring it down. |
 | Then, press the red button across the teal walking pad behind you to change its direction. |
 | Use this same teal walking pad to walk back to the starting point with your iron block. |
 | Climb these white ledges to reach the other side of this platform. |
 | In the next room, pull this jelly block and use the lift to reach the platform above you. |
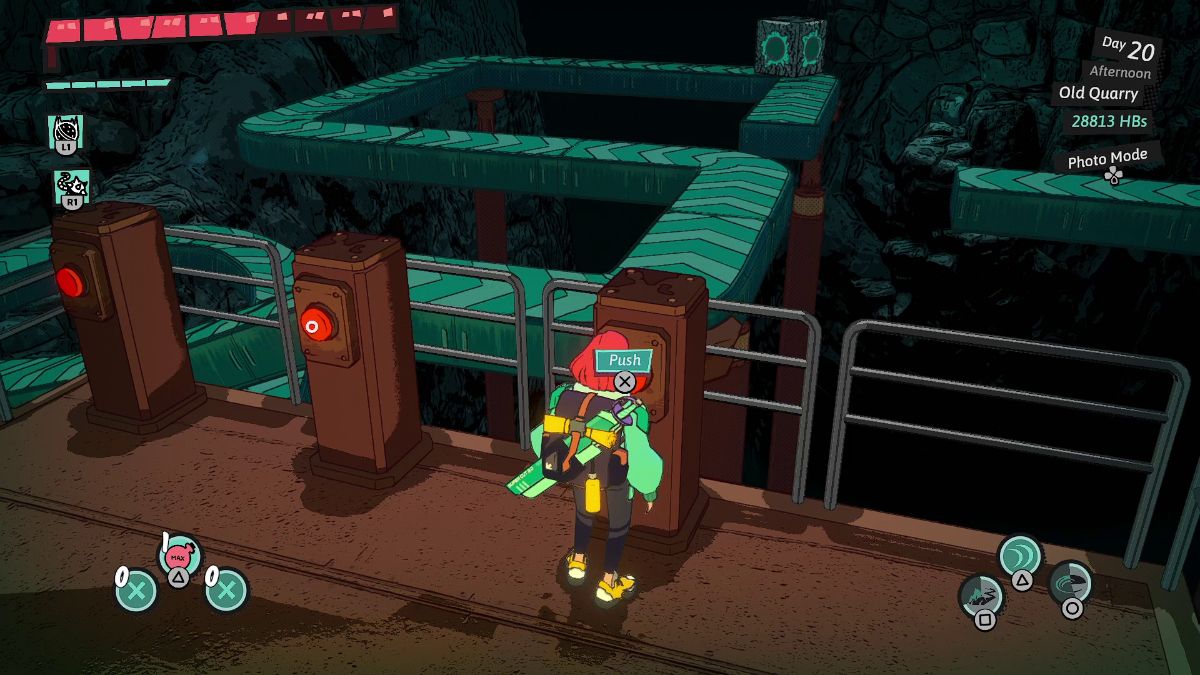
 | Push the red button on the left once. Push the middle button twice. Don’t touch the button on the right. Then, press the button on the very right to drop an iron block. |
 | Once the iron block has passed the walking pad on the right, press the button on the right twice. |
 | When the iron block arrives to the floor below, pull it toward the yellow button and climb it. |
 | Take one last lift. You’ve got one more battle to get through before you can get out of here. |

Reaching Shredding Facility
| Visual Reference | Instructions |
|---|---|
 | Progress through the main story until tentacles spawn all over Hinterberg. This lets you access new dungeons. |
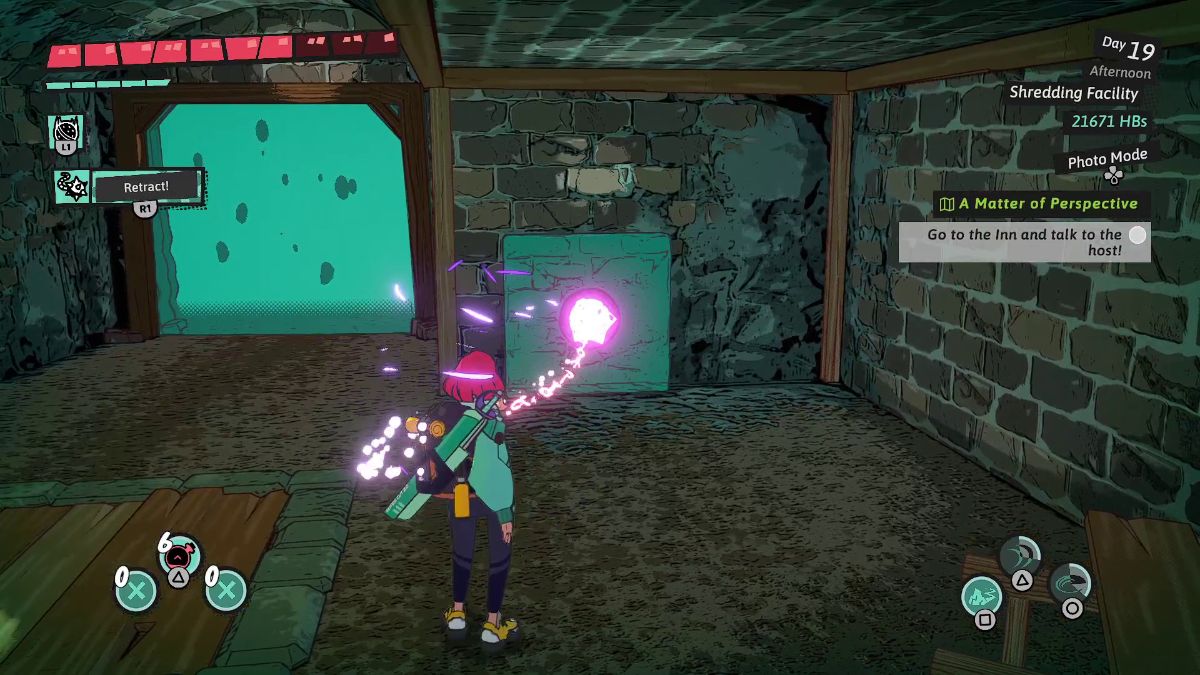
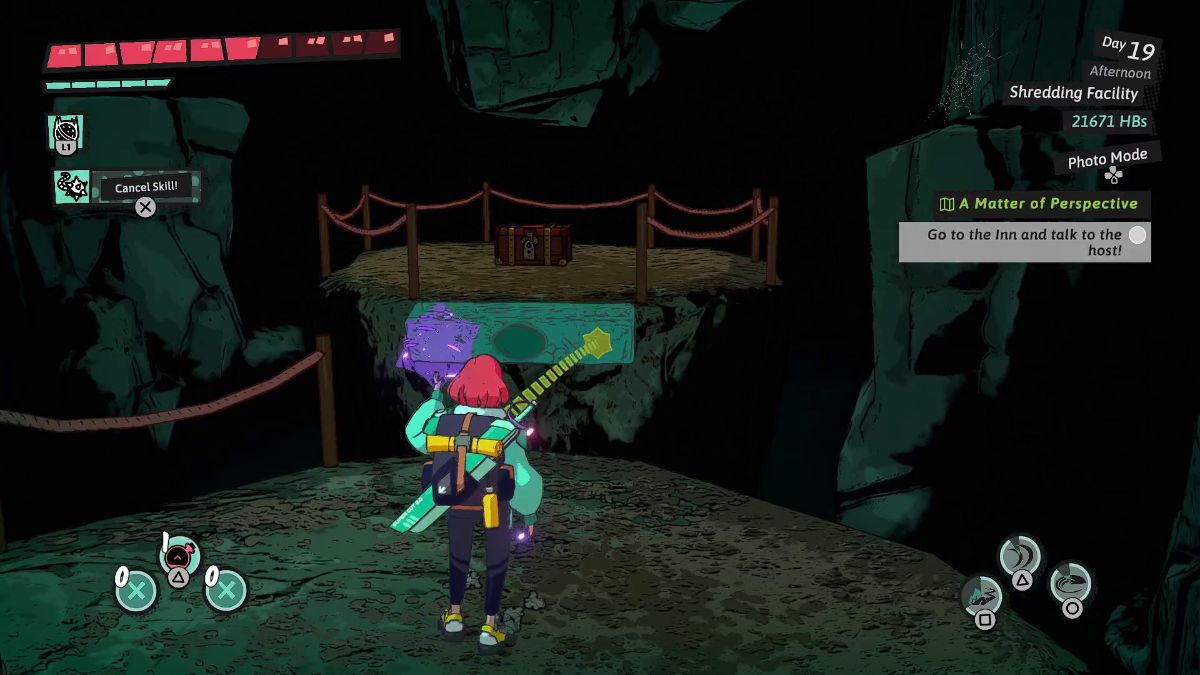
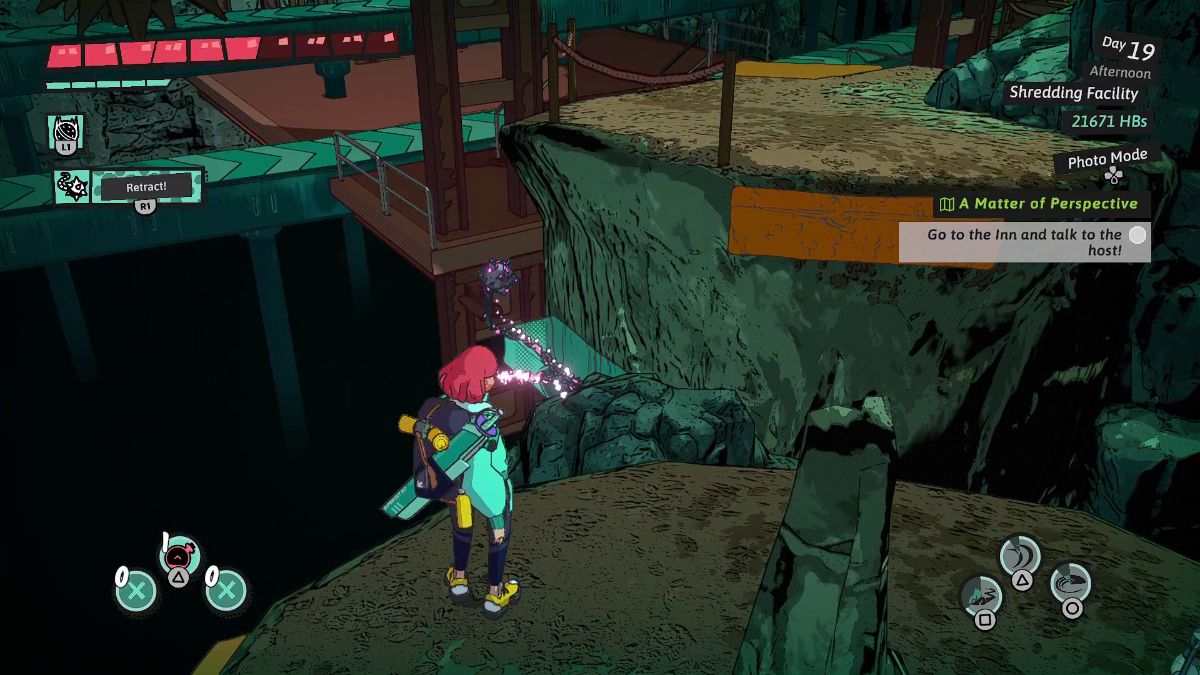
 | Use your Ball and Chain to pull one of the blocks near the ramp with the white ledge. Then, climb on it to reach the portal. |
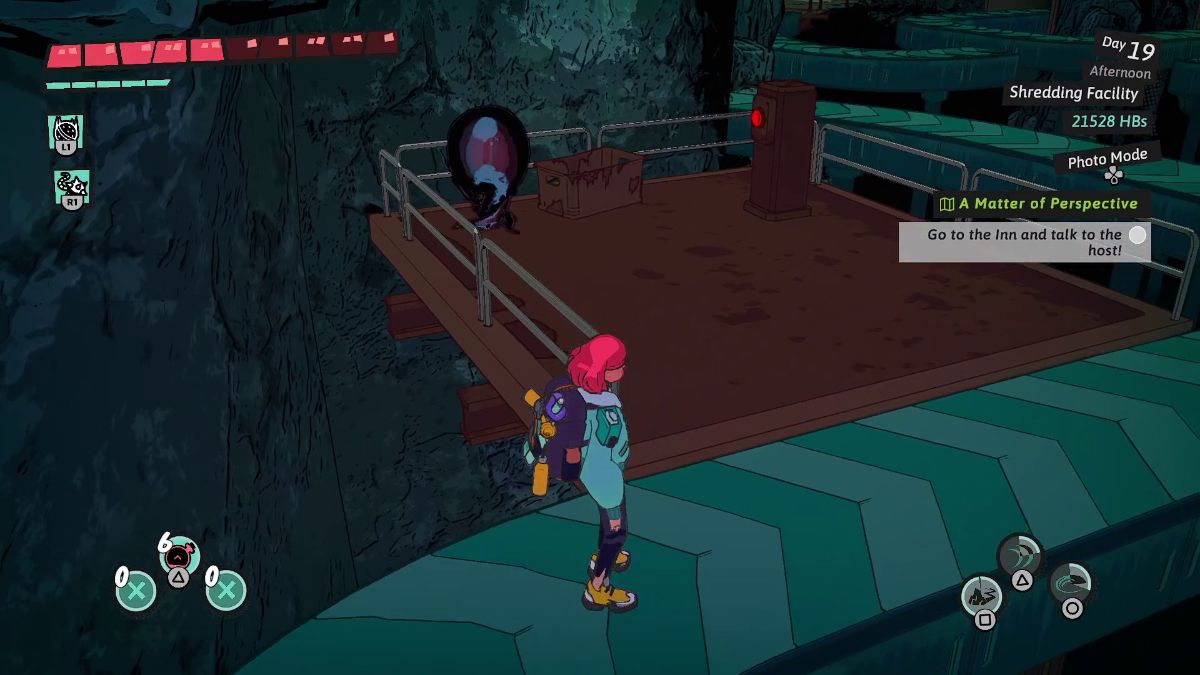
Clearing Shredding Facility
| Visual Reference | Instructions |
|---|---|
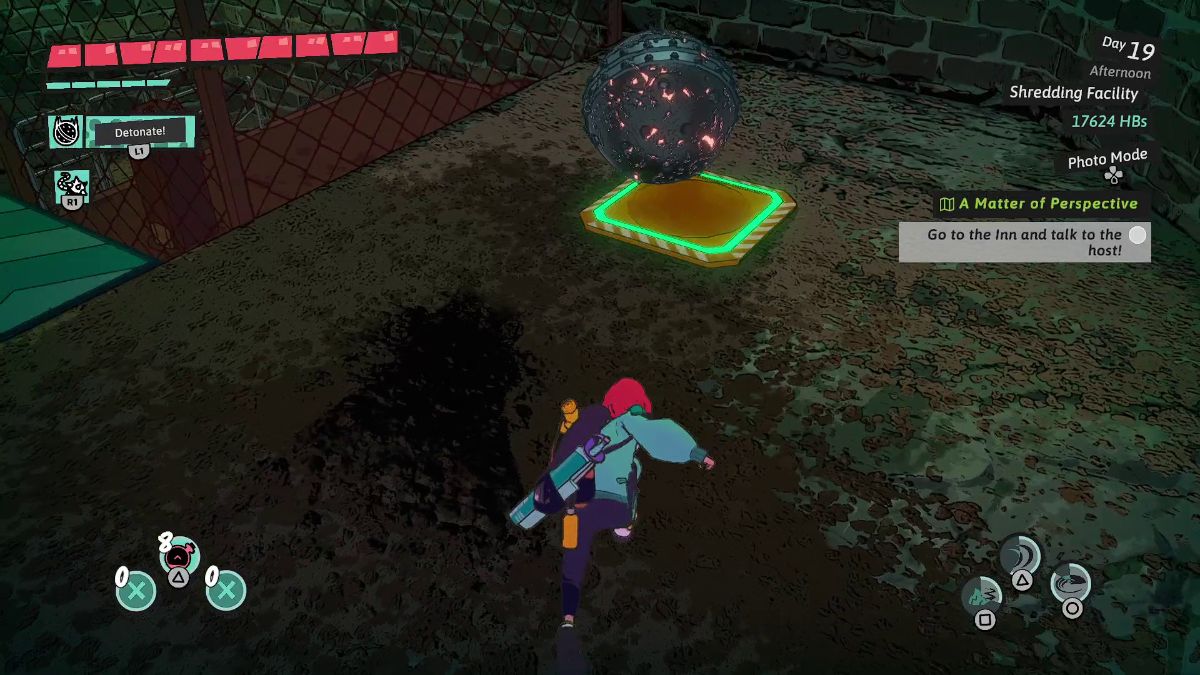
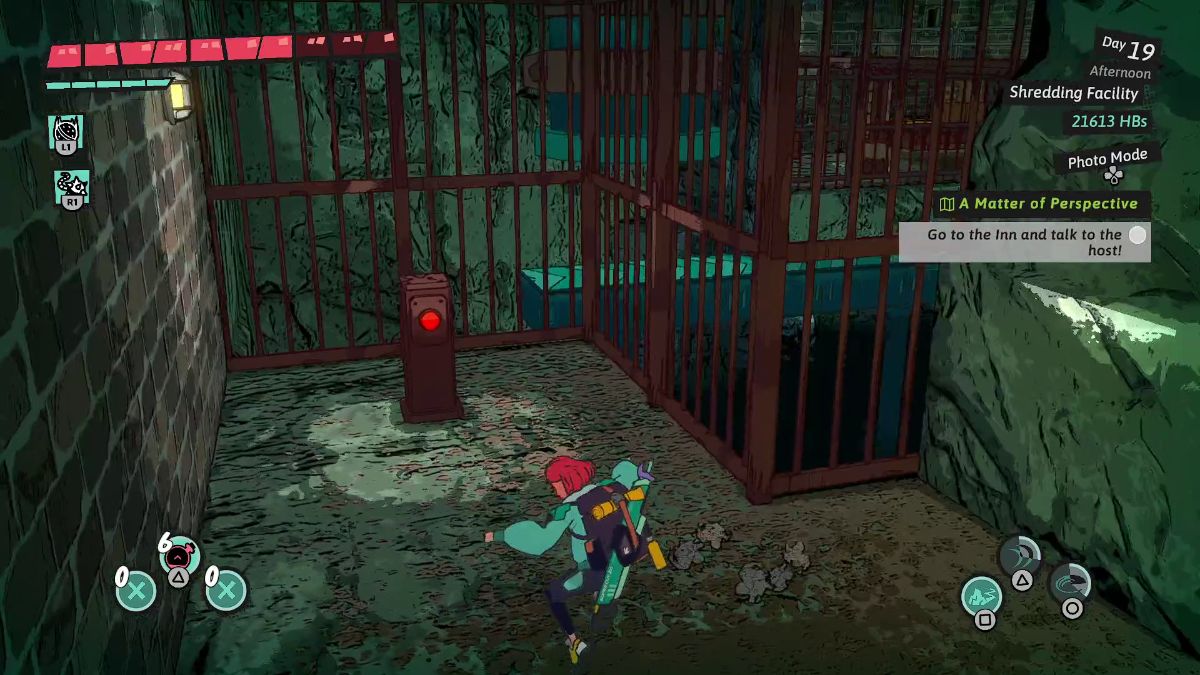
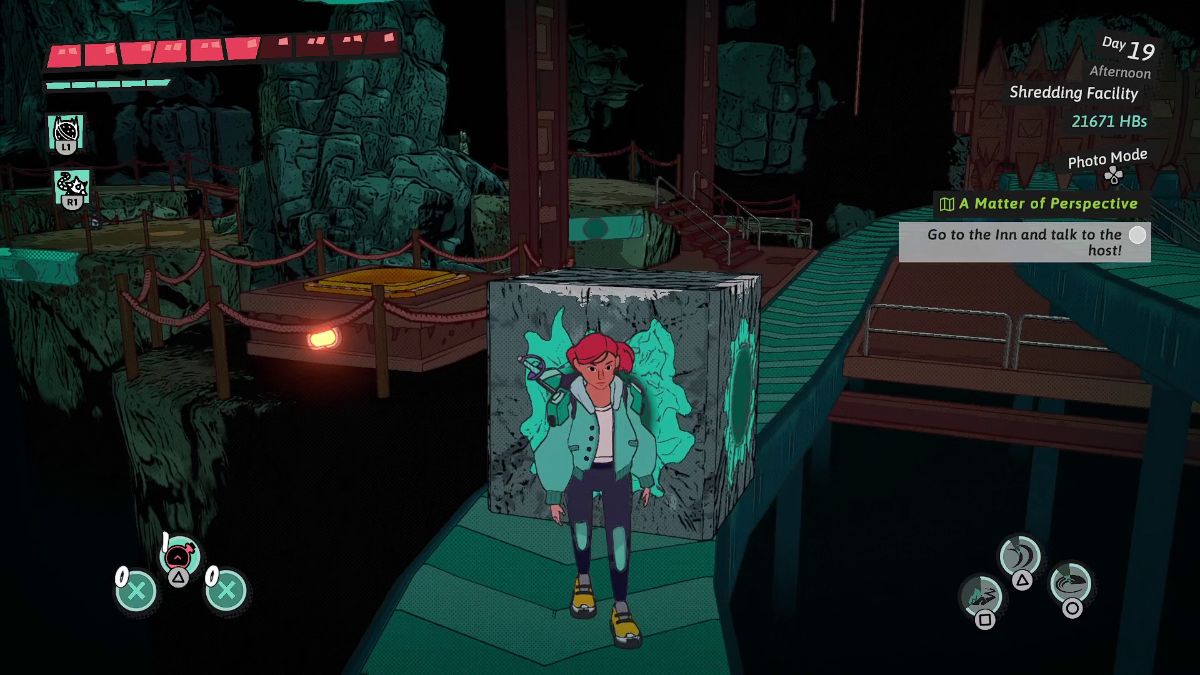
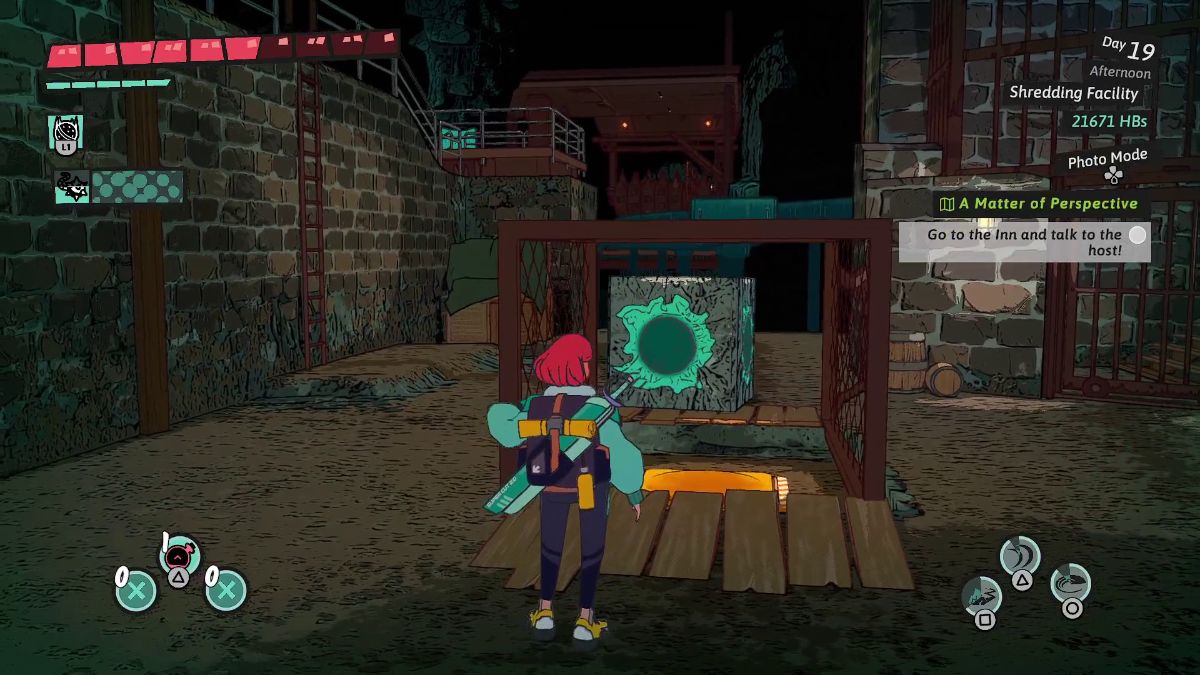
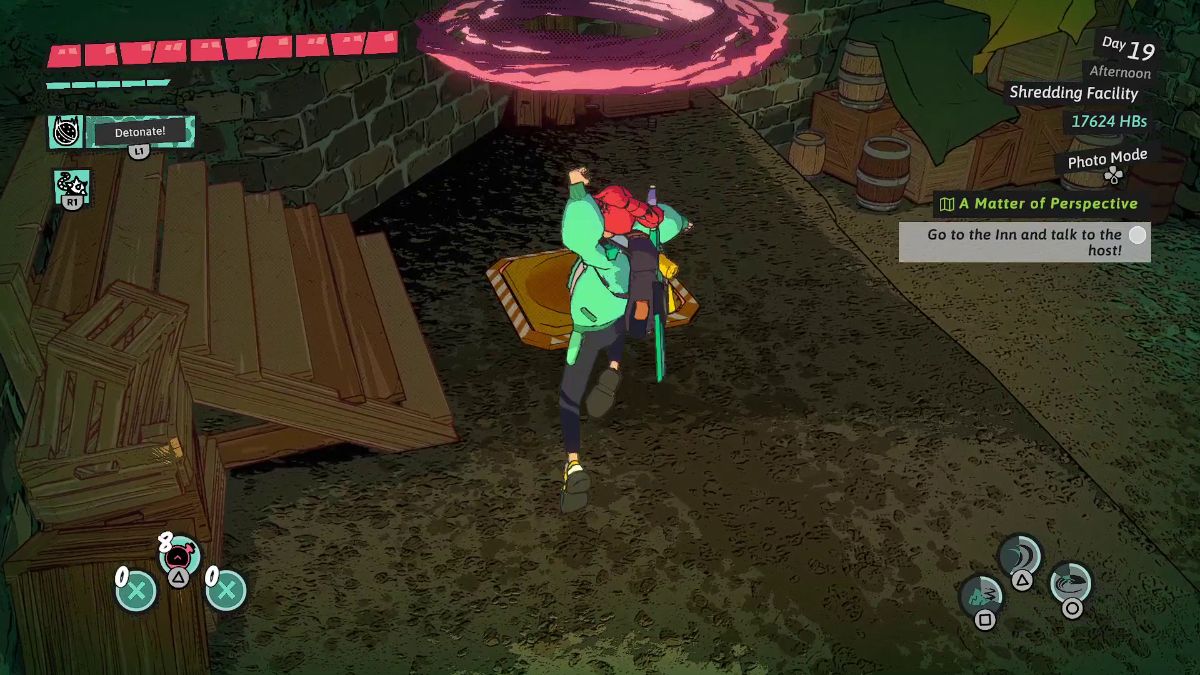 | Drop a Wrecking Ball on top of the yellow button to unlock the gate ahead. |
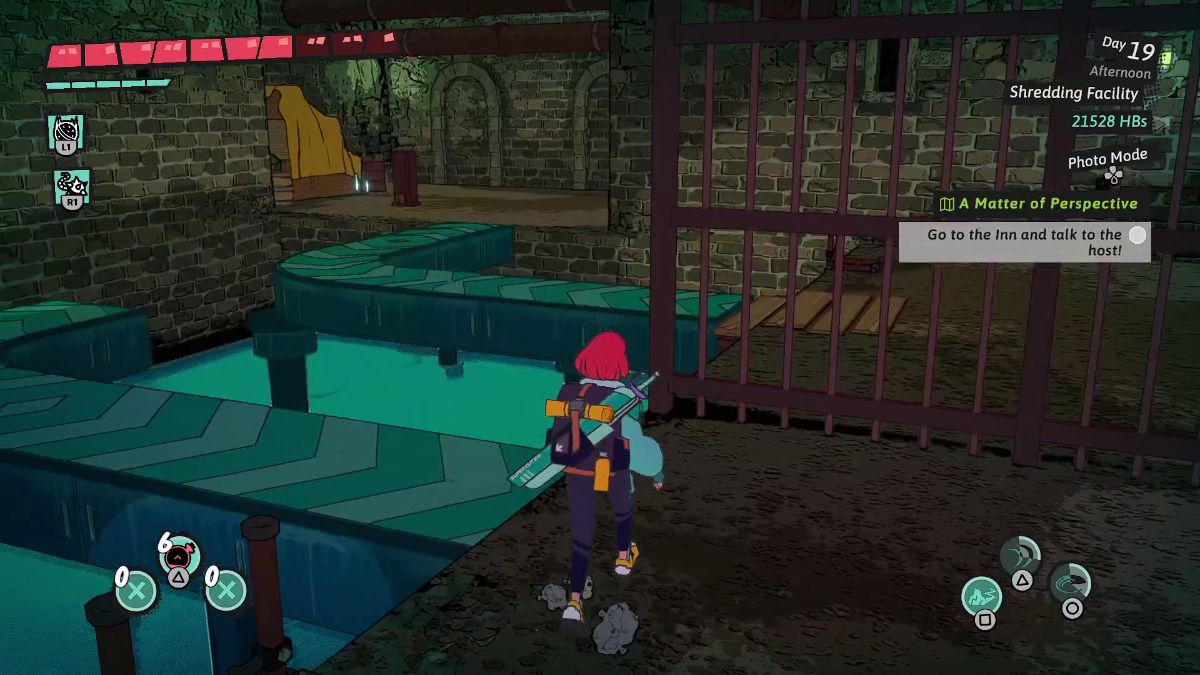
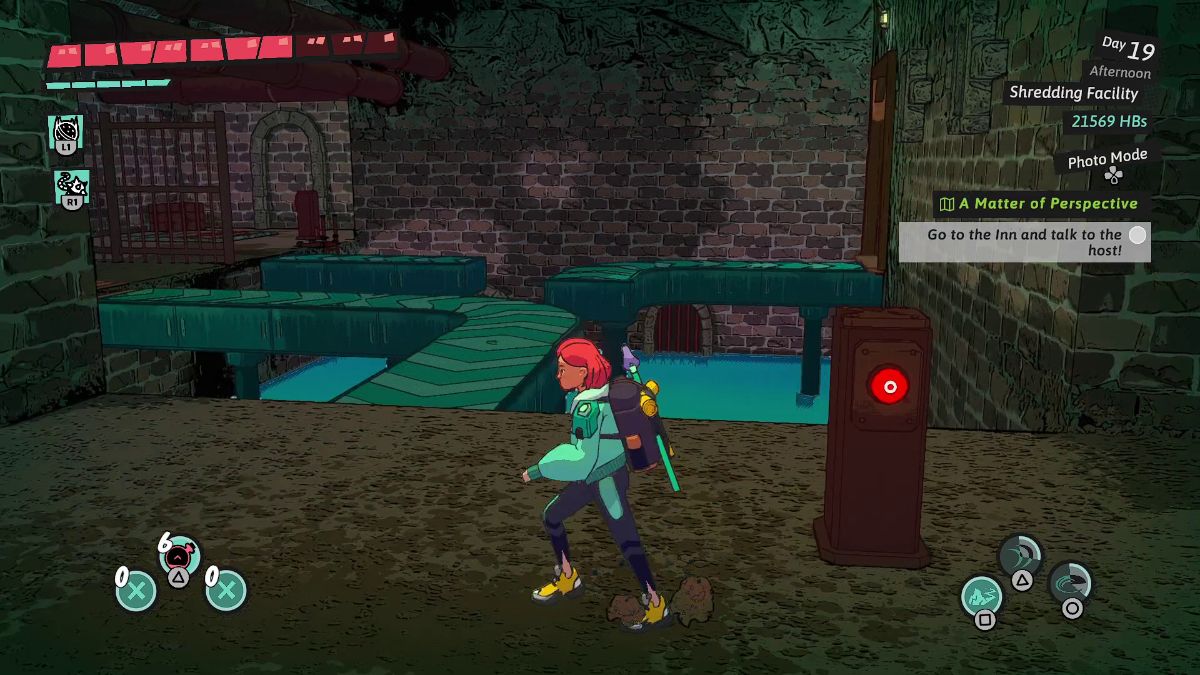
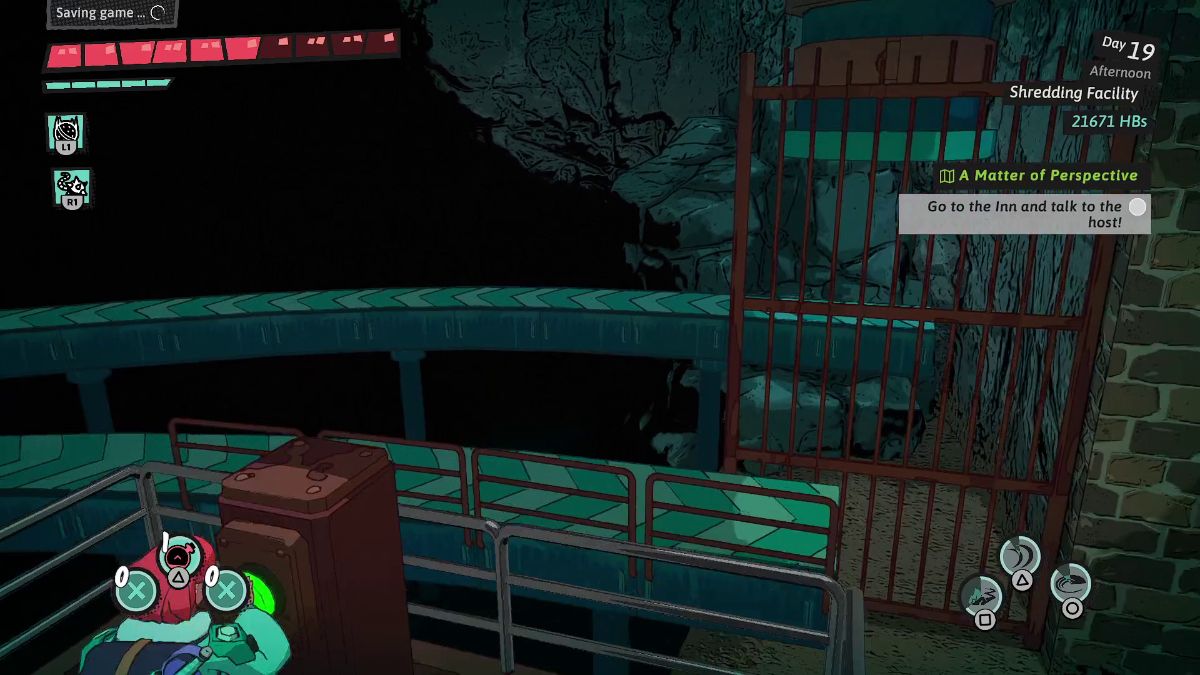
 | In the next room, drop down, climb the ladder, and push the red button. Then, climb back up in front of the teal walking pad. |
 | Drop a Wrecking Ball on the button to the walking pad’s right and make your way to the other side. |
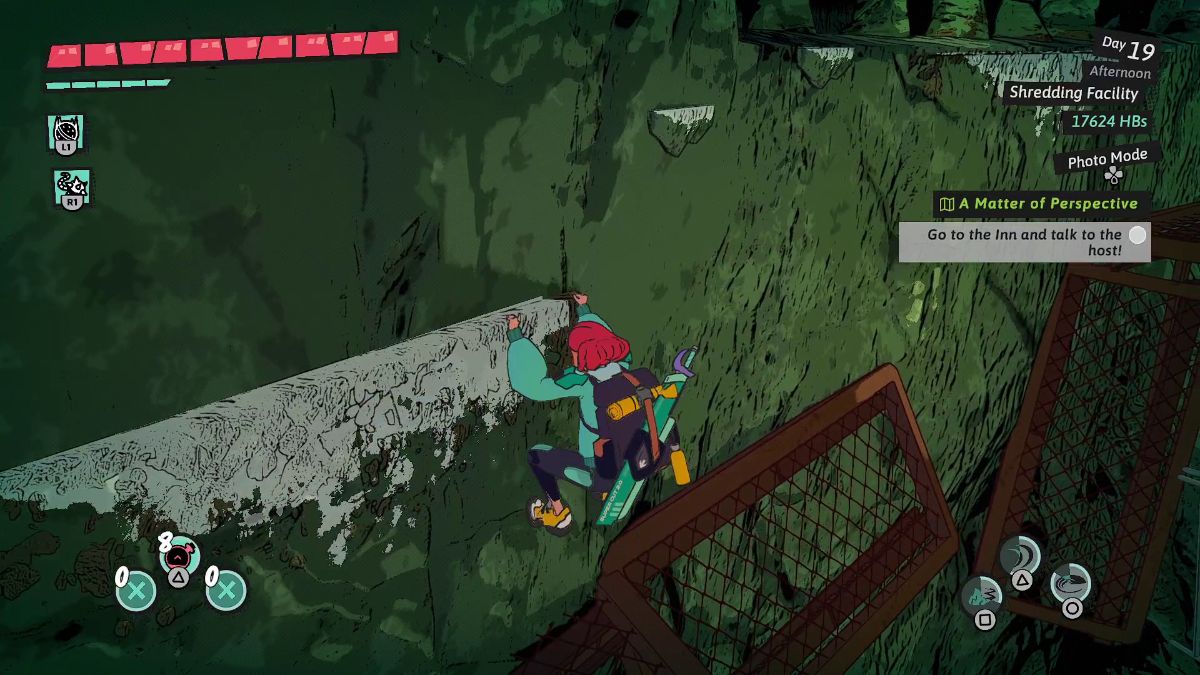 | Climb the white ledges to the left to reach the other side of this room. |
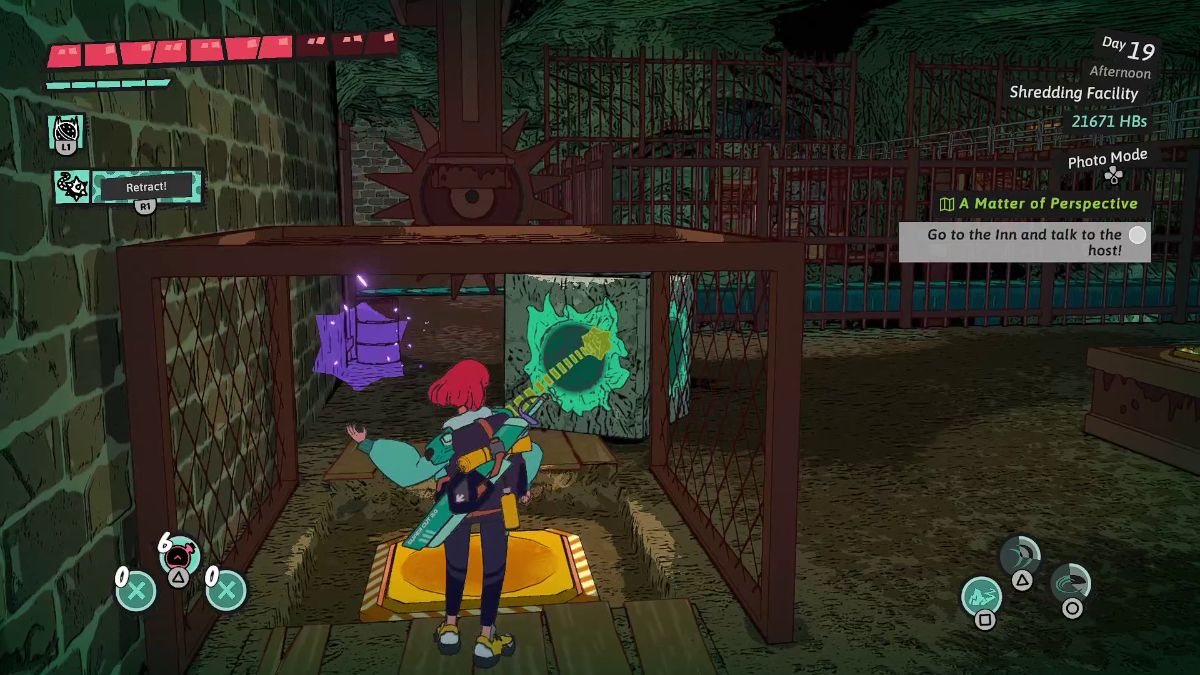
 | Stand on the podium and use your Ball and Chain to pull a block toward you. |
 | Then, pull the block toward the yellow button inside a cage. |
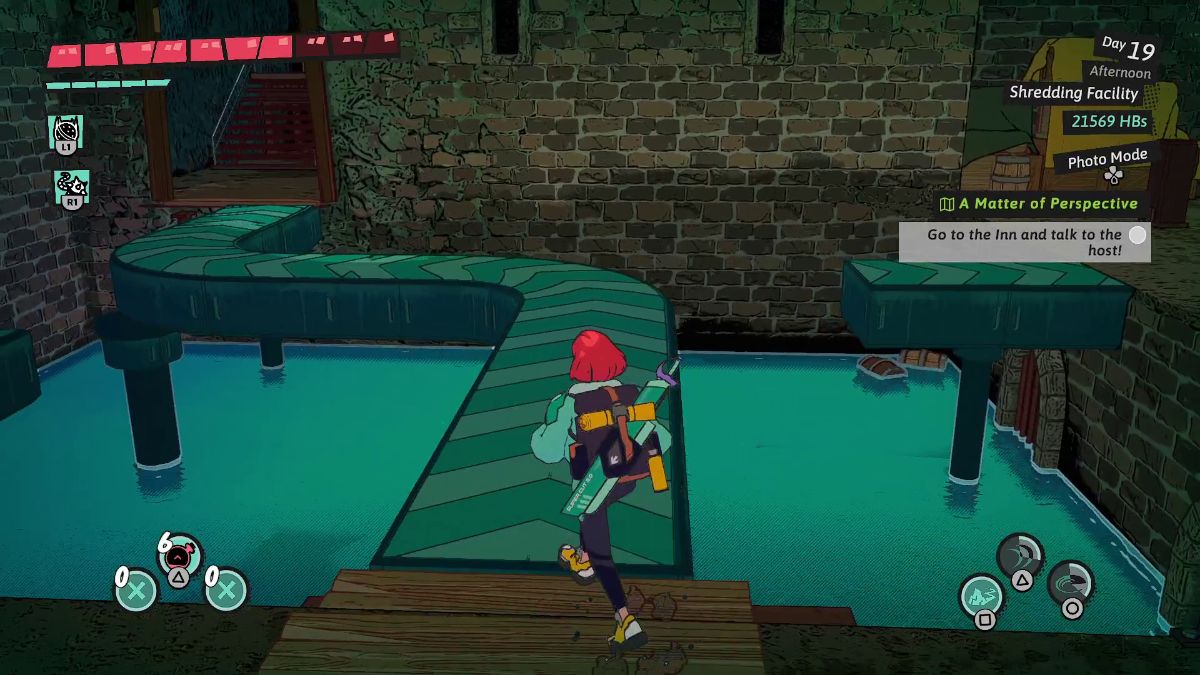
 | Step on the walking pad and push the red button to the left to rotate the unaligned path. Repeat this process with the button ahead. |
 | In the next room, step on the curved walking pad. On this side, push the button to drain the water below. Then, press it two more times to rotate the walking pad on the right. |
 | Head down the ladder and climb the ladder on the right. Then, step on the walking pad to reach the area on the far right. |
 | Here, press the red button three times until the walking pad on the upper right looks like in the picture. |
 | Go down the ladder and climb the ladder on the other side. Here, press the button once to connect the walking pads. |
 | Climb the ladder on the right and use the aligned walking pad to reach the room ahead. |
 | In this room, push the button to move the spinning spiky wheels in front of the walking pad. |
 | Climb up this ladder, cross the wooden bridge, and drop down to the right. |
 | Press this red button to drop a cube on the walking pad in front of you. Because there spinning spiky wheels are at the end of the walking pad, rush to the white ledges on the right and make your way back to the entrance. |
 | Press this red button again to move this device out of the way. With your Ball and Chain, pull the block out of harm’s way. |
 | Then, press the red button to block the path to the yellow buttons again. |
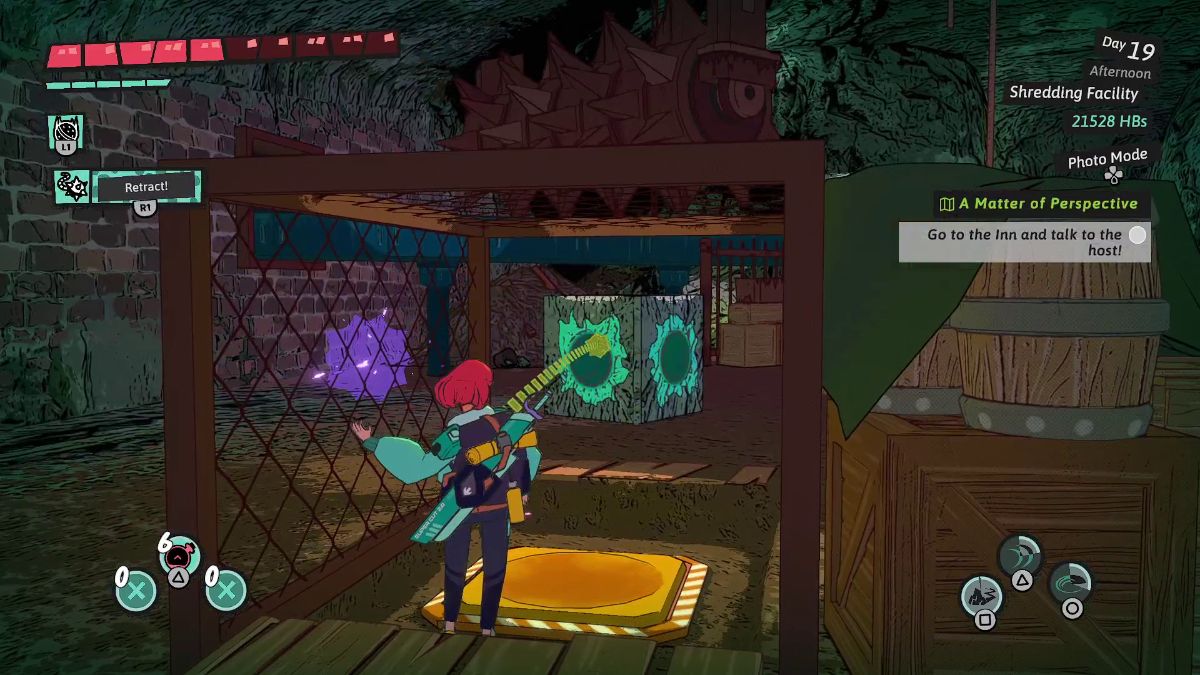
 | Pull the block until it’s on top of the caged yellow button. Then, drop a Wrecking Ball on top of the yellow button to the right. Now it’s time to go through the gates behind you. |
 | Pull this jelly block with your Ball and Chain. |
 | Here, push the red button to drop an iron block. |
 | Use your Ball and Chain to pull each jelly block until you reach this red treasure chest. |
 | Then, turn around. To get to the other side in this platform, look for a hidden jelly block on the side of the wall below. |
 | Pull a block toward the walking back, then take it all the way to the end of it. |
 | Then, pull it so it reaches the yellow button in the cage. Head out through the door to the right. |
Dungeons of Hinterberg: Hinterwald Dungeons and Skill Shrine

Hinterwald Skill Shrine
| Visual Reference | Instructions |
|---|---|
 | Climb the wooden stairs and, after speaking with Alex, head to the right. Here, defeat the group of enemies. |
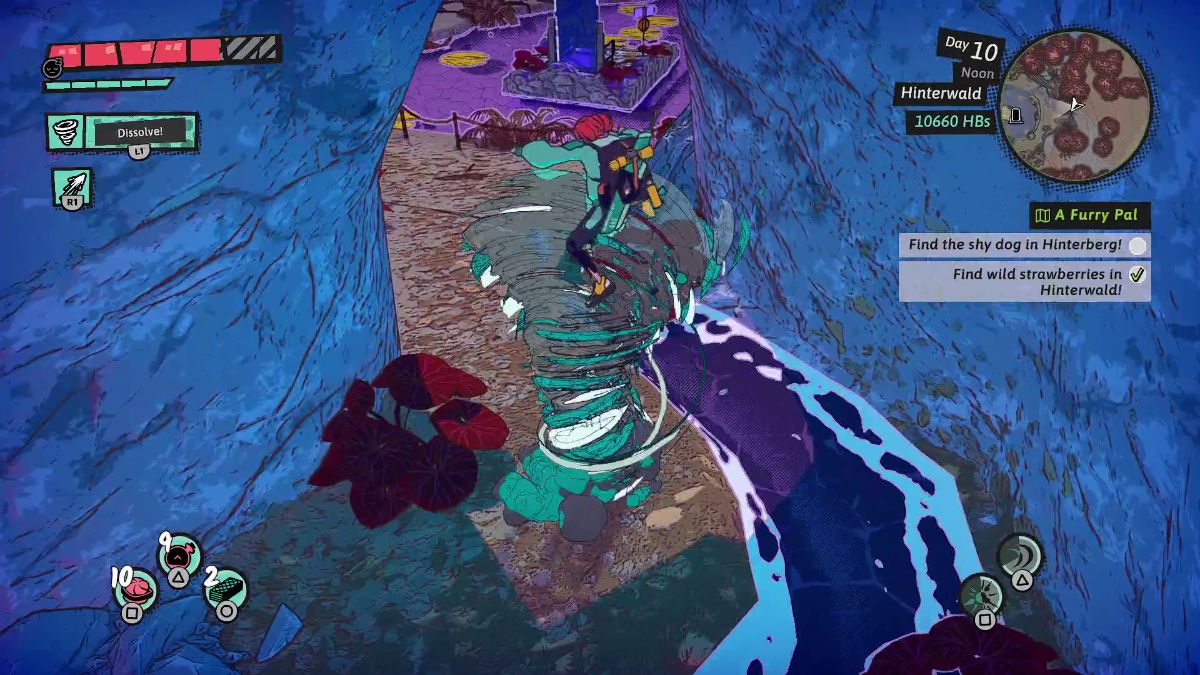
 | Keep making your way upward until you find the purple Skill Shrine. In Hinterberg, you get the following skills: Main: Whirlwind Ranged: Wind Projectile |
 | You can shoot projectiles at black slime to recover stamina. |
 | Spawn a Whirlwind and pick up Luisa to hover over thorny patches. |
Hinterwald Dungeons
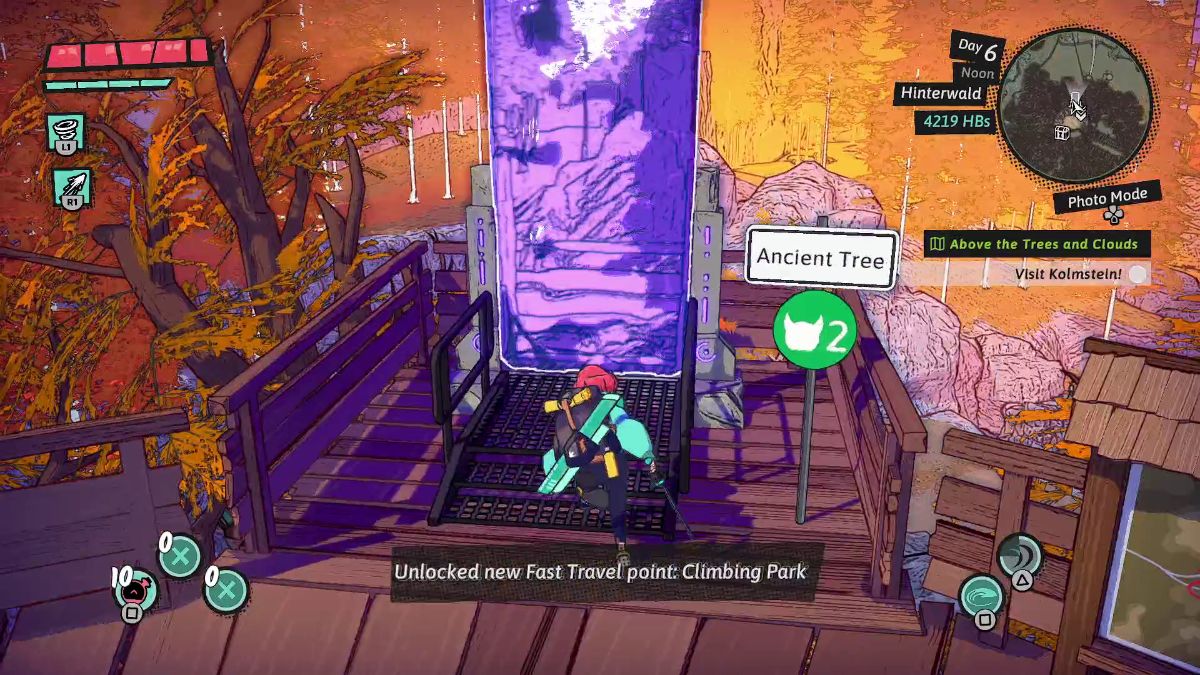
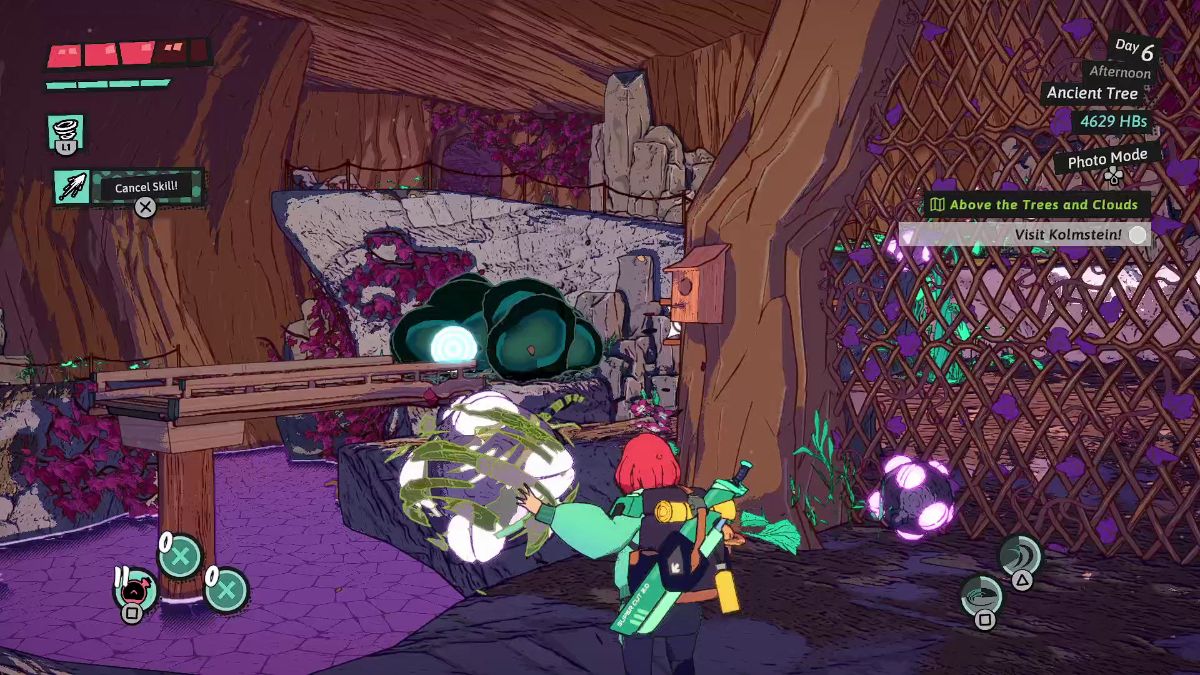
Ancient Tree
Waterlily River
Overgrown Cave
Hinterwald West
Mushroom Isles

Windsbraut’s Treetop
Everchanging Grove
Bizarre Towers
Reaching Ancient Tree
| Visual Reference | Instructions |
|---|---|
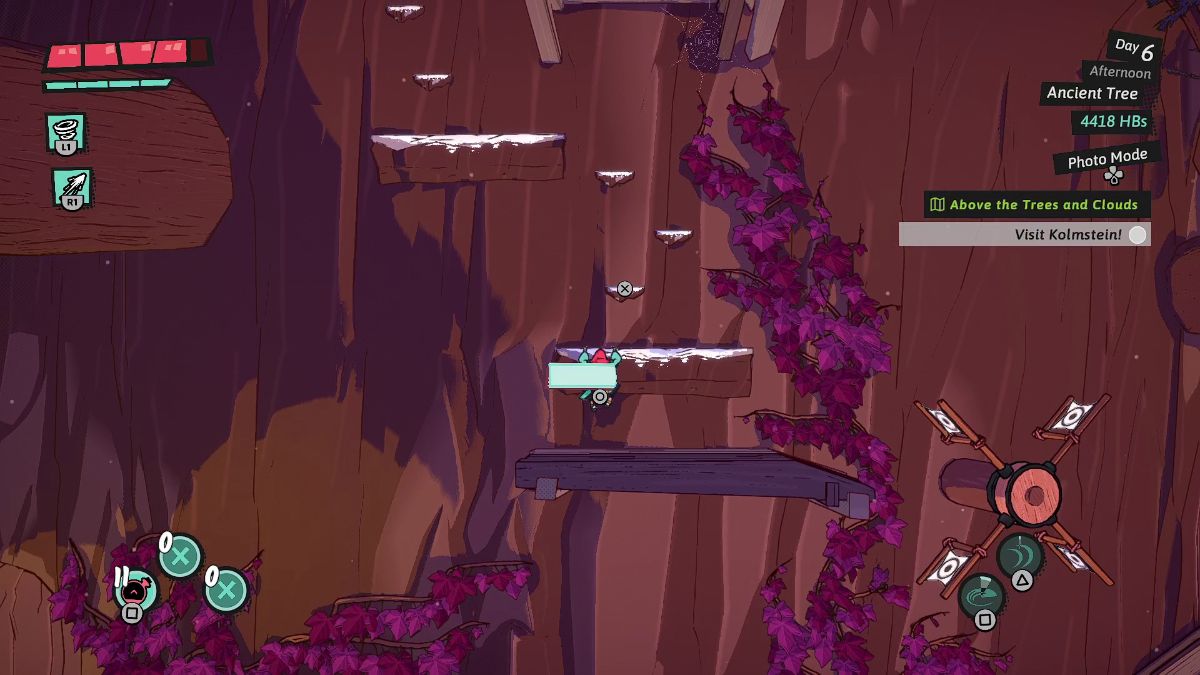
 | Shoot a Wind Projectile at the windmill device on the left to deploy a wooden bridge. |
 | Spawn a Whirlwind to go over the thorny patch. Keep going until you reach the treasure chest above the stairs on the left. |
 | Whirlwind back to the right side. Here, use Whirlwind to stand above the net. Open the chest on this higher platform and drop down. |
 | Follow the logs to the left to find a red chest here. Then, head back to the first long you climbed. |
 | Continue up the ladder to reach the top of the Ancient Tree. Ride the wires with your sword. |
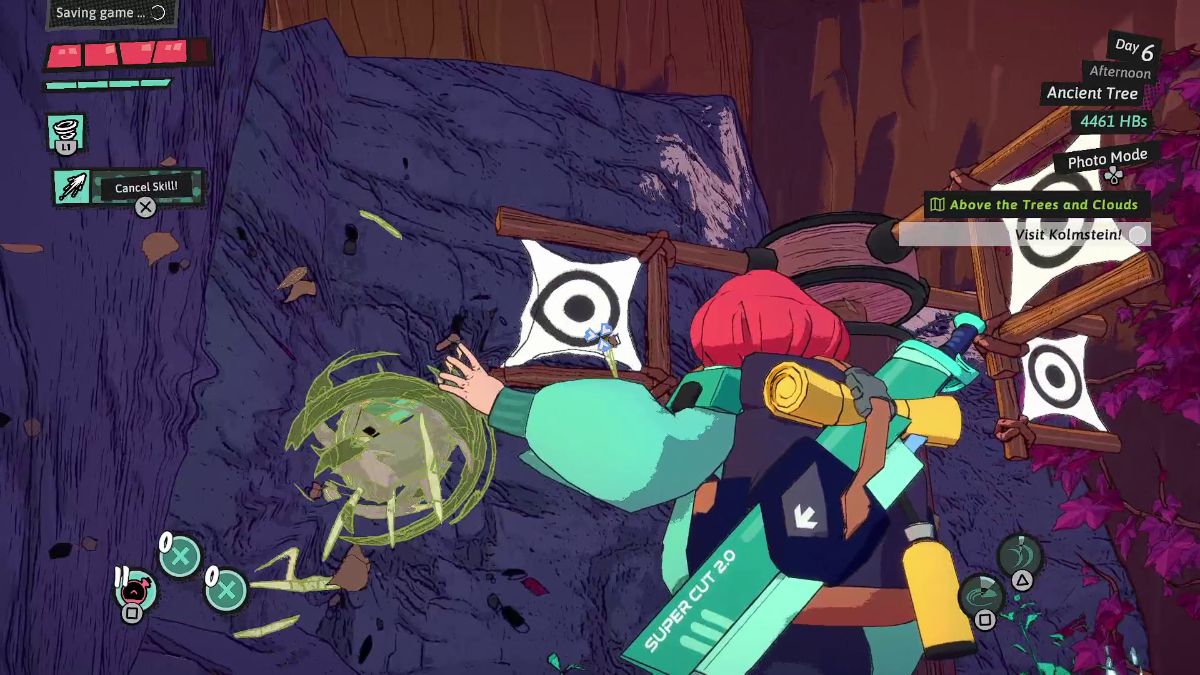
 | To reach the other side here, you must shoot a Wind Projectile at the windmill on the right to rotate the bridge. |
 | At the top, shoot another Wind Projectile to the windmill to rotate the bridge on your right. |
 | After climbing a set of stairs, head inside the Ancient Tree dungeon through the portal. |
Clearing Ancient Tree
| Visual Reference | Instructions |
|---|---|
 | Follow the path up the stairs. When the view becomes 2D, go down the ramp to find a chest with the Shockwave on Slay charm. Then, head back up and climb the ladder. |
 | To solve this puzzle in the Ancient Tree dungeon in Dungeons of Hinterberg, hit the windmill to the right once. This rotates the bridge in front of you. |
 | Then, shoot the windmill device on the far left to rotate the stair platform on the back. Grab the Early Battle Physical Attack Up charm at the back. |
 | Now that you’re on the top floor, hit the windmill on the left twice to rotate the platform in front of you. |
 | Stand on the stairs and look behind you to hit the windmill on the far left once. |
 | Stand on the platform in front of you and hit the windmill on the left to reach the new area. |
 | Shoot the windmill on the upper right to lower the lift. Go up the ladder ahead to find a treasure chest. |
 | Stand on the lift and hit the windmill again. Then, climb the white ledges up the mountain. |
 | Jump to the platform in front of the one-eyed black slime. Hold your Wind Projectile skill near the pink flower to your left. Then, shoot it at the cyan eye to unblock the way. |
 | Repeat this process with the one-eyed black slime on the upper left. Keep heading forward. |
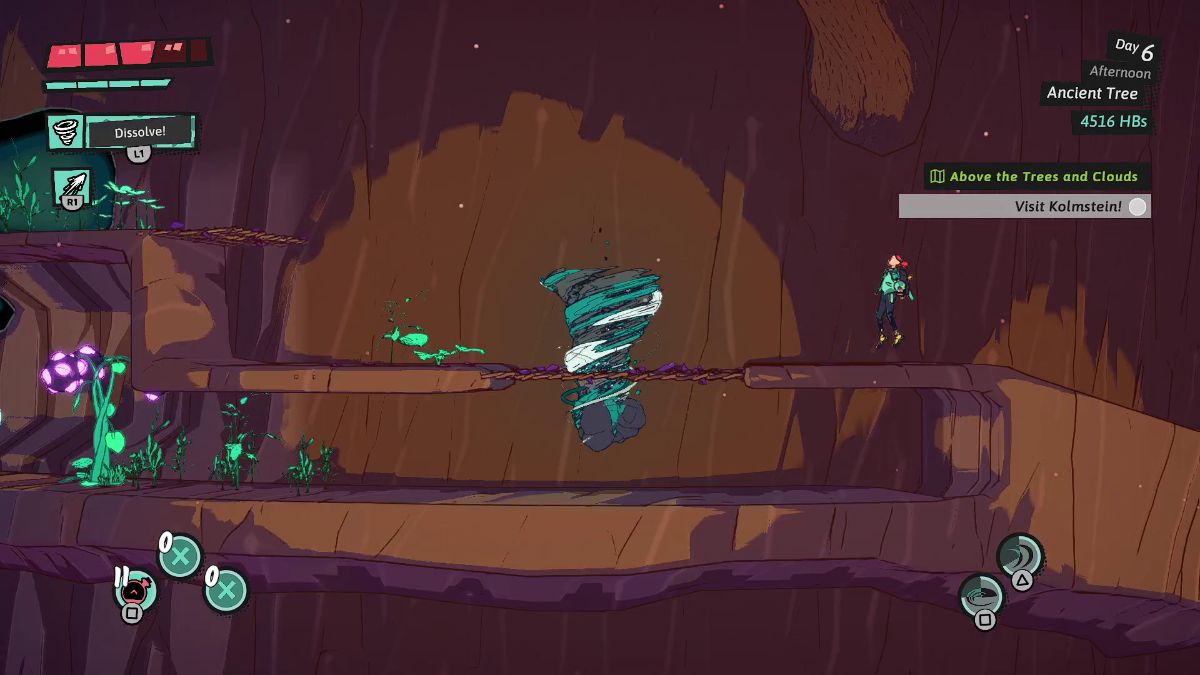
 | In the next room, shoot the windmill to the right to rotate the bridge. |
 | Stand on the bridge and shoot the windmill again. |
 | Cross to the other bridge and hit the windmill again. |
 | Rush to the pink bomb flower and shoot them at the black slime’s cyan eye on the right and on the left. Grab the treasure on the left. |
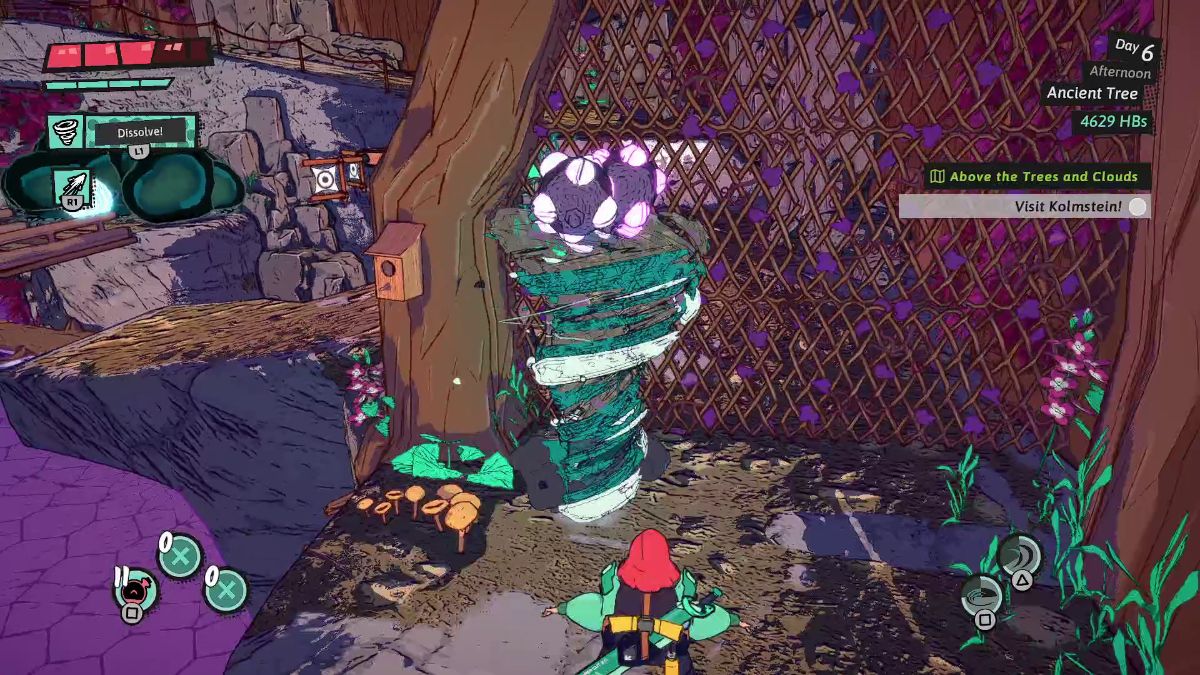
 | On the right, you find a third one-eyed black slime. Hit the windmill here to raise the platform with the slime. |
 | Be careful not to fall miserably into the toxic pool behind you like I did, and head back to the pink flower. Aim and shoot at the remaining cyan eye. |
 | Hit the windmill to lower the slime-free lift. Then, as you stand on it, hit the windmill again. |
 | Save at the Waystone and head to the next room. Here, climb the white ledges to reach the pink flower. Aim and shoot at the slime’s cyan eye. |
 | Whirlwind to the other side of the patchy thorns. Use the Whirlwind to stand on top of the nets and keep moving forward. |
 | Climb the white ledges and defeat the enemies. Here, throw a Whirlwind at the pink flowers and move them toward the cyan eye behind you. Do not pick Luisa up with the Whirlwind. |
 | Drop a Whirlwind down the net and move it to the left to grab the pink flowers. Wait for them to explode next to the cyan eye. Keep moving to the left. |
 | In the next room, throw a Windmill through the net to the right and pick up the pink flowers. |
 | Have Luisa shoot the flowers at the cyan eye on the far left. |
 | Shoot the windmill to rotate the bridge and reach the platform ahead. Save at the Waystone ahead. |
 | Defeat the next wave of enemies and zip to the other side. |
 | Deal with one last encounter before stamping your book and getting out of here. |

Reaching Waterlily River
| Visual Reference | Instructions |
|---|---|
 | First, follow the road on the right side to reach a treasure chest inside the cave. |
 | Use the Whirlwind to take Luisa out of the cave through the same right-side road. |
 | Here, use Whirwind to use leaves as support and reach the portal ahead. |
Clearing Waterlily River
| Visual Reference | Instructions |
|---|---|
 | Grab the pink flowers and throw them at the green slime holding the lodge in front of it. |
 | Whirlwind your way past the thorny patch and climb the ladder on the other side. |
 | In this area, continue to use Whirlwind to get over the thorny patches. Don’t forget to grab the Physical Attack Multiplier Charm inside a chest to the right. |
 | Here, shoot a pink flower at the log on the right. |
 | On the other side, shoot a Wind Projectile at the heart-shaped target. Then, grab the pink flower, and shoot it at the log. |
 | Here, just shoot a Wind Projectile at the heart-shaped target and gravity will do the rest. |
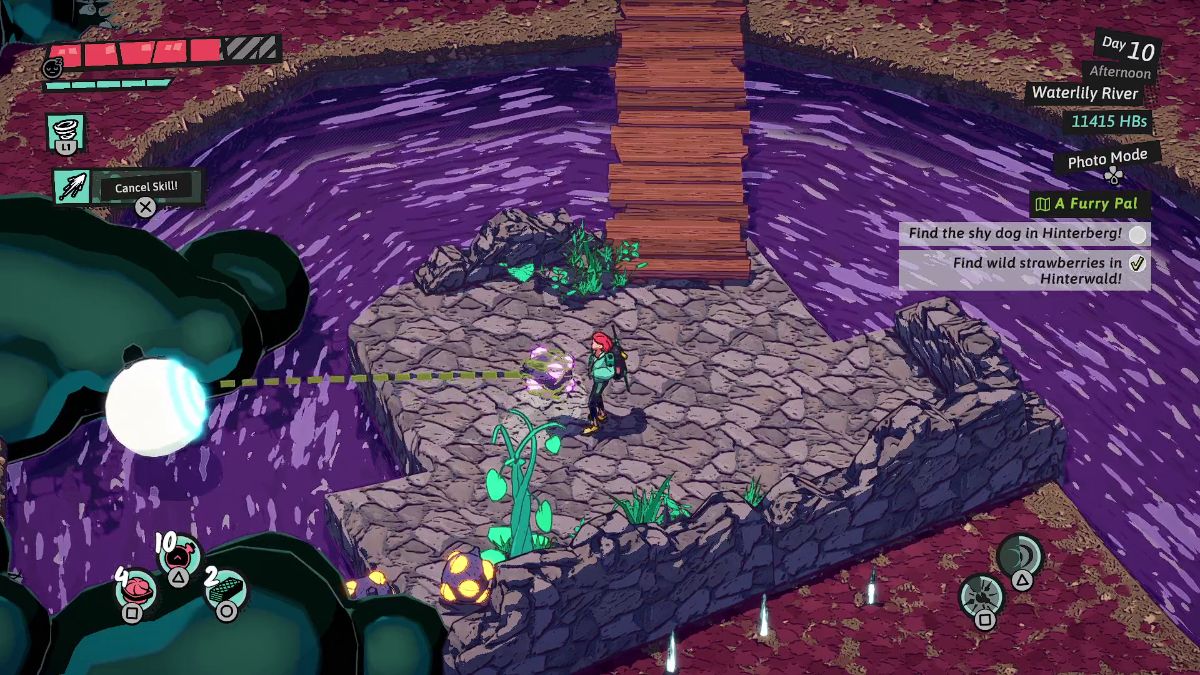
 | On the other side of the bridge, you find this puzzle. To solve it, stand on the right side of the platform and look at the pink flower. Then, throw a Whirlwind and bring it as close to Luisa as you can. With your Wind Projectile skill, shoot the flower at the slime on the other side of the river before it explodes. |
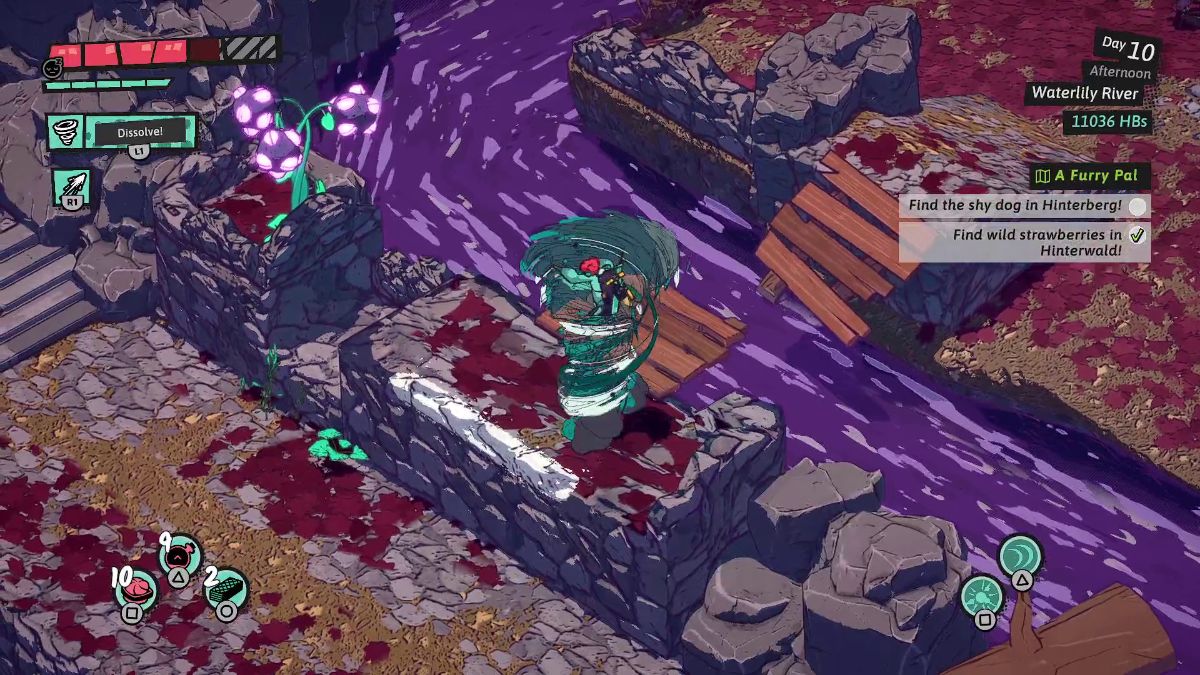 | Throw a Whirlwind on solid ground, grab Luisa, and cross to the other side of the broken bridge. Repeat this process on the next bridge. |
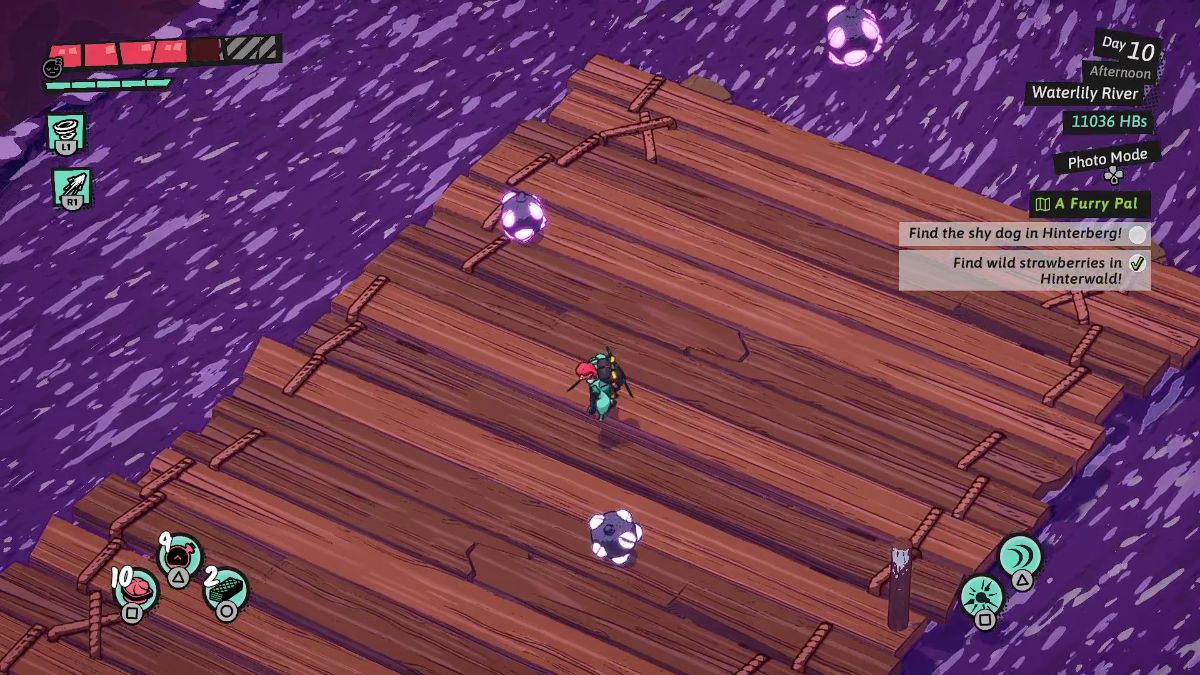 | Get on the wooden raft and avoid taking damage from the pink flowers. |
 | Shoot the one-eyed slime with a pink flower. |
 | Throw a Whirlwind past the net, pick up the flowers, and bring them back to Luisa. Then, stand on top of the concrete stairs and shoot the one-eyed slime on the left. |
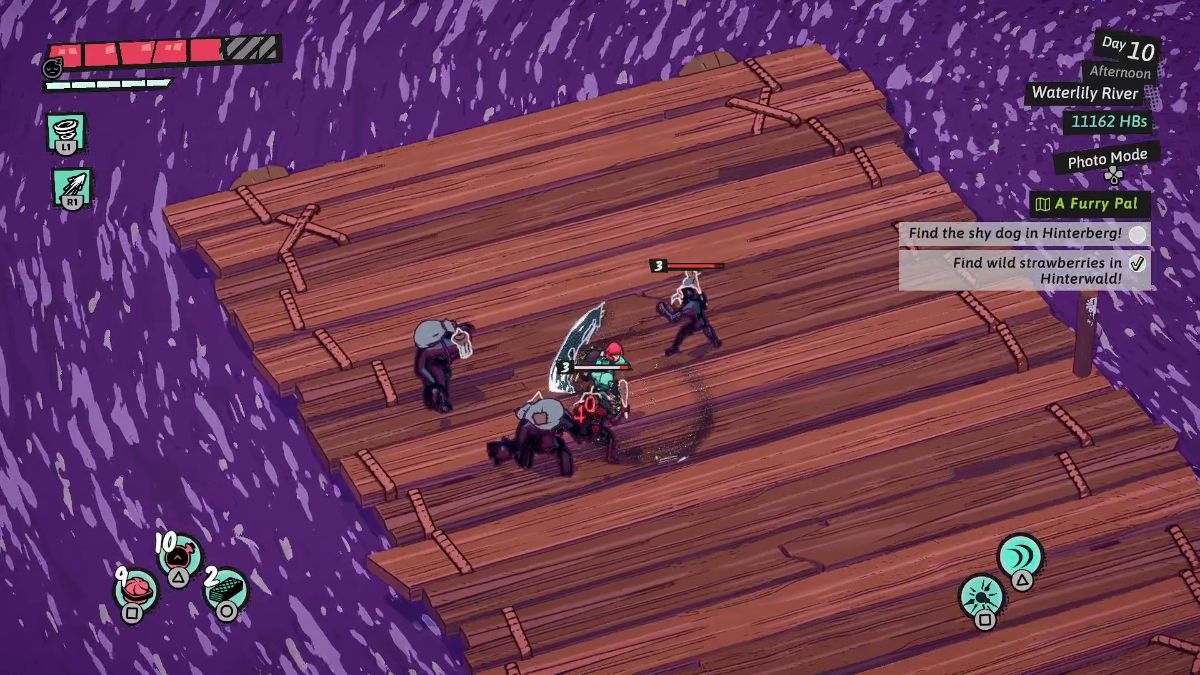 | Save at the Waystone and get ready for another raft ride, but this time, with enemies. You can easily kick them off the boat. |
 | Climb the white ledges on the concrete platform. Then, shoot the heart-shaped target on the other side to kill this one-eyed slime covering the bridge. |
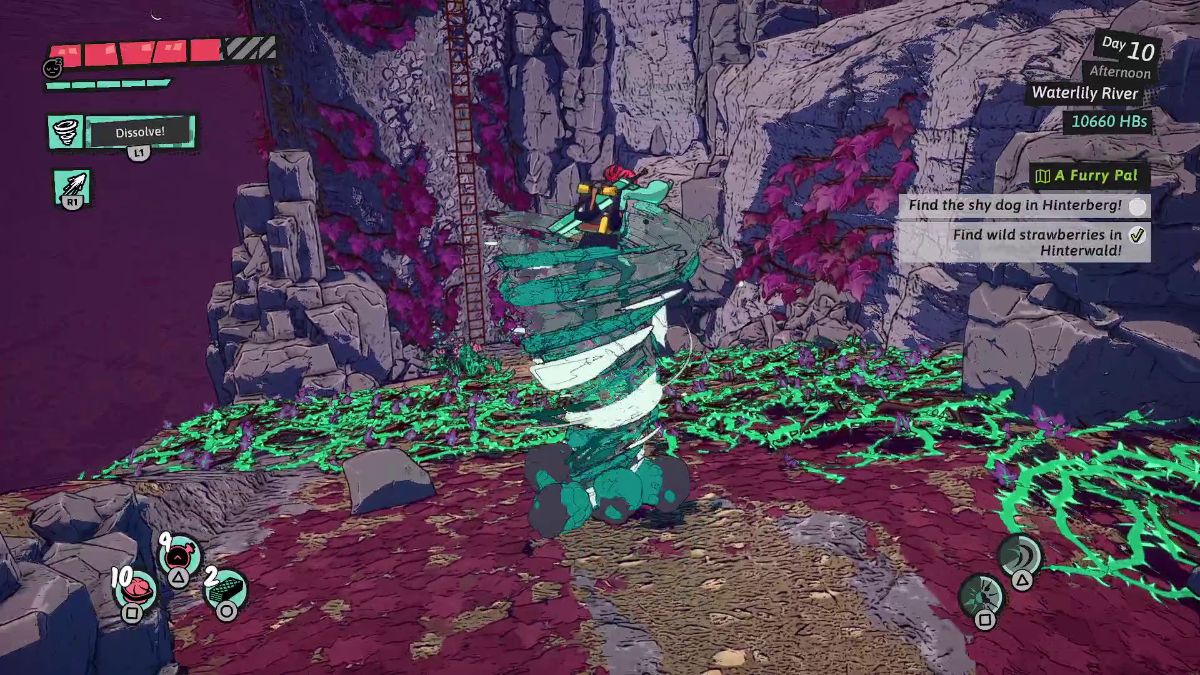
 | Use Whirlwind to get past the thorny patches and reach this area. Here, throw Whirlwind at the pink flowers on the bottom left corner and bring them to Luisa. You can either shoot the flowers directly or wait until they explode inside the Whirlwind to bring the one-eyed slime down. |
 | Destroy the slime devices on each side of this area. Then, hop on a Whirlwind and get past the net on the center to fight some enemies. |
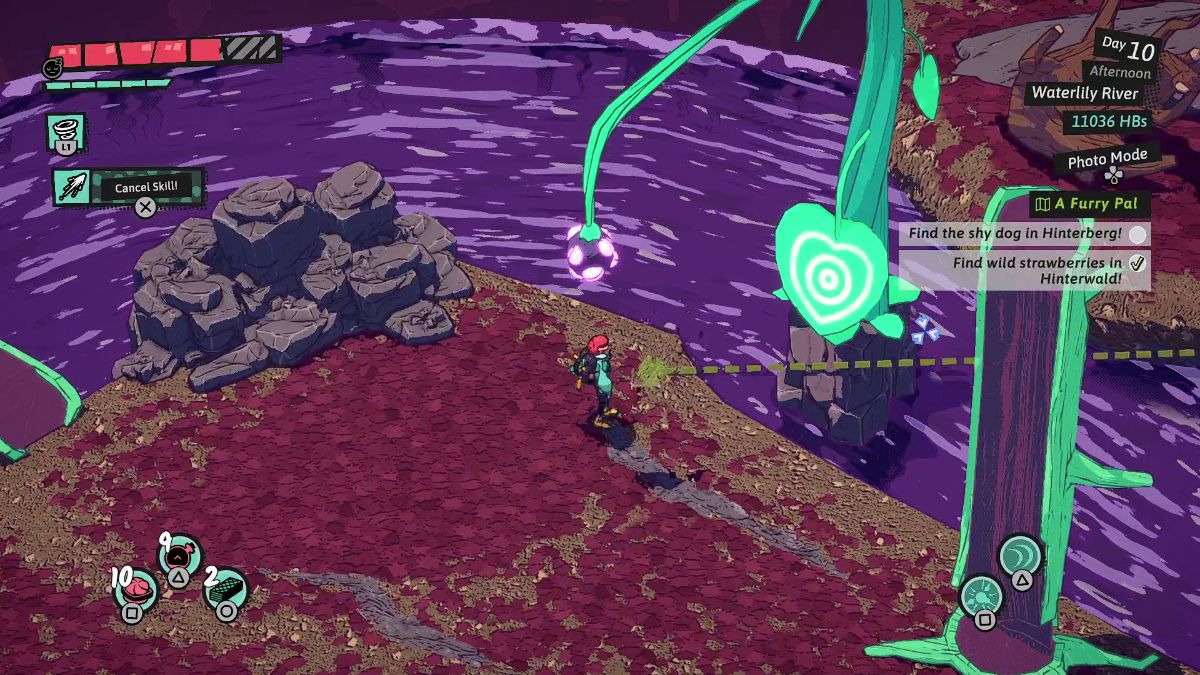
 | Stand on the concrete platform and shoot the heart-shaped target on the other side. The goal is to have the pink flower drop on top of a leaf so it explodes the one-eyed slime to the right. |
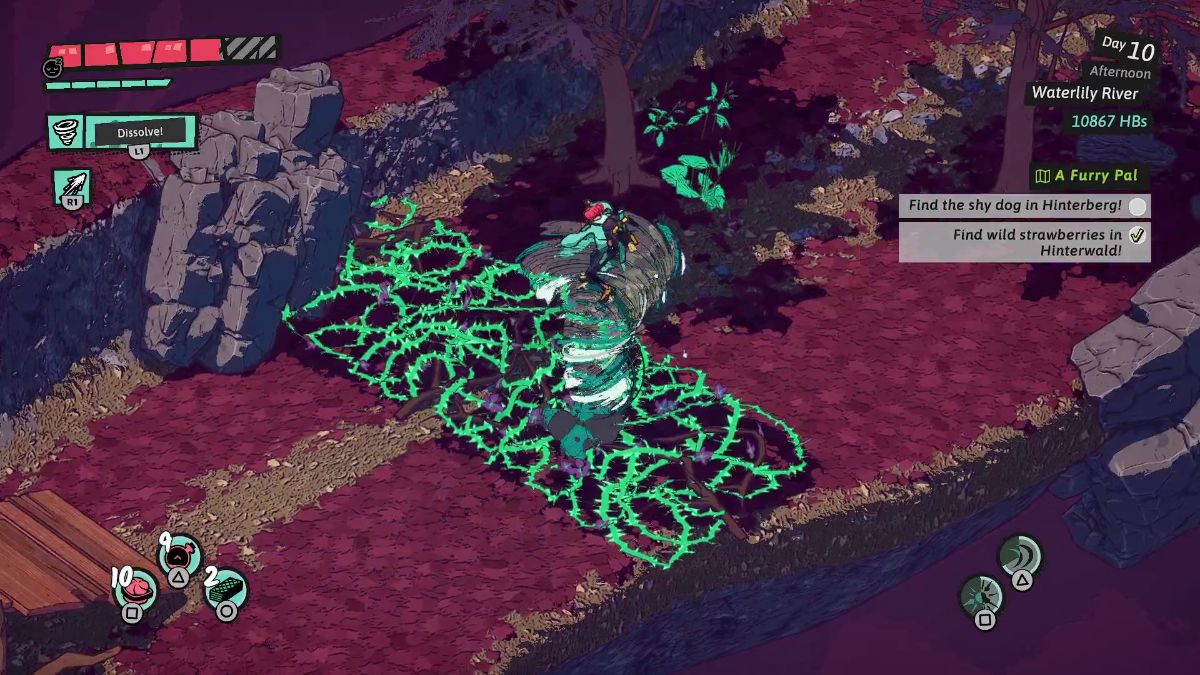
 | Use a Whirlwind to advance through the thorny patches and high platforms. When you reach this broken bridge, a Whirlwind can carry you to the other side, as long as you use a leaf as support. |
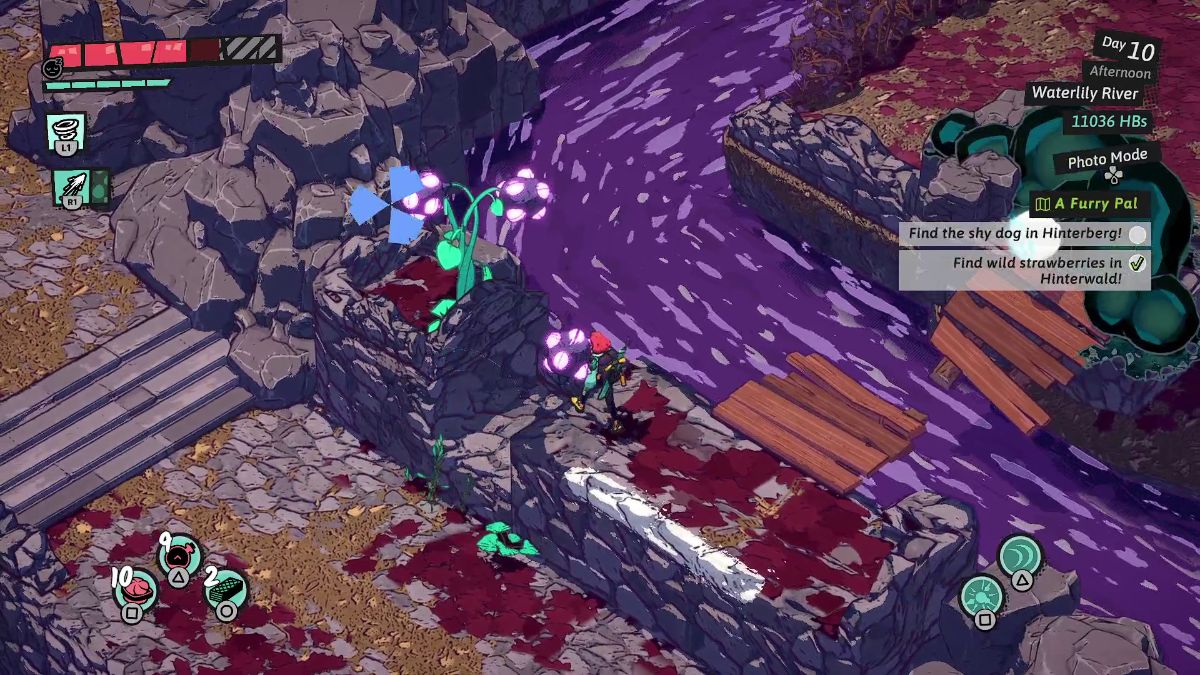
 | To blow up the one-eyed slime on the river, grab the pink flowers with your Whirlwind and stand on one of the leaves. |
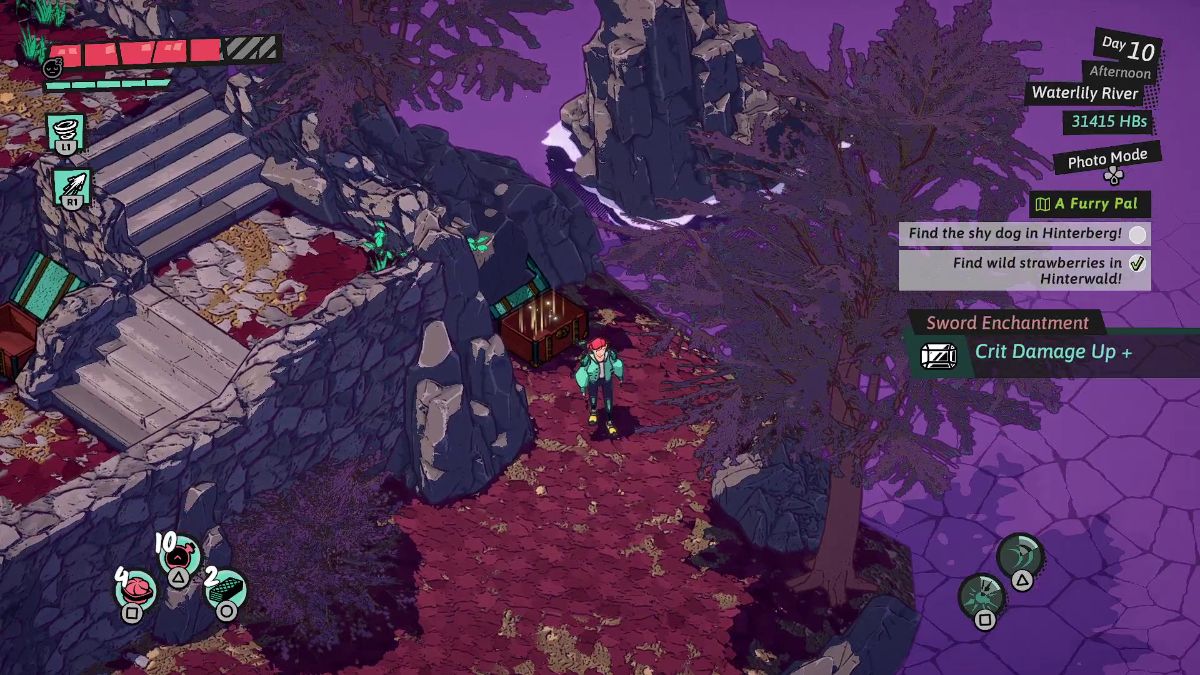
 | Then, climb the white ledges to reach a red treasure chest and walk to the opposite side. |
 | Here, shoot a pink flower directly at the one-eyed slime. |
 | Hop on the last raft ride, which includes both monsters and pink bombs. Focus on surviving, the monsters will die on their own. |
 | Grab the chest on the lower platform before getting out of here. |
Clearing Overgrown Cave
| Visual Reference | Instructions |
|---|---|
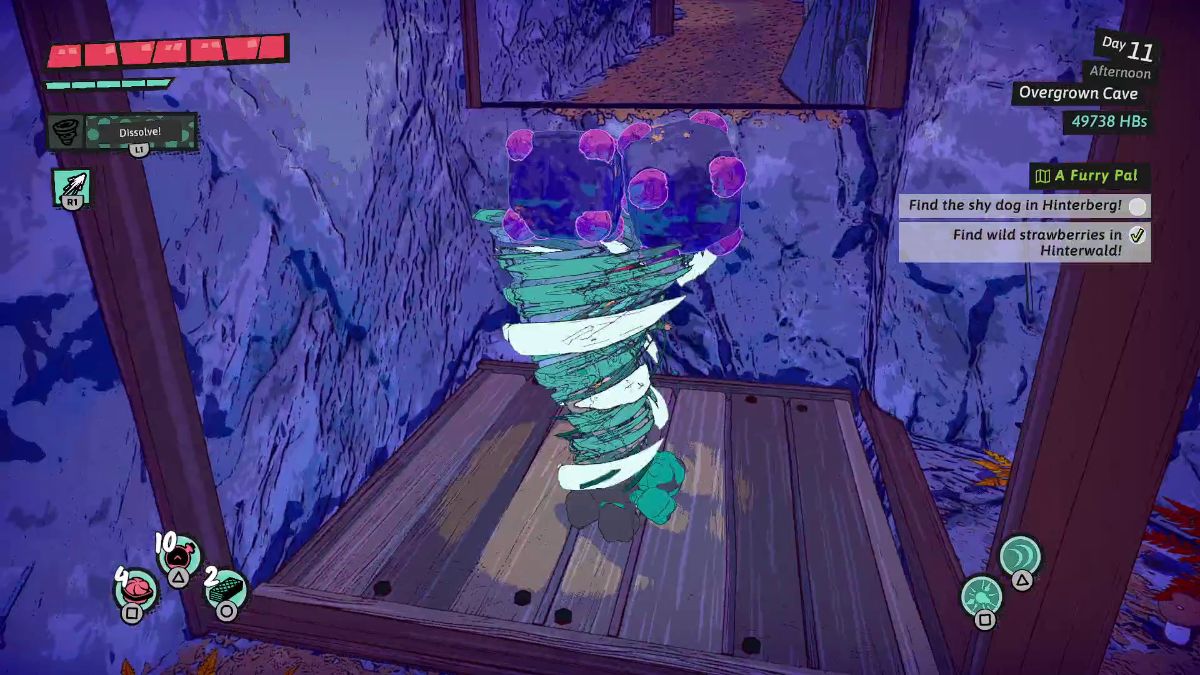
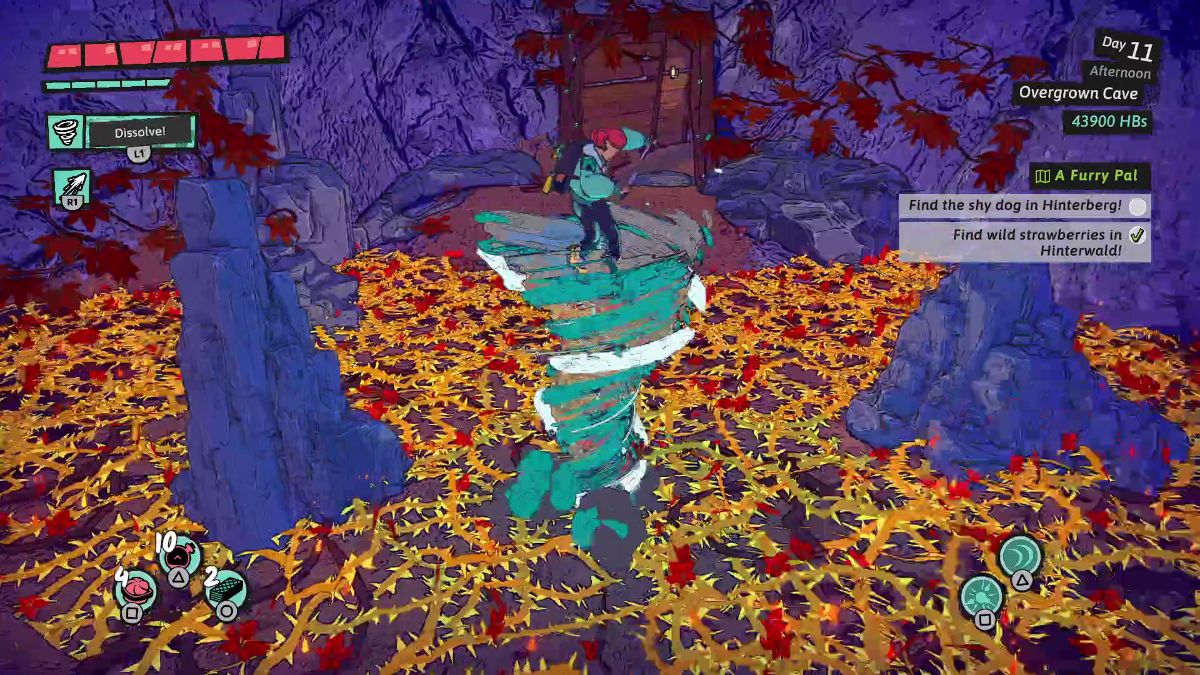 | Cross the thorny patch with a Whirlwind. |
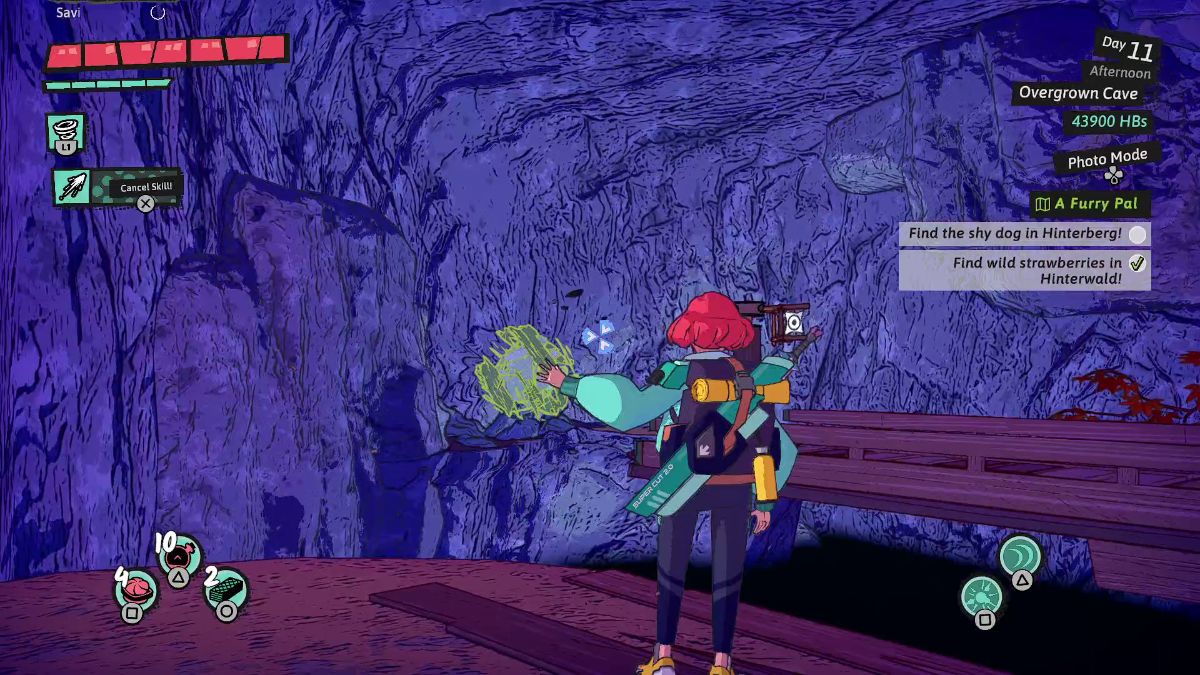 | Shoot the windmill on the left side to rotate the bridge. |
 | Rotate the bridge again to grab a chest with Resonant Sword 4. |
 | Climb the white ledges and, when you reach the top, stand on this wooden platform to drop down. |
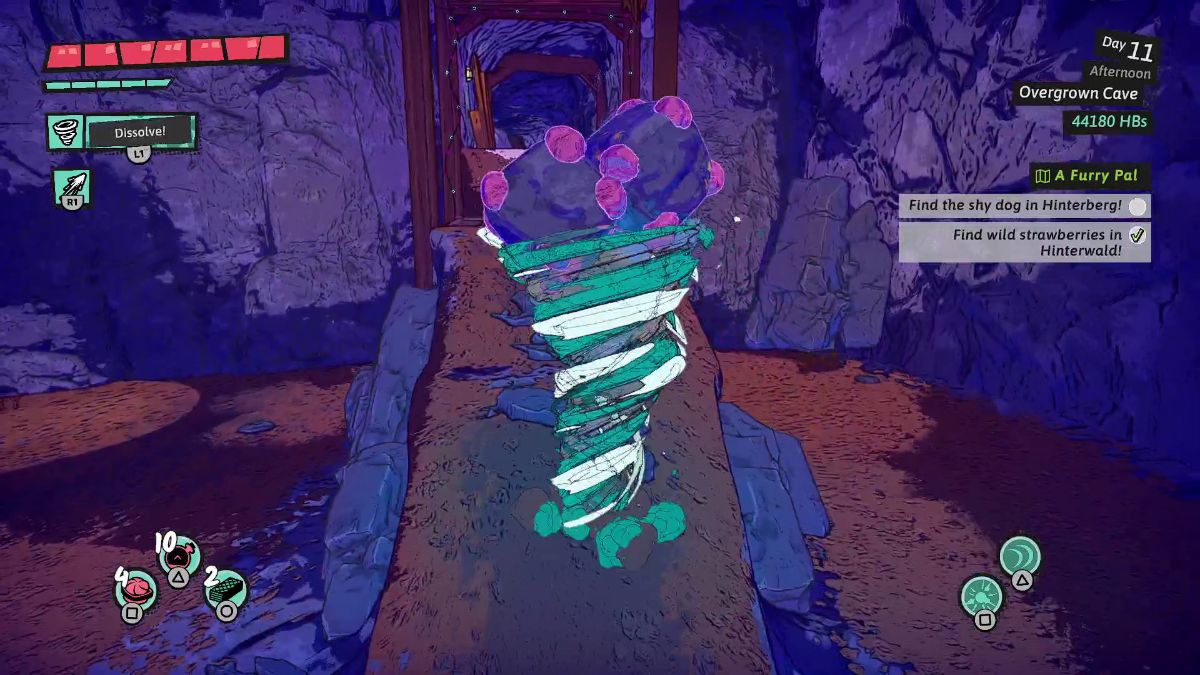 | In the next room, stand on the wooden platform with the jelly cube. Then, use Whirlwind to pick up both cubes and take them up the ramp to reach another wooden ramp. |
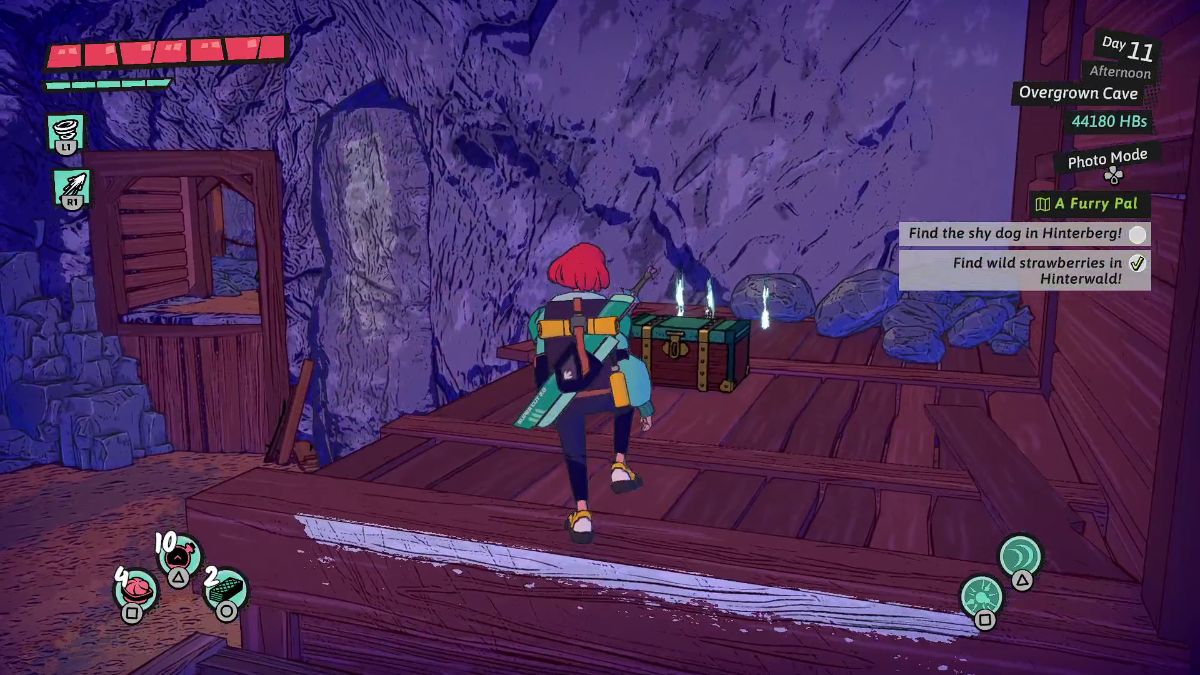 | Grab 5000 Hinterbucks from the chest on the right. Then, remove the blocks from the wooden platform using a Whirlwind. |
 | Go up the ramp yourself and climb using the white ledge. |
 | In this room, grab the jelly balls one by one and throw them inside the wooden container. |
 | After defeating a wave of enemies, drop all the balls in the wooden container to the left. Then, stand on it. |
 | Now, throw all the jelly balls inside the wooden container to the right to lift this platform up. |
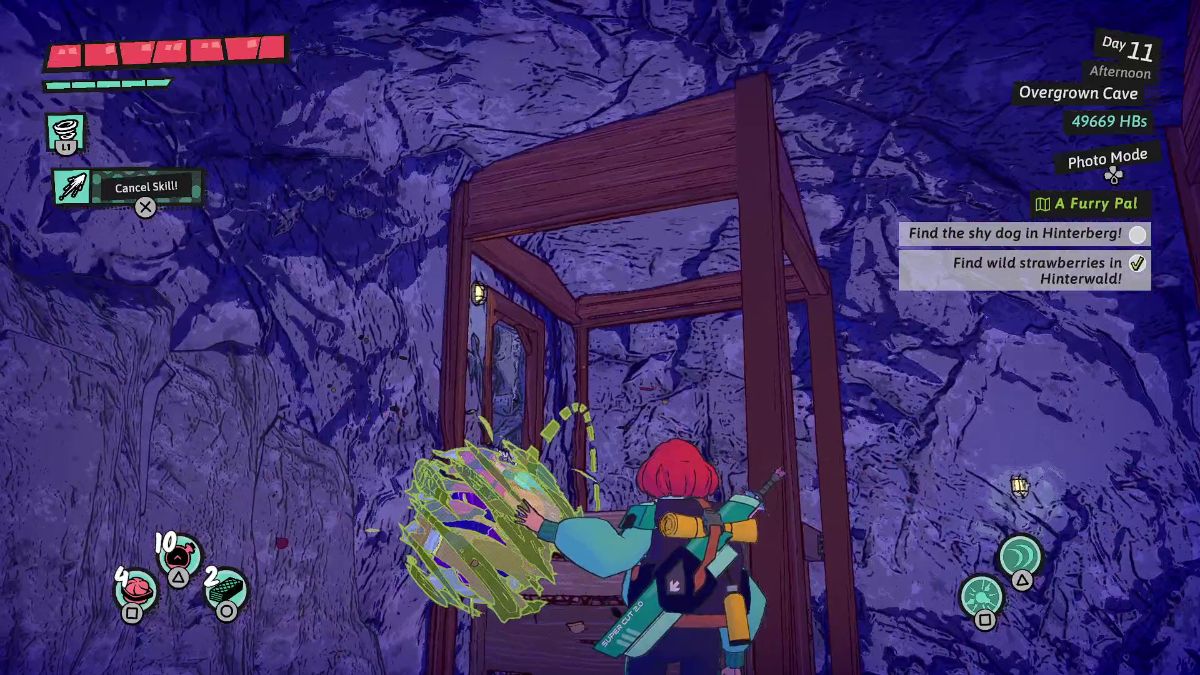
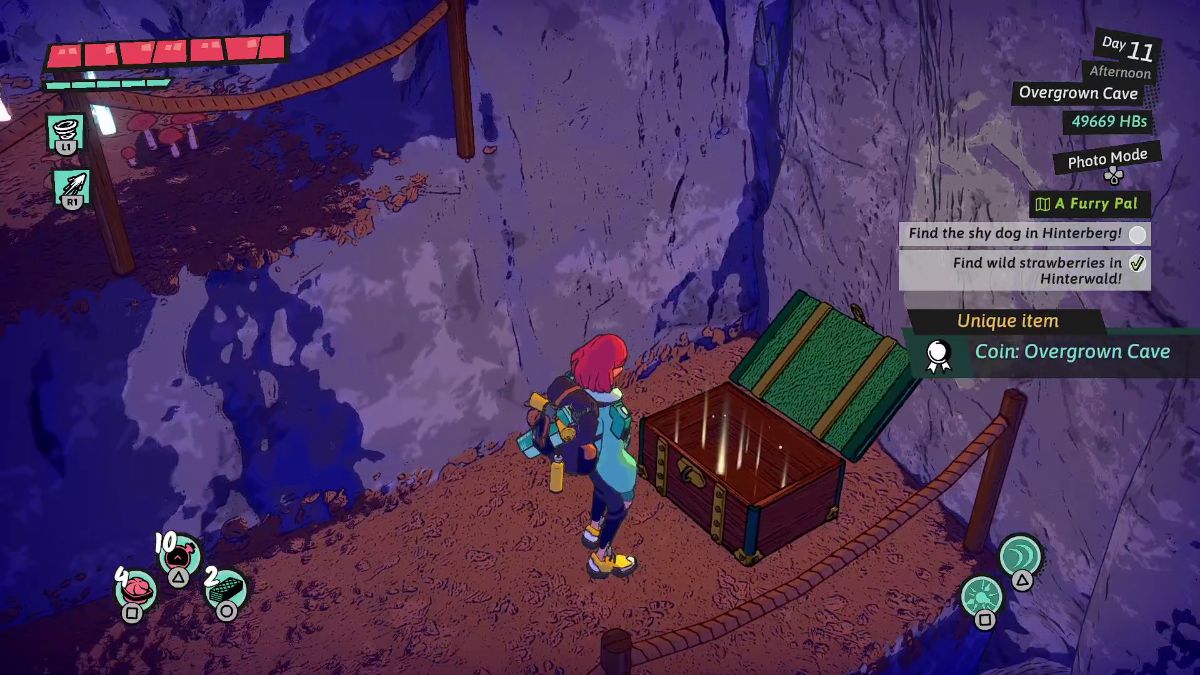 | In the next room, look for a narrow path below to grab the Unique Coin: Overgrown Cave. |
 | In the next room, Whirlwind both cubes and place them on top of the platform next to the stone wall. Now, stand next to the cubes and Whirlwind them to the platform up the raft. |
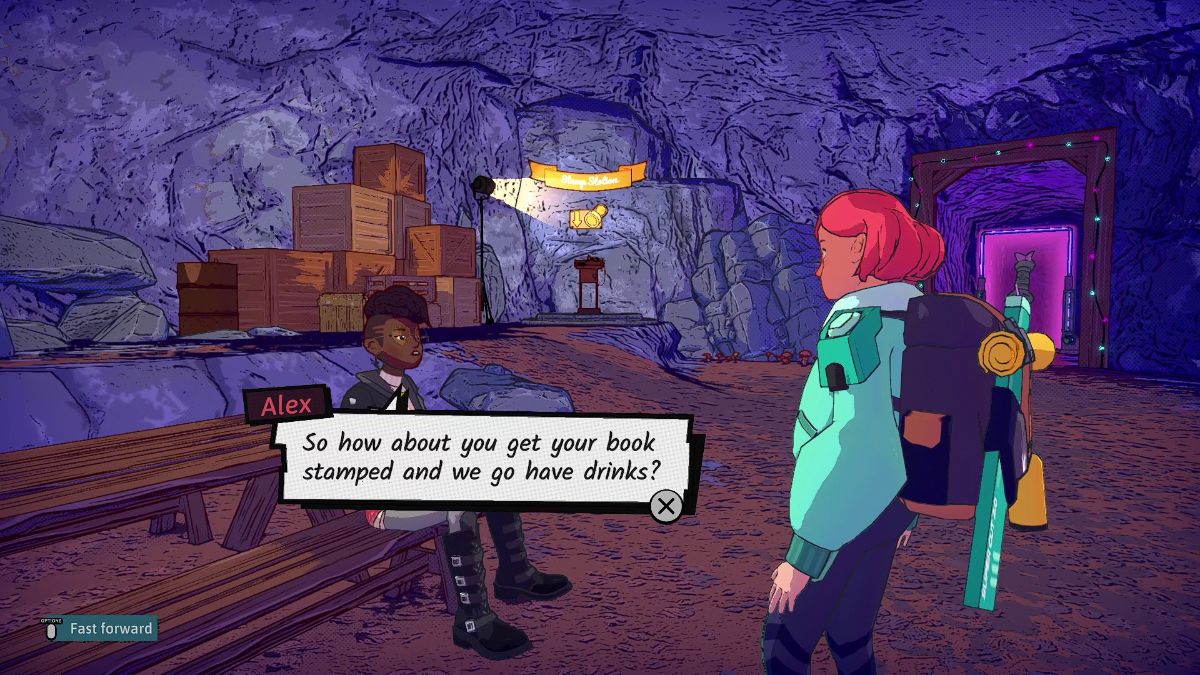 | After defeating a wave of enemies, you get a cutscene with Alex. You’re free to leave this odd dungeon now. |
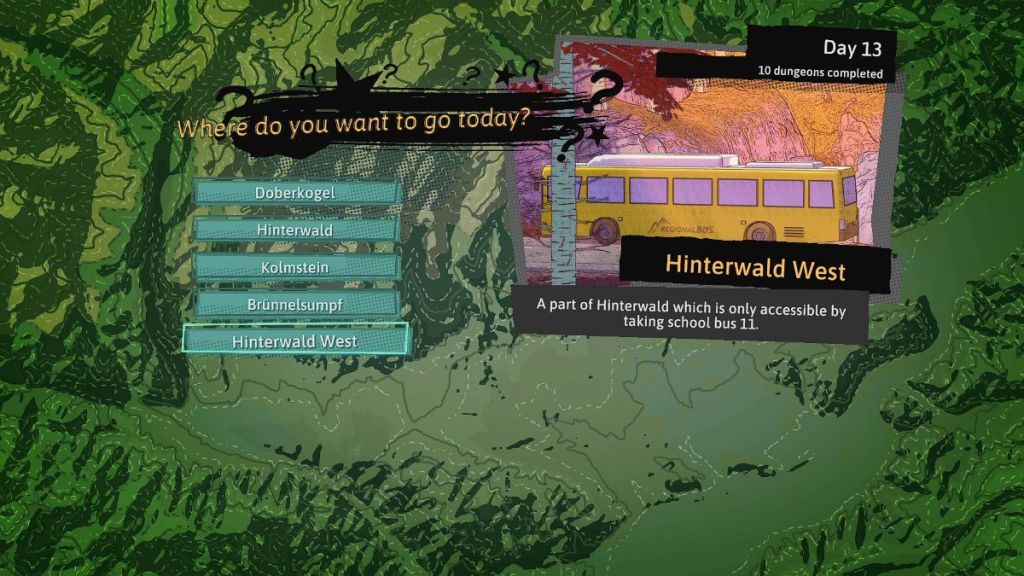
To reach Hinterwald West, you must get a letter from Thea to visit the Rental Boats. If you do, you get the Goo Pipe Mystery quest, and the Hinterwald West is unlocked as a fast travel point.
| Visual Reference | Instructions |
|---|---|
 | Head up the mountains and ignore all the Keep Out signs to reach the dungeon’s entrance. |
 | Spin this lever to raise the water level. |
 | Use this bridge to reach the white ledge and get to the other side. |
 | Shoot a Wind Projectile at the white flags in the windmill to your right. |
 | Stand on the raft and shoot the black flags on the windmill to reach the other side. |
 | Head to the right and spin this lever to raise the water level and reach the area ahead. |
 | Drop down and hit the white flags on the windmill here. |
 | Stand on the raft ahead and shoot the black flags on the windmill behind you to reach a treasure chest with 10x Pitzlon. |
 | Return by hitting the blag flag in that same windmill, but stop halfway. |
 | Turn around to find a windmill on the water. Shoot the black flags to bring the raft behind you closer. |
 | Hop on the new raft and shoot the white flags of this same windmill. Time to save at a Waystone. |
 | After dealing with a group of enemies, bring the raft to the right closer by shooting the white flags. Then, stand on it and row to the other side by shooting the black flags. Lower the water level with the lever. Then, use the bridges and rafts to reach the hollow tree entrance. |
 | Here, shoot a pink flower at the one-eyed slime. |
 | Ahead, you can spot a series of rafts with colored flags. Use the windmills with flags to manipulate the rafts with flags of the same color. Right now, the windmill to my left has a red flag, so it manipulates the raft with the red flag. To solve this puzzle in Hinterwald West in Dungeons of Hinterberg, you must clear the way for the green raft to pass through from one side to the other. All other rafts only move horizontally. |
 | Move the red flag raft to the top or bottom of the lake to open the way for the green flag raft. |
 | Hit the white flags on the green flag windmill on the back to pull the green flag raft to the left side. As you can see, the only obstacle left is the yellow flag raft. |
 | Turn around and head through the hollow tree. If the water is raised, lower it before proceeding. |
 | Climb forward and up the white ledges until you find another lever. Here, raise the water to reach the hollow log. |
 | Stand on the very top of this platform and hit the white flag once to move the yellow flag raft. |
 | Return to the area with all the rafts and pull the green flag raft toward you with the white flags. Then, use the black flags to reach the other side. |
 | After a wave of enemies, you can get out of here. |
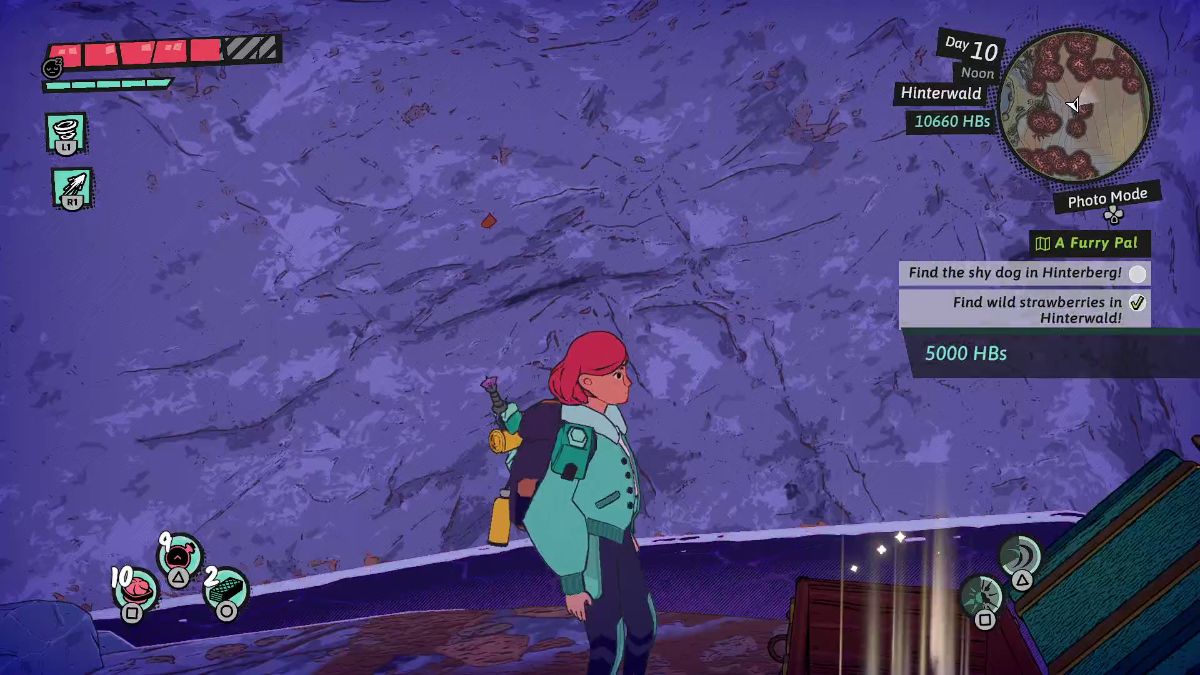
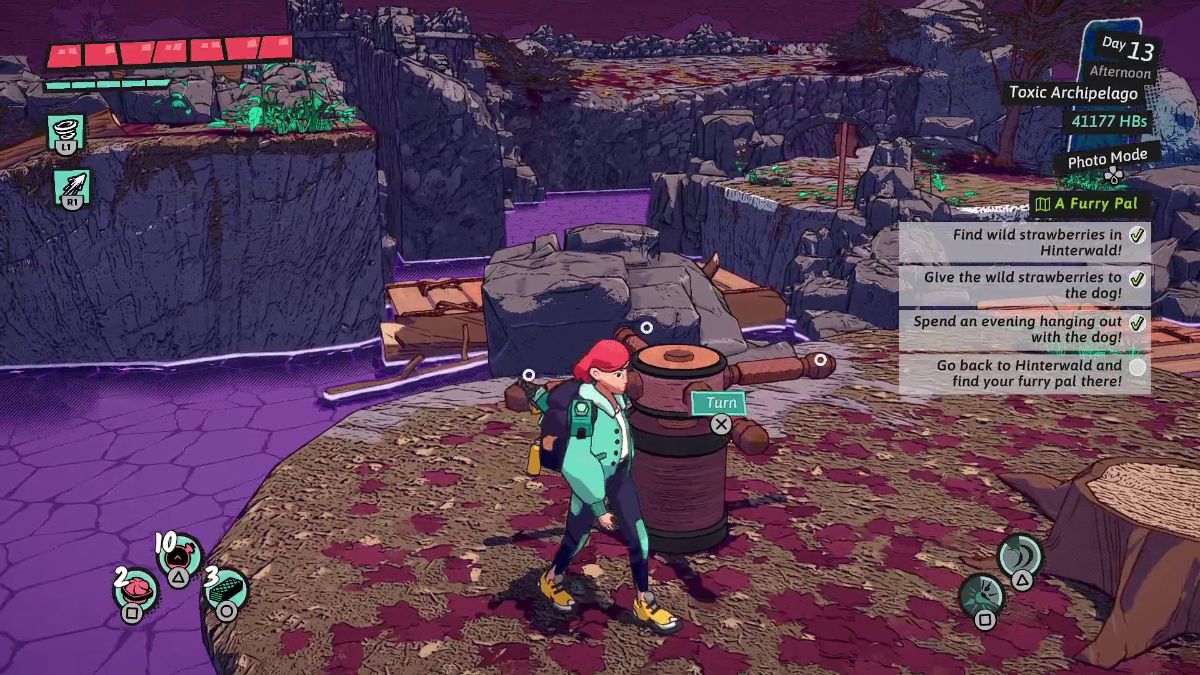
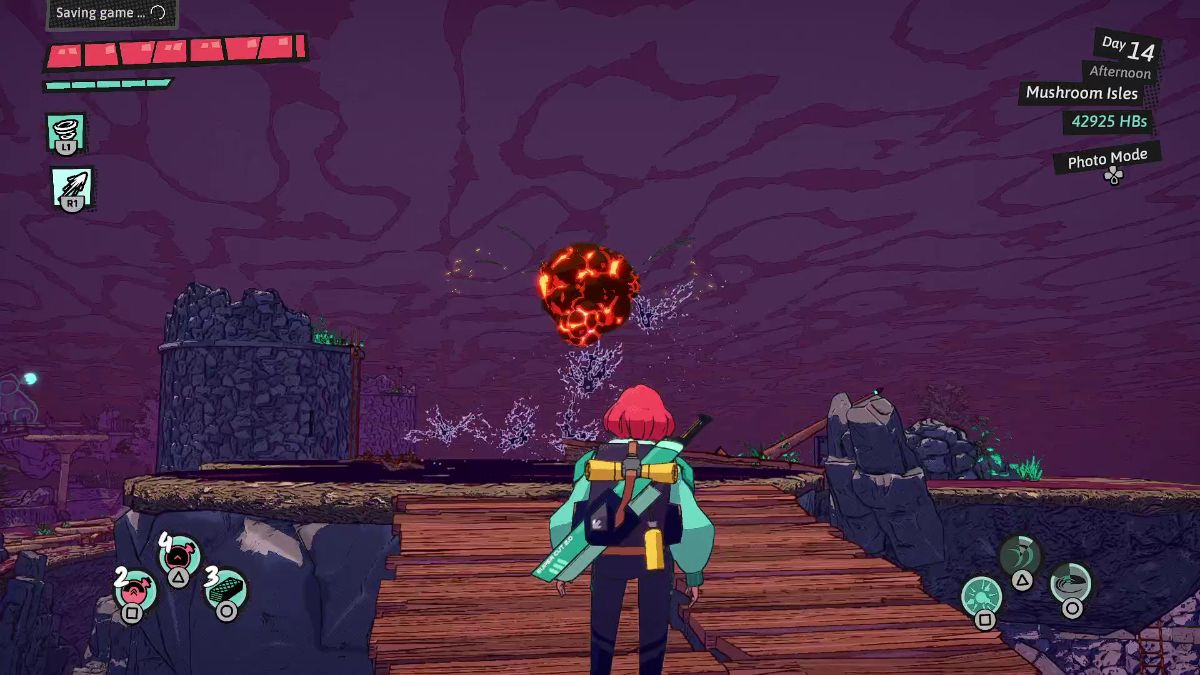
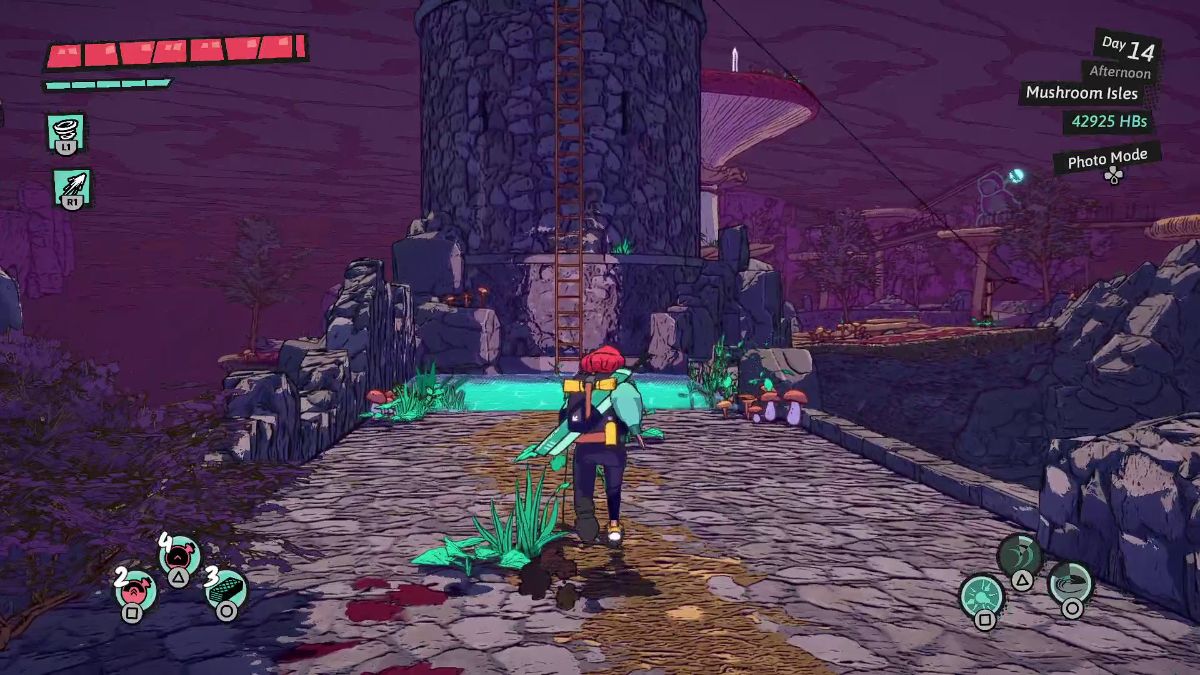
Reaching Mushroom Isles
| Visual Reference | Instructions |
|---|---|
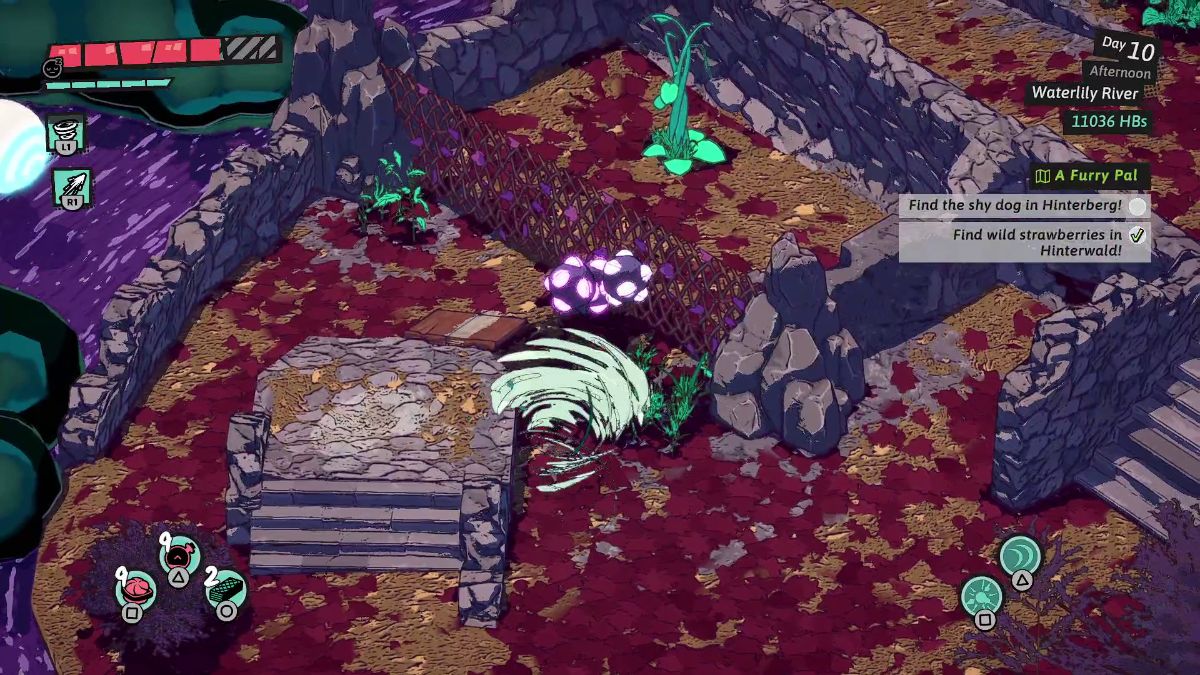
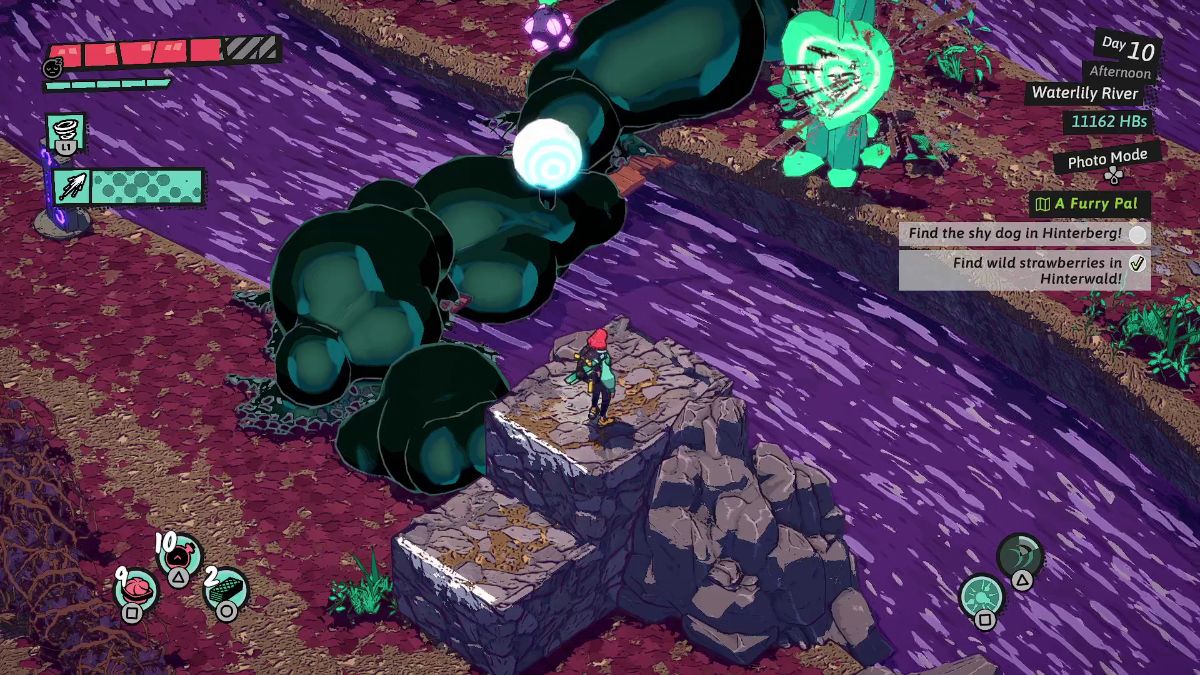
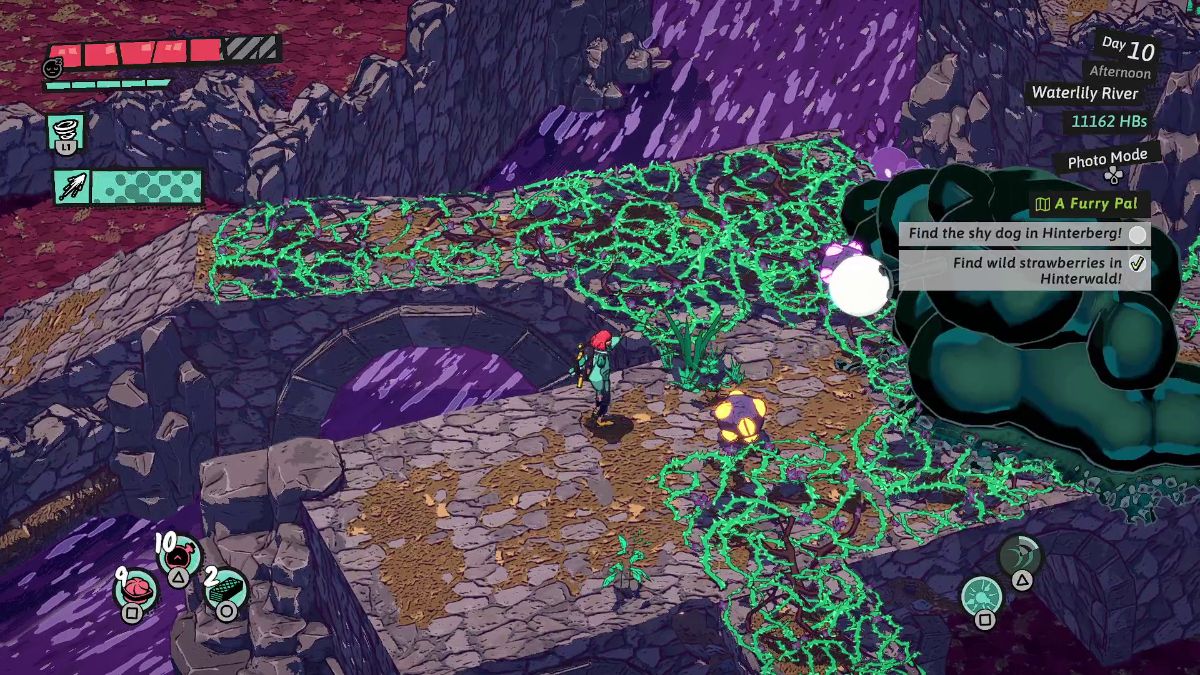
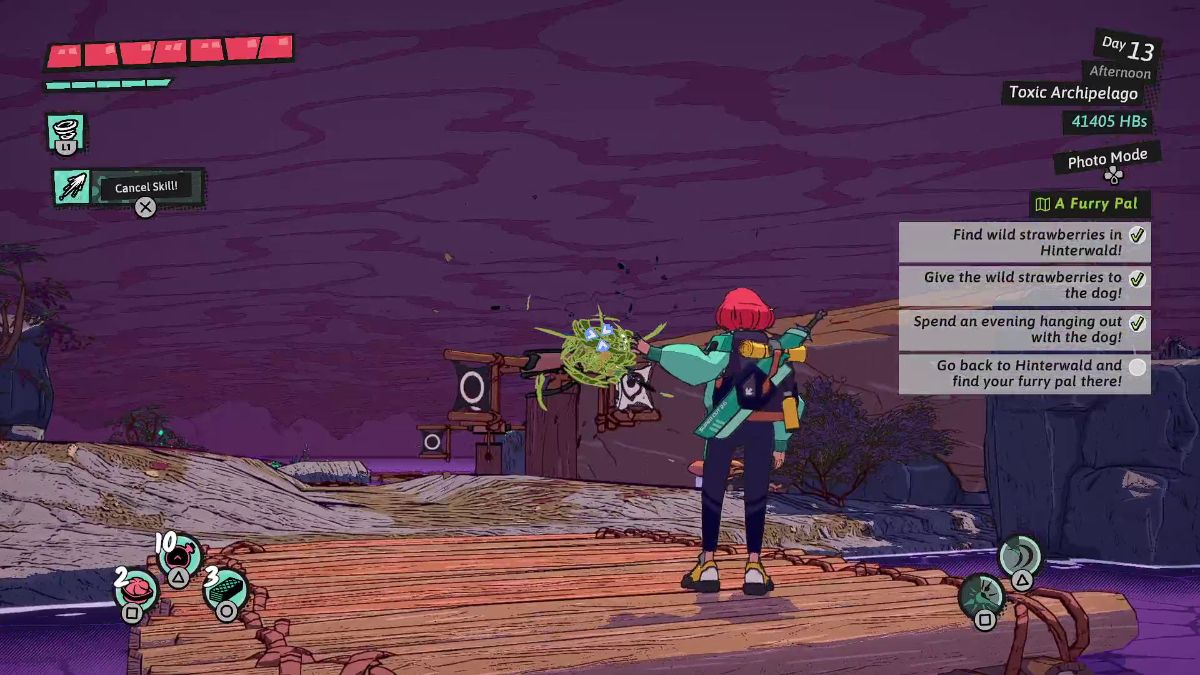
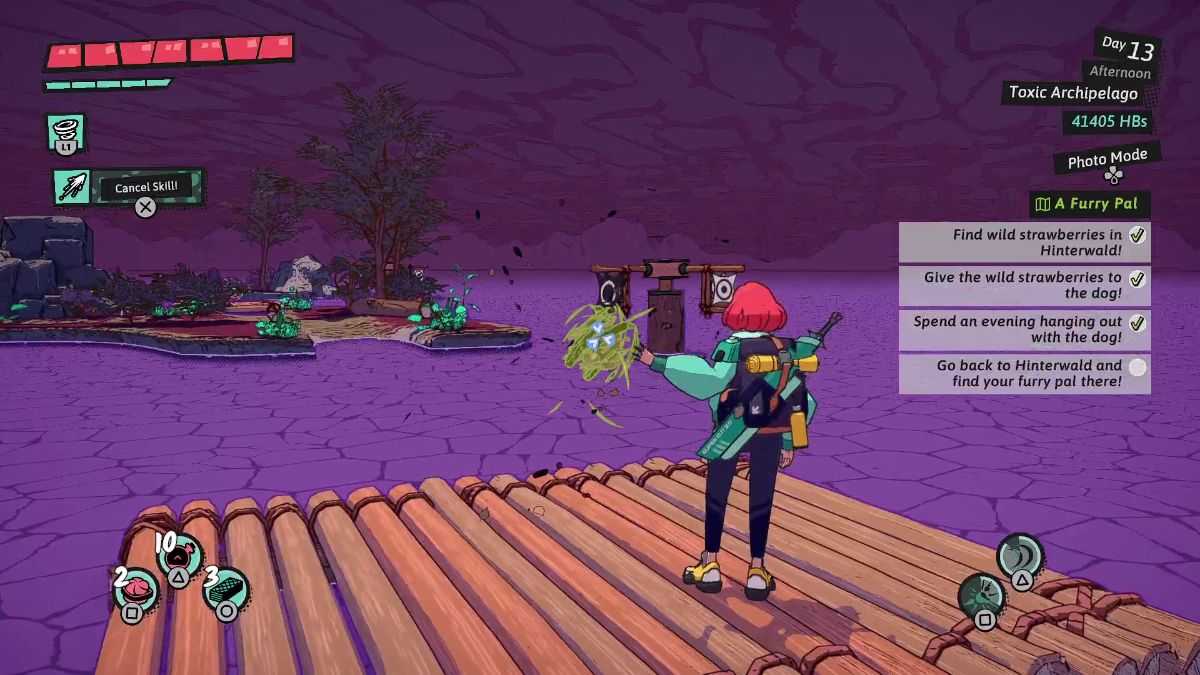
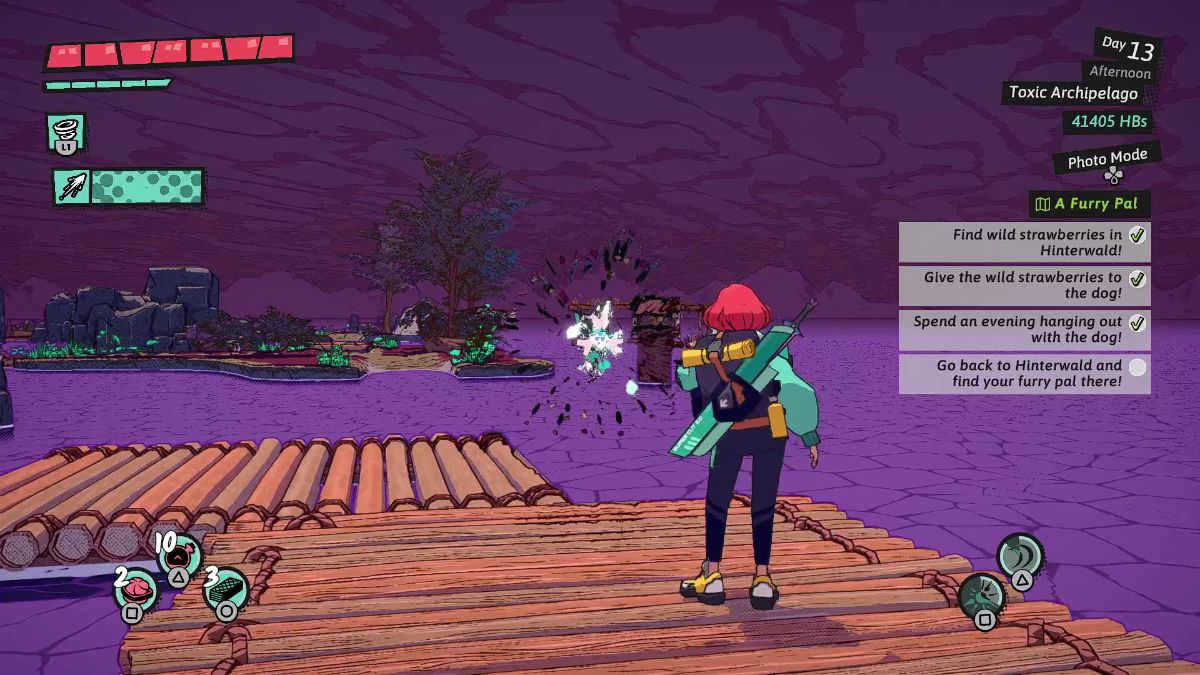
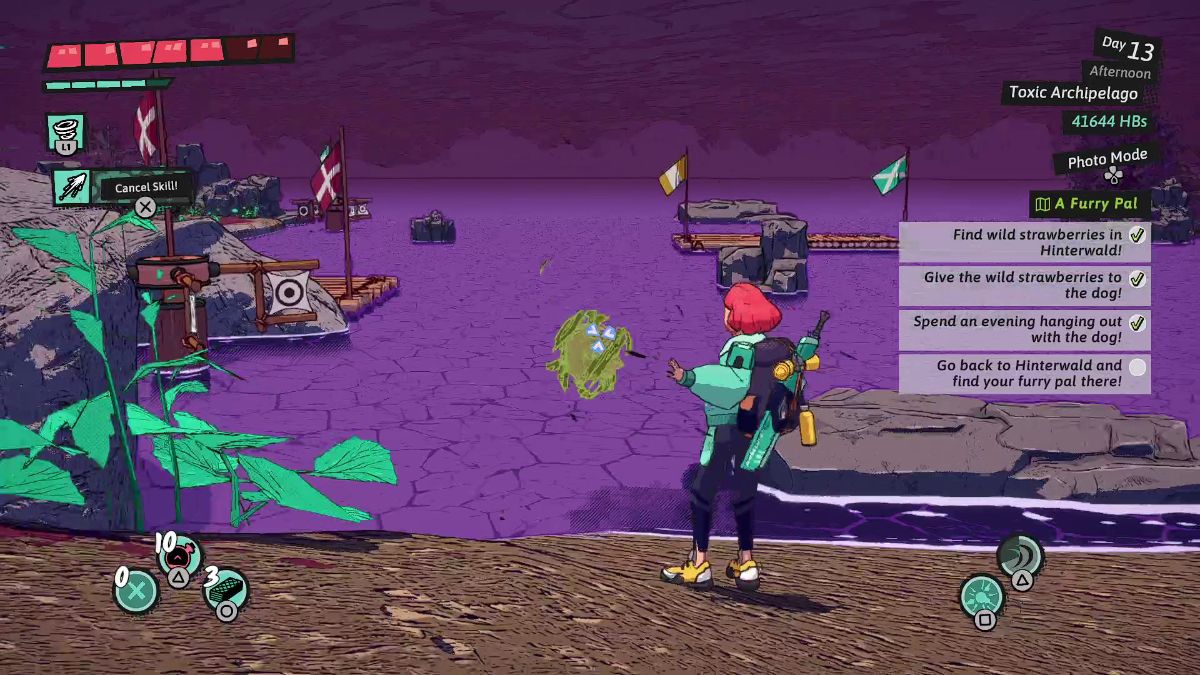
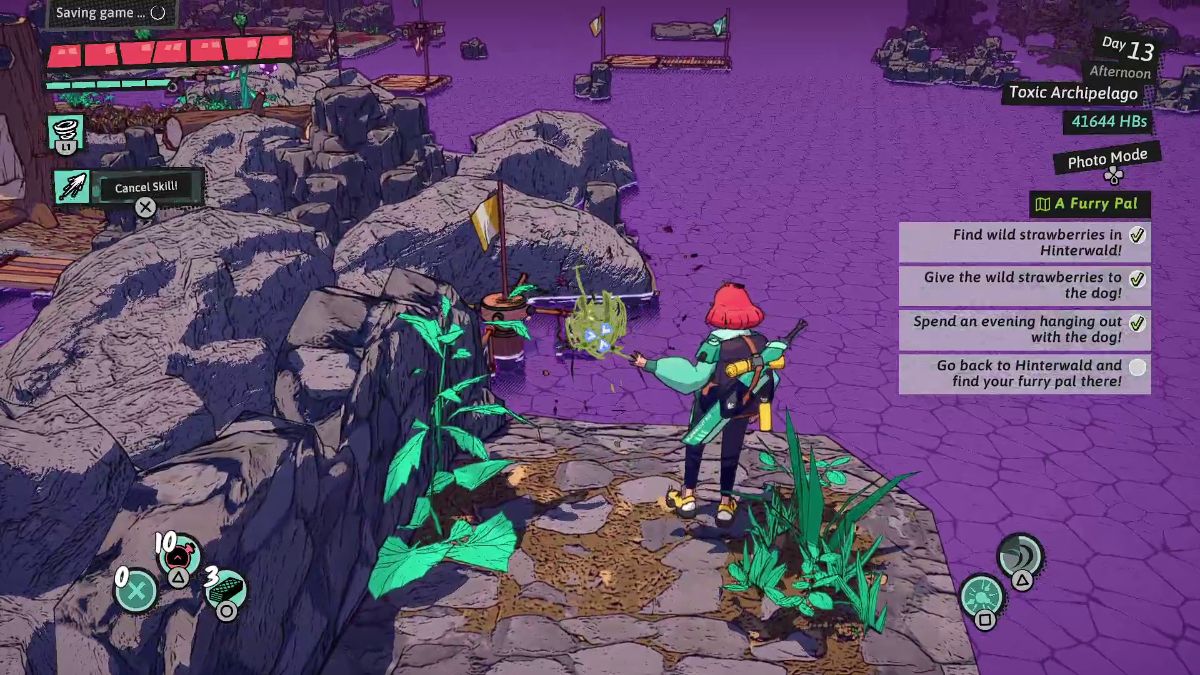
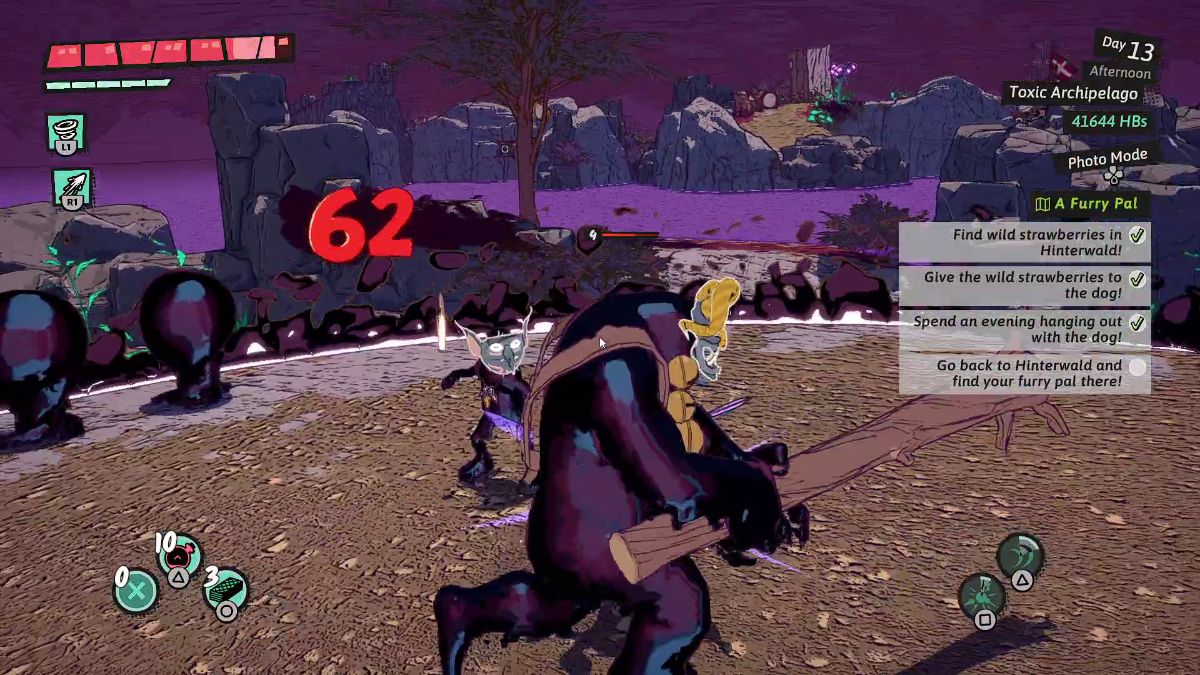
 | To unlock Mushroom Isles, you must start and progress through a Furry Pal. Speak with Hannah’s dog by her shop and give him some wild strawberries and spend the evening with him. |
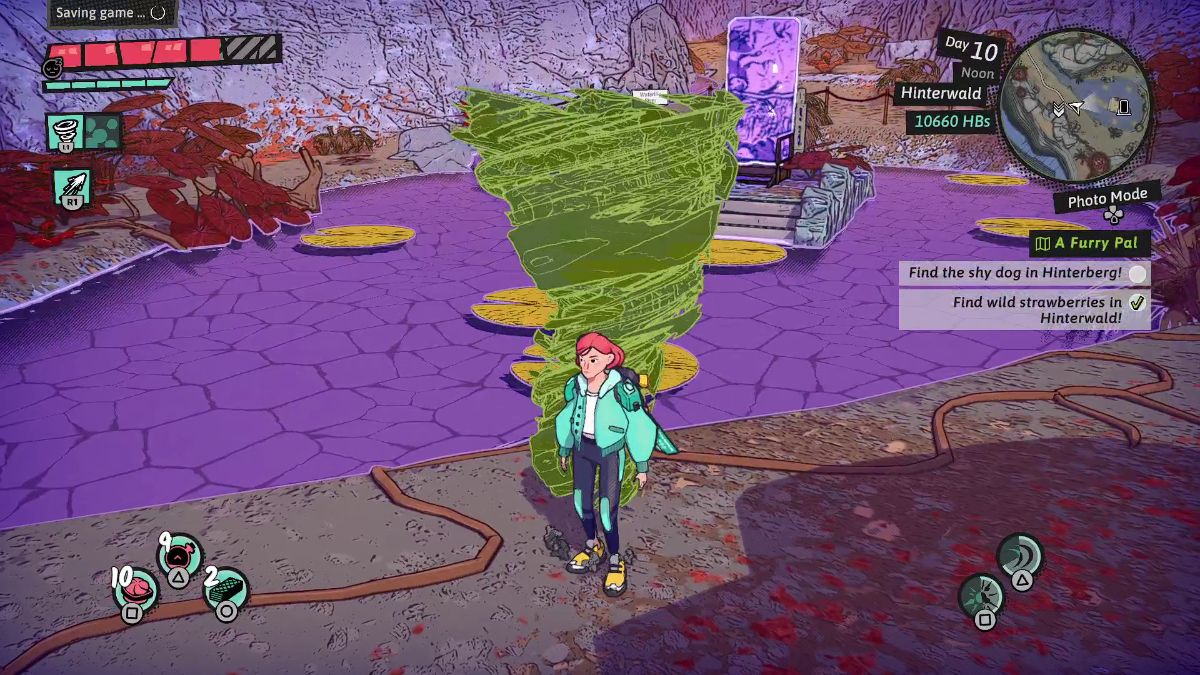
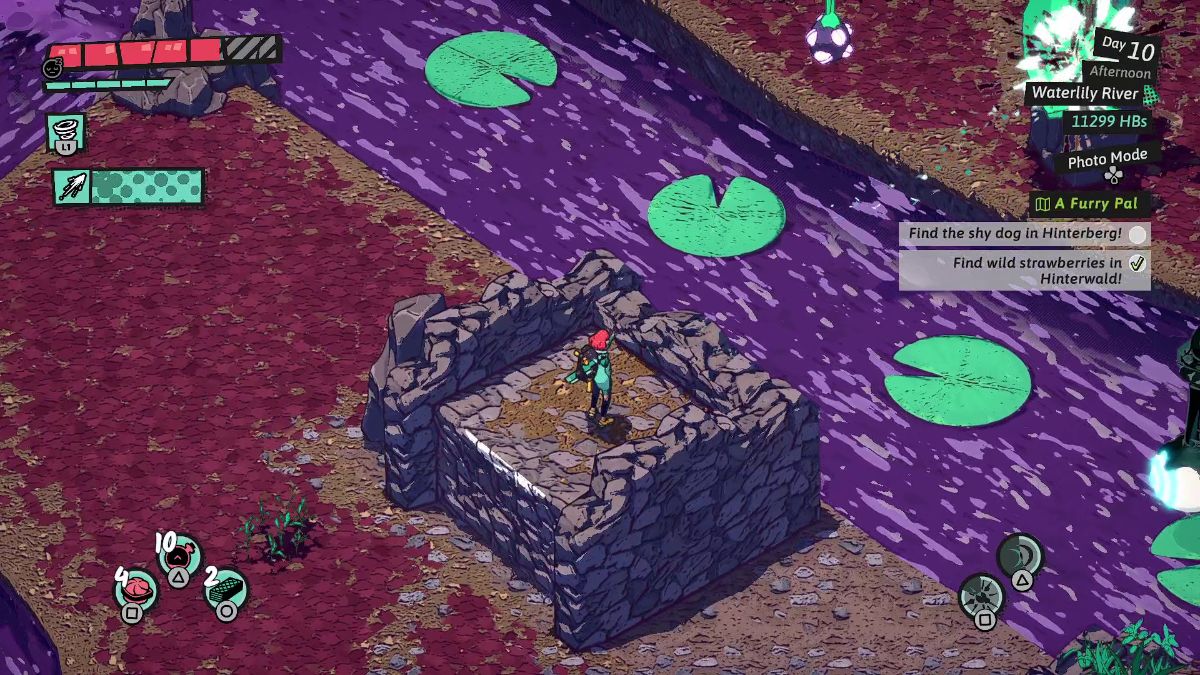
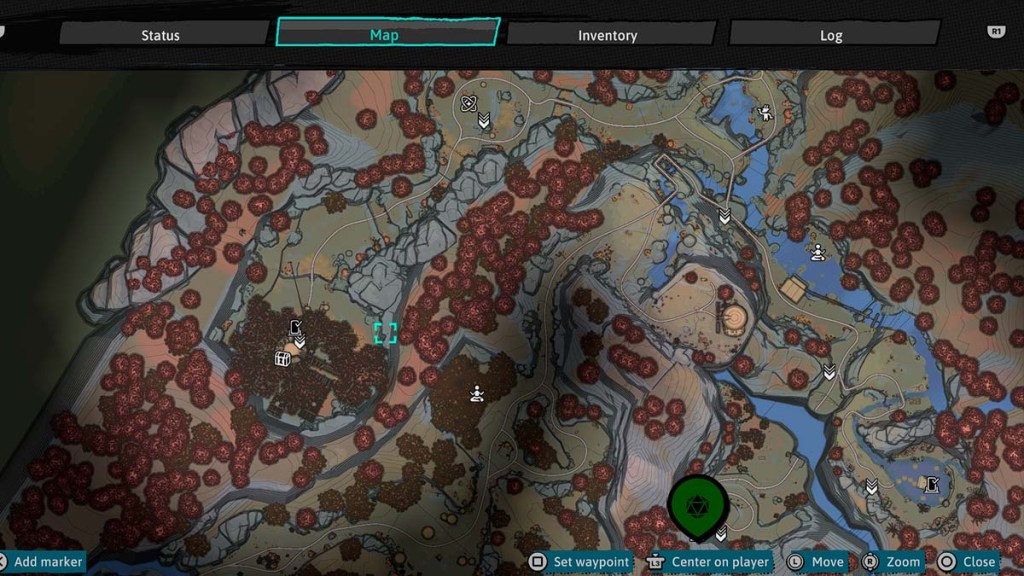
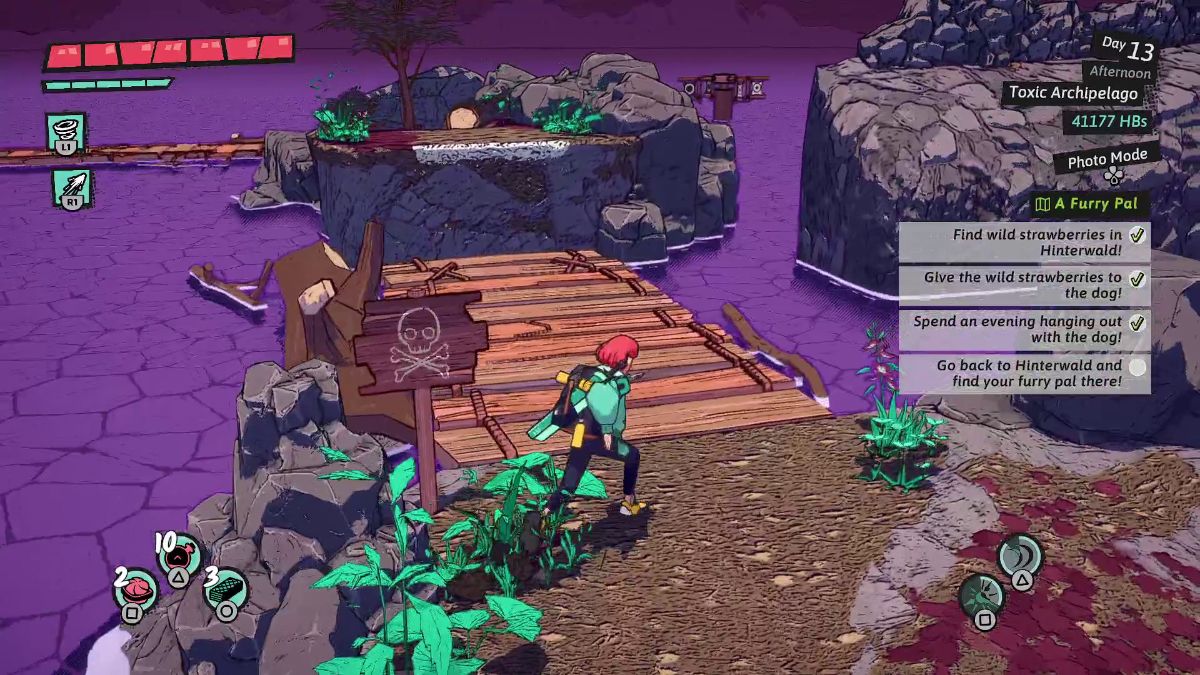
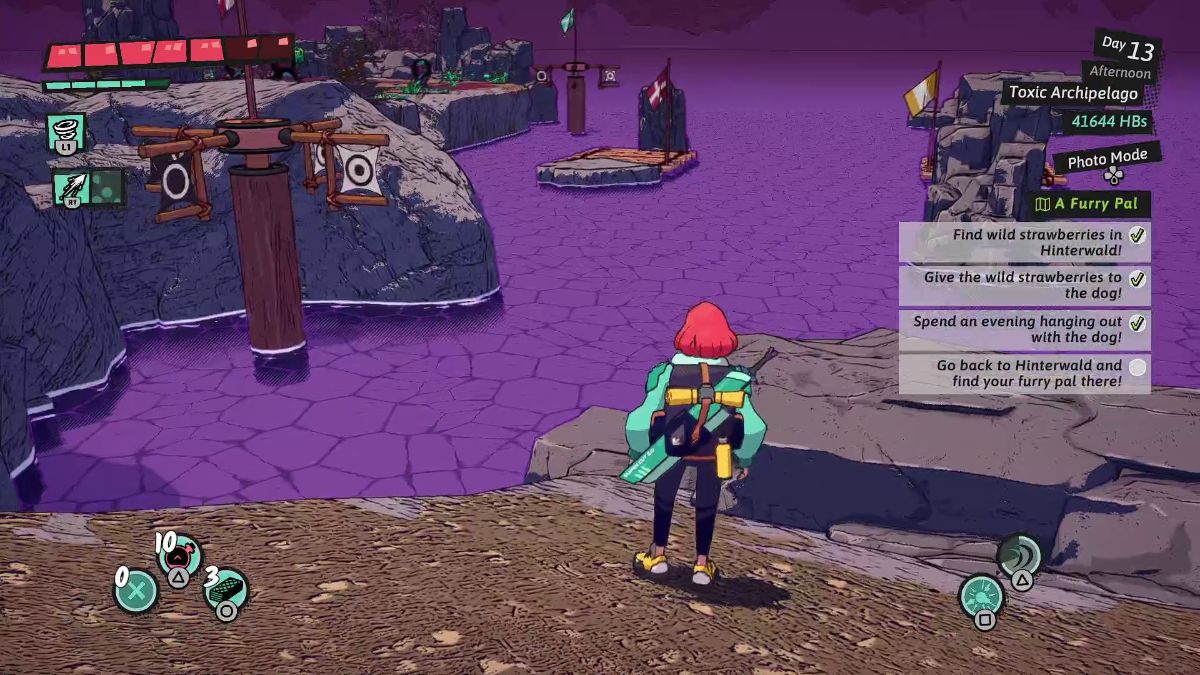
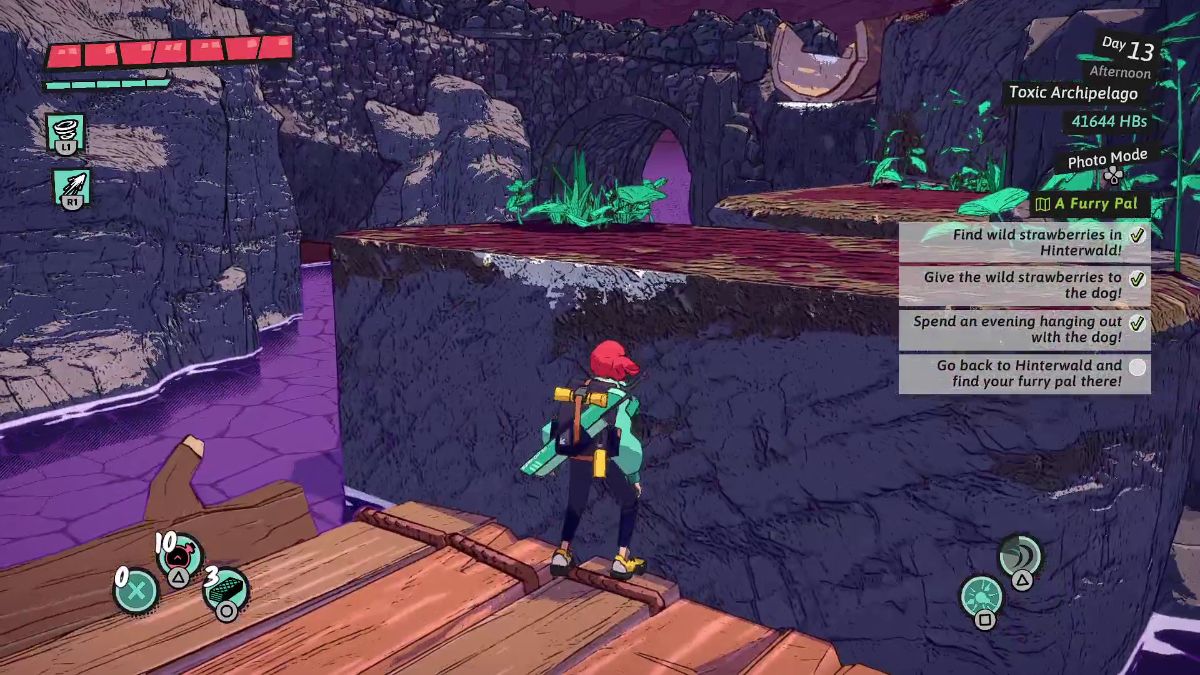
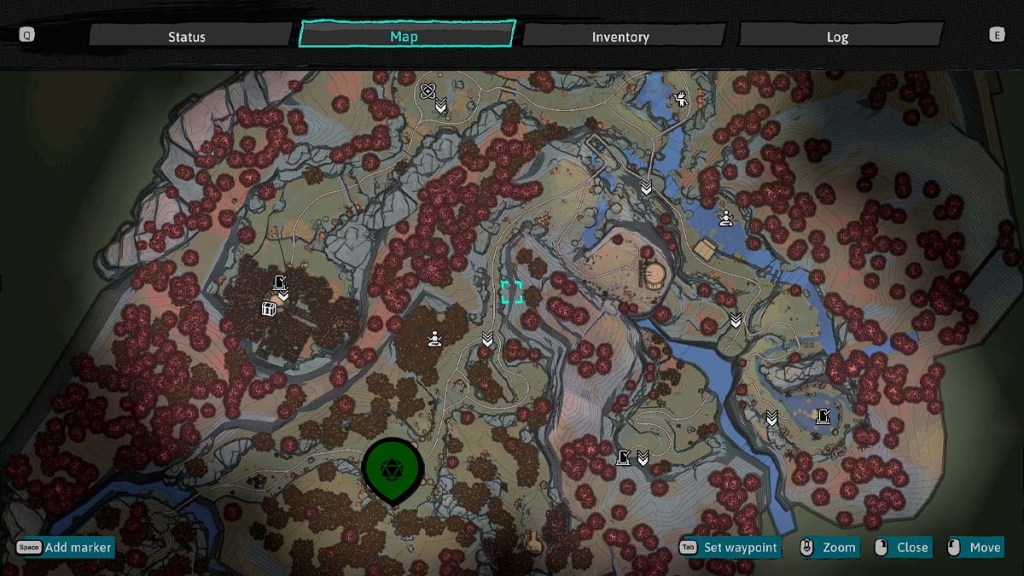
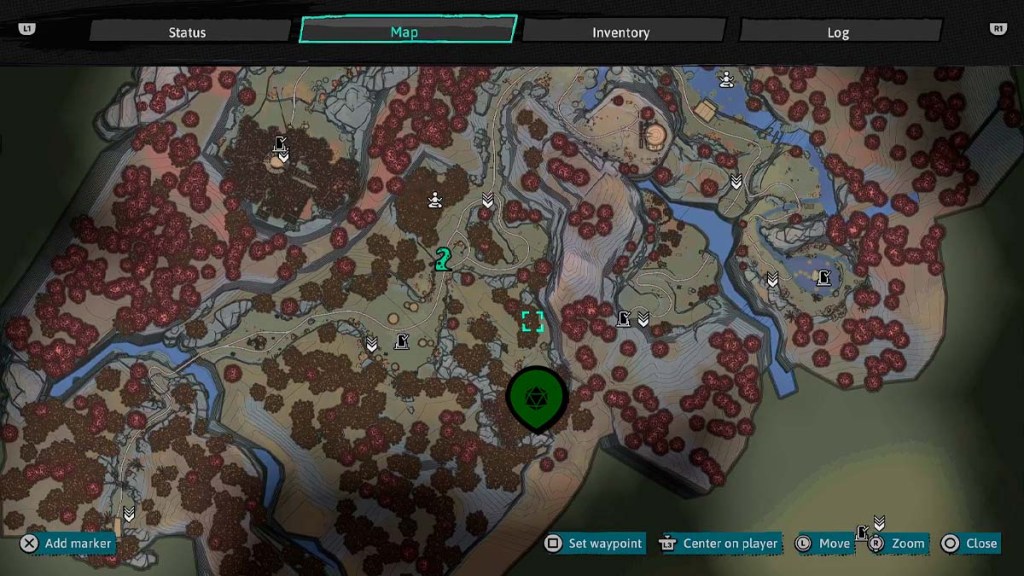
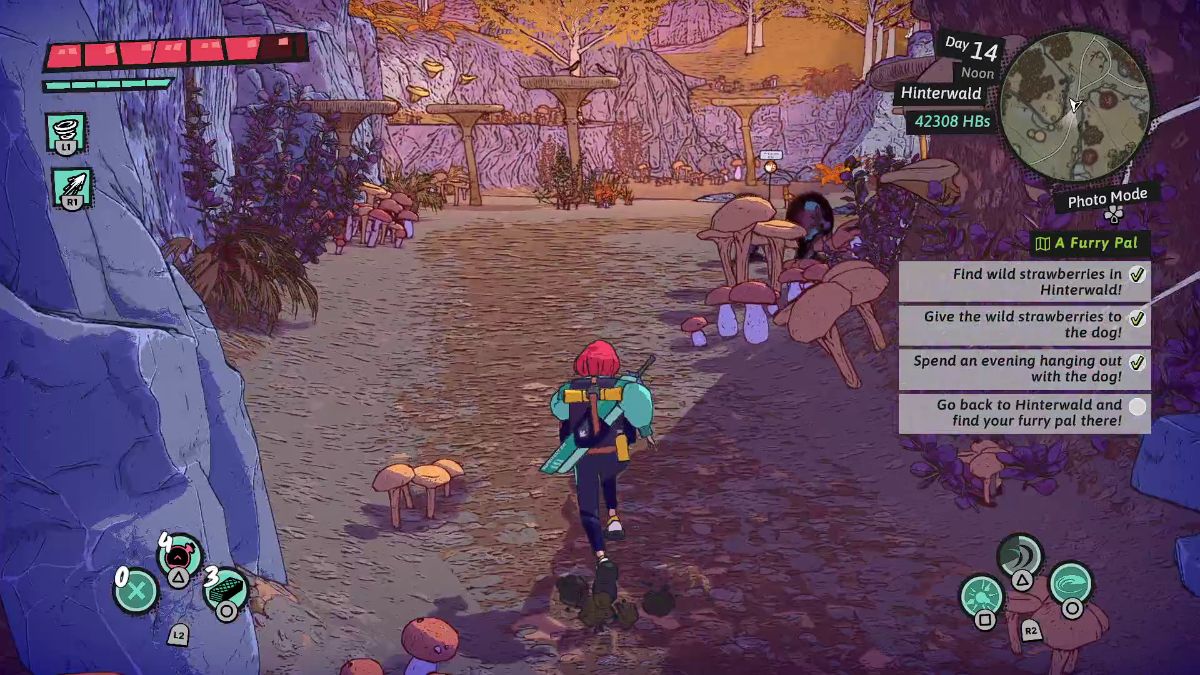 | Next time you come to the Hinterwalds, take the path southwest toward the Forest Glade. |
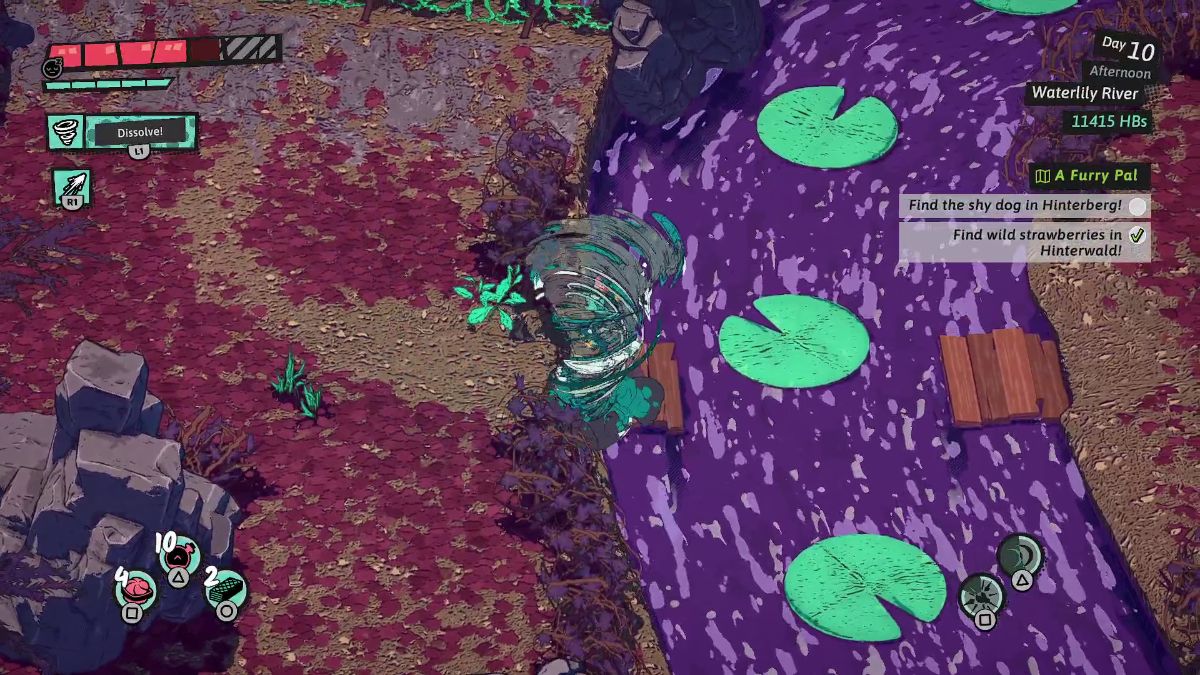
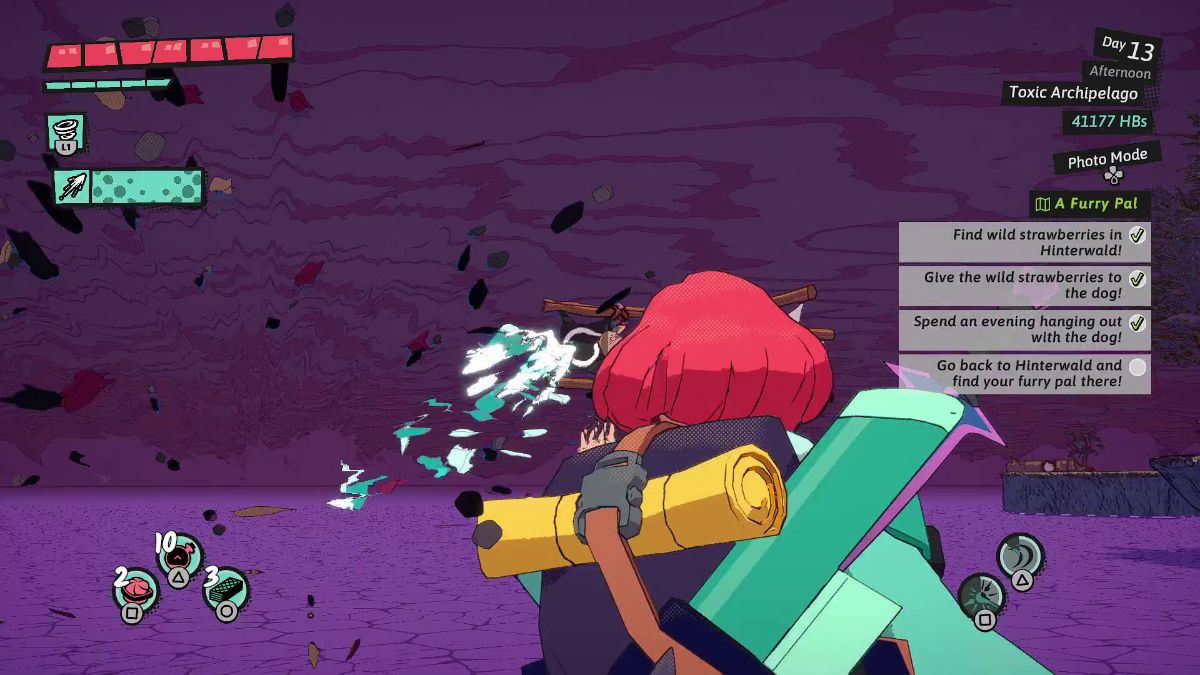
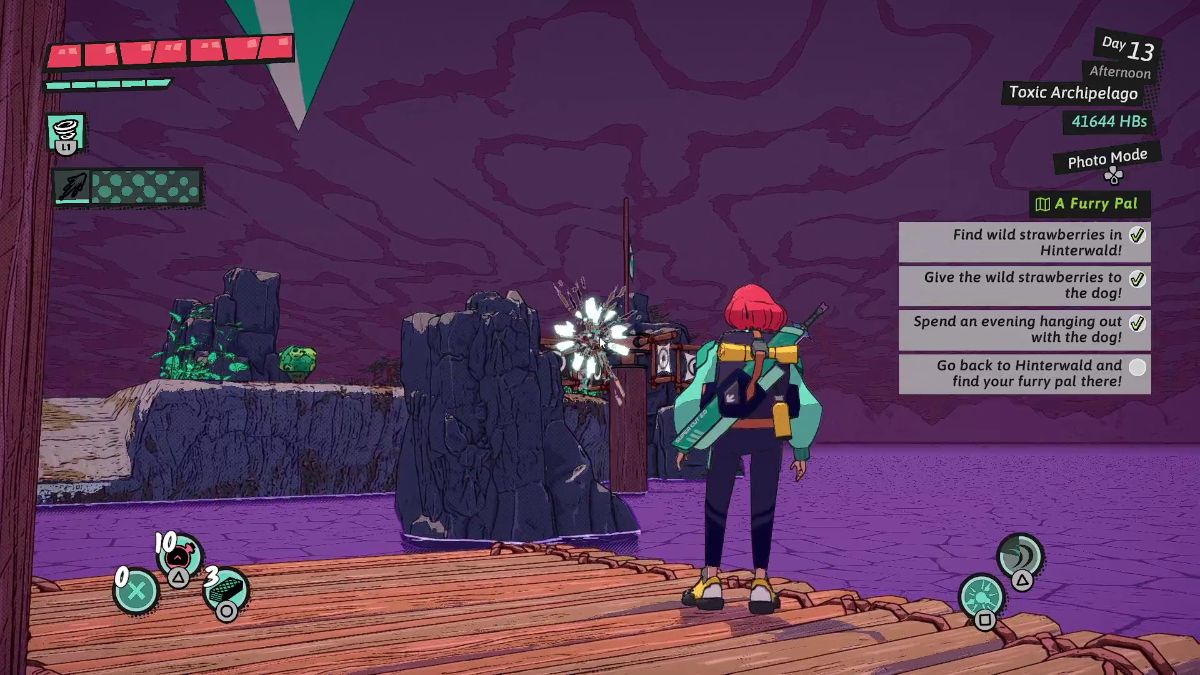
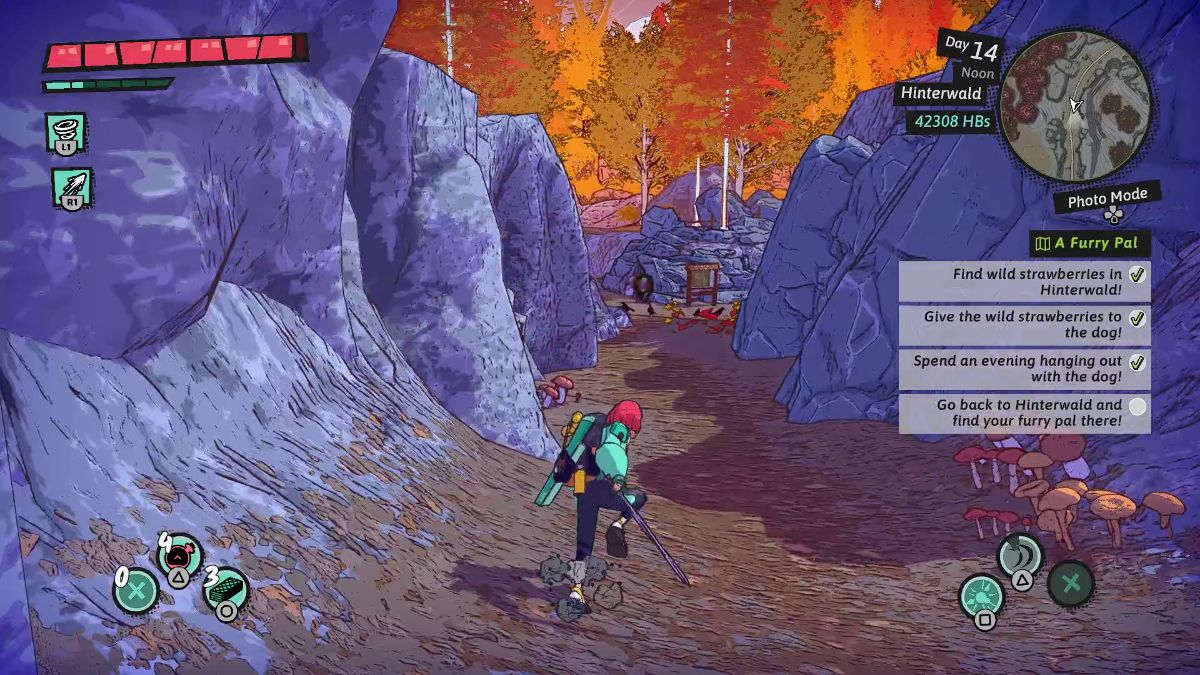 | Speak with your furry pal next to the Mushroom Isles sign to have him dig up the portal. |
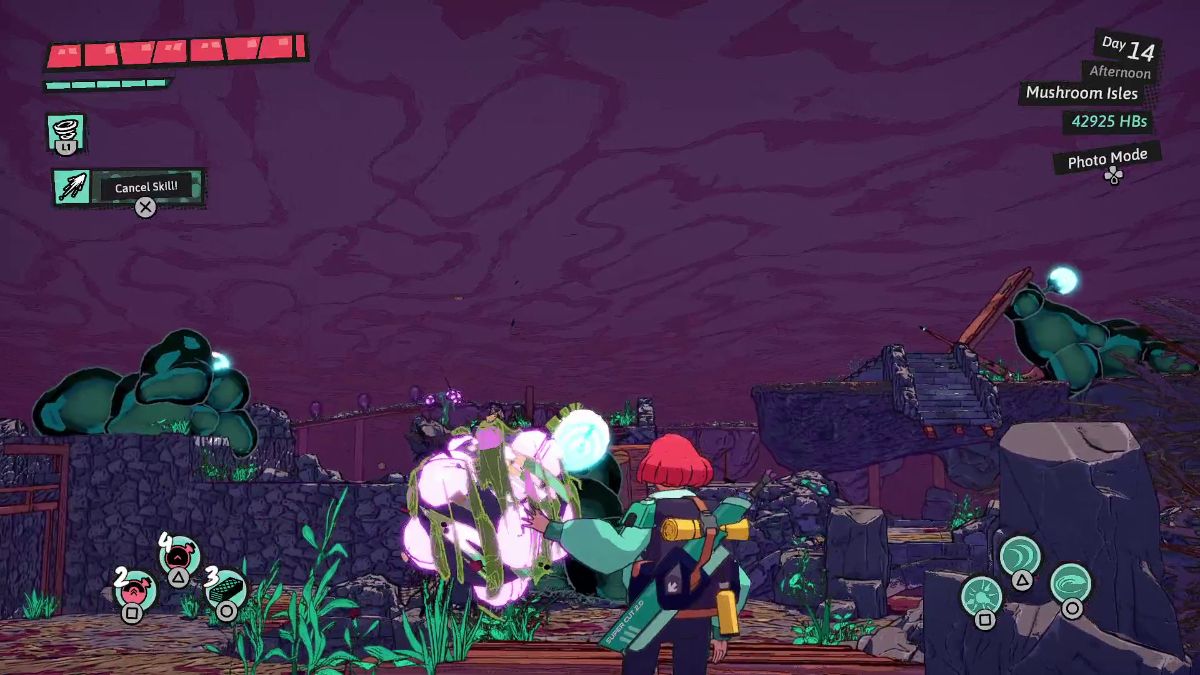
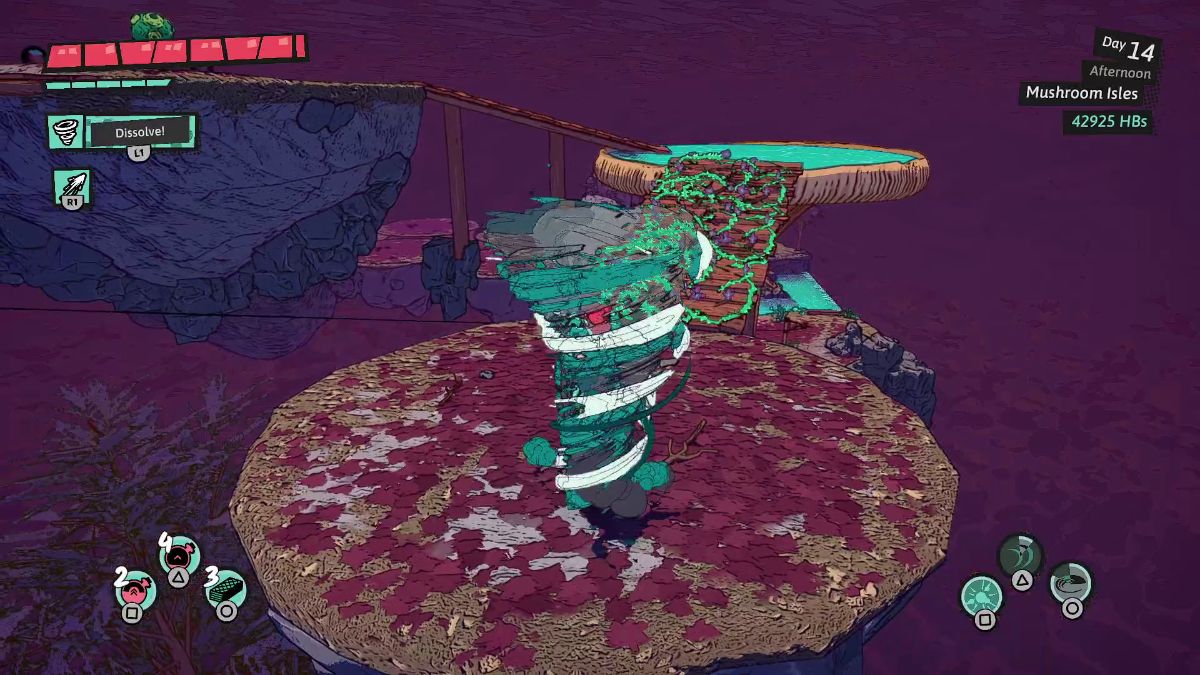
Clearing Mushroom Isles
| Visual Reference | Instructions |
|---|---|
 | Use Whirlwind to bring Luisa to the other side of the toxic lake. |
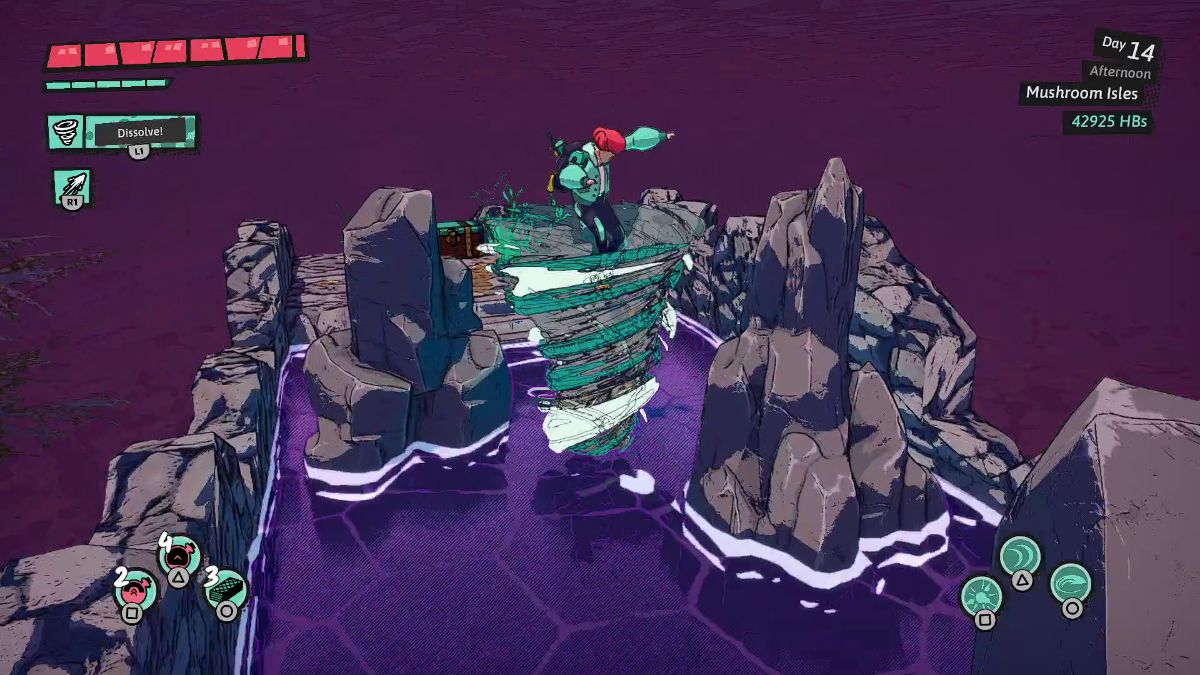
 | Use the rotating platforms to reach the other side of this are and get a Medium HP potion. |
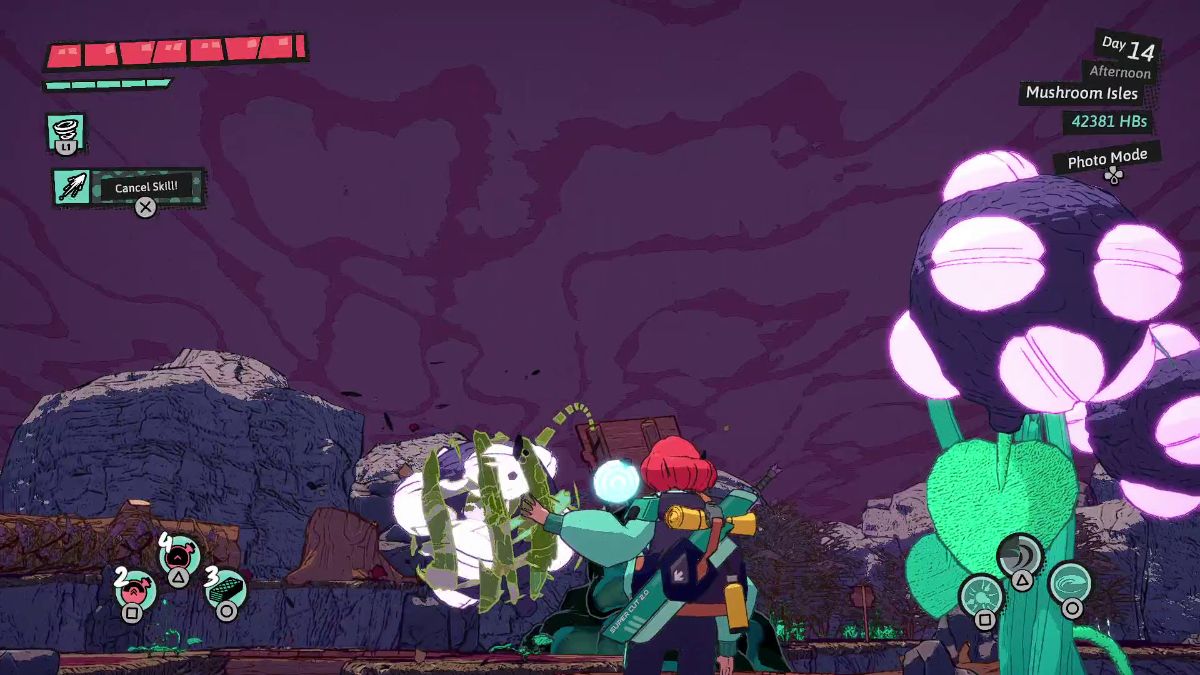 | Use a pink bomb flower to explode the black slime on the other end of the room. |
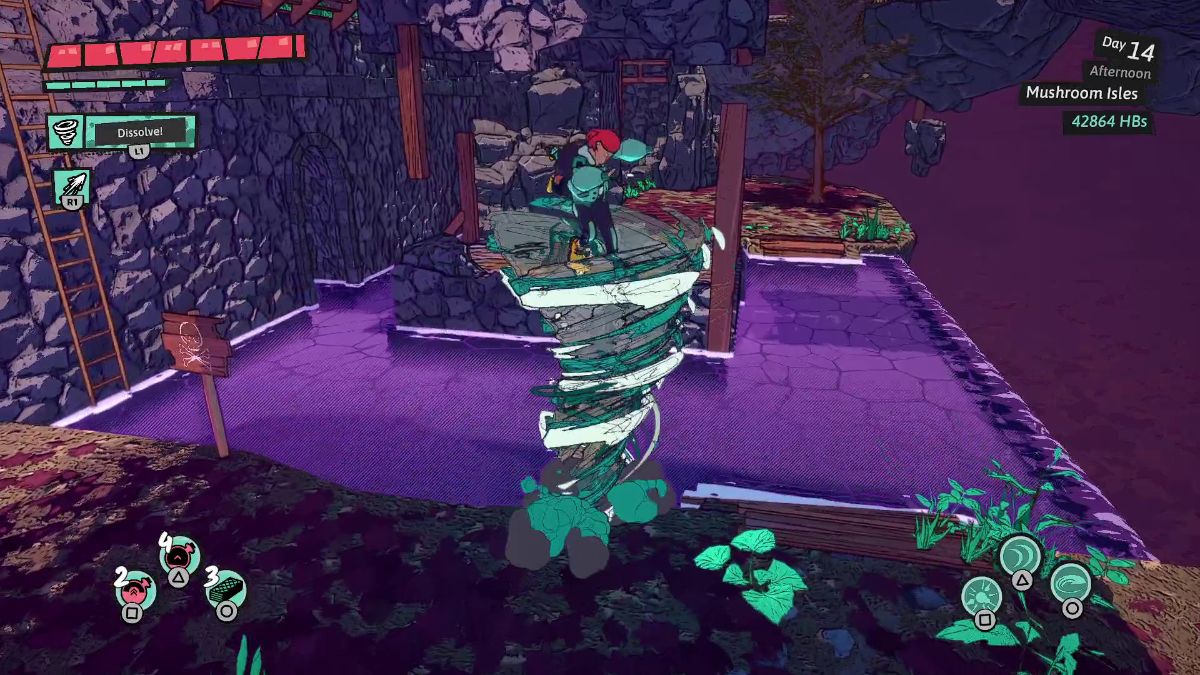
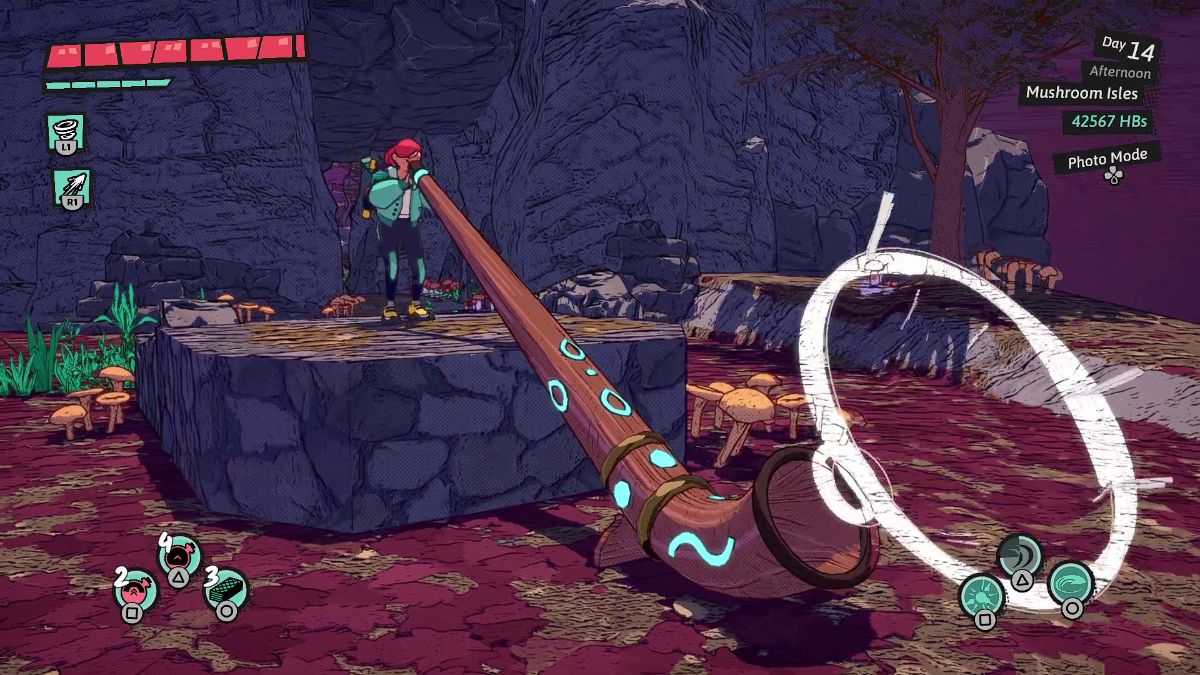 | Don’t worry about the chest on the higher platform for now. Head out through the exit behind you and play the erke to sanitize the waters. |
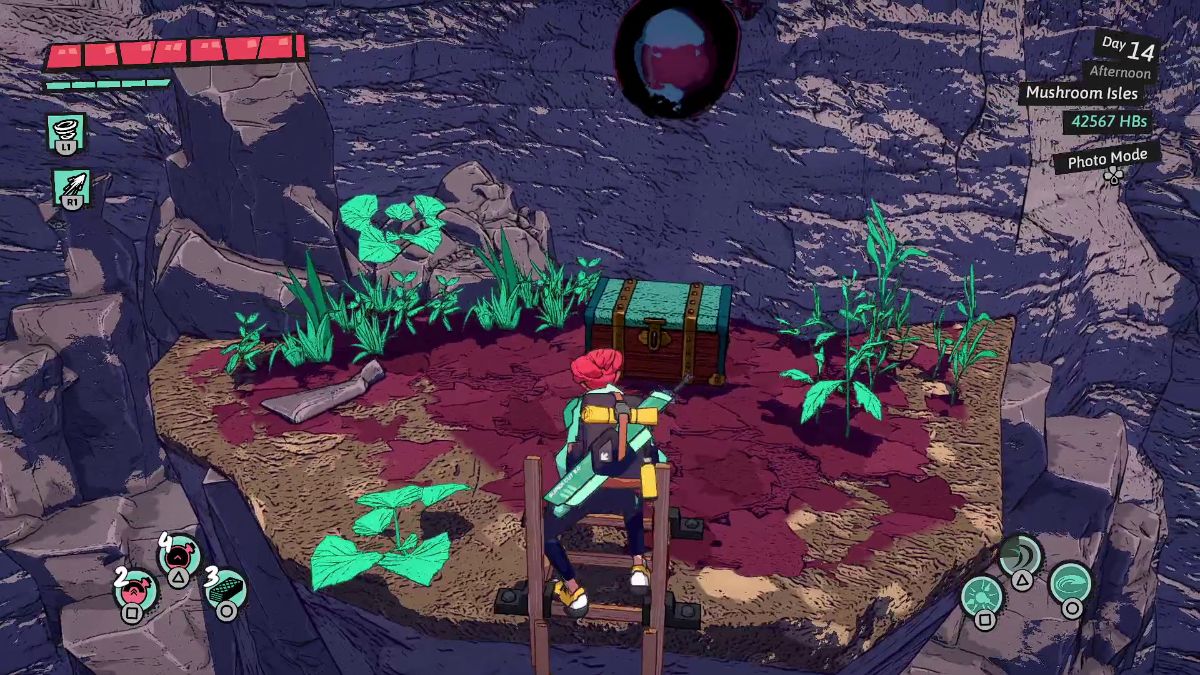 | Now that it’s safe, return, climb the stairs, and open the chest to get the Unique Coin for the Mushroom Isles. |
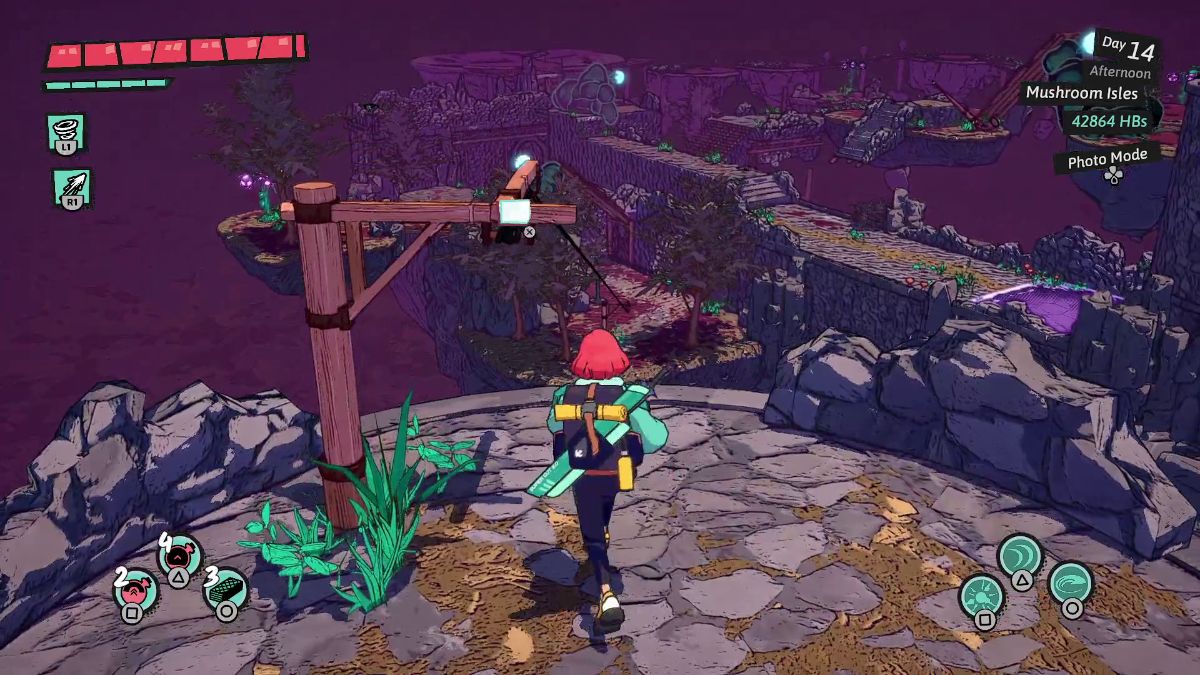
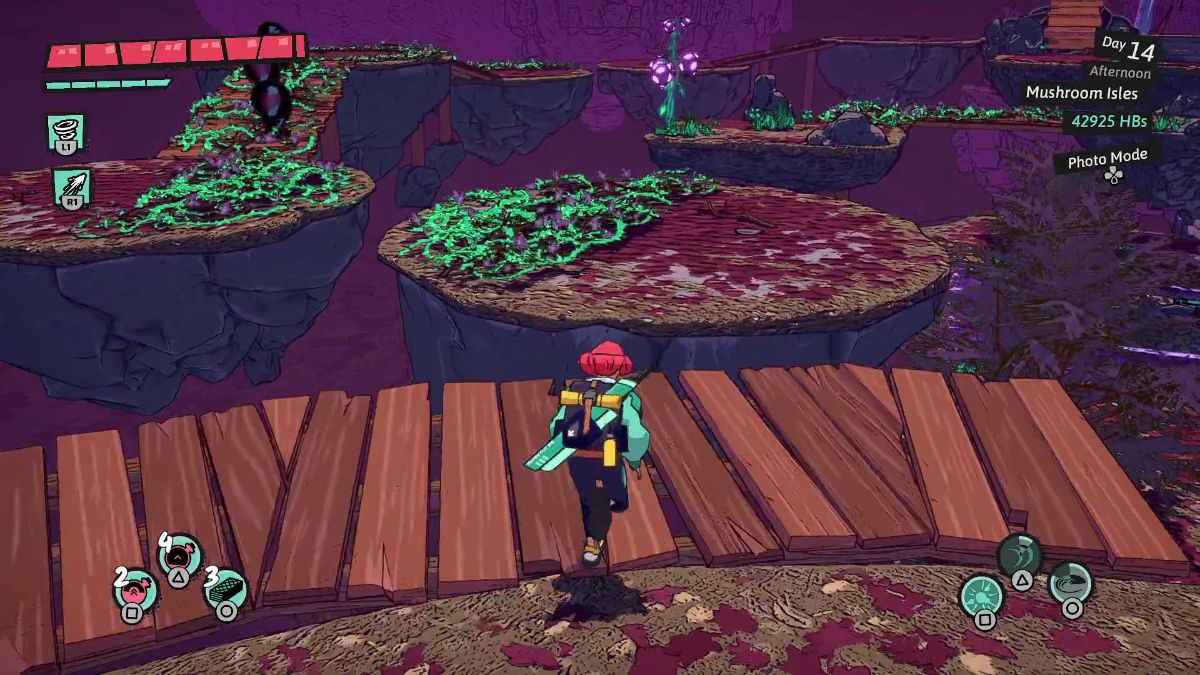
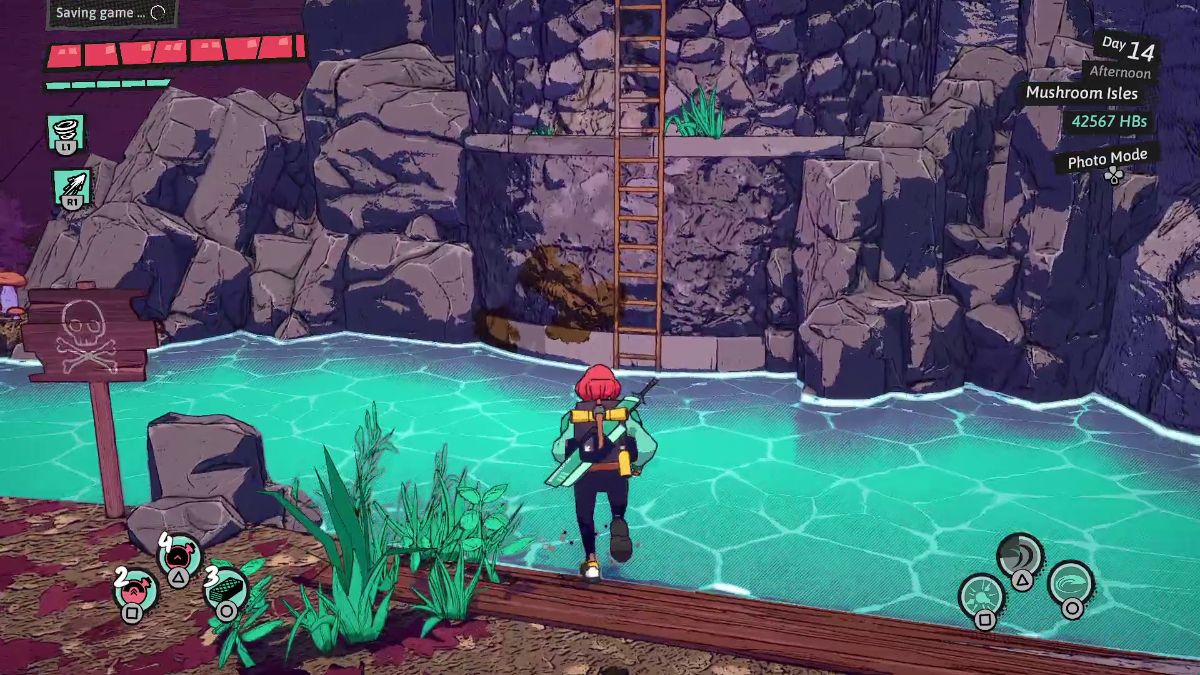 | Head back to the erke’s location and climb the ladder to the right. Then, zip to the area below: the main islet. |
 | Climb the tower on the upper right corner of this islet. At the top, zip to another islet. |
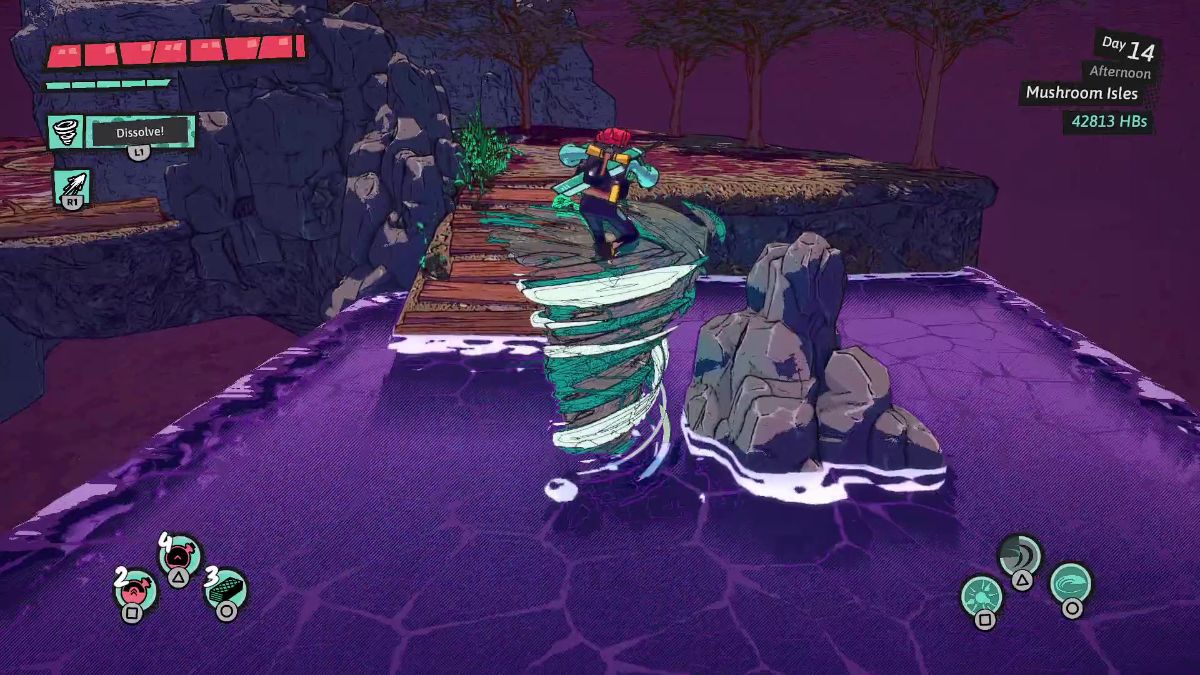 | Use Whirlwind to get to the other side of the toxic lake. |
 | Use the rotating platforms to reach the other side of this area and get a Medium HP potion. |
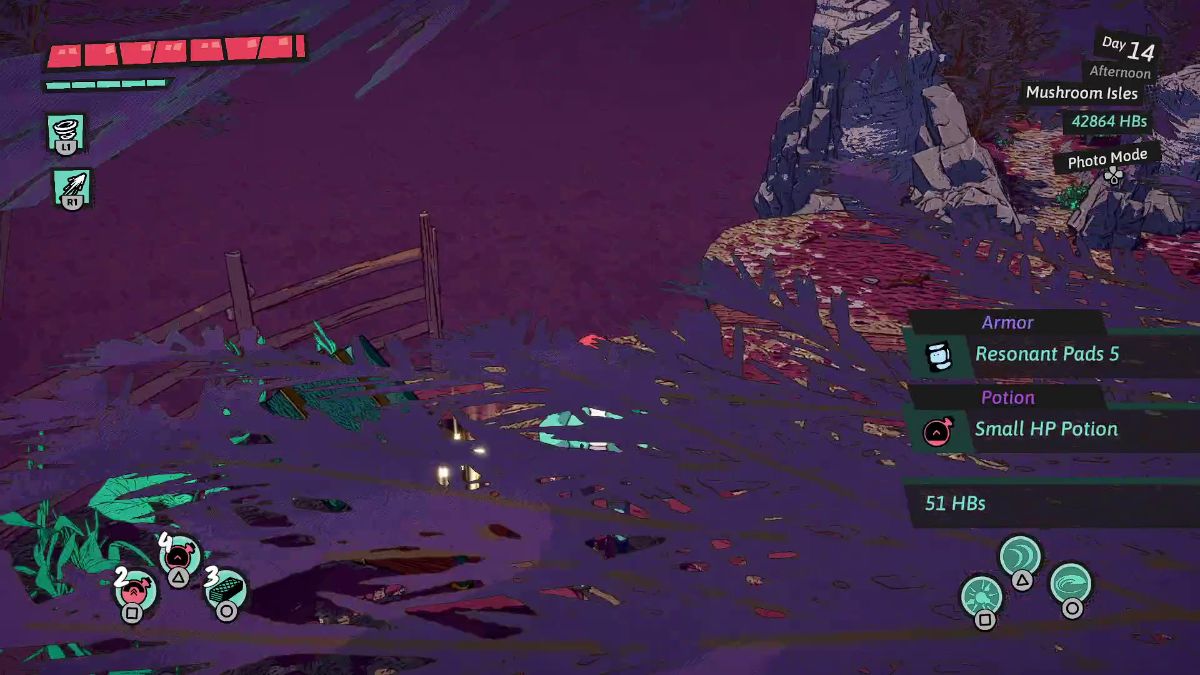 | Climb the ladder to your right and open the chest on top to get the Resonant Pads 5. Then, zip back to the main islet. |
 | Look for the other tower in the main islet. Climb to the top and zip to another side islet. |
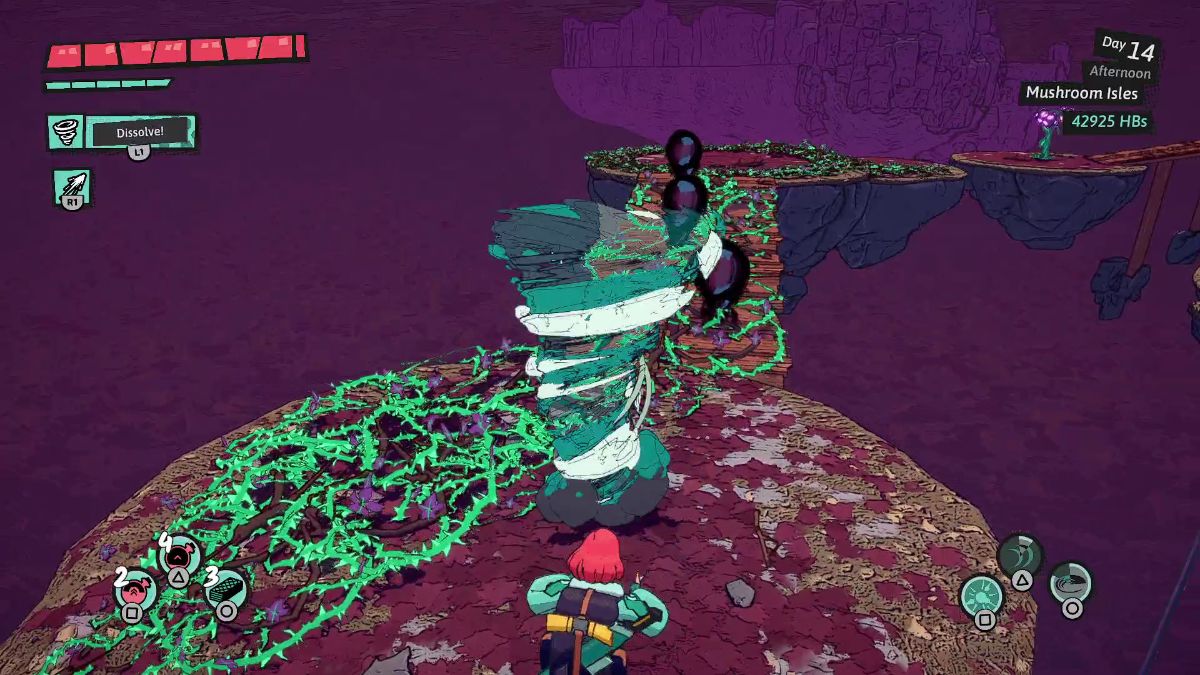
 | Go through the door and use Whirlwind to reach the other side of the toxic lake. |
 | Hug the wall to the left and climb the white ledges upward. Jump to the other side to reach a black slime. |
 | Use the pink bomb flowers to remove the slime. You can either aim at it or use a Whirlwind. |
 | Use Whirlwind to reach solid ground on the right. |
 | To get to the pink bomb flower without touching the thorns, whisk Luisa to the other side with Whirlwind. |
 | Aim the pink flower at the black slime’s eye. |
 | Return to the other side of the thorny patch. Then, use Whirlwind to reach the treasure chest on the other side of the toxic water. Here’s Shark-X-5, a sword. |
 | Climb onto the rotating platform for a fight with enemies. Then, jump on the clear side of the smaller rotating platforms on the right. |
 | Here, use Whirlwind to reach the pink bomb flower without taking damage from the thorns. |
 | Shoot the pink bomb flower at the slime ahead and blow the erke to sanitize the rest of the main islet. |
 | Use the stairs to your right to drop down. Then, keep going to the very bottom of this islet to reach the treasure chest in the center of these waters. inside, you can get the SlayTector Leggins Y-5. |
 | Follow the path back up until you spot this tower to your right. Go over the now-sanitized waters, and climb the ladder. Time to zip back to the main islet. |
 | Climb the mushroom at the center and then hop on the blue pool to the right. |
 | Destroy the black slime with the pink flowers. |
 | Use Whirlwind to avoid damage from the thorny patch. |
 | After a wave of enemies, stamp your book and head out of this dungeon. |
| Visual Reference | Instructions |
|---|---|
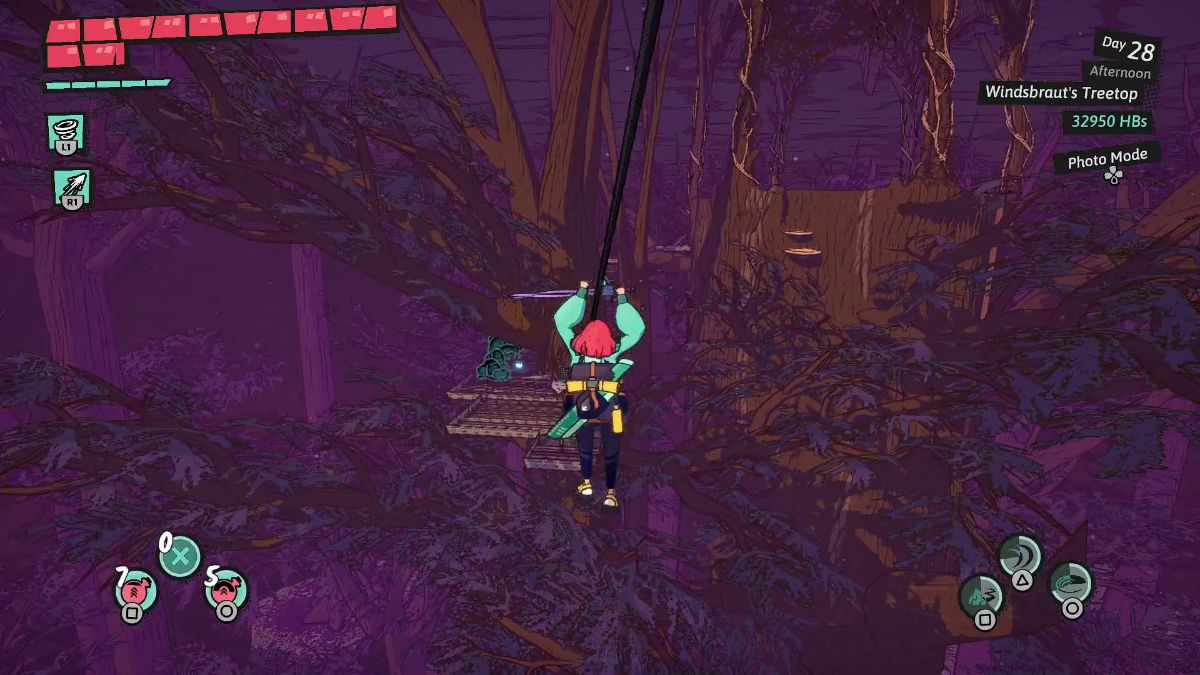 | Zip to the platform on the opposite side. |
 | After defeating a wave of enemies, shoot a pink bomb at the eyeball hanging on the slime. |
 | Use your Wind Projectile to shoot the whirlwind on the right. |
 | Use Whirlwind to bring the pink bombs past the net near the slime and open the way forward. |
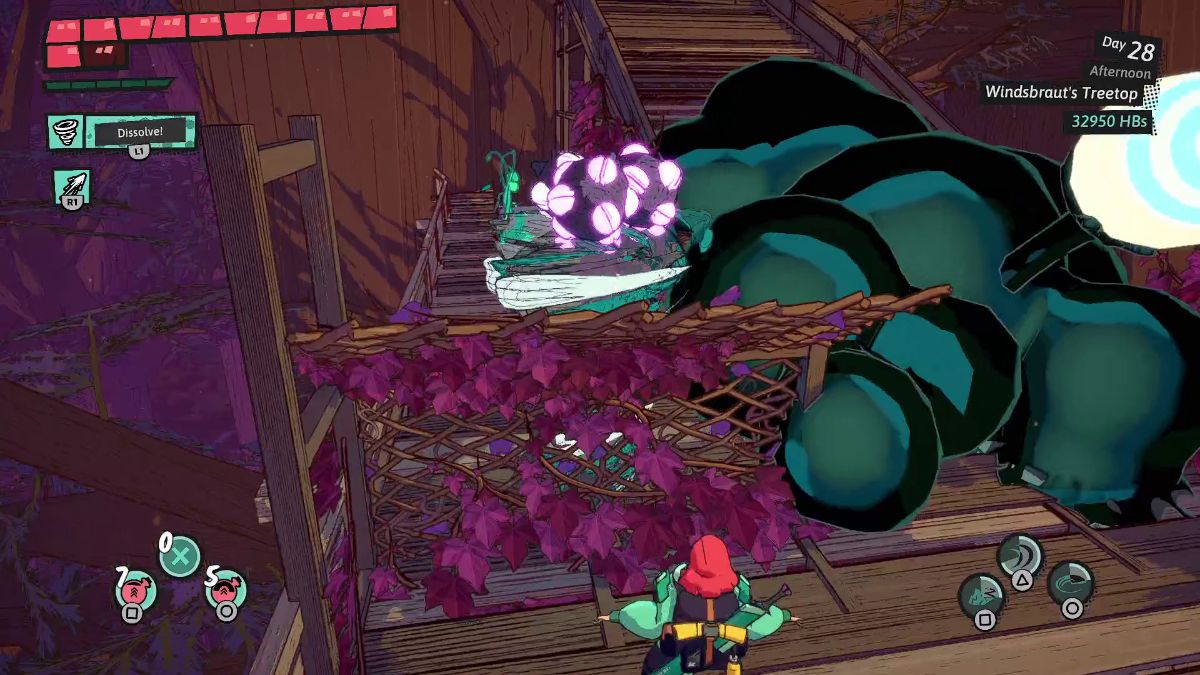
 | Play the Erke to prompt Windsbraut to shower the arena with pink bombs. |
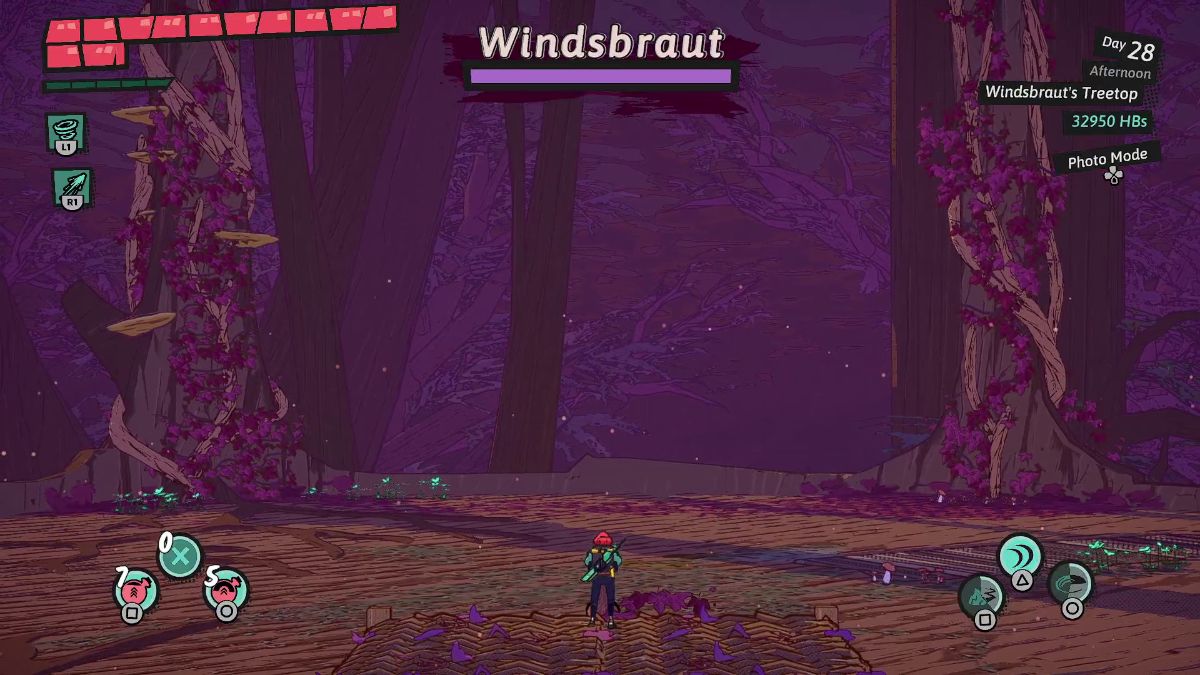
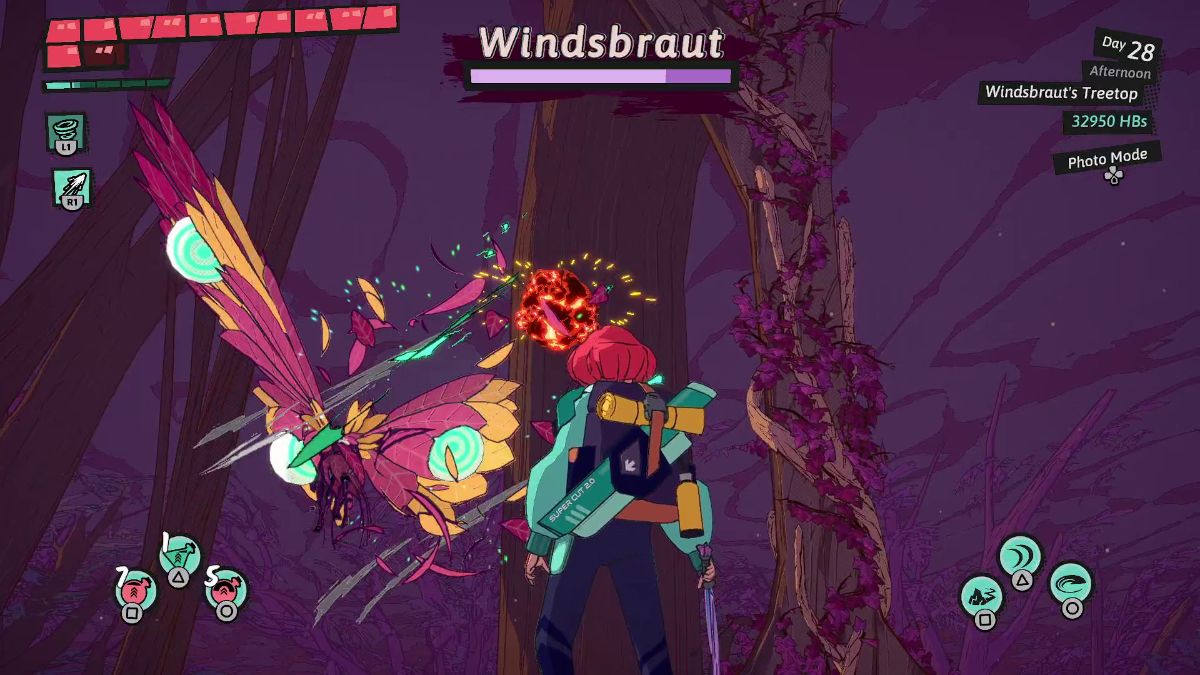 | Pick the bombs up with Wind Projectile and shoot them at Windsbraut’s four wings. |
 | Repeat the process until all wings are down. Then, it’s time to attack her at ground level until her health bar is depleted. |
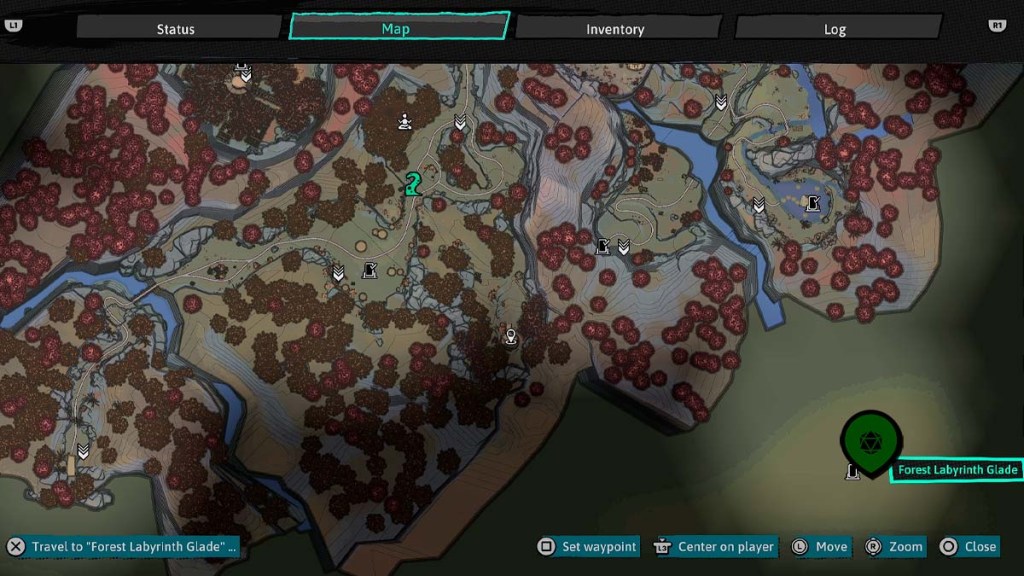
How to complete the Labyrinth

When you approach the Everchanging Grove’s entrance, you are greeted by Albert. To pass through, increase your Familiarity by interacting with Hinterberg’s locals or reading a book at night.
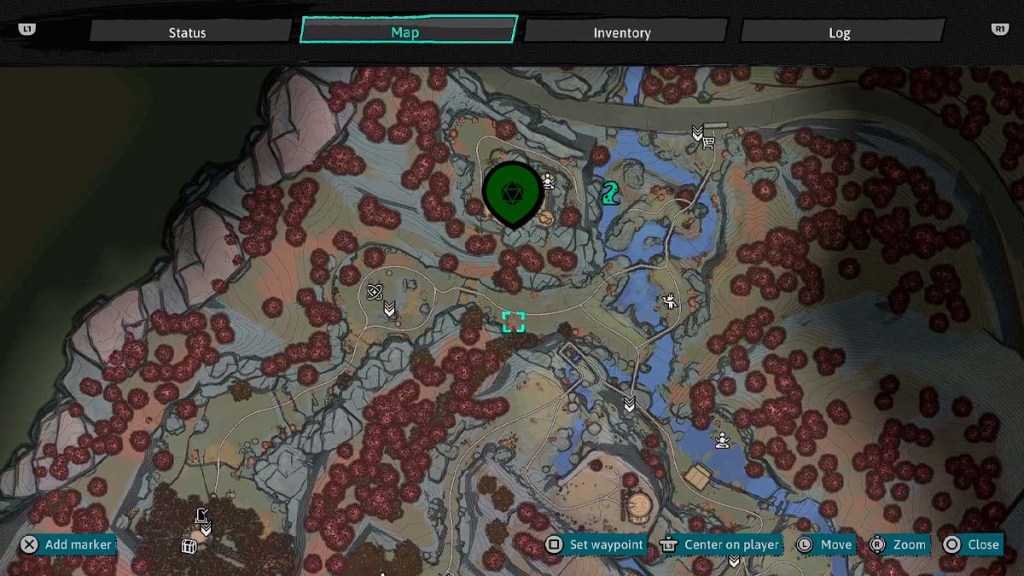
Then, follow the yellow butterflies to the right, upward, right, and upward.
Clearing Everchanging Grove
| Visual Reference | Instructions |
|---|---|
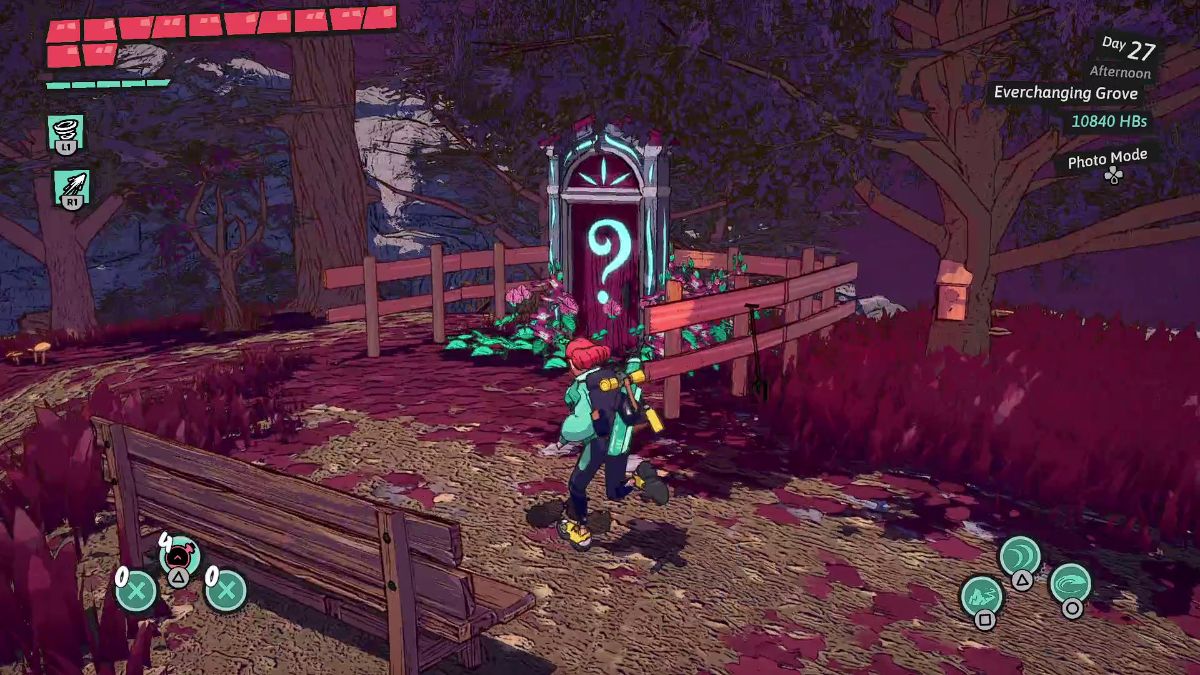
 | After defeating a wave of enemies, head through the door with the question mark. |
 | Speak with Kai and his buddy at the bonfire. He explains how this puzzle works. When ready, go through the following doors: |
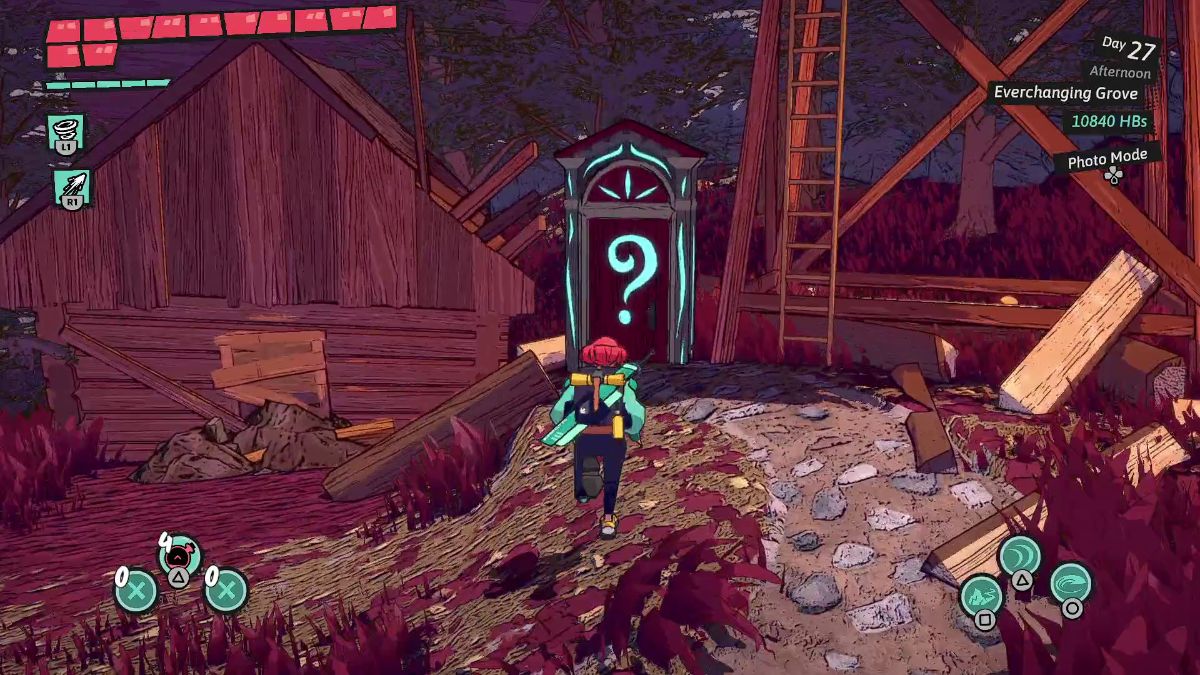
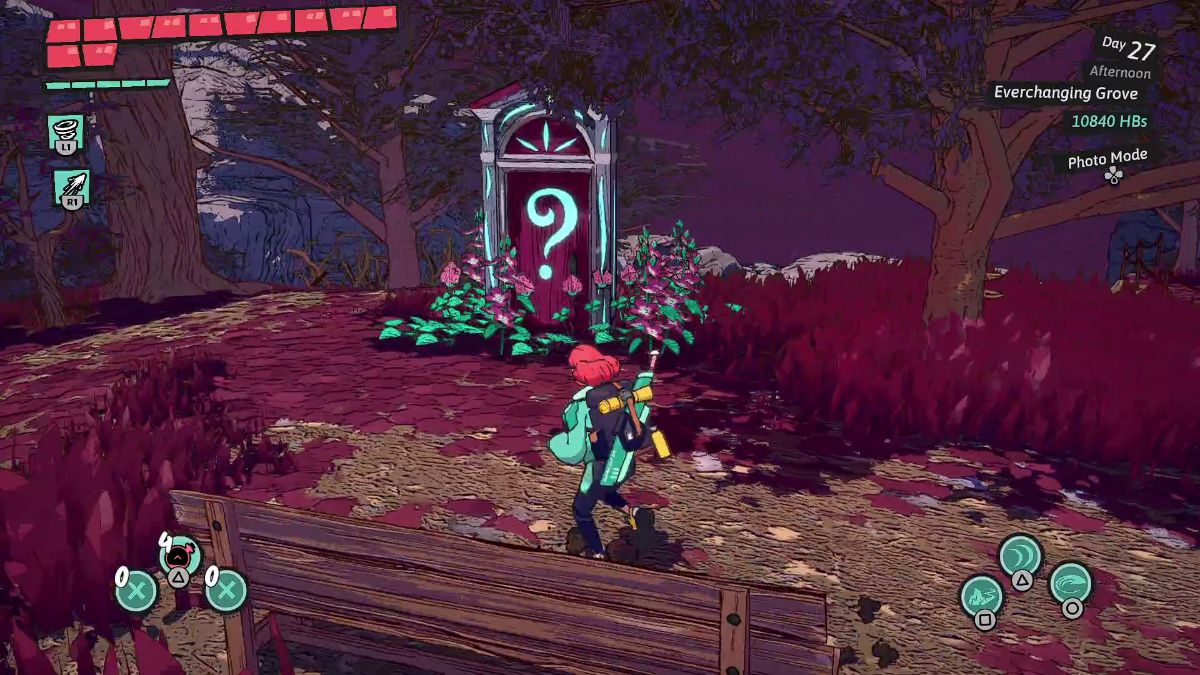 | Go through the door on the hill with the tree to the left. |
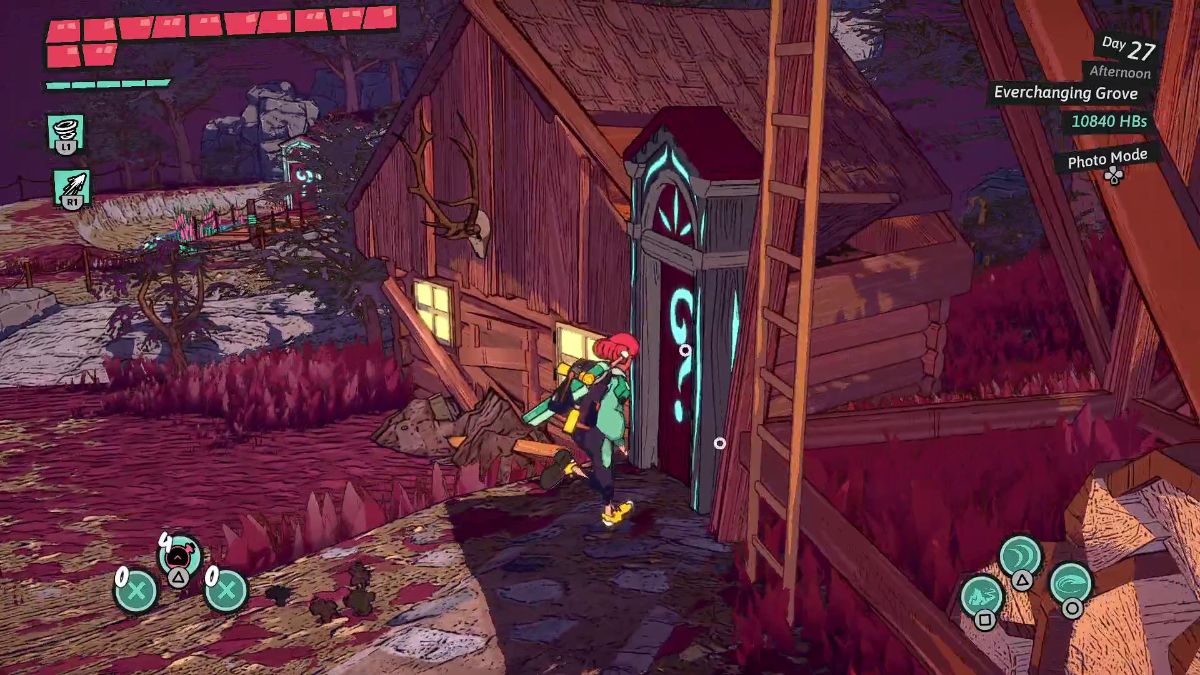 | Go through the door by the cabin. |
 | Go through the door by the pond. |
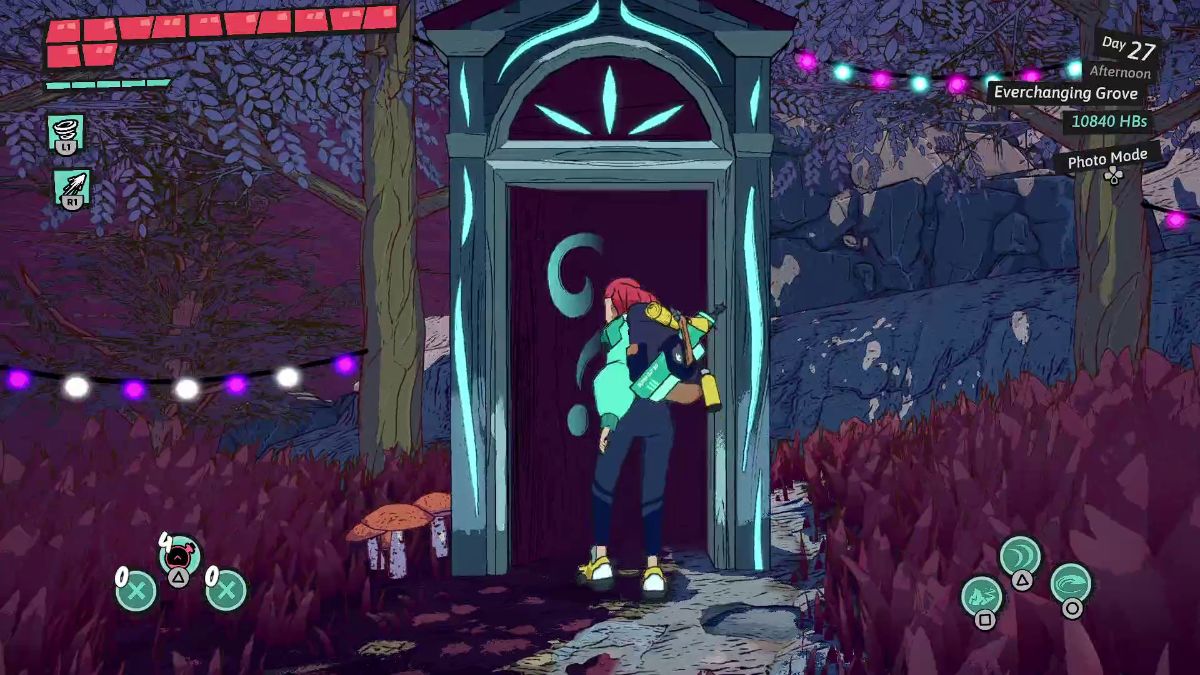 | Go through the door surrounded by thorns and adorned with lights. |
 | Go through the fenced door on the left. |
 | Go through the door near the cabin on the right. |
 | Go through the door in the center. |
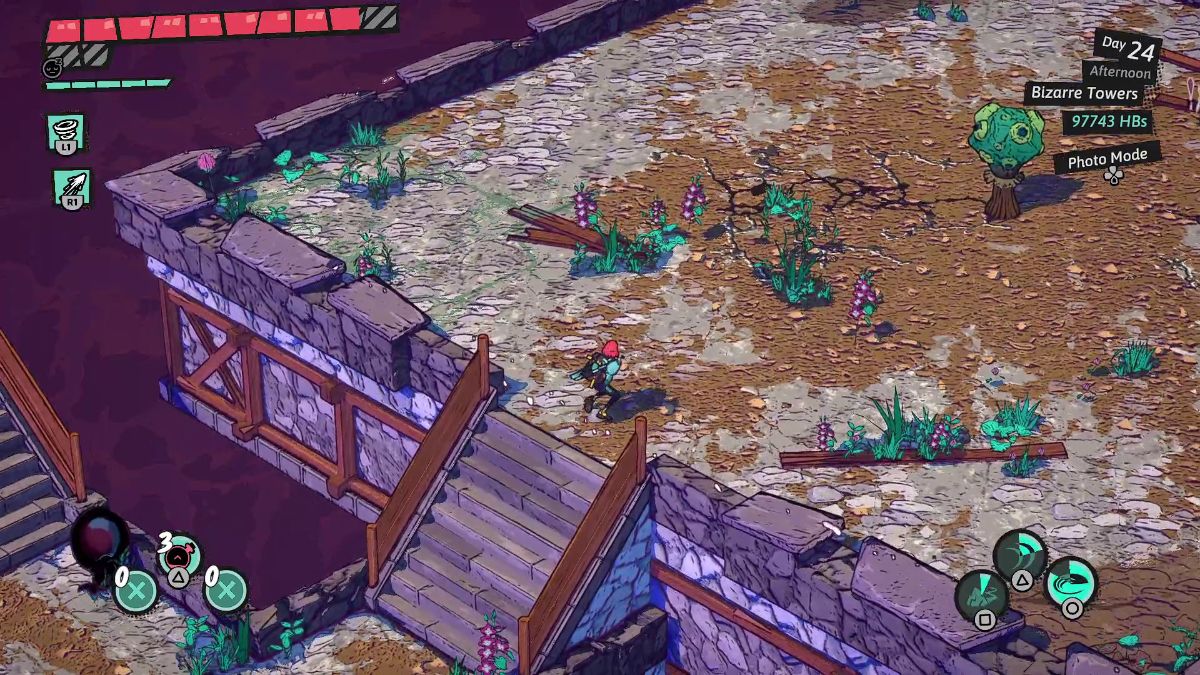
 | After defeating a wave of enemies, stamp your book and get out of here. |
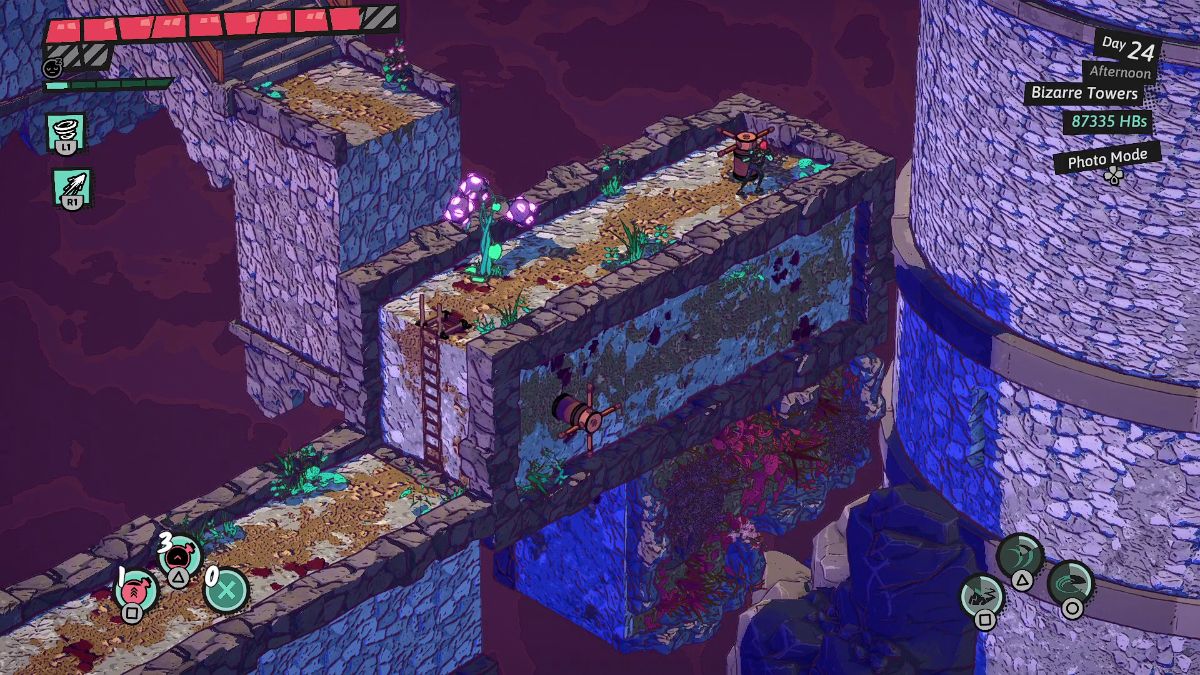
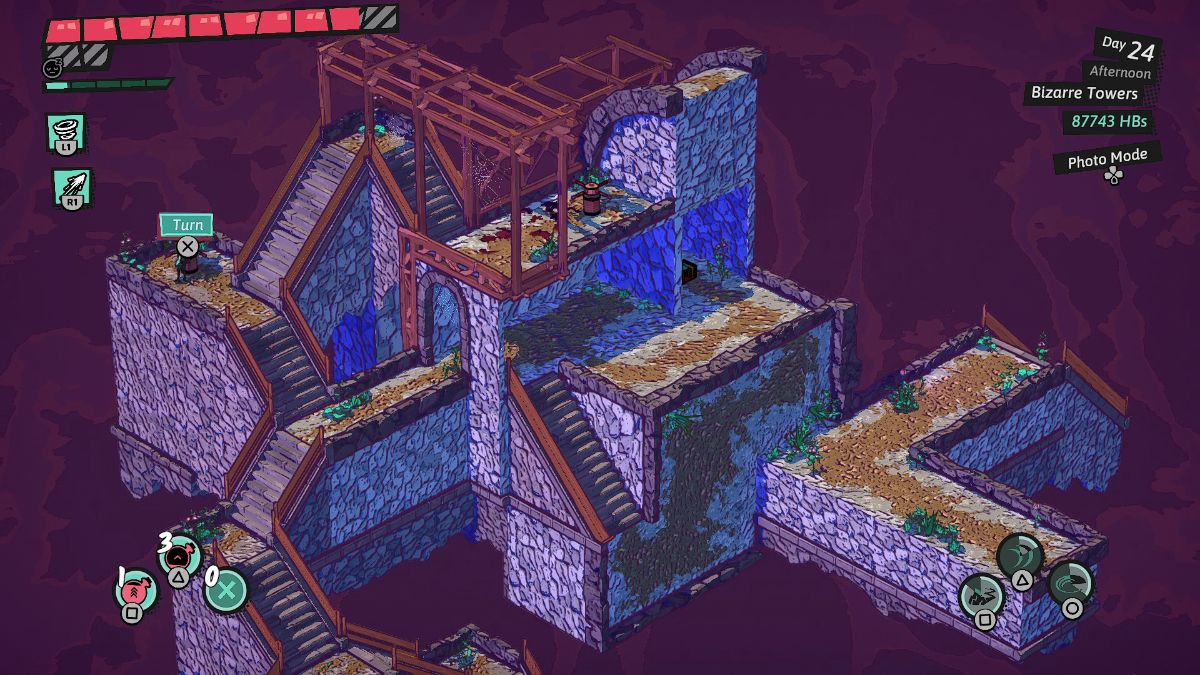
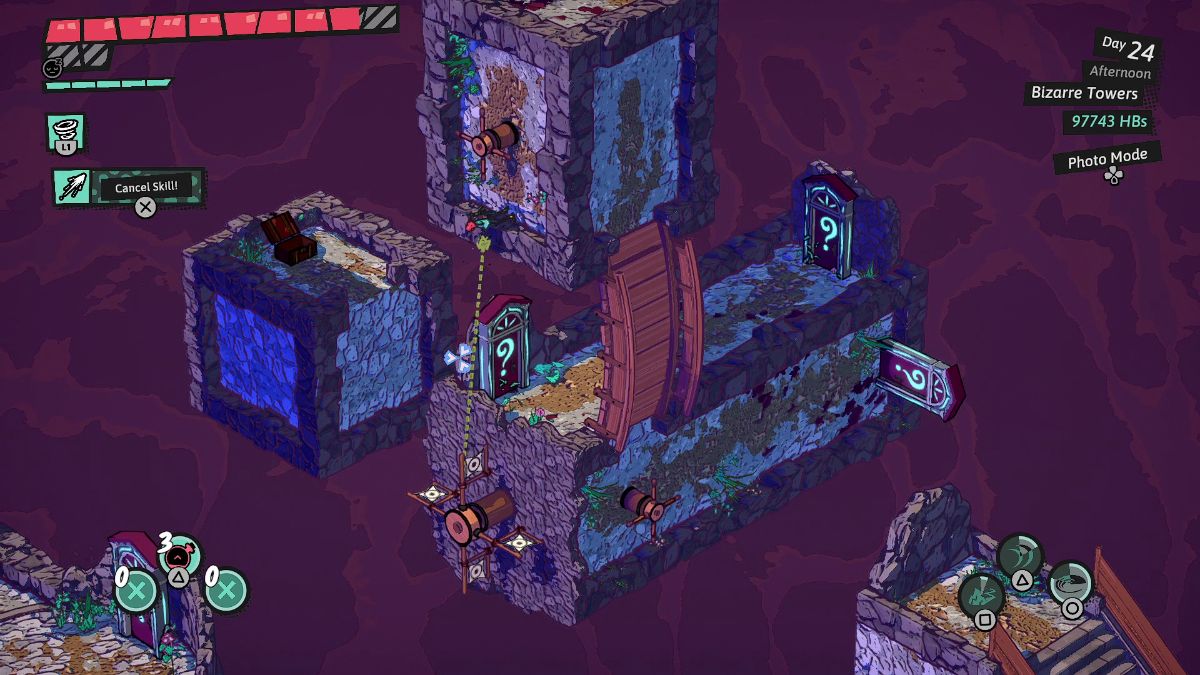
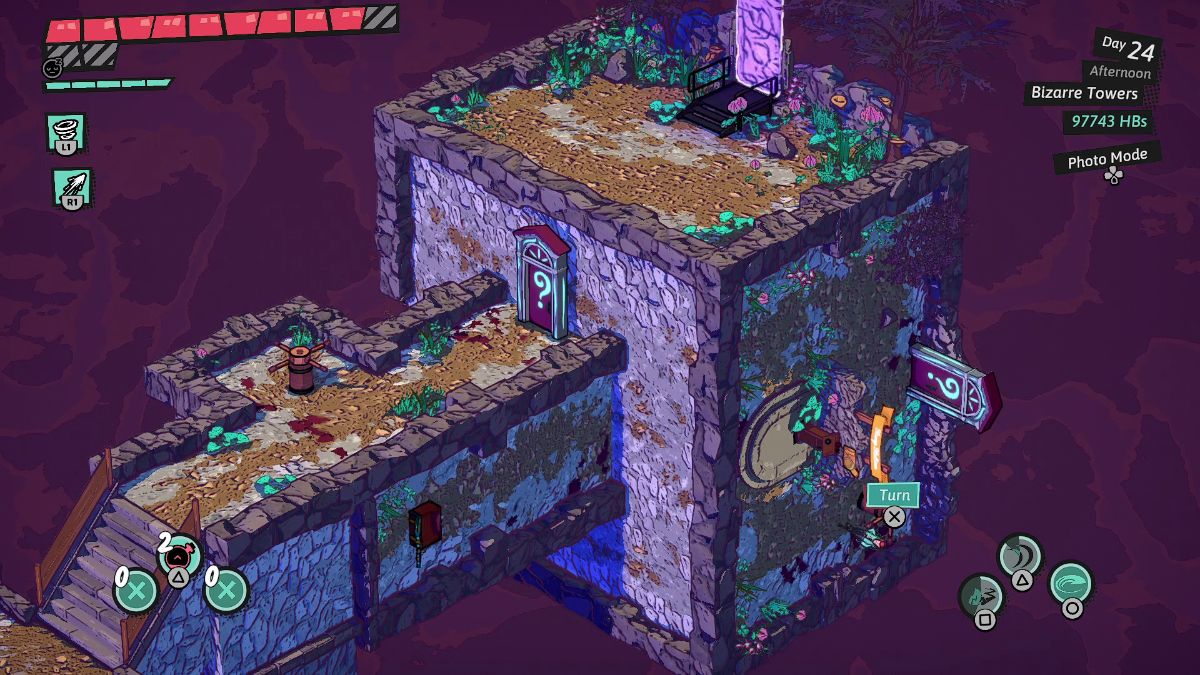
Clearing Bizarre Towers
| Visual Reference | Instructions |
|---|---|
 | Climb up the ladder to reach the upper platform. |
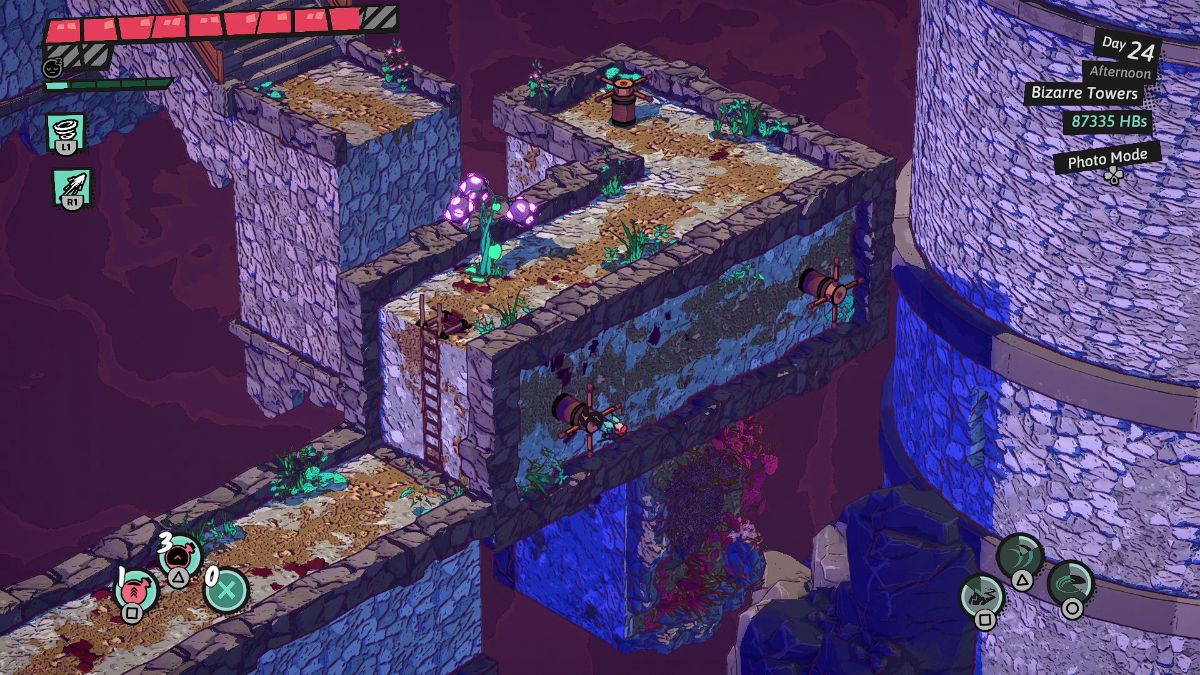
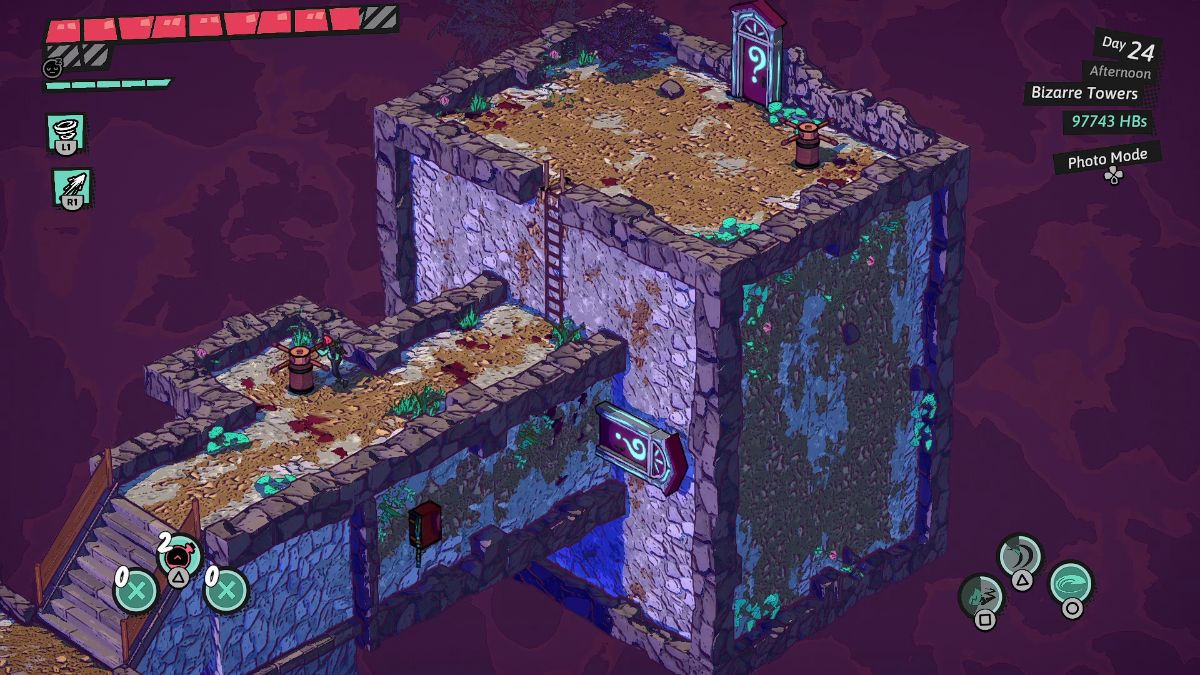
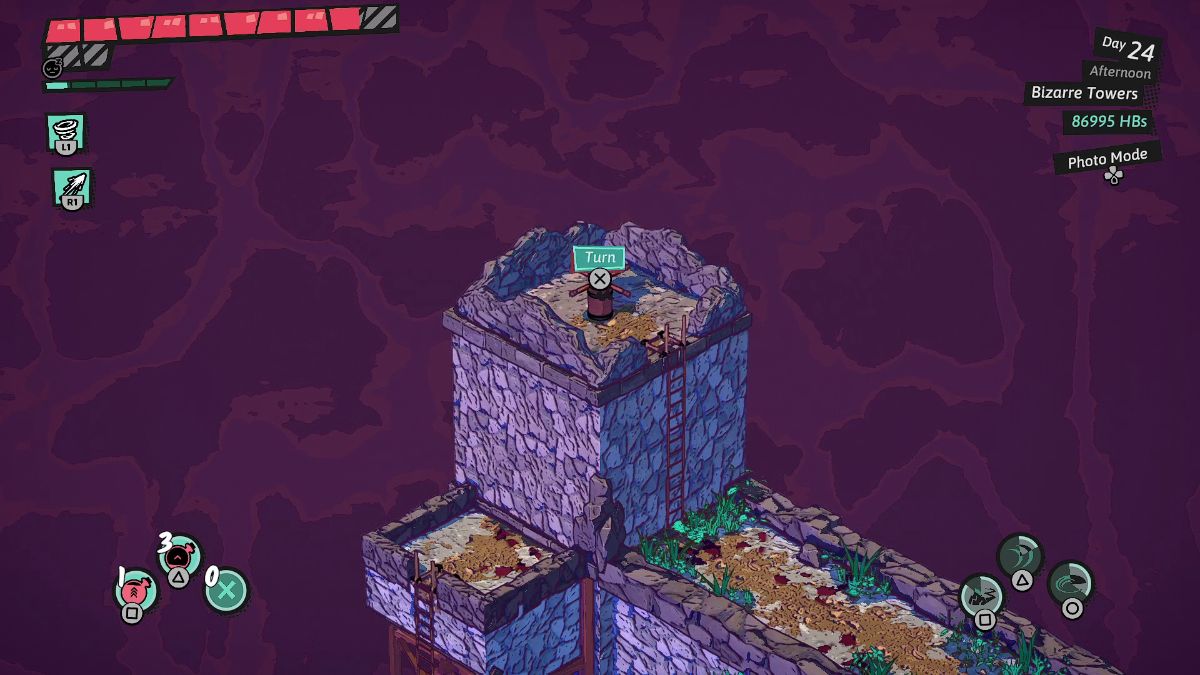 | Turn the wheel once and use the ladder to your right to descend. |
 | Use the wheel on the bottom to turn the platform so the curve is facing the right. |
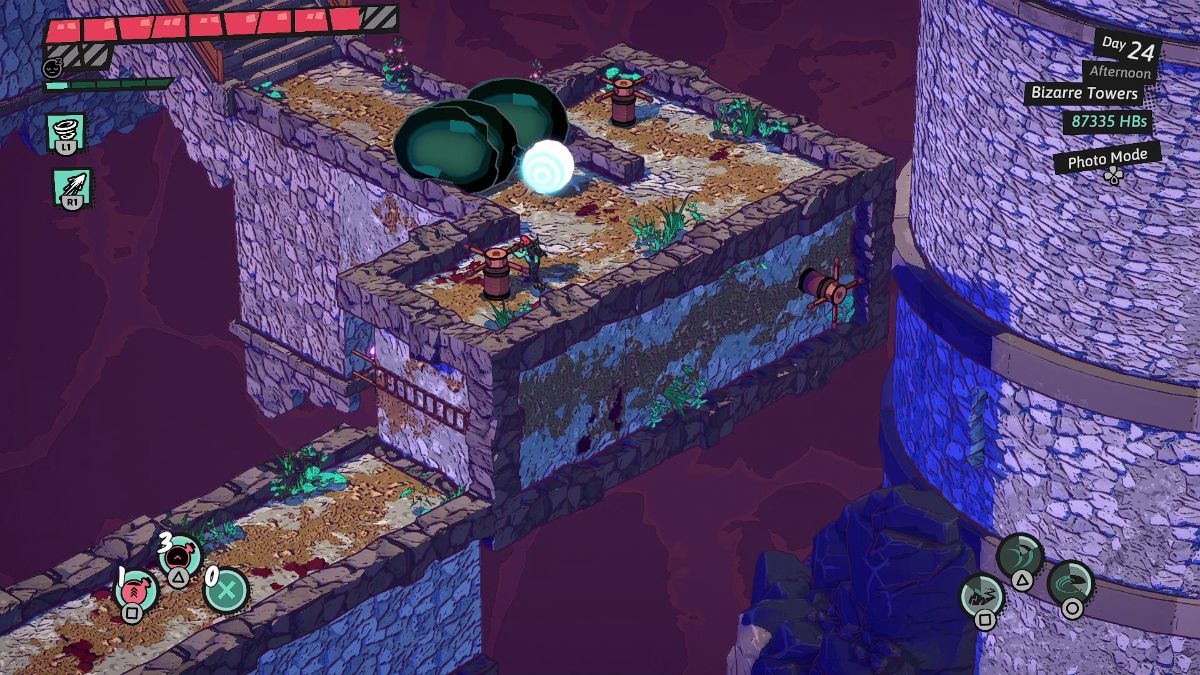
 | Follow the path downward to find a chest with The Bizarre Towers coin. |
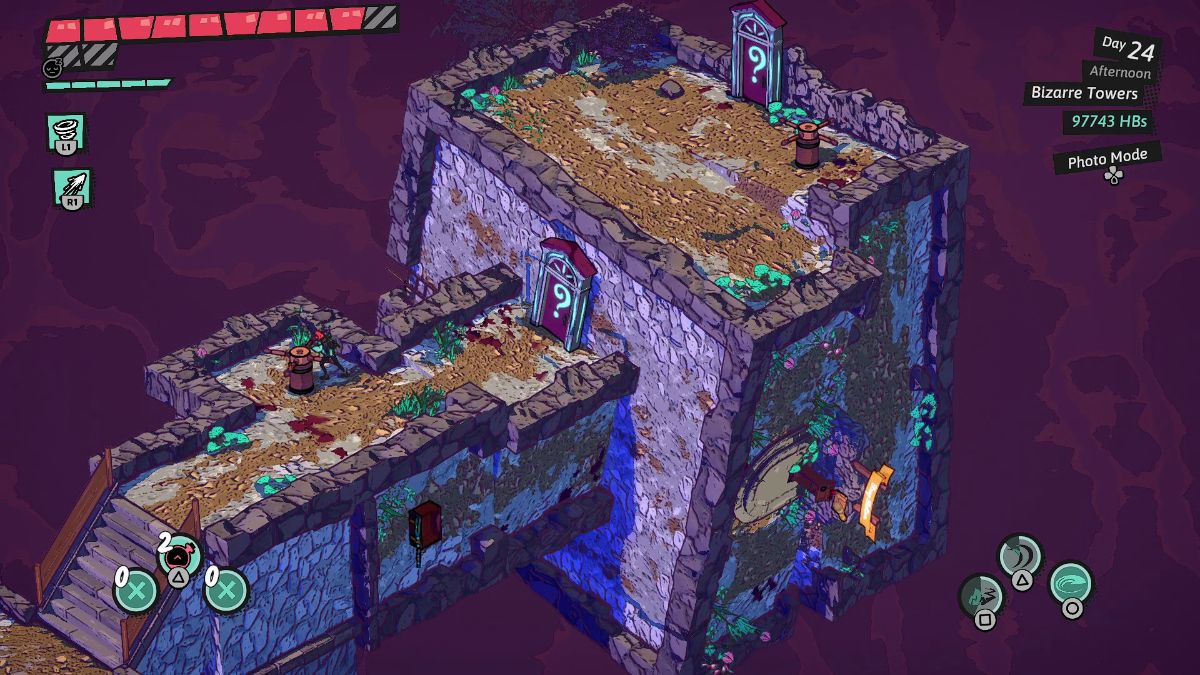
 | Head back up and climb the ladder to progress. |
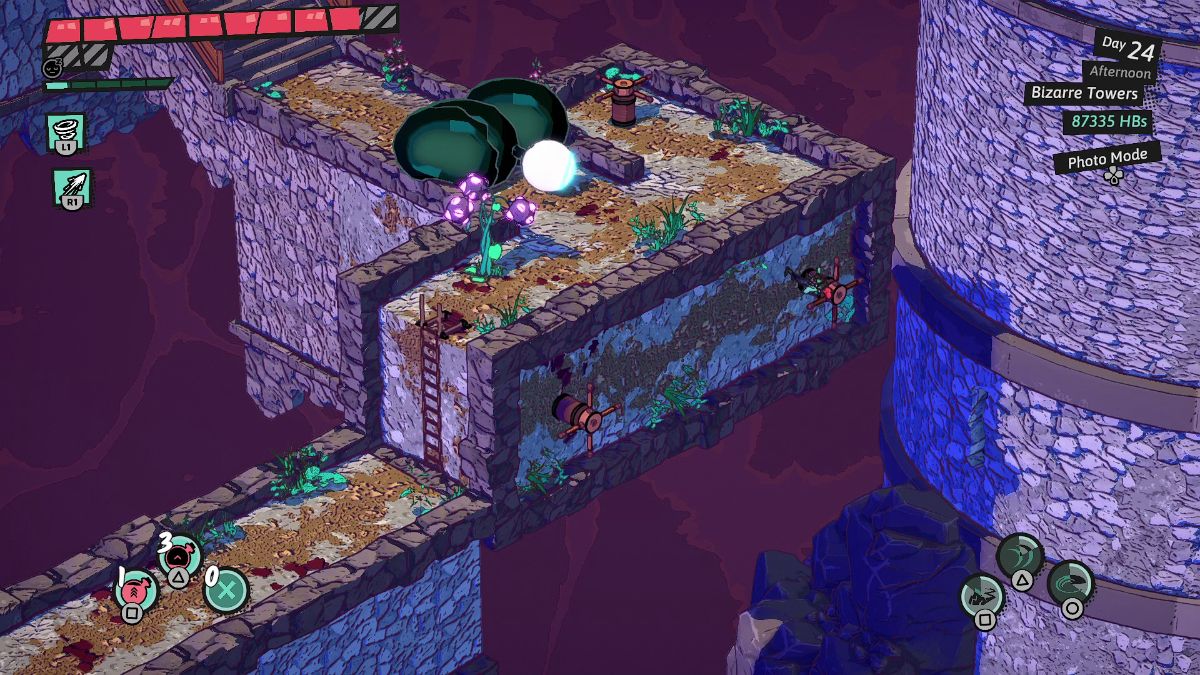
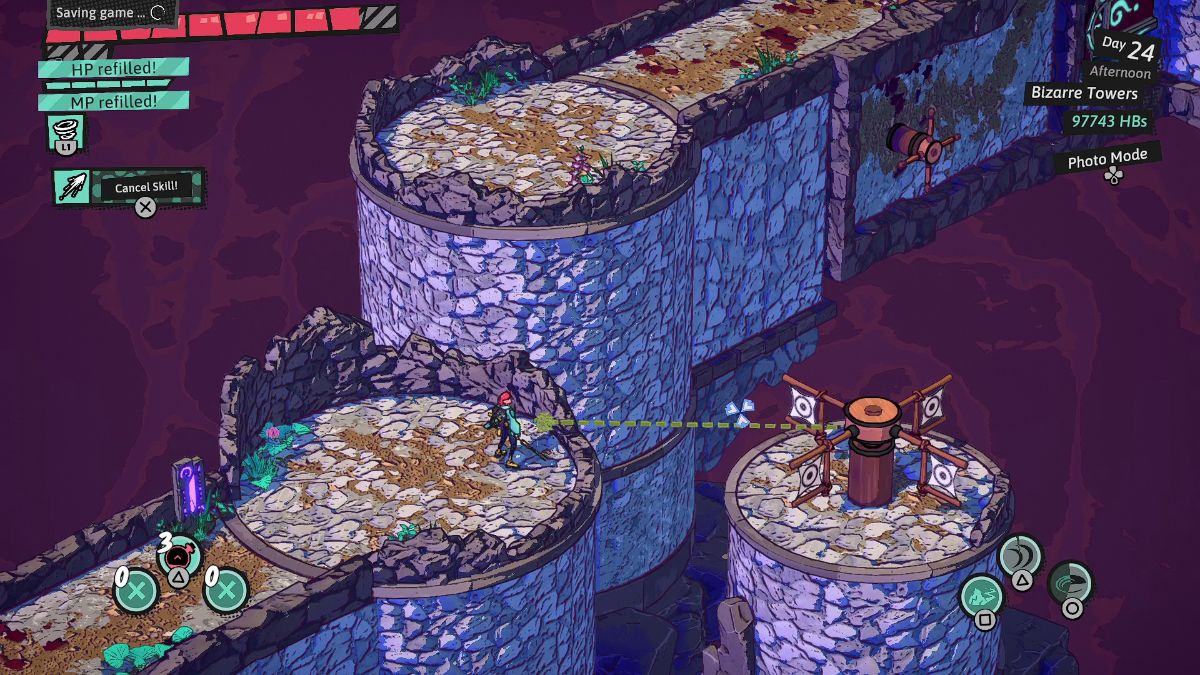
 | Turn the wheel at the end of the path to rotate the platform. |
 | Then, turn the wheel on the left side of the platform to rotate it again. |
 | Rotate the wheel on the back of this platform to reveal an eyeball you can shoot. |
 | Come to the front of the platform to rotate this wheel once more. |
 | Now head to the back of the platform on the side to rotate this platform. |
 | Use your Wind Projectile to grab the explosive flowers and aim toward the eyeball in front of the slime. |
 | Up the stairs, leave the wheel on the left untouched. Carry on to the stairs on the bottom right and climb them to reach the wheel in the center. Rotate it. |
 | Now, go back to the wheel on the left side and rotate it. |
 | Go through the archway on the right and grab the treasure chest before you descend the stairs. |
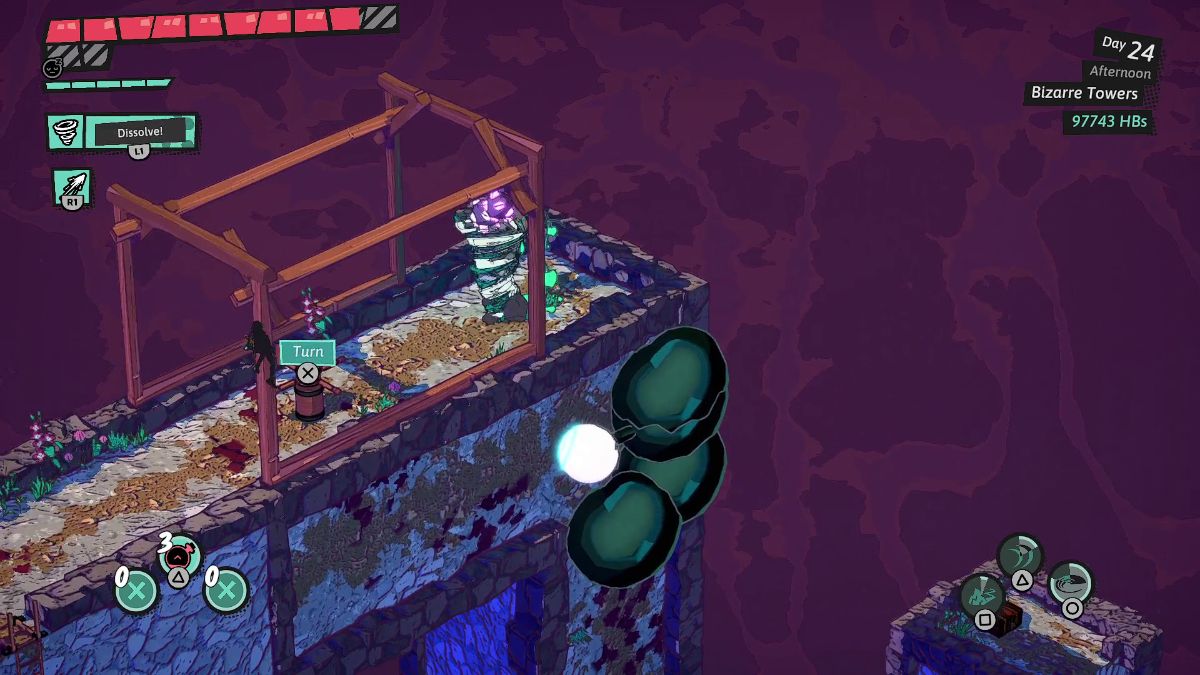
 | After a wave of enemies and saving at the Waystone, use your Wind Projectile to shoot at the whirlwind to the right. Go through the door. |
 | Up the stairs, shoot at the whirlwind to the left. Then, go through the door. |
 | Turn the wheel on the side to the right. Then, go through the door again to catch the treasure chest you just revealed. |
 | Go back through the door. Shoot the whirlwind and turn the wheel on the left. |
 | Then, go through the door on the right. Time to go up the ladder and face a wave of enemies. |
 | Stand under the wooden gazebo structure, shoot a Whirlwind at the flowers to the right, and bring them near you. |
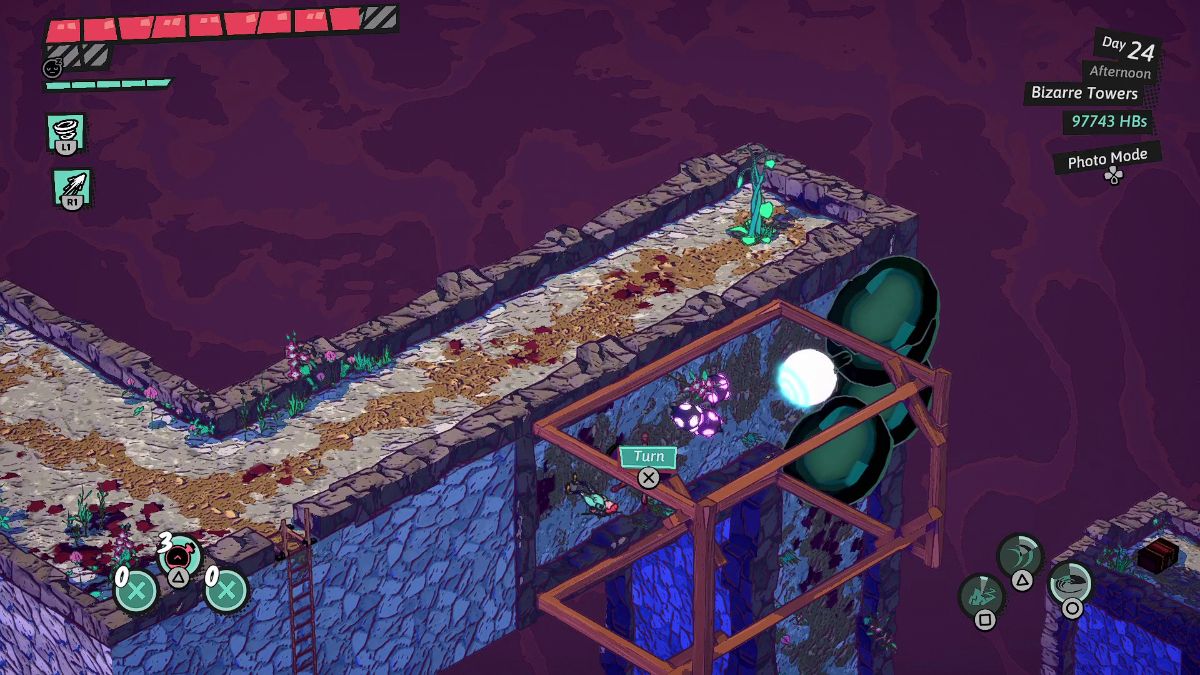 | Then, turn the wheel and move the Whirlwind toward the eye with slime. |
 | Go through the door on the right to get to the new platform. Here, continue through the door on the right. On the side, turn the wheel to rotate this platform. Open the chest on the other side. |
 | Turn the wheel once again and cross the bridge. Here, turn the wheel on the square-shaped platform. Then, shoot the whirlwind below you. |
 | Turn the wheel again, cross to the other side, and turn the wheel here. |
 | Go through the door on the right, then through the door on the left. |
 | Rotate the platform ahead and charge into an encounter with foes. |
 | Here, go through the door on the upper platform to catch the chest on the side. |
 | Head back down the ladder and turn the wheel on the left. |
 | Go through the door and rotate the wheel on the upper platform. Here, get your book stamped. |
 | Head back to the starting point. Rotate the platform above so it shows a door. |
 | Go through the door and, once you’re on the upper platform, rotate the wheel. |
 | Here, go through the door on the right. |
 | Rotate the wheel on the left to replace the door with a ladder. Climb it, and get out of here. |
Dungeons of Hinterberg: Kolmstein Dungeons and Skill Shrine
Kolmstein Skill Shrine
| Visual Reference | Instructions |
|---|---|
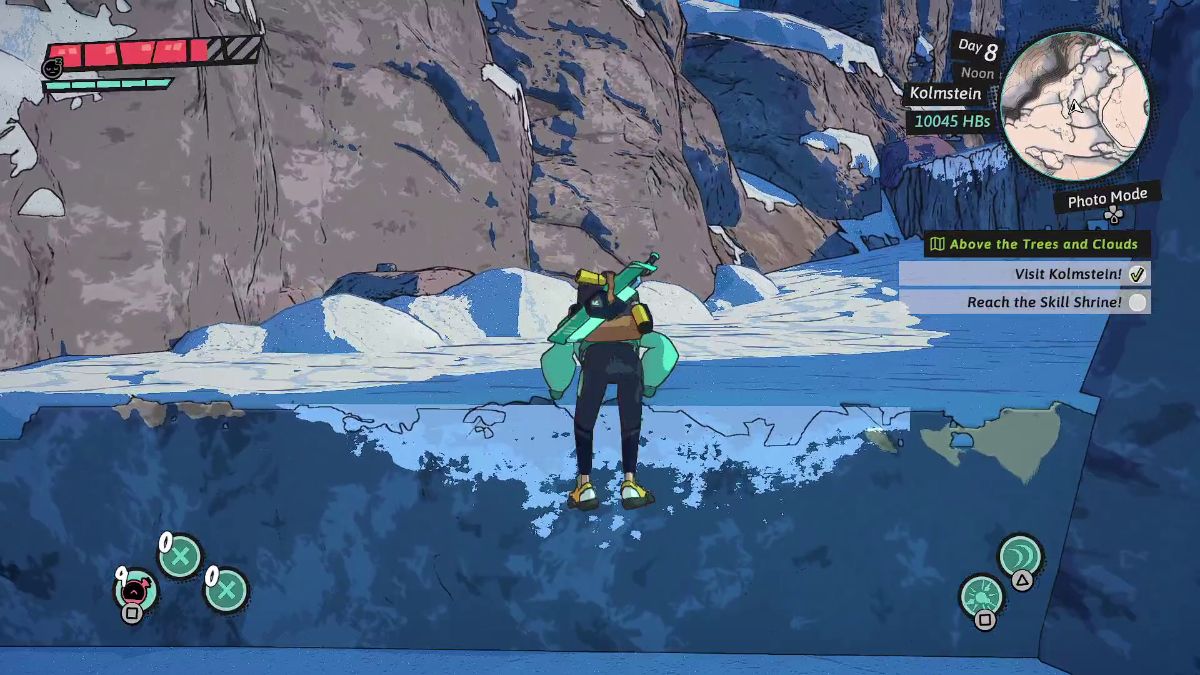 | Climb your way up the mountain until you reach an open area with flags. |
 | Here, look for a purple Skill Shrine. In Kolmstein, you get the following skills: Main: Hover Ranged: Light Ray |
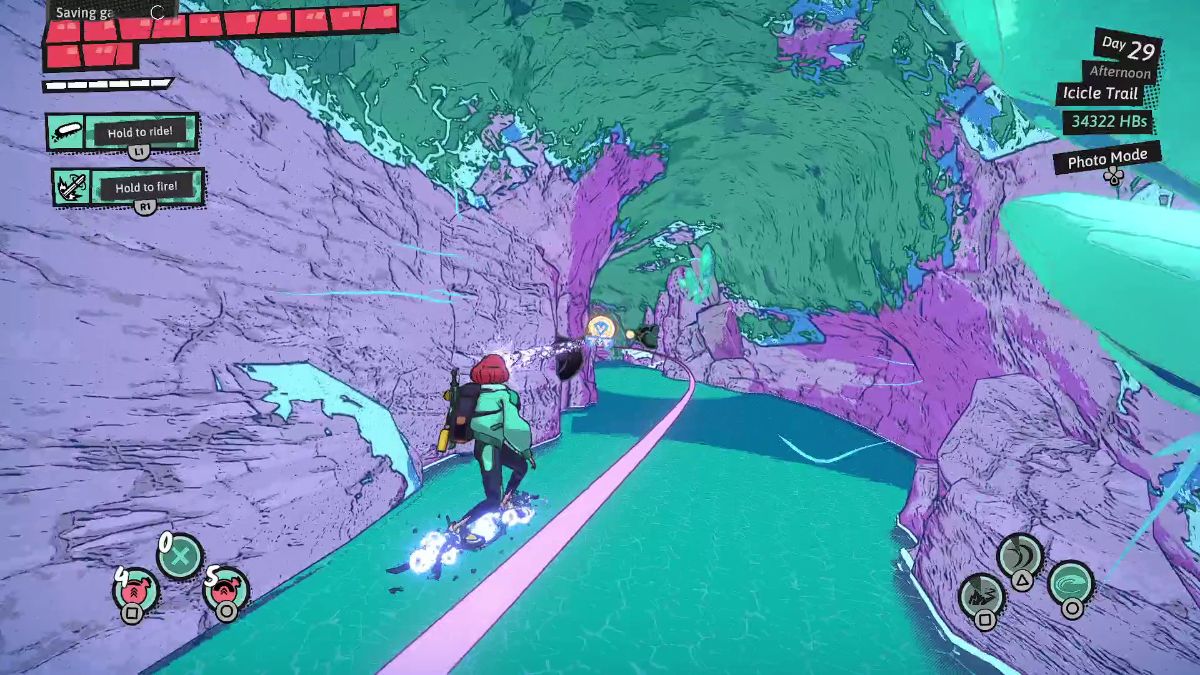
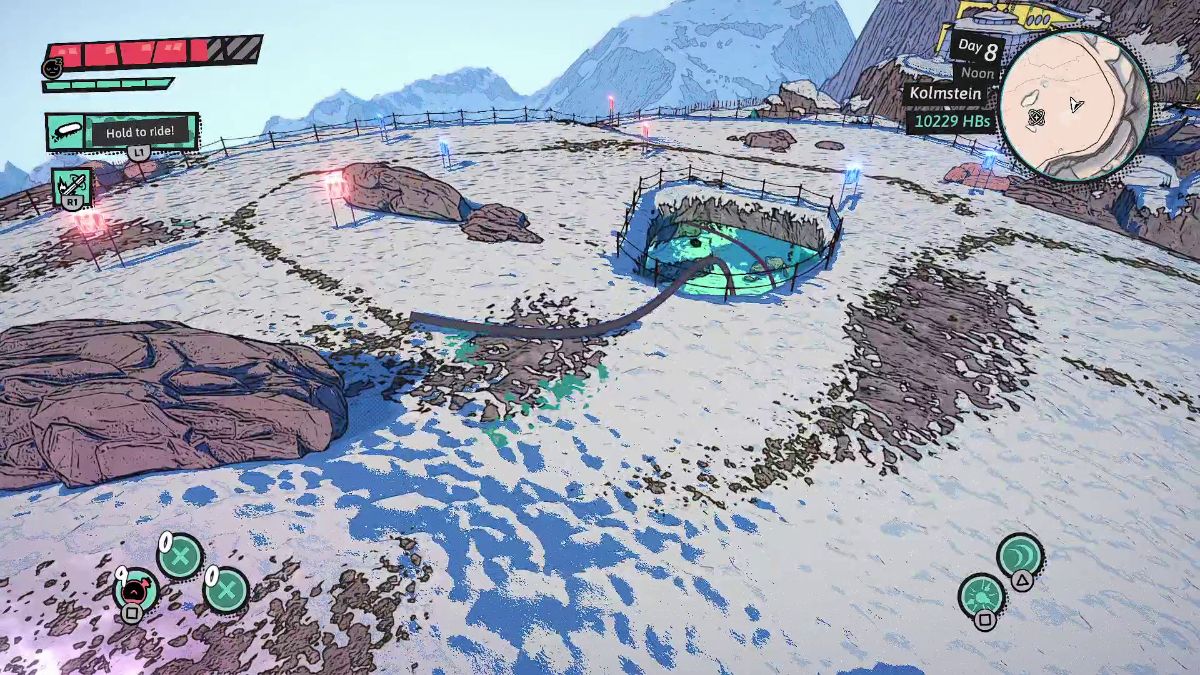 | Get on your Snowboard and go through all the flag checkpoints to light up the rail down the cave. |
 | Down here, Light Ray the snowflake to the upper right to deploy an ice bridge. |
 | When you reach the next deactivated rail, look behind you to find another snowflake. Hit it to activate the rail ahead. |
 | In the open area ahead, look for a walled-in snowflake to unblock the path ahead. |
 | Get past the first barricade and then hit the snowflake again to open the way to the right. |
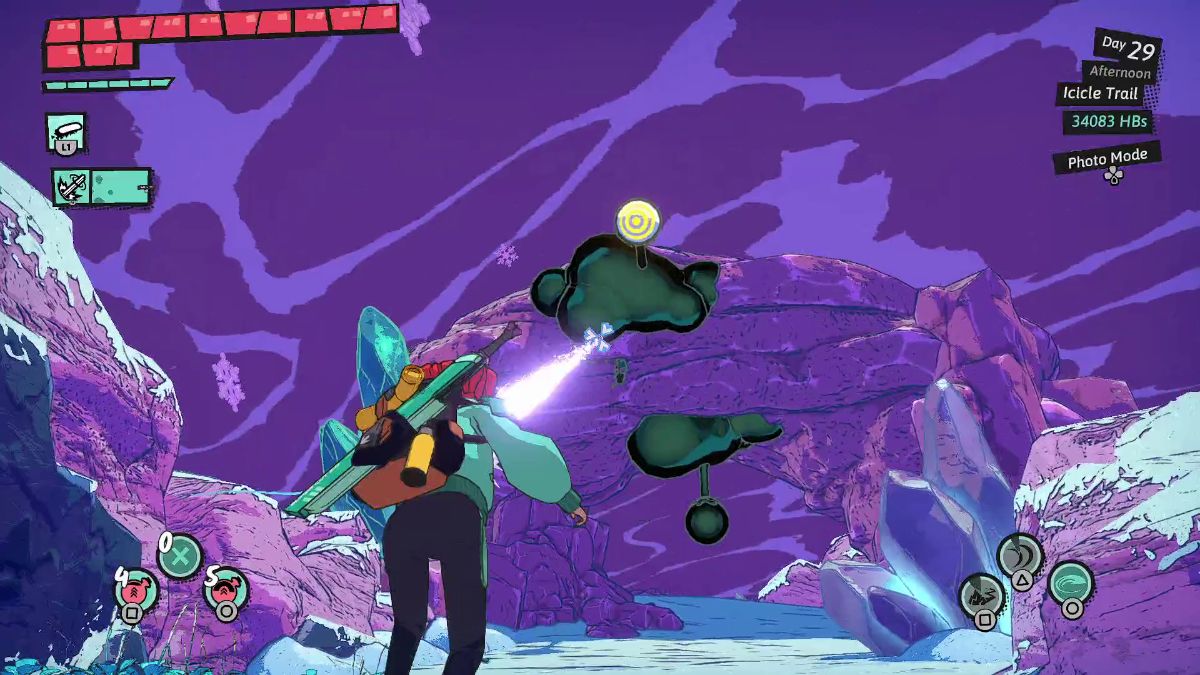
 | Slash the icicles with your Light Ray to cause them to drop. |
 | Hit the snowflake to the left to lower the ice elevator on the right. |
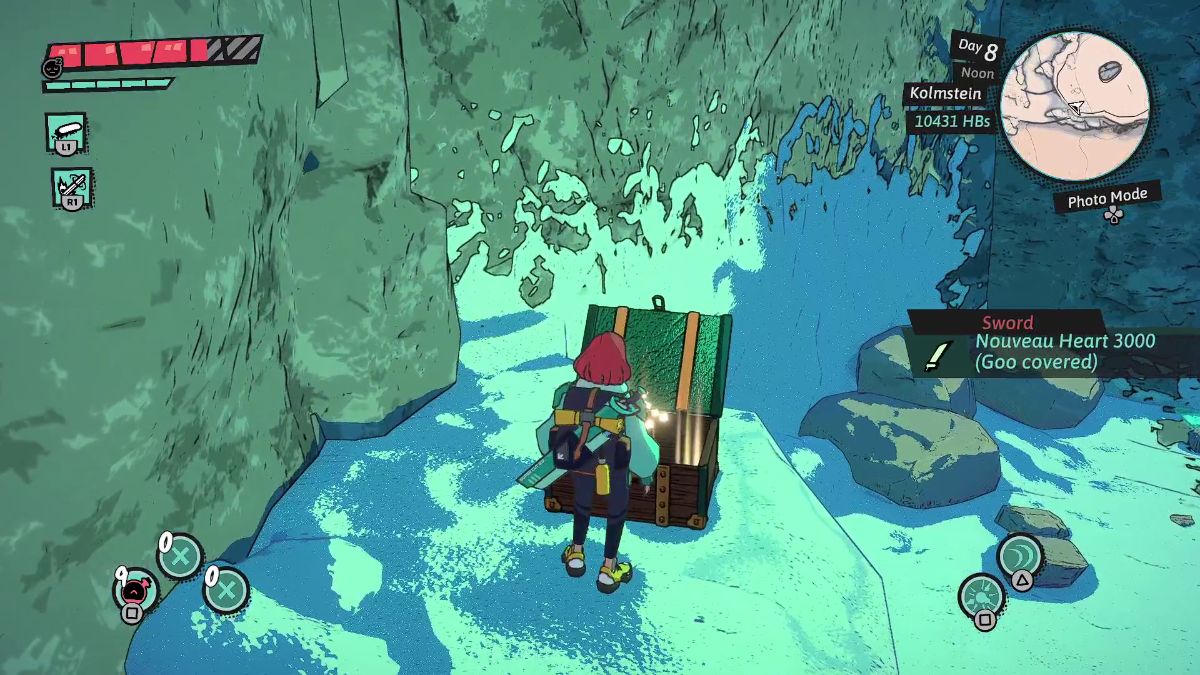 | Grab the treasure chest to get a Noveau Heart 3000 Sword. |
 | As you stand on the ice elevator, hit the snowflake again to leave this cave. |
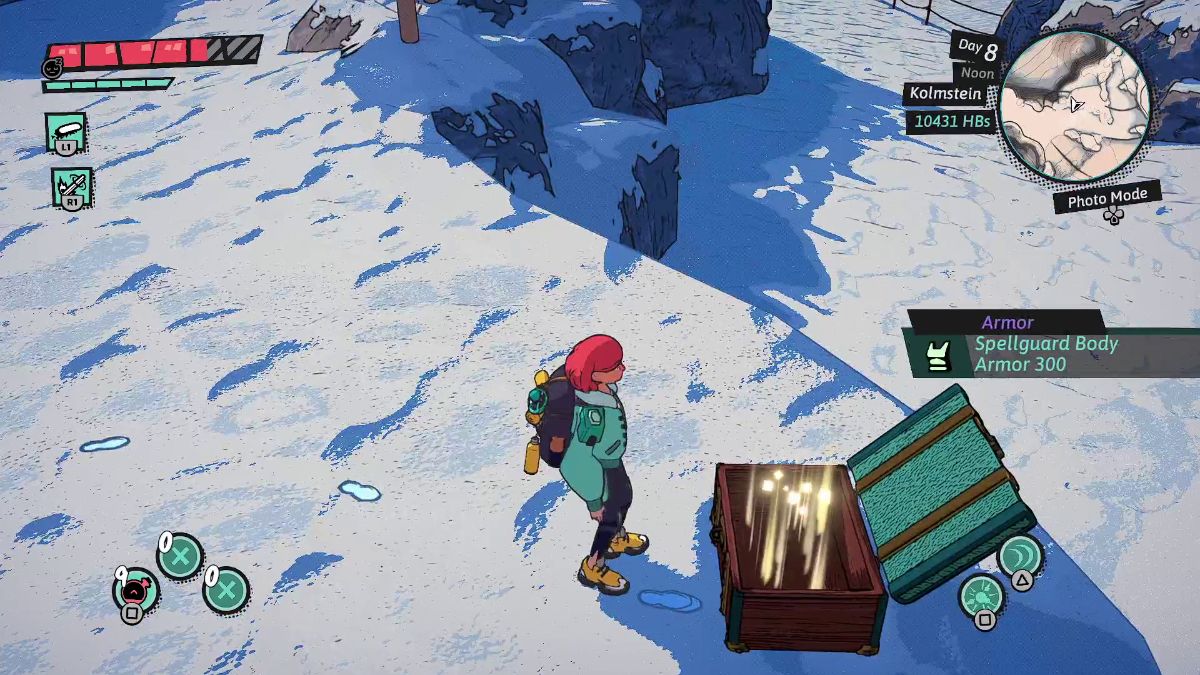 | Outside, there’s a second chest with the Spellguard Body Armor 300. You’re free to tackle your first dungeon now. |
Kolmstein Dungeons
Glacial Galaxy
Snowflake Slalom
Snowy Summit
Basilisk’s Roost
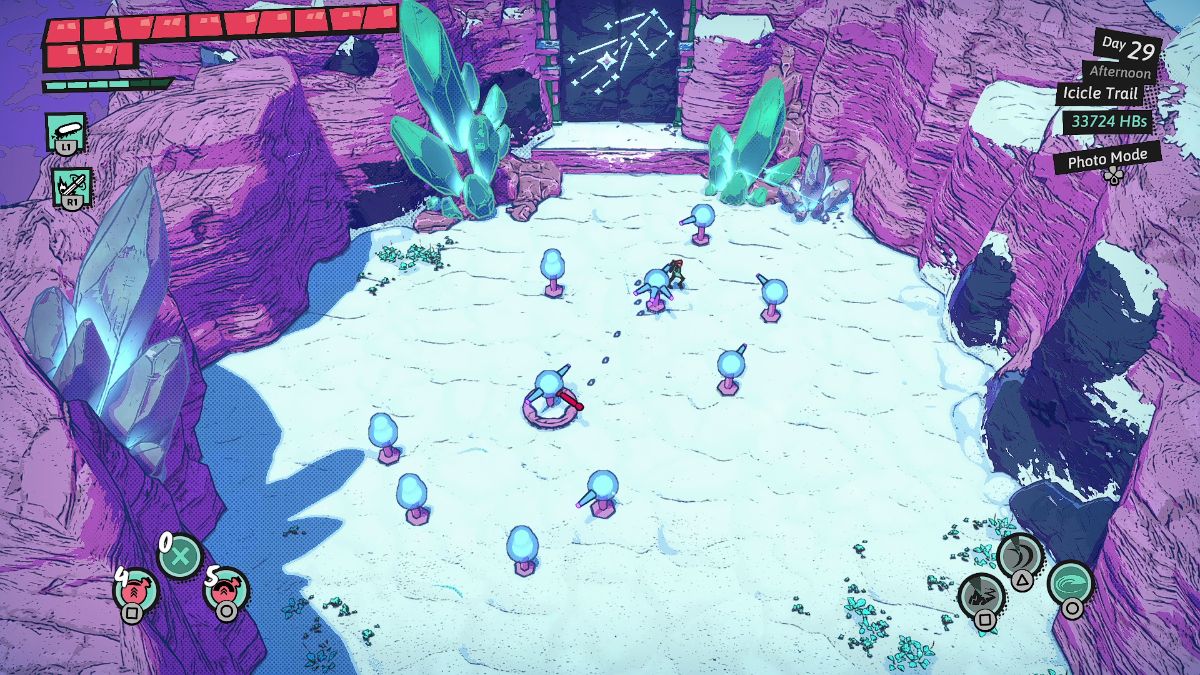
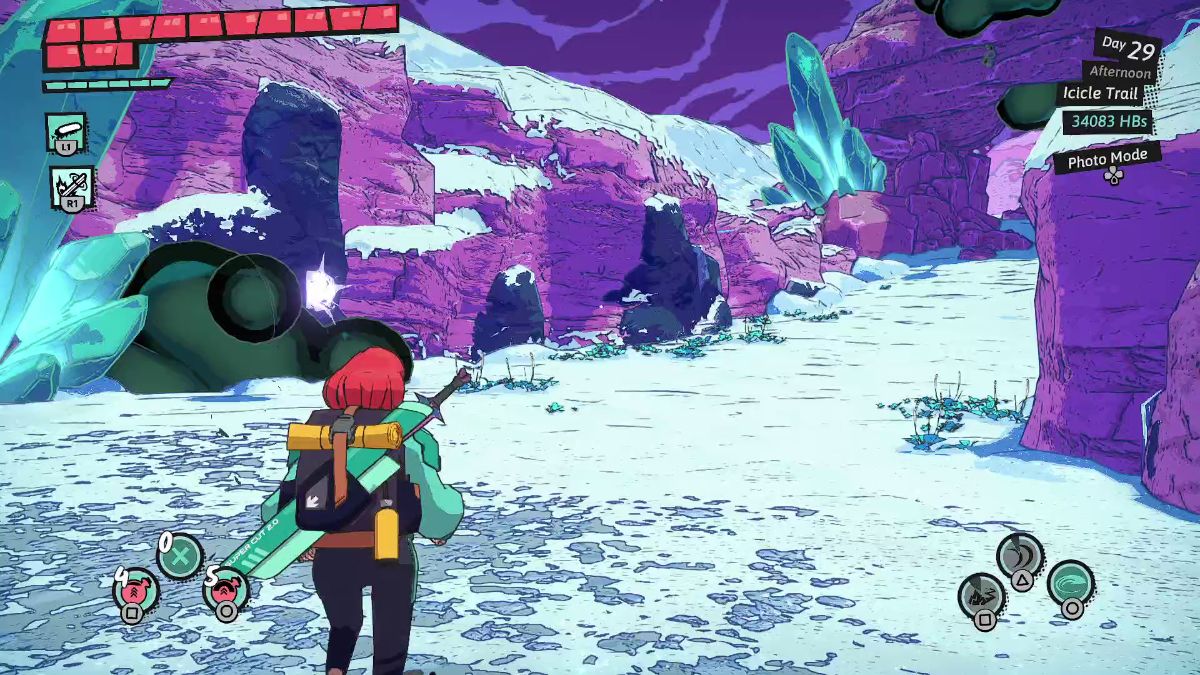
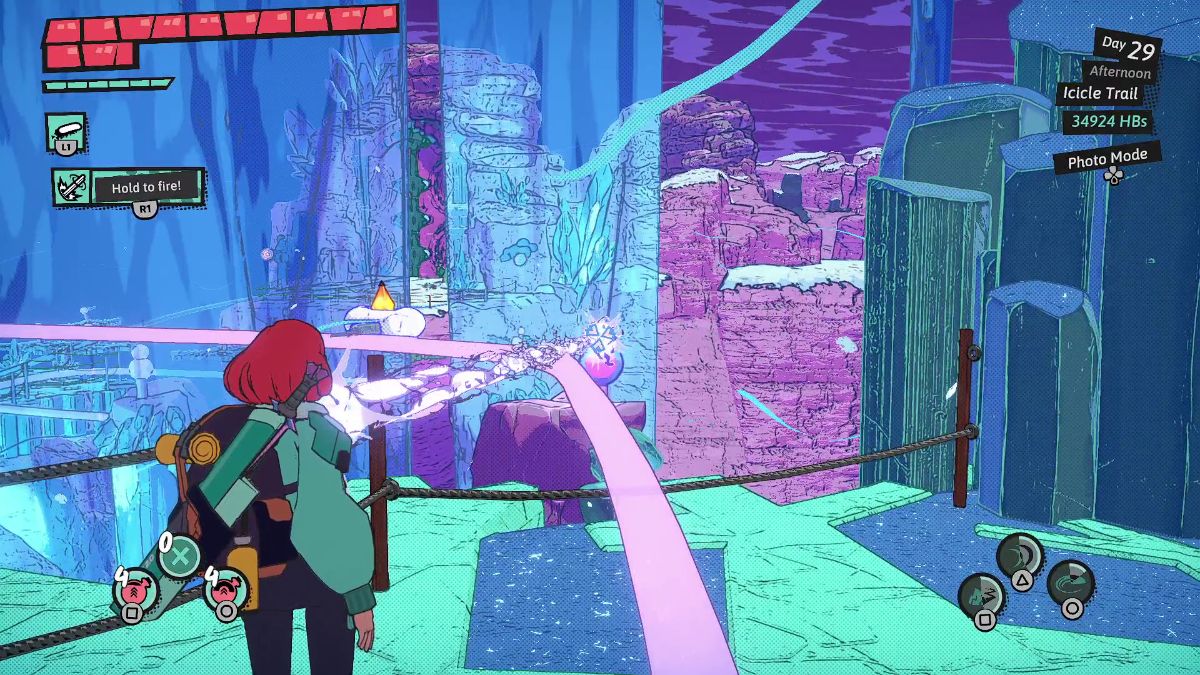
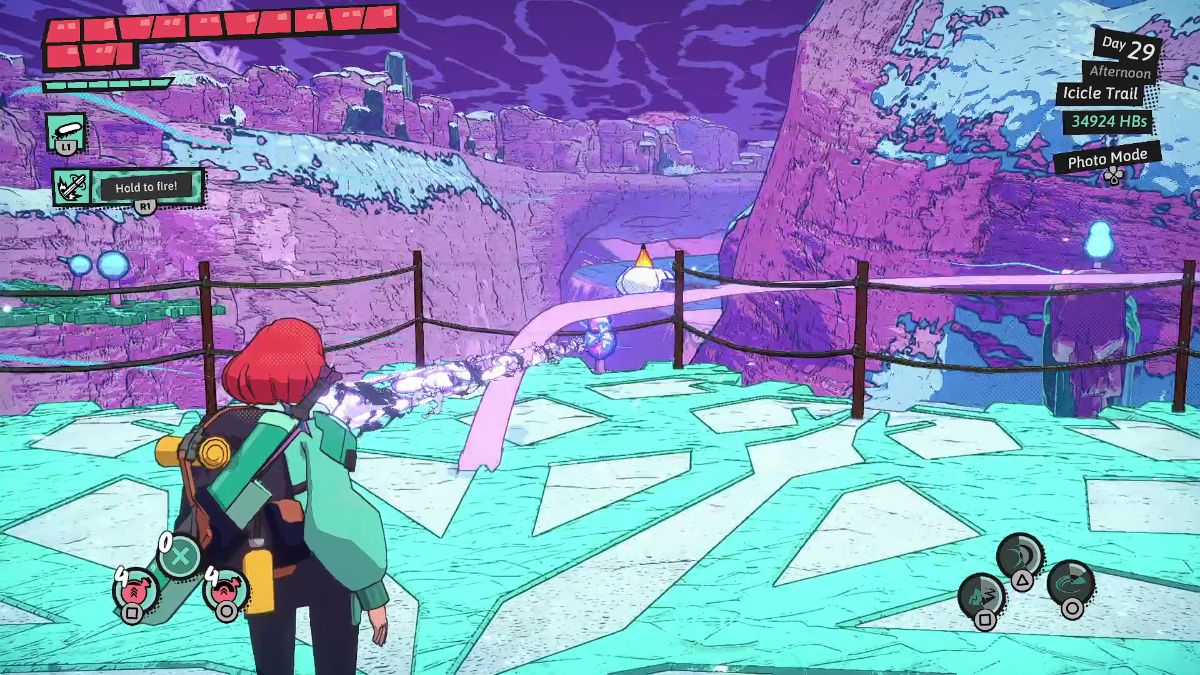
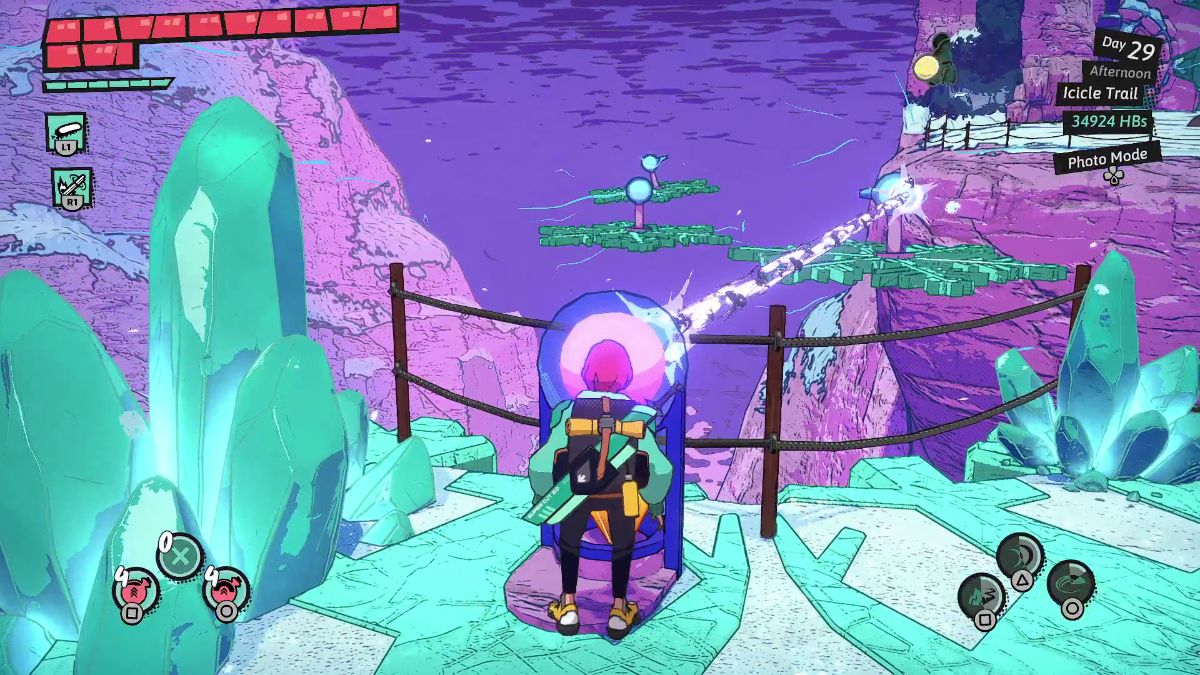
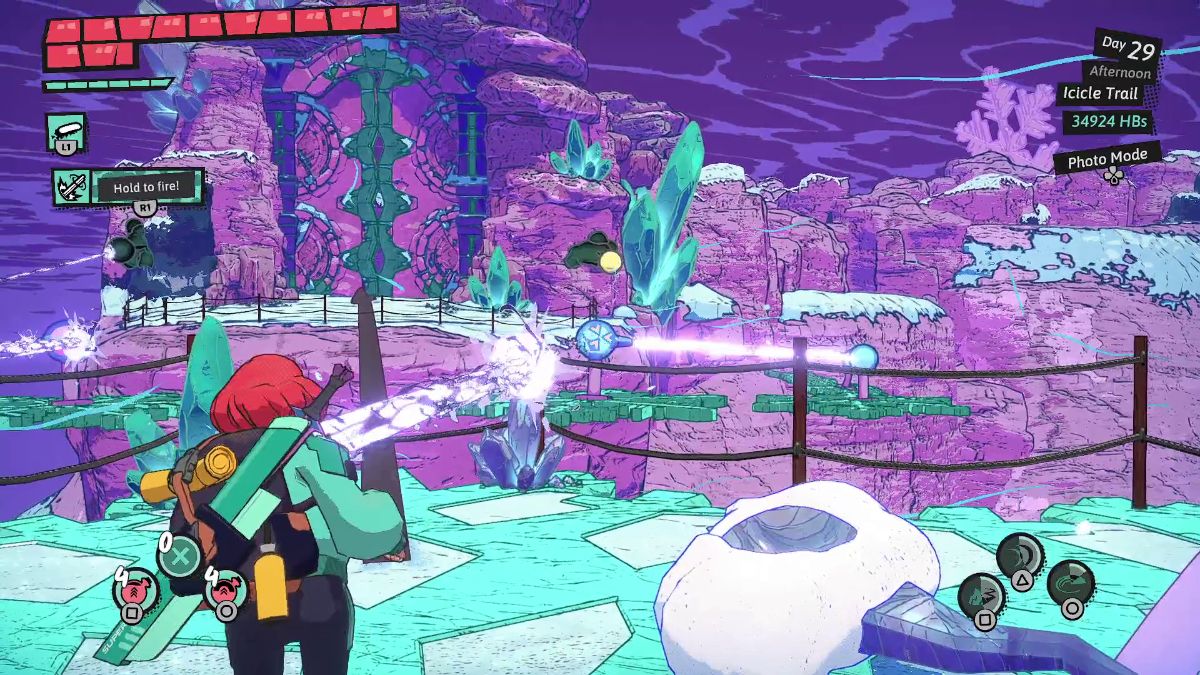
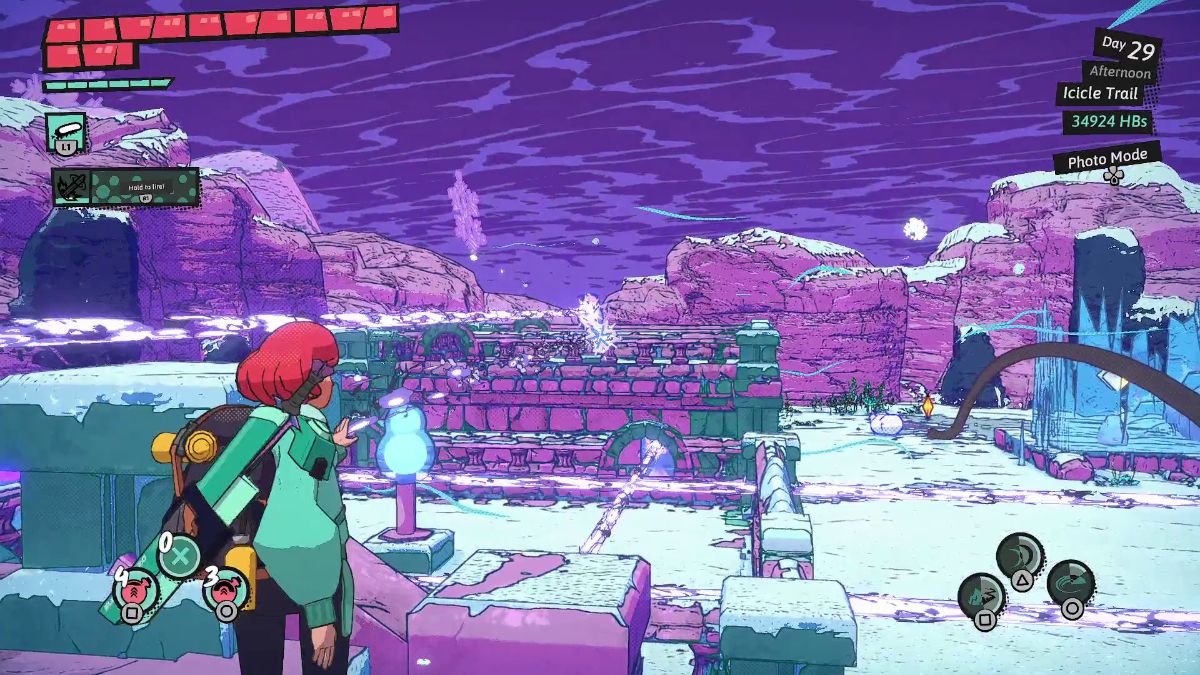
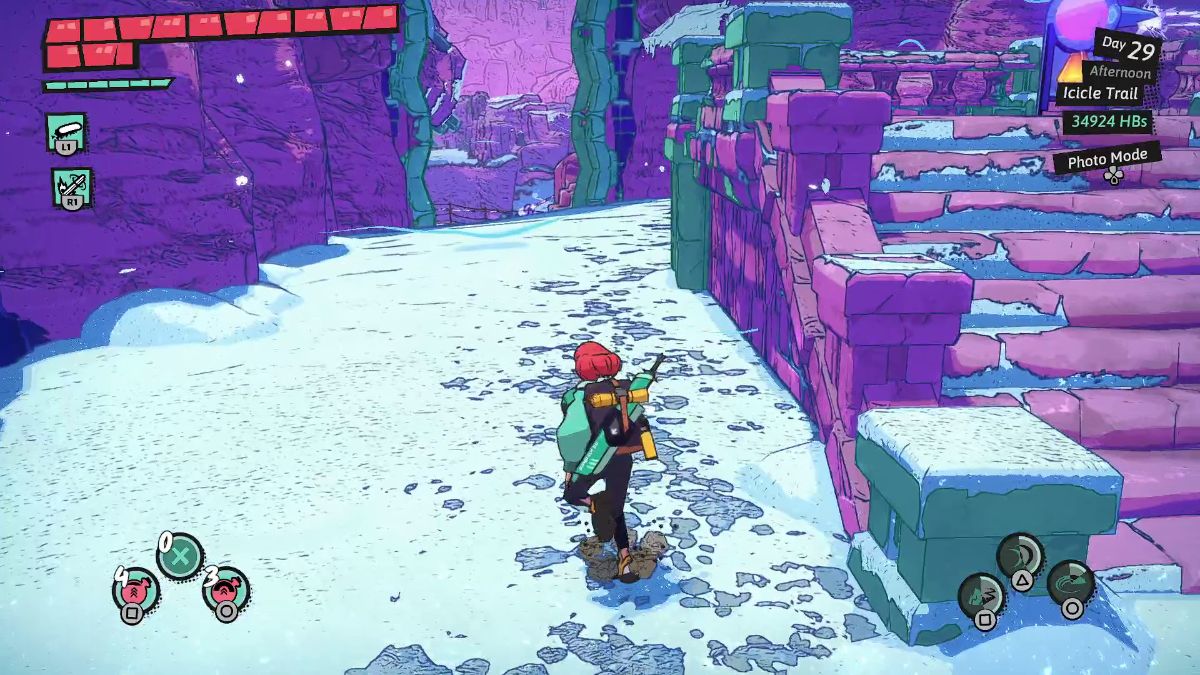
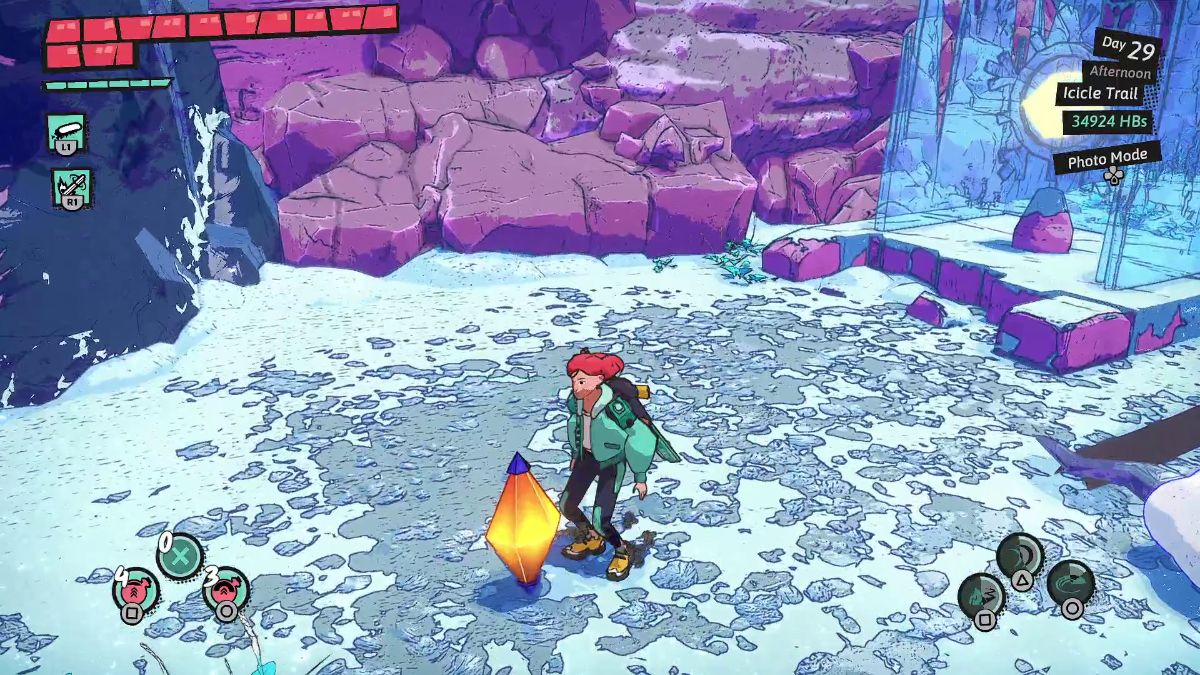
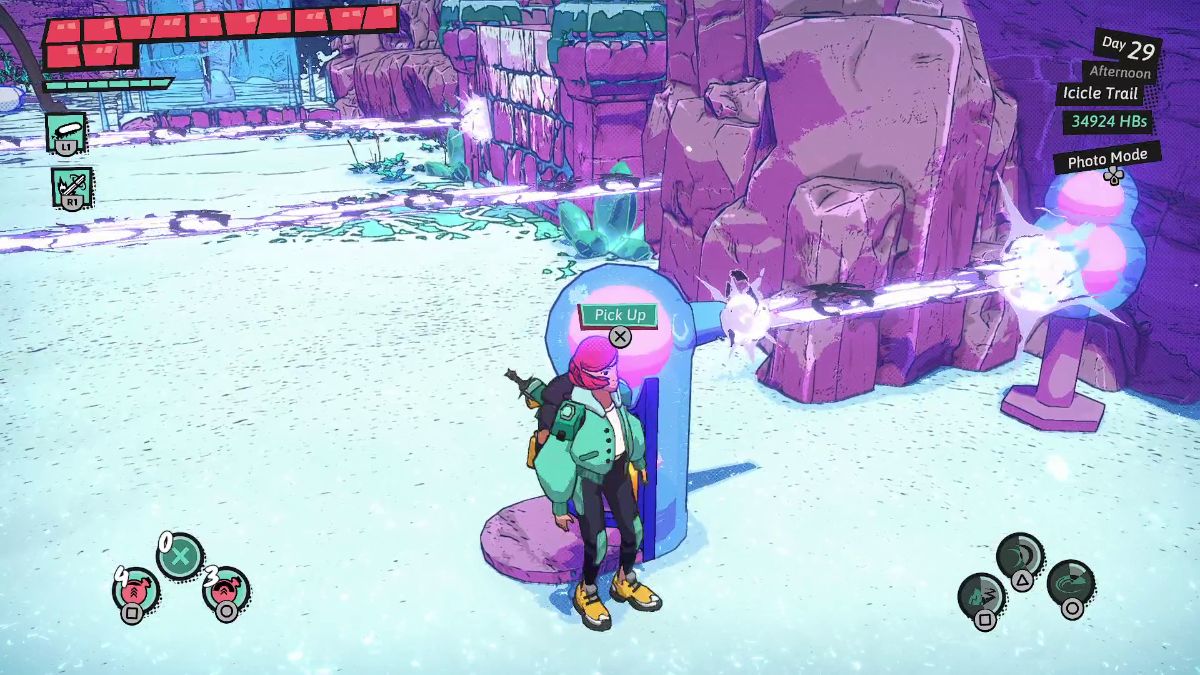
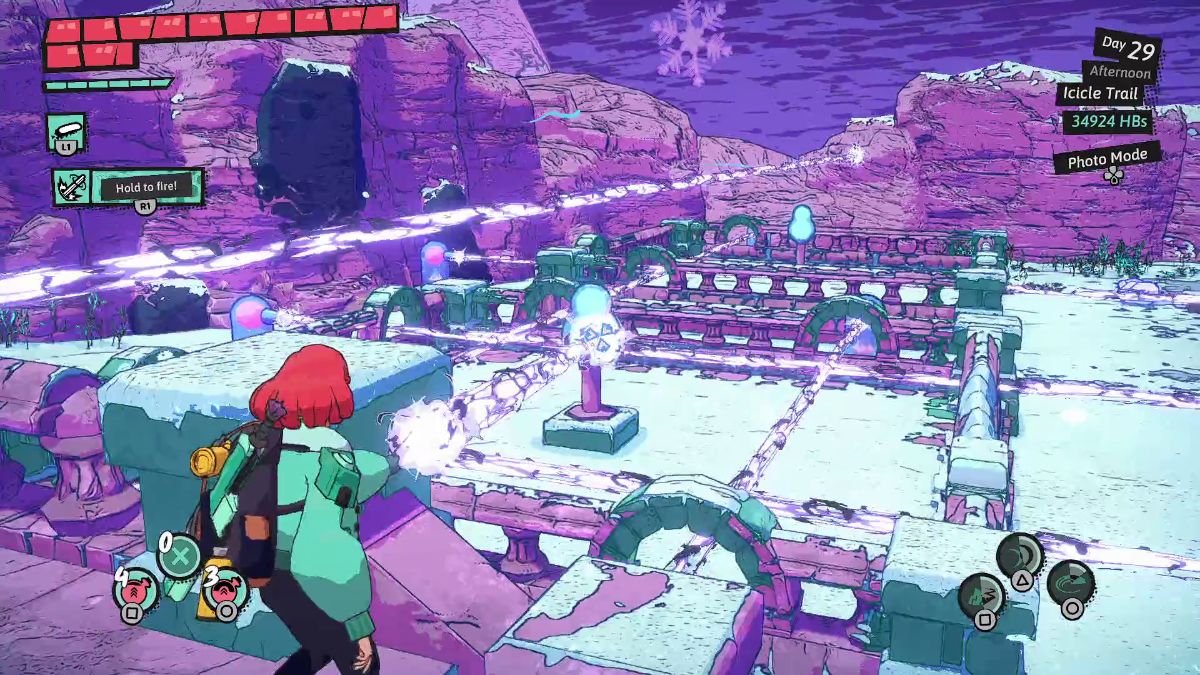
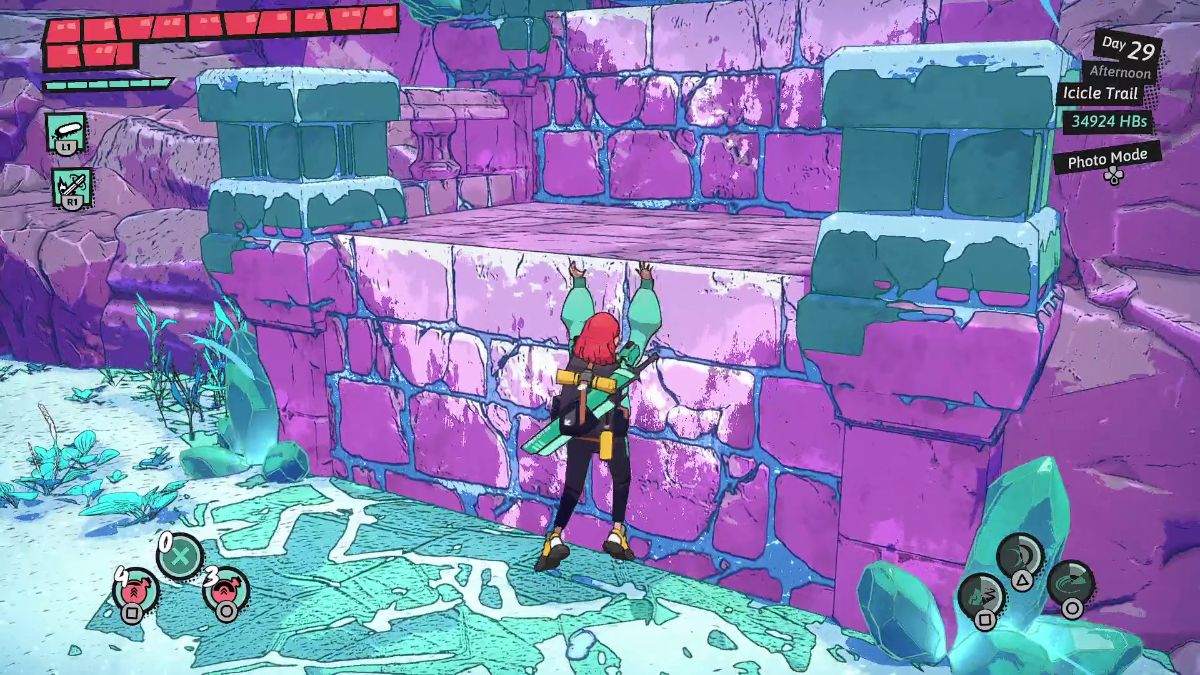
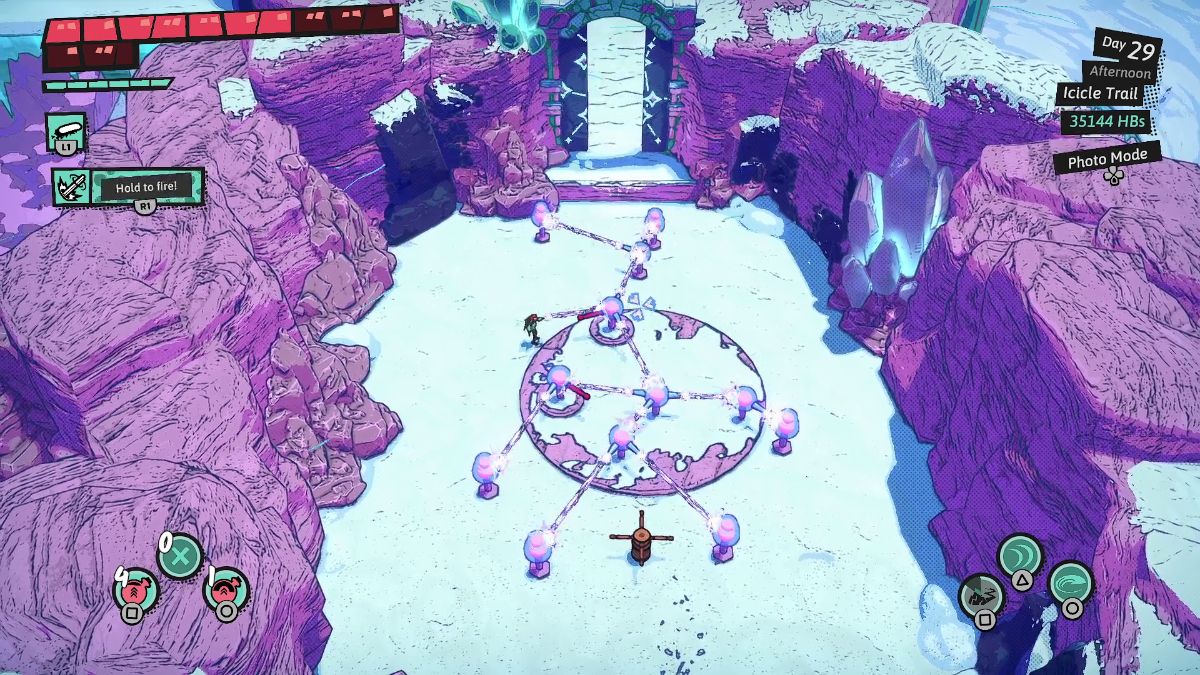
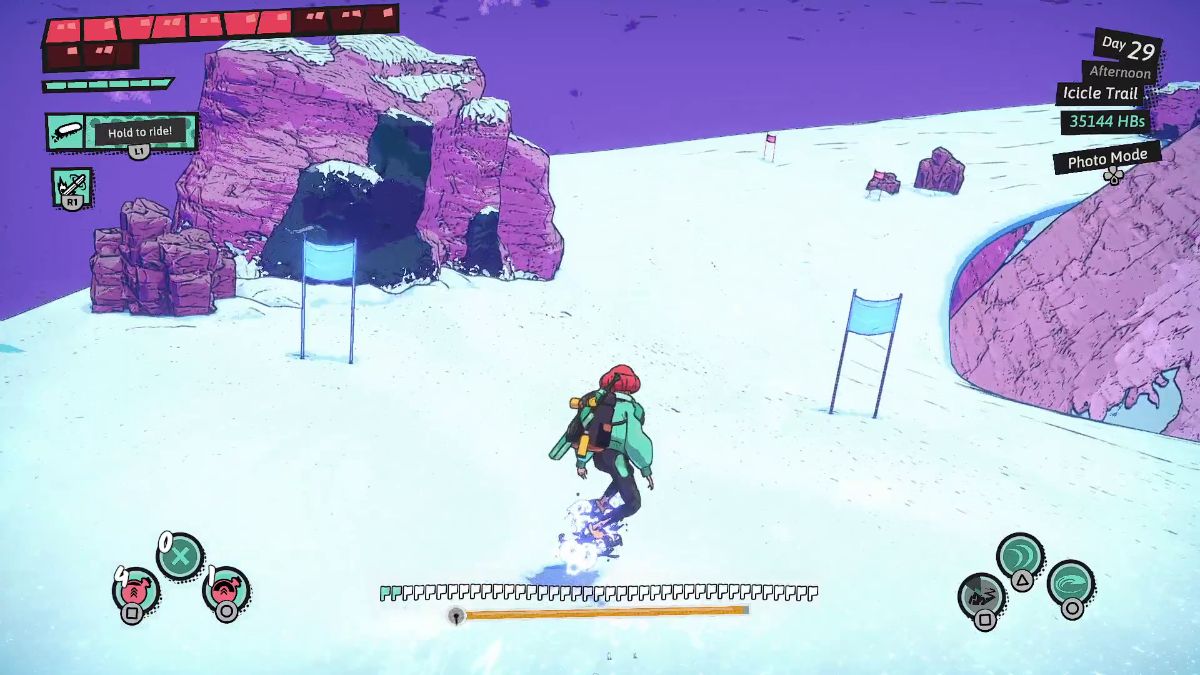
Icicle Trail

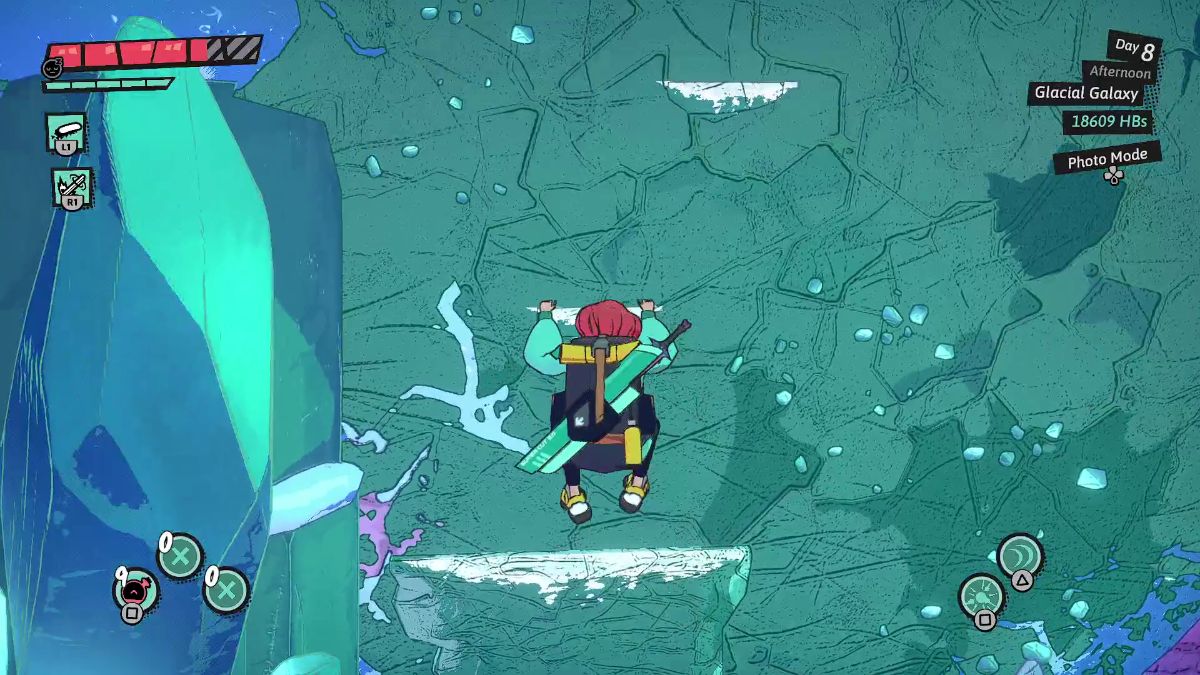
Clearing Glacial Galaxy
| Visual Reference | Instructions |
|---|---|
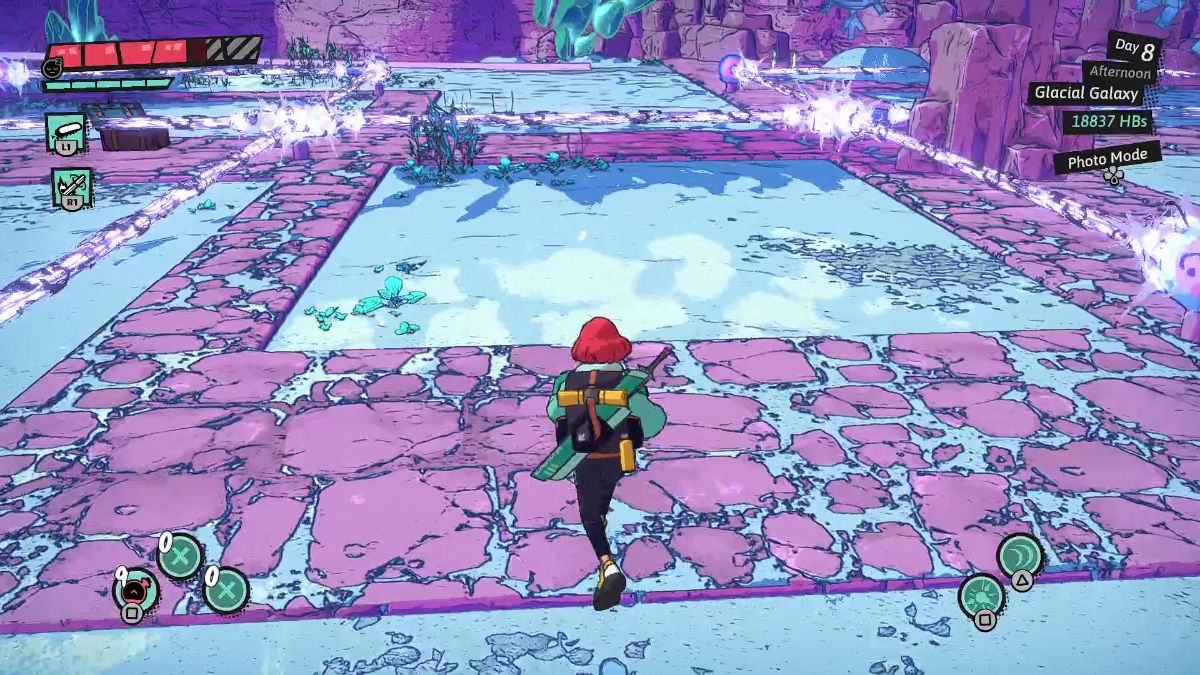
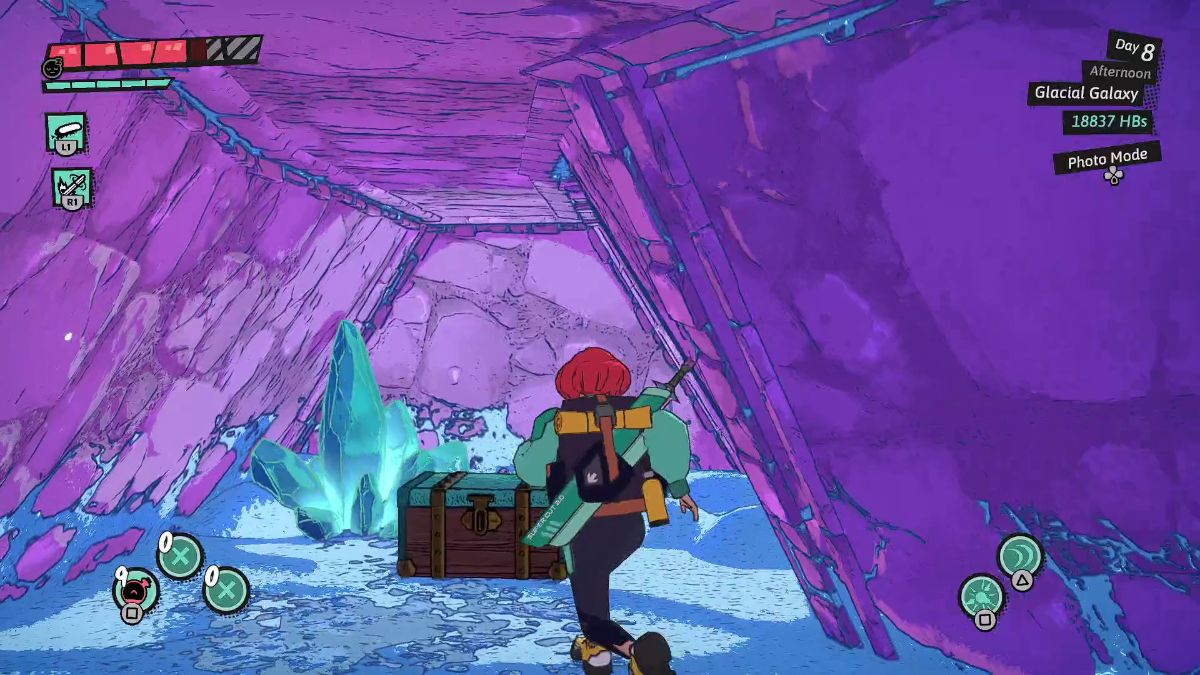
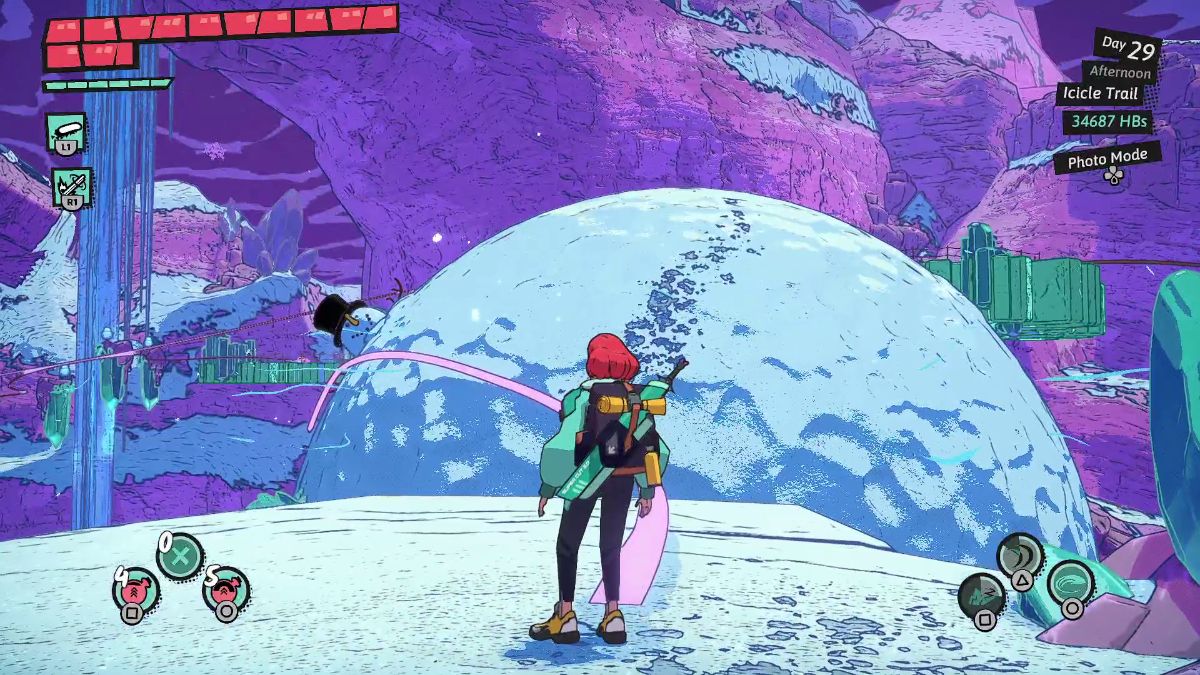
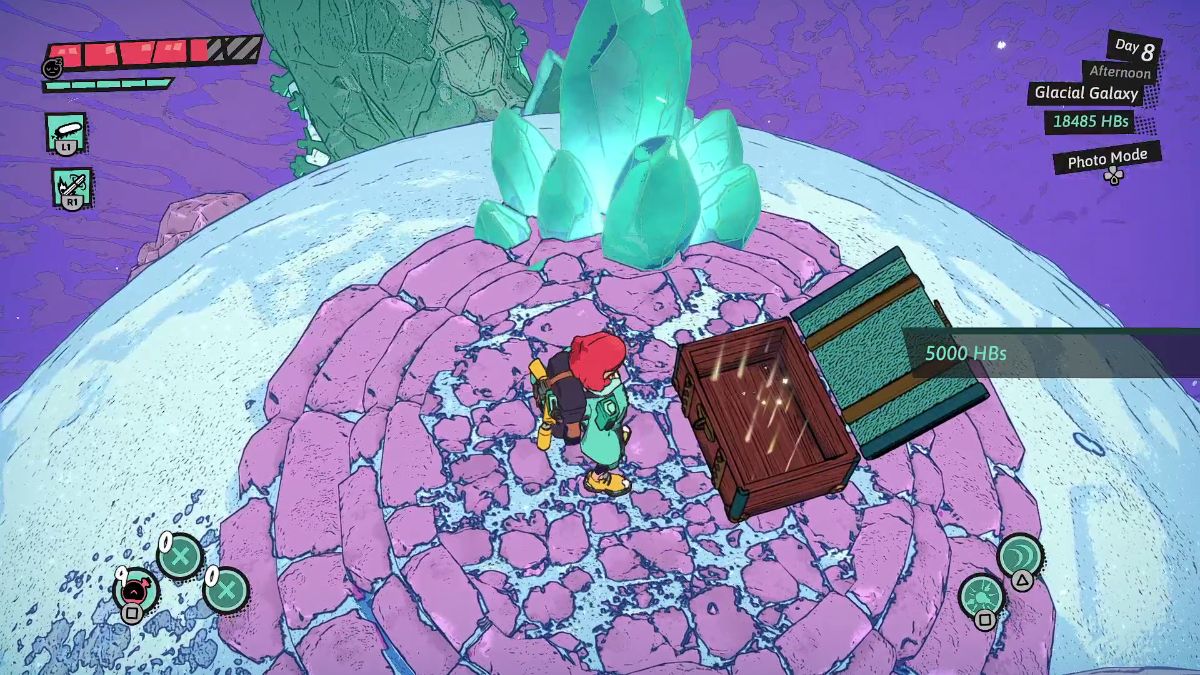 | Go around this snowball to find a treasure chest with 5000 Hinterbucks. |
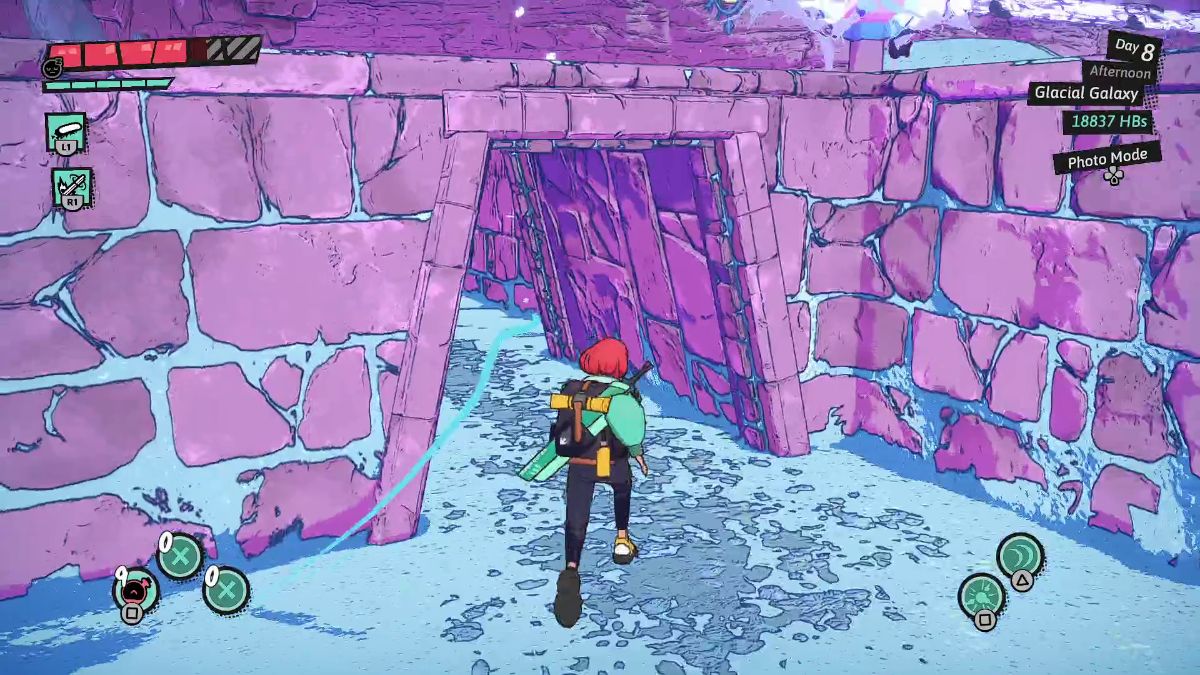
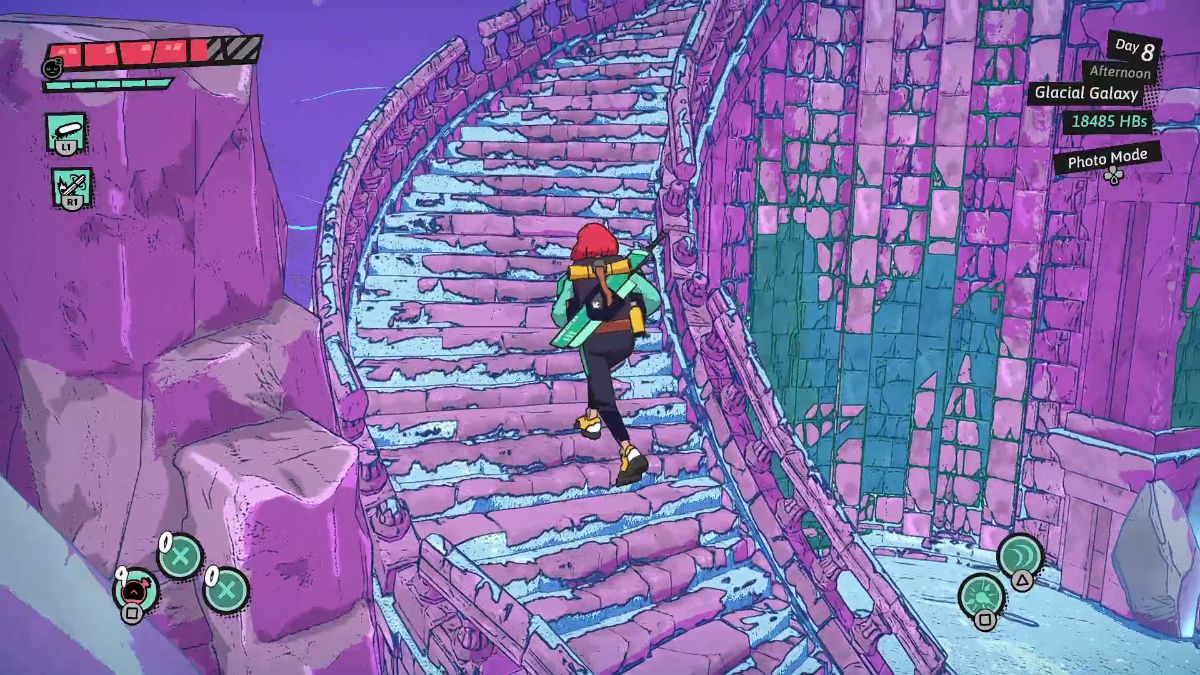 | Keep going around it until you spot a staircase. |
 | At the top, shoot all three yellow eyes and Hover forward. |
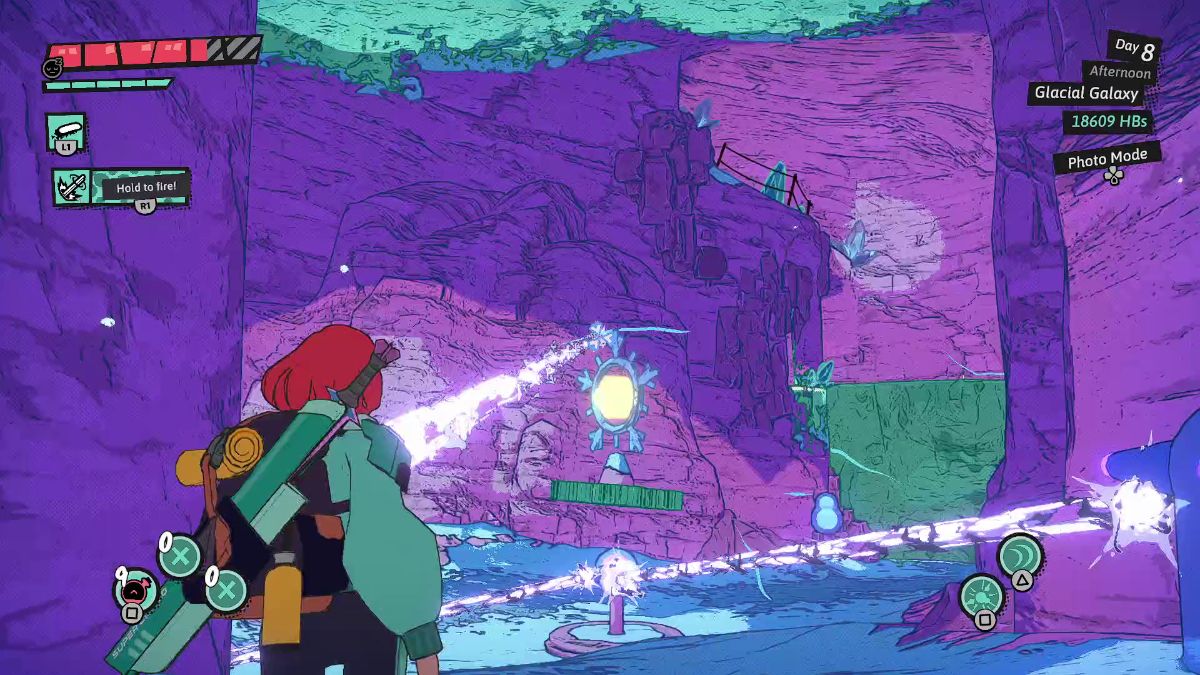
 | In the next open area, you must shoot three eyes before they reopen. Start with this one next to the teal statue. |
 | Turn around to find another eye sticking out of a mountain. |
 | The third eye is next to a long-neck foe statue and a frosted arch. Hover to the next platform using your newly-unlocked ramp. |
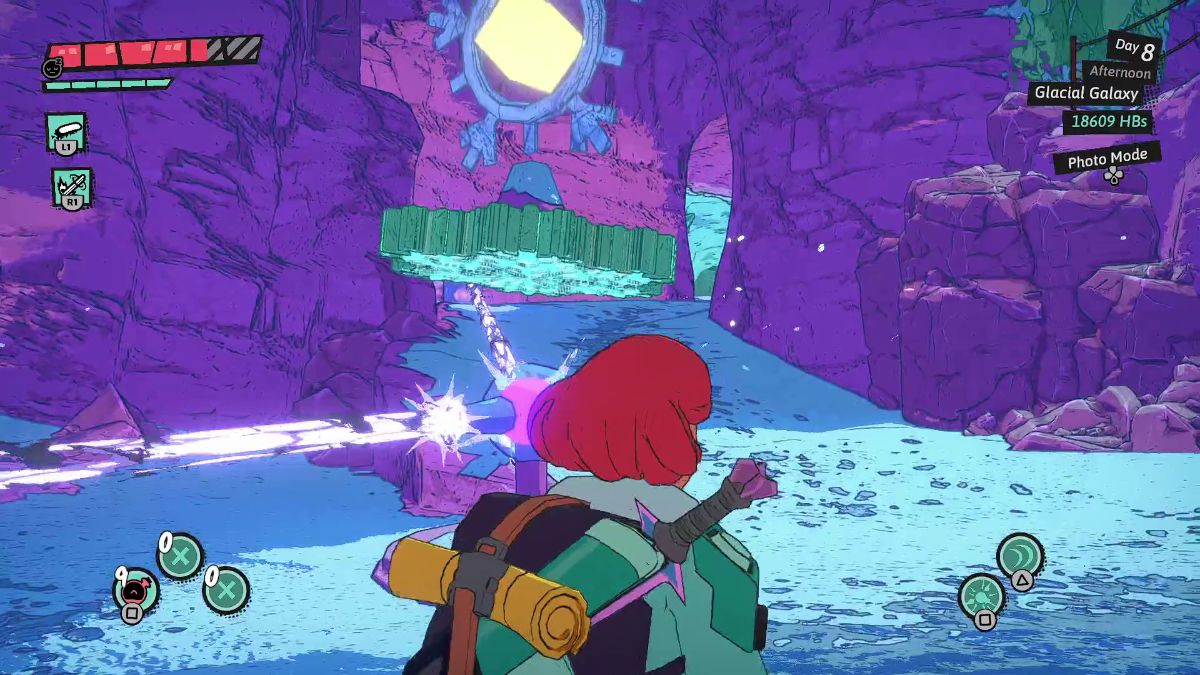
 | The next area with puzzles is an underground cave. Slash the icicles on the ceiling to forge the path forward. |
 | At the end of the trail, climb the white ledges. |
 | Here, hit the snowflake on the upper right to rotate the laser and pass through safely. |
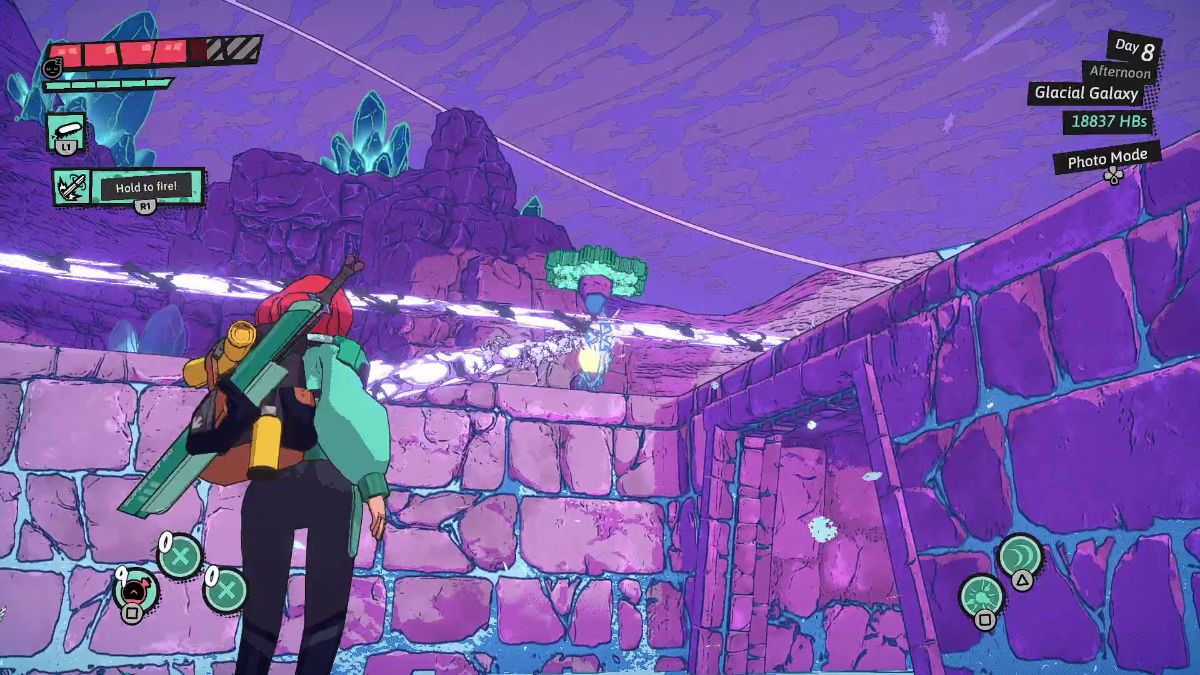
 | Repeat the process with the next snowflake ahead. Instead of aiming at a wall, the laser hits a trigger. |
 | Move toward the laser ahead and, to proceed toward the teal wall ahead, shoot the snowflake again. |
 | Then, as you stand against the teal wall on the left, shoot the snowflake once more to unveil a set of white ledges. |
 | As you stand on top of the platform, shoot this snowflake another time. This lowers the climbing platform you just used. |
 | Head through the passage behind you. As you stand on the now lowered teal platform, hit the snowflake one last time. |
 | Follow the trail upward, save at the Waystone, and get ready for one final big puzzle. To get through this room, you must shoot snowflakes to lower or raise the snow and make your way forward. Start by hitting a snowflake to lower the snow. |
 | Move to the room on the left side of the area. Then, hit a snowflake to cause the snow to rise. Grab the treasure chest to the right to get a Resonant Sword 3. |
 | Head back to the starting point. Lower the ground and move past the first laser. Then, raise the ground and move to the square of snow ahead. |
 | Lower the ground and go through the tunnel here. |
 | Here, hit a snowflake to rise the ground. |
 | Stand on the concrete to your right and hit a snowflake again. |
 | Drop down into the snow and look for a treasure chest with the Glacial Galaxy coin inside a tunnel. |
 | Turn around, get past the first laser and, as you face the second laser, hit a snowflake to raise the ground. |
 | Stand on the solid ground to the right and hit a snowflake. Then, head straight past the stone pillar ahead. |
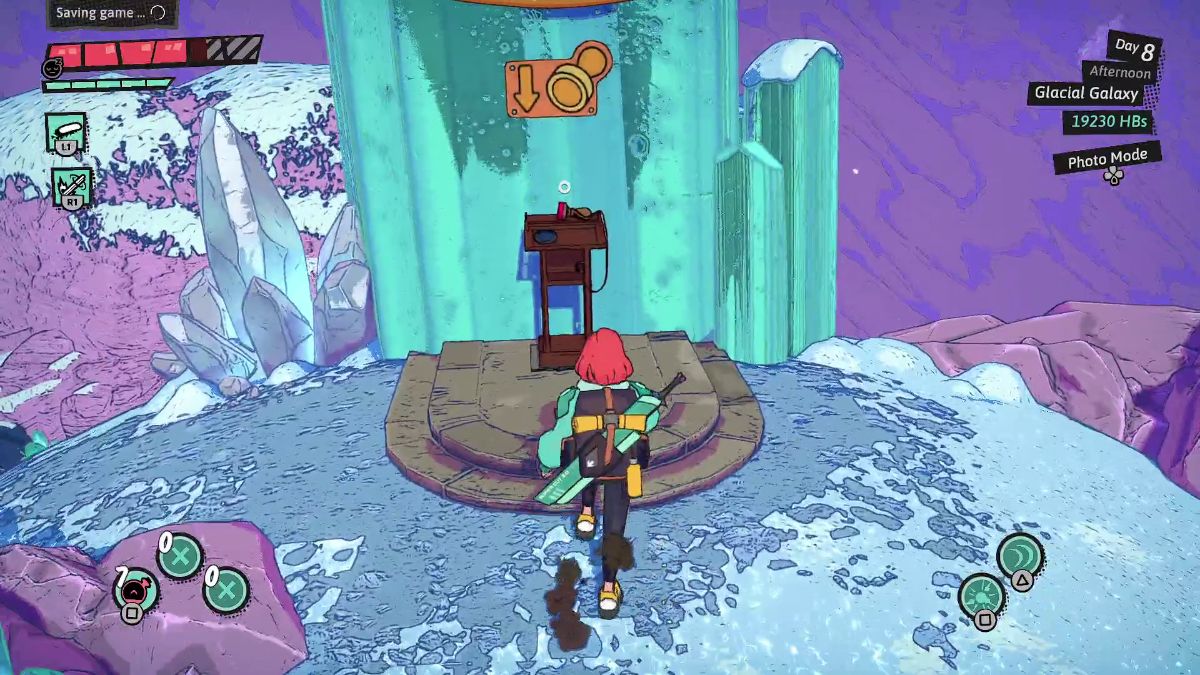
 | Shoot a snowflake to raise the ground and keep heading forward until you find the rails. |
 | Hover your way to the next Waystone. In this open area, go through every flag checkpoint before the timer runs out to activate the next rail. |
 | After a wave of enemies, you activate the last rail. Ride it to the stamp room and exit portal. |

Clearing Snowflake Slalom
| Visual Reference | Instructions |
|---|---|
 | In the room ahead, shoot all four eyes to lower a platform. The first three are visible from the entrance, but the fourth is hidden on a cave wall. |
 | Use the platform you just unlocked to progress forward. |
 | Ahead, activate all flag checkpoints to light up the rail. |
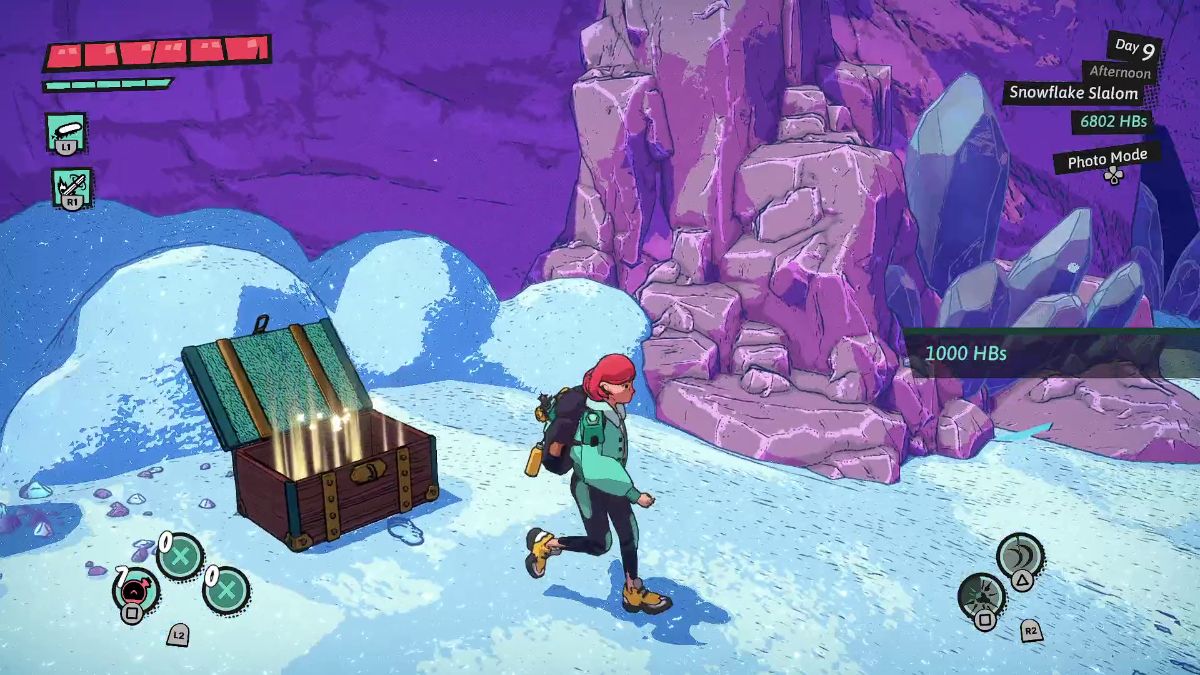 | After a battle with enemies, head through the cave to the right to find a chest with 1000 Hinterbucks. |
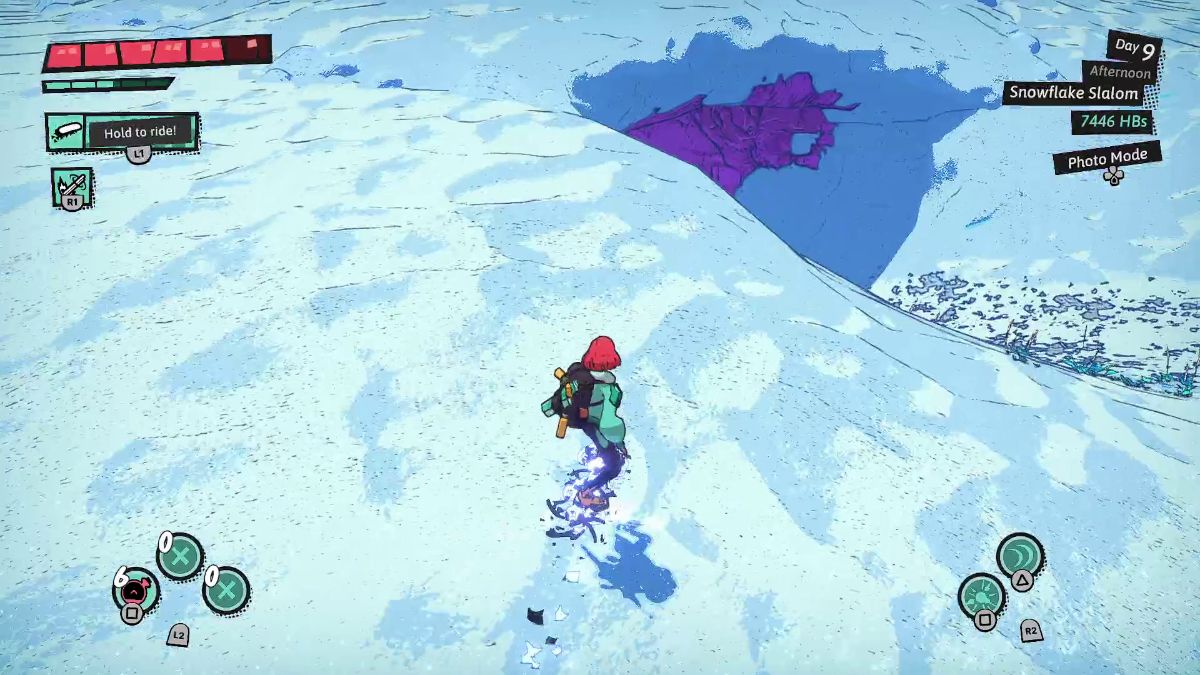
 | Here, there’s another flag checkpoint race to activate the rail leading upstairs. |
 | In the snowflake platform, do a 360 and spot all three one-eyed slimes. When they’re all visible, begin shooting them. |
 | Head inside the cave in the next area to get a Medium HP potion. Save at the Waystone and get ready for another battle. |
 | Complete the next flag checkpoint race. This lights up one out of three circles in a big door. |
 | Look for an underground cave to get the SlayTector Leggins X-5. You’ll have to fight for them, though! |
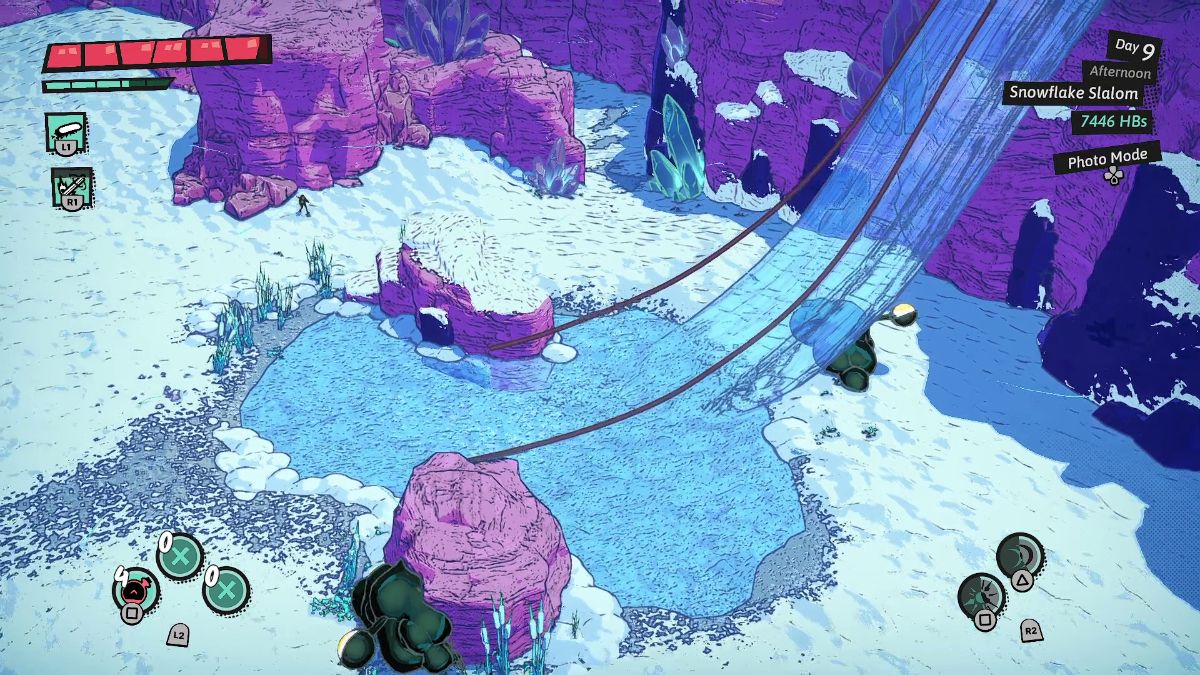 | Next to the big rail ramp, shoot all three one-eyed slimes around it. Two are hiding in the pillars at the bottom of the ramp and the last one is right behind the ramp. |
 | As you ride this rail, shoot your projectile in a straight line to hit two one-eyed slimes on the way. This lights up the second circle in the big door. |
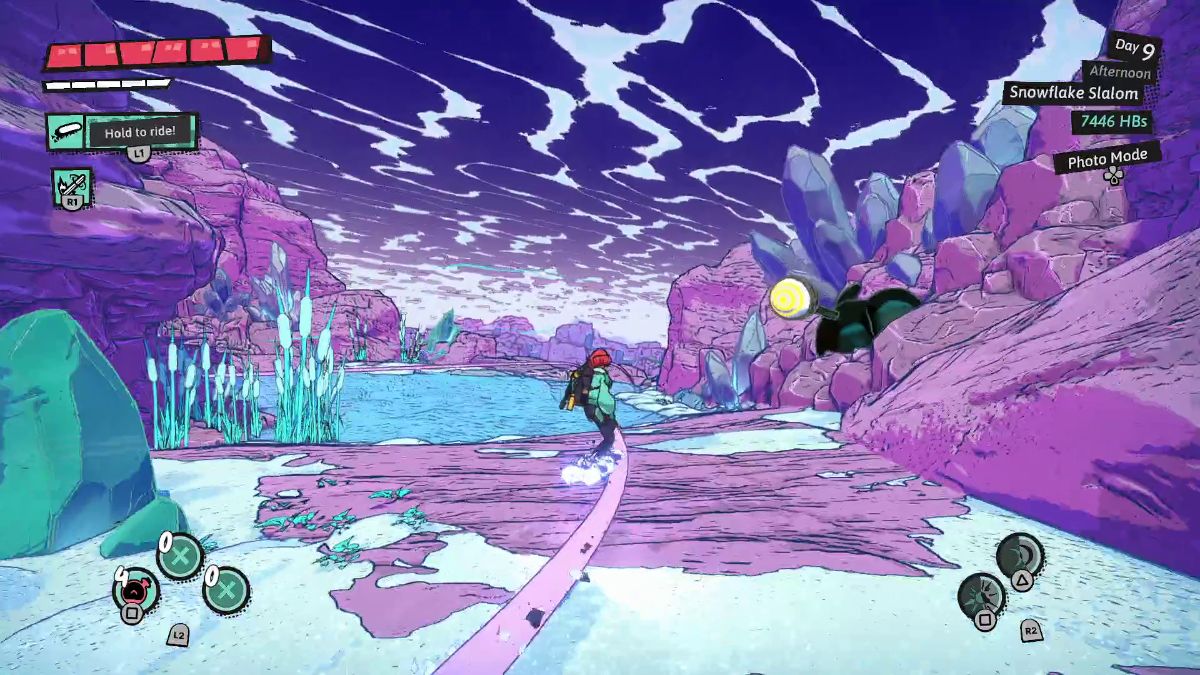
 | Hover behind this rock with unlit rails and defeat all the enemies on the first floor. |
 | After defeating them, you light up the the rail right outside this tower. Ride it to reach the second floor and your second challenge. |
 | With all enemies defeated, the third circle on the big door lights up and you can get out of this area. |
 | But before you do, don’t forget to climb to the top of the tower to get 5000 Hinterbucks. |
Reaching Snowy Summit
| Visual Reference | Instructions |
|---|---|
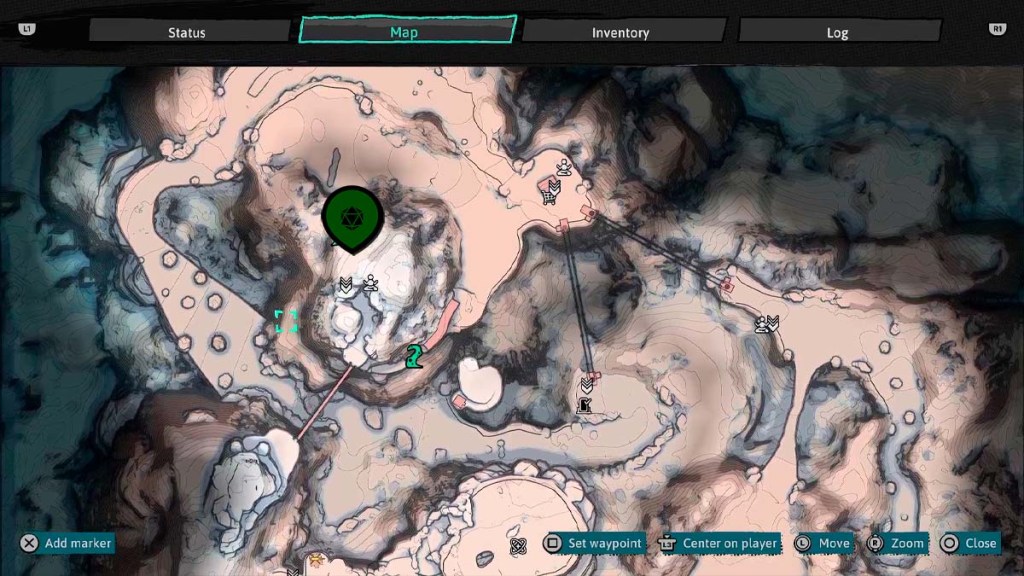
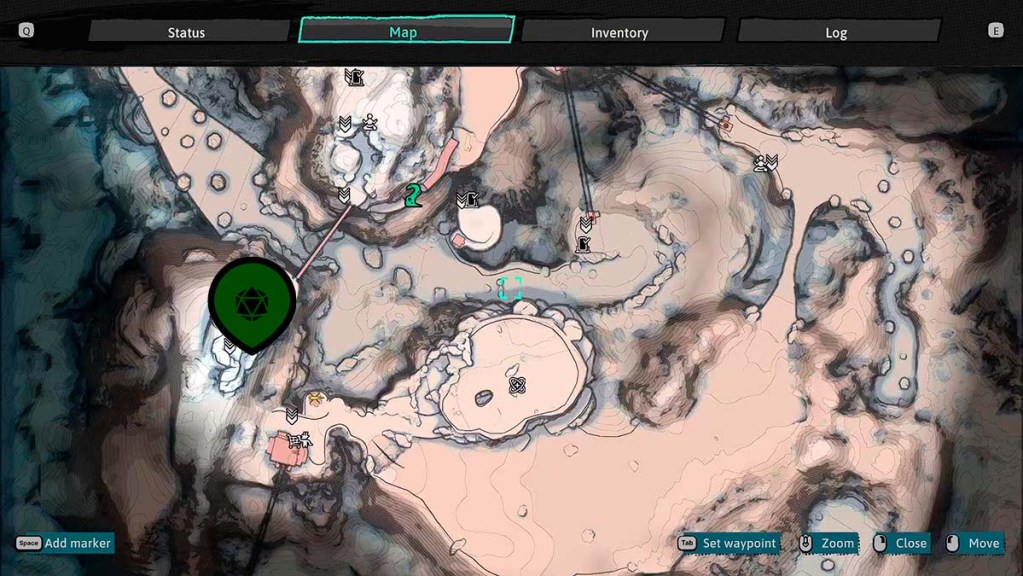
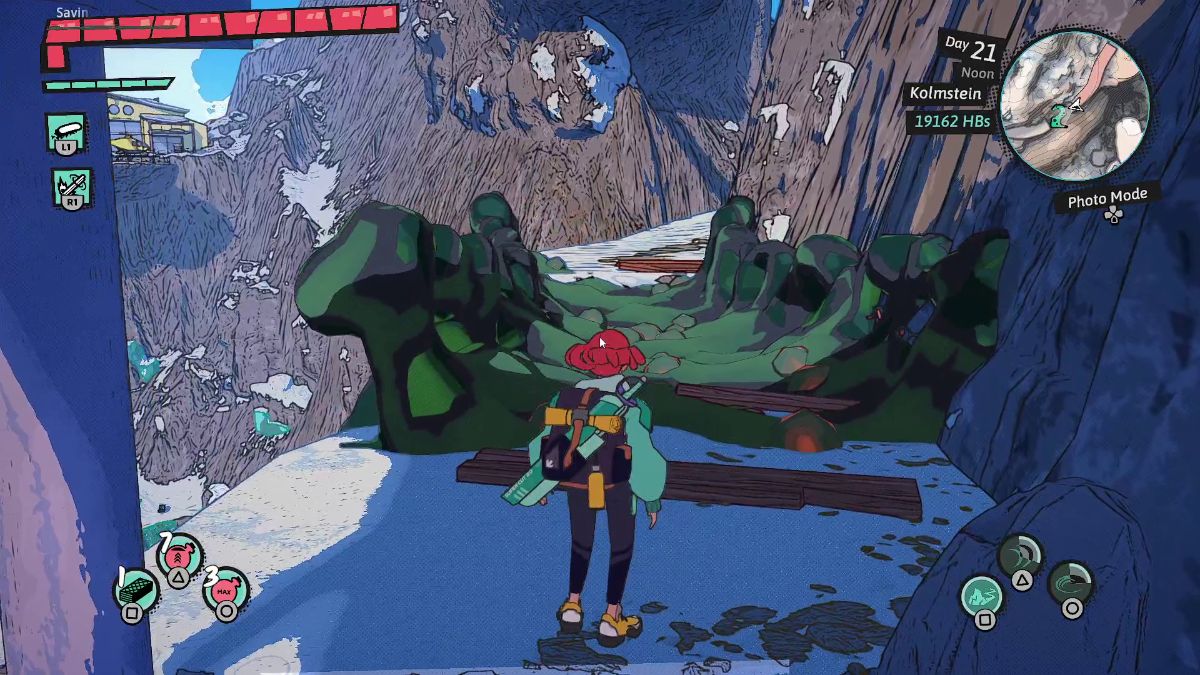 | After the tentacles spawn, head north and cross the tentacles to reach the Ice Cave. |
 | Follow the path and, after a wave of enemies, climb a ladder and laser the icicles to carve a path toward the Snowy Summit portal |
Clearing Snowy Summit
| Visual Reference | Instructions |
|---|---|
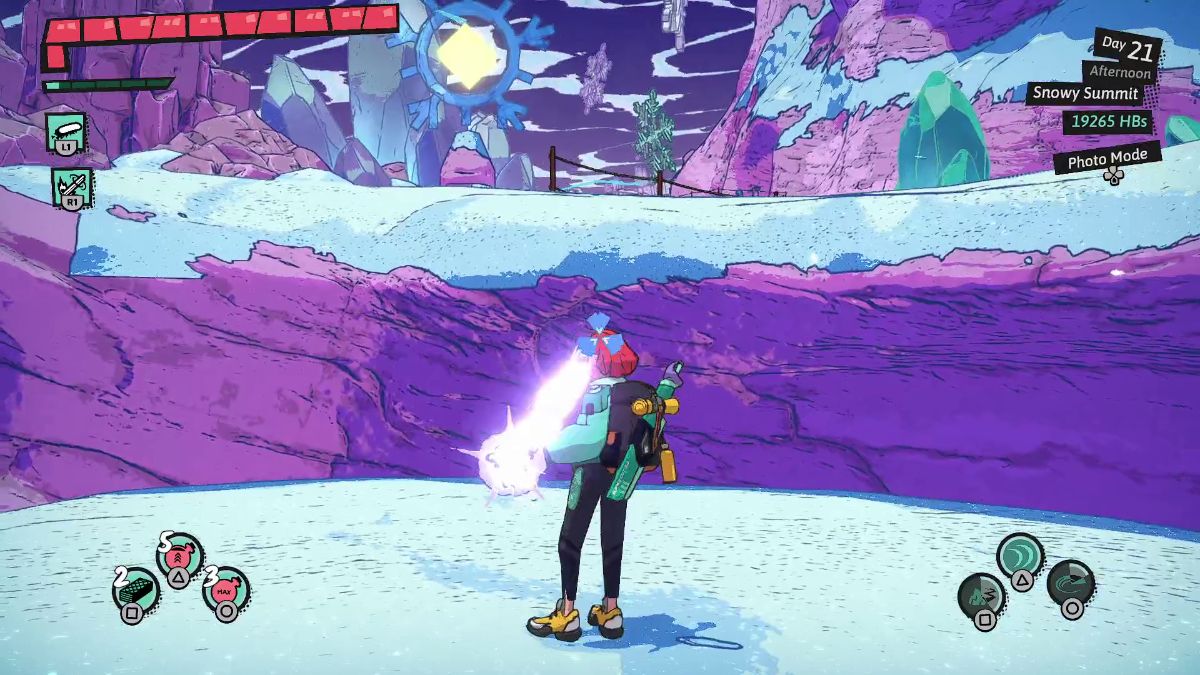
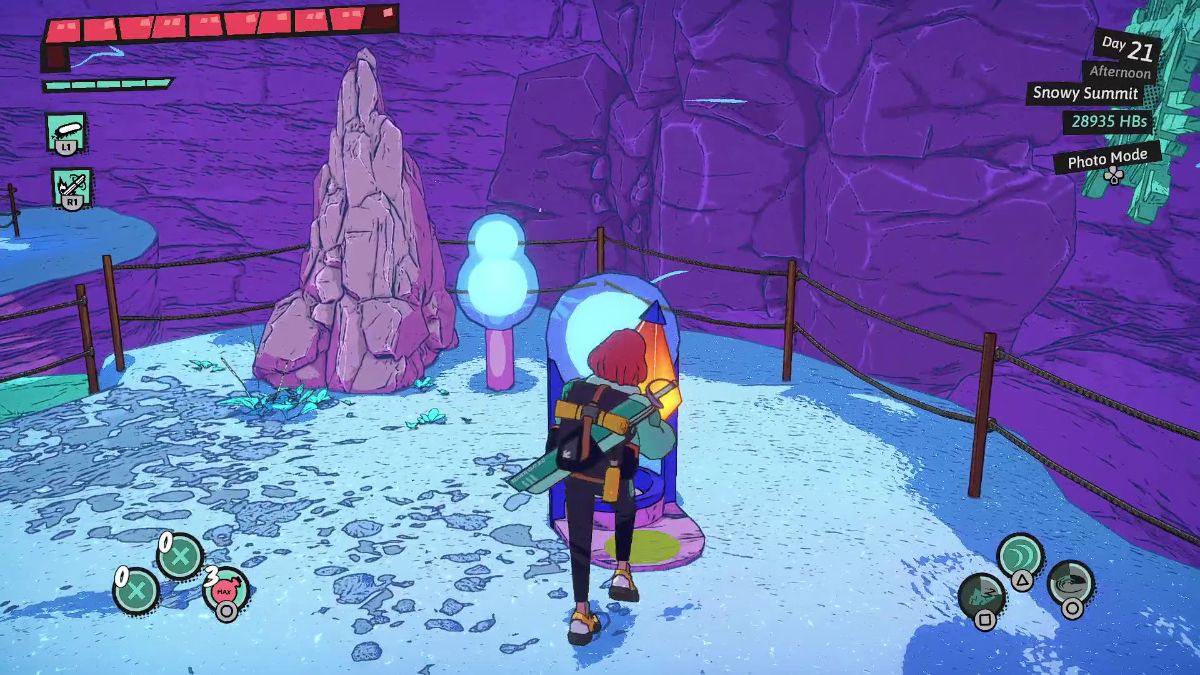
 | Shoot the snowflake on the upper left to lower the platform ahead. |
 | Jump on the white ledge to your right. Then climb on the platform to your left. |
 | As you stand here, shoot the snowflake on the upper left to reach the higher platform. |
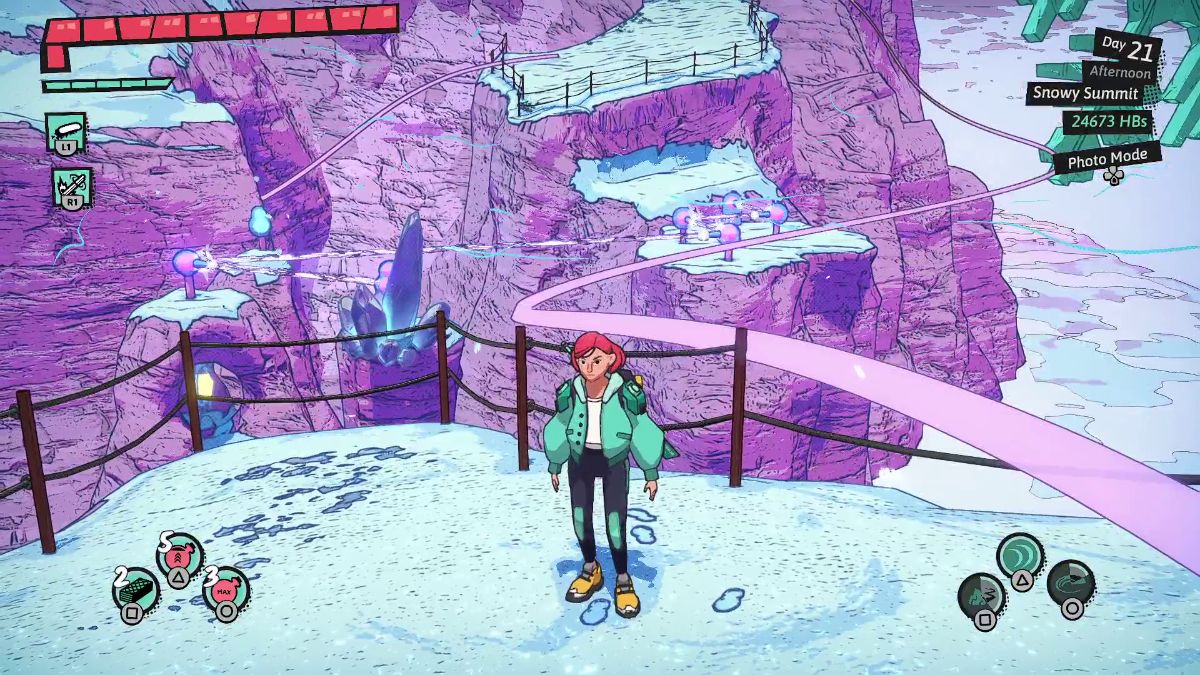
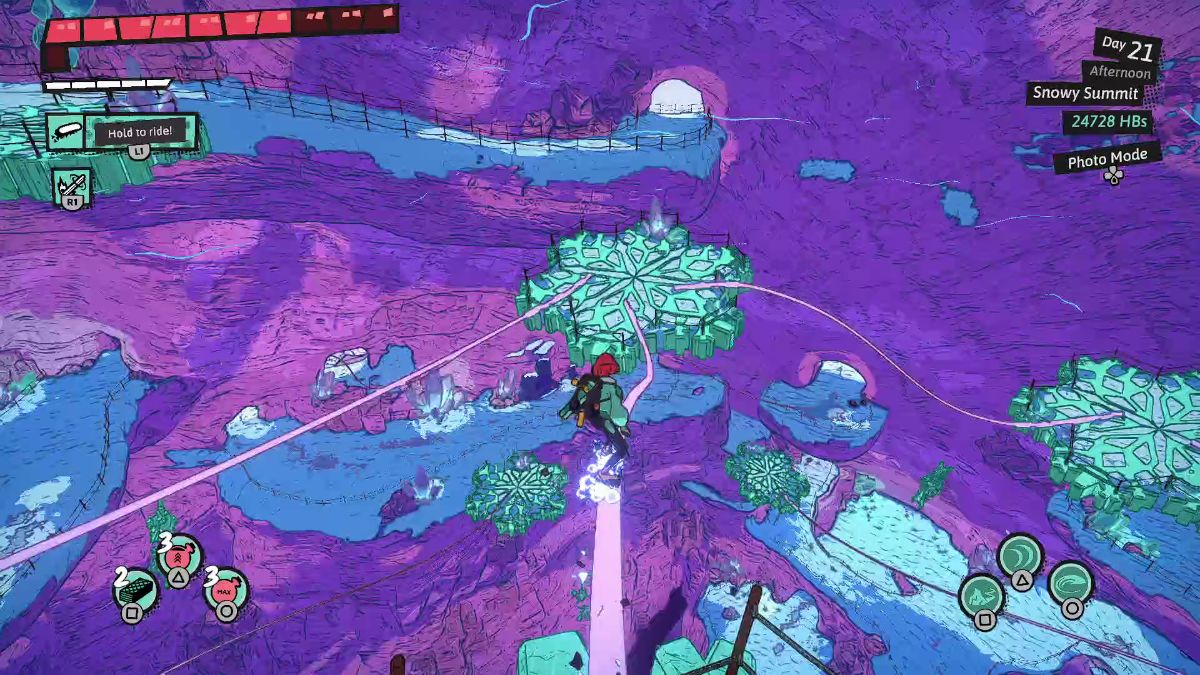
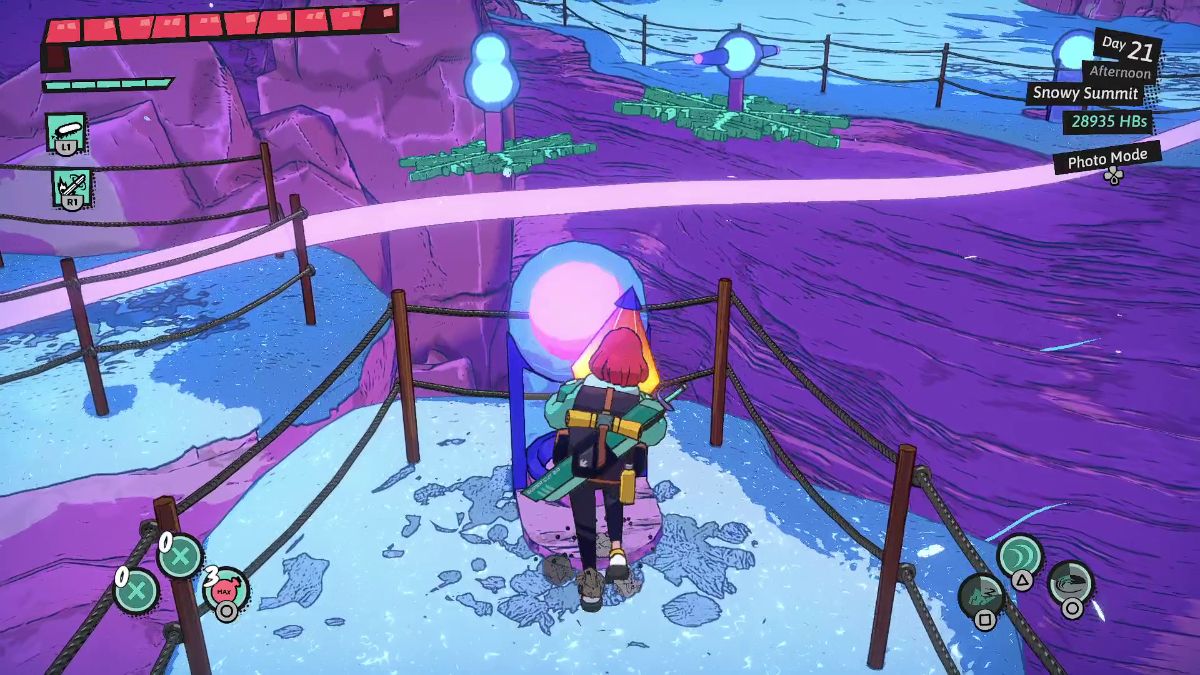
 | Shoot the snowflake below you and then ride the pink rails to the cave. |
 | From this other side, shoot the snowflake twice again. Cross to the other side of the bridge. |
 | Here, shoot the snowflake to the left twice to power up the pink rail to your right. |
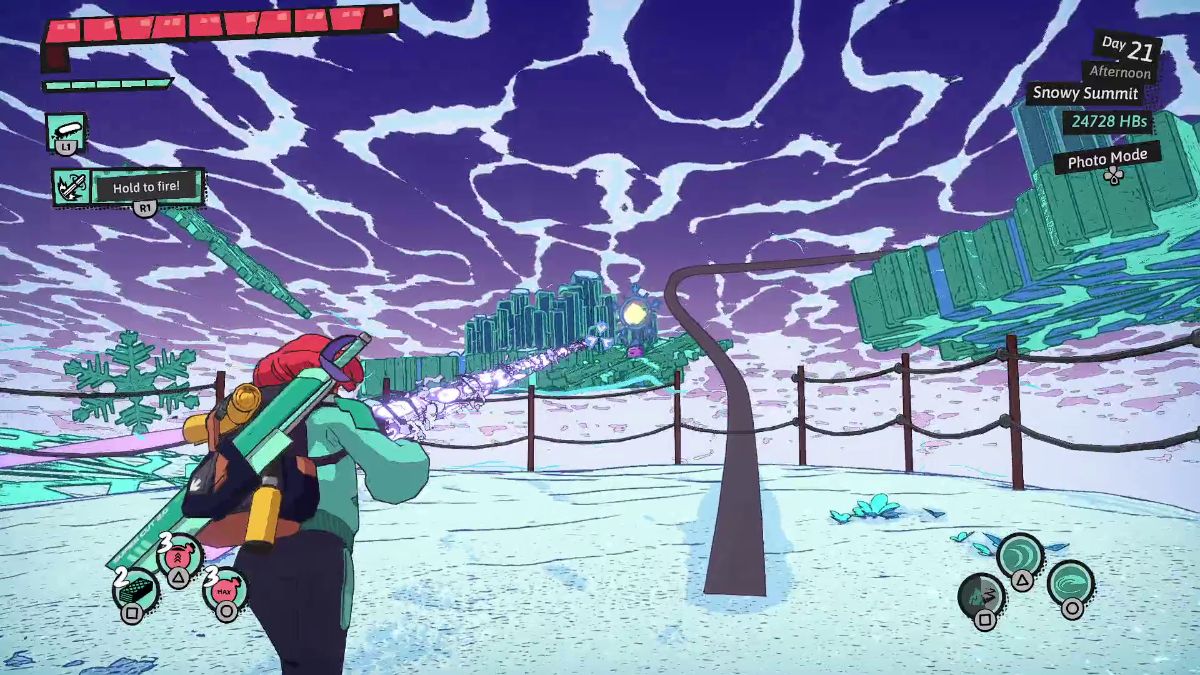
 | After defeating a wave of enemies, exit the cave and shoot the snowflake ahead. Ride the pink rails to the left. |
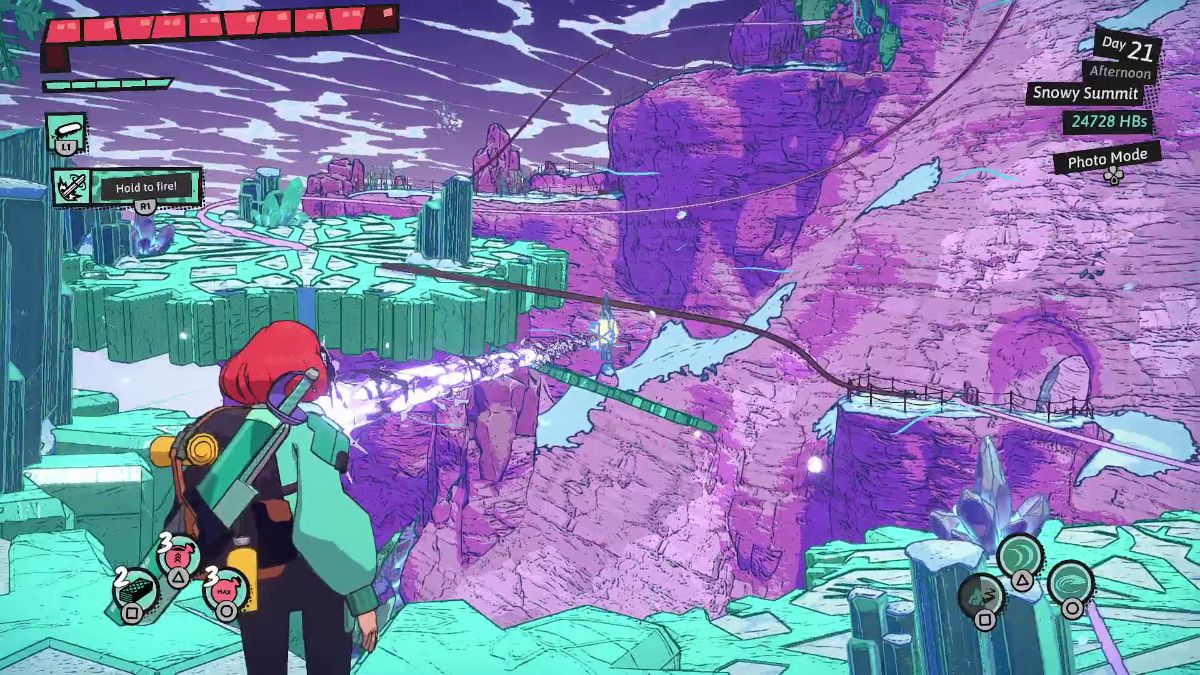
 | Shoot the snowflake on the upper right and ride the pink rails to the left. |
 | Shoot the snowflake directly in front of you. |
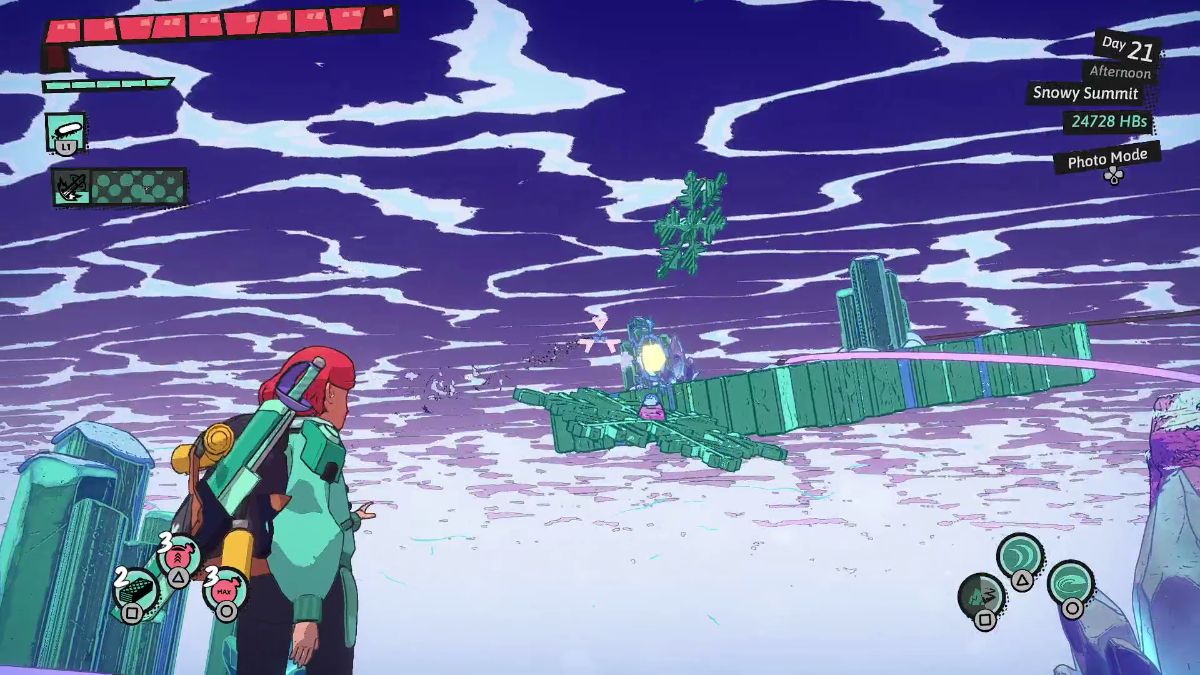
 | Then, look into the distance and shoot the snowflake on the platform far away. |
 | Ride the pink rails to the first platform. Here, shoot the snowflake ahead. Ride the pink rails to the right. |
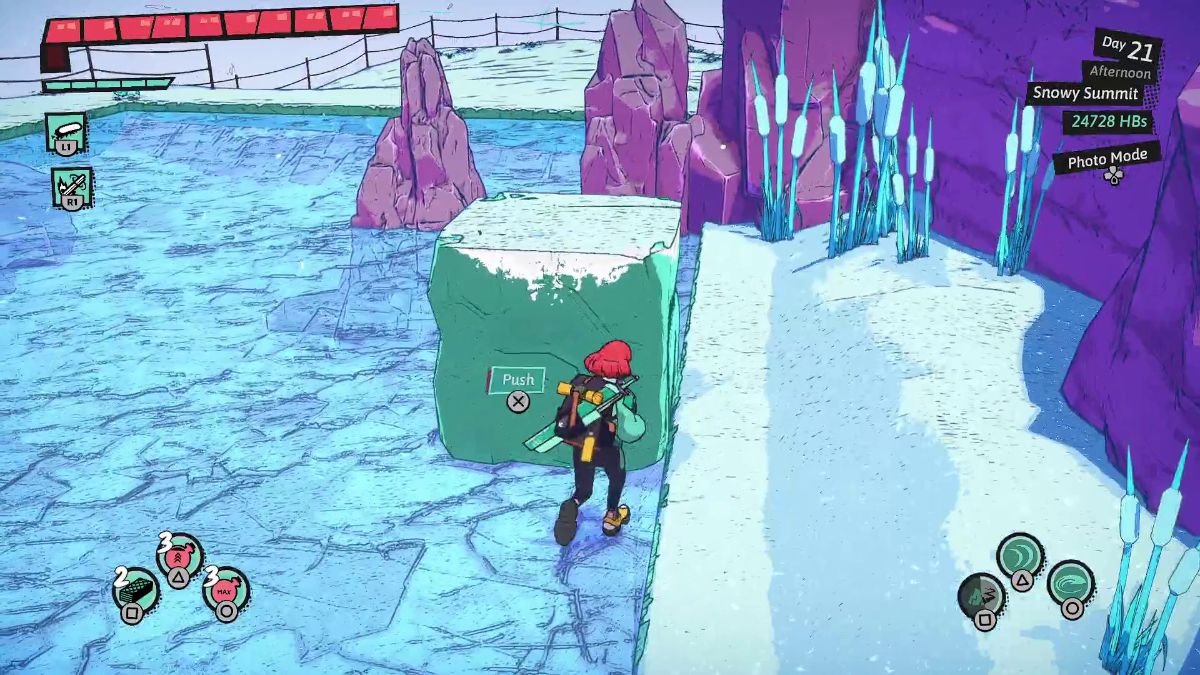
 | Here, push the teal block toward the right. |
 | Then, push it to the back of the frozen lake to block the laser. |
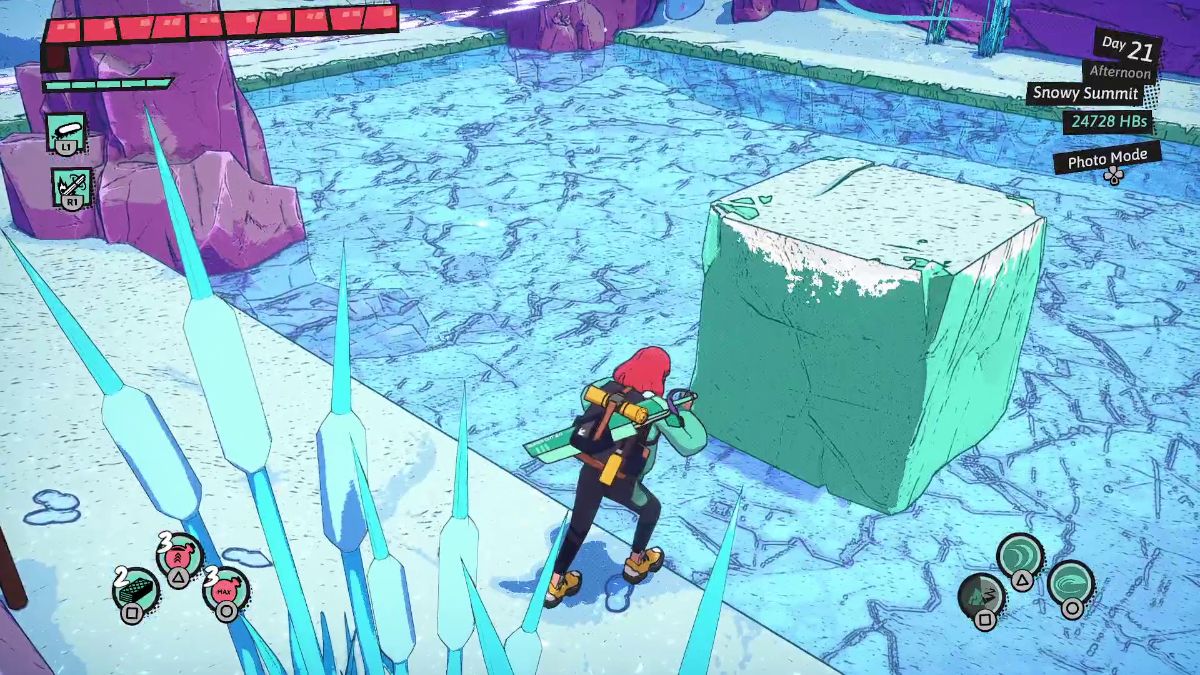
 | To solve the block puzzle in the next room of Snowy Summit, push it forward until it hits the pointy rock ahead. |
 | Push it to the left and then against the narrow rock near the front. |
 | Push it to the right. |
 | Push it against the rock near the front. |
 | Push it toward the rock on the left. |
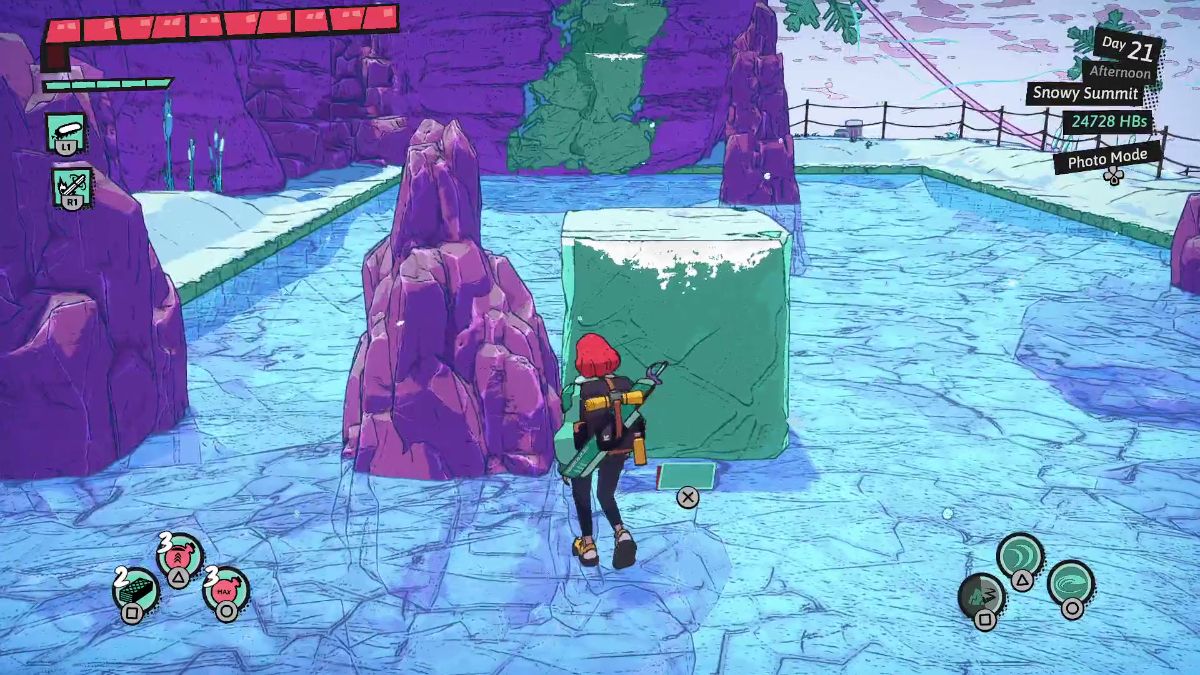 | Here, push it toward the back and use it to climb the white ledges. |
 | Use the rails inside the cave to descend until you reach a Waystone. Here, you can find the Unique Coin for the Snowy Mountain. |
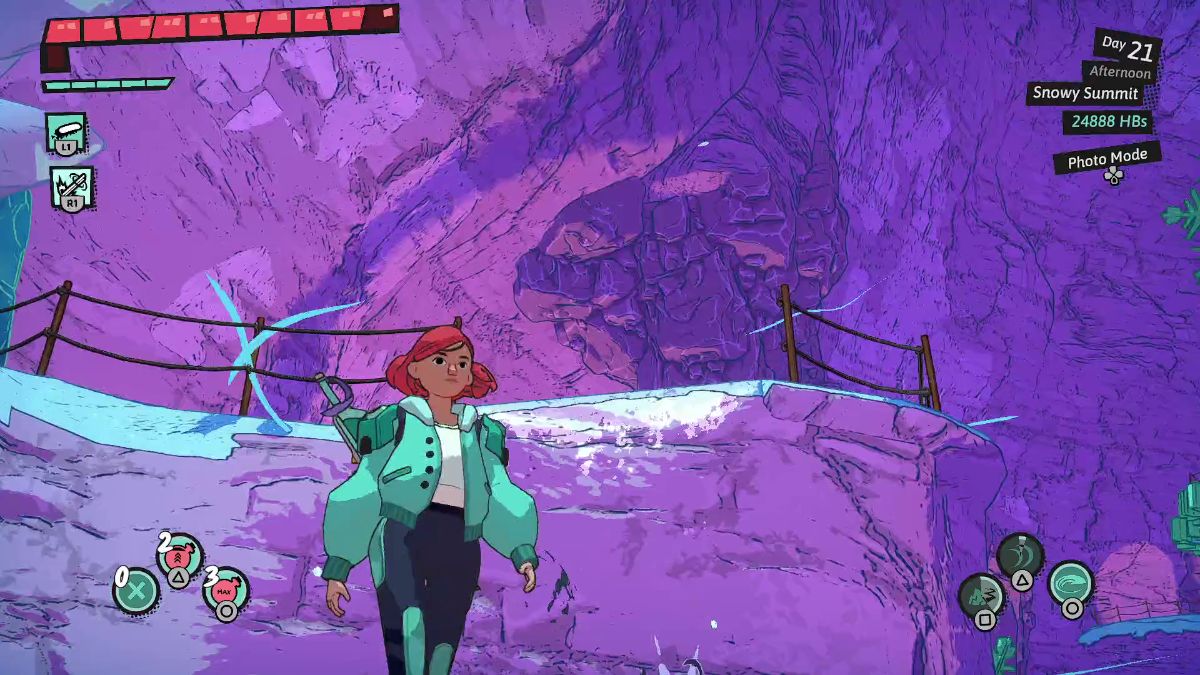 | When you reach this area, look above you to find two icicles you can slash to reach the white ledge. |
 | To solve this second frozen lake puzzle in the Snowy Summit dungeon, slash the icicle to cause it to drop down. |
 | Then, look for the ice cub with a laser on top. Push it to the left. After, push it toward the front of the lake. |
 | Then, push it to your left and toward the back of the lake. |
 | Now, push it against the source of the laser. |
 | Look for the regular ice block and push it toward the back of the lake and then against the narrow rock near the left center of the lake. |
 | Then, push it toward the icicle you slashed. |
 | Lastly, push it toward the back of the lake and use it to climb outside. |
 | Grab the amber crystal and place it on the laser device on the right to power up the pink rail. |
 | In the next room, remove the amber crystal and drop it on the ground for now. Then, ride the pink rail to the other room. |
 | Here, pick up the amber crystal on this side of the room and place it on the laser device to the right to deploy a bridge. |
 | Go over the bridge and pick up the amber crystal on the other side. Using this bridge, take the amber crystal to the laser device on the lower platform. |
 | Go across the bridge one more time and ride the pink rail on the far left. |
 | Get through this laser obstacle and defeat one last wave of enemies. Congrats, you’ve earned yourself another stamp! |
Reaching Basilisk’s Roost
| Visual Reference | Instructions |
|---|---|
 | Fast travel to the Snowy Summit dungeon in Kolmstein and snowboard past the icicles. |
 | Ride these rails until you’re out of the Ice Cave. |
 | Cross the bridge and climb the mountain to reach the dungeon’s entrance. |
Clearing Basilisk’s Roost
| Visual Reference | Instructions |
|---|---|
 | Jump on the rails and shoot the Basilisk’s floating eyes to damage it. |
 | When you land, shoot the open eyes on the Basilisk’s face to stun it. |
 | Once its on the ground, deal as much damage as possible before it gets back up. |
 | Avoid its lasers and hopping attacks until it becomes passive again. |
 | Once you’ve depleted half of its health, it’s time for another rail riding stage. Shoot the spiky balls with a triangle on the center before they approach you to avoid damage. |
 | When you’re back on the ground, the same rules apply: shoot the open eyes until Basilisks drops down. Repeat the process once more to bring it down. |
| Visual Reference | Instructions |
|---|---|
 | Rotate the device with the red lever so it’s facing southeast. |
 | Then, stand in front of it and shoot your Light Ray until it lights up the door ahead. |
 | In the snow globe ahead, shoot the eye slime near the ice. |
 | Then, look to the right to spot a second eye. This lights up the rail to exit this area. |
 | Ride the rails to leave. In the next area, snowboard until you run into a slime eye on the right. Shoot it. |
 | Slightly to the left, shoot the eye hanging from the stone archway. |
 | Then, aim slightly more to the left to find two more eye slimes. |
 | Snowboard toward them and look to the right to spot another eye slime. |
 | Then, look behind you to spot another one. |
 | The last eye slime is on the other side of the stone archway. This opens the door. |
 | Ride the rail past the door and shoot the eyes on the sides. |
 | After defeating another wave of enemies, ride the rail ahead and shoot all the eyes on the right wall. |
 | In the next room, rotate the devices with the red levers. The red lever on the device in the bottom right should face the upper right. The red lever on the device in the upper center should be facing the bottom right. |
 | Explore the snow globes. Look for the snowman with the hat. |
 | Behind him, there are two slime eyes you should shoot to trigger the exit rail. |
 | On this platform, grab the amber crystal and place it on the cloud next to the rail. |
 | Then, shoot the snowflake device on the right. |
 | The goal is to ride the pink rail and ensure the amber crystal can make it to the other side with you. |
 | Shoot the devices to the cloud’s right to lower or raise them and keep the way obstacle-free. |
 | Once you get the amber crystal to the other side, place it inside the device on the left. |
 | Shoot the device on the right to hit the eye slime on the far right. |
 | In the next room, place the amber crystal in the device up the stairs. Then, manually shoot the absorption device in the platform ahead to lift it up. |
 | Then, walk down the stairs and go behind the platforms. |
 | Grab the amber crystal on the other end of the room. |
 | Bring the amber crystal to the device on the right side of the room. |
 | Stand next to the amber crystal up the stairs and shoot the absorption device in front of you to raise it. |
 | Head to the right and climb the white ledges to exit this area. |
 | Here, turn the wheel until both devices with the red lever are on the upper right side of the circle. Then, move the red lever devices themselves until they match the picture. Shoot them to open the door. |
 | Complete the race to conquer all the flags. When you’re done, it’s time to exit this dungeon. |
Dungeons of Hinterberg: Brünnelsumpf Dungeons and Skill Shrine

Brünnelsumpf Skill Shrine
| Visual Reference | Instructions |
|---|---|
 | Follow the signs pointing to the skill shrine in Brünnelsumpf to get your new skills: Main: Jelly Block Ranged: Plasma Ball |
 | Create a Jelly Block near the white ledge to head out of this crater. |
 | You can grab a treasure with a Physical Attack Down, Skill/AC damage down charm right outside. |
Brünnelsumpf Dungeons
Prisonkeep Island

Desolate Castle
Lighthouse Reef
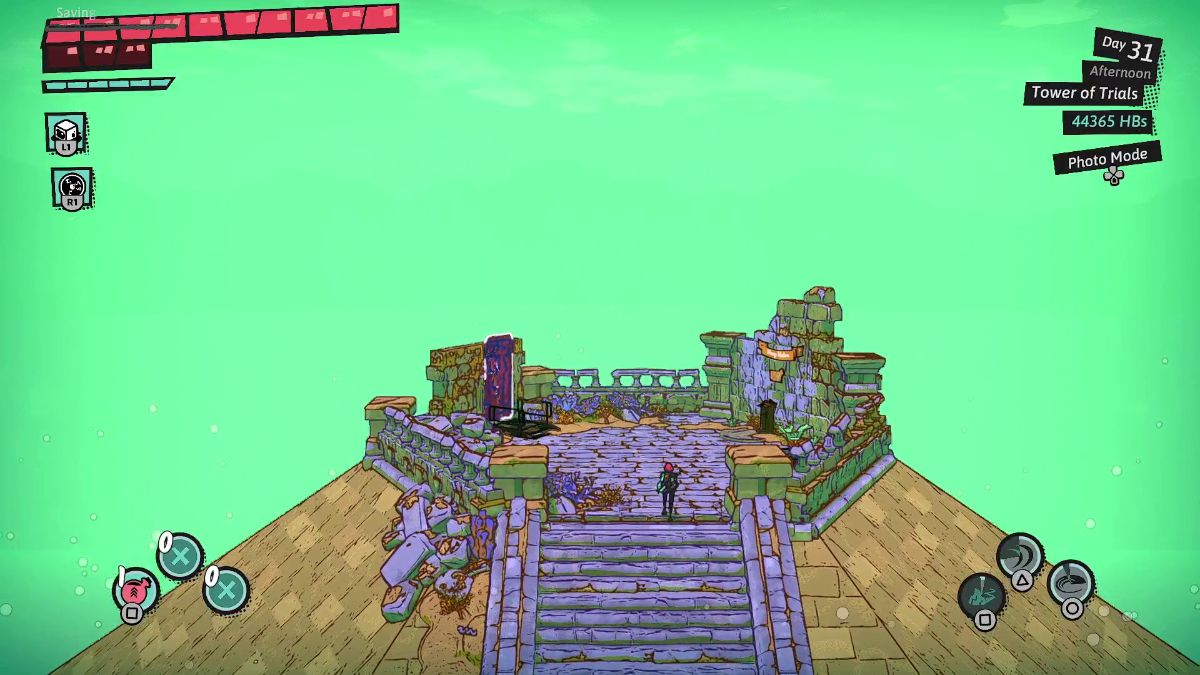
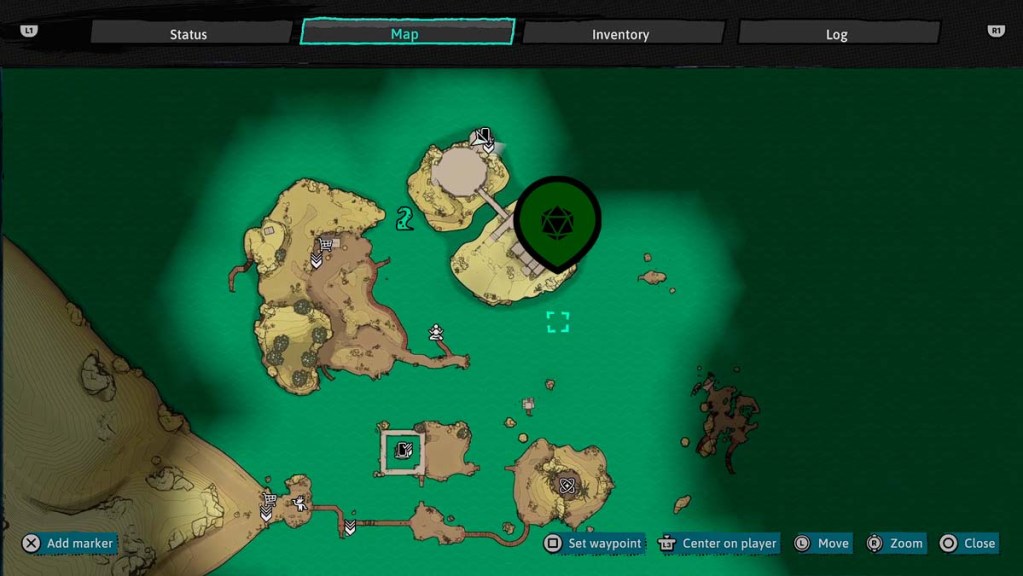
Tower of Trials
Wassermann’s Arena

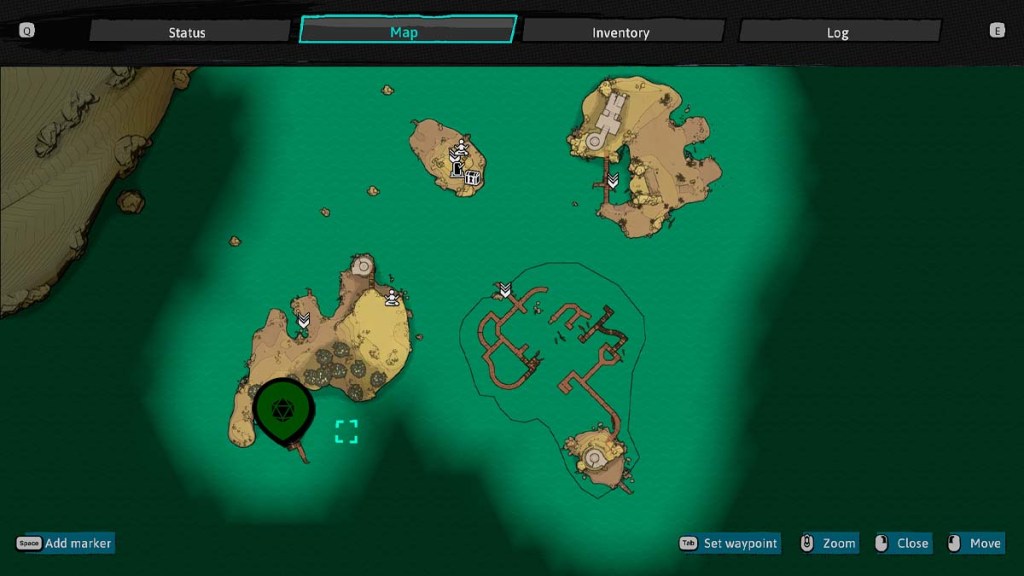
Reaching Prisonkeep Island
| Visual Reference | Instructions |
|---|---|
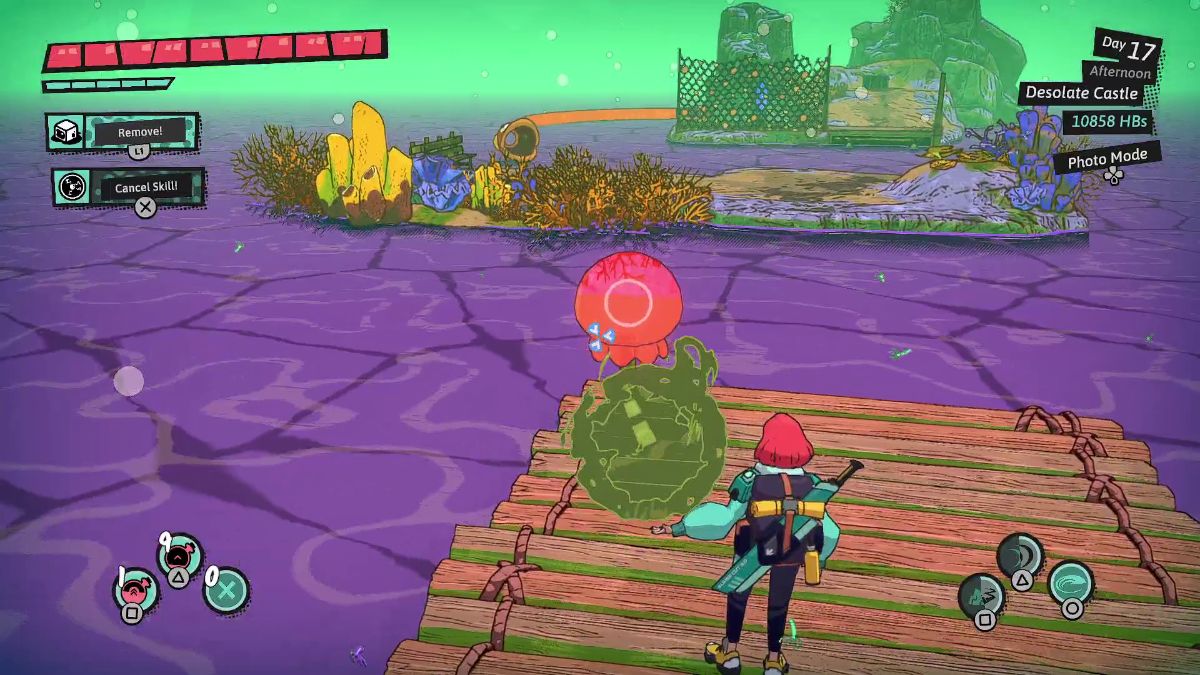
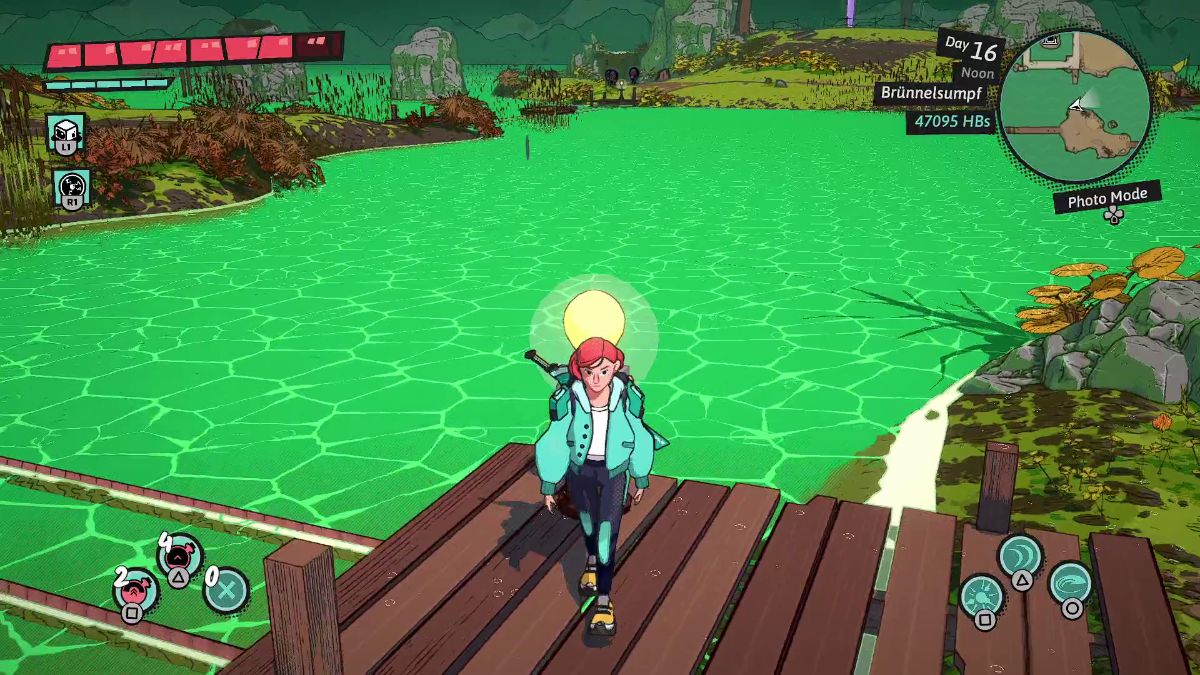 | Power up the wooden raft with a Plasma Ball to prompt it to move from one side to the other. Then, board it to reach the other side. |
 | Place a Jelly Block on the toxic waters to reach the portal to Prisonkeep Island. |
Clearing Prisonkeep Island
| Visual Reference | Instructions |
|---|---|
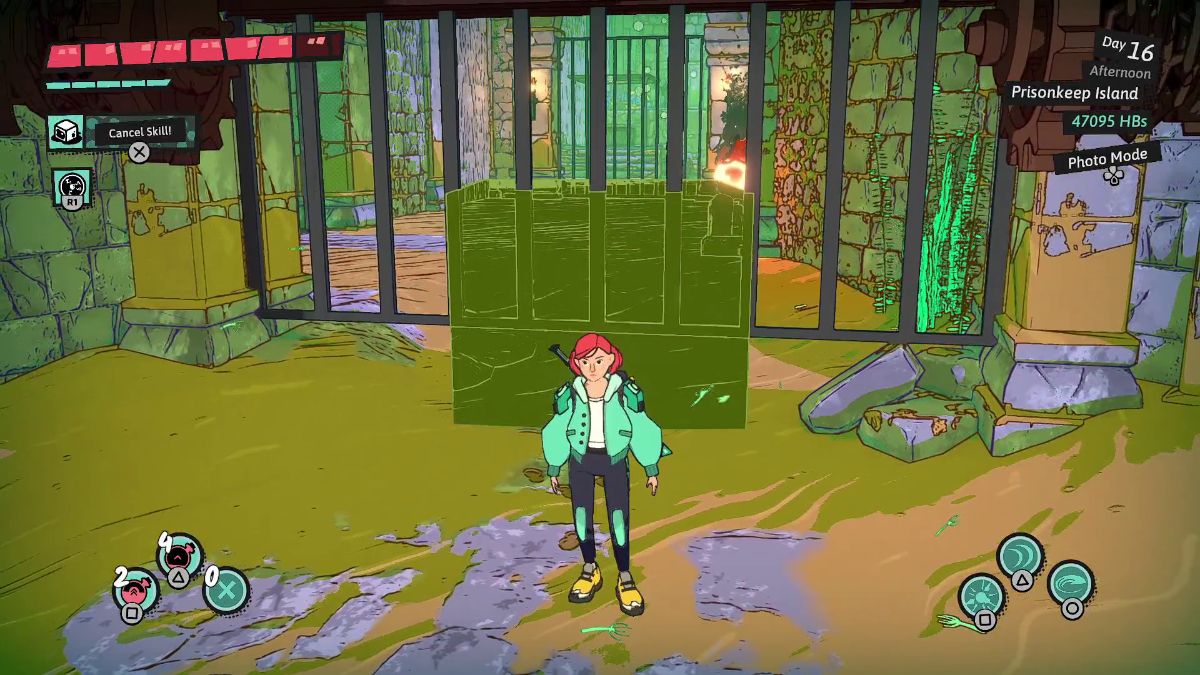
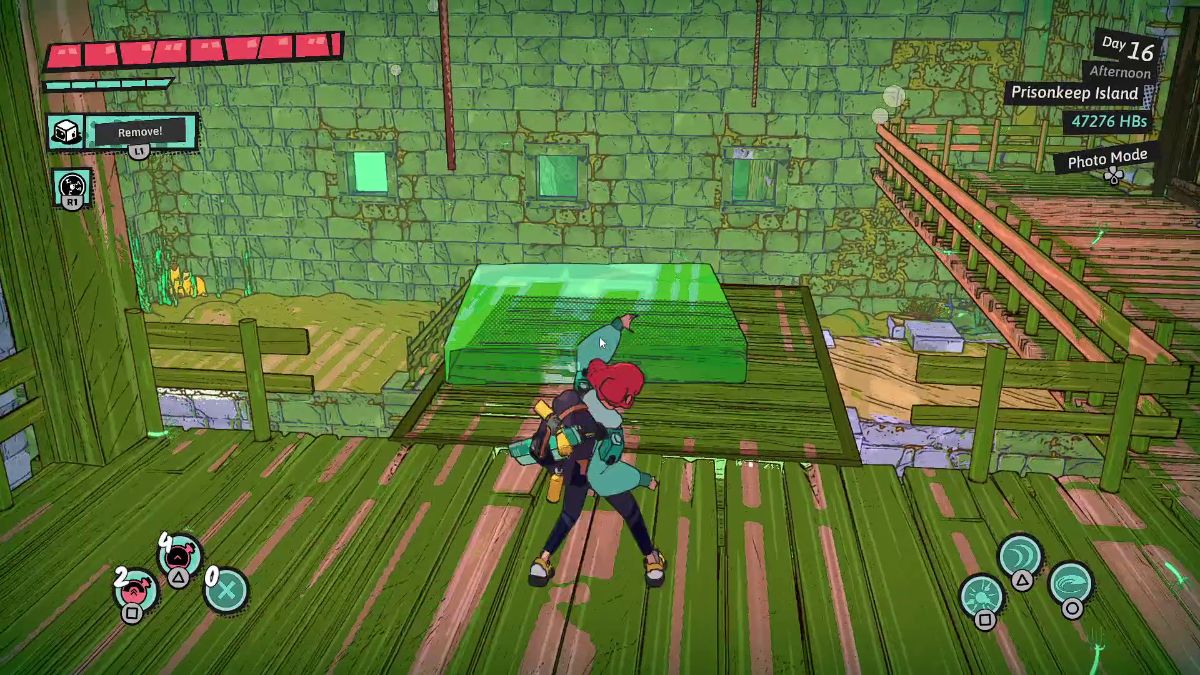
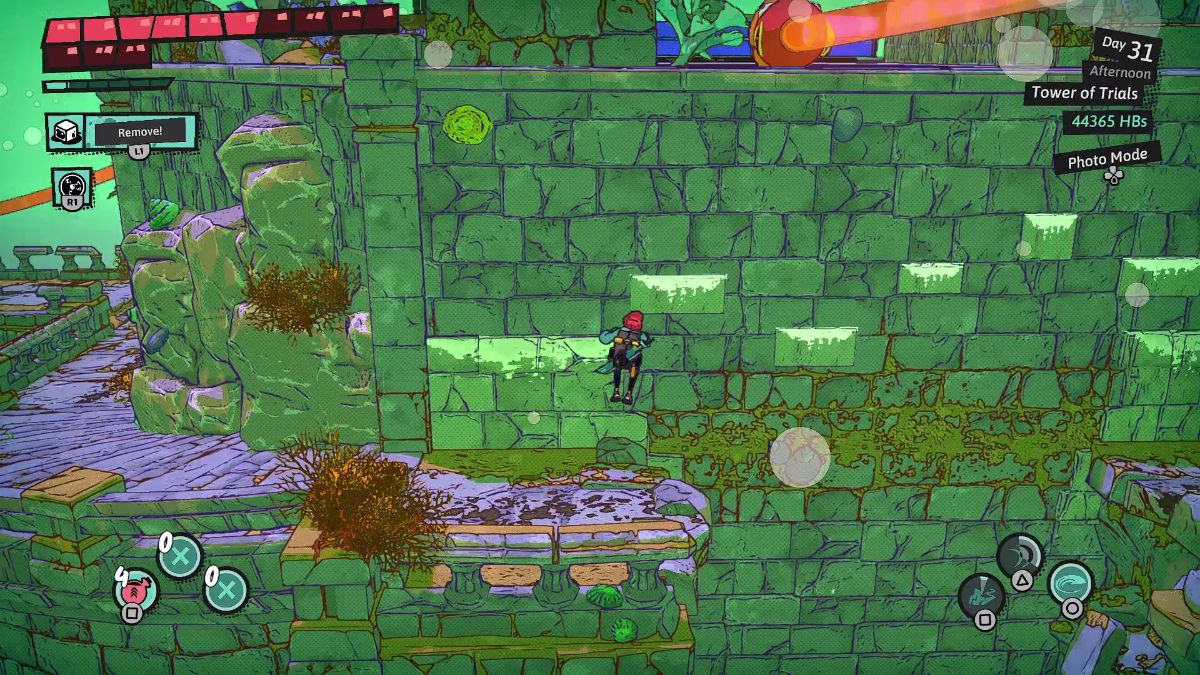
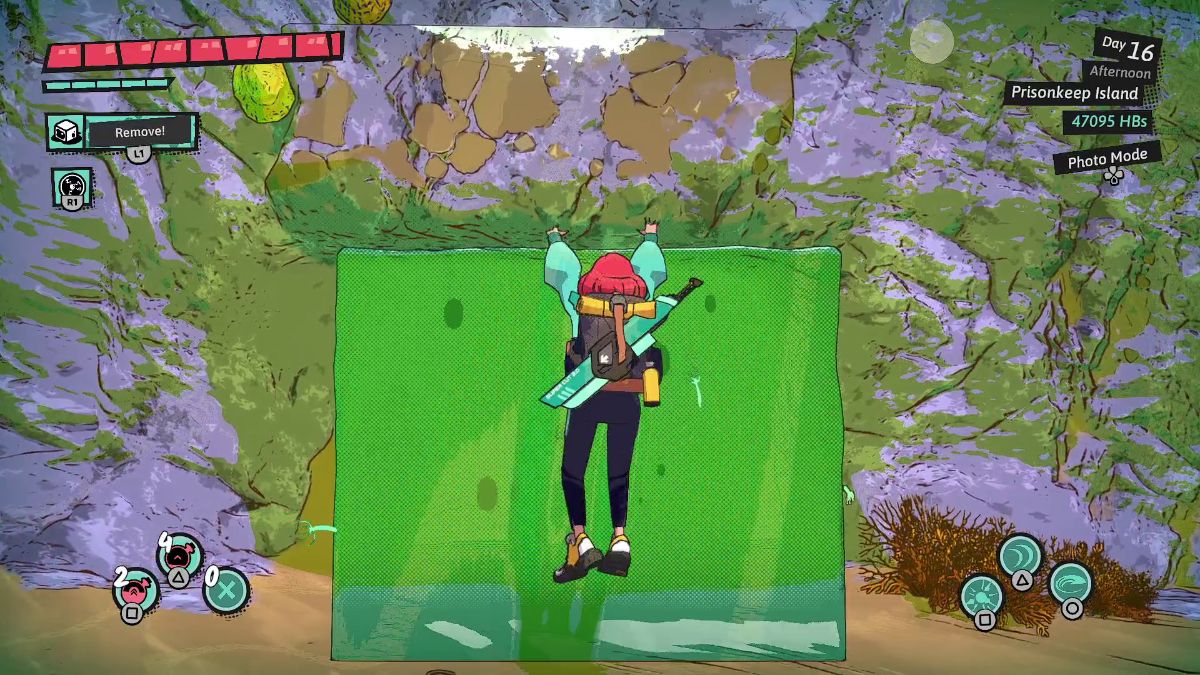 | Climb the white ledges. If you can’t reach one, use a Jelly Block to reach higher ground. |
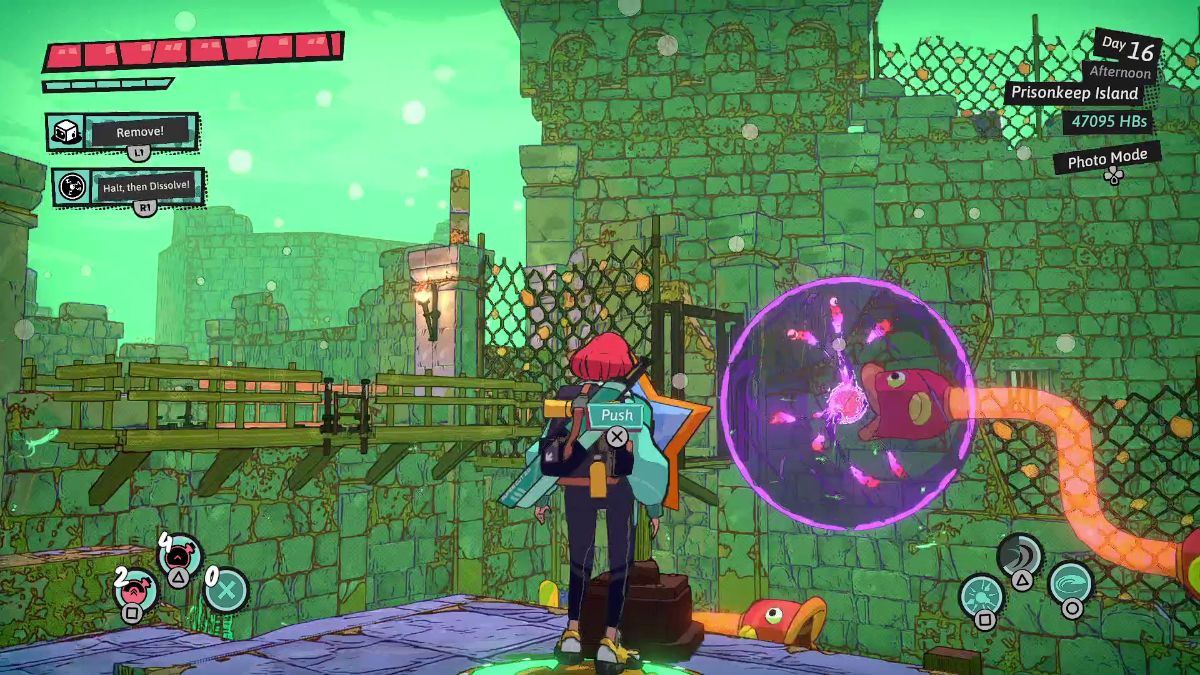
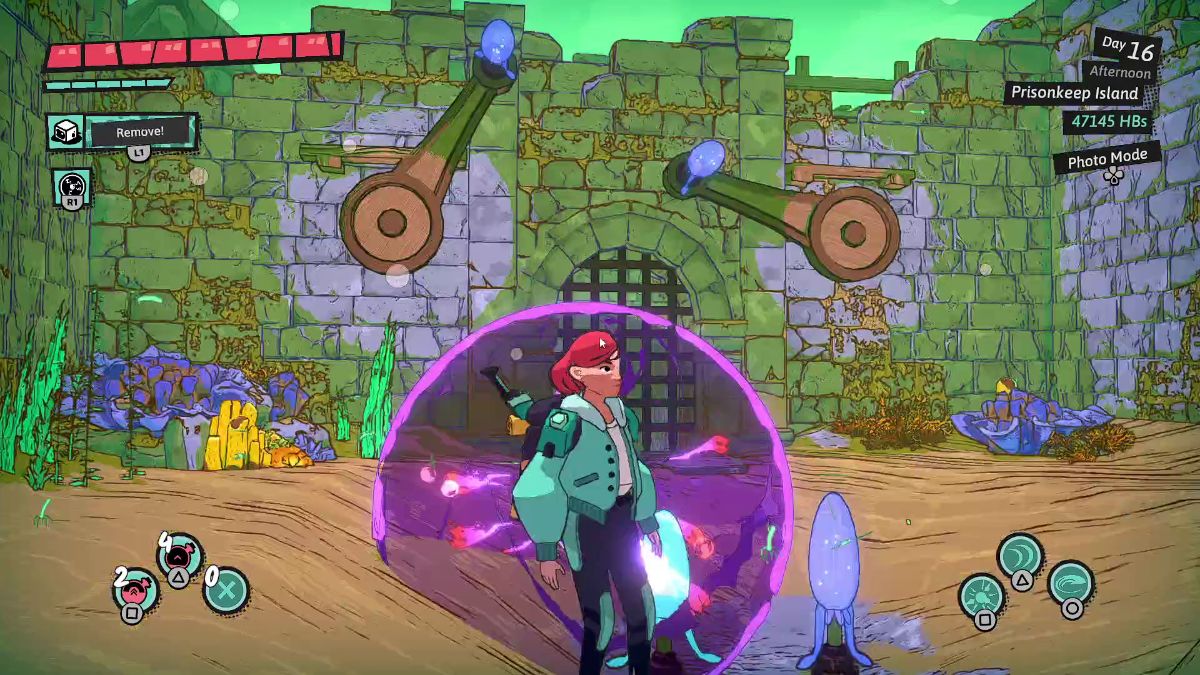
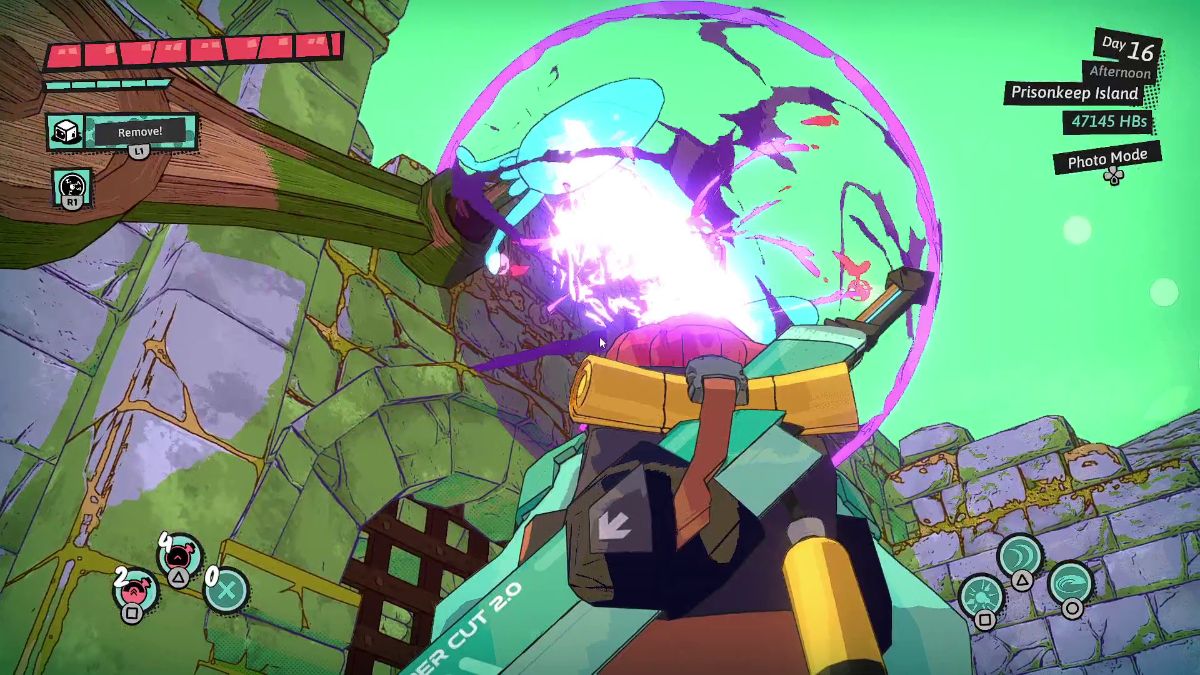
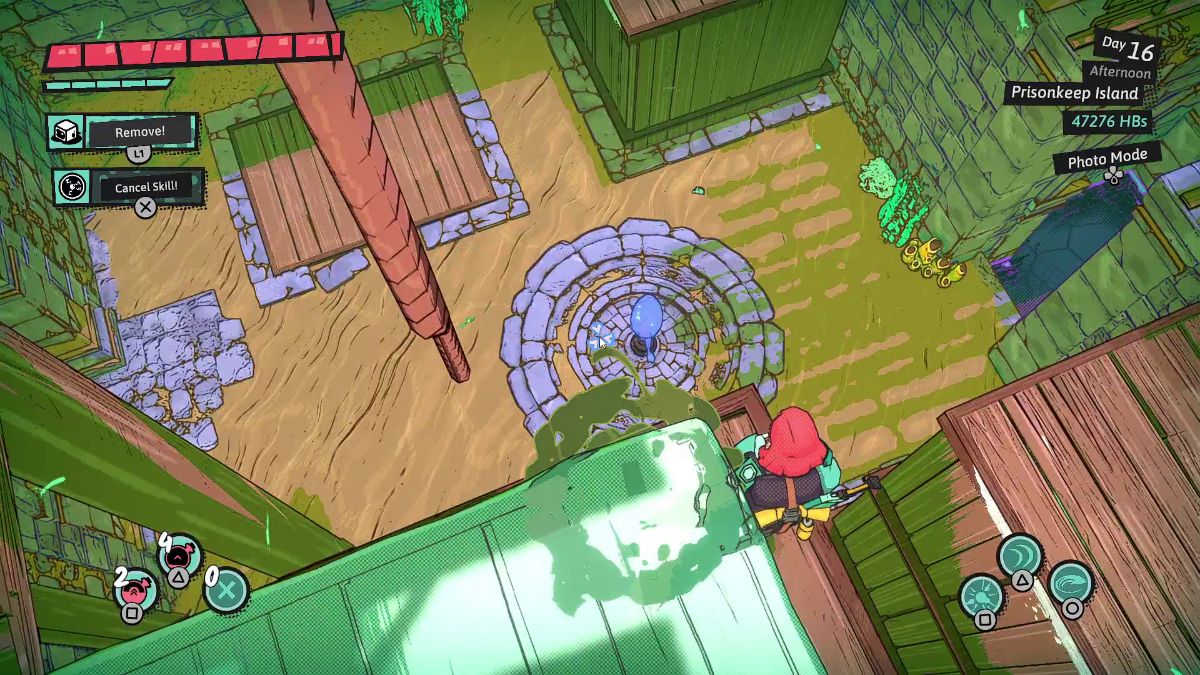
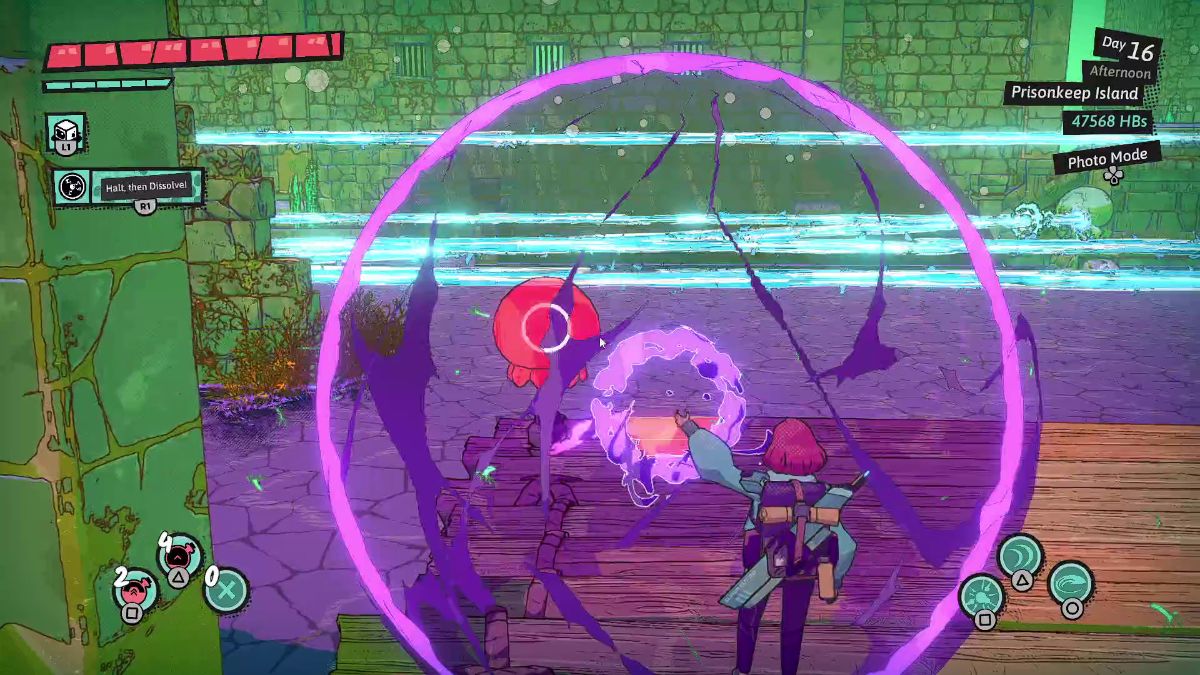
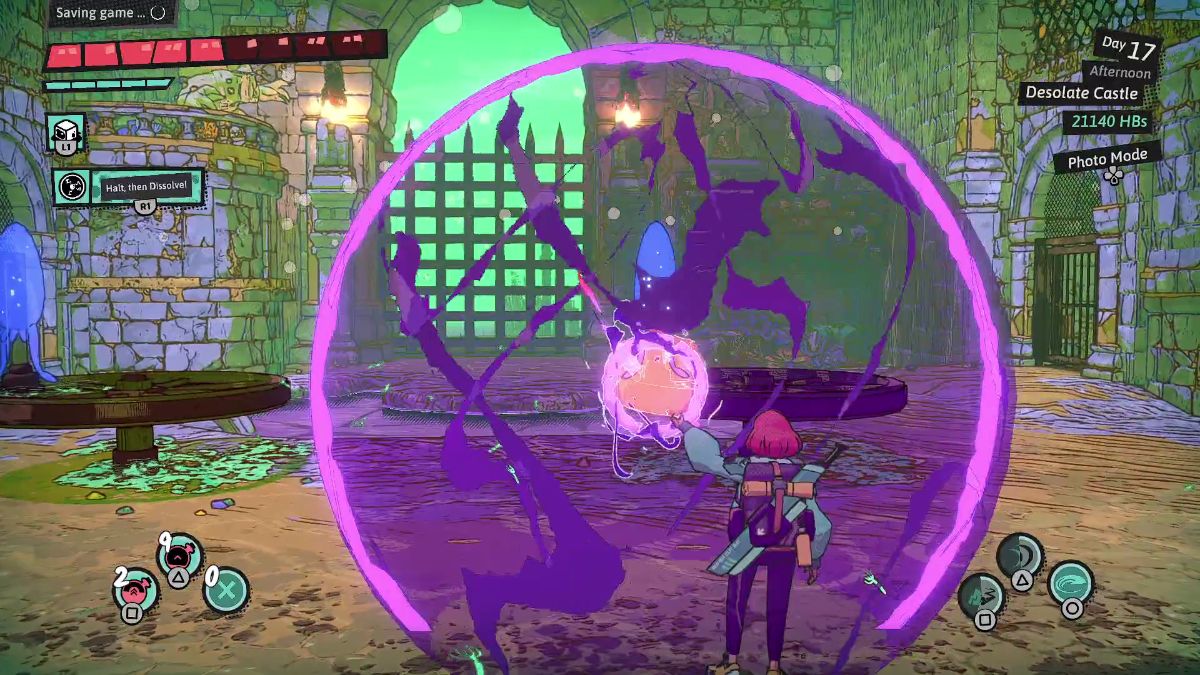
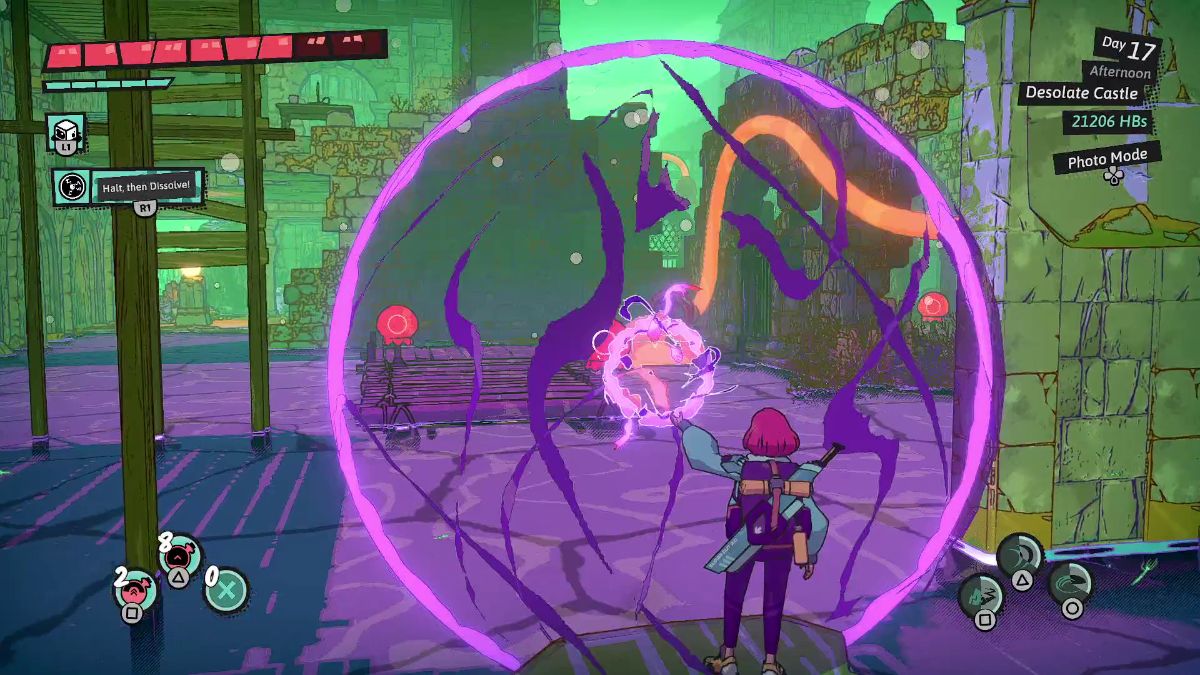
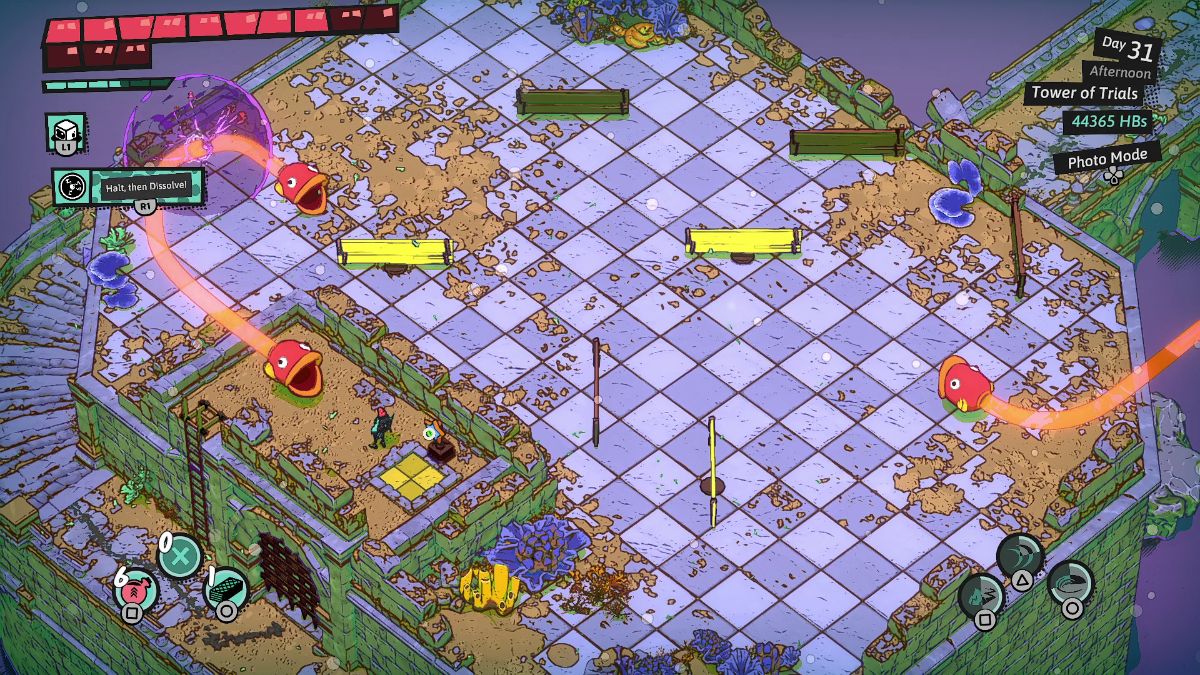
 | Throw a Plasma Ball at the tentacly blue device ahead. Then, as it’s triggered, halt it. After defeating a wave of enemies, head to the left. |
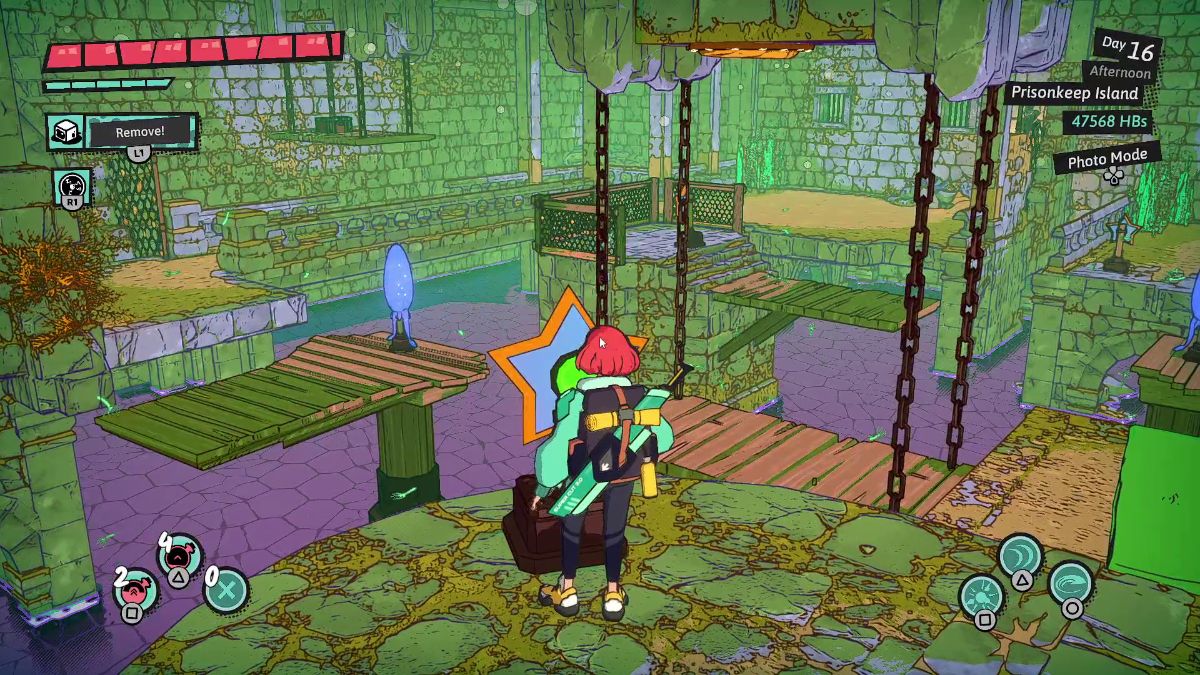
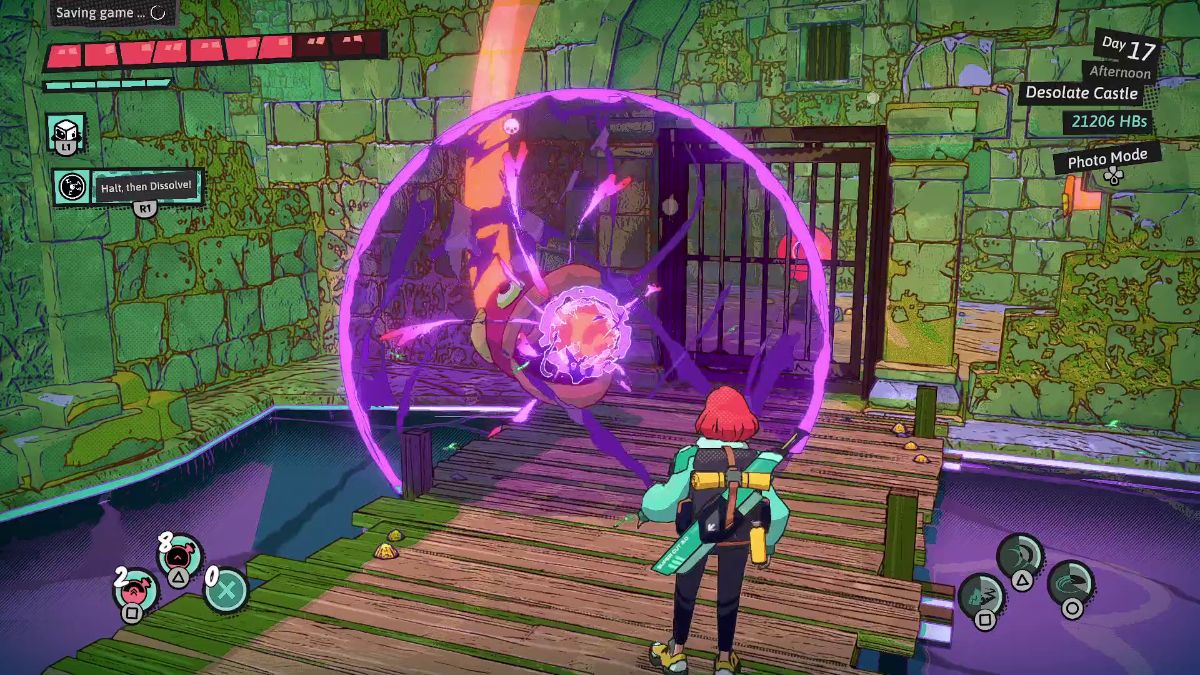
 | Throw a Plasma Ball at the fish head to trigger the red device on the other side of the fence. This opens the door out of this room. |
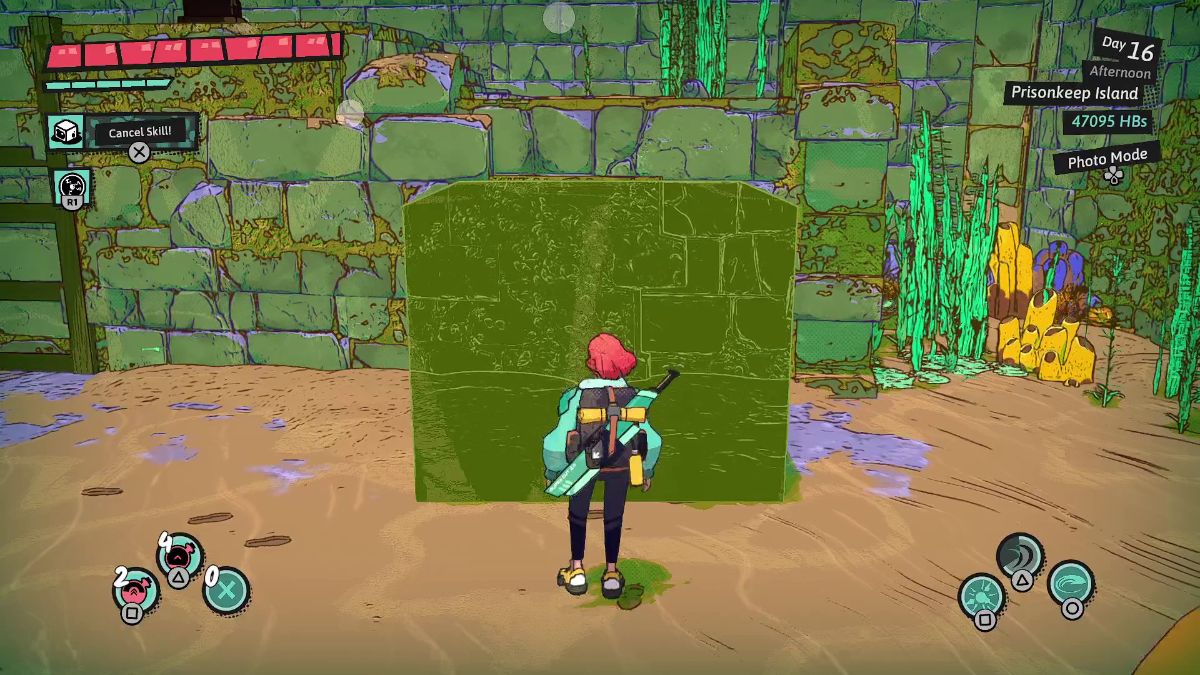
 | In this room. use a Jelly Block to reach the higher platform on the left. |
 | Throw a Plasma Ball inside the fish head on the bottom left. |
 | Then, as the Plasma Ball bounces off the wall, push the button on the right to rotate the fish tube on the upper right and lead the Plasma Ball through the door. |
 | In the next room, place a Jelly Block on the tiny door to the fish tube’s right. This will cause the Plasma Ball to bounce back inside the fish tube. |
 | Throw a Plasma Ball inside the fish’s head on the left. |
 | Stand on the yellow shell to open the gates and guide the Plasma Ball inside the cage. |
 | Use a Jelly Block to leave the room. |
 | After a wave of enemies, push the red button to drop down. |
 | Use a Jelly Block to lift the cage and exit. |
 | Use this technique to explore the remaining cages. You can get the SlayTector Body Armor X-5 and then leave. |
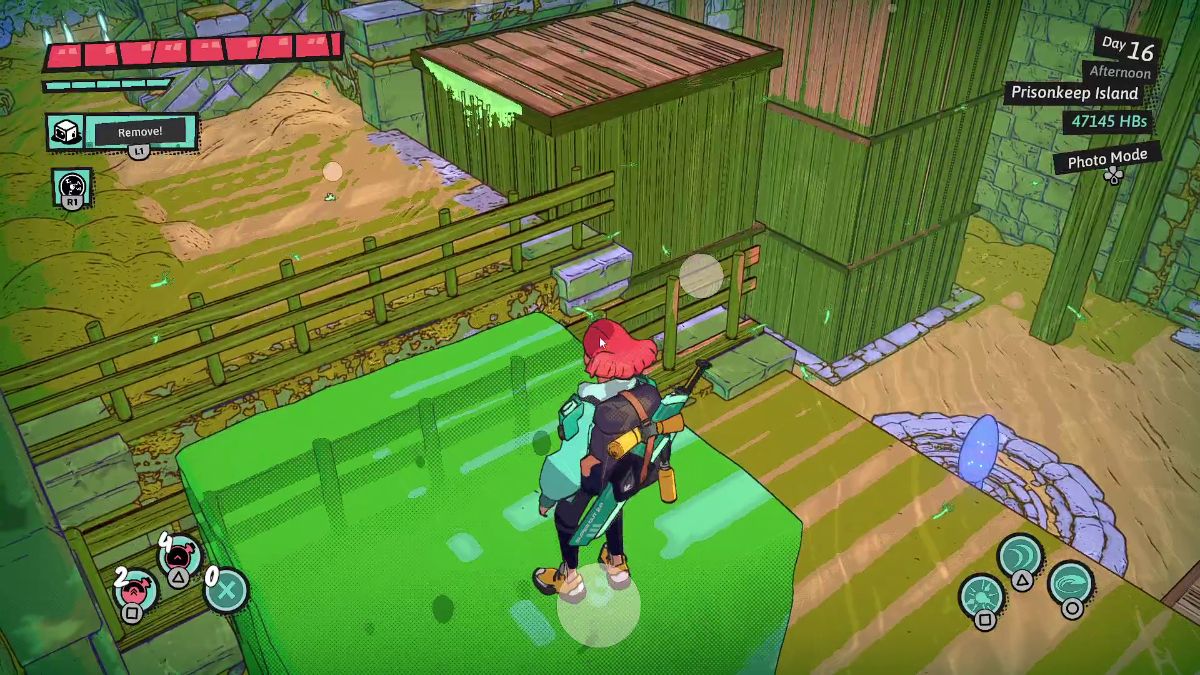
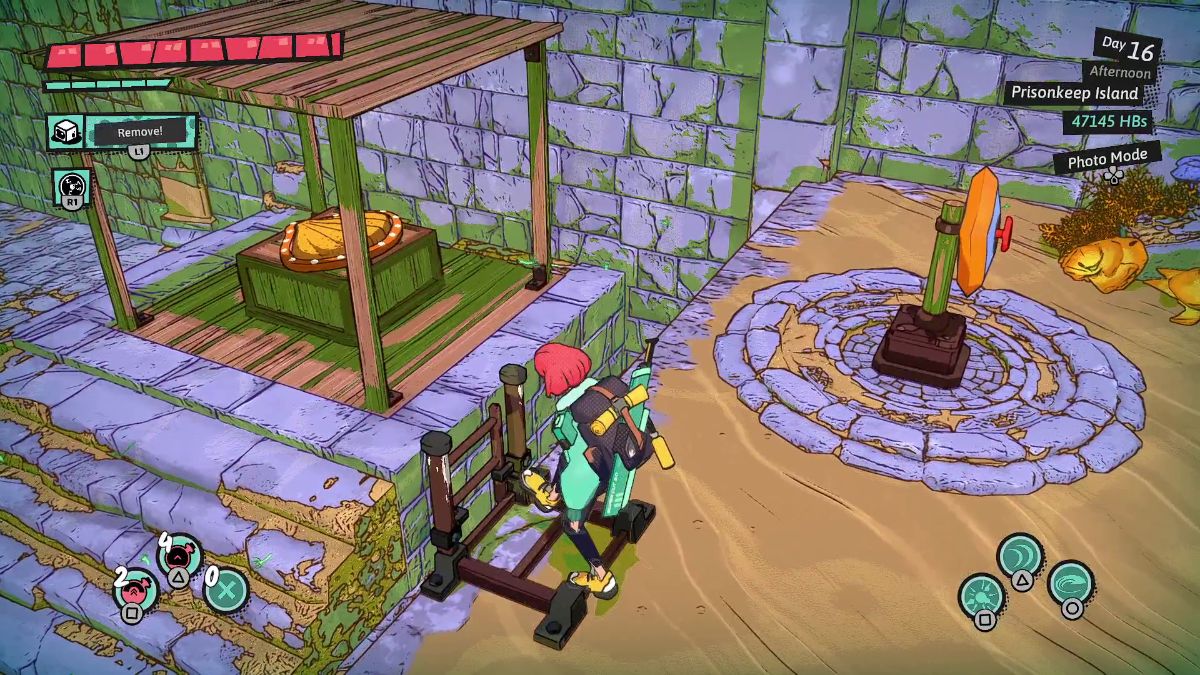 | In the next room, use a Jelly Block to reach the higher platform. Then, kick down the ladder. |
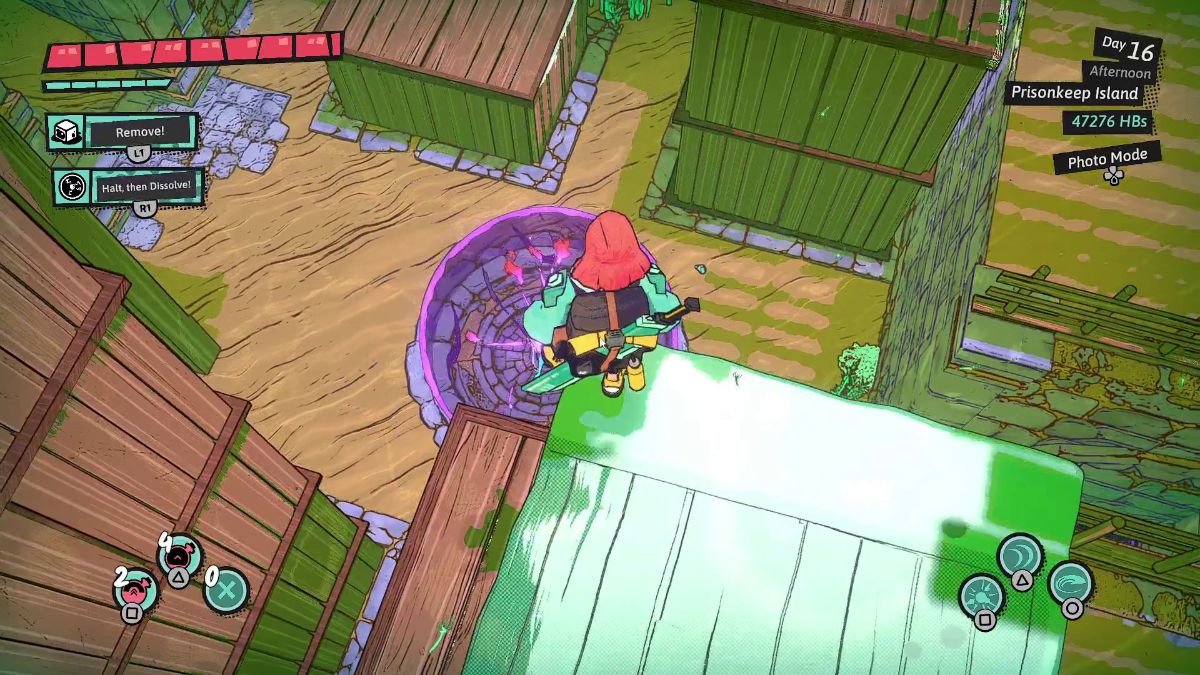
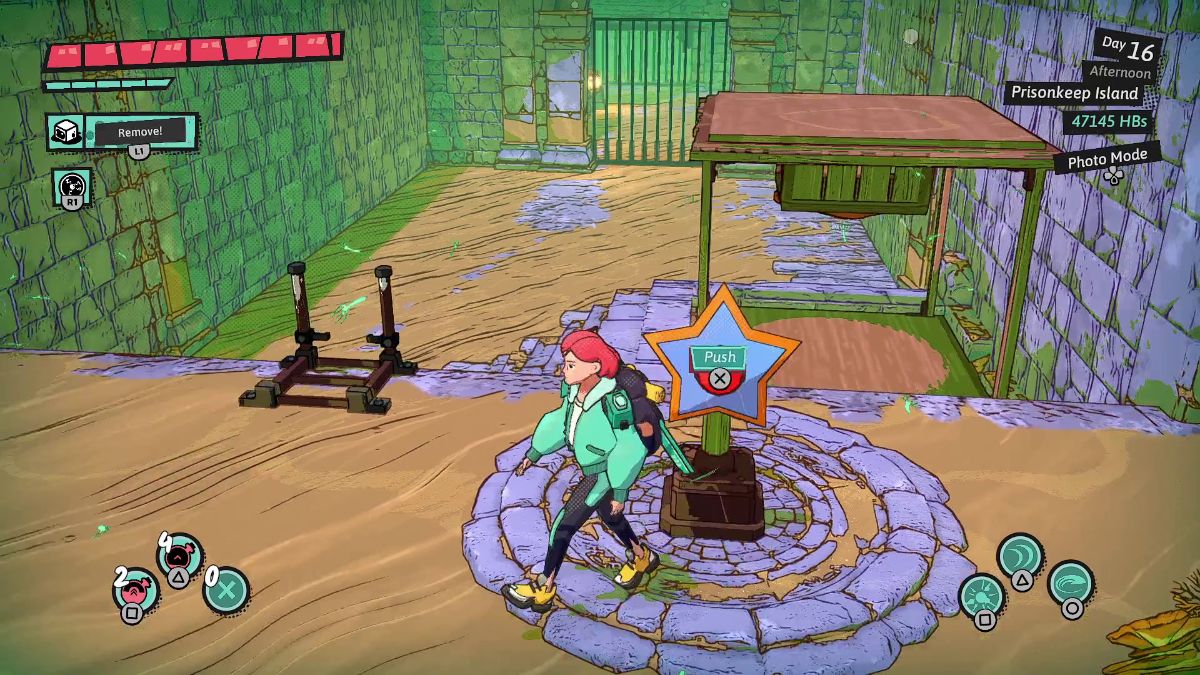 | Push the red button to spin the yellow shell button upside down. |
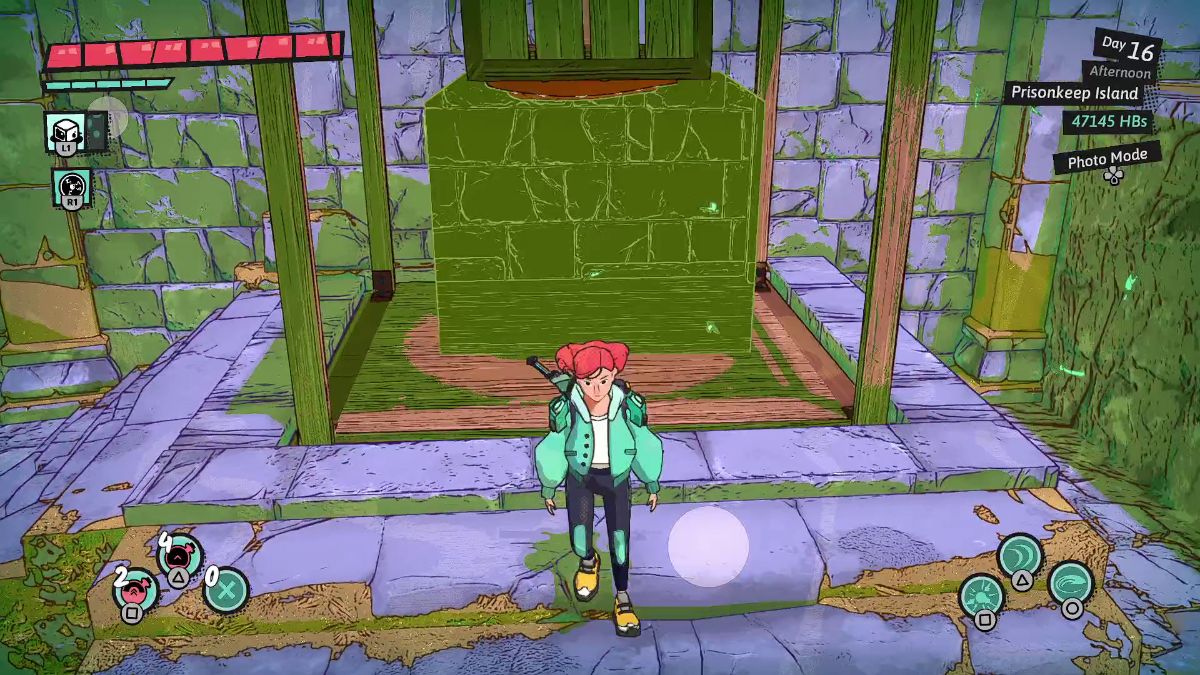 | Place a Jelly Block inside the spinning platform to trigger the shell button and head out through the gate above. |
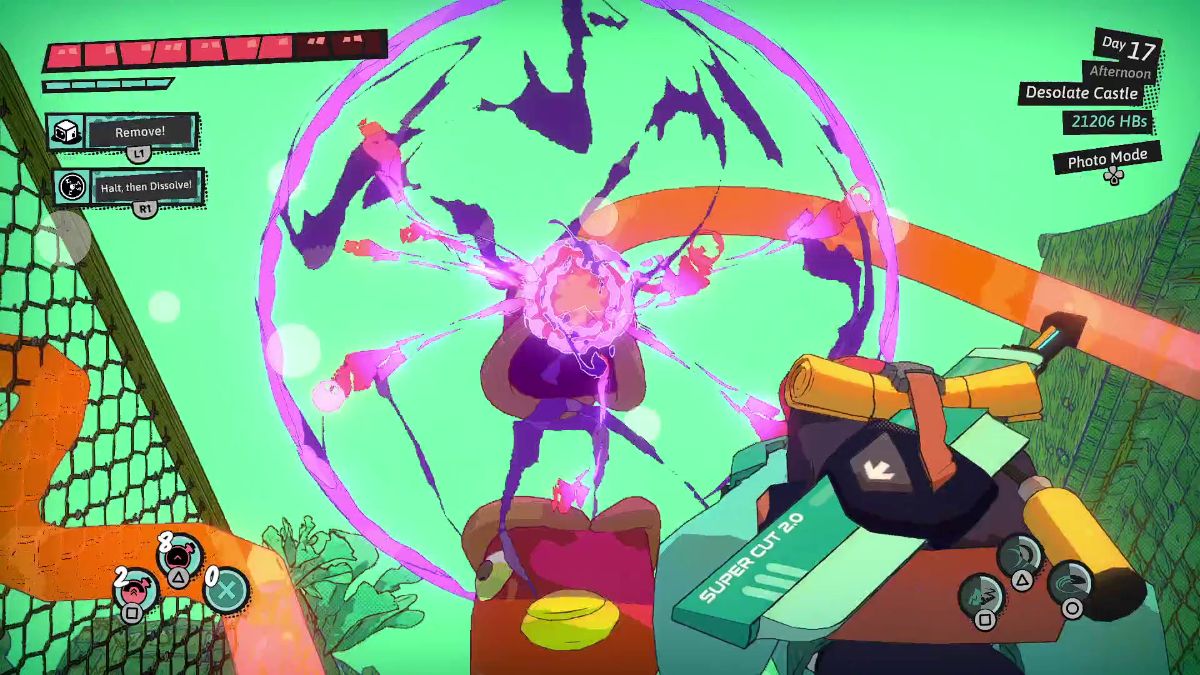
 | Each tentacly blue device in the center rotates the levers on the wall. The goal is to bring the tentacly devices on the levers on the wall close to each other and activate them with a Plasma Ball. |
 | Trigger the left and right tentacly devices on the floor separately to spin the levers on the wall. When they’re close enough, throw a Plasma Ball at them. |
 | In this room, stand on the square wooden platform on the lower left of the room. Then, activate the tentacly device with a Plasma Ball. |
 | With the help of a Jelly Block, reach the white ledge on the platform ahead. Then, climb onto solid ground. |
 | Again, use a Jelly Block to reach the area past the wooden fences. |
 | As you stand on the square wooden platform on the other side, spawn a Jelly Block and shoot a Plasma Ball at the tentacly device on the floor. |
 | Then, climb on the platform ahead. |
 | As you stand on solid ground, spawn a Jelly Block on the last wooden square platform you stepped on. |
 | While standing next to the the Jelly Block, shoot a Plasma Ball at the tentacly device below. Then, sprint toward the exit. |
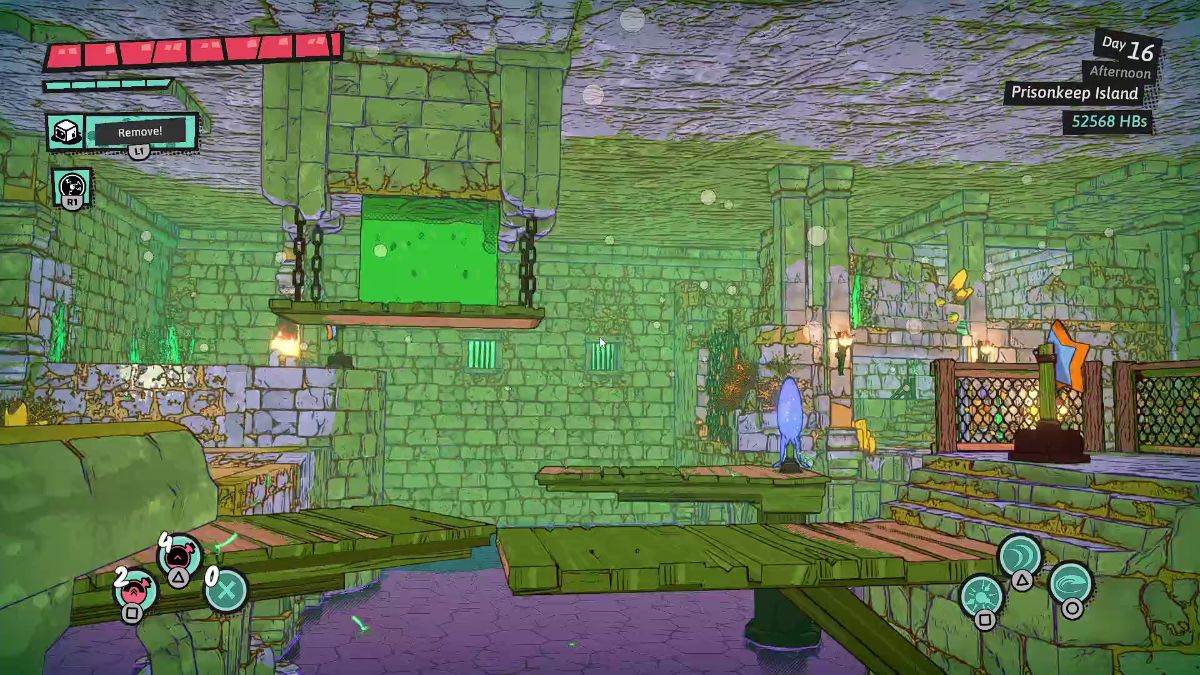
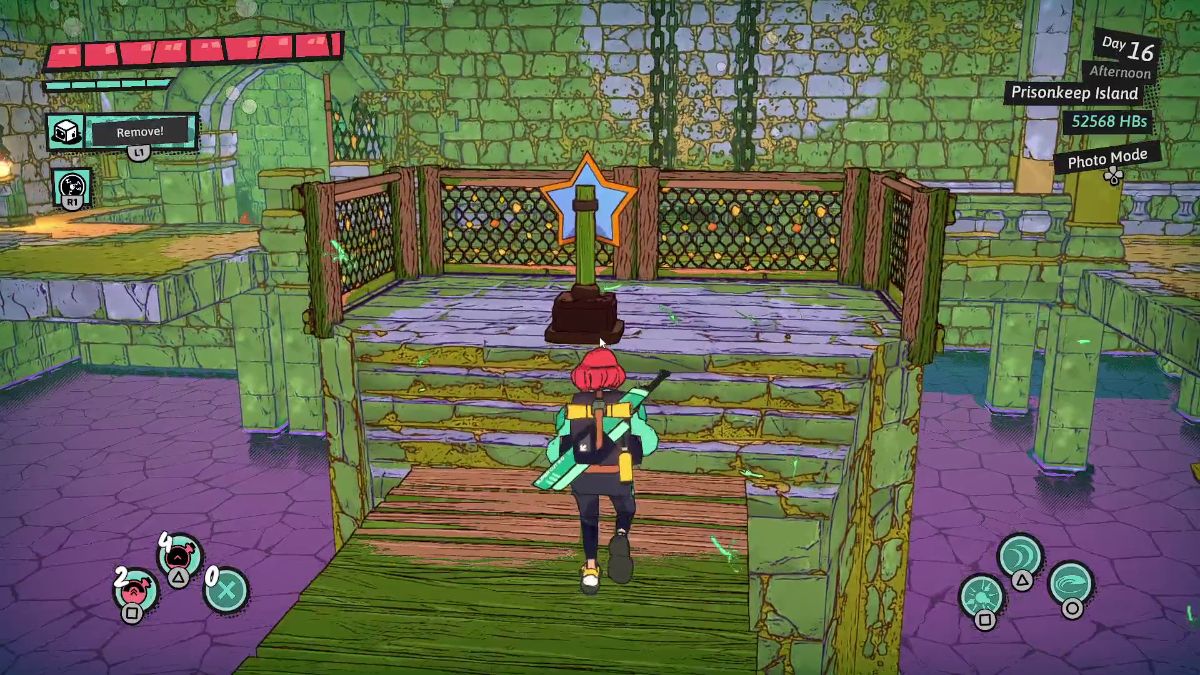
 | Hug the wall on the left to run into a treasure chest with a Unique Coin: Prisonkeep Island. |
 | Stand on the raft and use a Plasma Ball to activate it. Place a Jelly Block on the raft to take cover from the lasers ahead. Stand on it to avoid damage from the first two lasers. |
 | Take cover on the right side of the Jelly Block to avoid damage from the next. |
 | Then, take cover on the left side to avoid taking damage from the last two. |
 | In this room, shoot a Plasma Ball at the tentacly device to prompt the wooden bridge to spin. |
 | Push the button on the other side to lower a platform with a chest. Don’t worry about it for now, we’ll catch it later. |
 | Head to the spinning wooden bridge on the right and spin it to reach the solid ground platform with a button. Push the button to lower the wooden platform with a shell button ahead. |
 | Approach the lowered platform and place a Jelly Block on it. |
 | Head back to the platform with the button on the other side and push it to trigger the shell button. |
 | Use the spinning bridge to reach the platform in the center of the lake. Push the button here and head through the exit. Don’t forget your chest! |
 | After dealing with a wave of enemies here, it’s time to exit the Prisonkeep Island. |
| Visual Reference | Instructions |
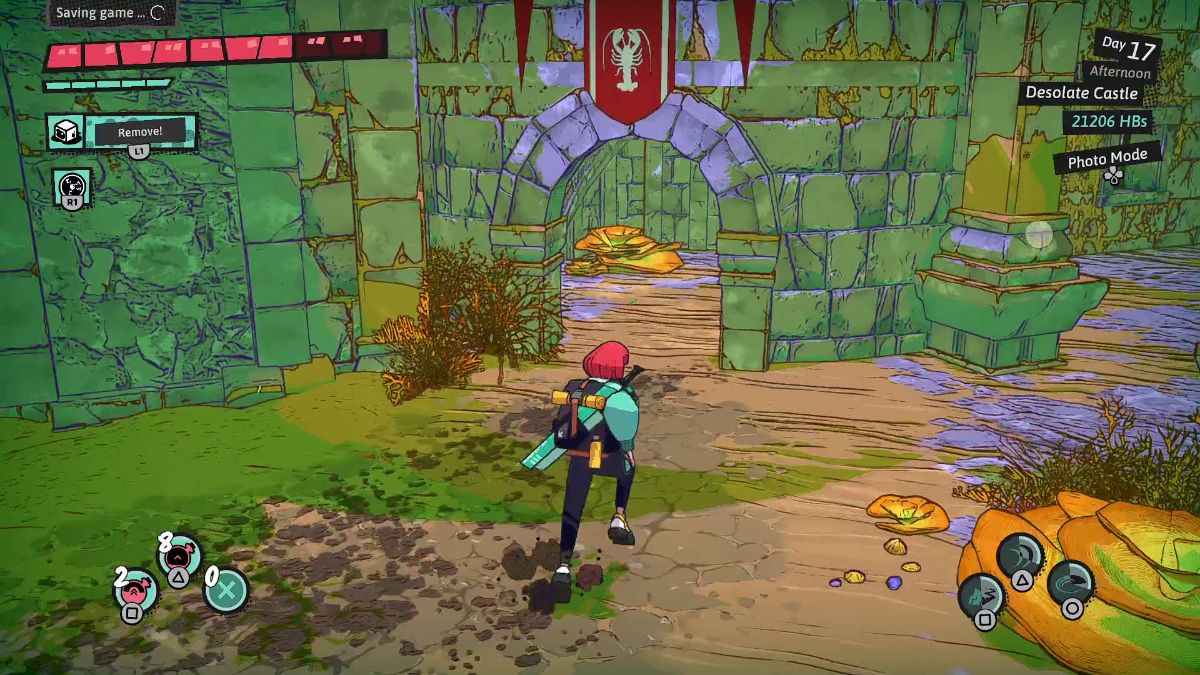
|---|---|
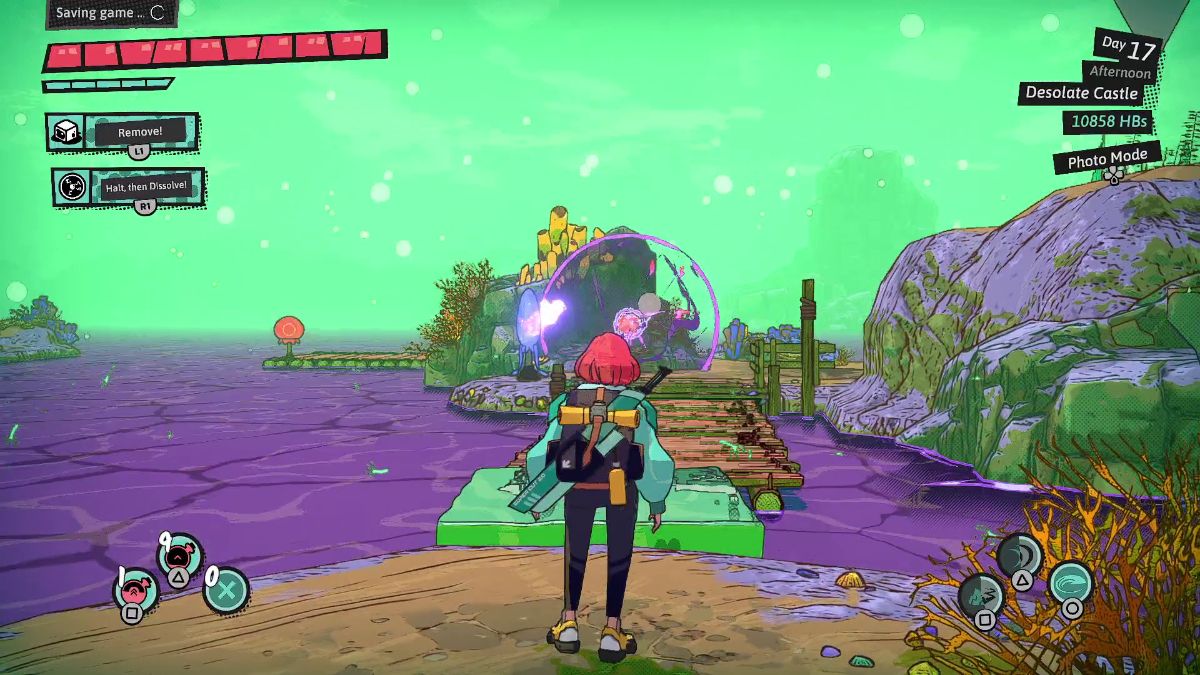 | Look to your left. Shoot a Plasma Ball at the tentacly device to deploy a bridge. |
 | Here, shoot the red jellyfish-like device on the left to propel the raft forward. |
 | Shoot a Plasma Ball inside the fish’s mouth to deploy a bridge. Here, open the chest to get 10000 Hinterbucks. |
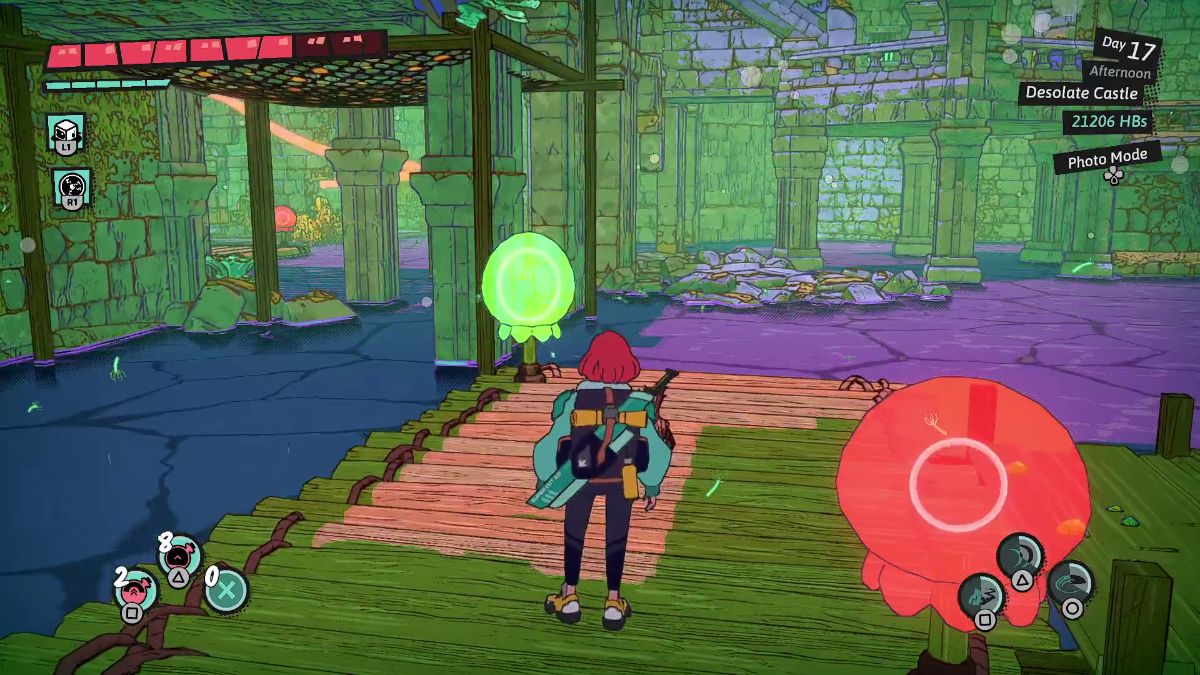
 | When you return, play the Erke to begin lowering the bridge. |
 | Power up the tentacly device with a Plasma Ball to get to the other side. |
 | Use a Jelly Block to get to the platform ahead. Behind the boulder, open the treasure chest to get a Medium HP potion. |
 | Near this treasure chest, place a Jelly Block against the boulder to reach the top. |
 | Play the erke on this side to completely lower the bridge. |
 | After defeating a wave of enemies, shoot a Plasma Ball in between both tentacly devices to open up the gates. |
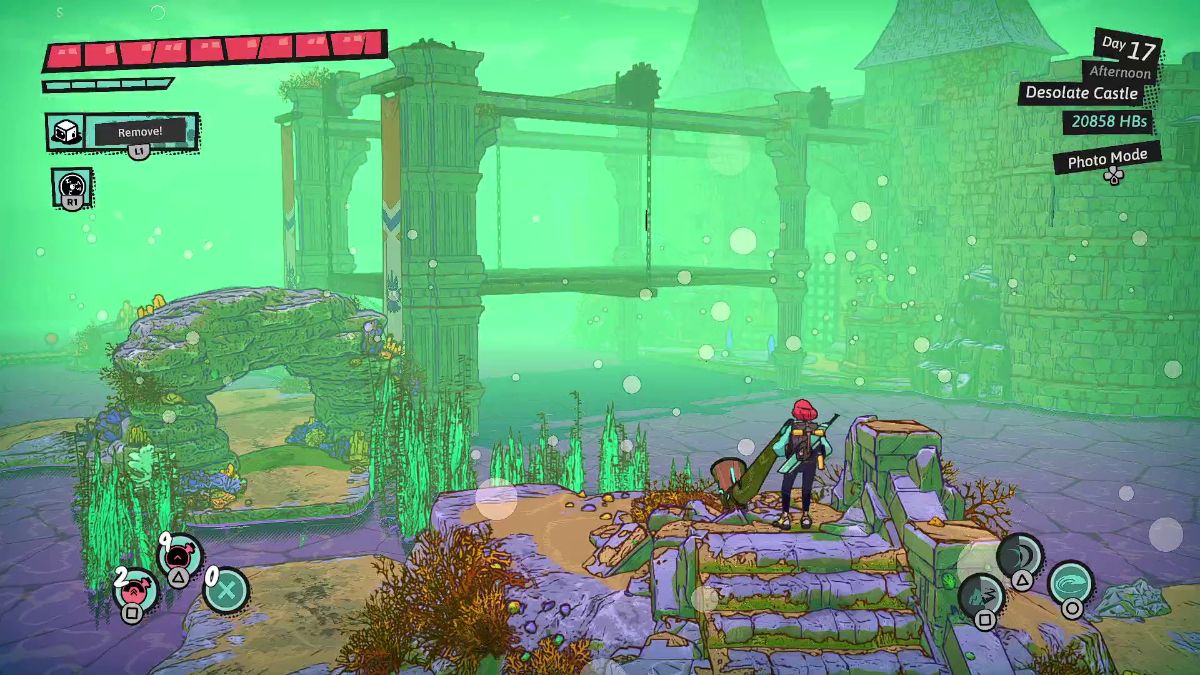
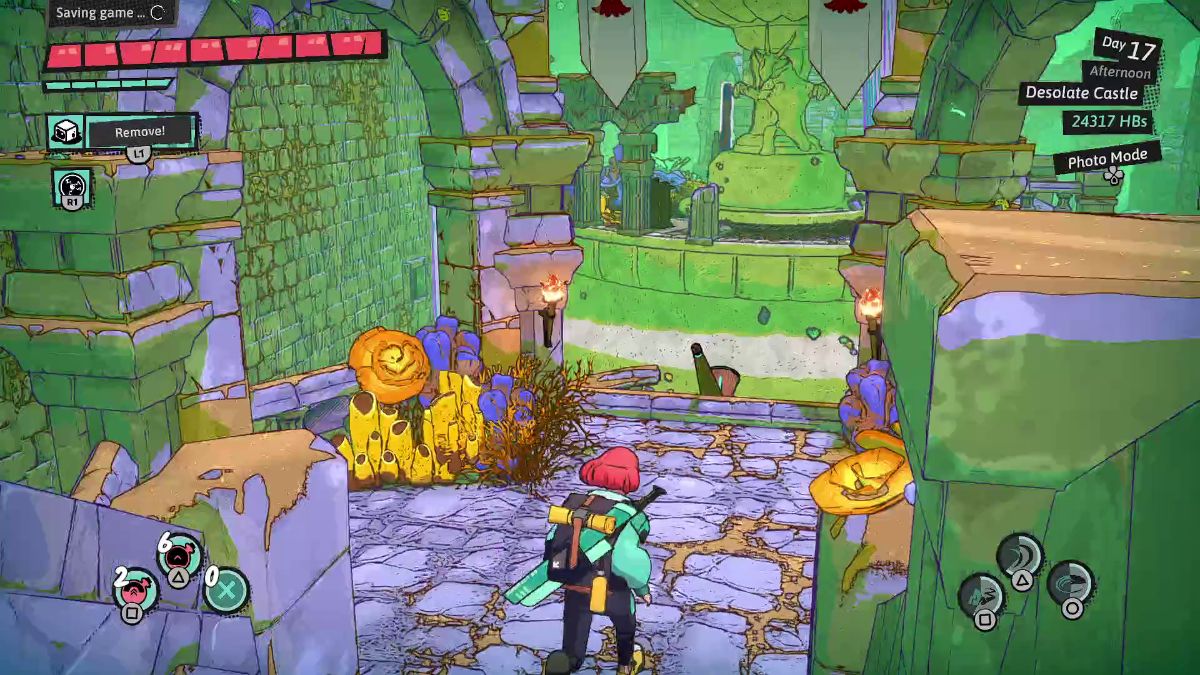
 | Inside the castle, play the castle to rise the first set of stairs and cause some pillars to crumble. |
 | Start by heading to the right. Climb the crumbling pillars to reach higher ground. |
 | When you reach a giant chair, head down the stairs to find a wave of enemies. |
 | Power up the tentacly device on the other side of the water to deploy a bridge. |
 | Shoot a Plasma Ball at the tentacly device to the left. Then, head through the gate on the left wall. |
 | Climb the ladder and push the red button on top. Kick the ladder to come back to the center. |
 | Shoot a Plasma Ball at the tentacly device to the right and head through the gate on the right wall. |
 | Place a Jelly Block on the water and climb the white ledges to reach another button. Press it and drop down to the room at the center. |
 | Shoot a Plasma Ball to hit both tentacly devices on the wheels and fully open the gate. |
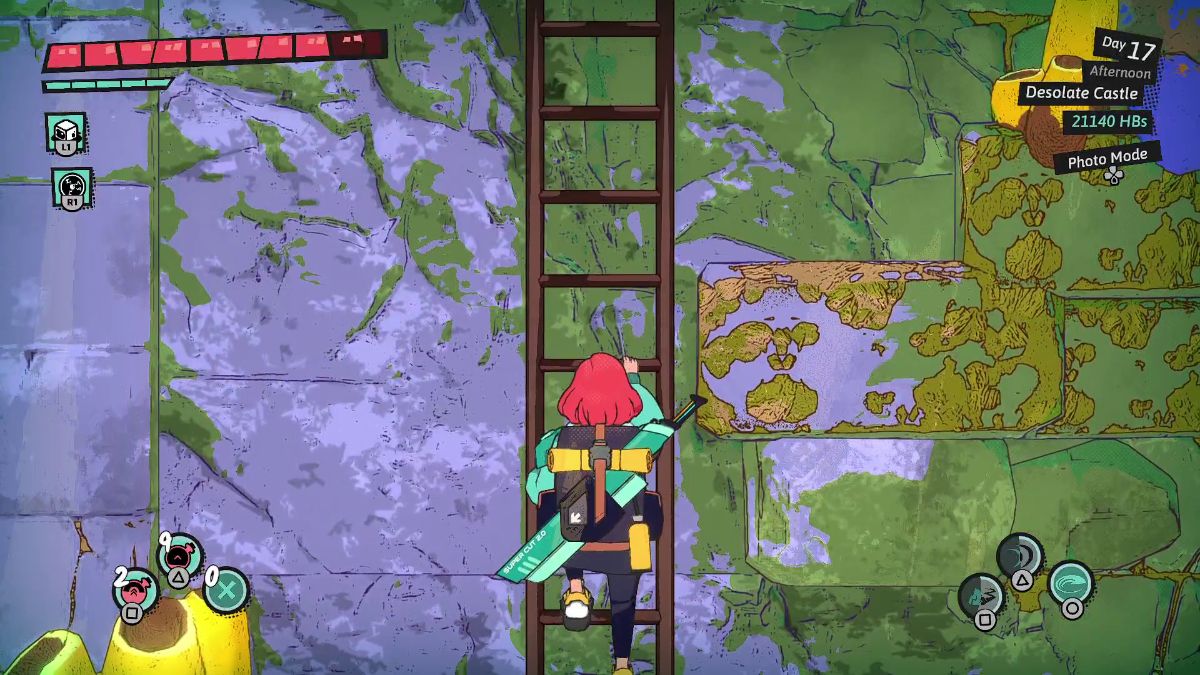
 | After defeating a wave of enemies, head inside the tower with the blue hammerhead shark banner. Place Jelly Block to climb the stairs. |
 | Play the erke here to rise the second set of stairs and cause a door to drop. Climb over the door to return to the central room. |
 | Place a Jelly Block next to the fallen pillar to the left. Climb it to reach the other side. |
 | Head inside the tower with the red lobster banner. Open the treasure chest on top to get a Crit Damage Up ++ Sword Enchantment. |
 | Place a Jelly Block near the raft that’s hanging by a rope and slash the rope with your sword. |
 | Shoot a Plasma Ball to the jellyfish-like device on the left to reach the other side. |
 | Then, Shoot a Plasma Ball to the jellyfish-like device on the right to pull the raft toward you. Then, shoot the left to reach the other side. |
 | Shoot a Plasma Ball inside the fish’s mouth to open the gates. |
 | Place a Jelly Block in front of the fish’s mouth outside the gated room. |
 | Shoot a Plasma Ball at the tentacly device next to the fish on the lower right. |
 | Look up and shoot a Plasma Ball at the fish head above you. The Plasma Ball will head outside to the right, collide against the Jelly Block, and return to the right path. |
 | This opens the gate leading to the tower with the lizard banner. Use a Jelly Block to climb on the gigantic bed. Then, slash the raft on top of it. |
 | Shoot the jellyfish-like device on the left to reach the other side. Then, head through the door under the teal bird banner. |
 | Play the erke here to prompt the third set of stairs to rise. |
 | Head back to the room at the center and climb the stairs to stamp your book and get out of here. |
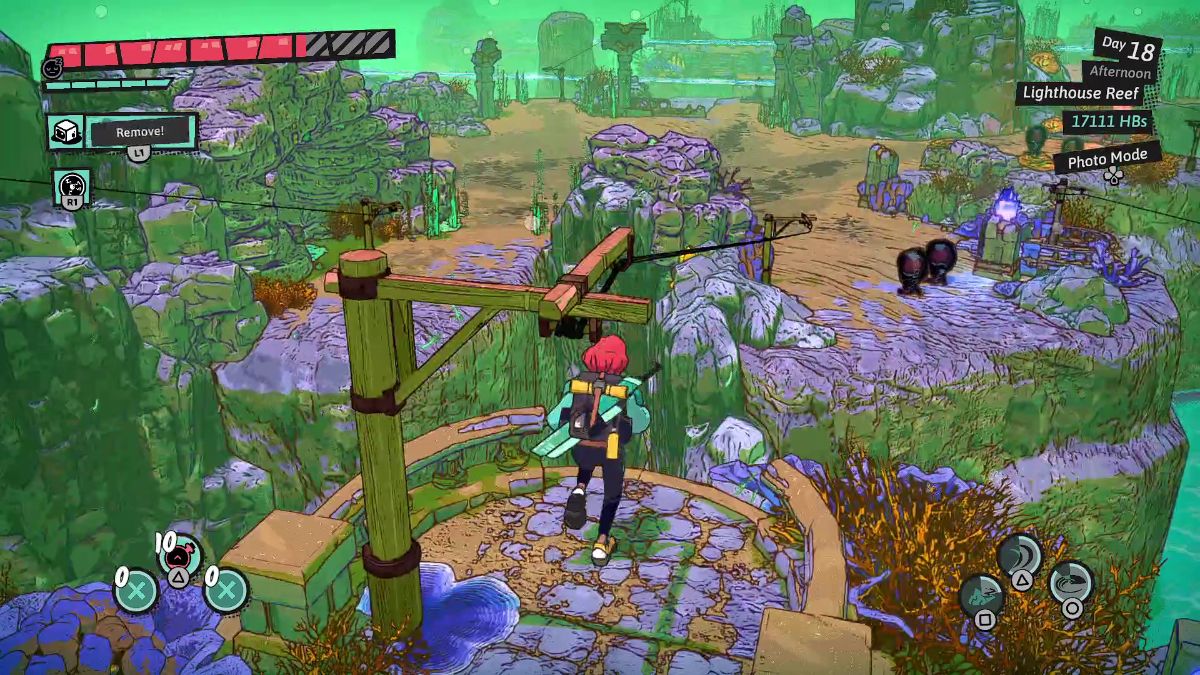
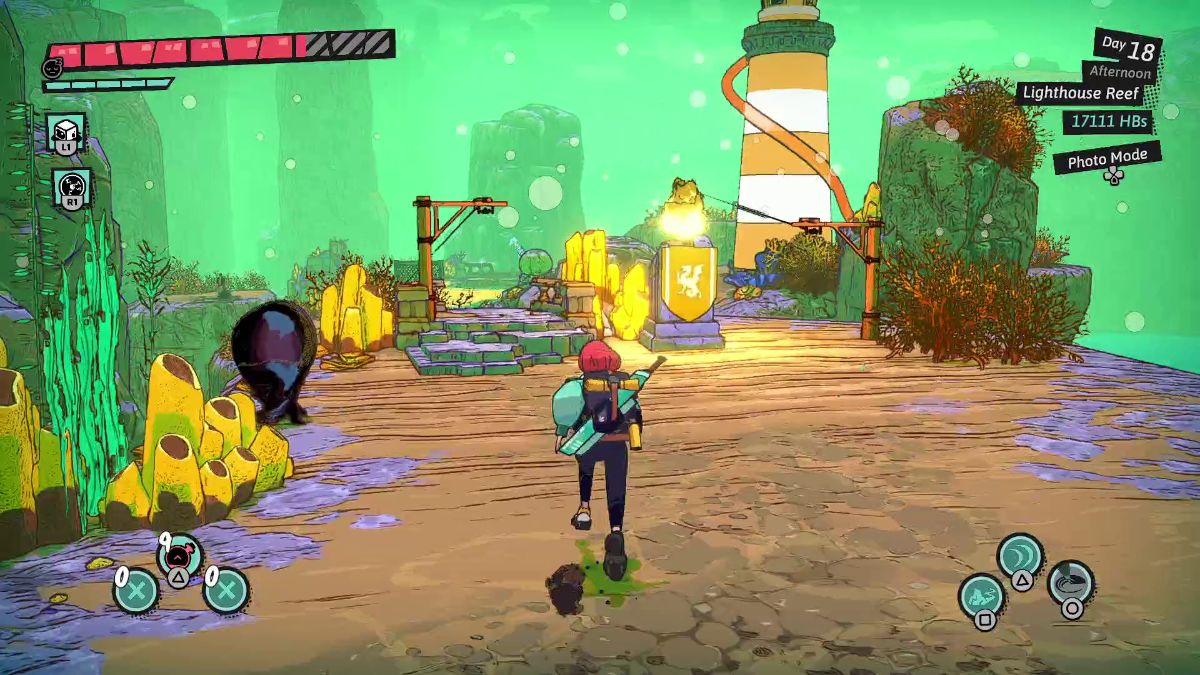
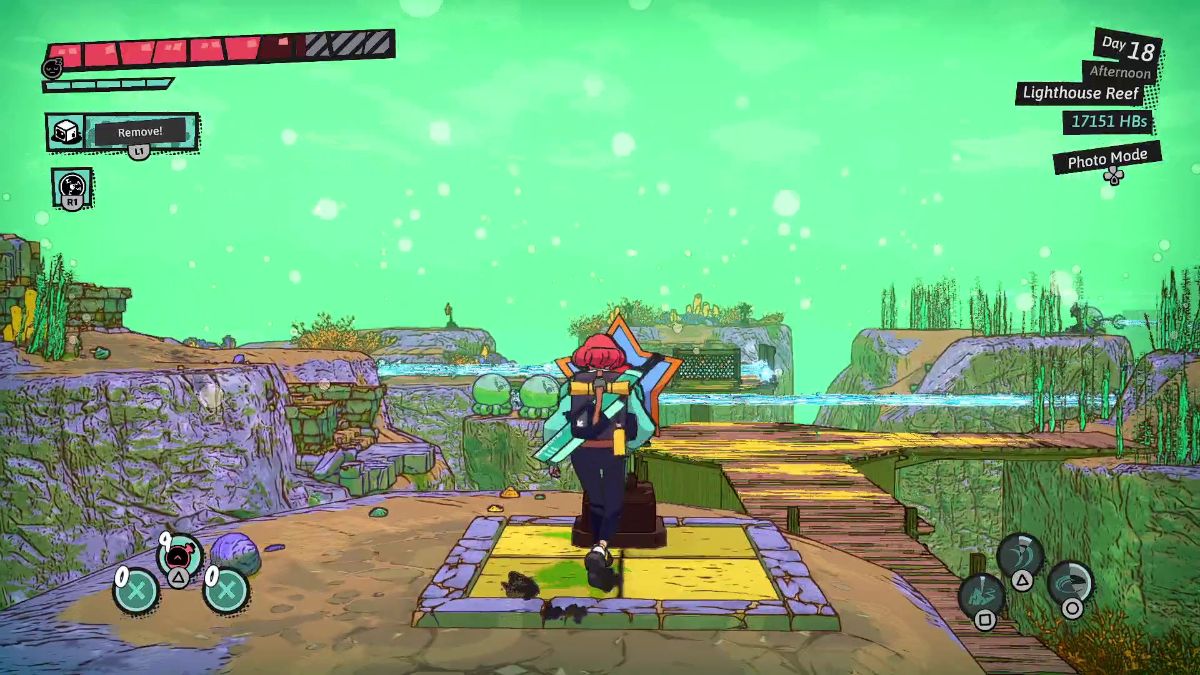
Reaching Lighthouse Reef
| Visual Reference | Instructions |
|---|---|
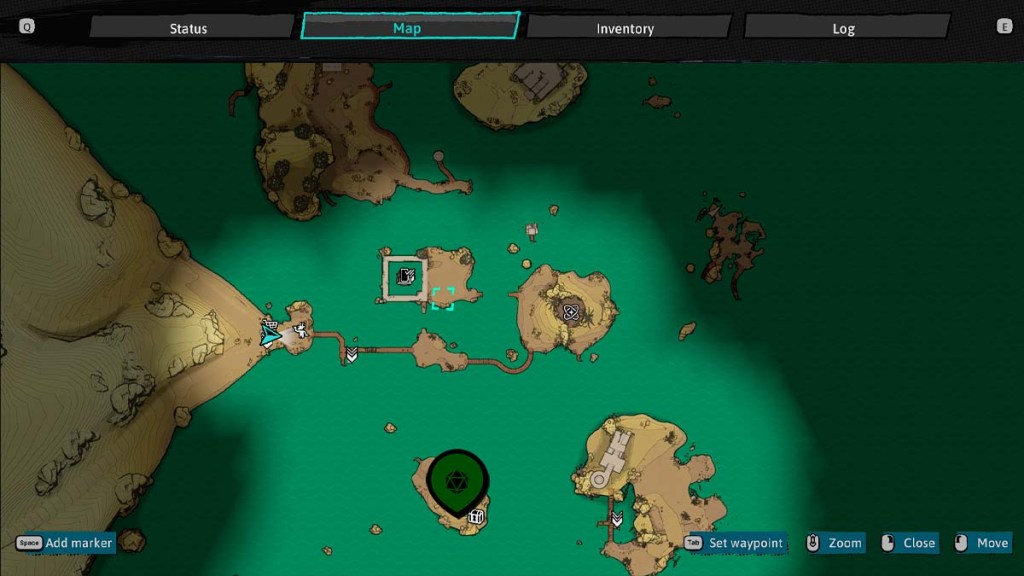
 | To find Lighthouse Reef in Dungeons of Hinterberg, you must climb to the top of all three lighthouses nearby and activate the lighthouse. |
 | Row to the lighthouse to the dungeon’s right in Birchwood Island. Dock near the yellow flag to begin. |
 | After defeating a wave of enemies on the path to the left, climb the stairs and shoot a Plasma Ball at the lighthouse. |
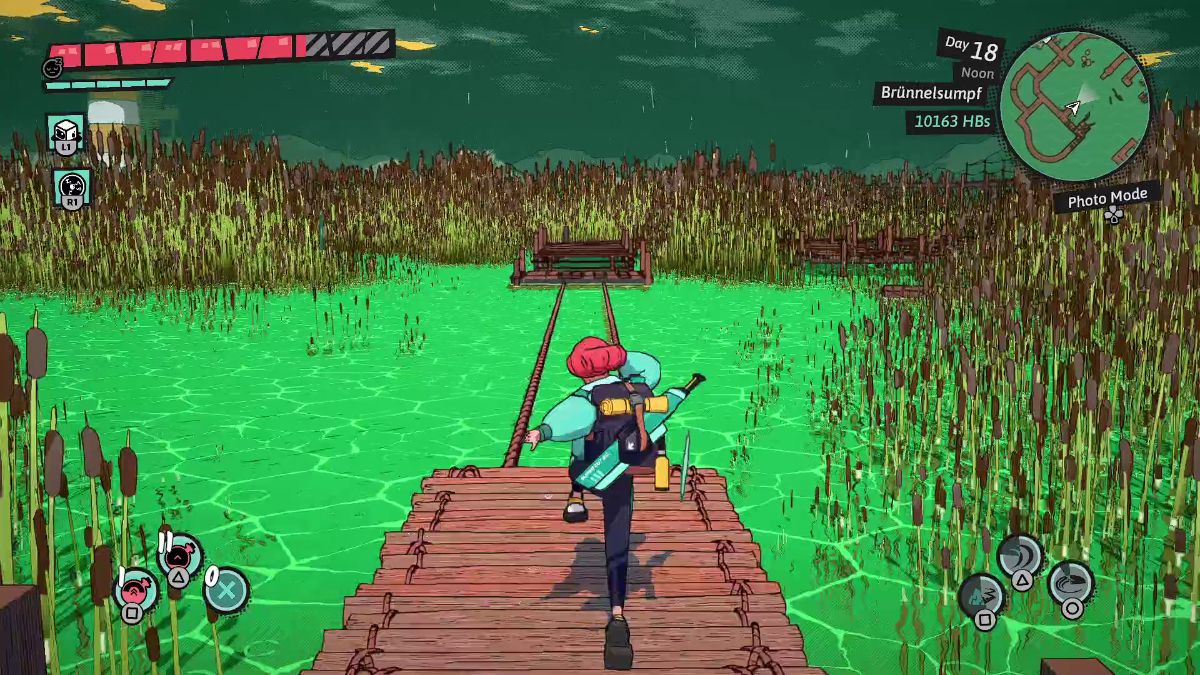
 | Row to the lighthouse in the wetlands of the Reed Labyrinth. |
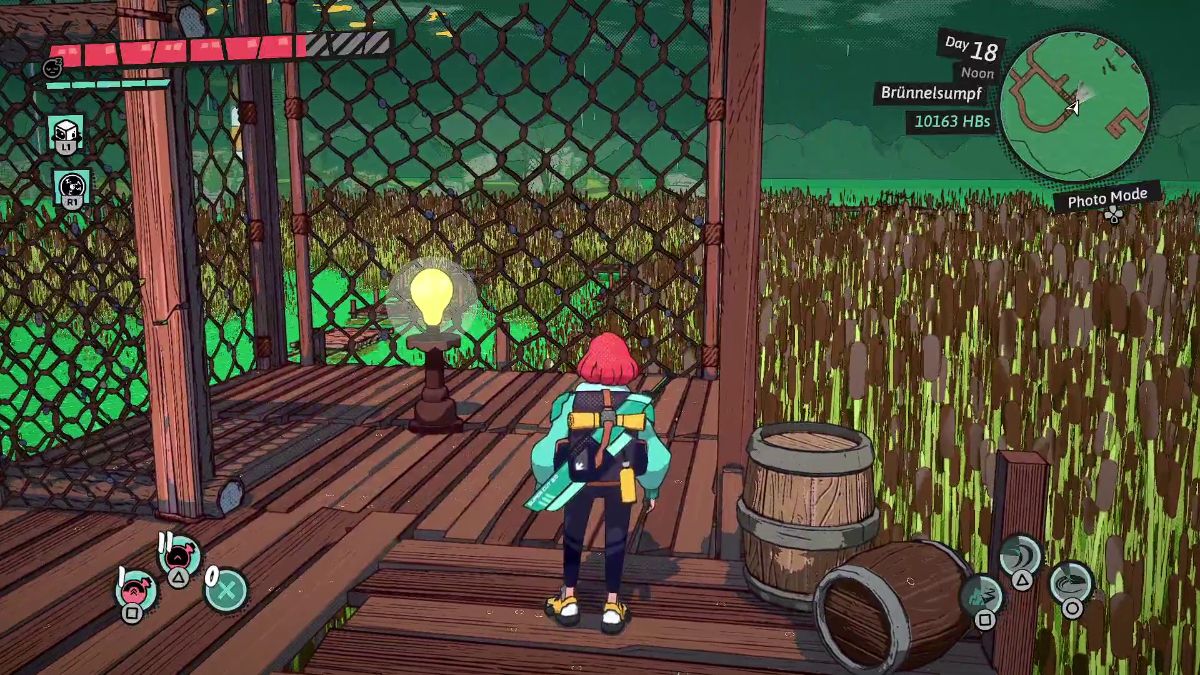 | Follow the wooden path to the right and light up the caged bulb with a Plasma Ball. |
 | Kick the ladder to the left and use the raft to get to the other side of the lake. |
 | Place a Jelly Block to get to the other side. |
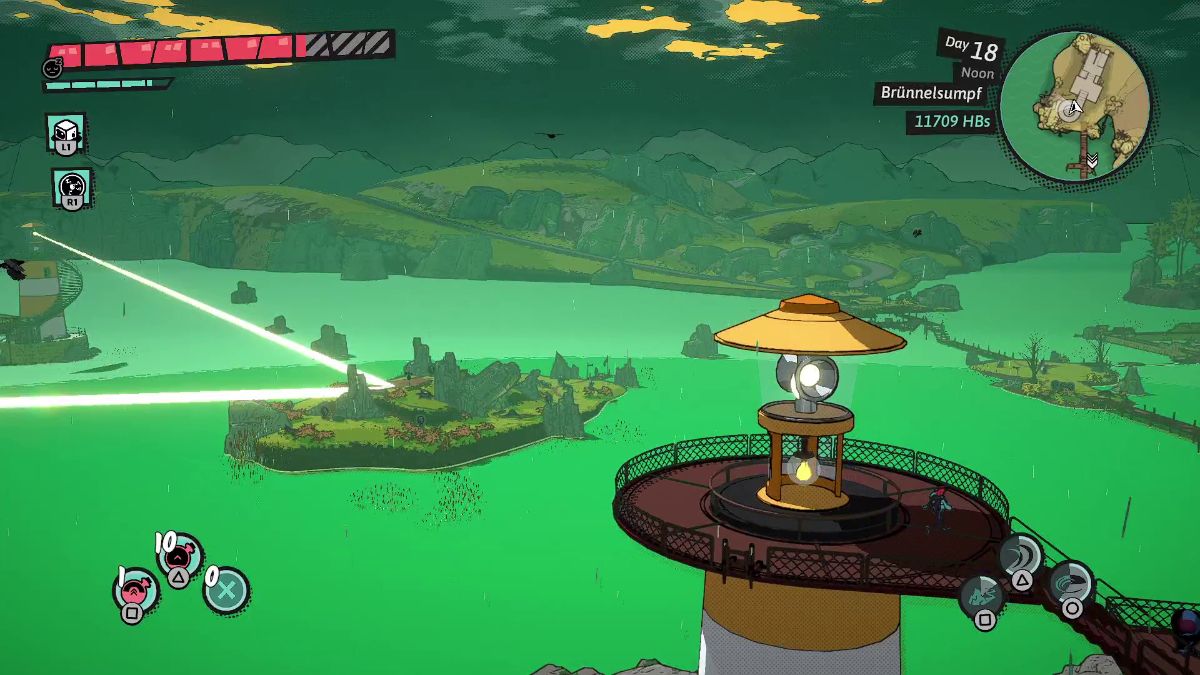
 | Take a turn to the left to reach the lighthouse and power it up with a Plasma Ball. Kick the ladder at the lighthouse’s base and row to the last lighthouse in Quarry Island. |
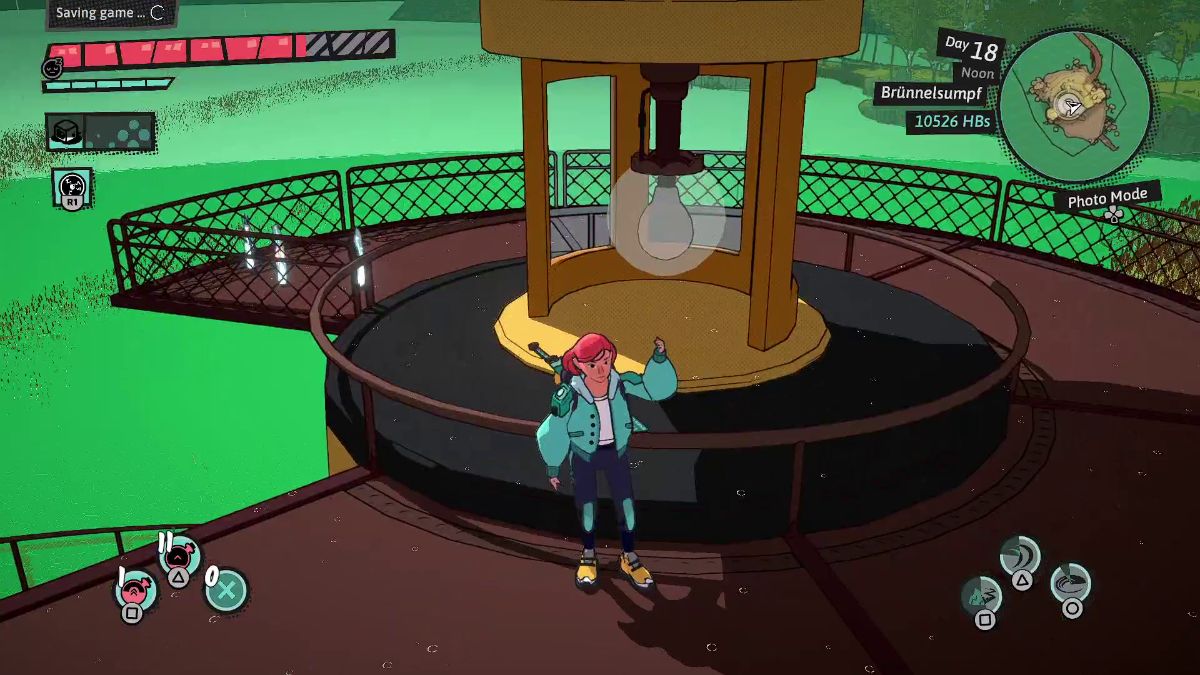
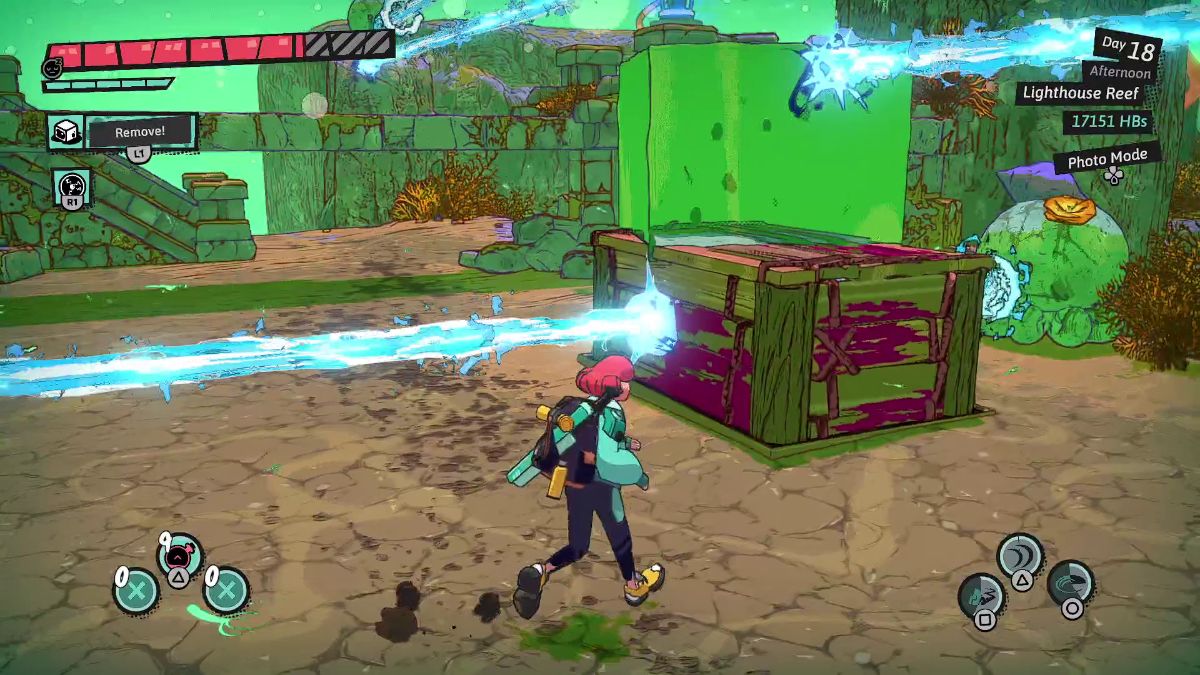
 | Here, place a Jelly Block on the lift and press the button to trigger the shell button on the ceiling. |
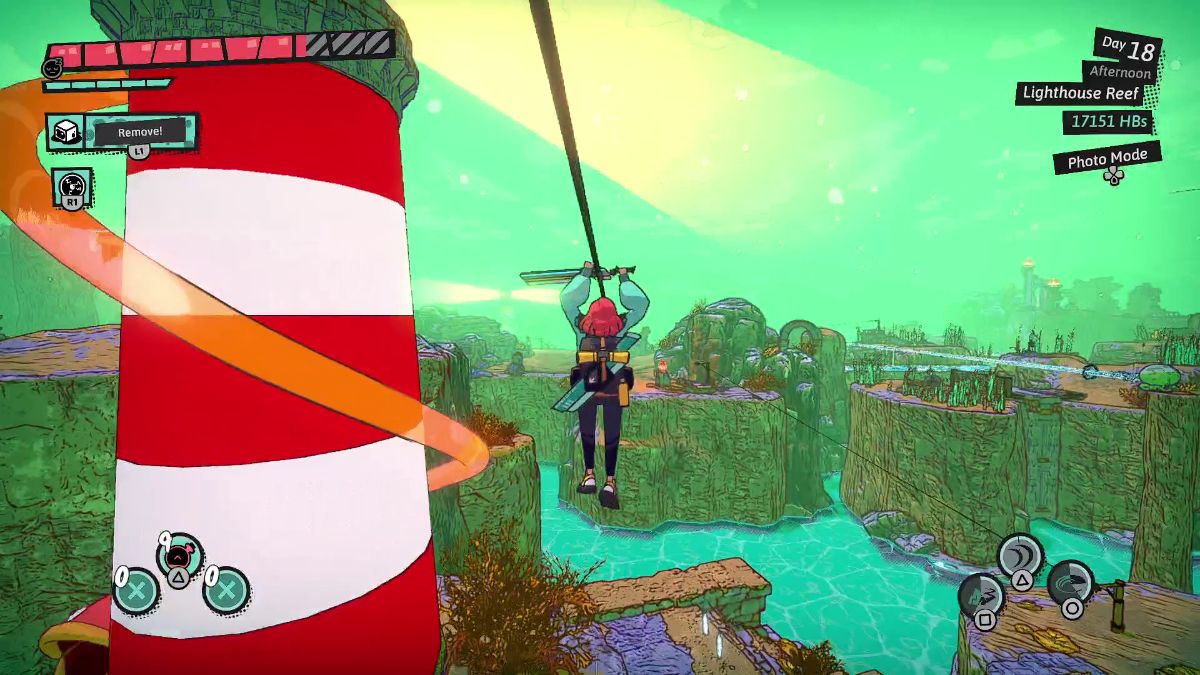
 | Climb the ladder to the right and follow the path to the top of the ceiling. |
 | Shoot a Plasma Ball at this bulb to power the last lighthouse up. |
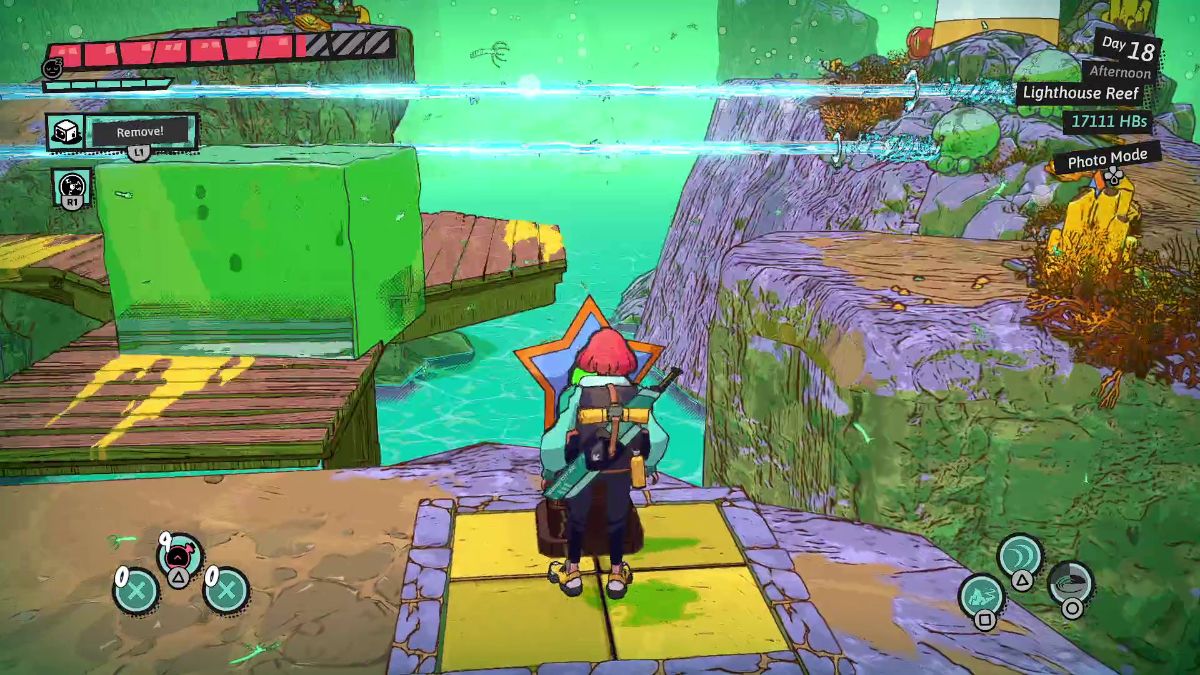
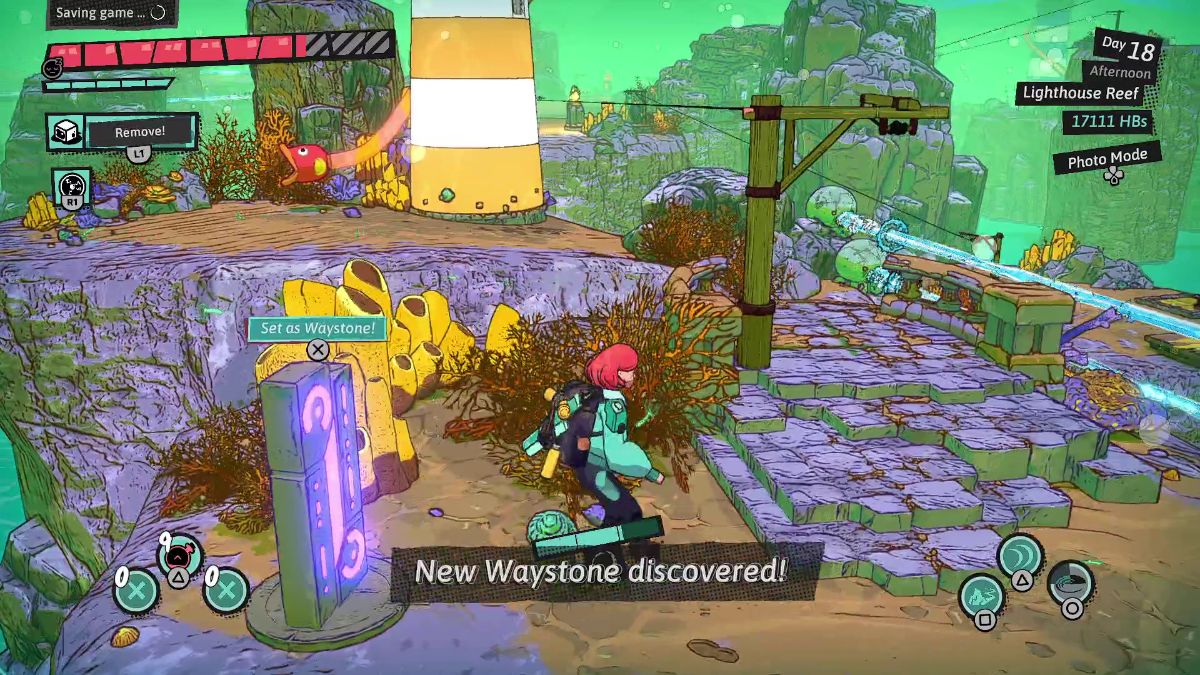
Completing Lighthouse Reef
| Visual Reference | Instructions |
|---|---|
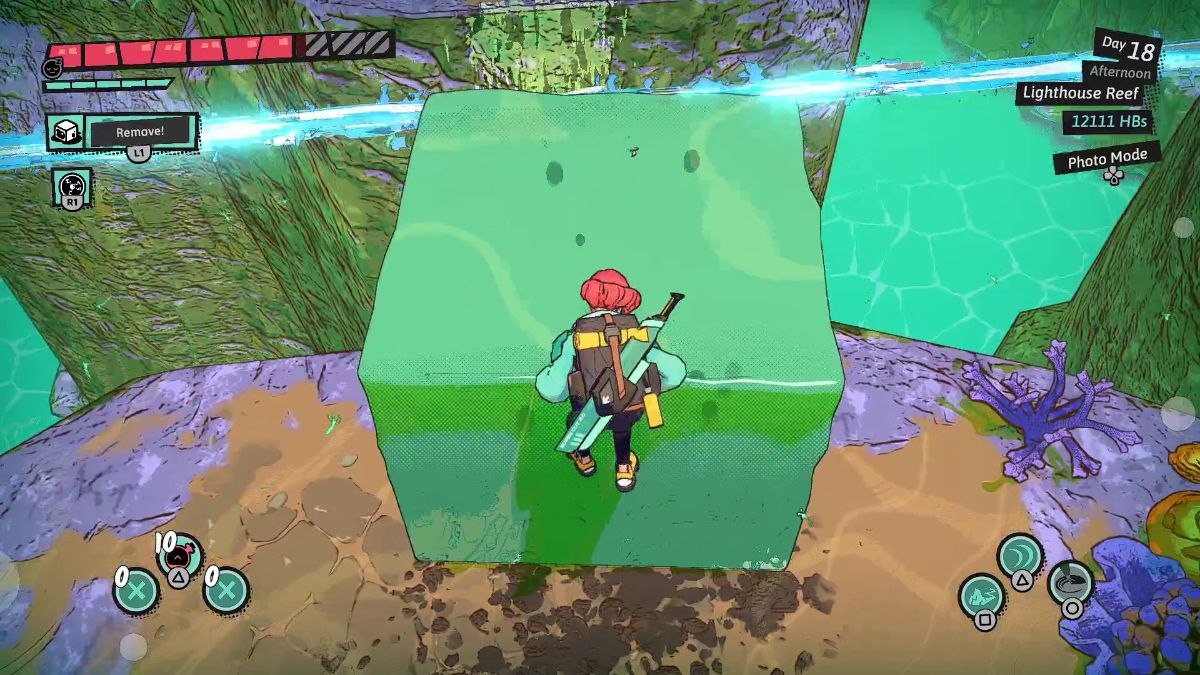
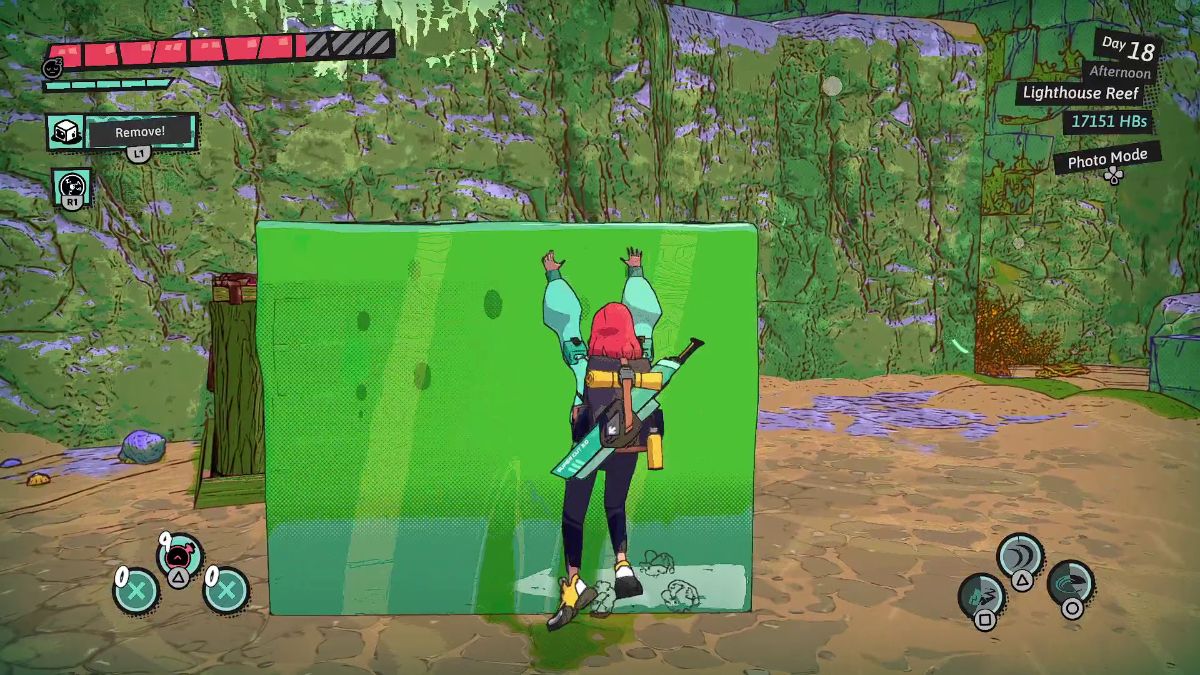
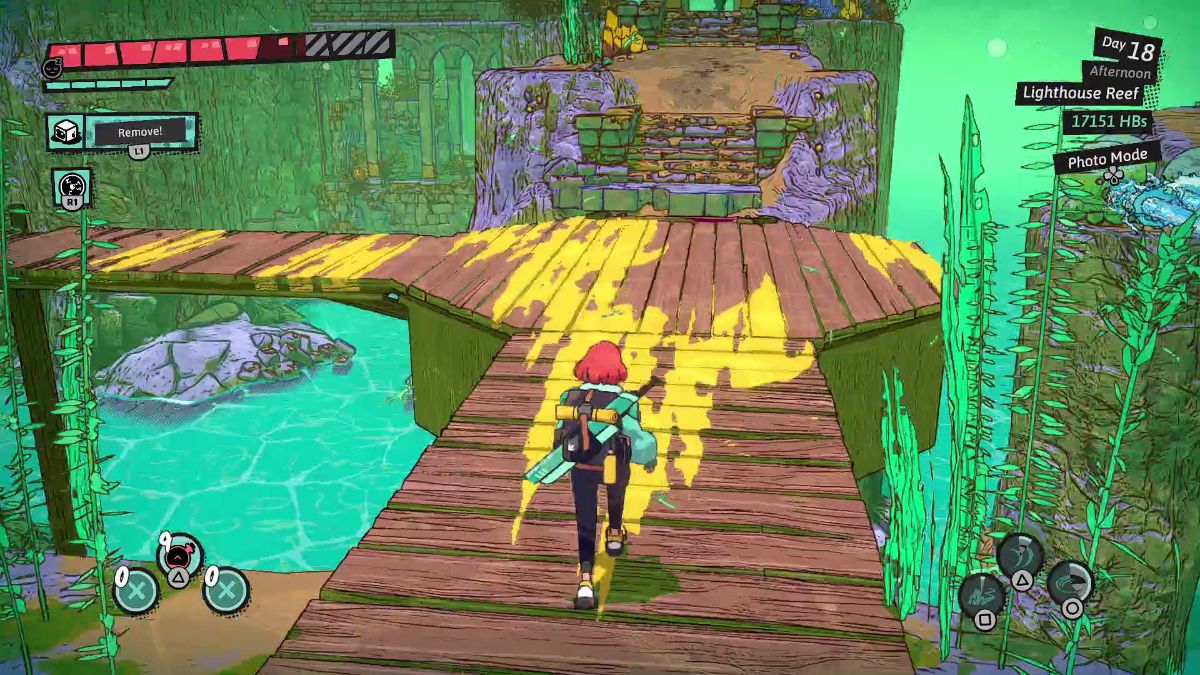
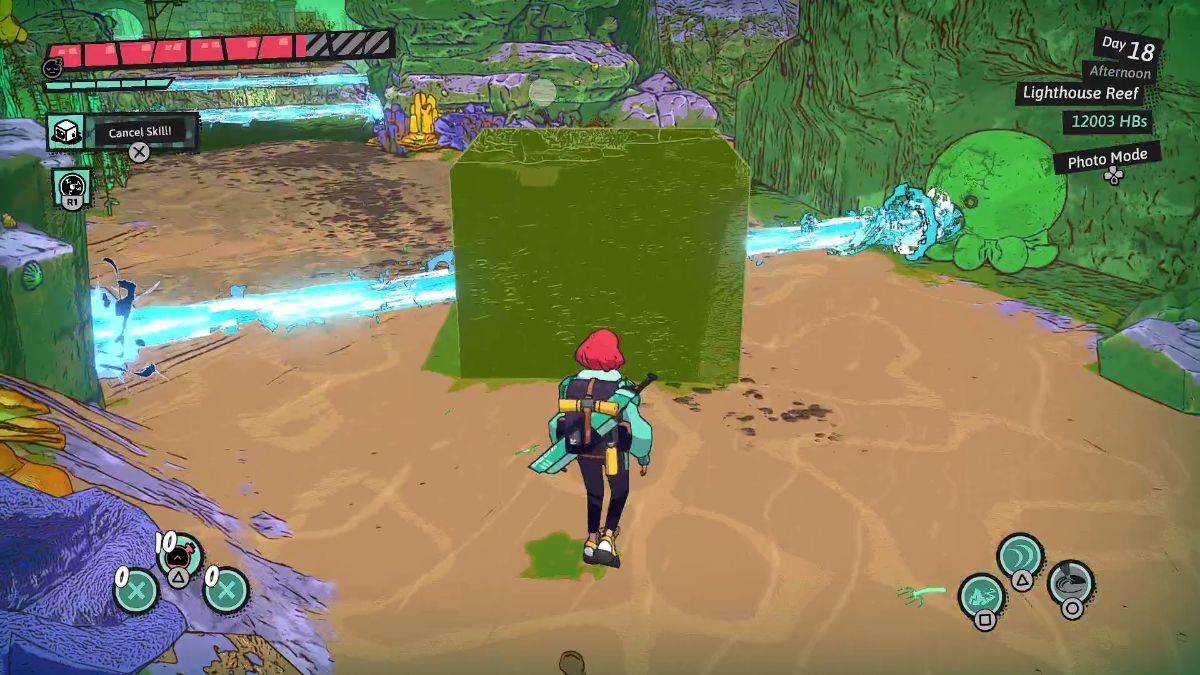 | Place a Jelly Block to shield yourself from the lasers on the way. |
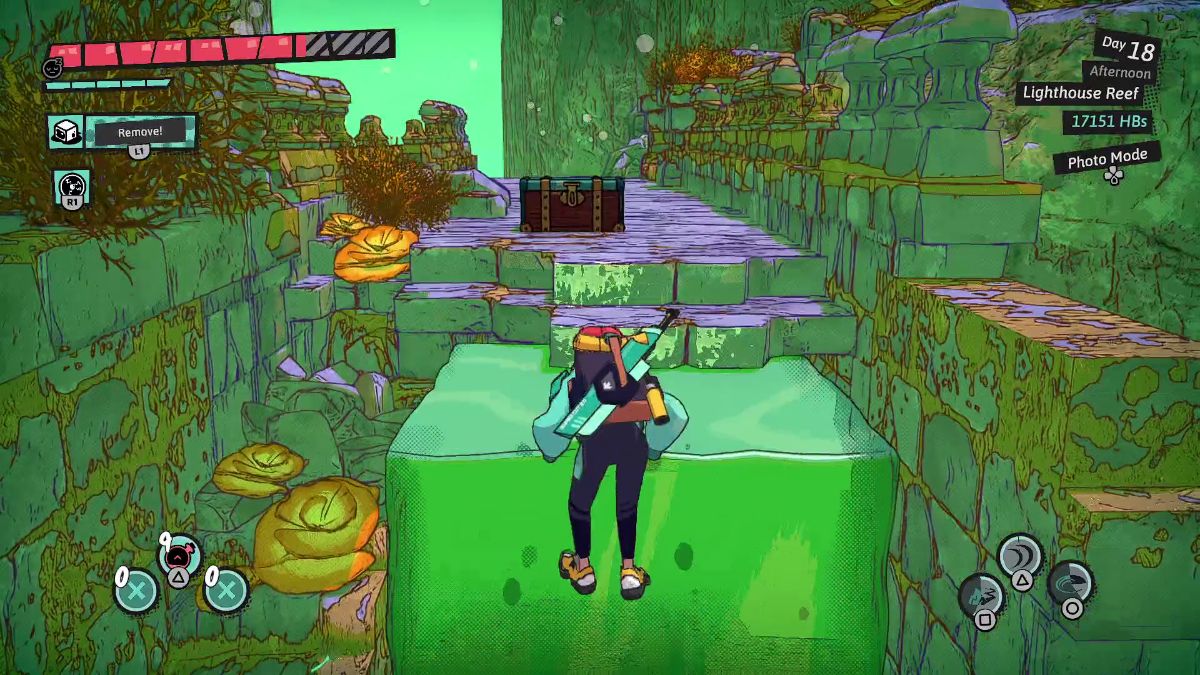
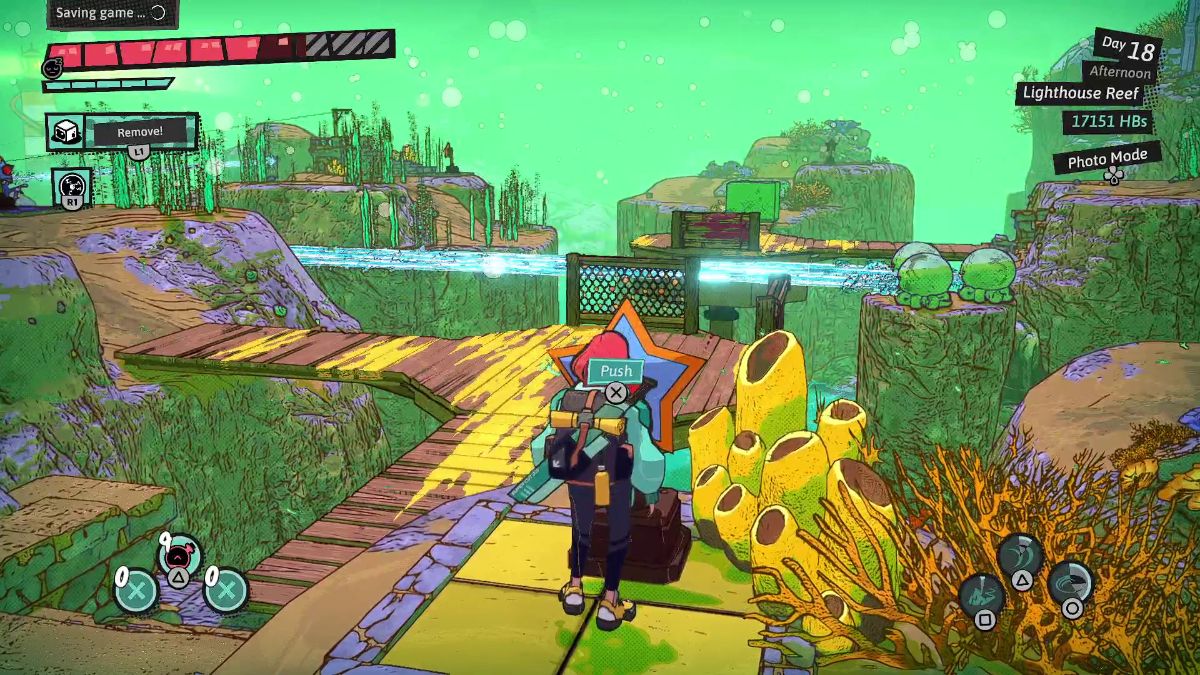
 | Place a Jelly Block near the base of this path to reach a treasure chest with the Unique Coin Lighthouse Reef. |
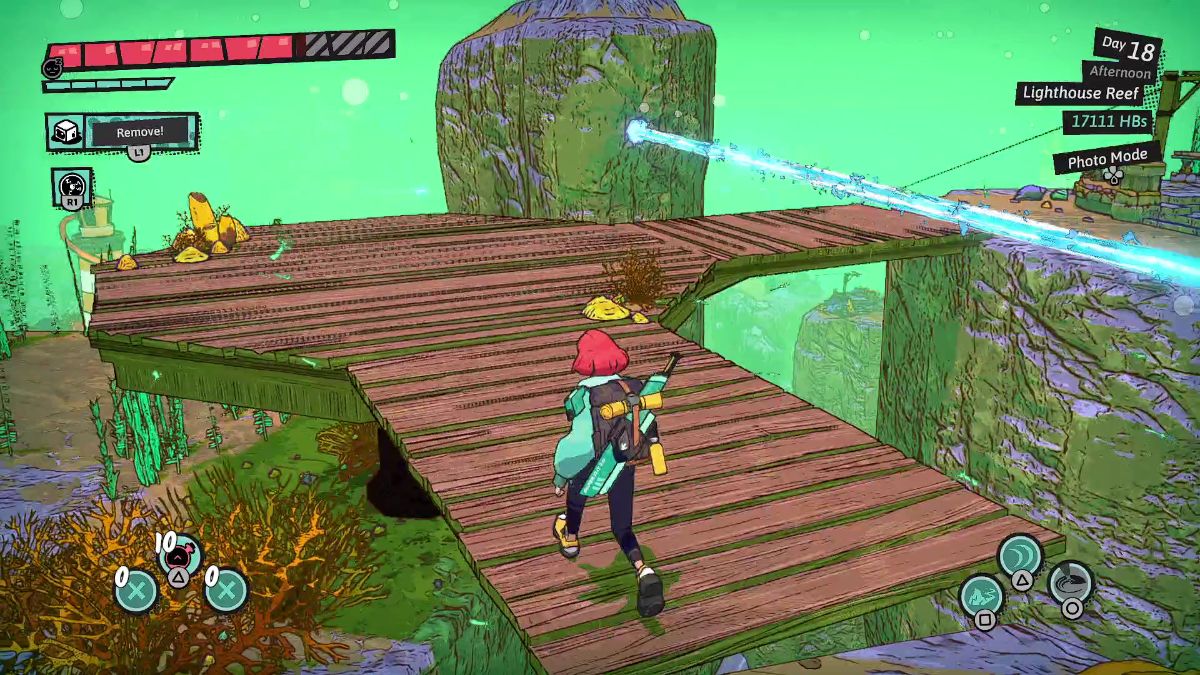
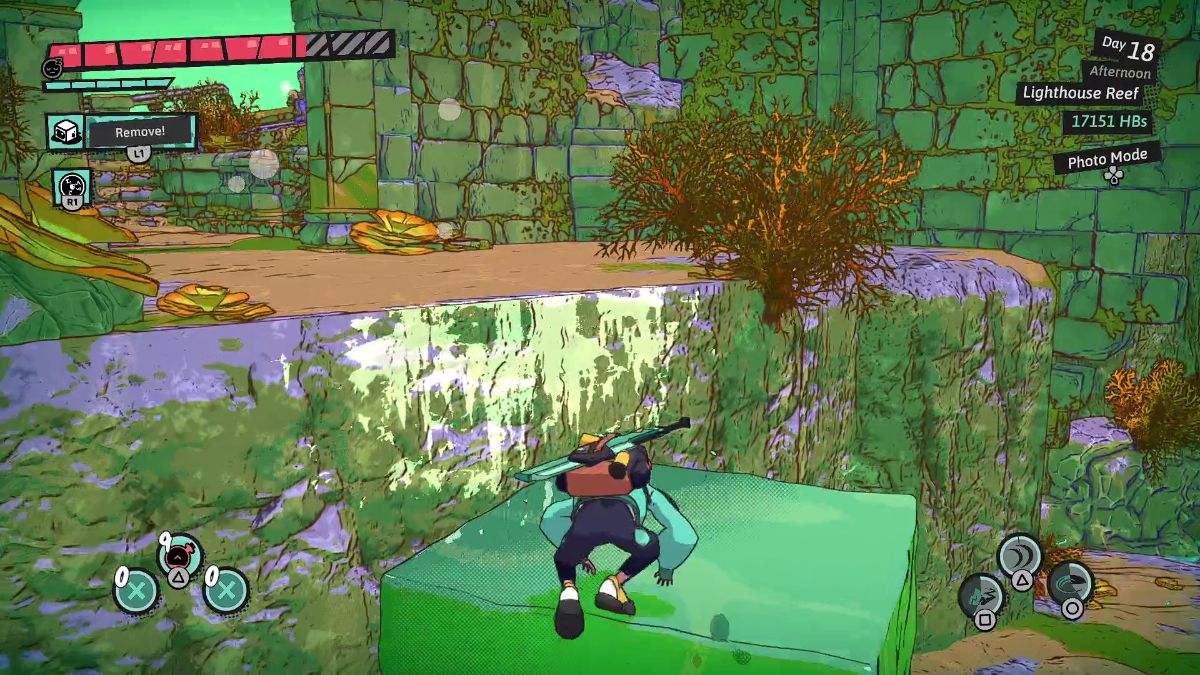
 | Here, place a Jelly Block and jump over the laser to reach the other side safely. |
 | Board the rotating platform and pay the right side a visit to get a treasure chest with 5000 Hinterbucks. |
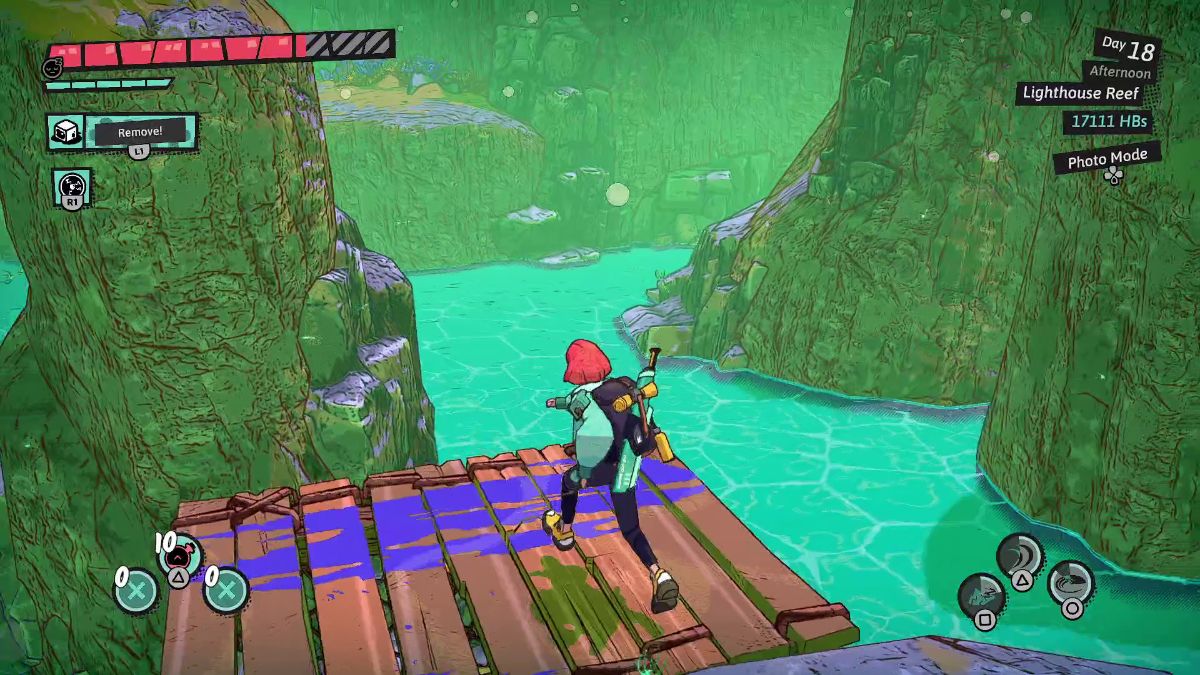
 | Get back on the rotating platform and, with the help of a Jelly Block, block the laser to reach the next zipline safely. |
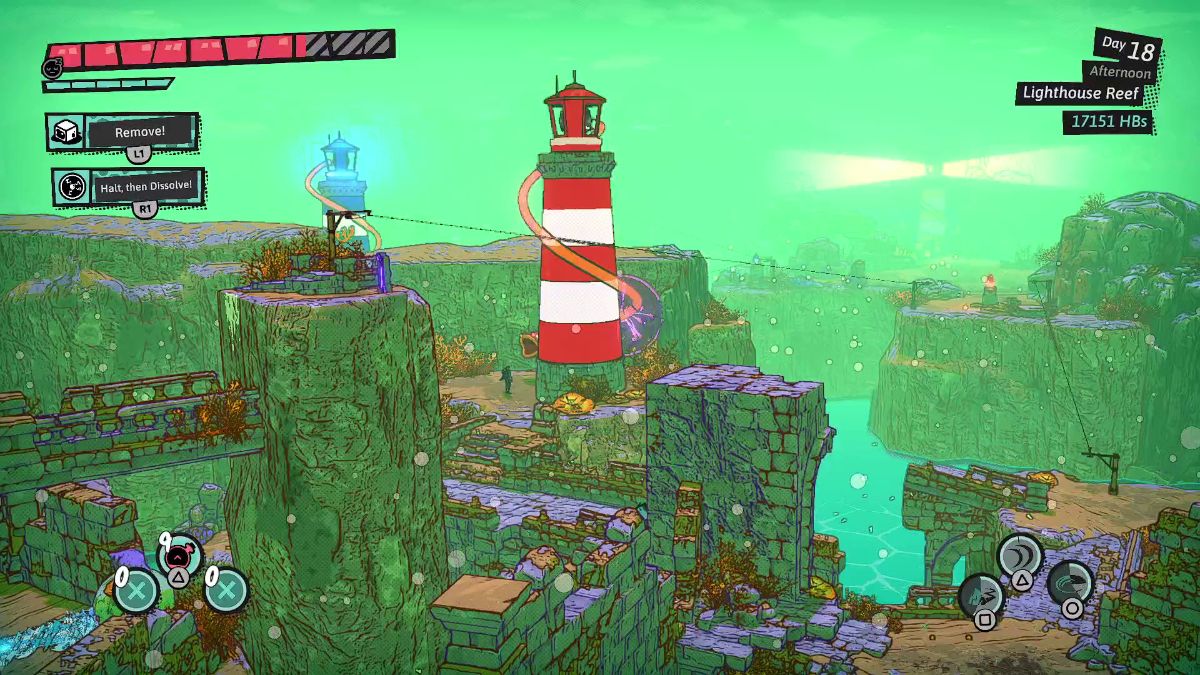
 | Follow the blue banner of the swordfish. |
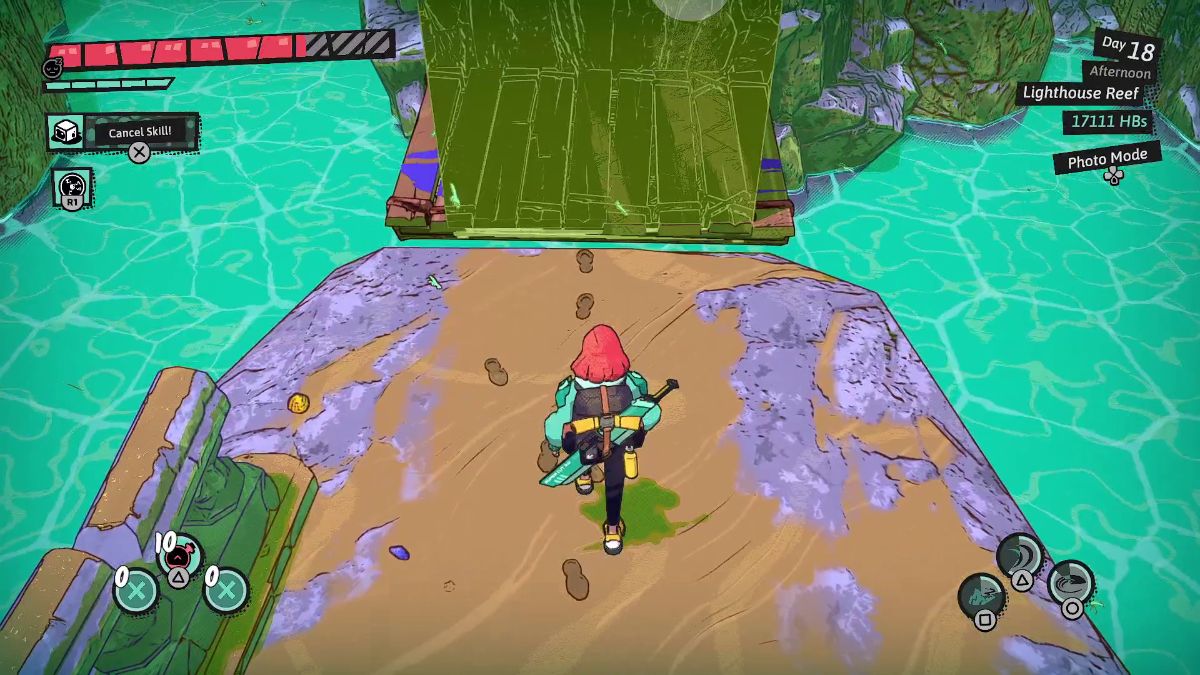
 | Follow the path to the left. Here, place a Jelly Block to shield the lasers and, as you stand on it, shoot a Plasma Ball at the fish head next to the blue lighthouse. |
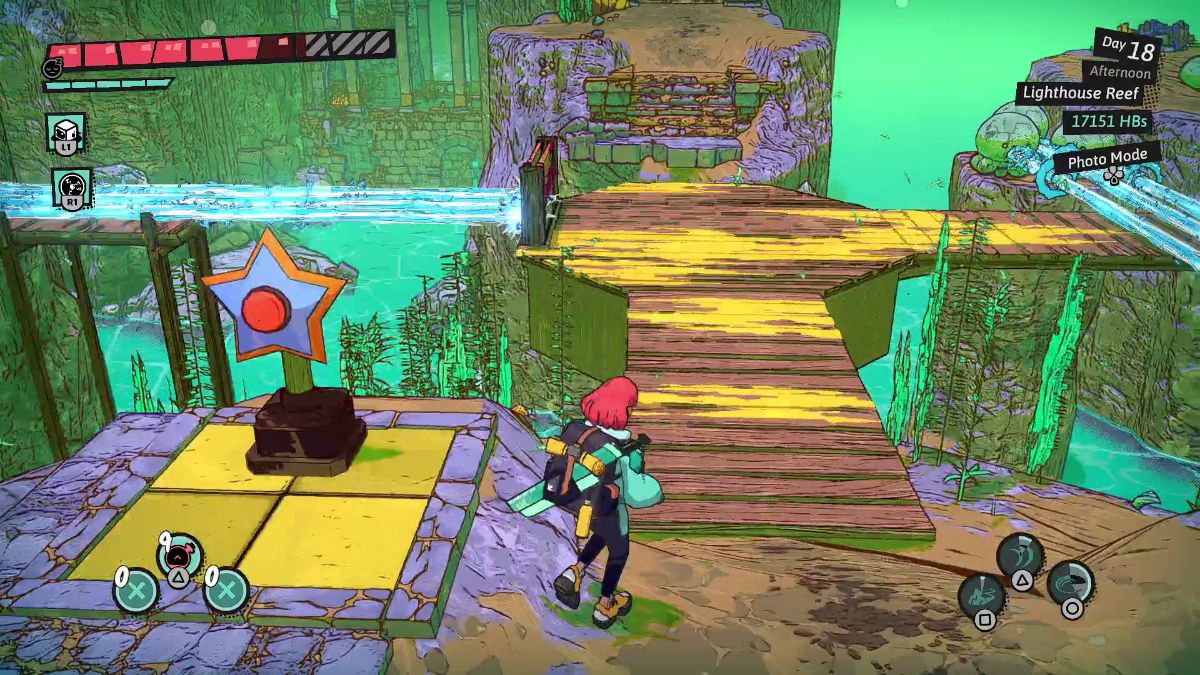
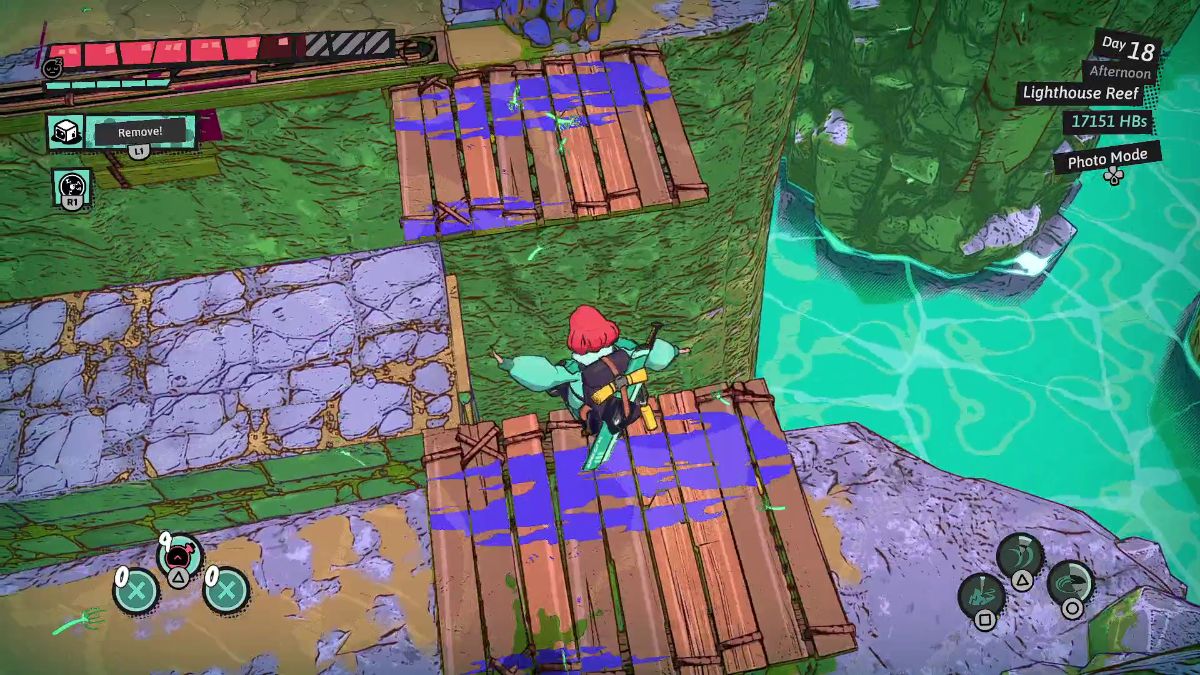
 | Follow the path to the right. Place a Jelly Block on the wooden platform on the right and push the red button. |
 | Walk with the Jelly Block to take shield from the lasers on the right. |
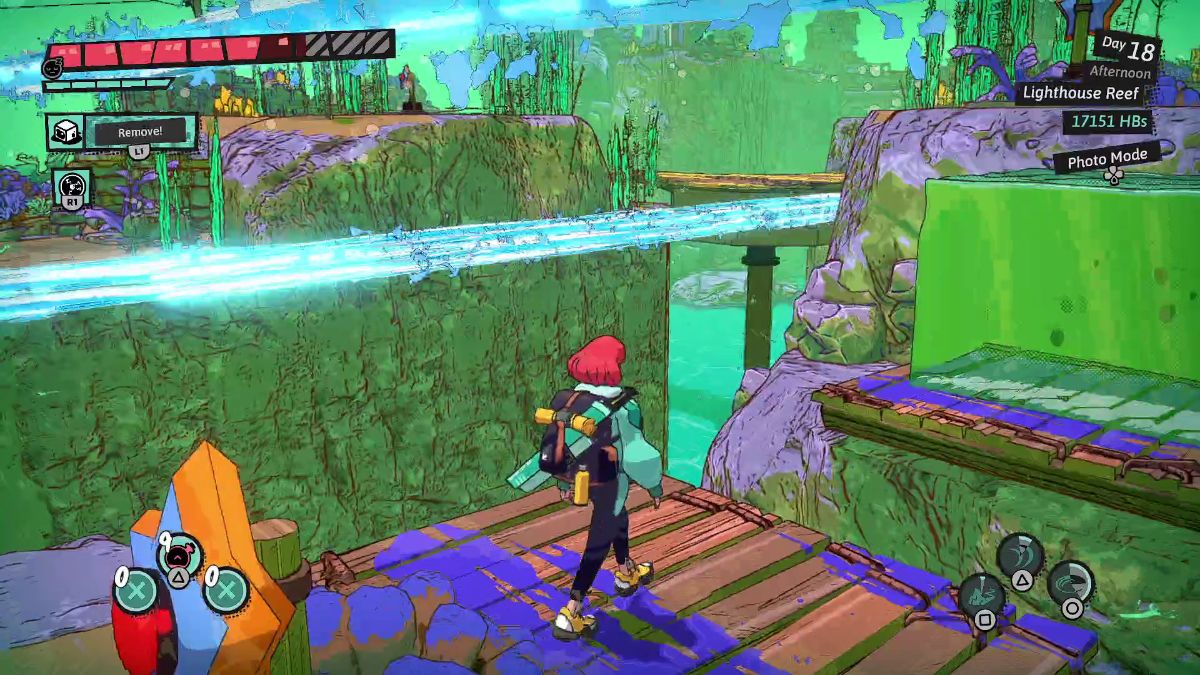
 | When you reach the other side, go up the stairs and place a Jelly Block to shield Luisa from the lasers. |
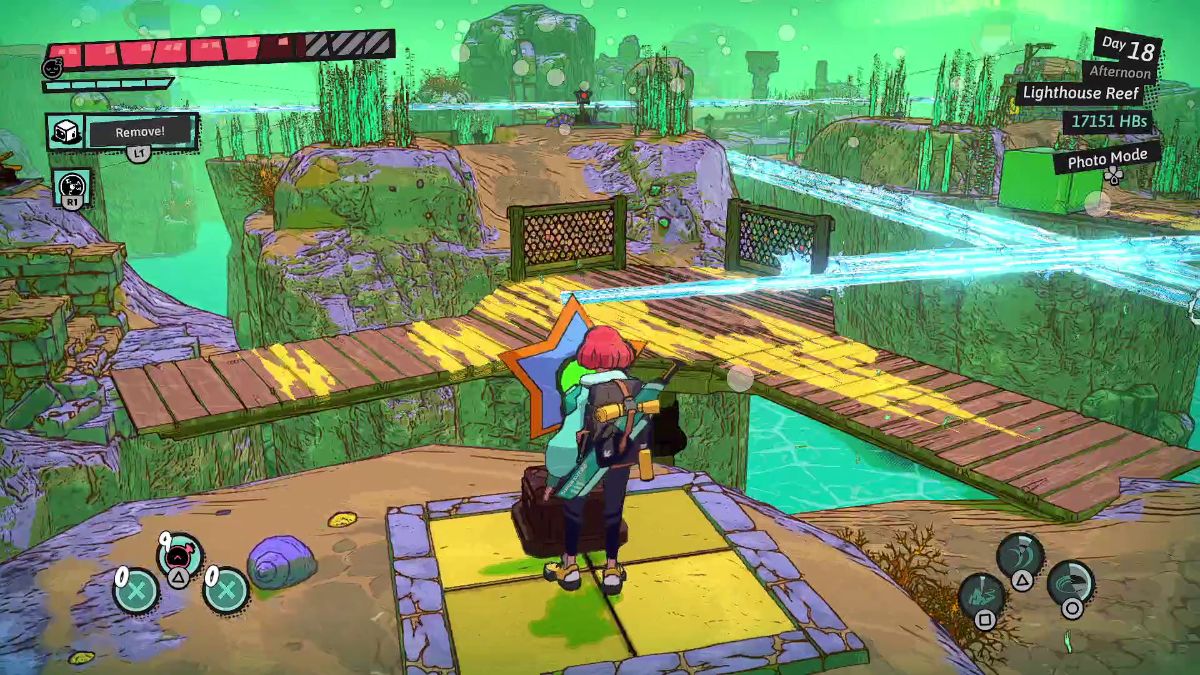
 | As soon as you press the red button, stand on the wooden platform on the left. Press the red button again and place a Jelly Block on the wooden platform on the other side. |
 | Return to the side with the lasers and press the red button again. |
 | Climb the Jelly Block, save at the Waystone, and zip back to the center room. |
 | After defeating a wave of enemies, zip to the lighthouse behind the yellow banner of the gryffin. |
 | Shoot a Plasma Ball at the fish head around the yellow lighthouse. |
 | Climb on the yellow wooden platform on the left path. With the help of a Jelly Block, get to the other side. |
 | Push the button on this platform and climb to the side of the yellow wooden platform again. |
 | Push the button on this side twice. |
 | Head through the gravel path on the left. Use a Jelly Block to shield yourself from the lasers. |
 | Save at the Waystone and zip toward the center room. |
 | Zip to the red lighthouse next to the red lobster banner. |
 | With a Jelly Block, climb to the platform with the treasure chest on the right. Here’s a Damage Reflect charm. |
 | Then, throw a Plasma Ball inside the fish’s mouth. Then, drop down. |
 | Place a Jelly Block in front of the platform with red paint. Then, push the button on the left and climb the Jelly Block. |
 | Place a Jelly Block on top of the platform and climb it to reach the white ledge above. |
 | In this room, push the button to raise a platform with red paint that blocks the first laser. Place a Jelly Block on top of it and walk behind it to avoid damage. |
 | Head up the stairs and place a Jelly Block against the stone wall with the white ledge and climb it. |
 | Zip back to the room at the center. |
 | Here, push the purple button to bring the raft to you. Then, push it again to get to the other side. |
 | Then, push the yellow button twice to rotate the platform toward you. |
 | Use a Jelly Block to get over the lasers. |
 | Push the button up on the hill to rotate the platform. |
 | Head to the platform on the left and push the button on the right side. Then, use the rotating platform to get to the platform on the left. |
 | Go across the purple platforms to reach the button on the other side. |
 | Push the button and stand on the wooden purple platform. |
 | Place a Jelly Block on the platform on the right to block the lasers. |
 | Push the button on the hill three times to rotate the platform below. |
 | Use this platform to reach the area on the left. Then, press the button on top of the hill. Now, use the platform to reach the area on the left one more time. |
 | After a wave of enemies, stamp your book and leave. |

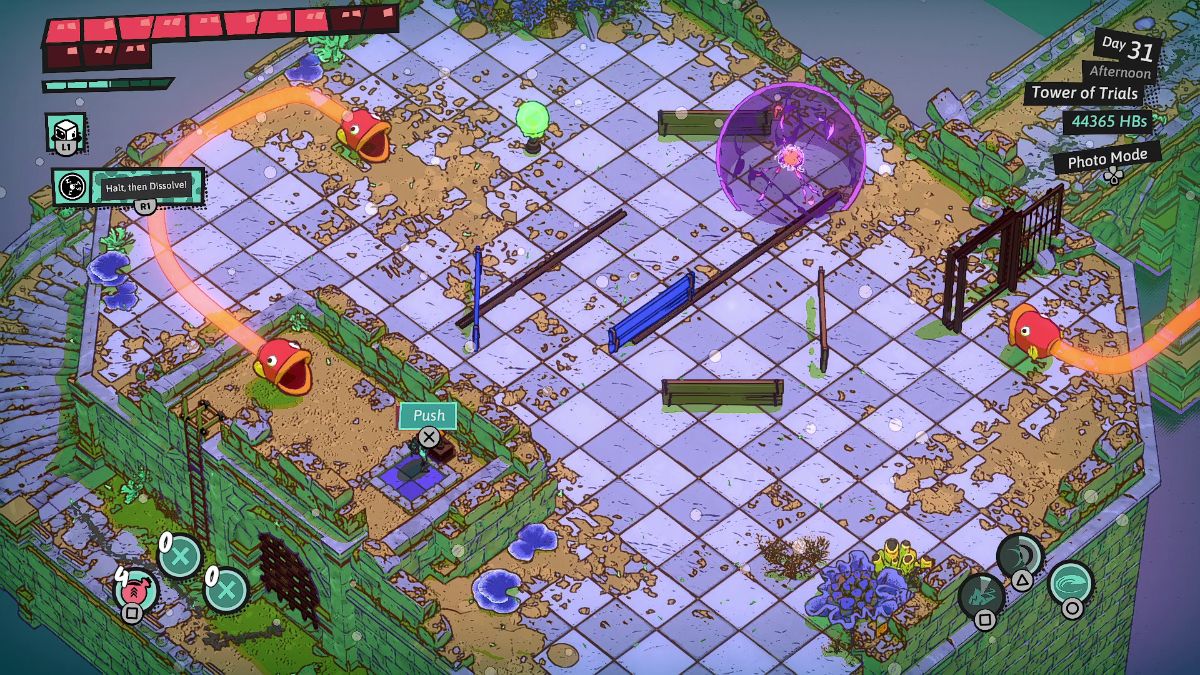
| Visual Reference | Instructions |
|---|---|
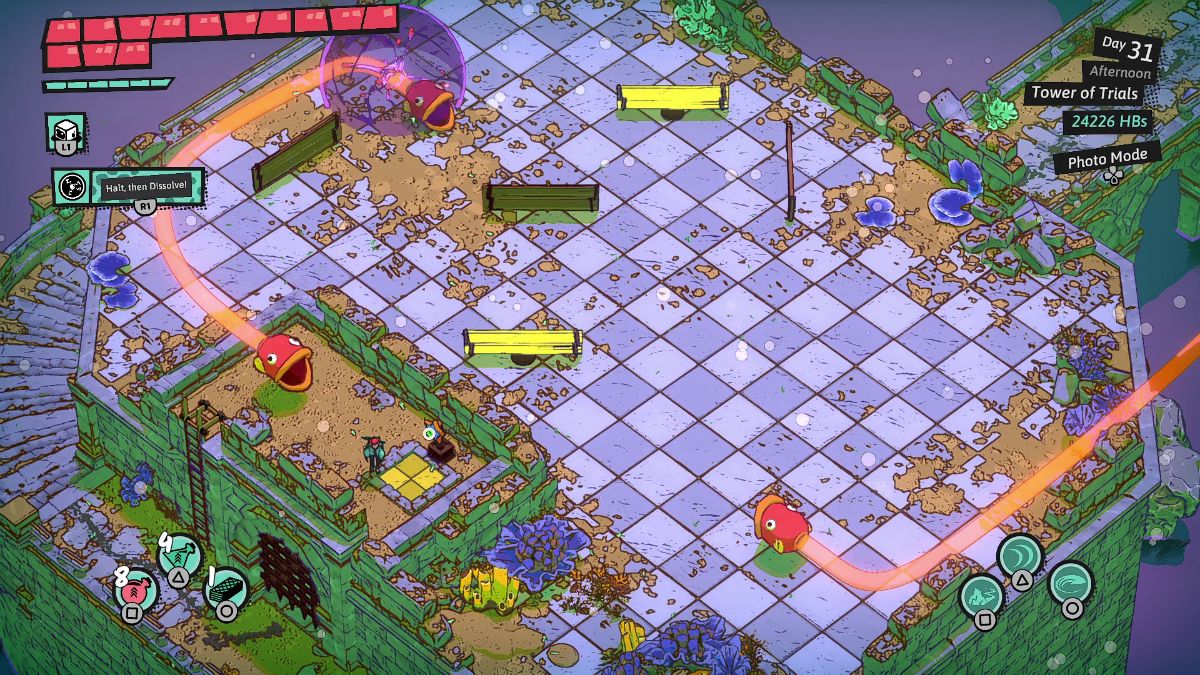 | Head up the stairs and push the red button once. Shoot a Plasma Ball inside the fish head. |
 | When your Plasma Ball bounces off the third yellow board, push the red button again to guide it toward the other fish head. |
 | Head down the ladder and go through the now-open gate. Inside the tower, defeat two waves of enemies to find a treasure chest with 20000 Hinterbucks. |
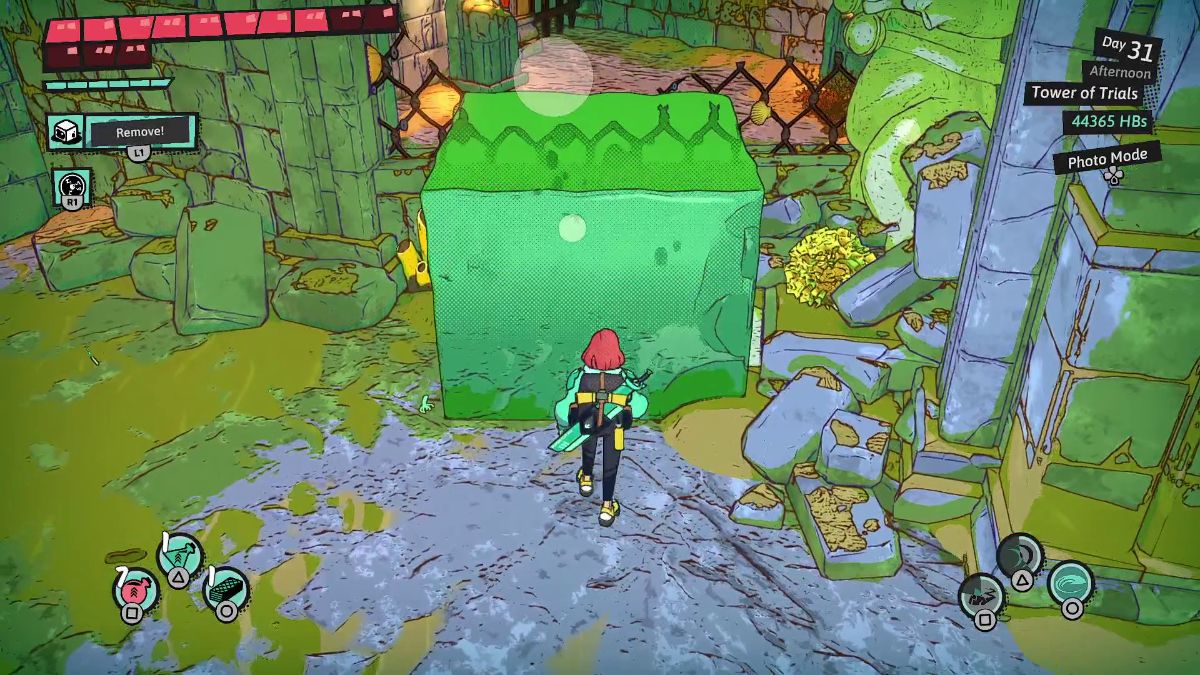 | Place a Jelly Block next to the open fence and push all the red buttons. |
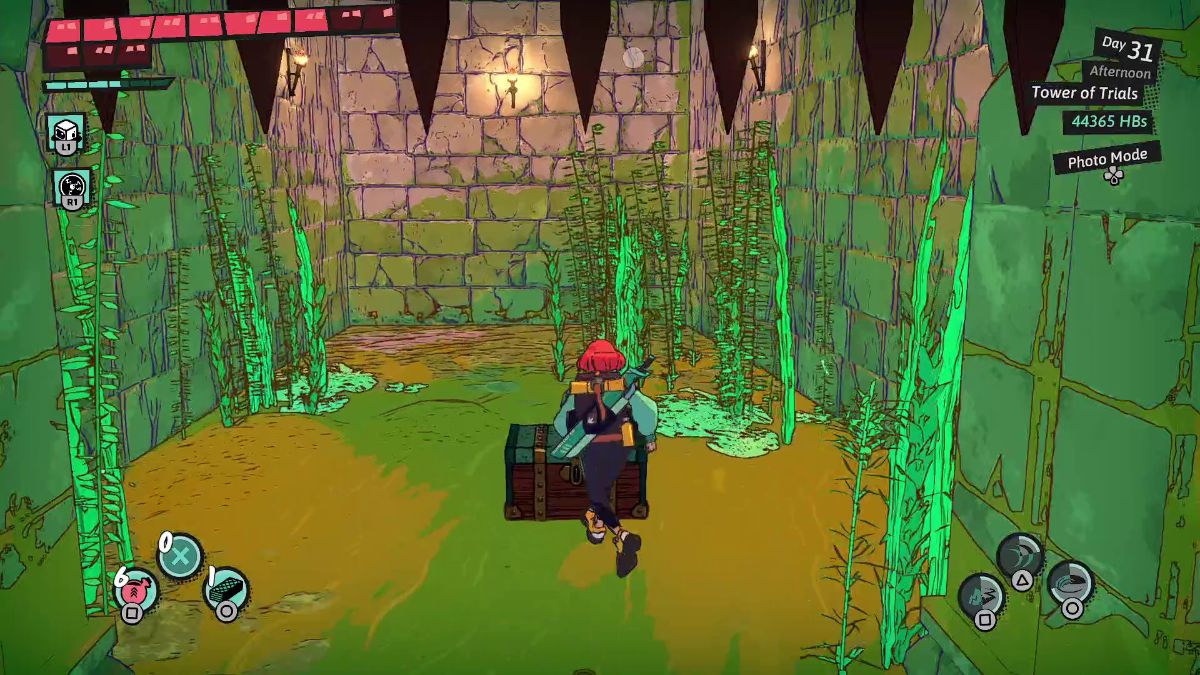 | Defeat another wave of enemies to find a treasure chest with the Unique Coin for the Tower of Trials. |
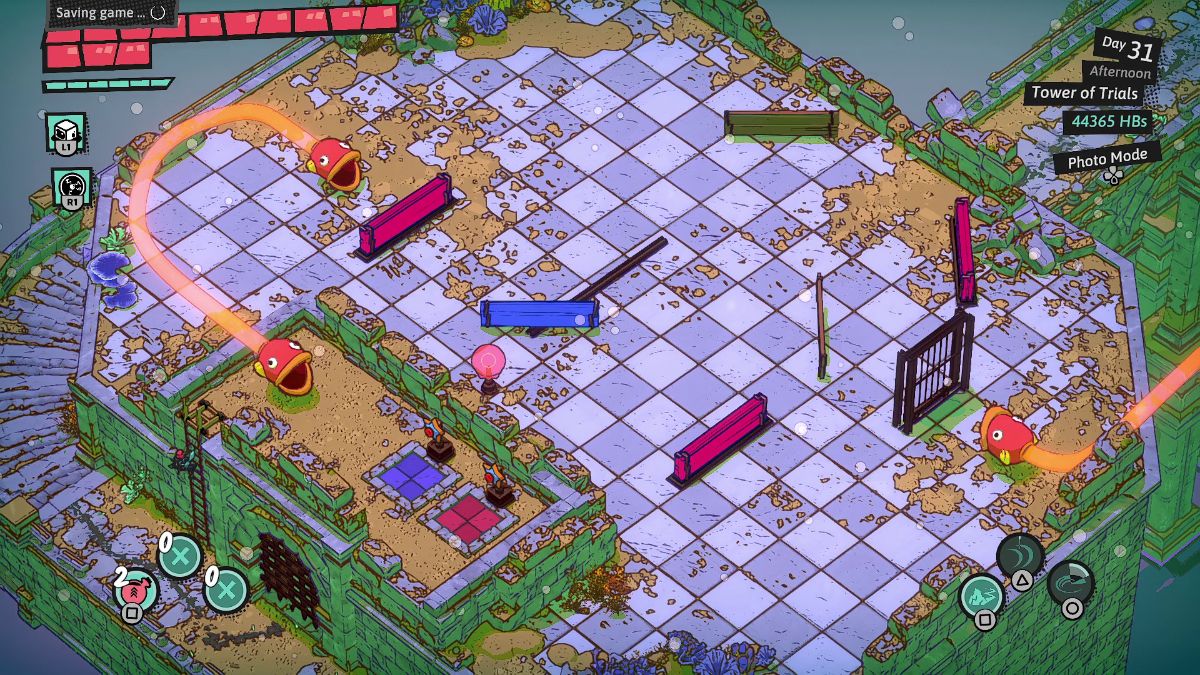
 | Head back outside and climb the ladder to the next pinball puzzle. |
 | Shoot a Plasma Ball into the fish head. |
 | When your Plasma Ball bounces off of the yellow board on the lower right, push the red button. |
 | Quickly press the red button again when your Plasma Ball bounces off of the yellow board on the center left. This pushes the ball toward the exit fish head. |
 | Inside the tower, get through two waves of enemies. Then, exit and climb the white ledges on the tower’s wall to reach the other side. |
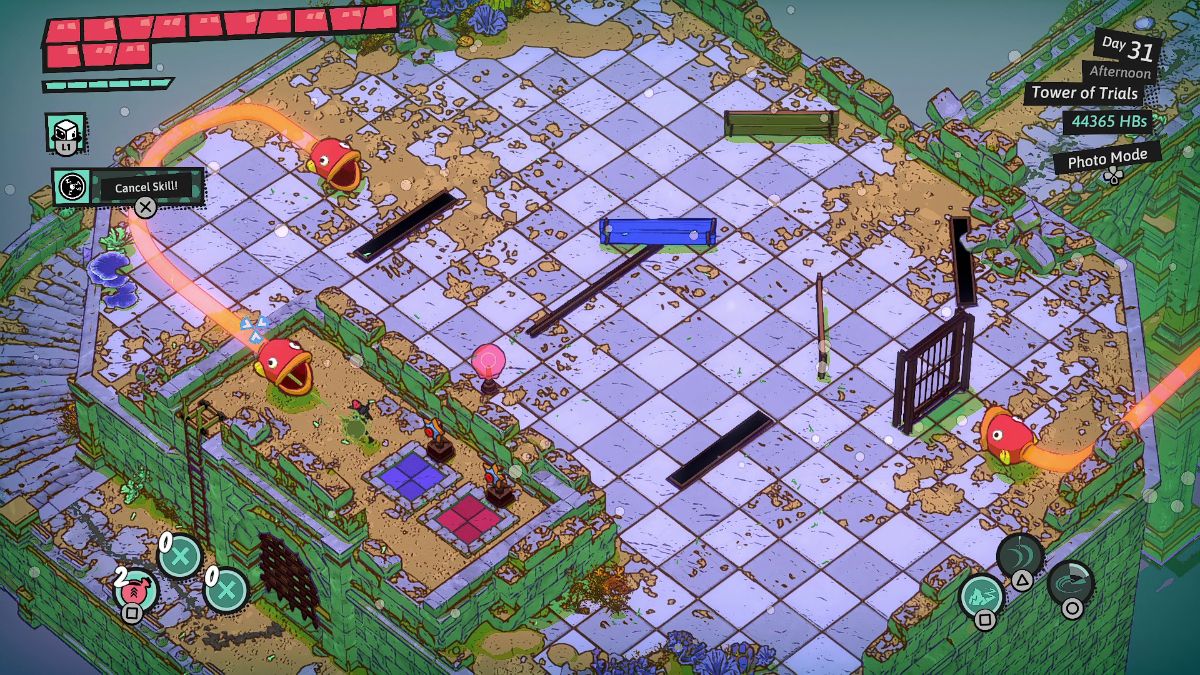
 | Climb the ladder to reach another pinball puzzle. In this one, you move the purple boards from left to right, but you also need to trigger the red tentacly device to open the gate. |
 | Place the purple board in front of the tentacly device to power it up. Don’t worry if your Plasma Ball falls off, we’ll use another one to solve the puzzle. |
 | While the purple boards stay on the right, shoot the Plasma Ball inside the fish head. |
 | After the Plasma Ball hits the yellow board on the upper right, press the red button to free the path toward the exit. |
 | Inside the tower, deal with another wave of enemies. Then, climb the ladder to find the last pinball puzzle. This one has two red buttons. Red button on the left controls the purple boards. Red button on the right controls the pink boards. |
 | Push both red buttons and shoot your Plasma Ball. |
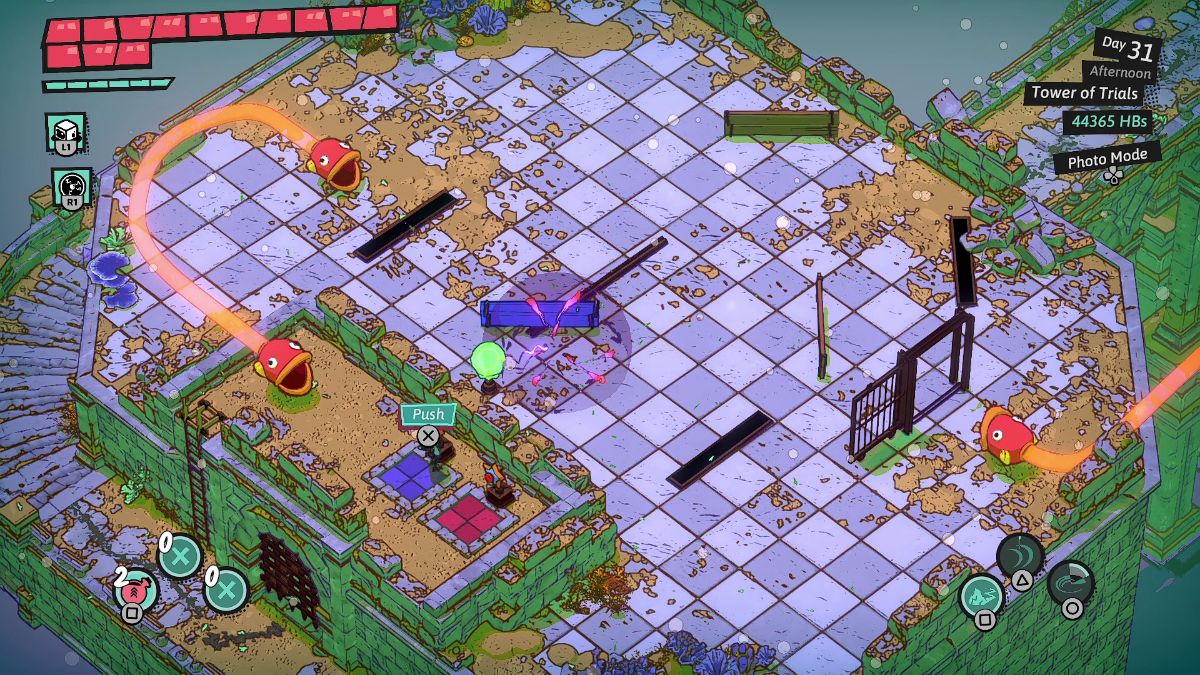 | When the ball bounces off the bottom wall, push the purple board red button to power up the tentacly device. |
 | Push the pink board red button once and shoot your Plasma Ball. |
 | When the Plasma Ball bounces off of the yellow board on the upper right, press the pink board red button again to help it reach the exit fish head. |
 | After dealing with another wave of enemies, climb the pyramid to stamp your book and exit. |
| Visual Reference | Instructions |
|---|---|
 | Power up the raft to reach the other side. |
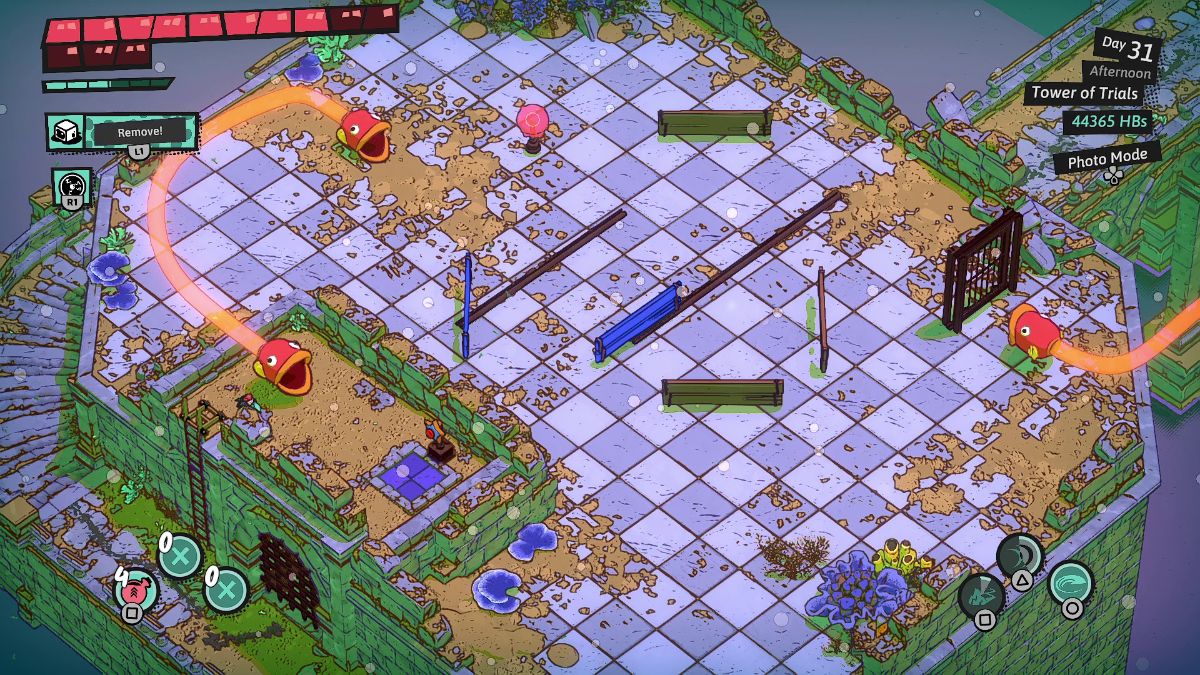
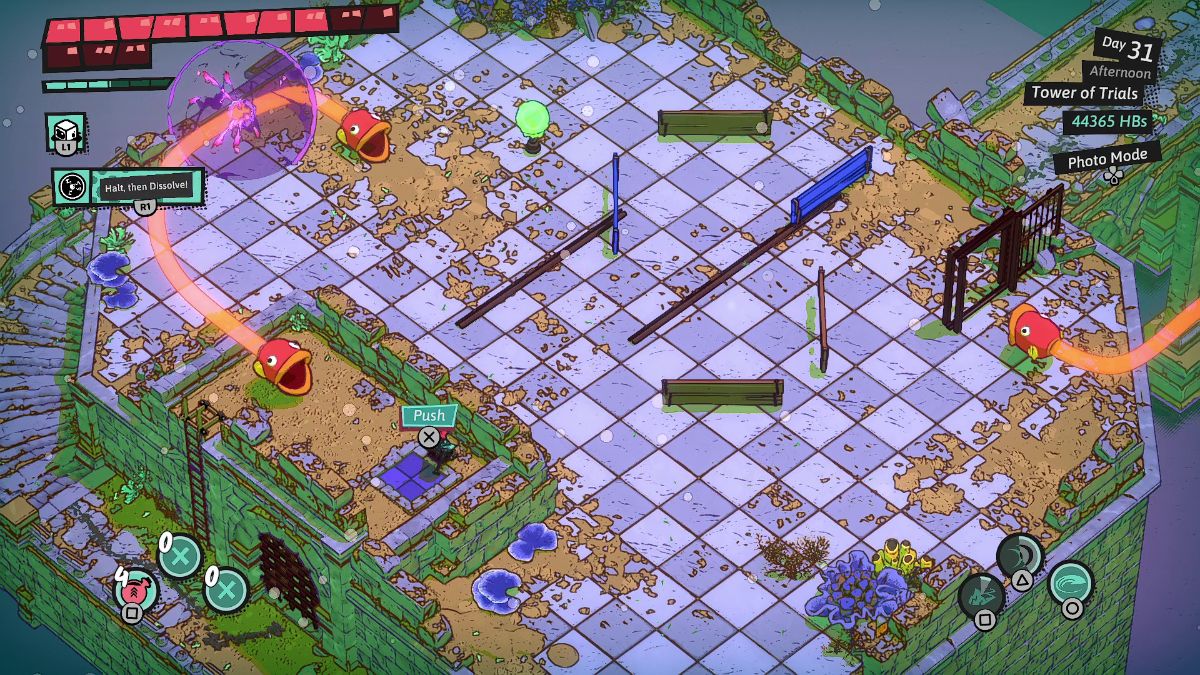
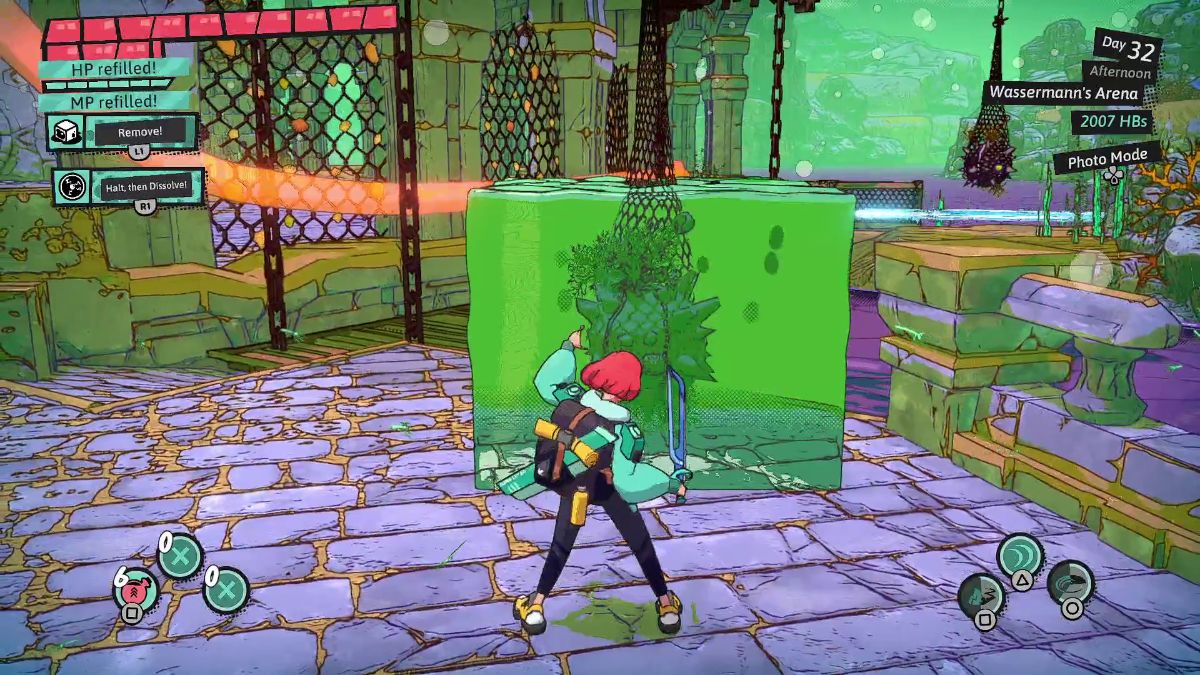 | When the bridge is over water, freeze this spiky device with your Jelly Block. |
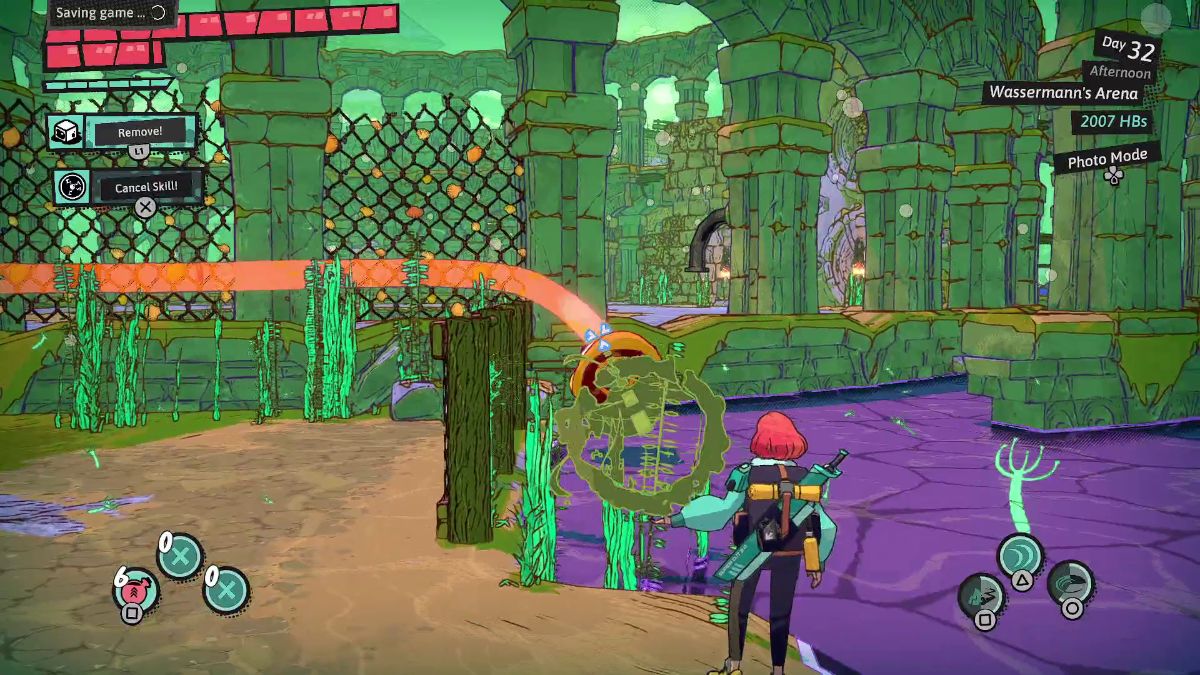 | Block the incoming laser with a Jelly Block. Then, shoot a Plasma Ball kinside the fih’s mouth to the left. |
 | To defeat Wassermann, wait until the punches the floor to freeze him with a Jelly Block. |
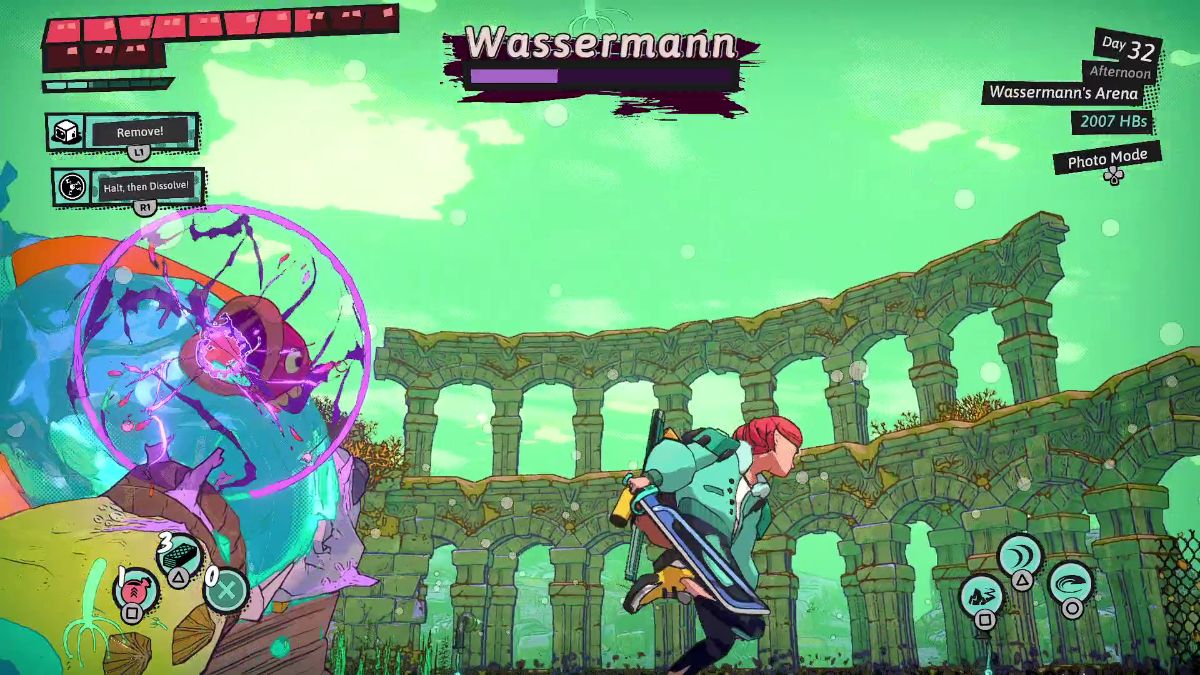 | Then, shoot a Plasma Ball inside inside the fish’s mouth his shoulder. Repeat this process until his health bar is fully depleted. |
 | Climb your way up to the next arena. |
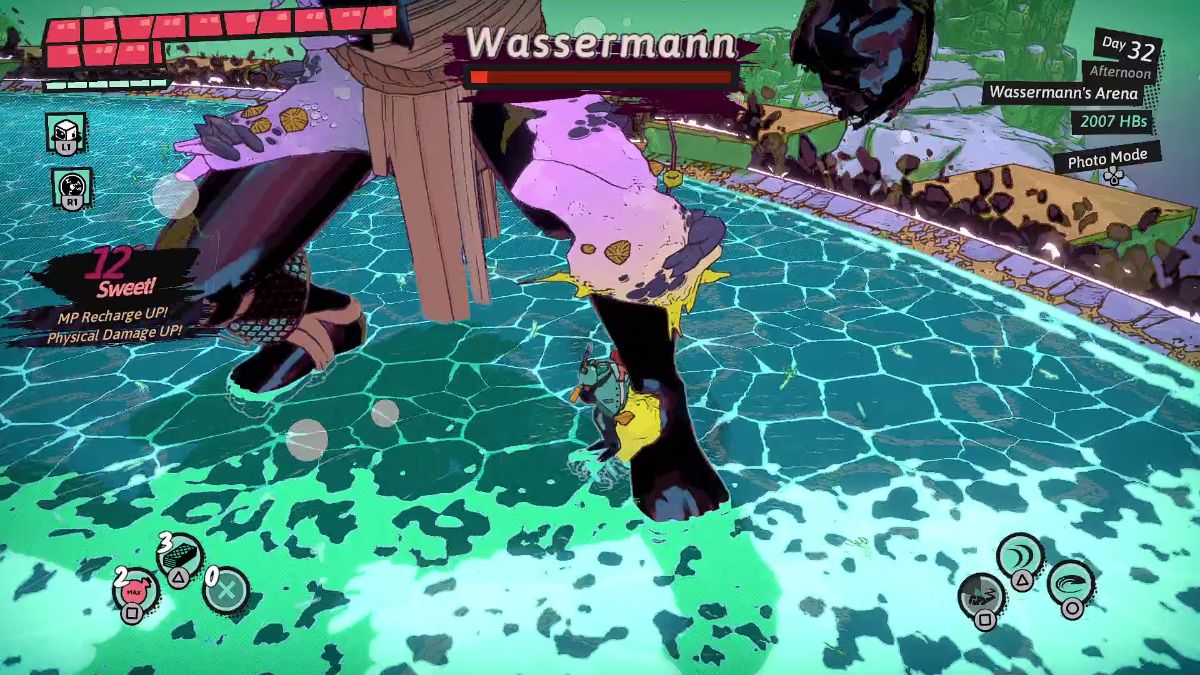 | Here, Wassermann decides you’re enough of a threat to show his feet. It’s a long encounter, but just keep damaging his feet and he’ll drop dead. |
For more exciting adventures with excellent stories, check out our complete walkthrough for Magical Delicacy, or our Tactical Breach Wizards guide for a more strategic offering.
About the Author
Discover more from Bonus Action
Subscribe to get the latest posts sent to your email.