Tactical Breach Wizards Complete Walkthrough: All Missions and Objectives
Clear every zone with all optional objectives in Tactical Breach Wizards.
Cande Maldonado
Published: November 16, 2024 | Updated: September 2, 2025
Clearing room after room of enemies is no ordinary task – but that’s why Tactical Breach Wizards equips you with a team of extraordinary wizards.
The only thing standing between you and a “mission accomplished” screen is that pesky objective checklist. Since this is a strategy game, don’t expect these wizards to magically clear them all for you.
In this guide, we’ll walk you through how to clear every objective, zone, and mission in Tactical Breach Wizards, so you can cruise through the game without sweating over Confidence points.
**This walkthrough is currently in progress as we play through Tactical Breach Wizards. Last updated 9/06/2024**
With Refreshing Jolt, once per turn, refresh your movement after firing. With Conviction, If the shot knocks someone out, it can be used again.
The Necromedic – Tactical Breach Wizards
Screenshot by Bonus Action
Zone 1
Zone 2
Zone 3
How to Clear The Necromedic – Zone 1
Objectives
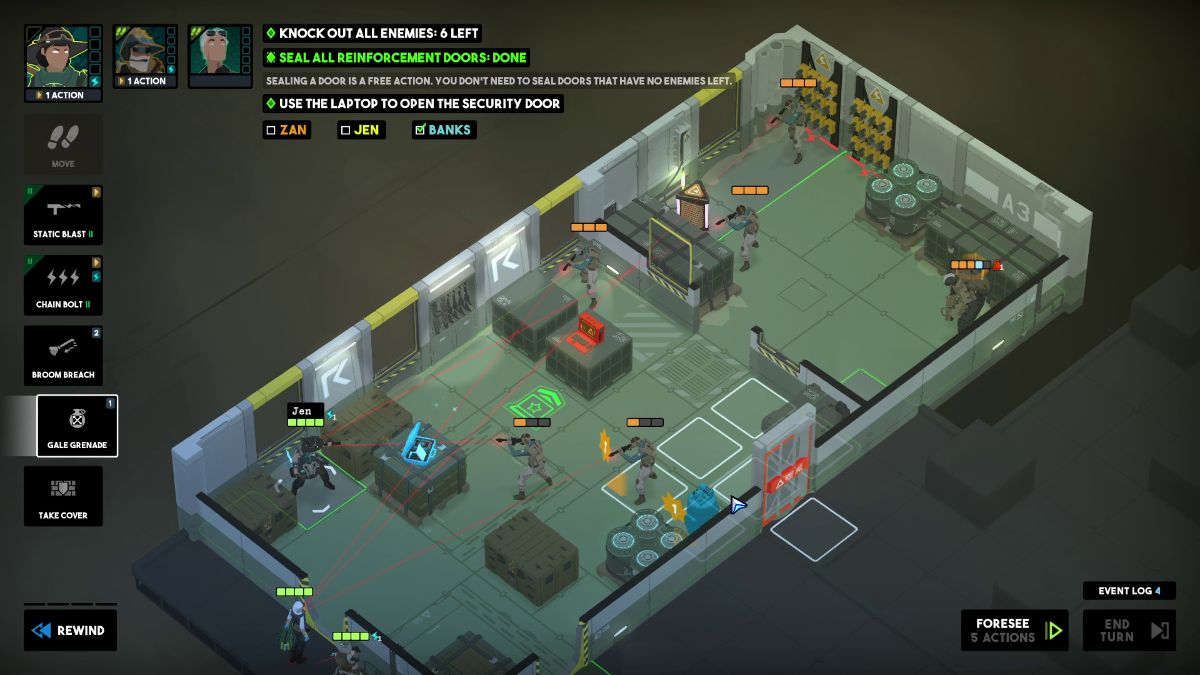
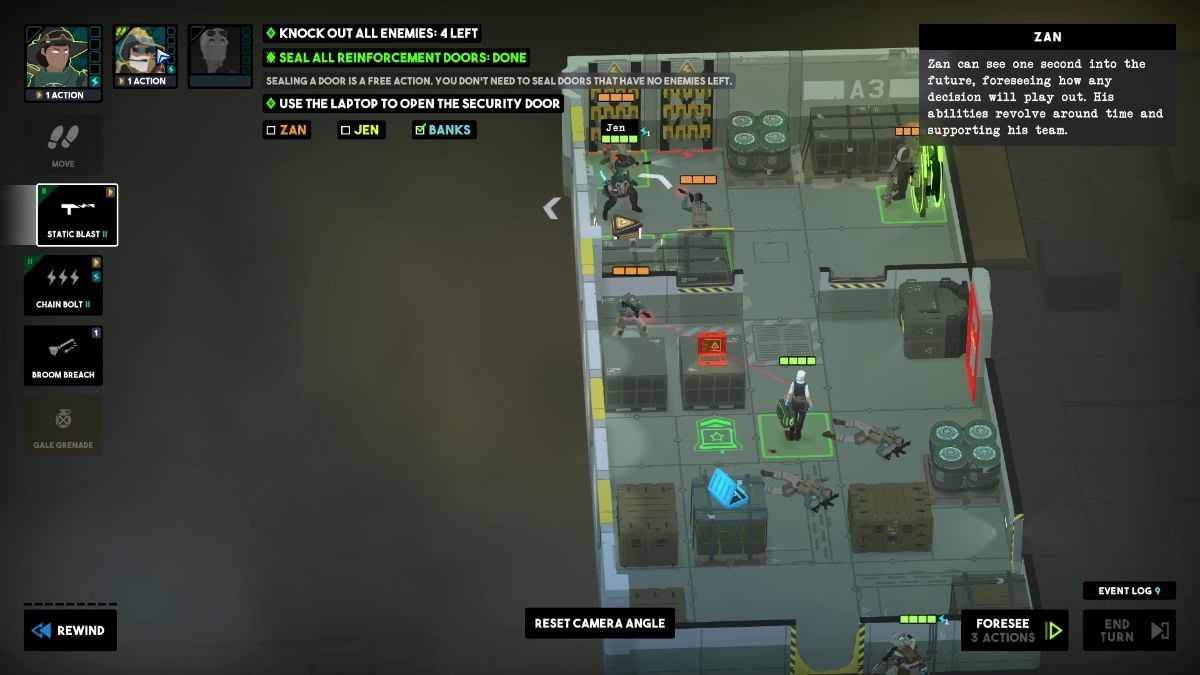
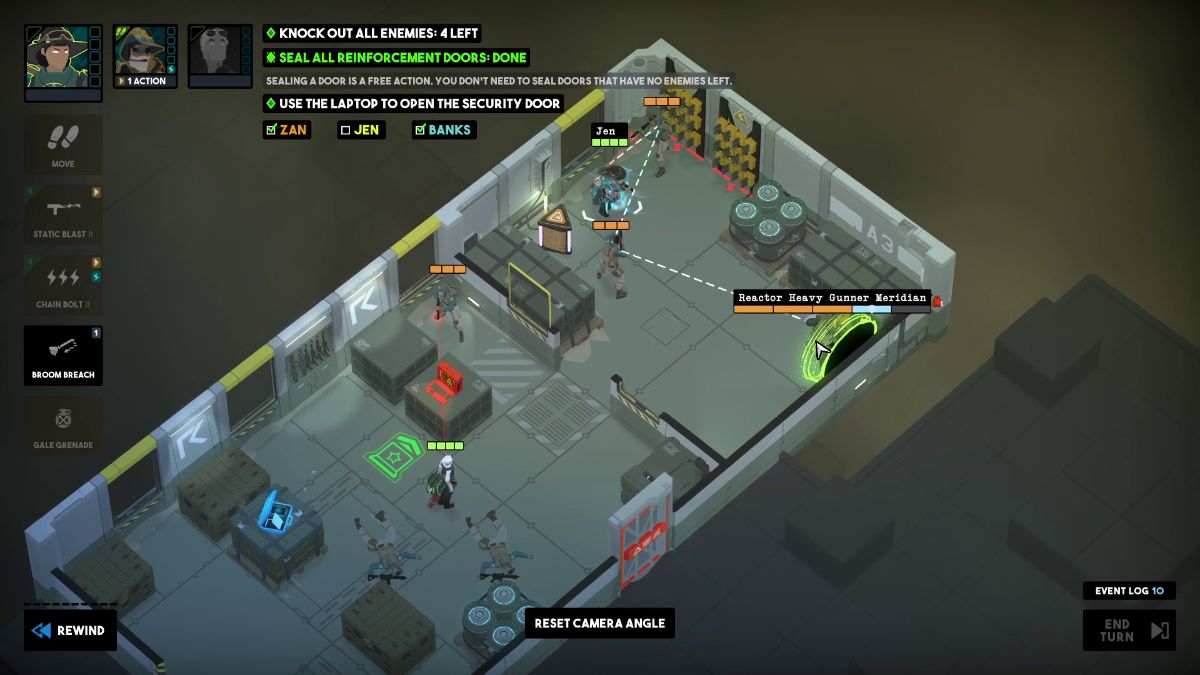
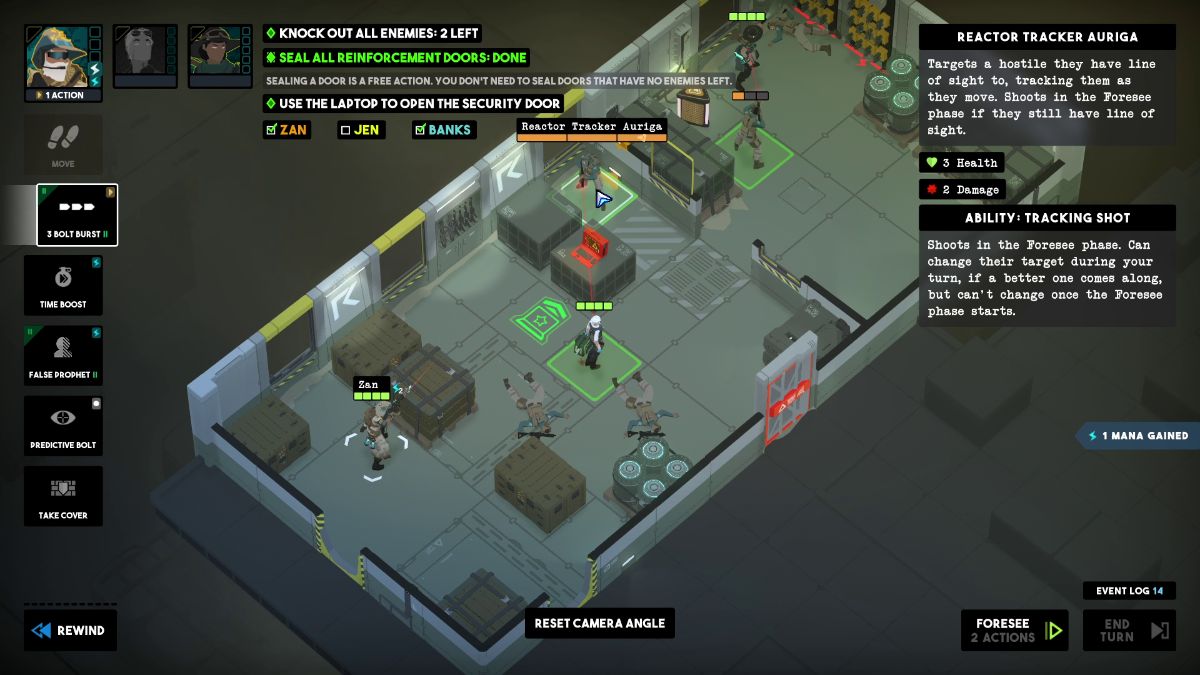
Knock out all enemies.
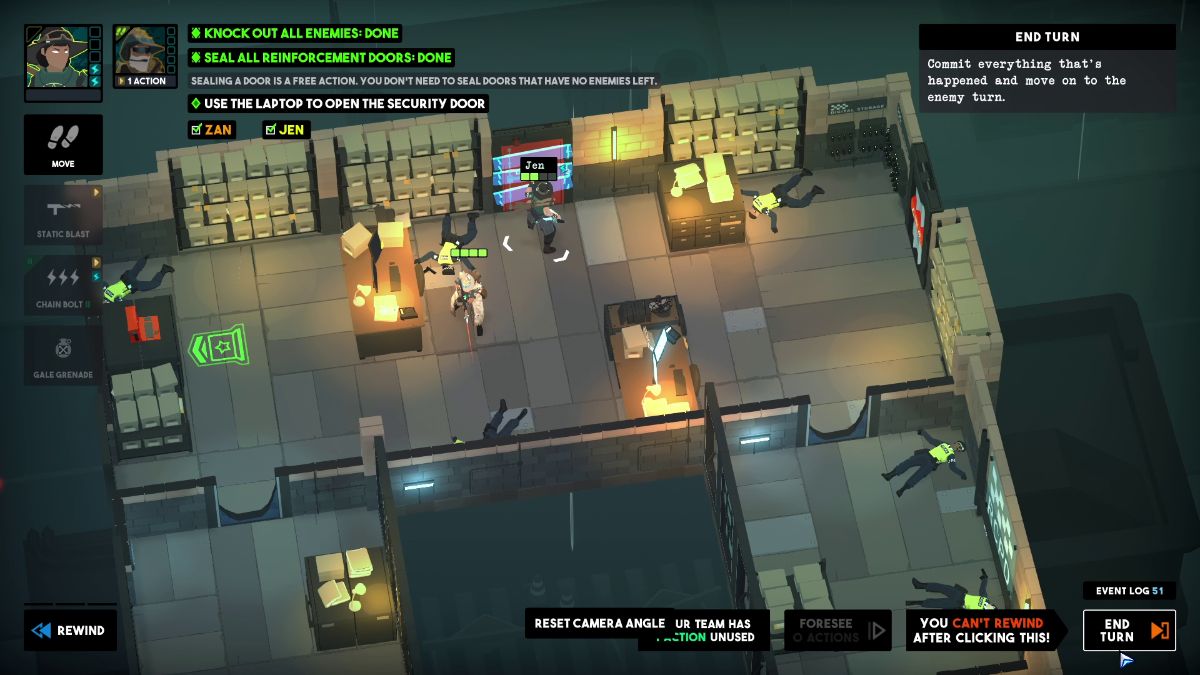
Use the laptop to open the security door.
Seal all reinforcement doors.
Use Death’s Door to eliminate 1 hostile.
Finish by the end of turn 3.
Visual Reference
Instructions
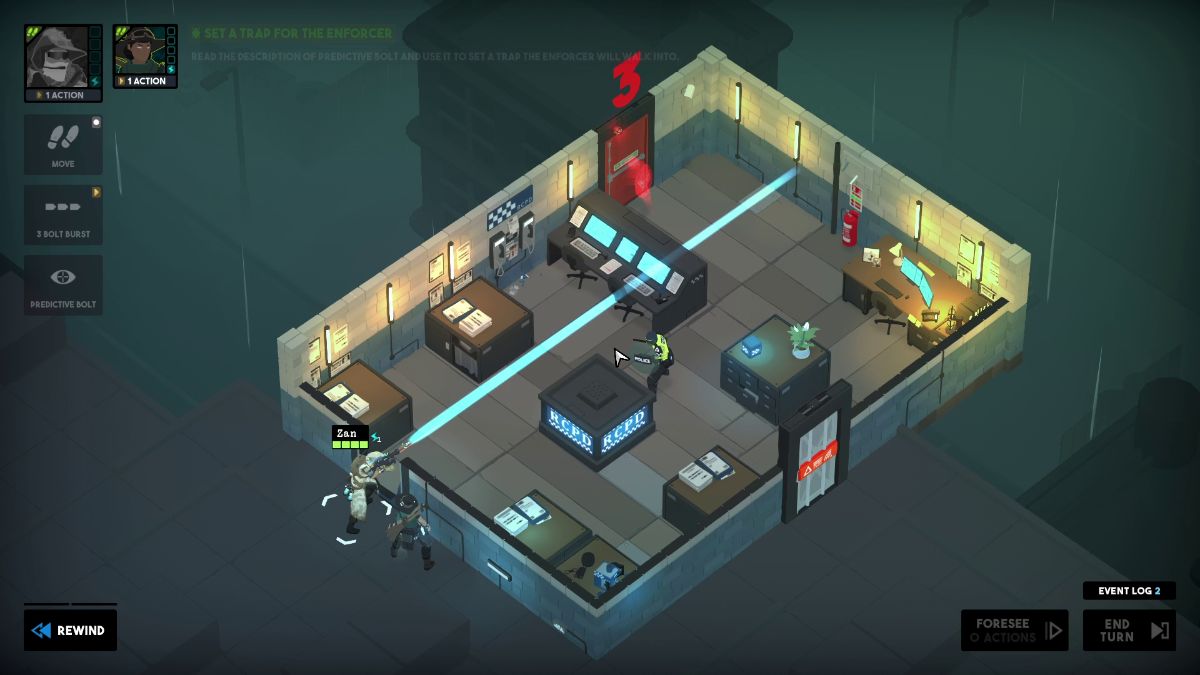
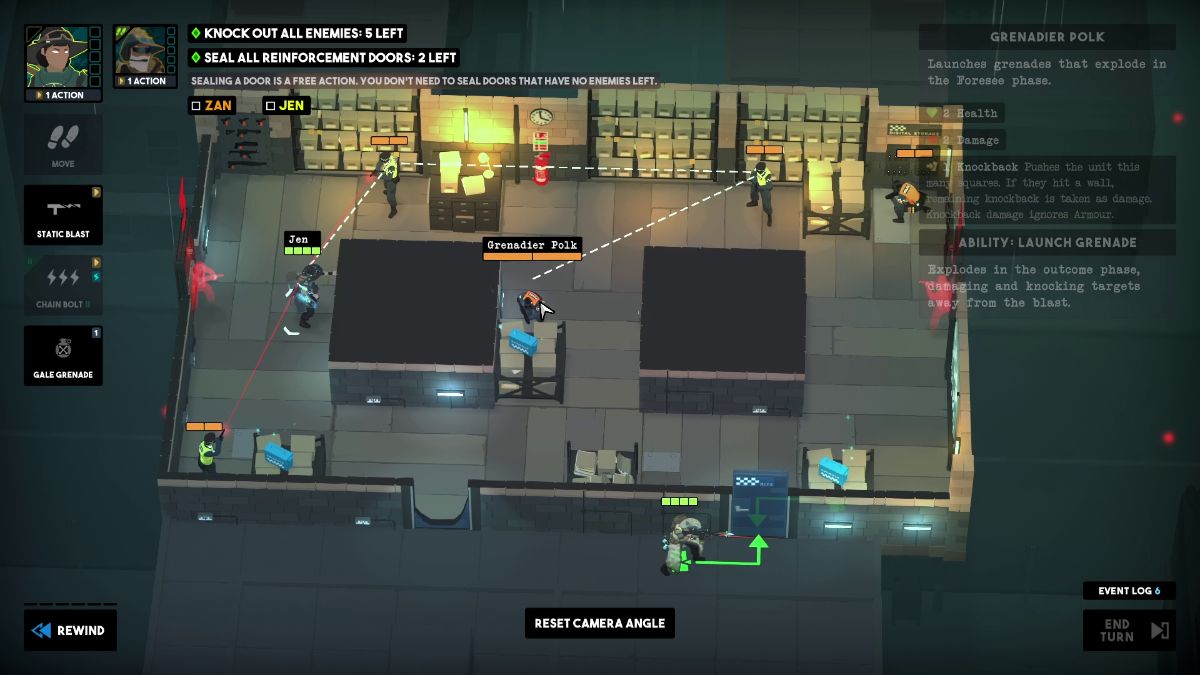
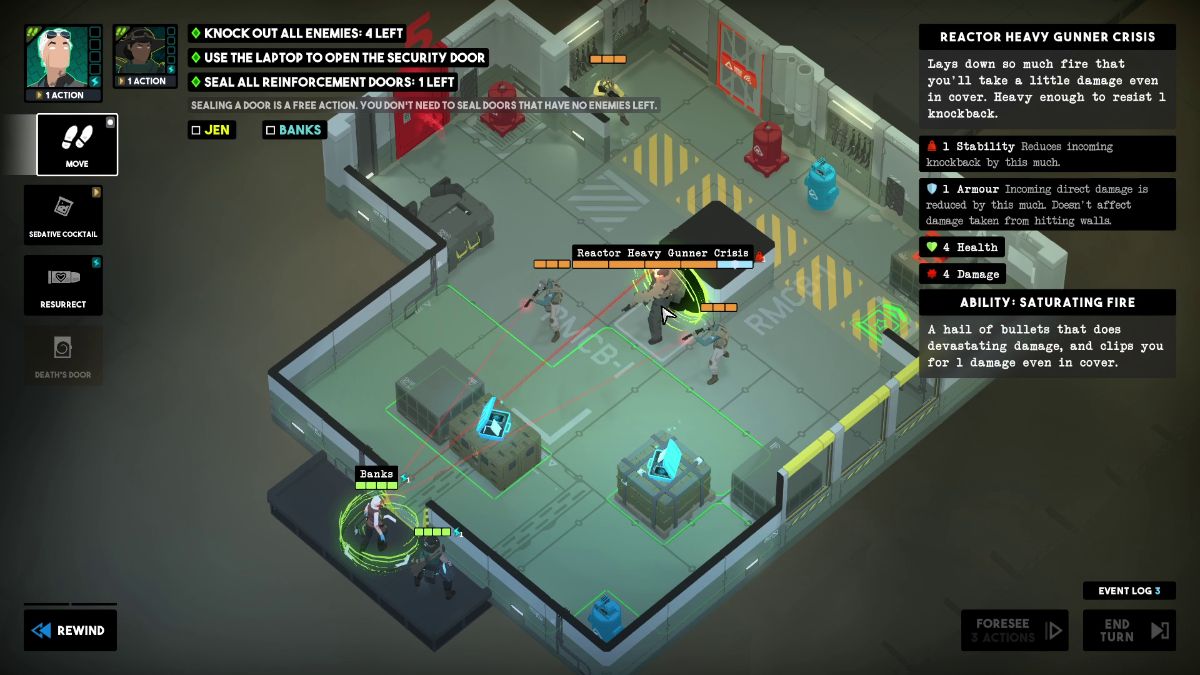
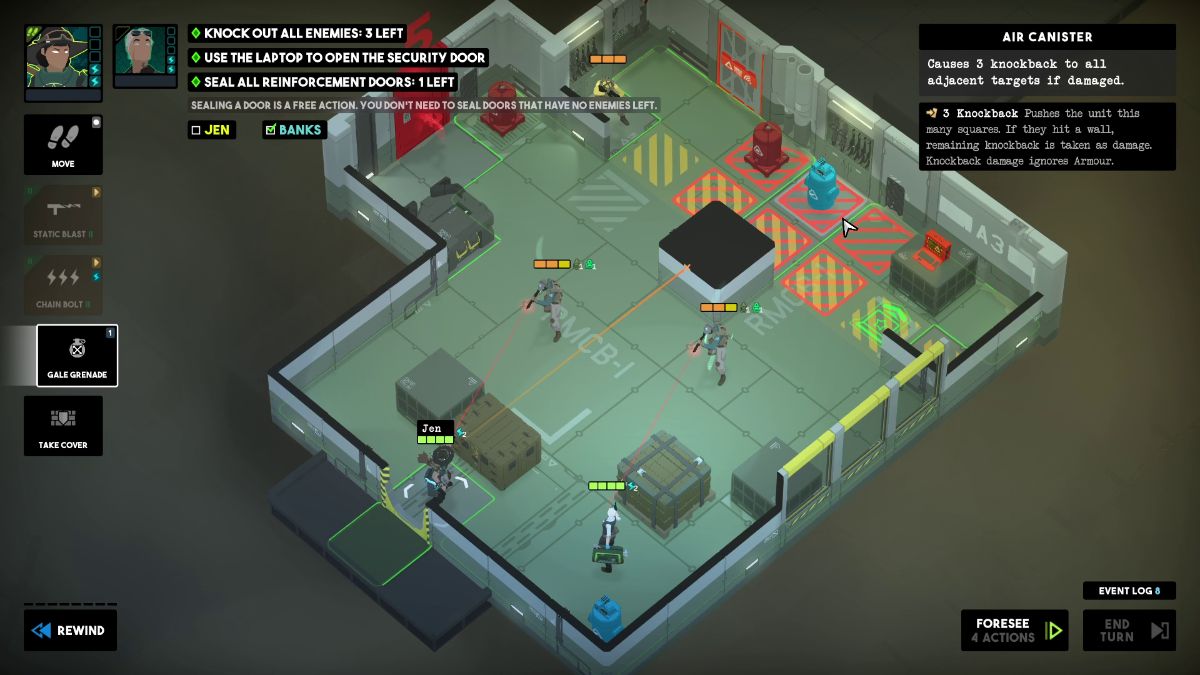
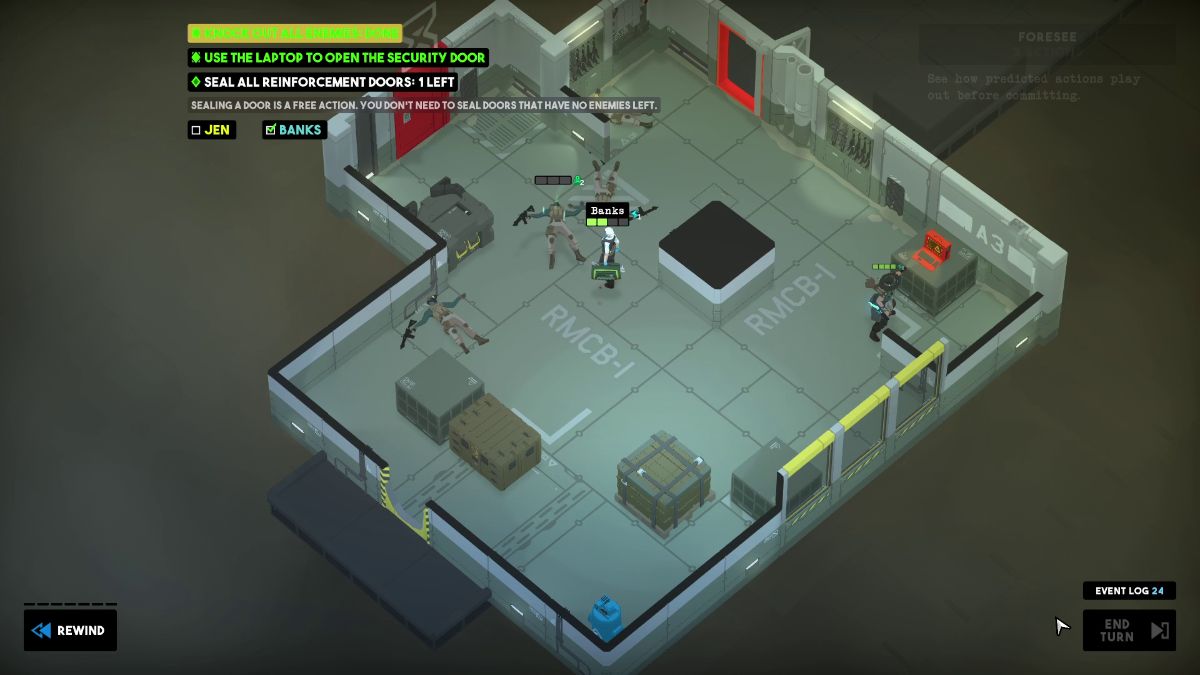
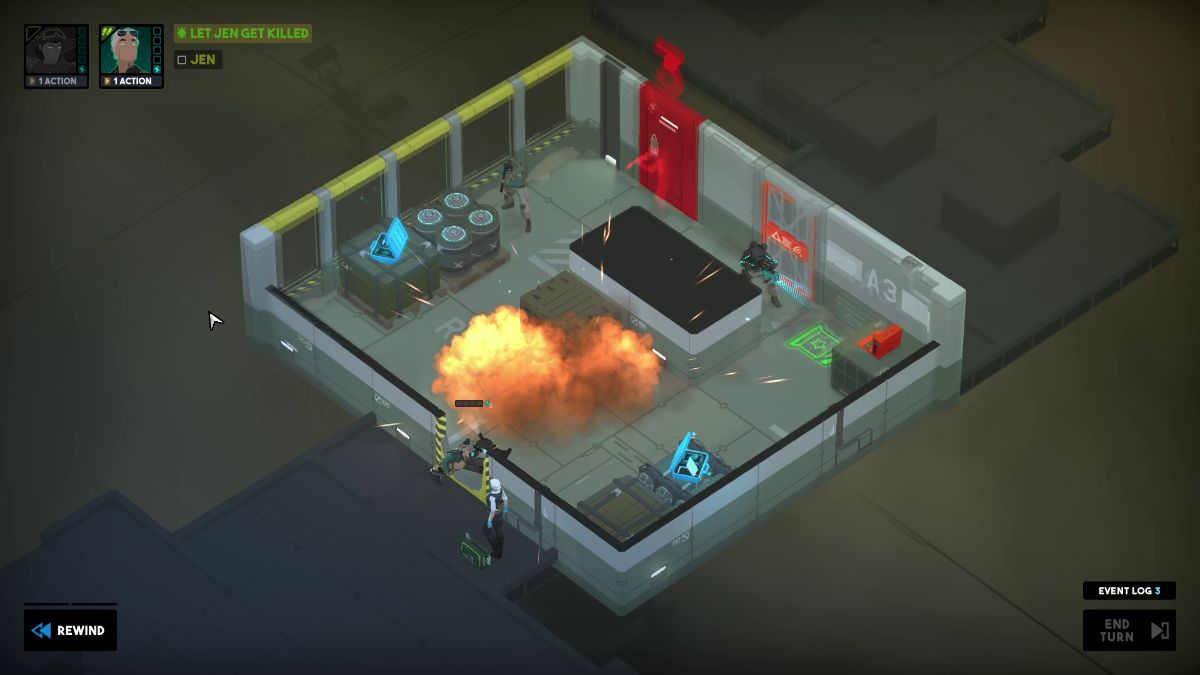
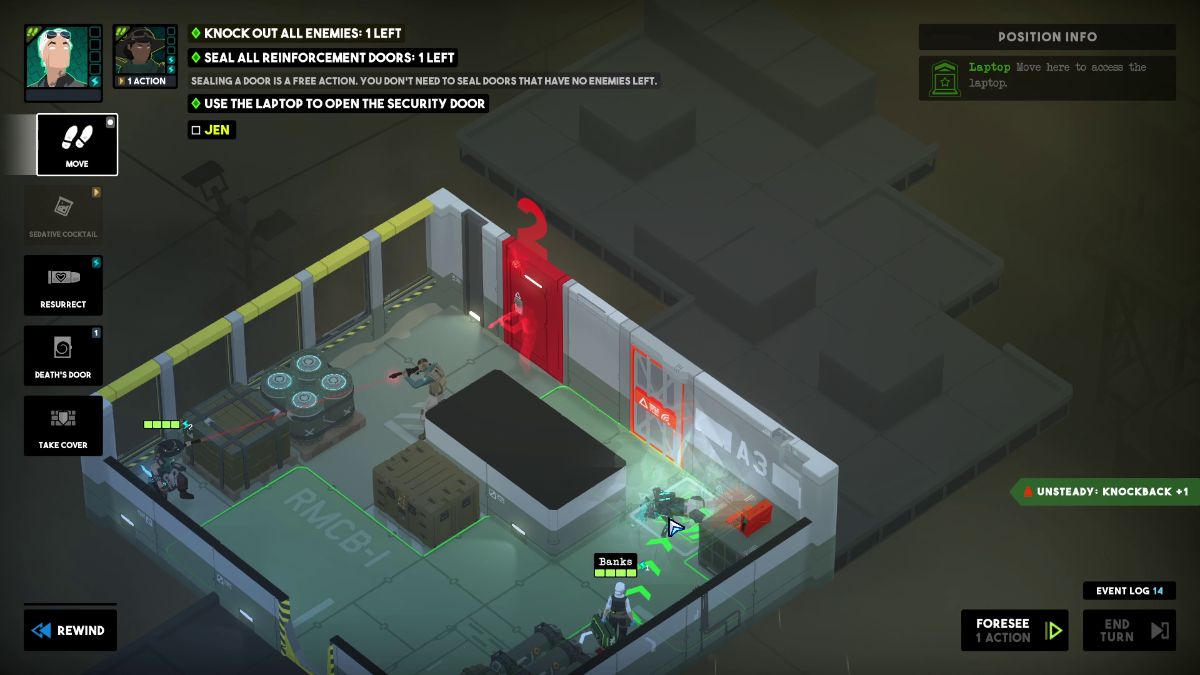
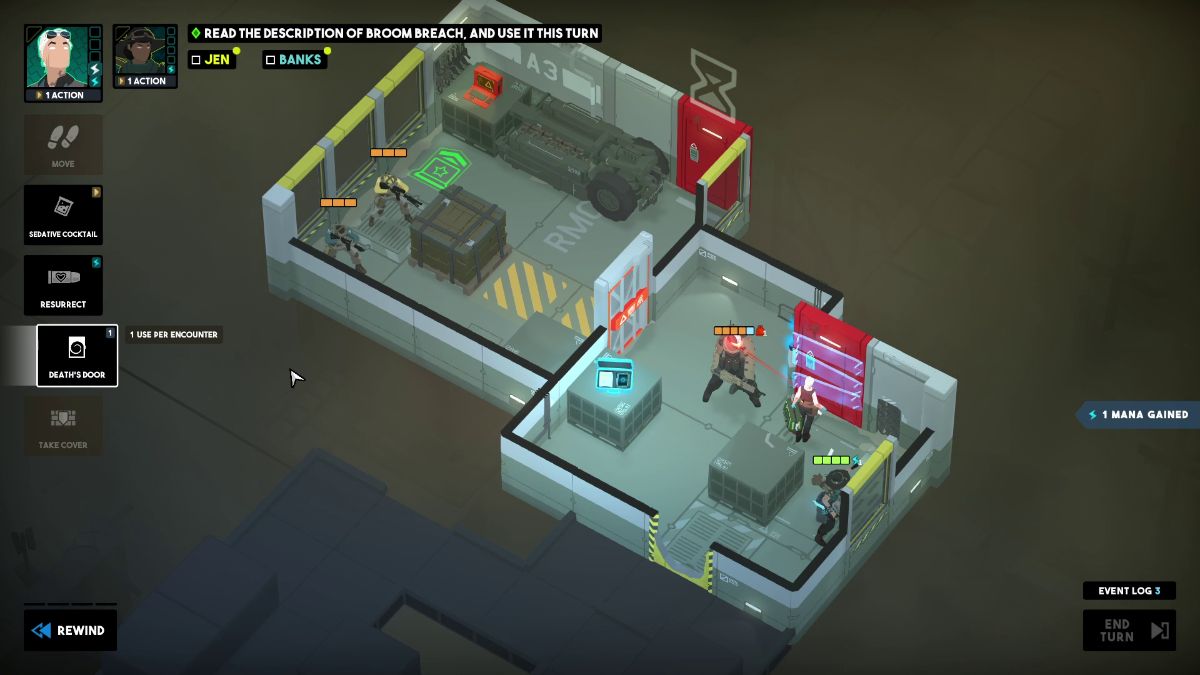
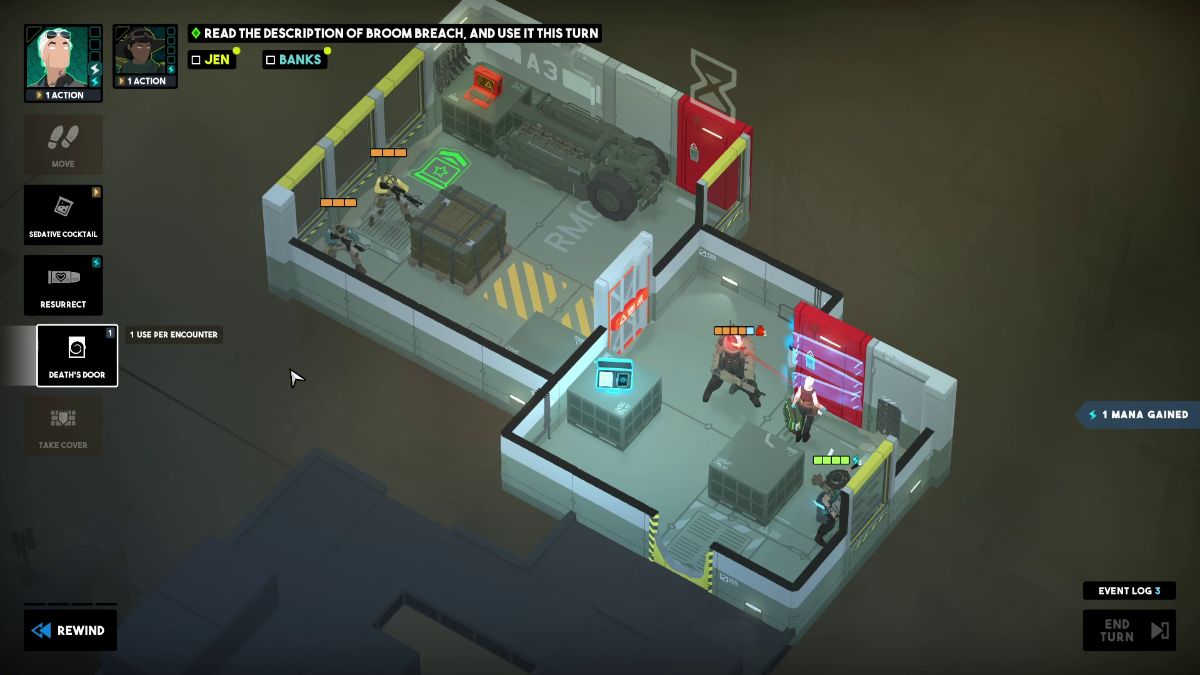
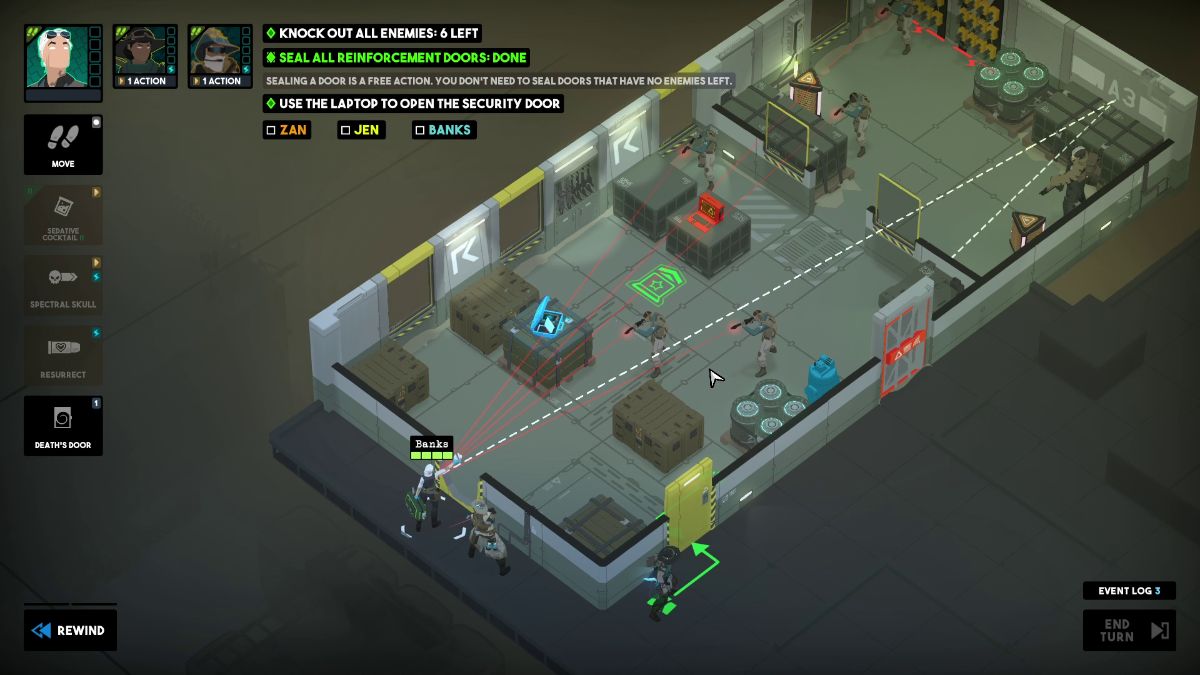
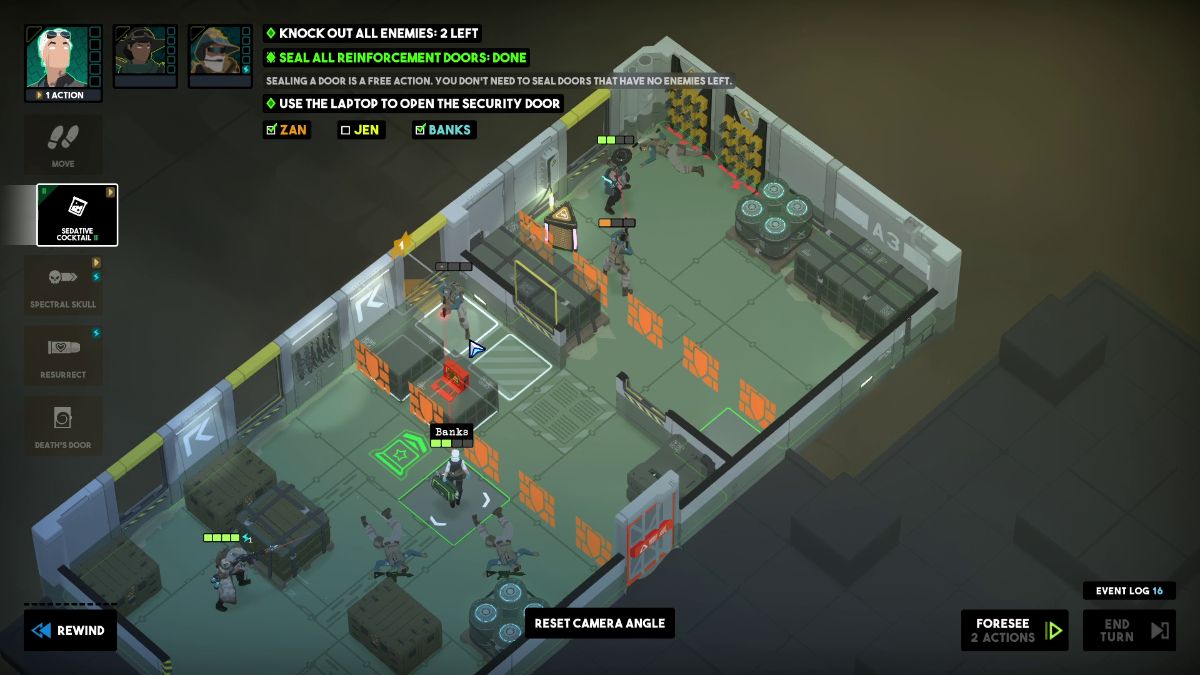
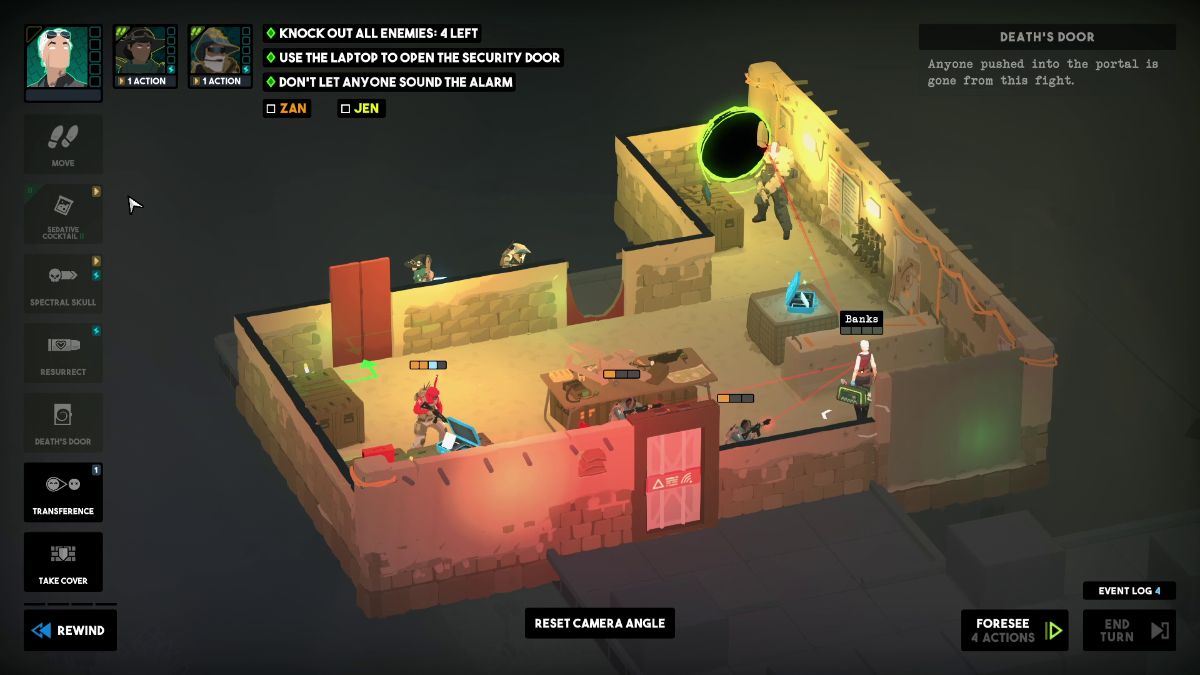
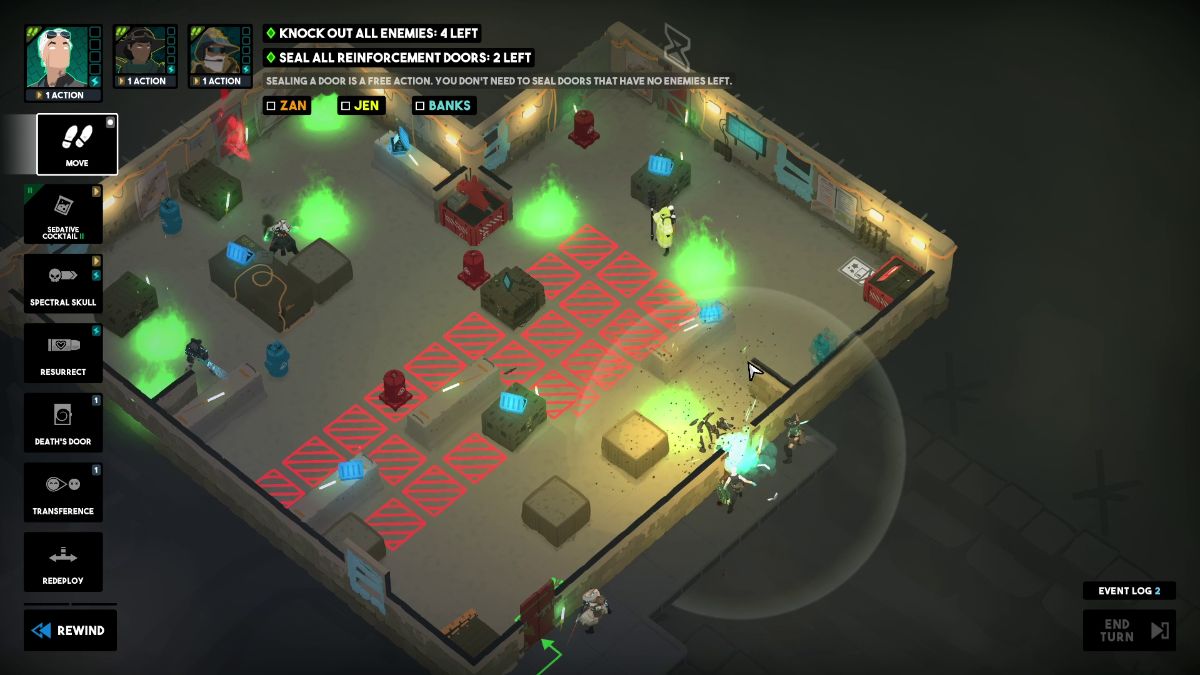
Breach with Banks and place Death’s Door behind the Gunner in front of you.
While standing behind the desk to the right, throw a Sedative Cocktail toward the enemy trio on the left.
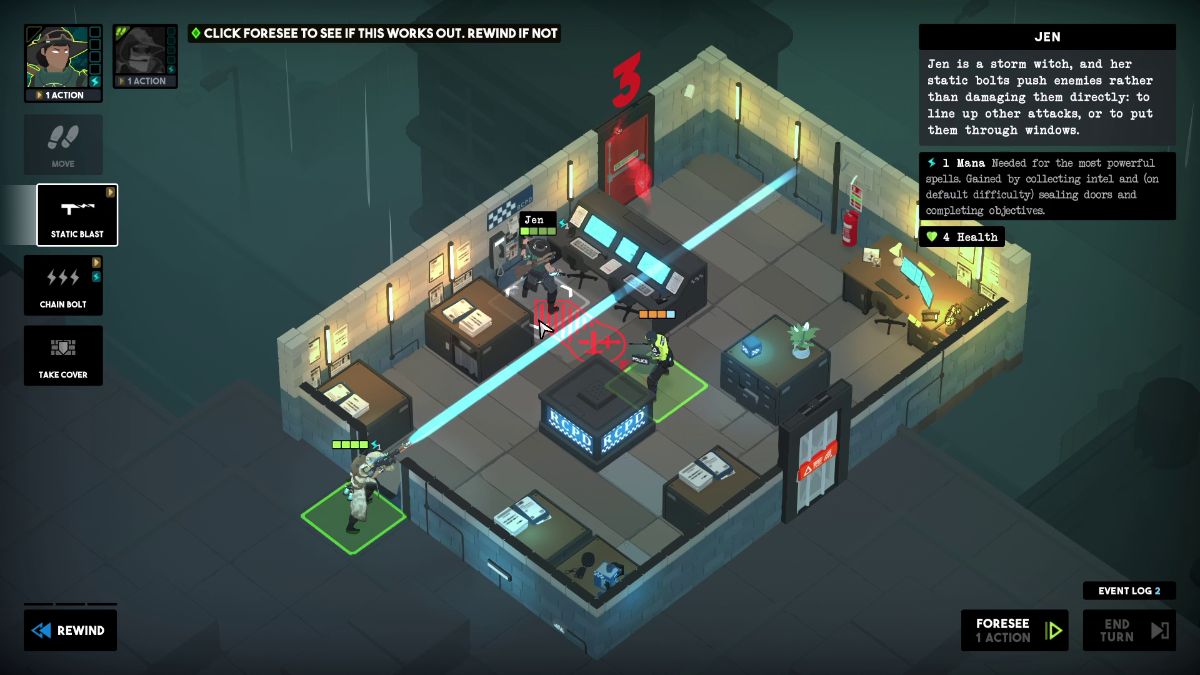
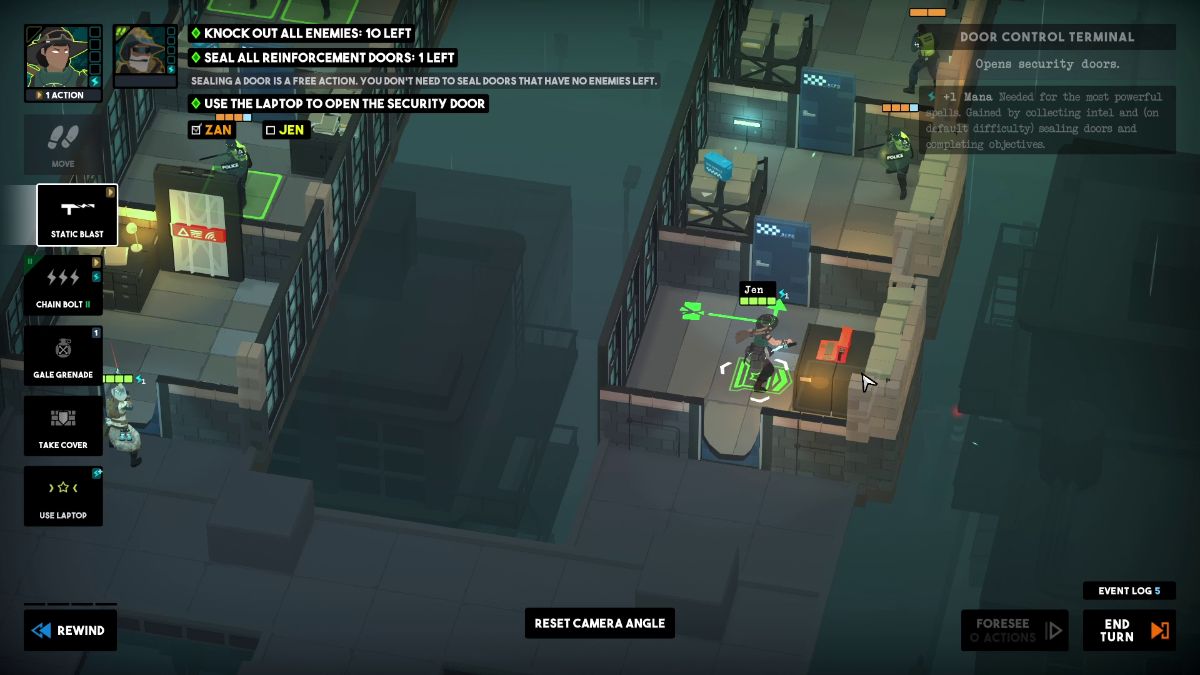
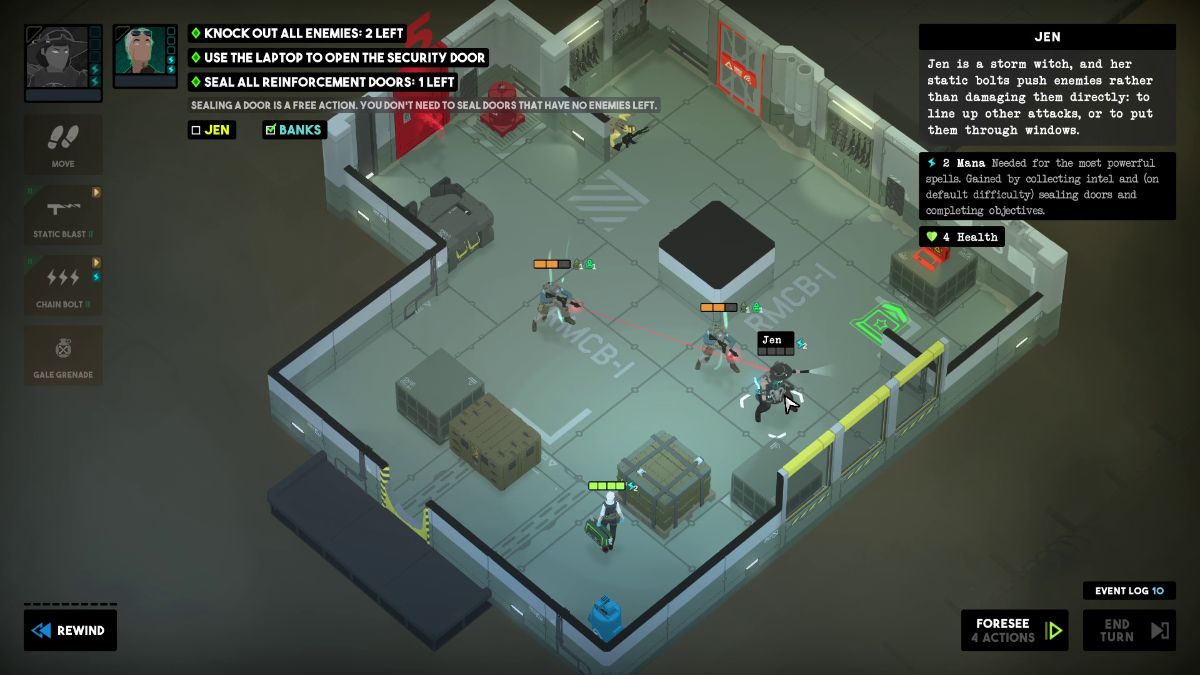
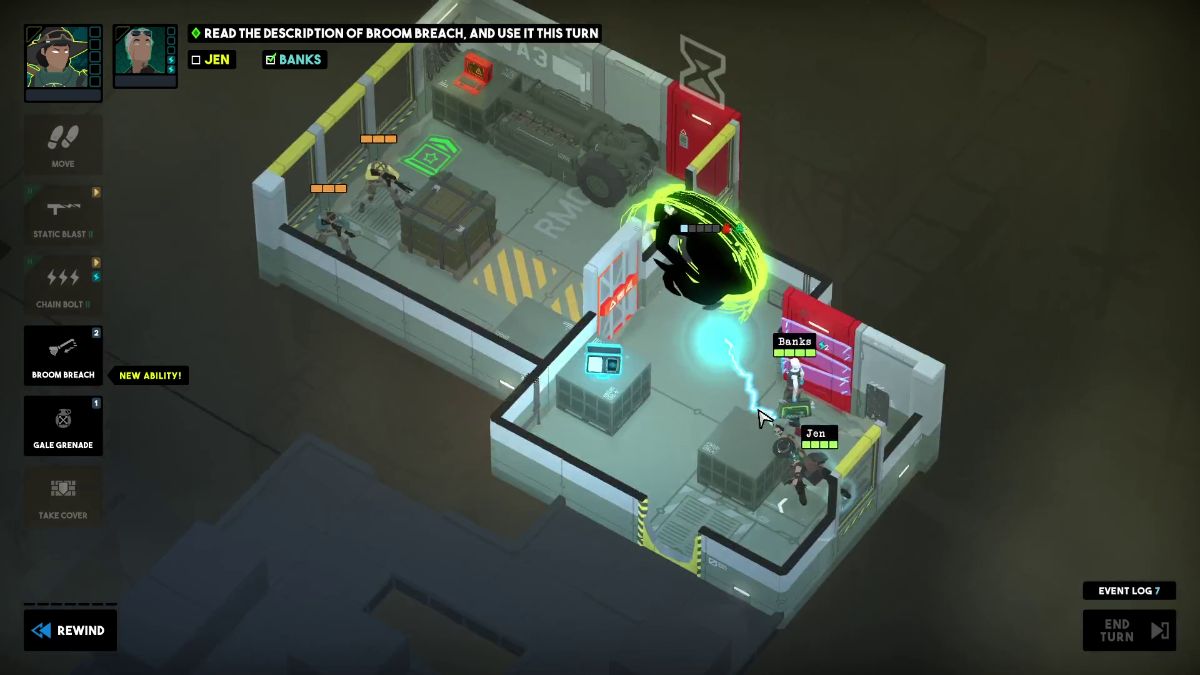
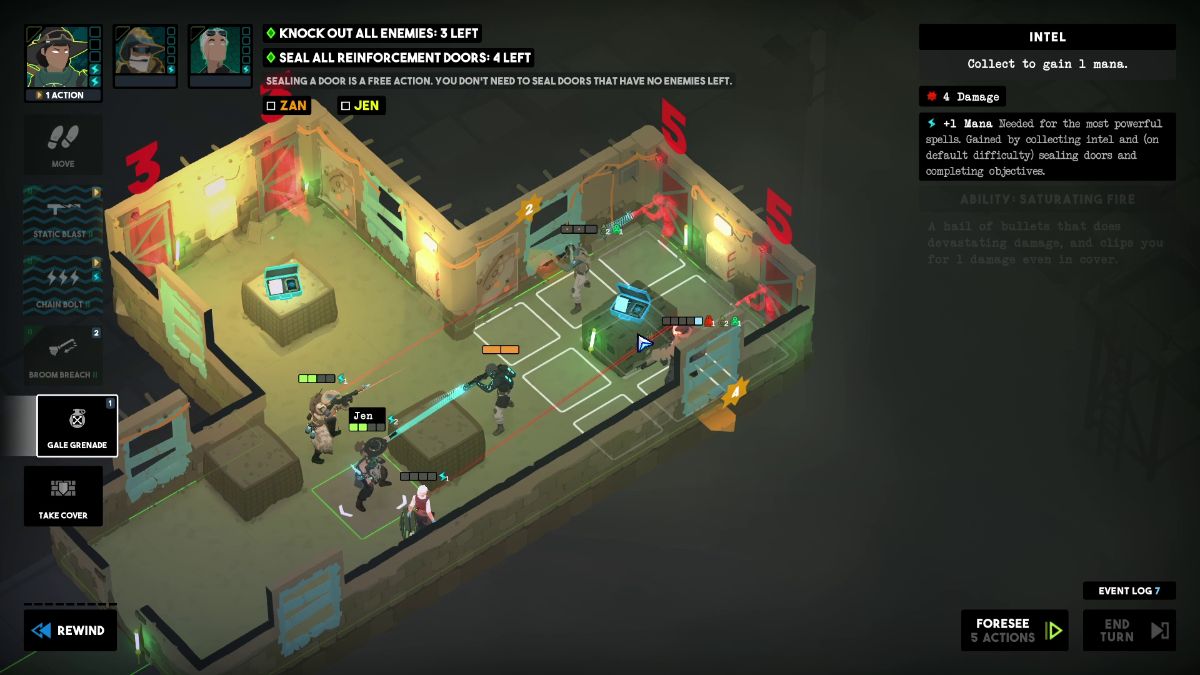
Move Jen behind the desk in front of the breached door and pick up the intel. Then, use Static Blast on the Gunner in front of you to push him toward the portal.
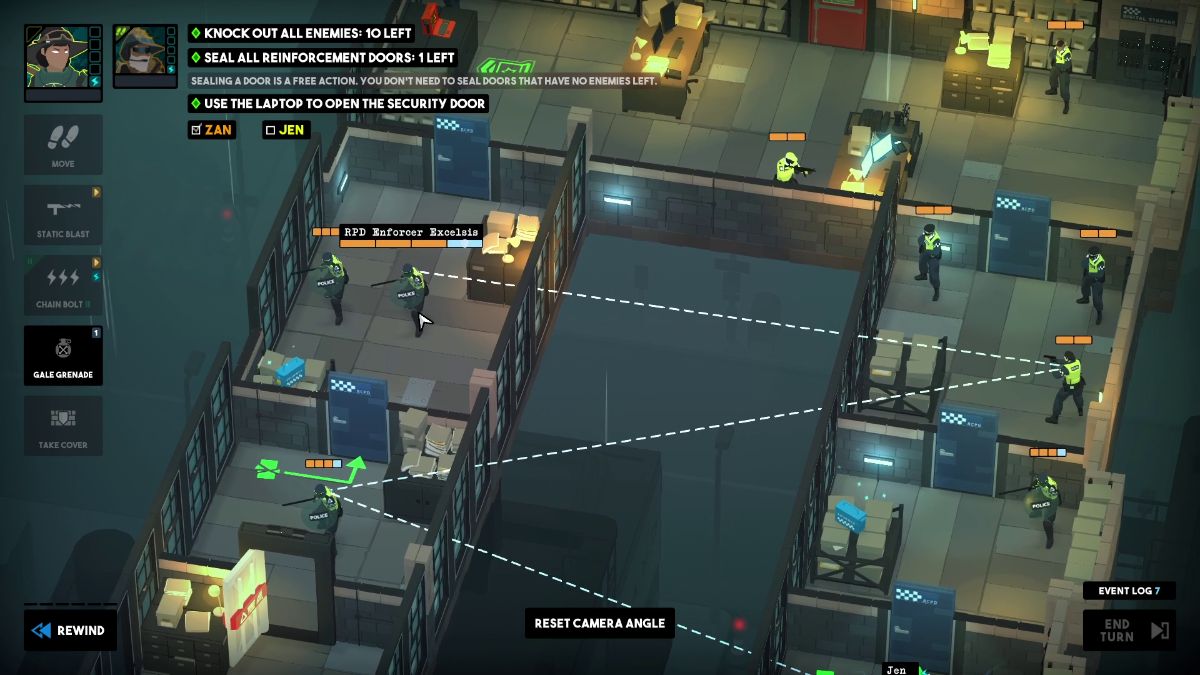
Use Gale Grenade on the Air Canister on the back to take down the enemy hiding behind the corner.
Move Jen near the red laptop. End the turn.
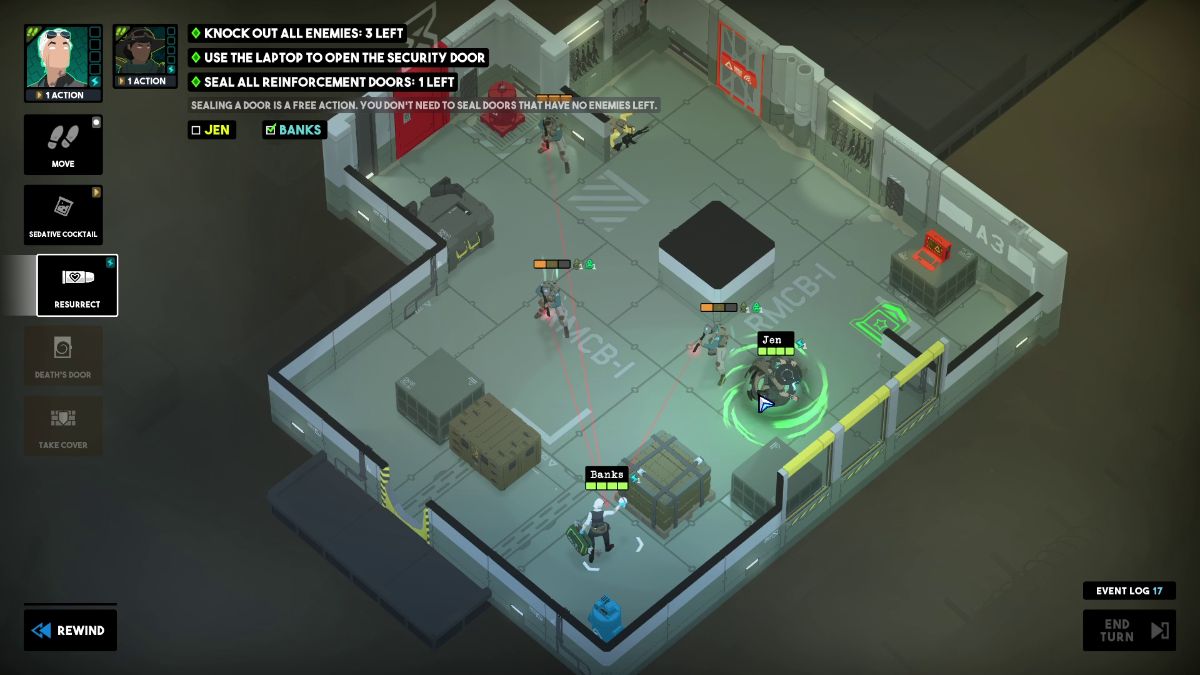
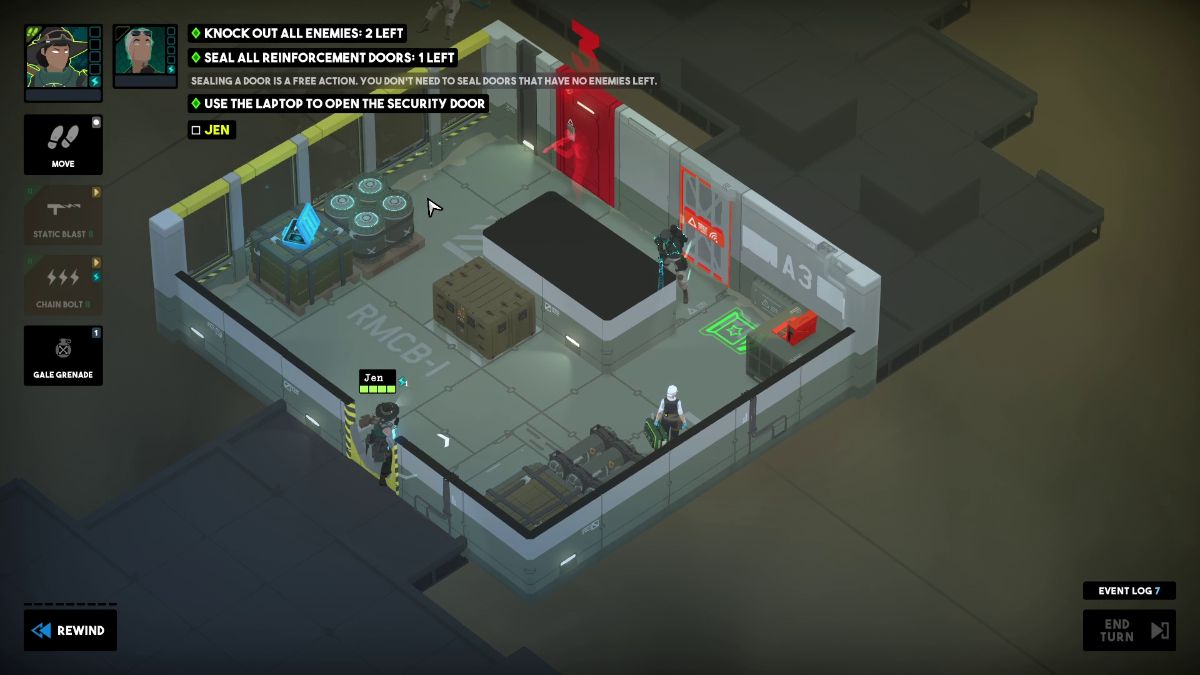
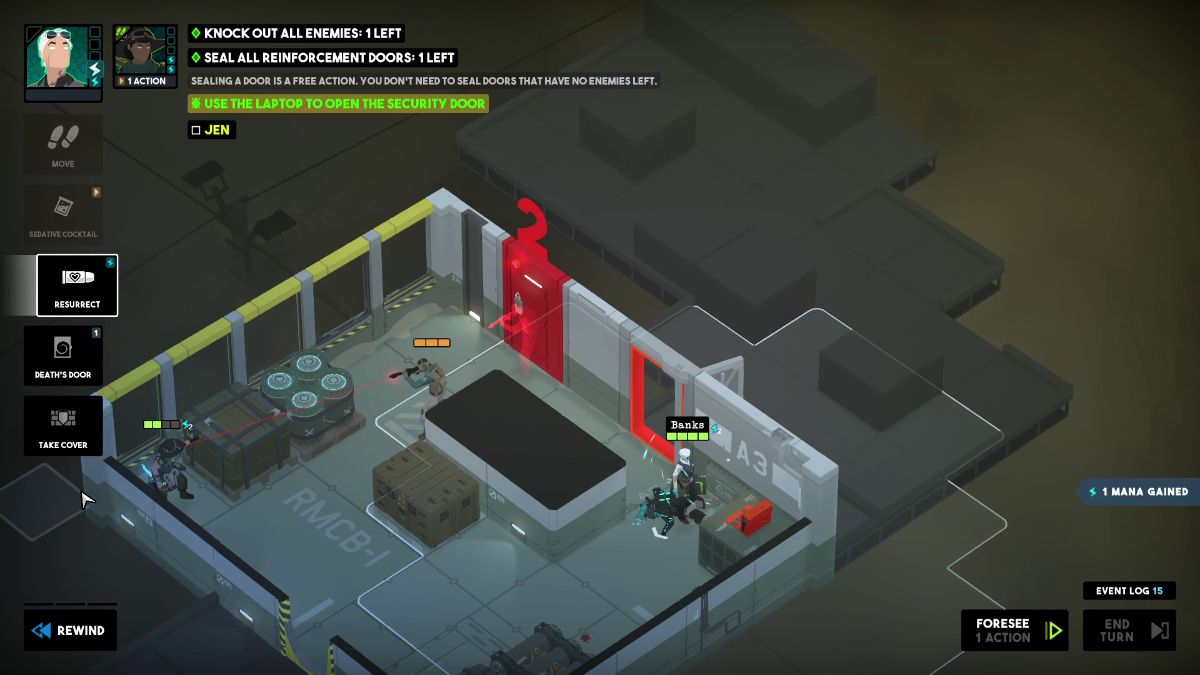
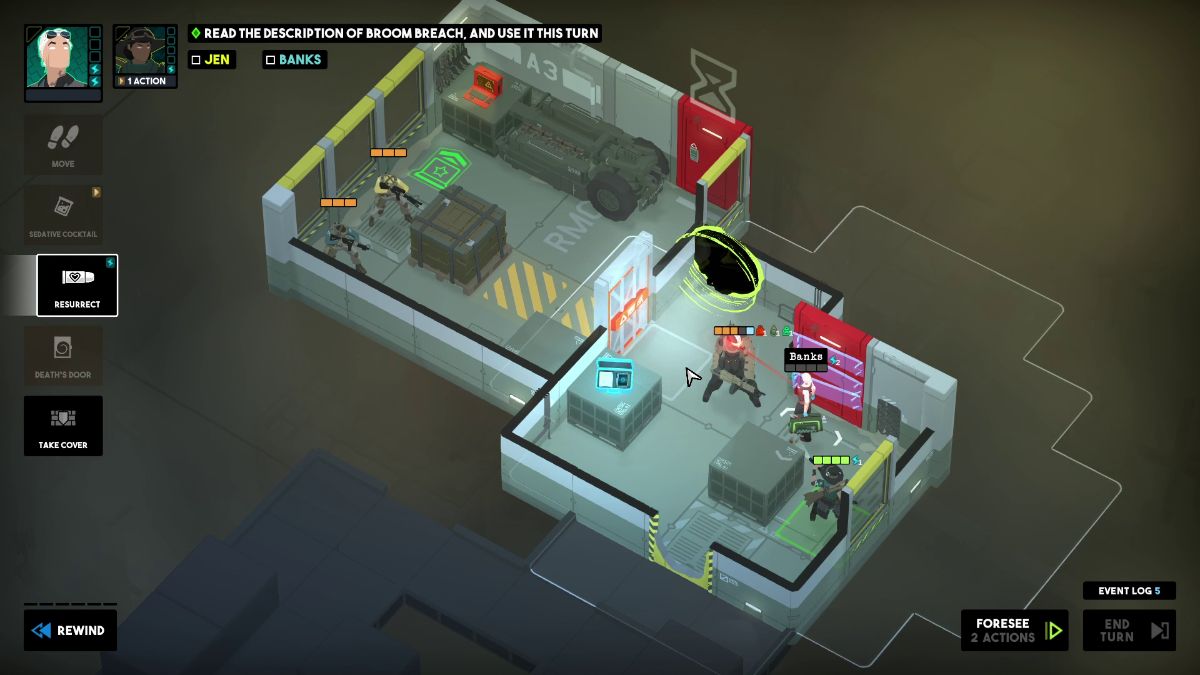
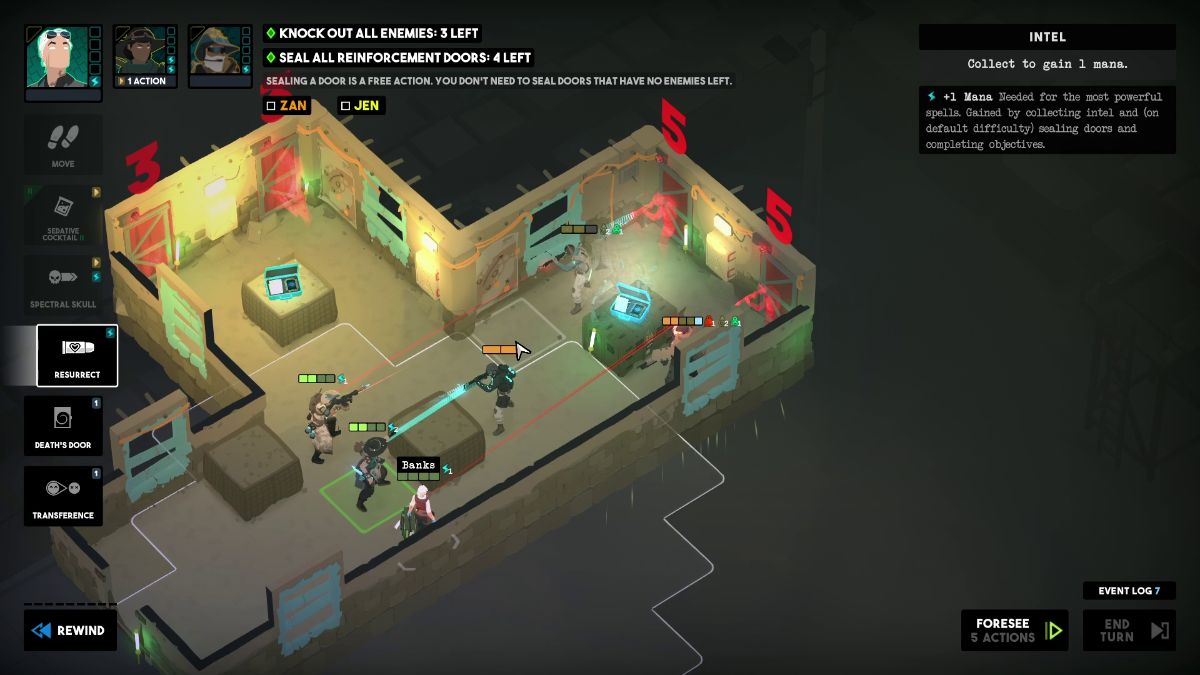
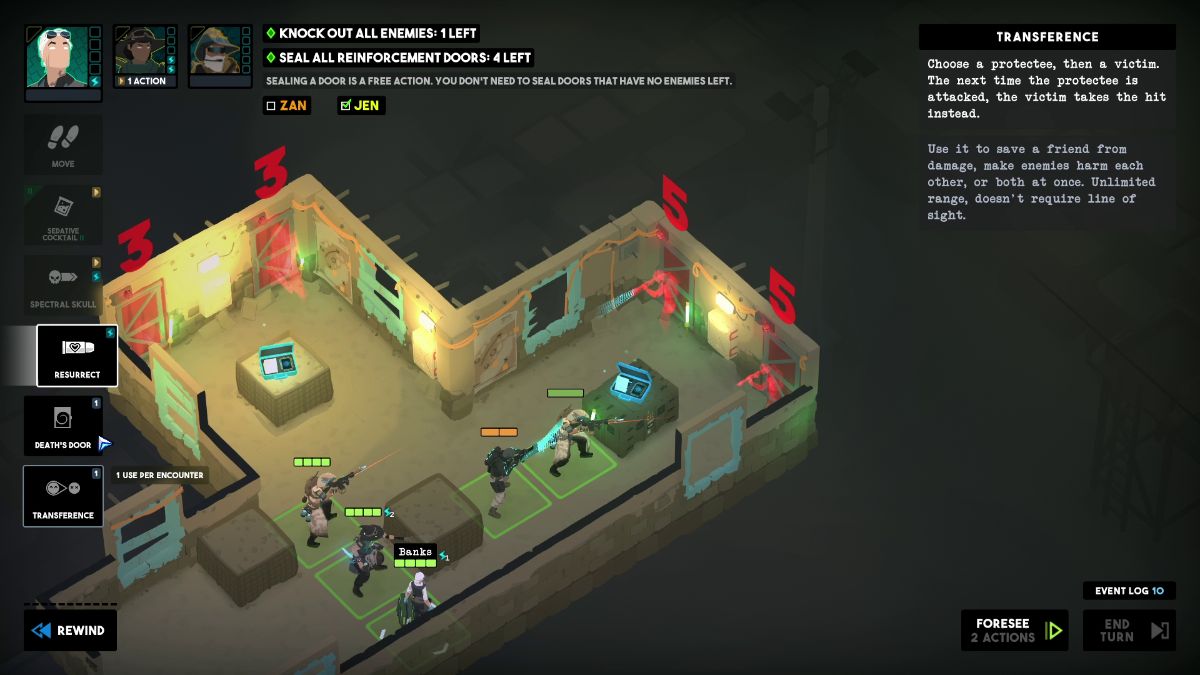
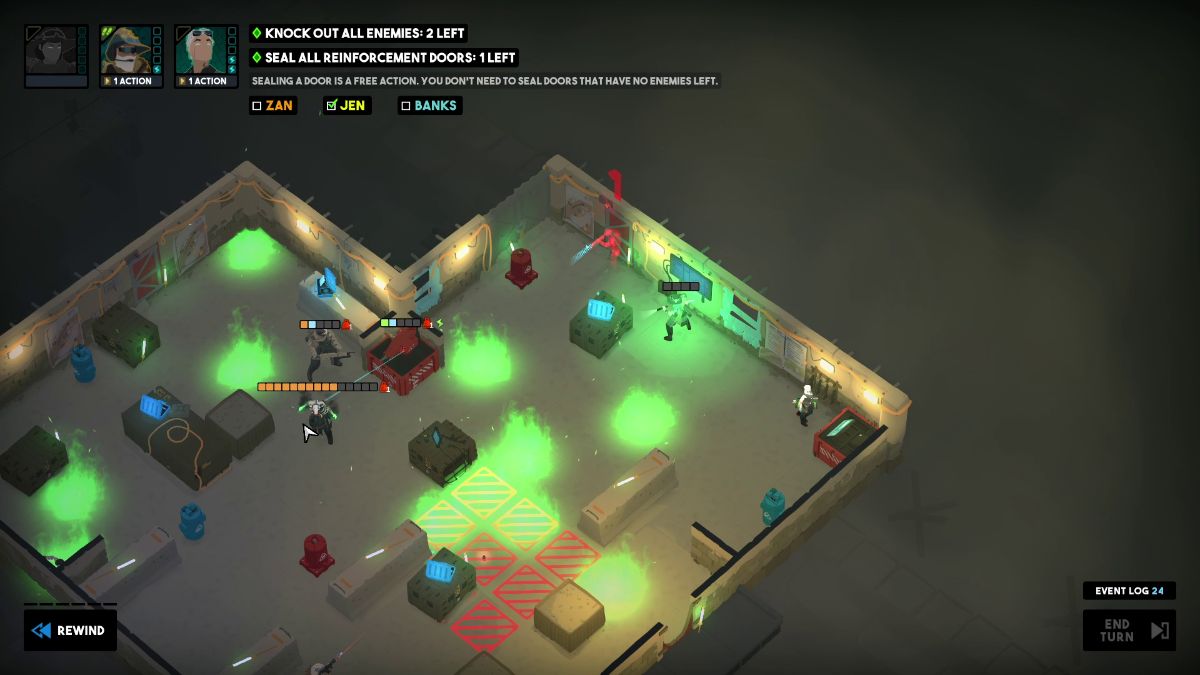
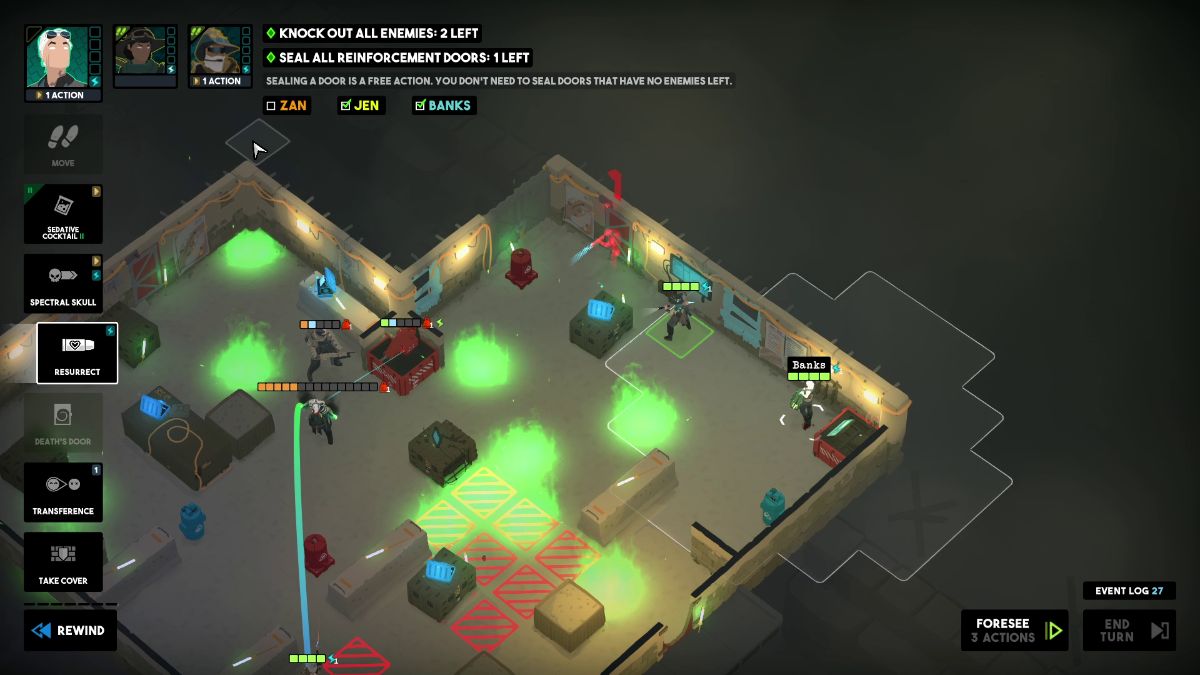
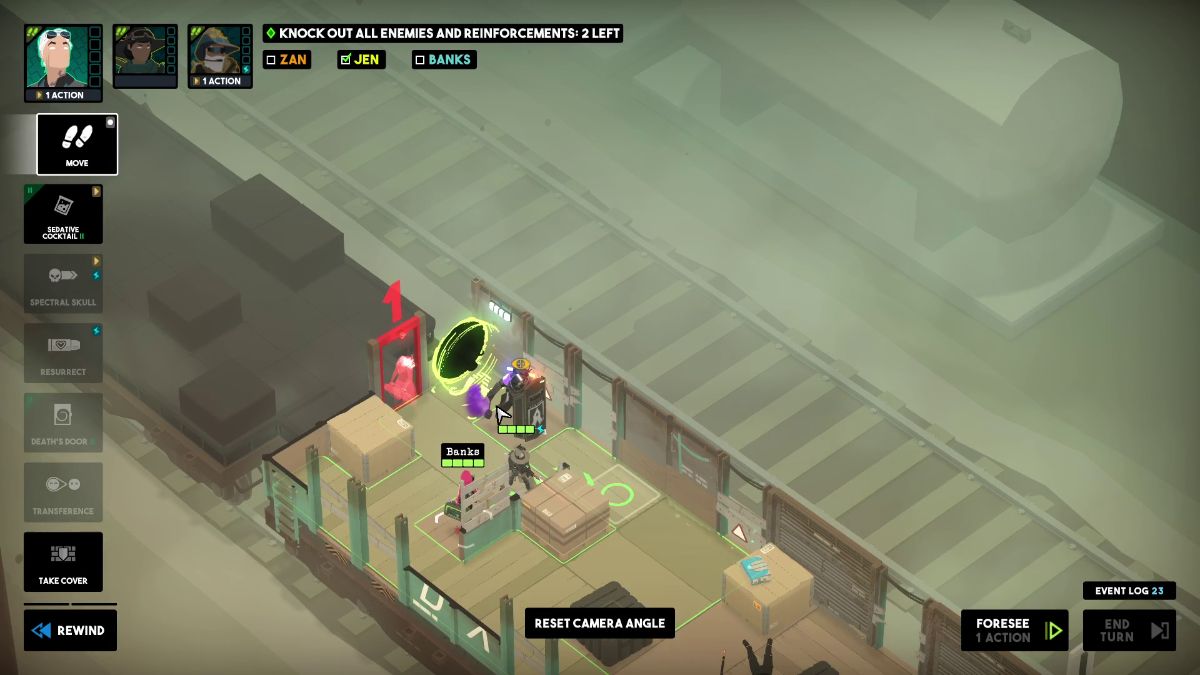
Use Resurrect on Jen.
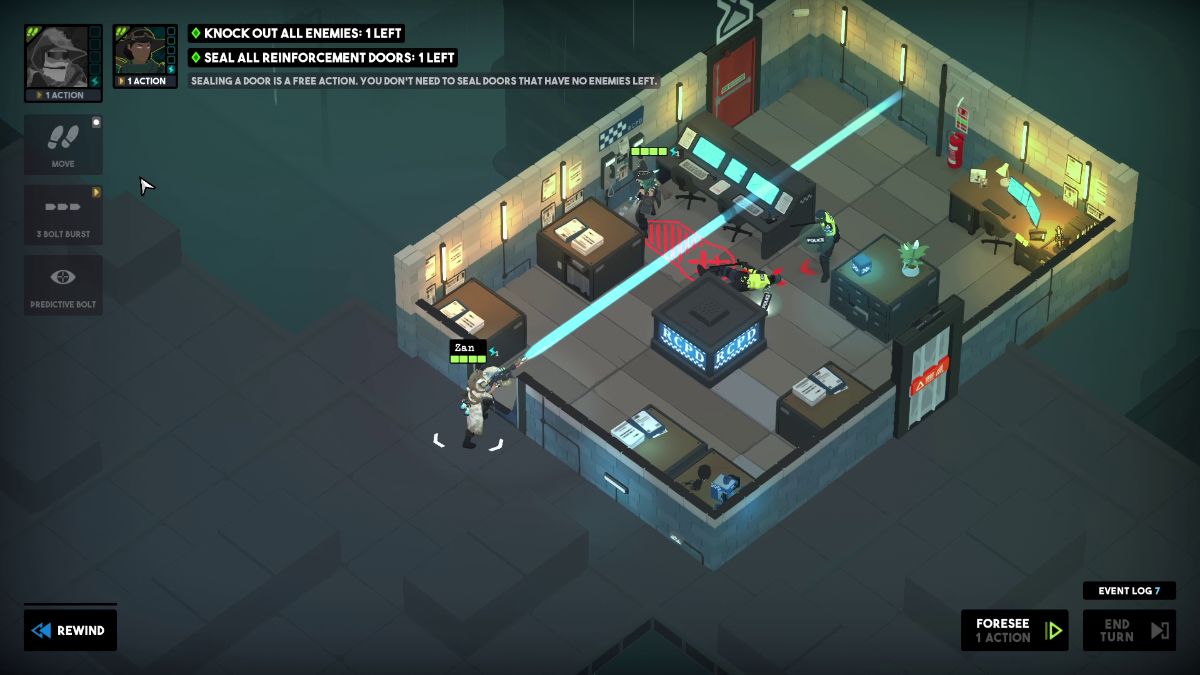
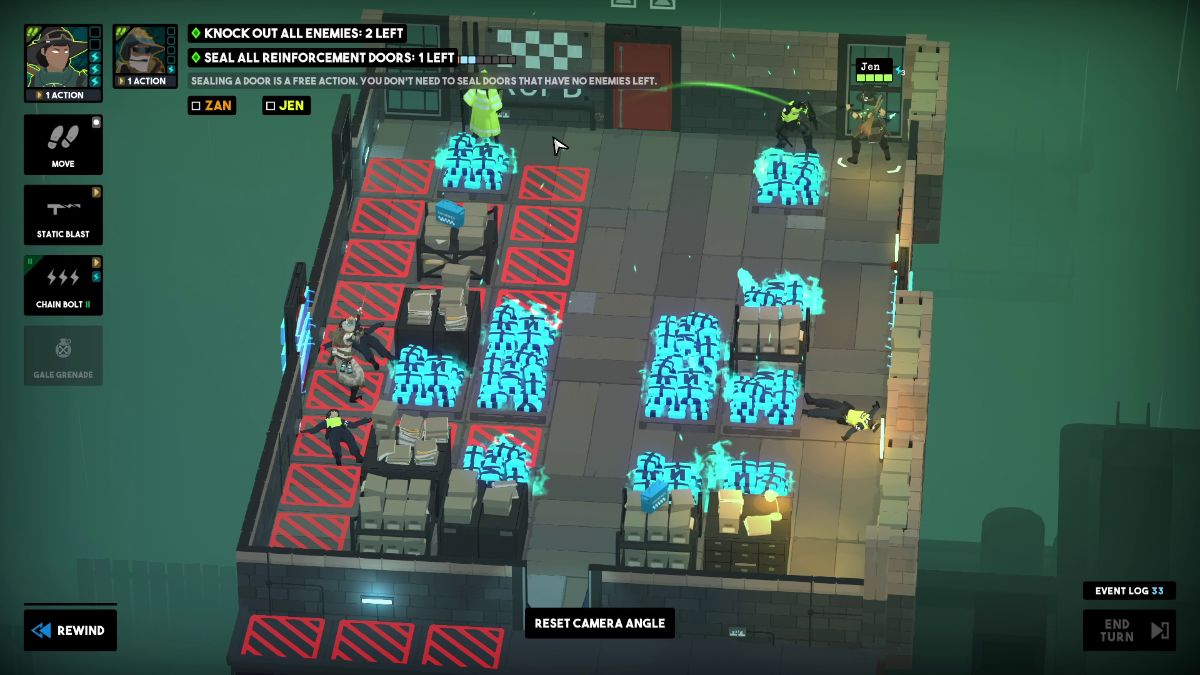
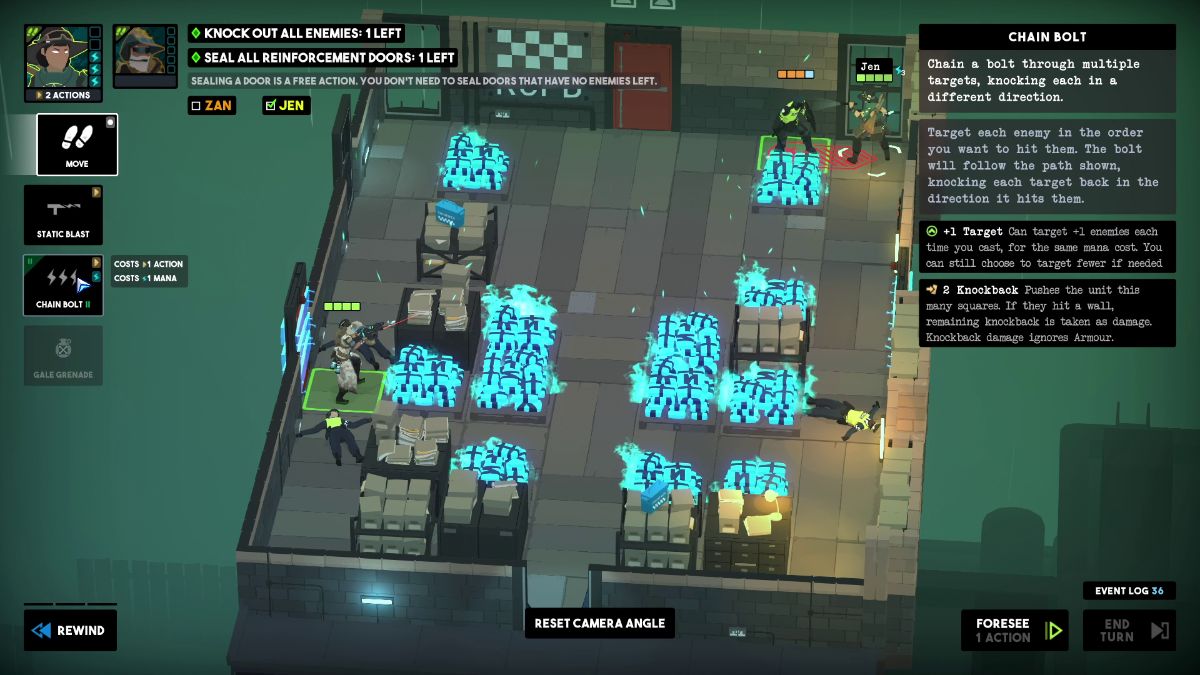
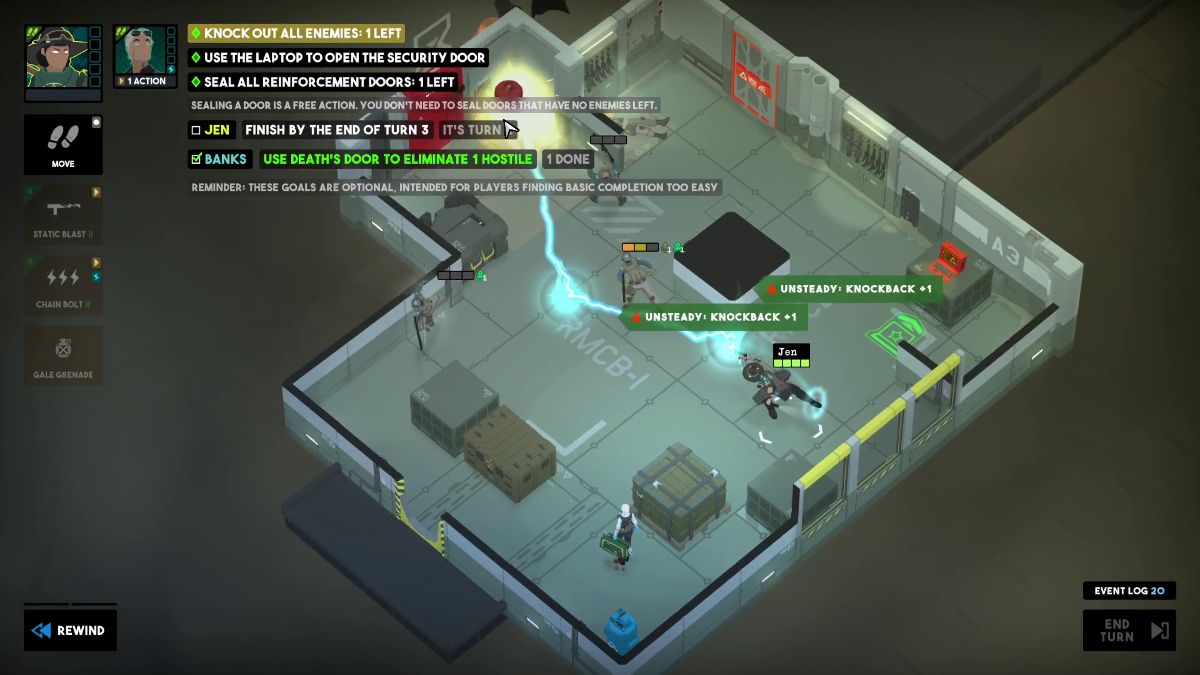
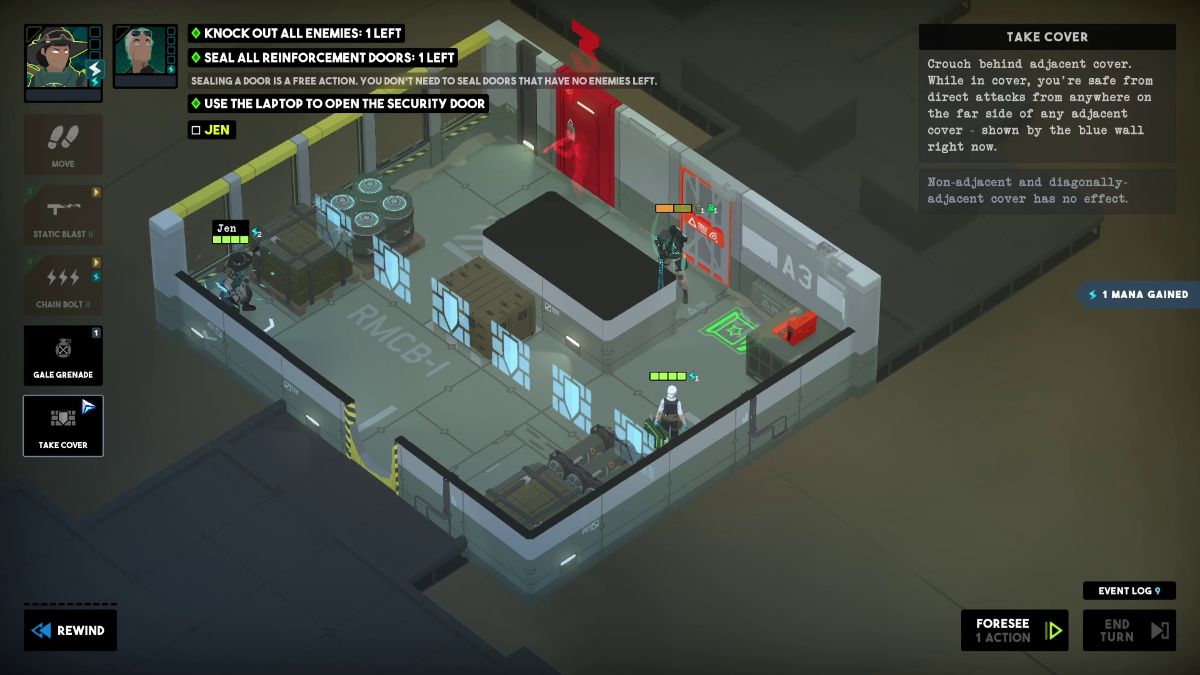
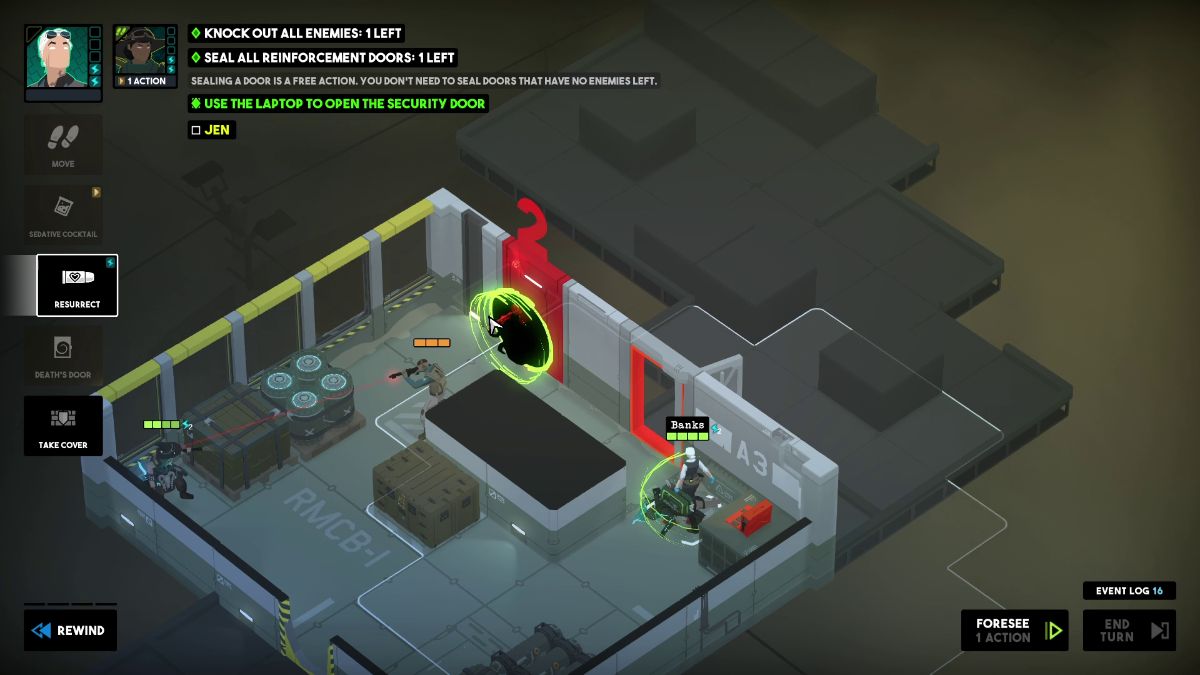
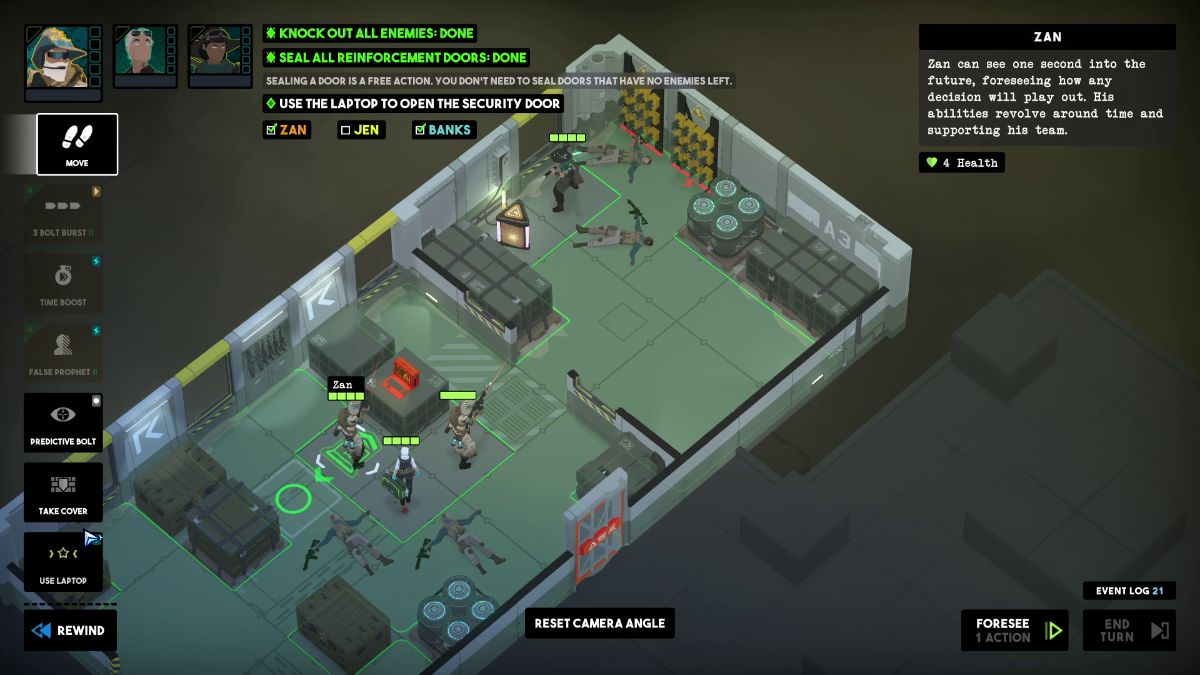
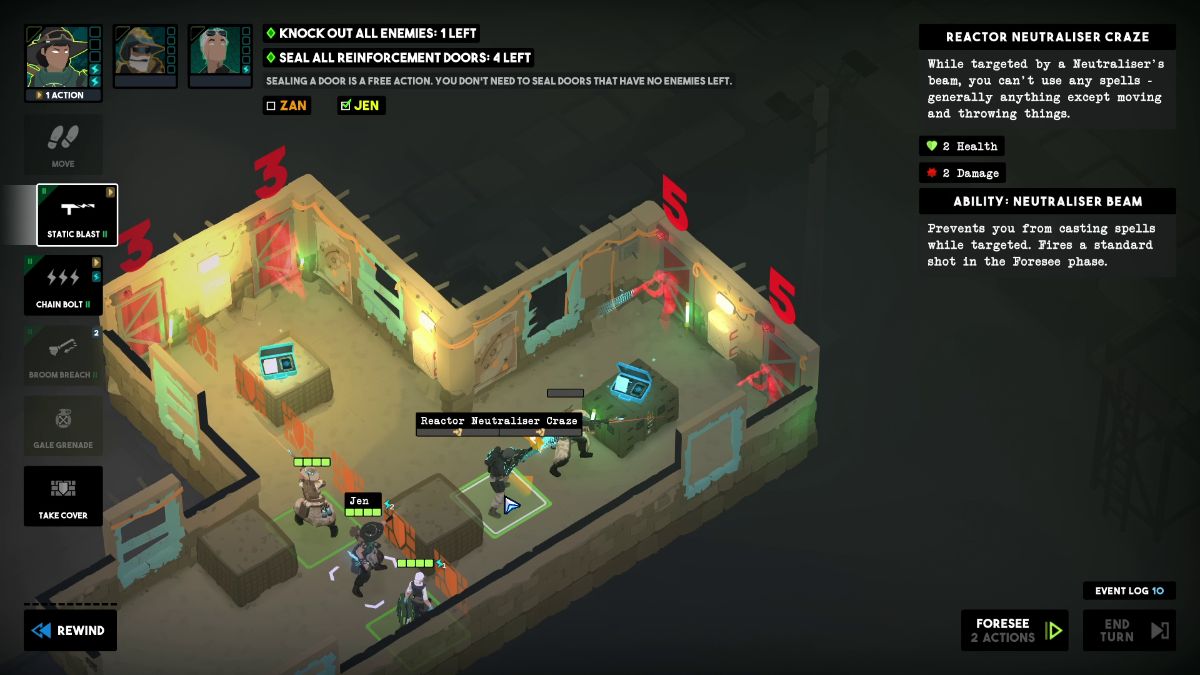
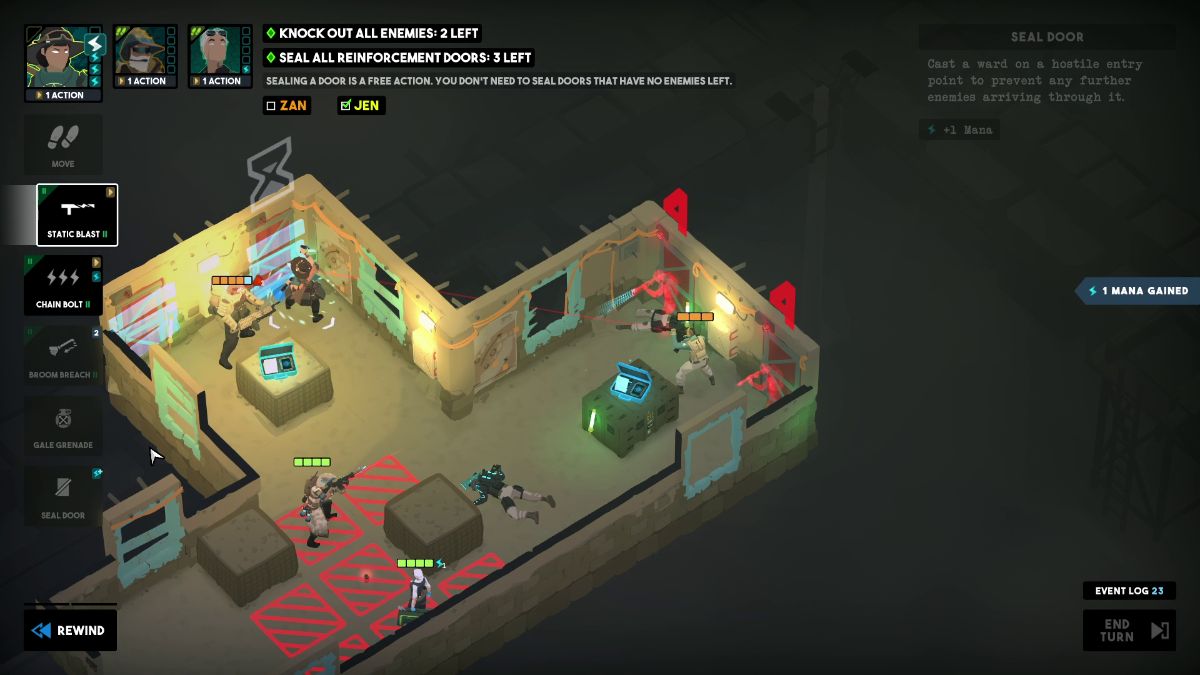
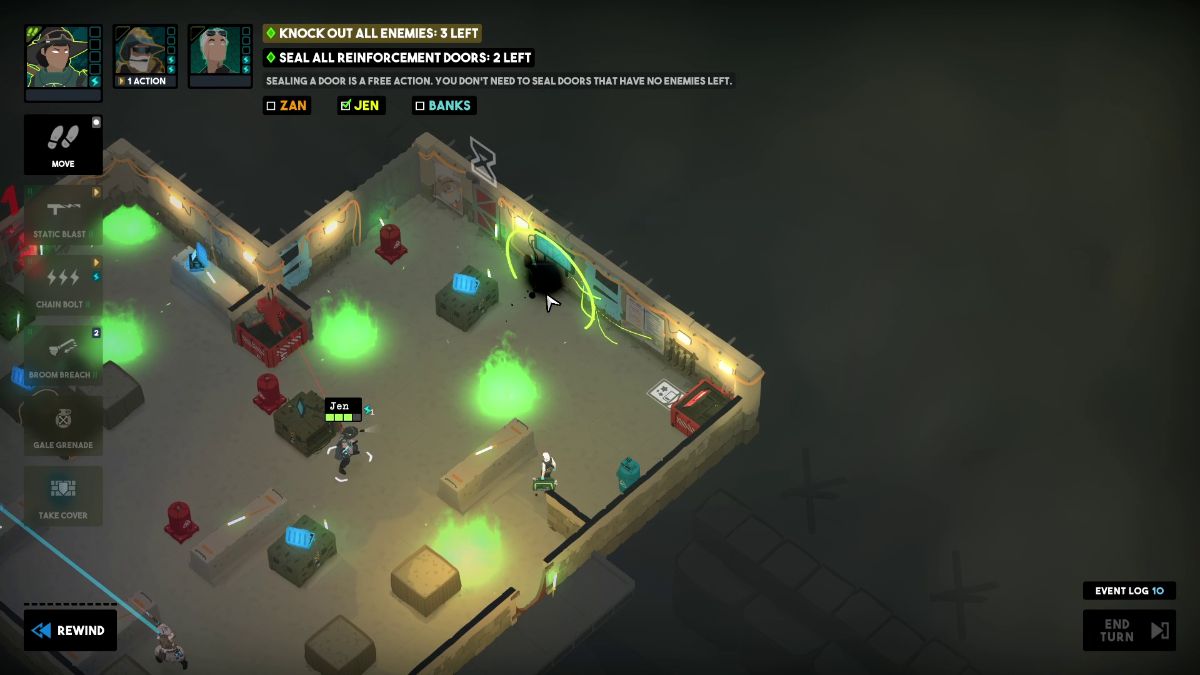
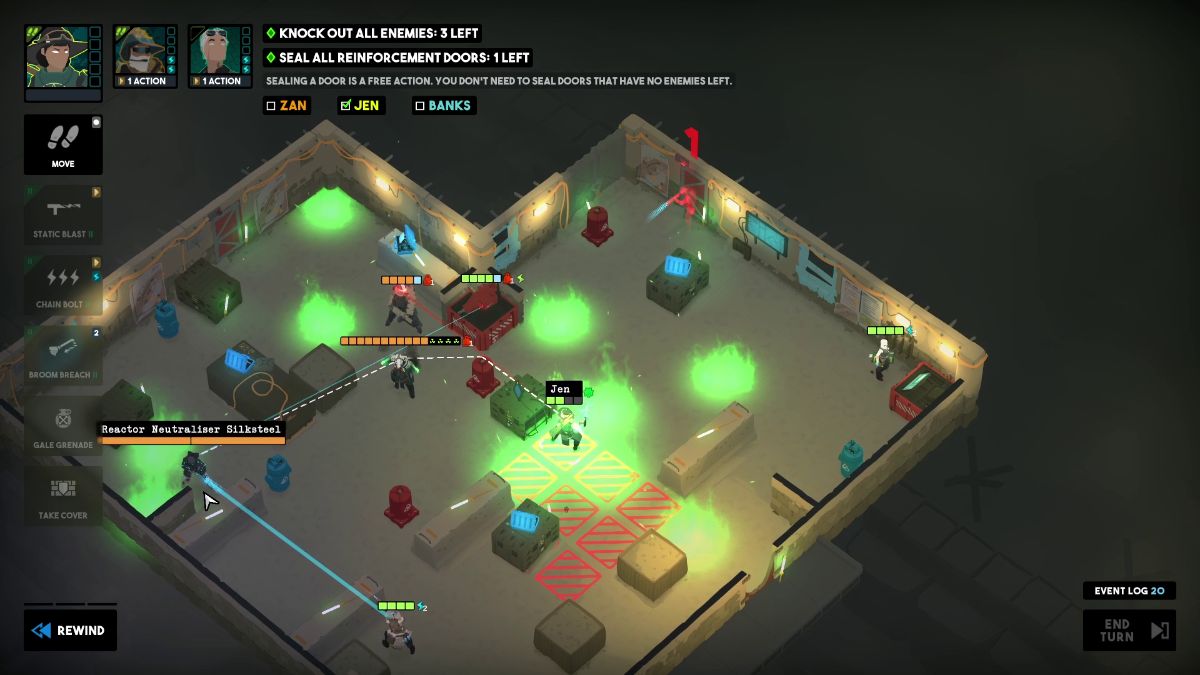
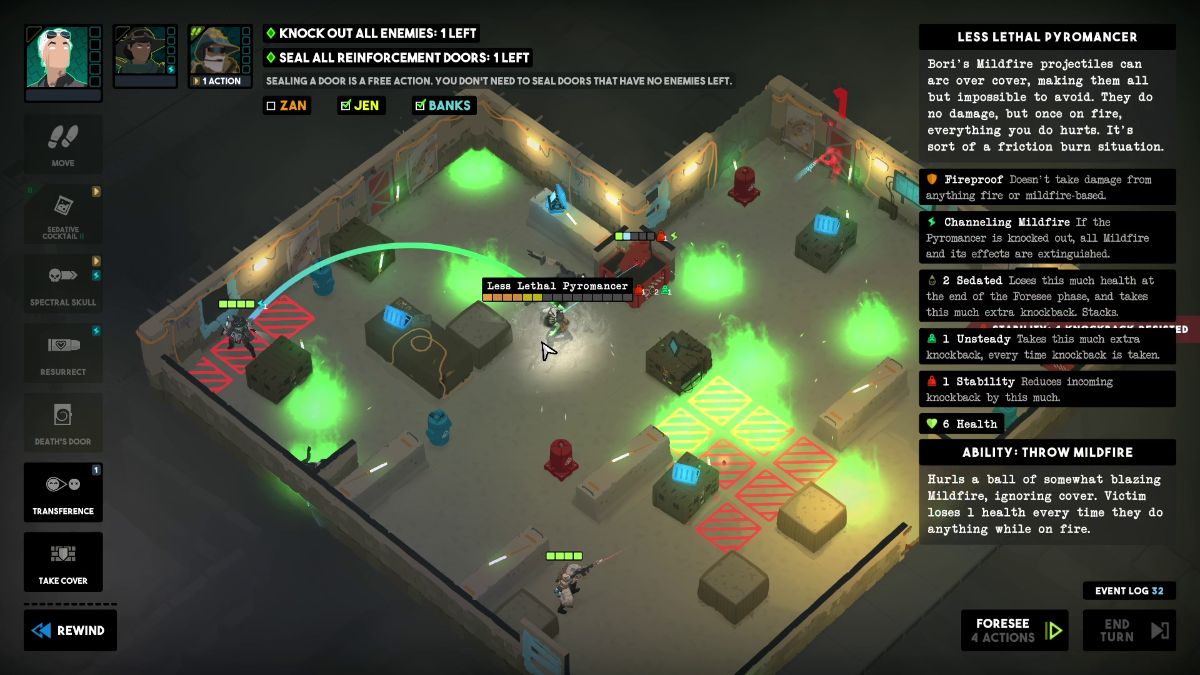
Have Jen Chain Bolt the two remaining enemies and the Explosive Barrel.
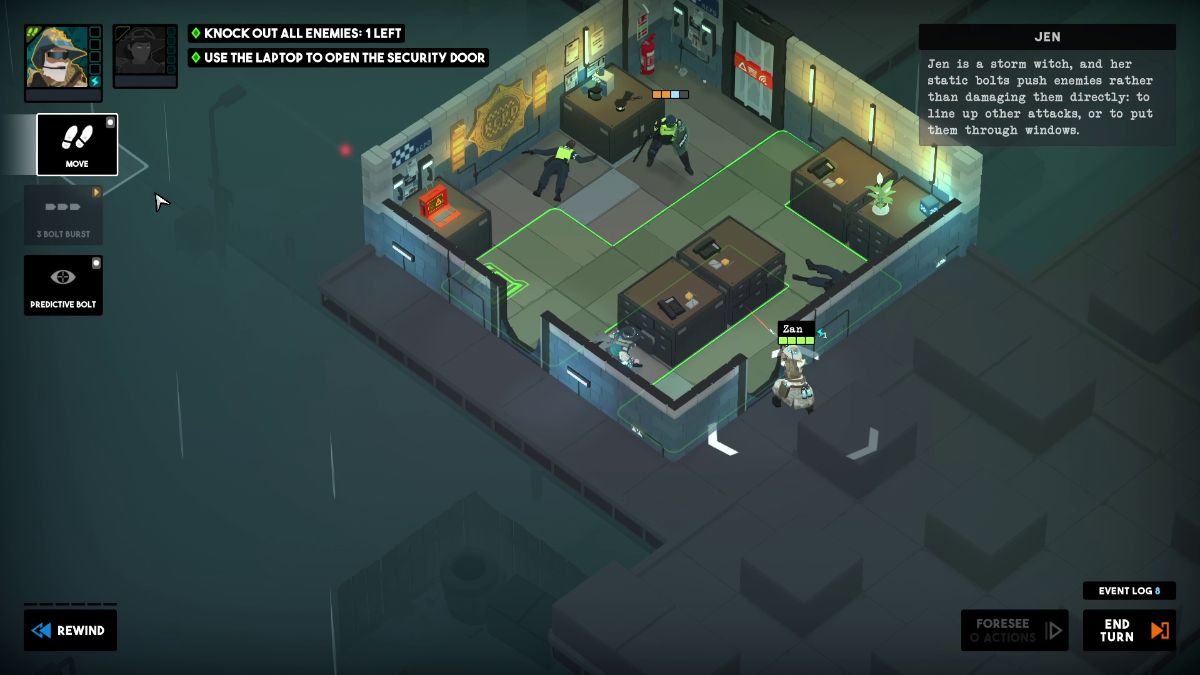
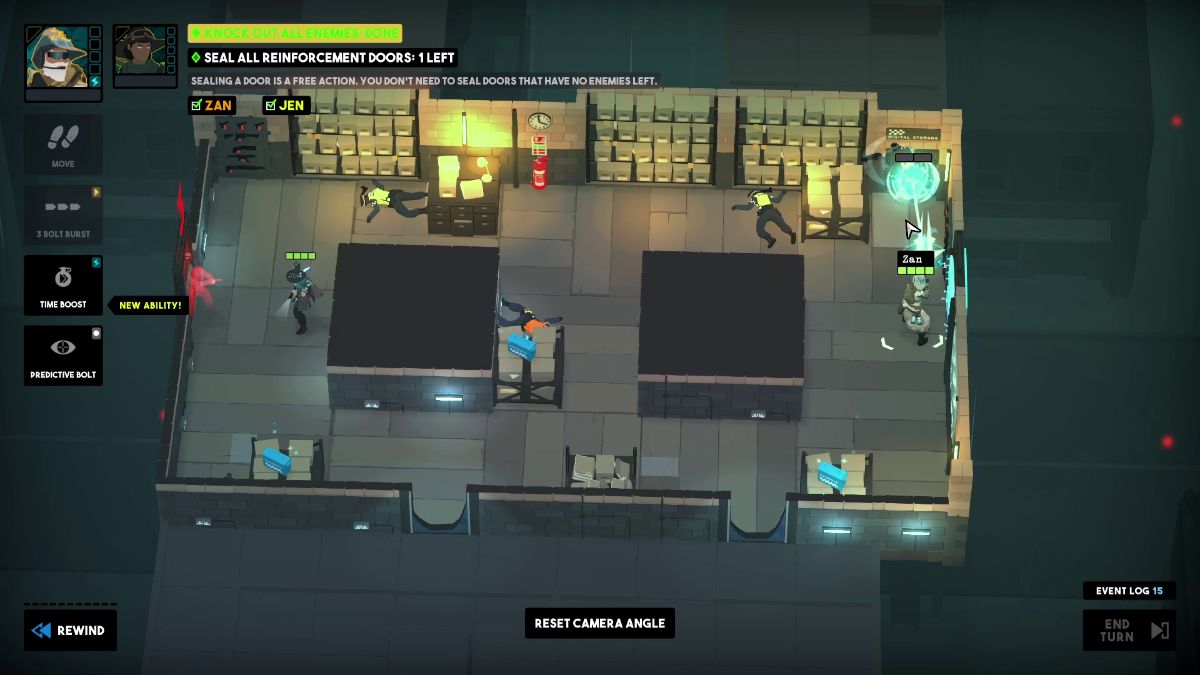
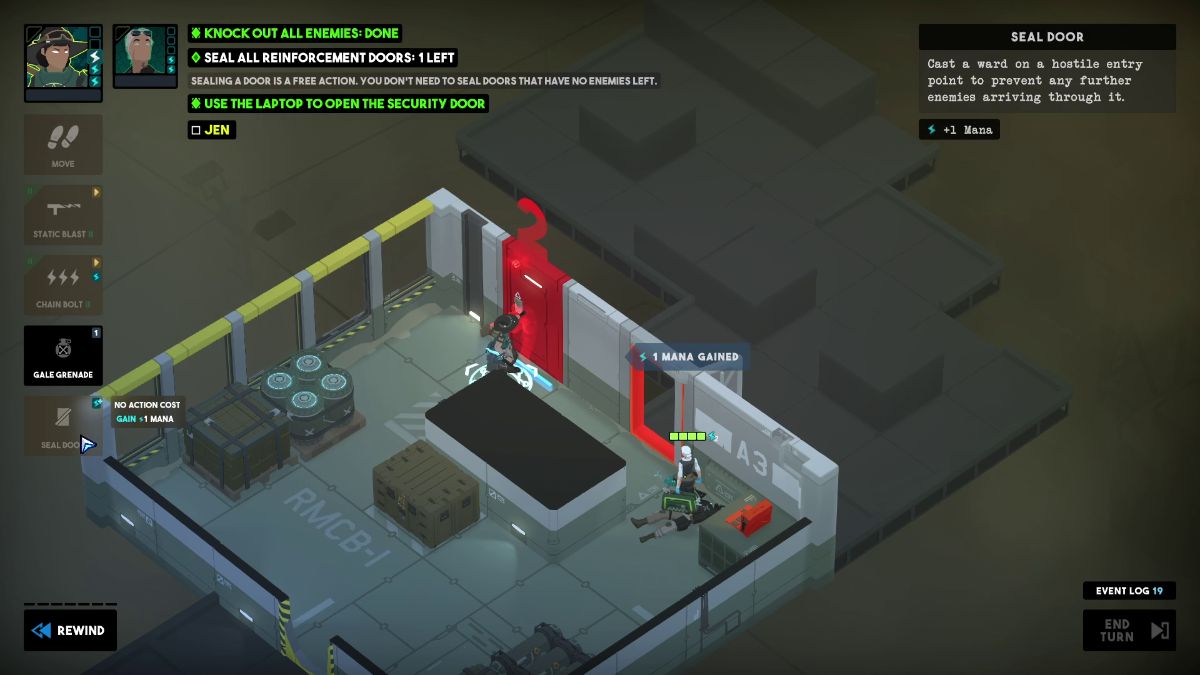
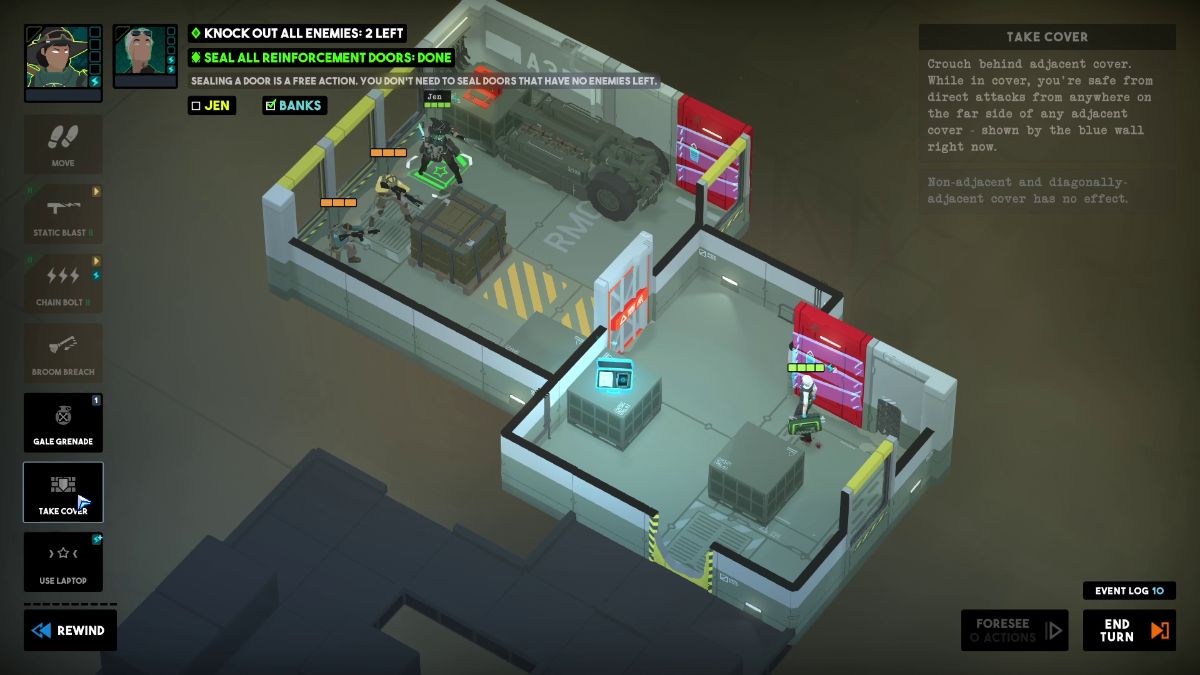
Move Jen toward the laptop and use it. Then, move Banks toward the red door on the left. End this turn.
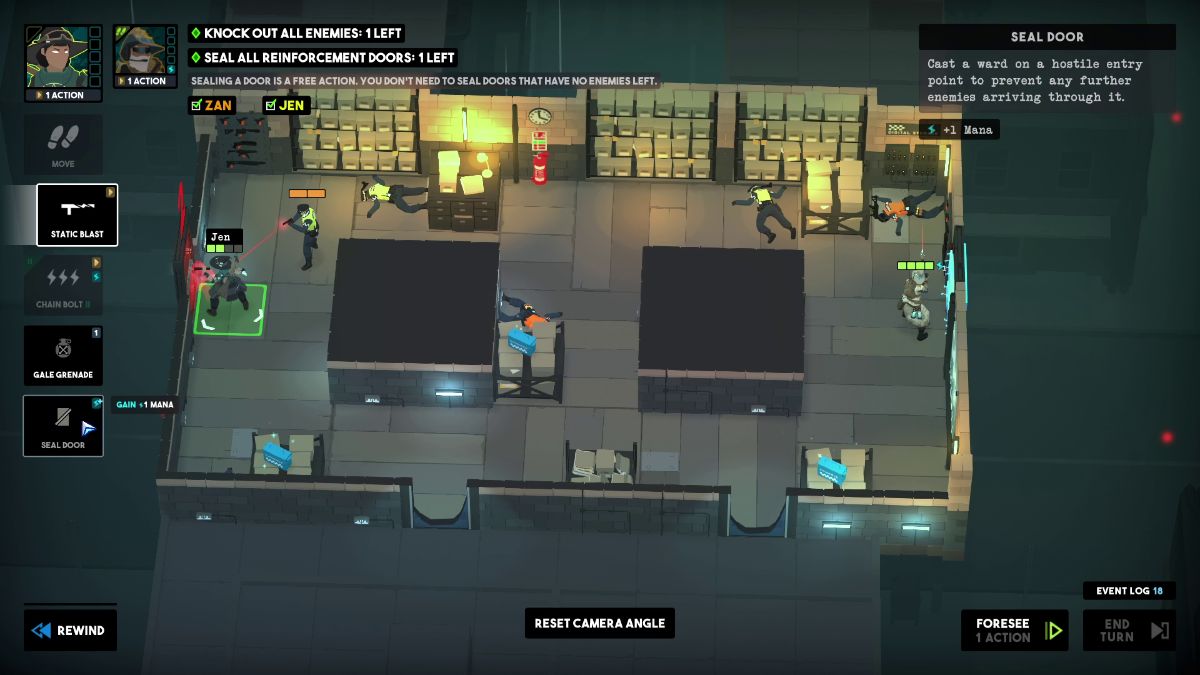
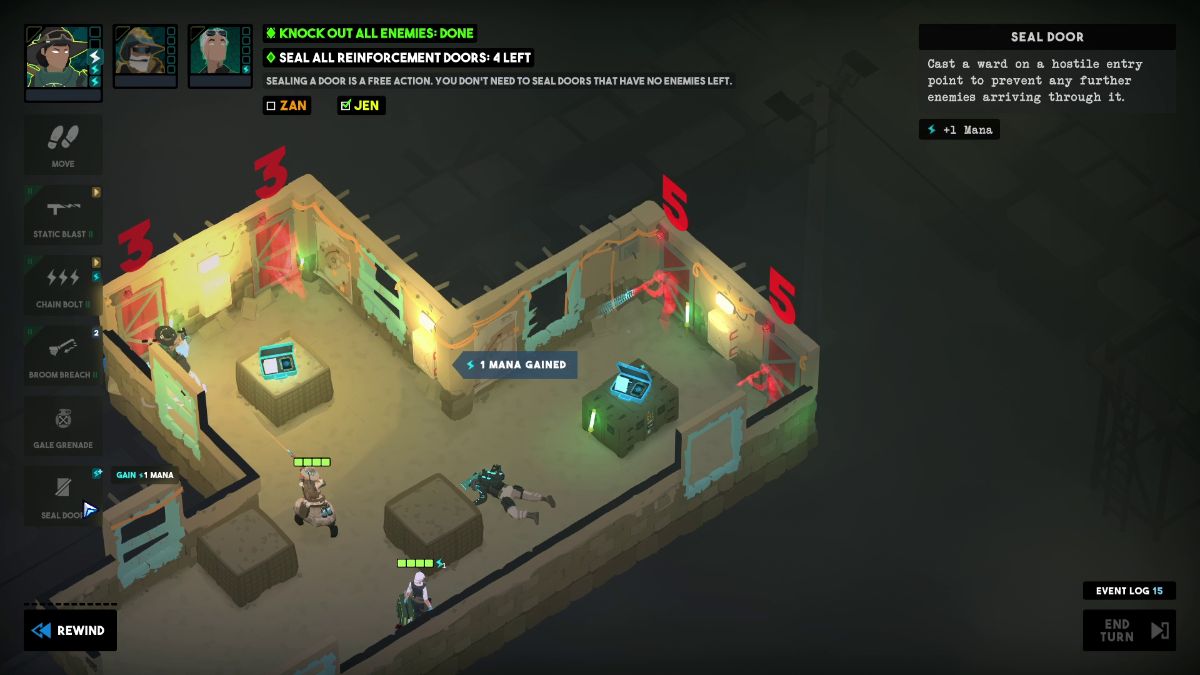
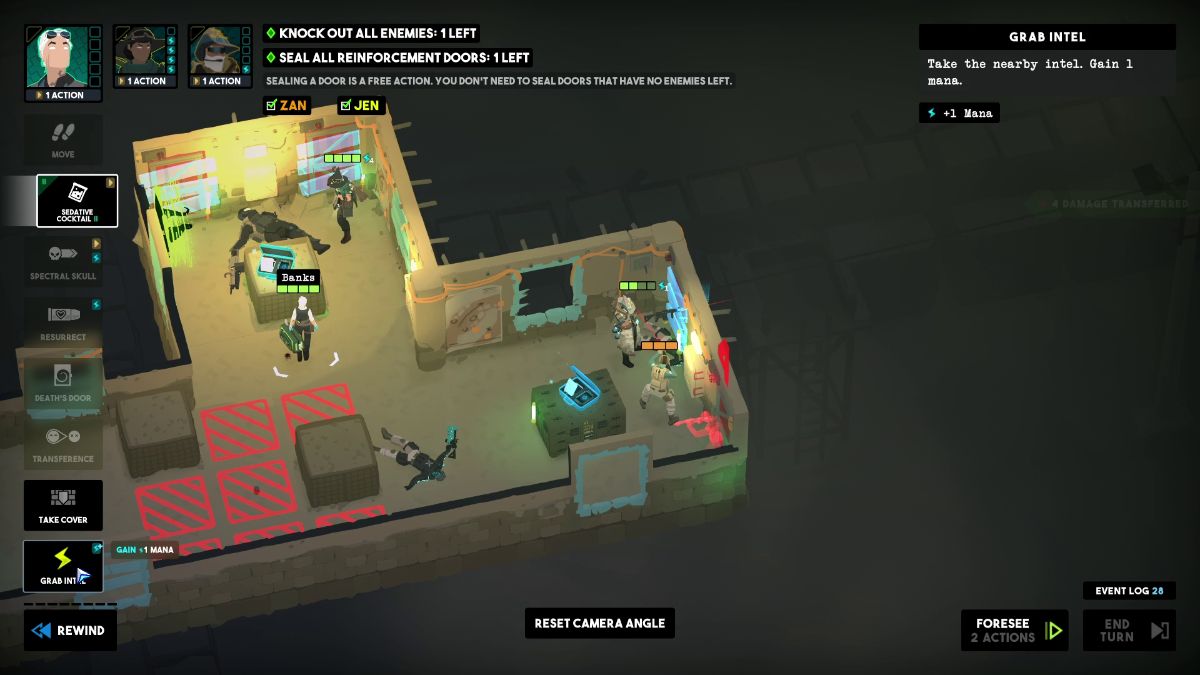
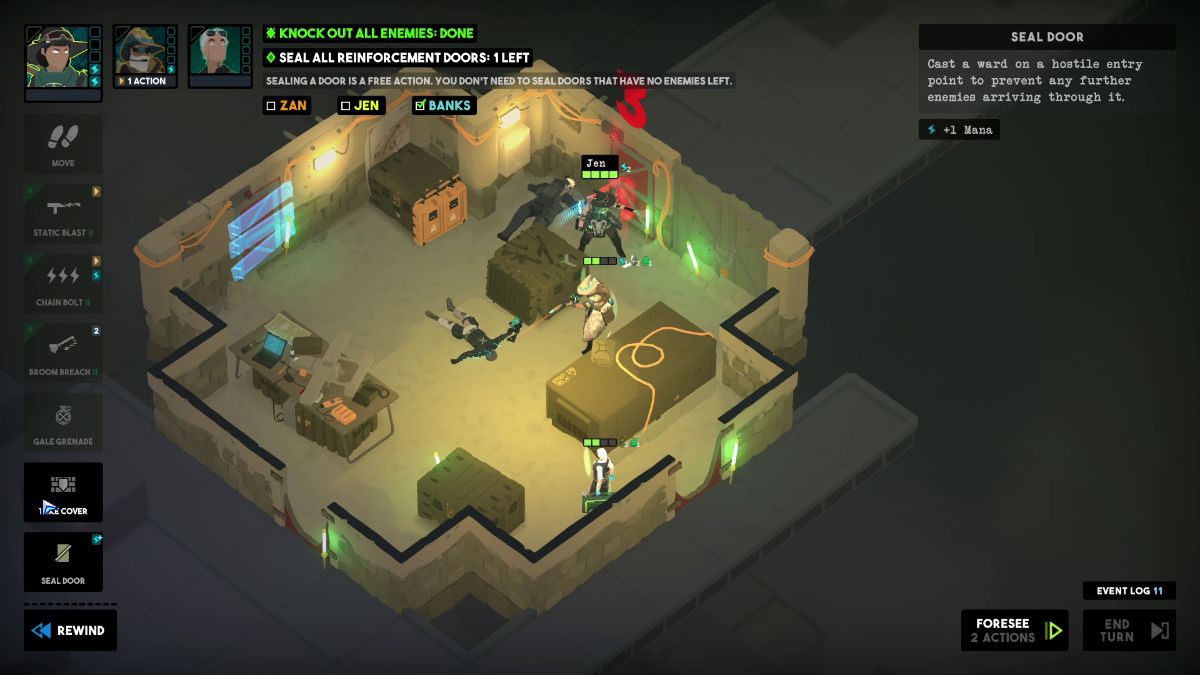
Seal the door with Banks.
How to Clear The Necromedic – Zone 2
Objectives
Knock out all enemies.
Seal all reinforcement doors.
Use the laptop to open the security door.
Finish by the end of turn 2.
Visual Reference
Instructions
Breach with Jen and walk into the mine.
Move Banks toward the desk on the right and pick up the intel. Then, resurrect Jen.
Throw a Sedative Cocktail toward the Neutraliser enemy near the laptop.
Have Jen Static Blast the enemy on the left to defenestrate him.
Have Jen pick up the intel on the desk on the left. End the turn.
Use Banks’ Sedative Cocktail to take down the Neutraliser.
Move Banks near the laptop to open the door.
Use Banks’ Death Door on the red door to the left. Have Jen push the enemy with Gale Grenade.
Seal the red door with Jen.
How to Clear The Necromedic – Zone 3
Objectives
Knock out all enemies.
Seal all reinforcement doors.
Use Death’s Door to eliminate 1 hostile.
Finish by the end of turn 1.
Visual Reference
Instructions
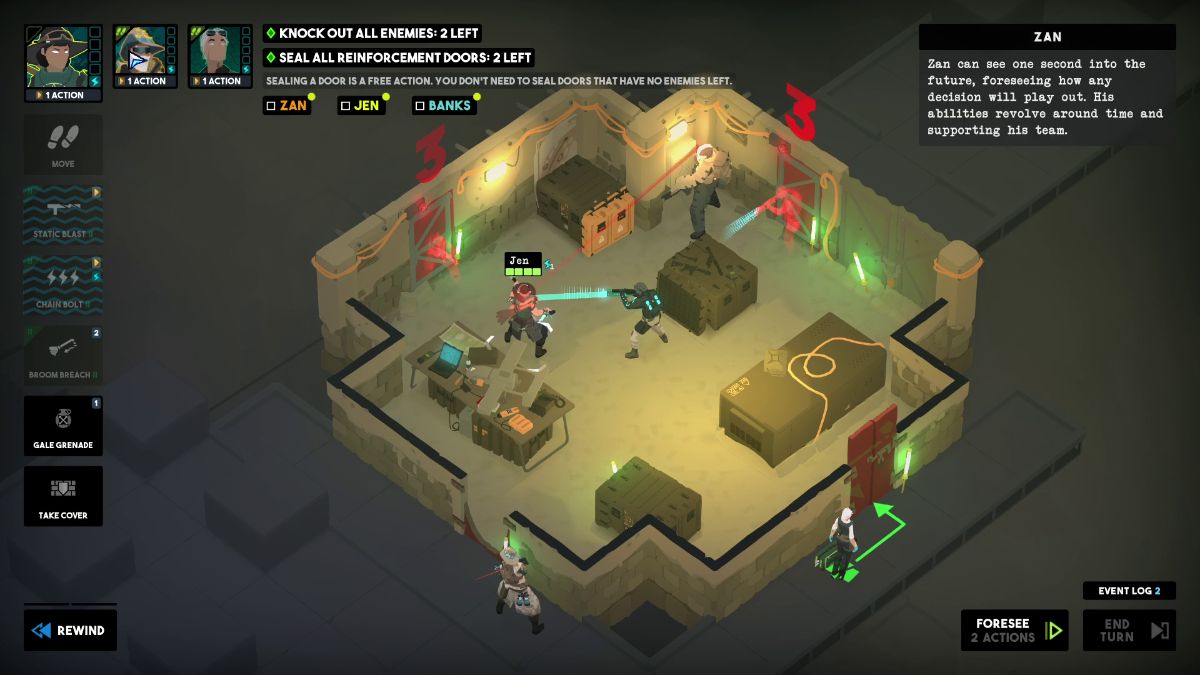
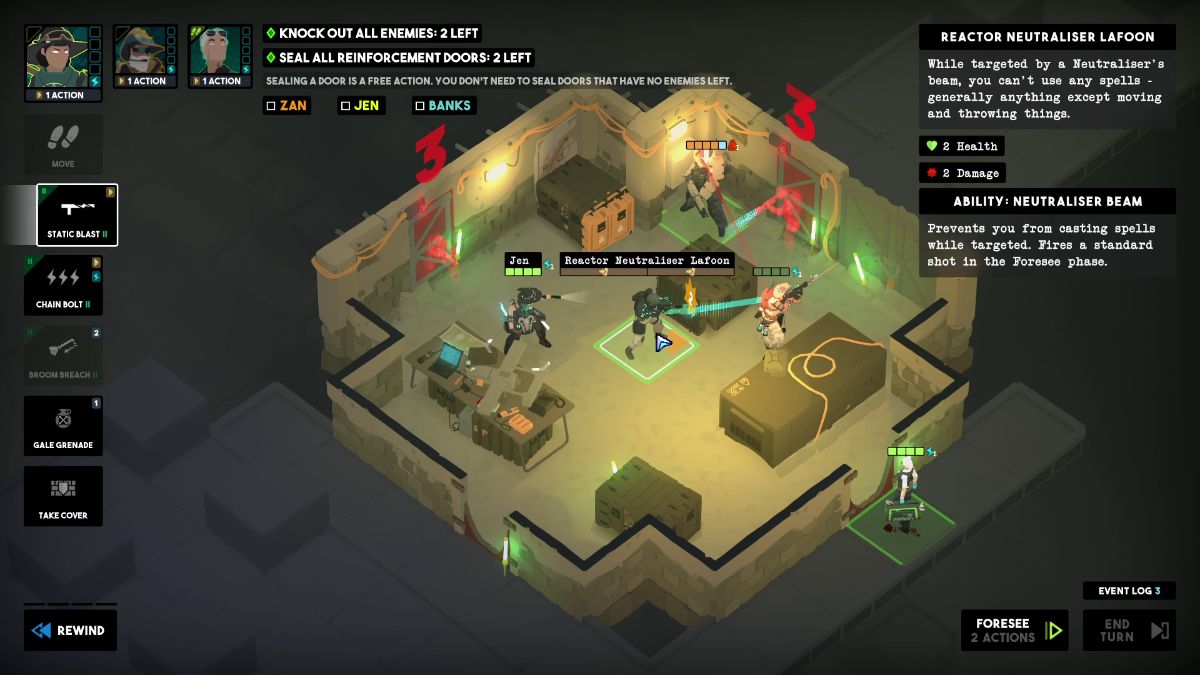
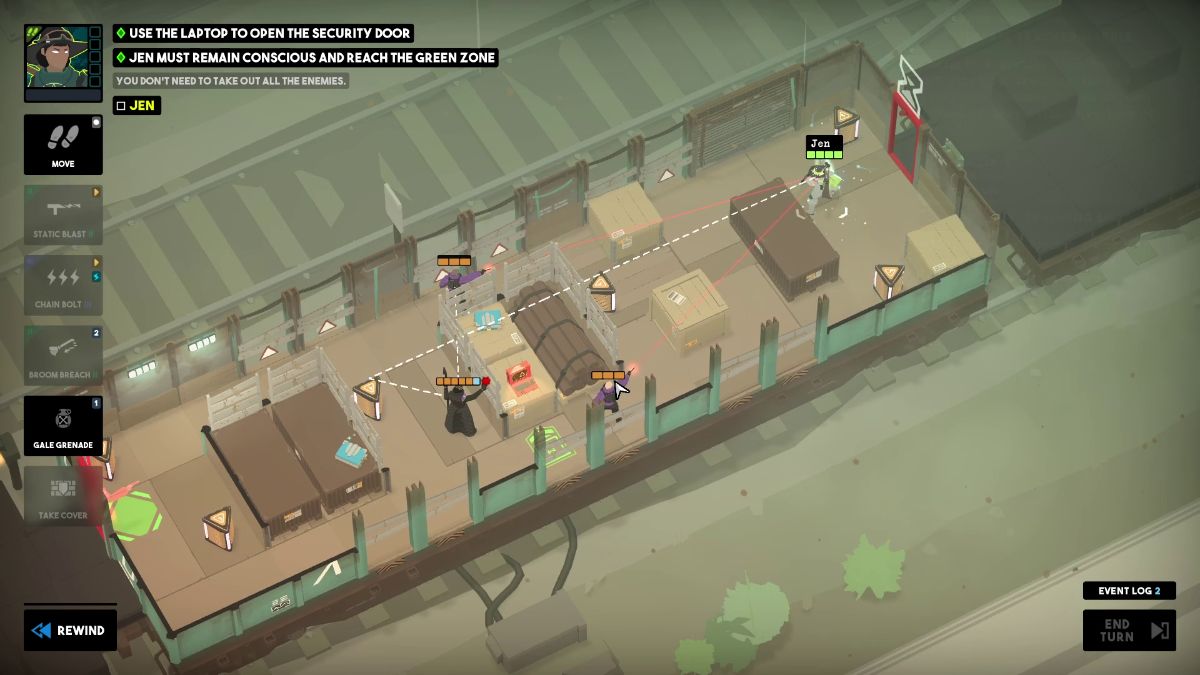
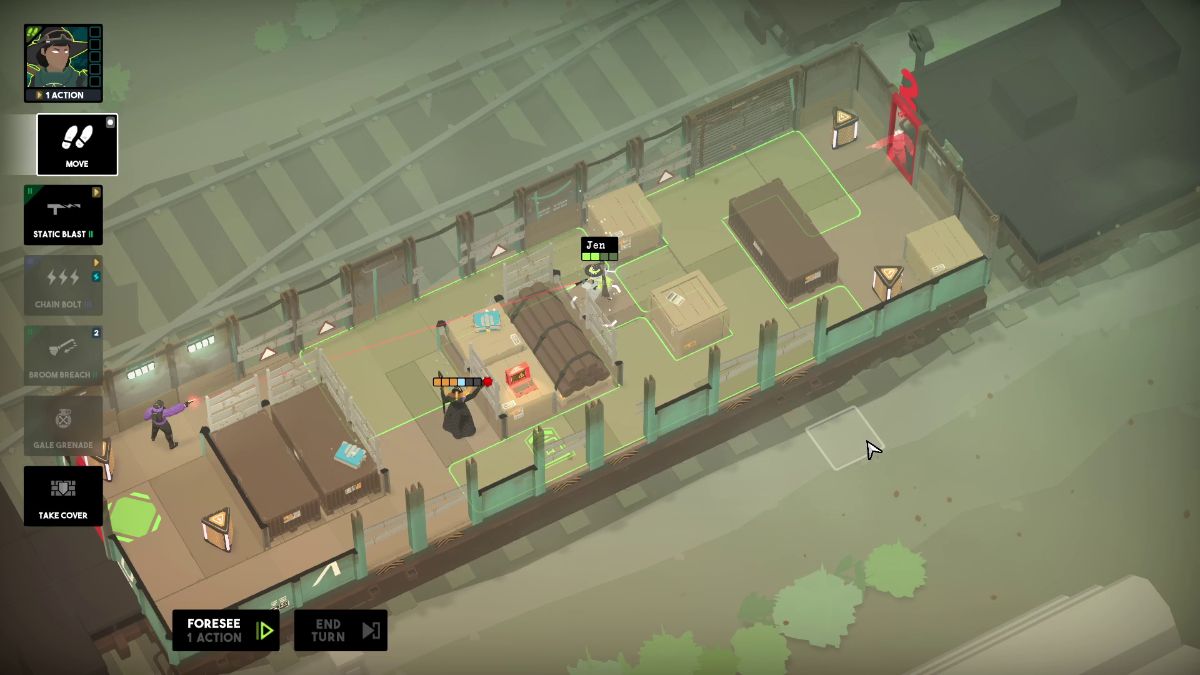
Breach with Jen and move her toward the window on the right. Then, move Banks toward the red door on the right and seal it.
Place a Death’s Door in the corner behind the Gunner.
Use Sedative Cocktail on the Gunner to bring down its defenses.
Push the Gunner toward the portal with Jen’s Chain Bolt.
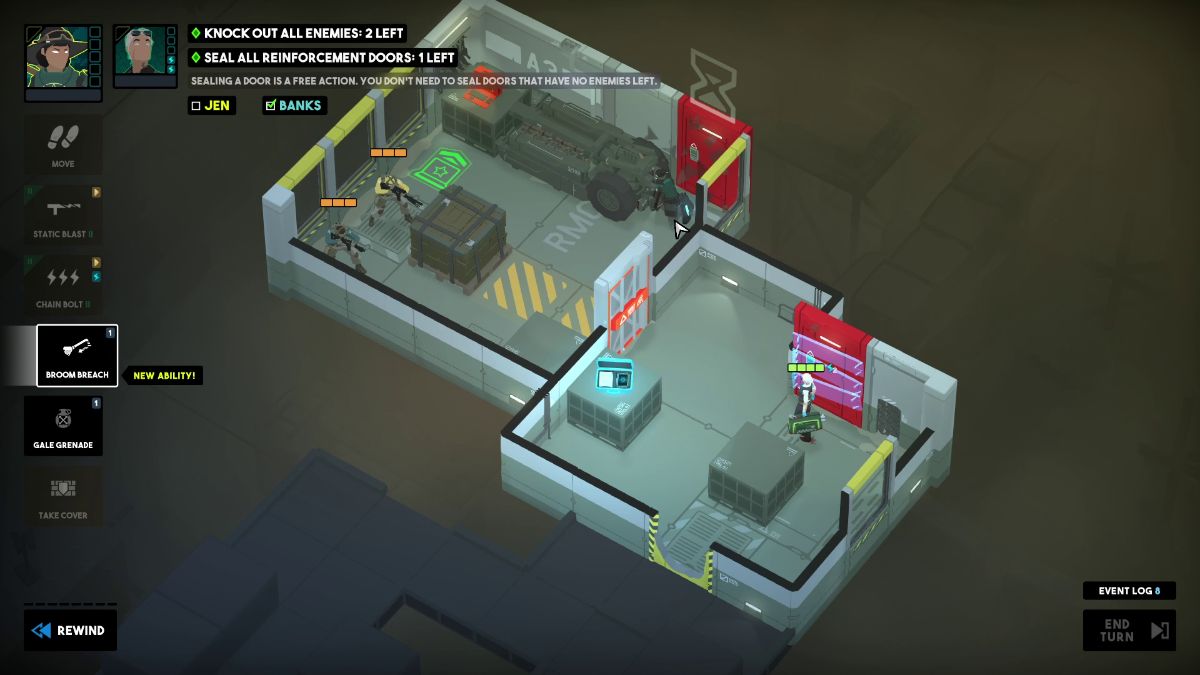
Use Jen’s Broom Breach to fly to the red door on the other side. Then, seal it.
Use Broom’s Breach to fly to the red laptop on the left. Then, use it.
Throw Gale Grenade in front of the enemies to defenestrate them.
New Perk
Sedative Cocktail: Drowsy
+1 Sedated to all targets.
The Meet – Tactical Breach Wizards
Screenshot by Bonus Action
Zone 1
Zone 2
Zone 3
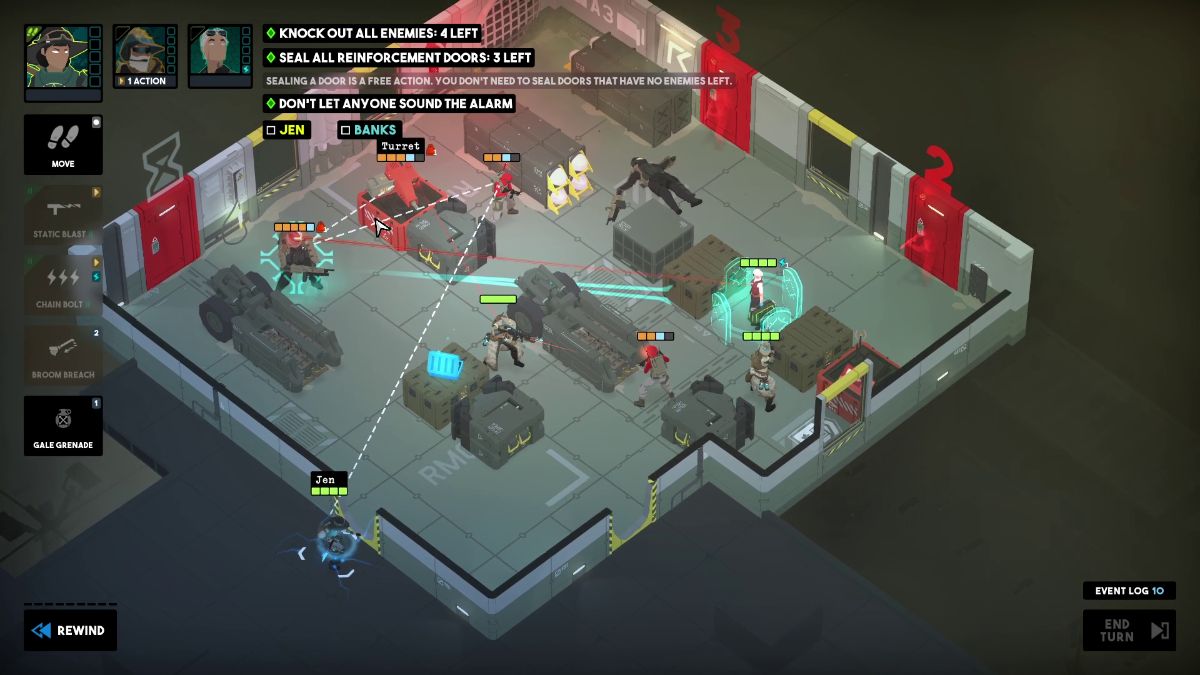
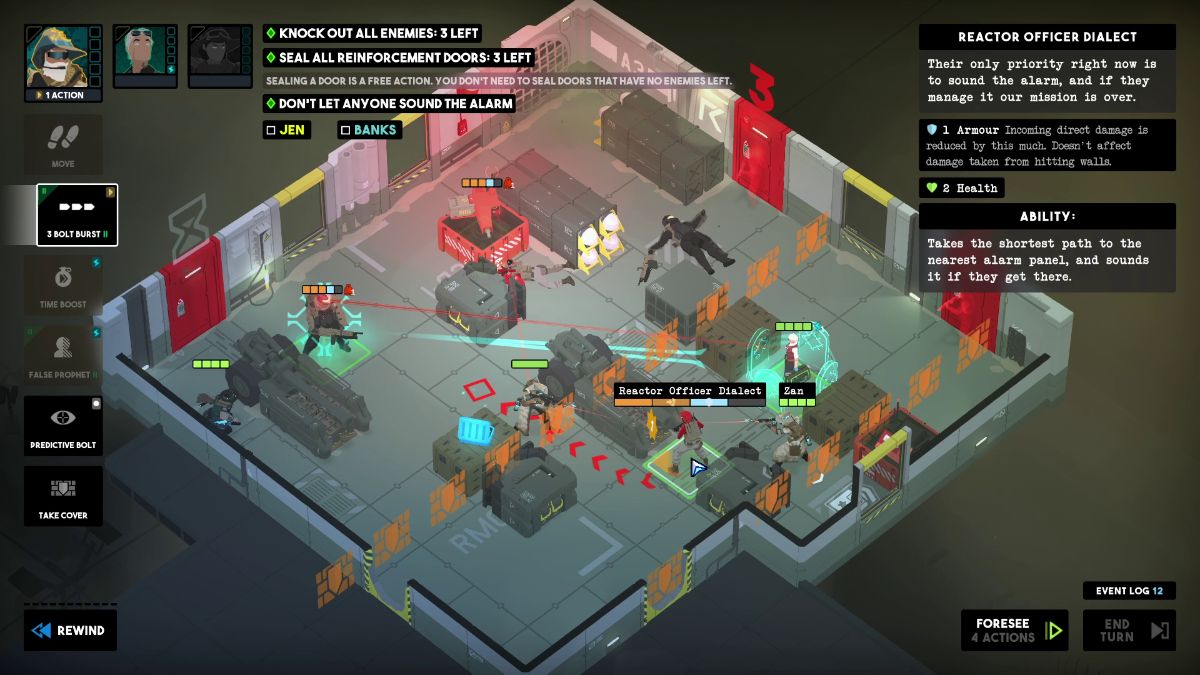
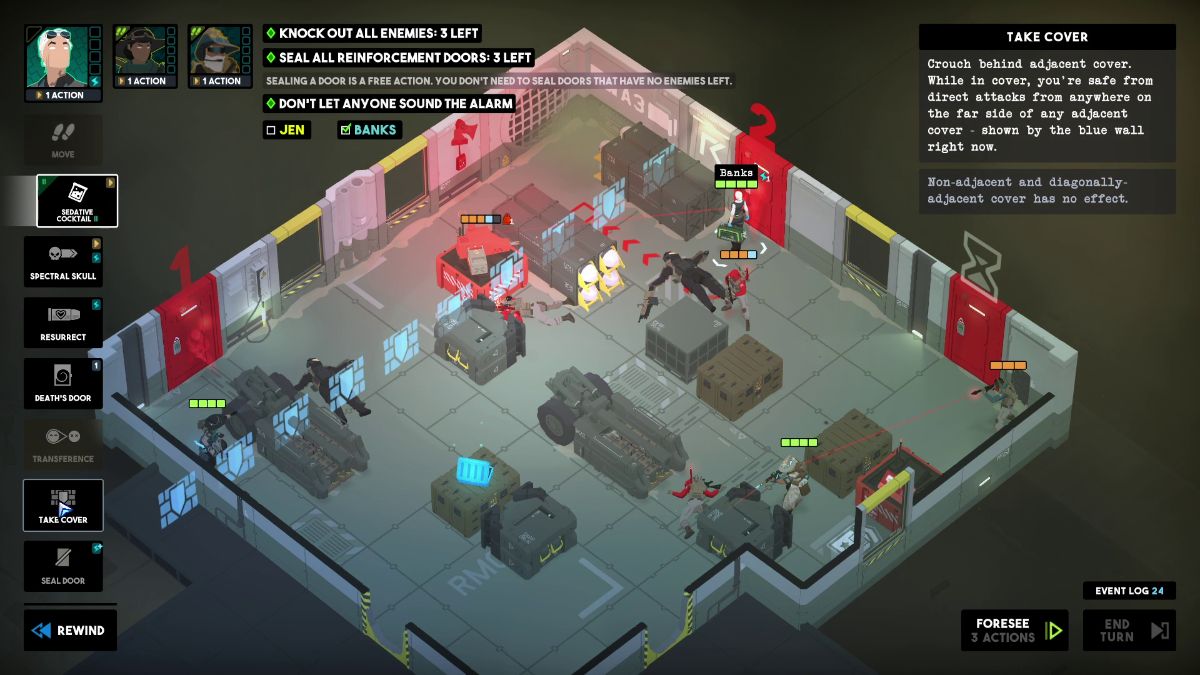
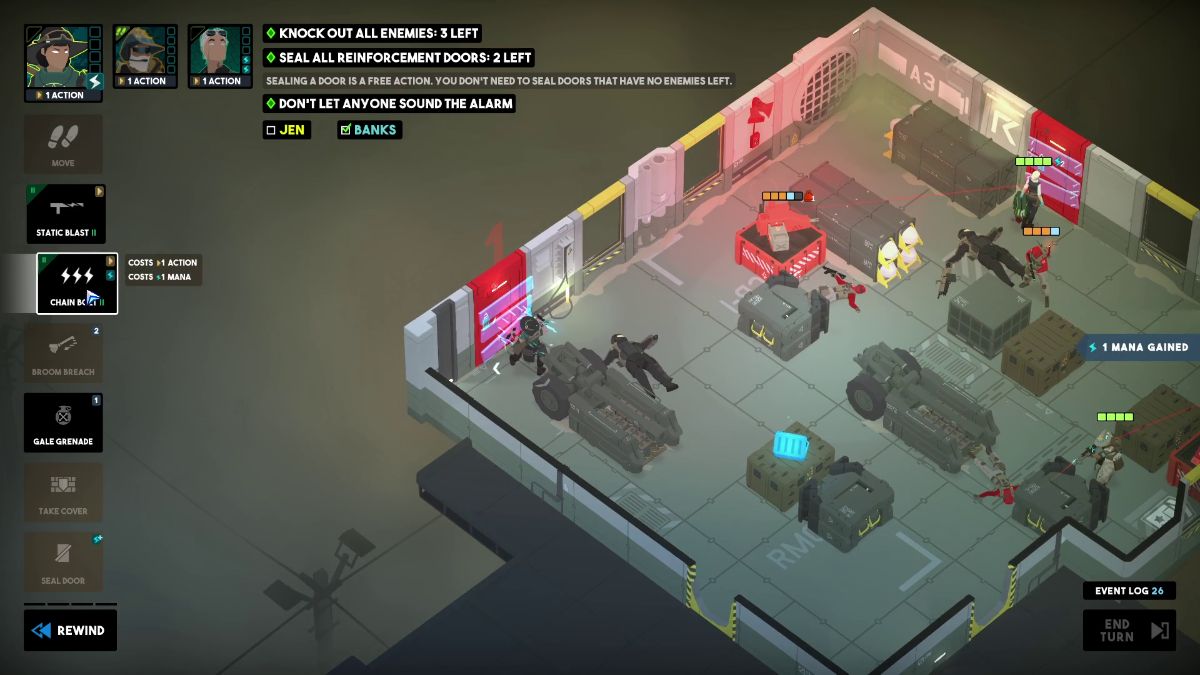
How to Clear The Meet – Zone 1
Objectives
Knock out all enemies.
Use the laptop to open the security door.
Seal all reinforcement doors.
Hit 3 enemies with a single Spectral Skull.
Finish by the end of turn 2.
Have the team use 5 different abilities in one turn.
Visual Reference
Instructions
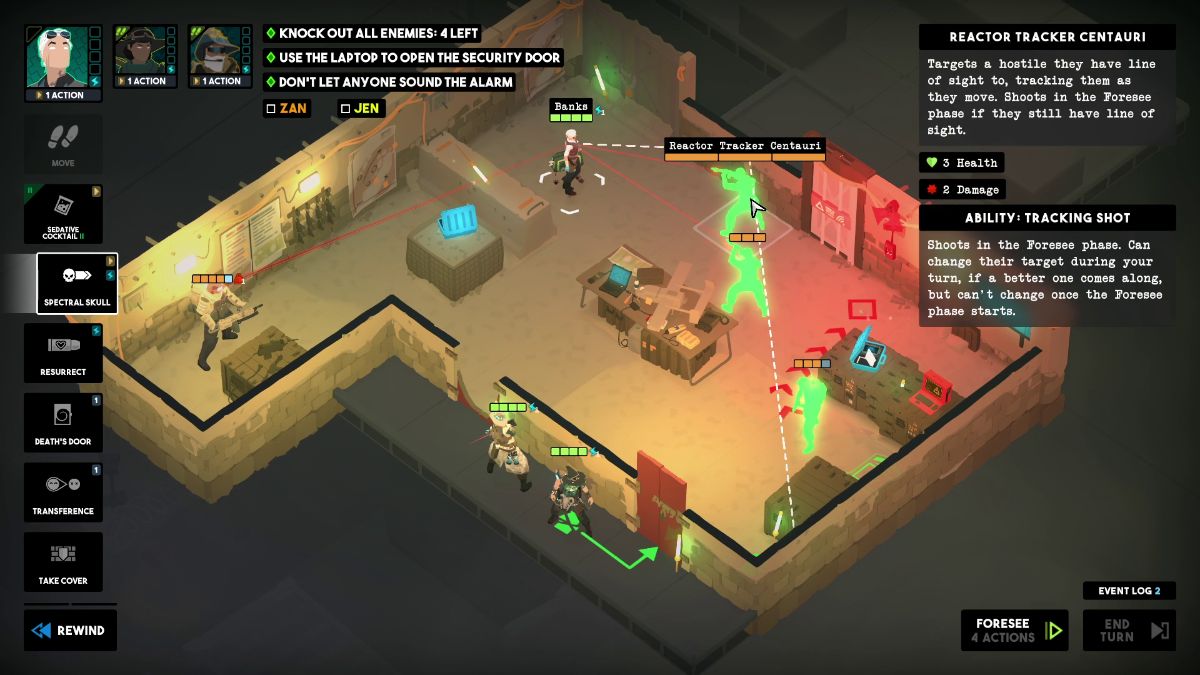
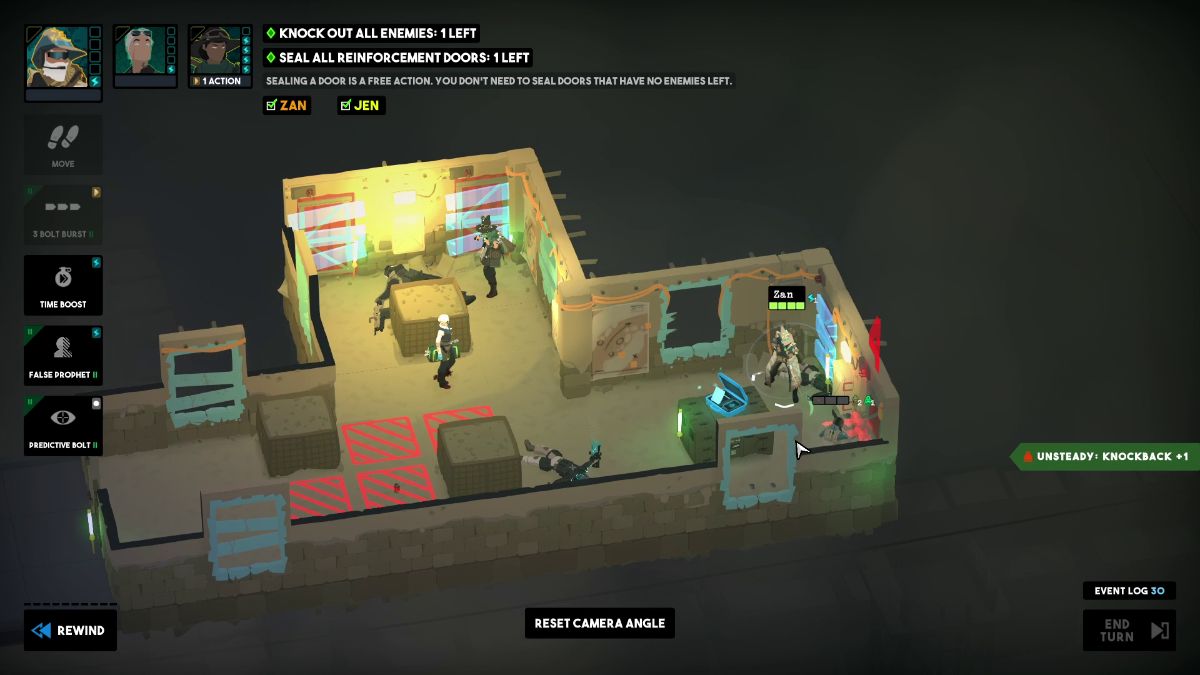
Breach with Banks and use Spectral Skull to hit four enemies at the same time.
Breach with Jen and move toward the window on the left.
Throw Gale Grenade in front of the door to the right to take down both enemies.
Move Banks forward and place a Death Door on the wall behind the Gunner on the right.
Broom Breach to the window on the upper left with Jen. Then, use Chain Bolt to push the Gunner to the right.
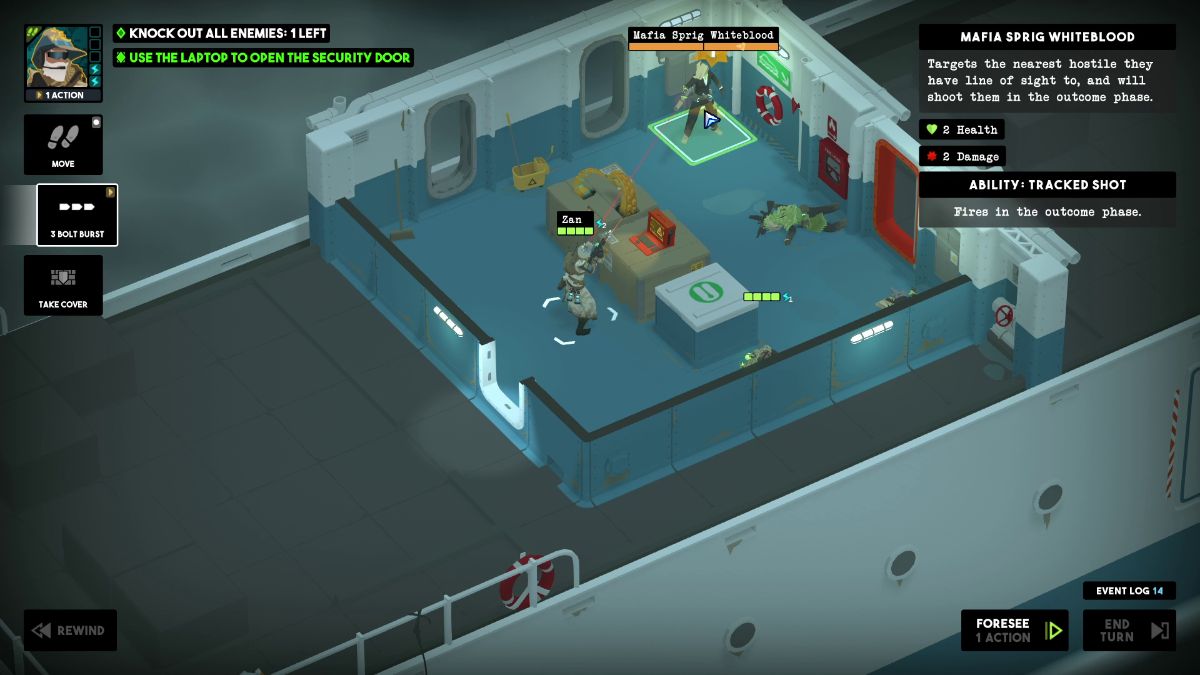
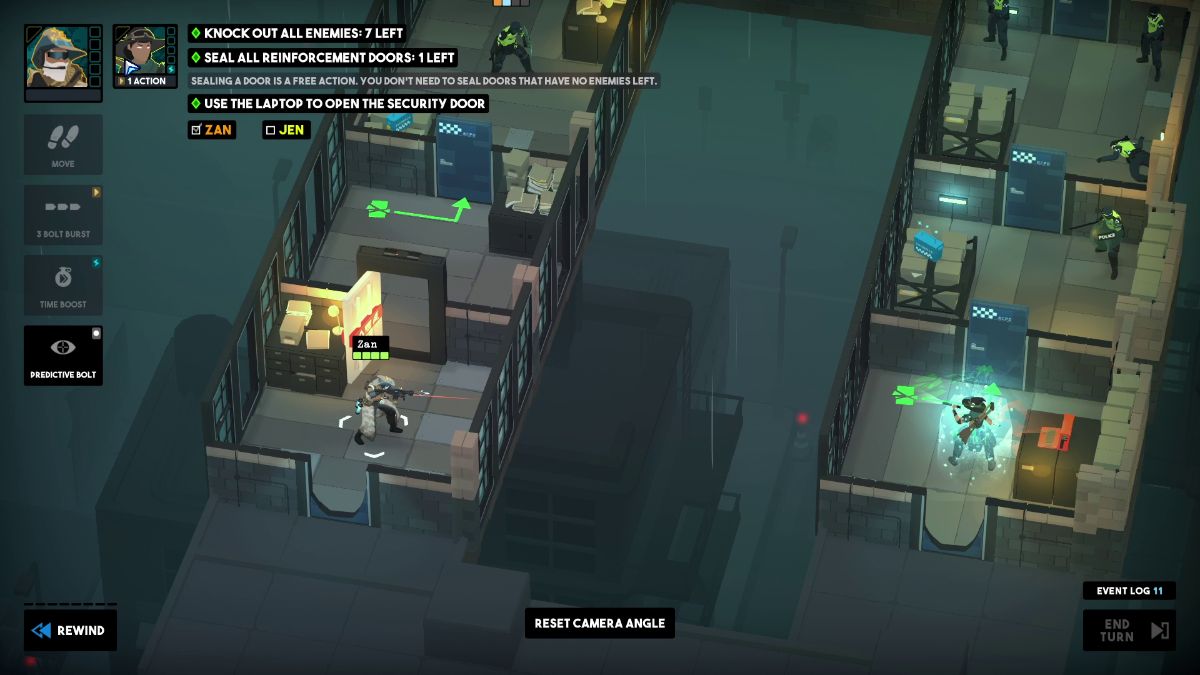
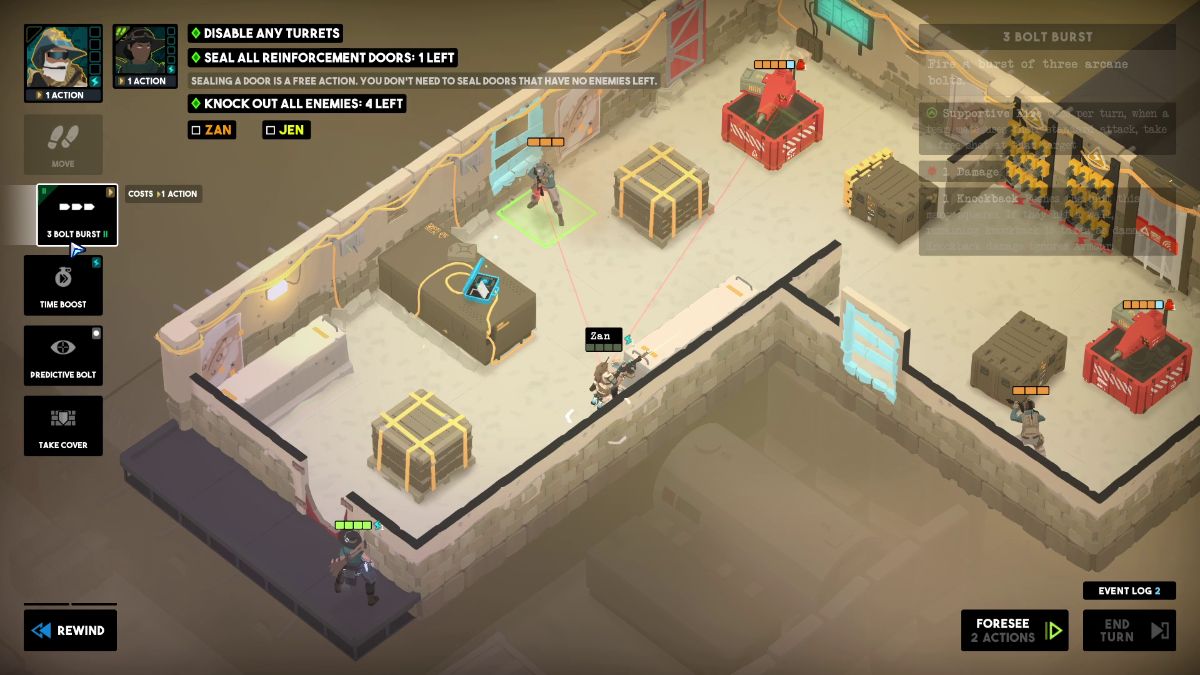
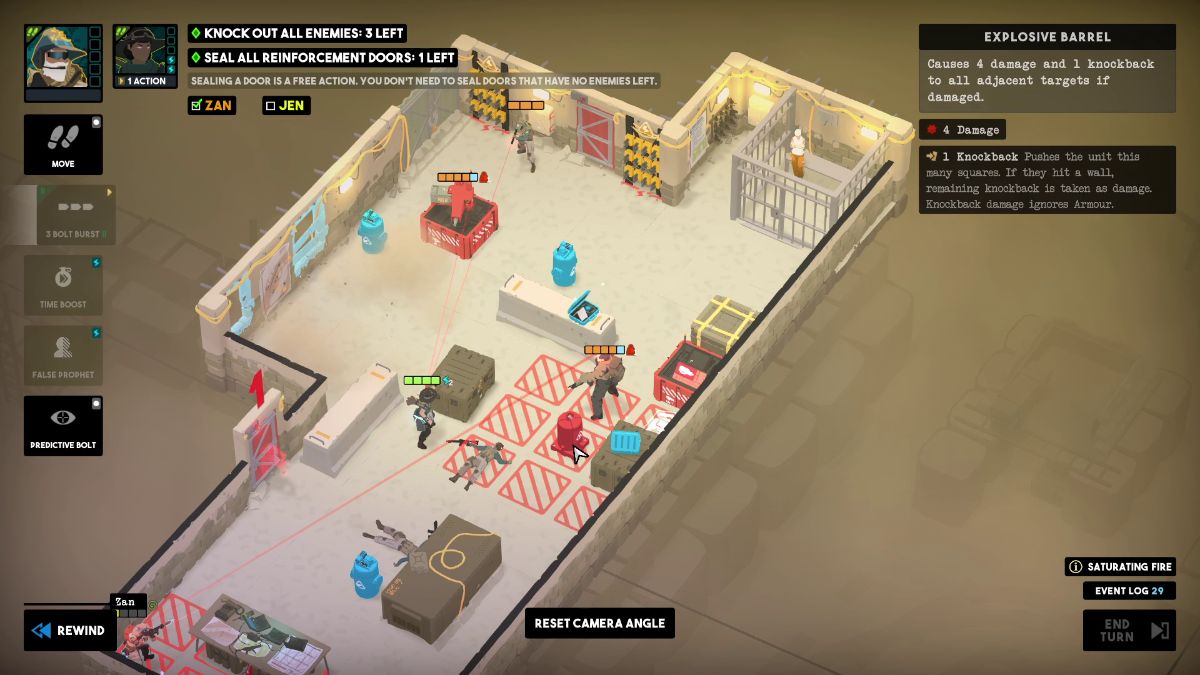
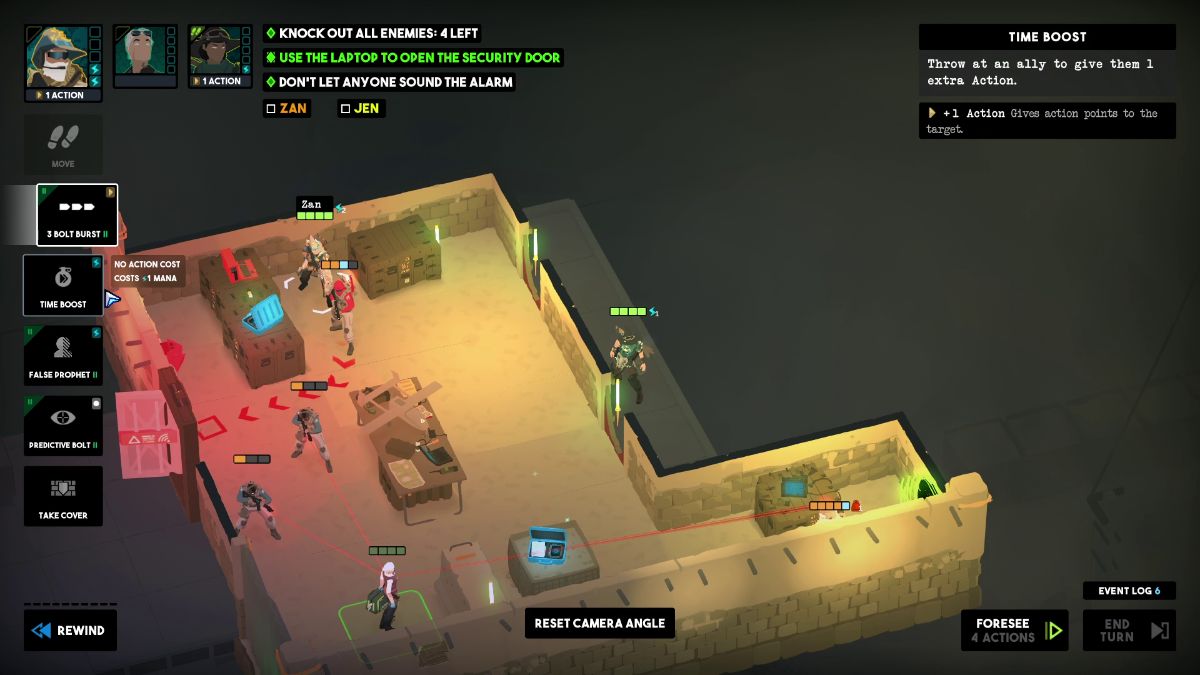
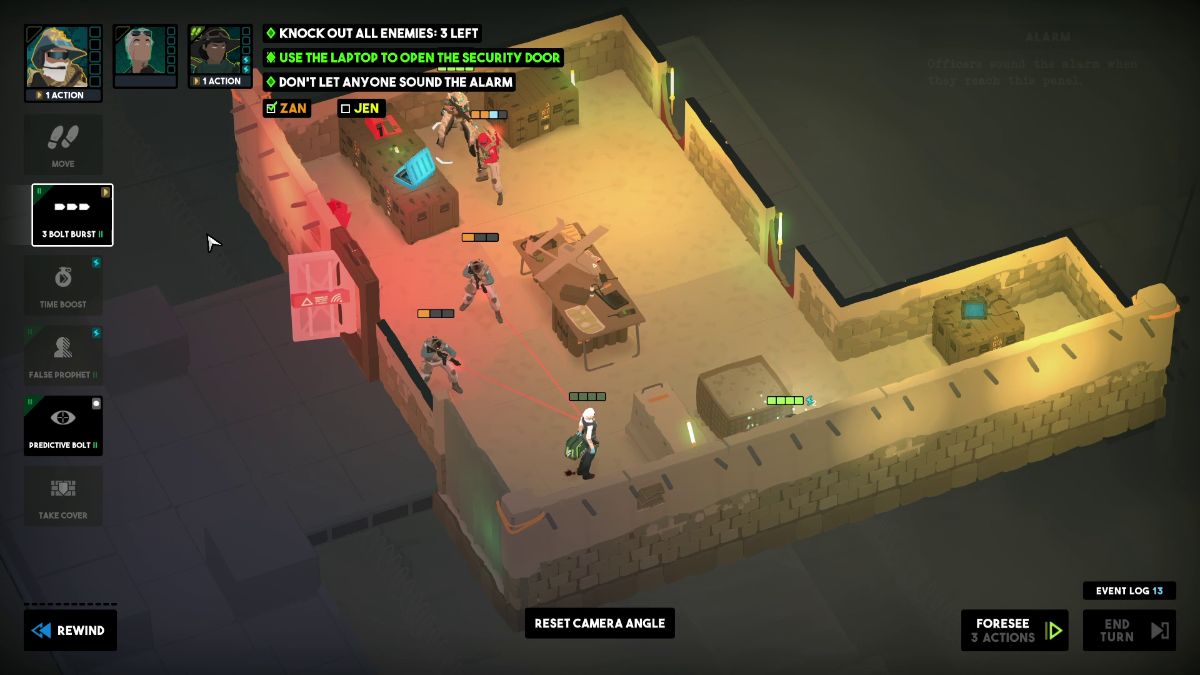
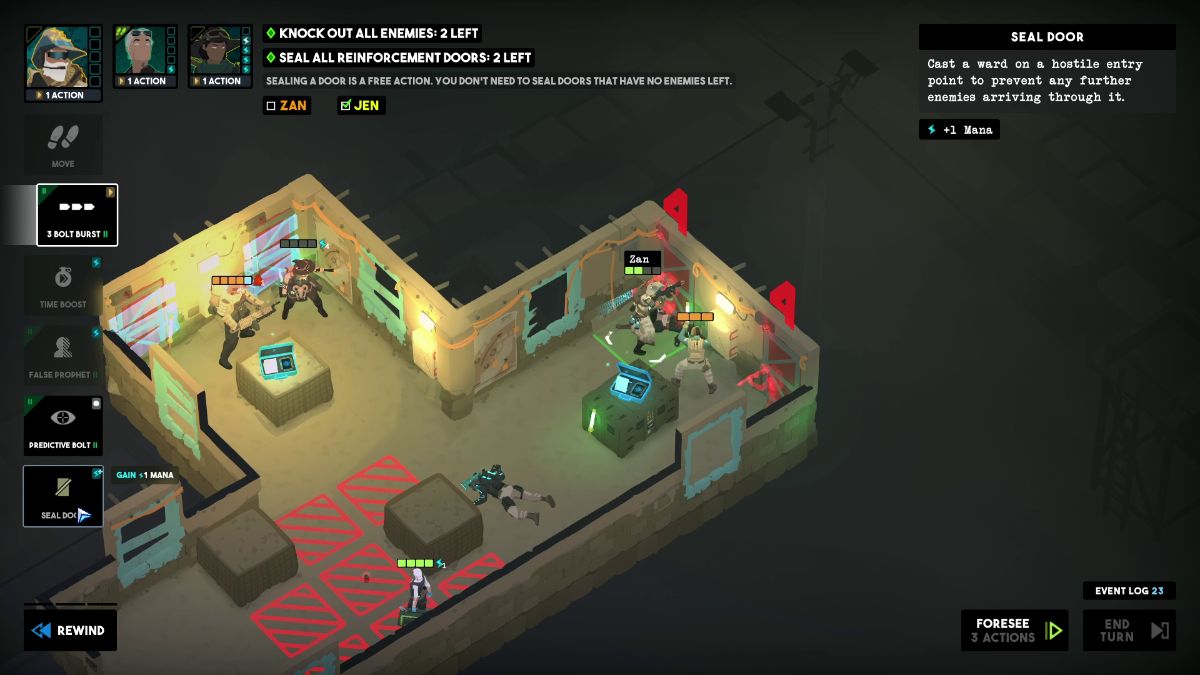
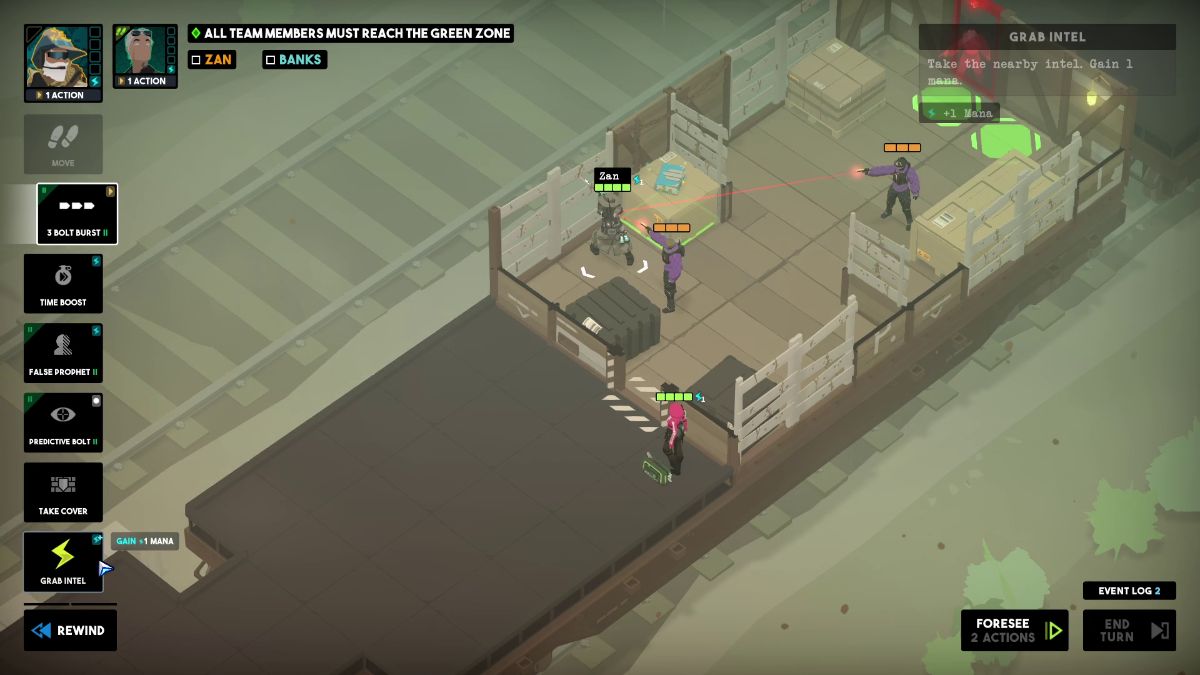
Move Zan toward the desk to the left and grab the intel. Then, shoot the enemy near the window with 3 Bolt Burst. Then, give Banks a Time boost.
Use Sedative Cocktail to defenestrate the enemy on the left. End the turn.
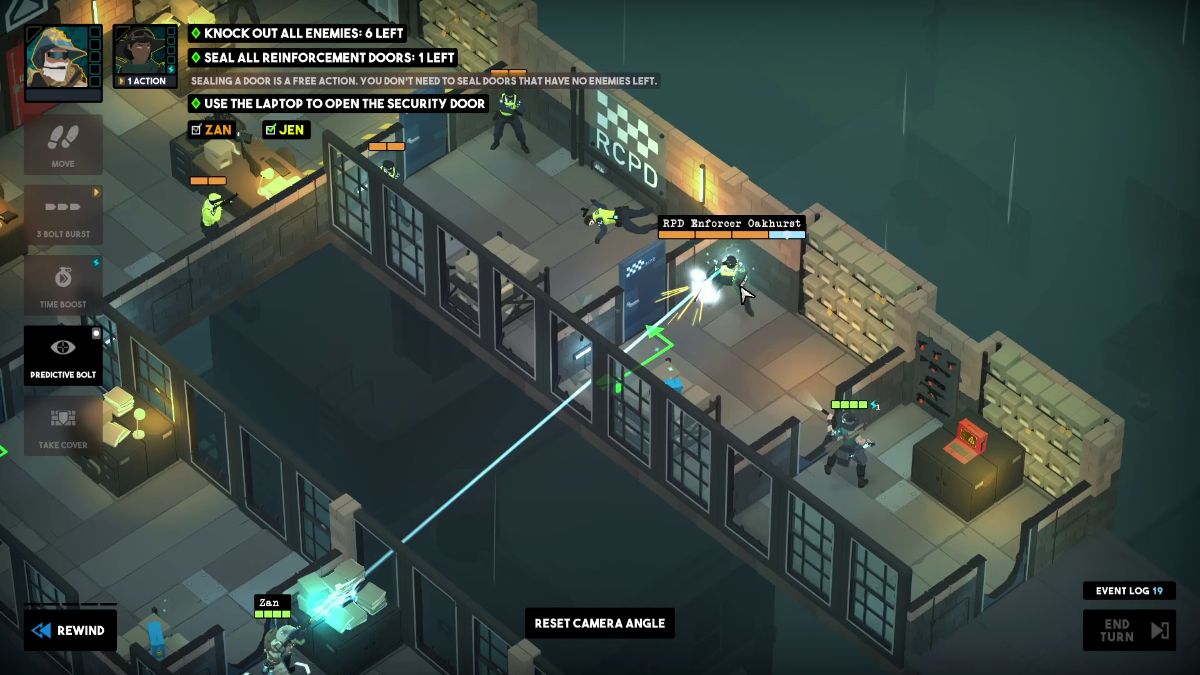
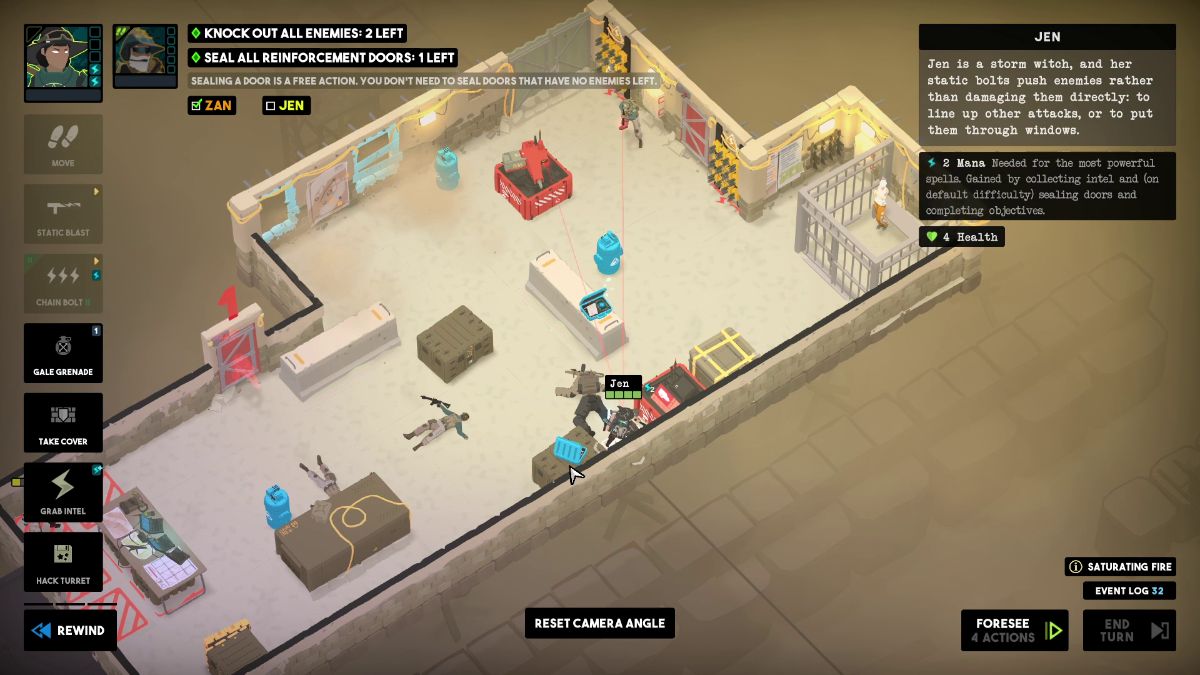
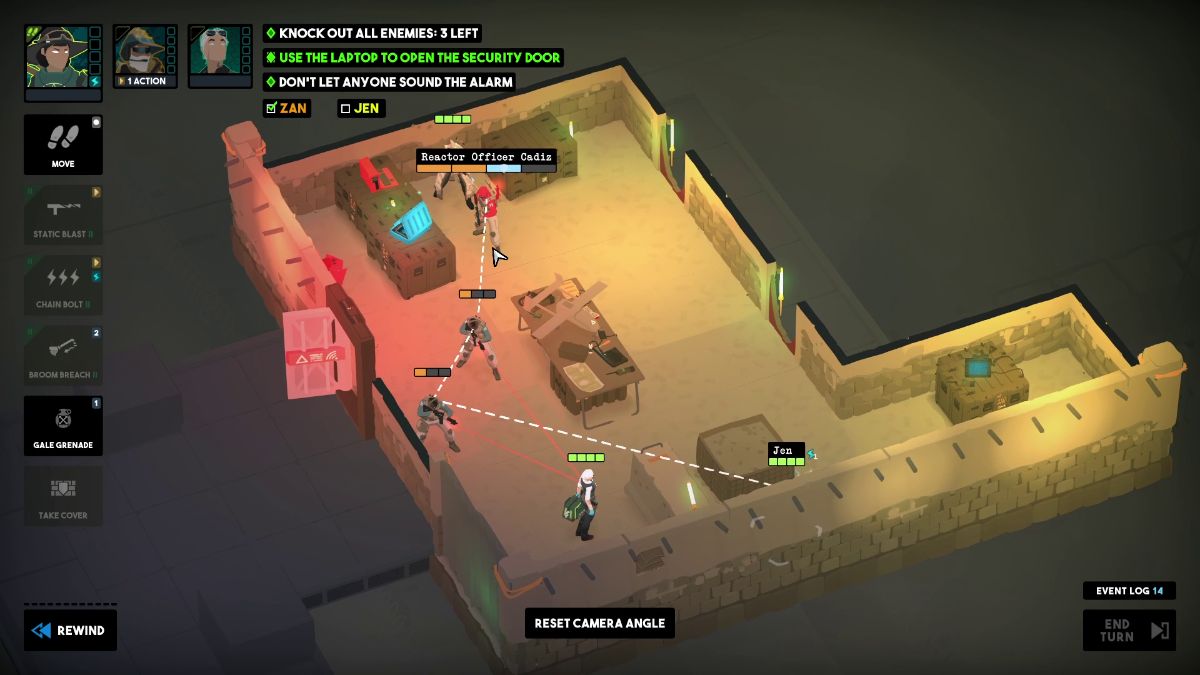
Shoot the remaining enemy with Jen. Then, move Zan in front of the computer and use it.
How to Clear The Meet – Zone 2
Objectives
Knock out all enemies.
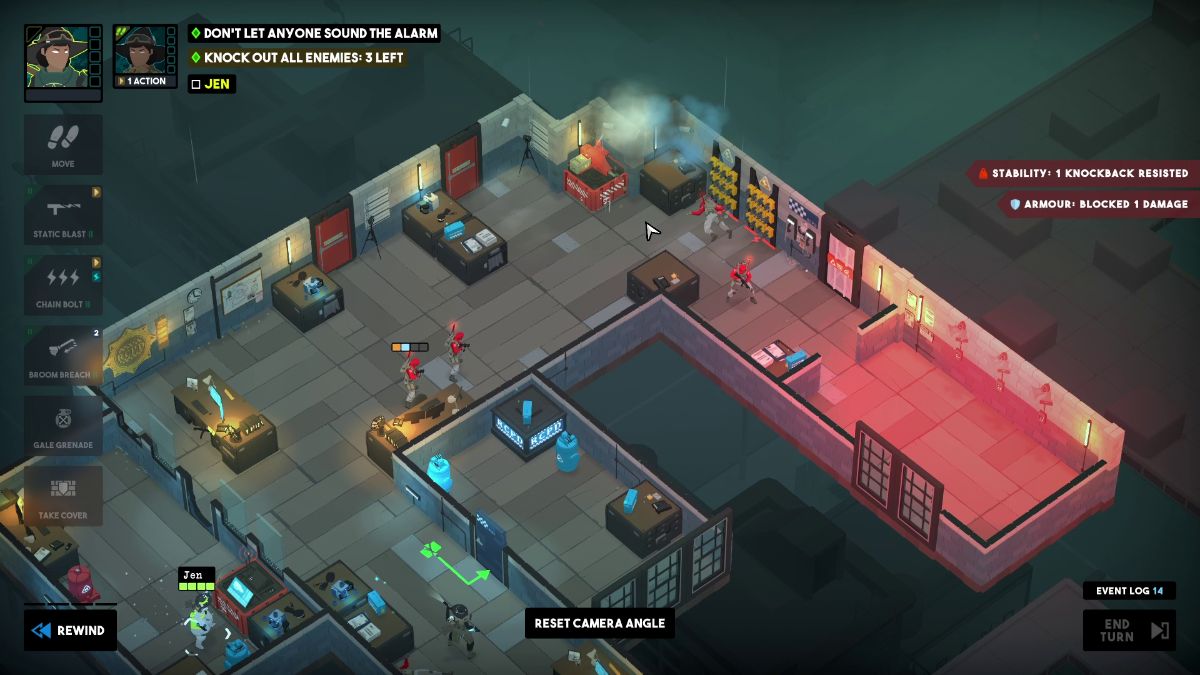
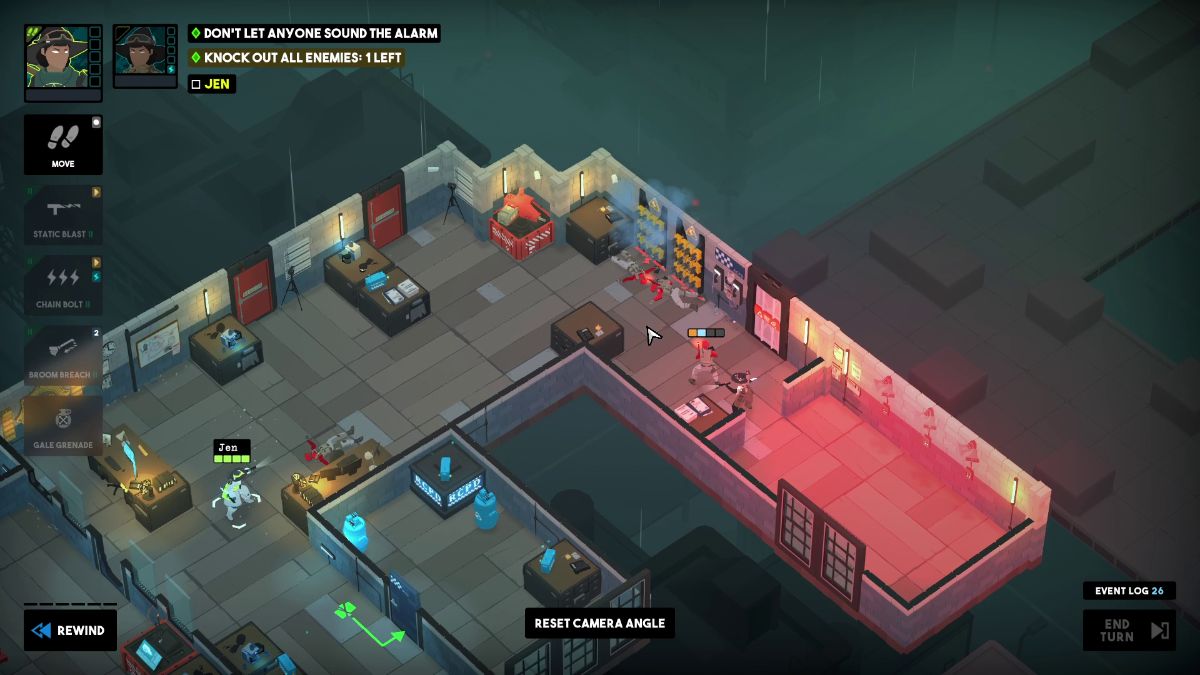
Don’t let anyone sound the alarm.
Hit 3 enemies with a single Spectral Skull.
Deal with all enemies by the end of turn 1.
Visual Reference
Instructions
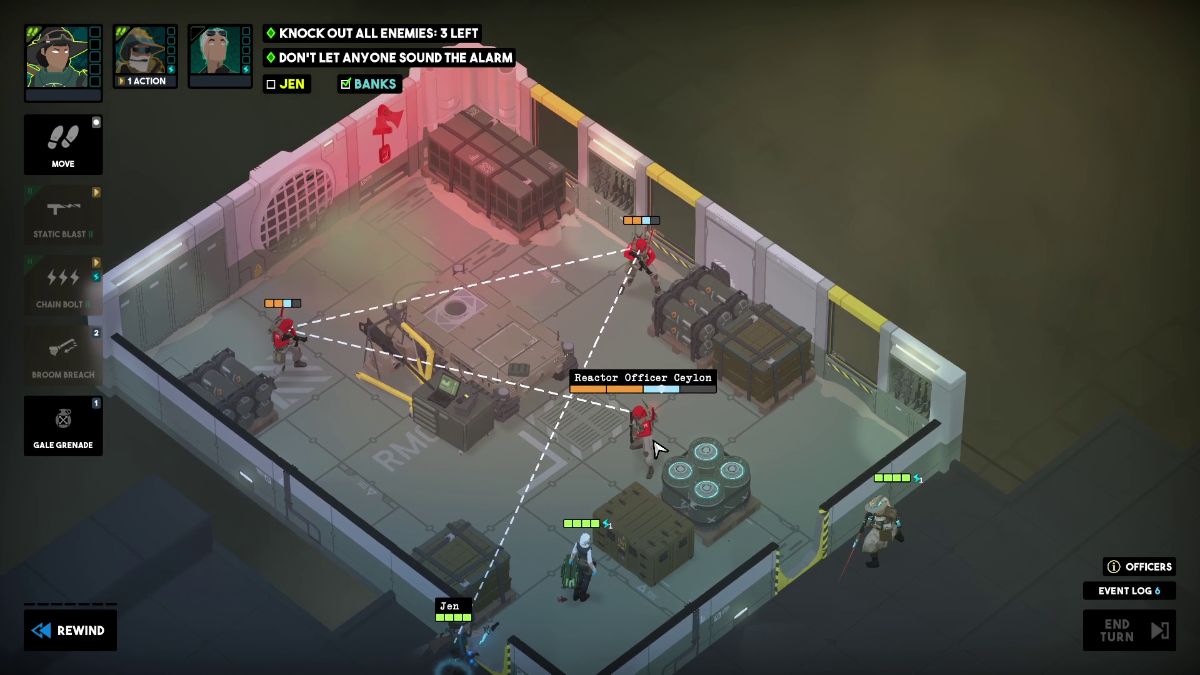
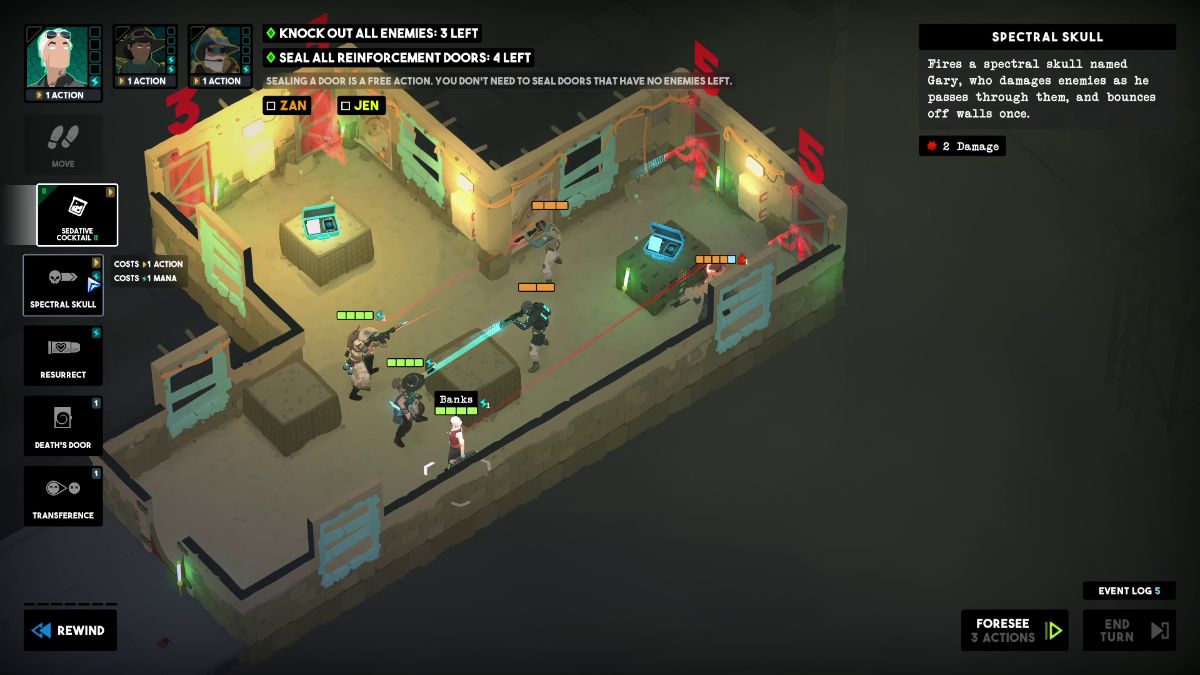
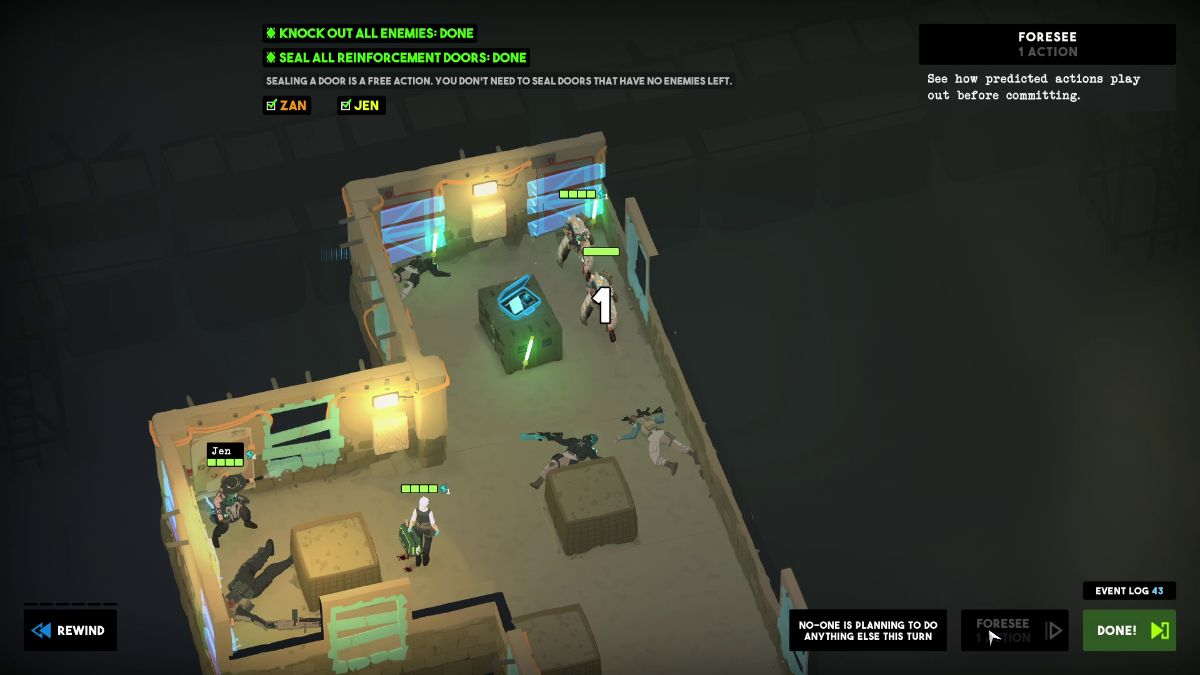
Move Banks next to the desk with intel. Then, aim Spectral Skull toward the right wall to hit all three enemies.
Have Jen Chain Bolt all three enemies.
How to Clear The Meet – Zone 3
Objectives
Knock out all enemies.
Seal all reinforcement doors.
Don’t let anyone sound the alarm.
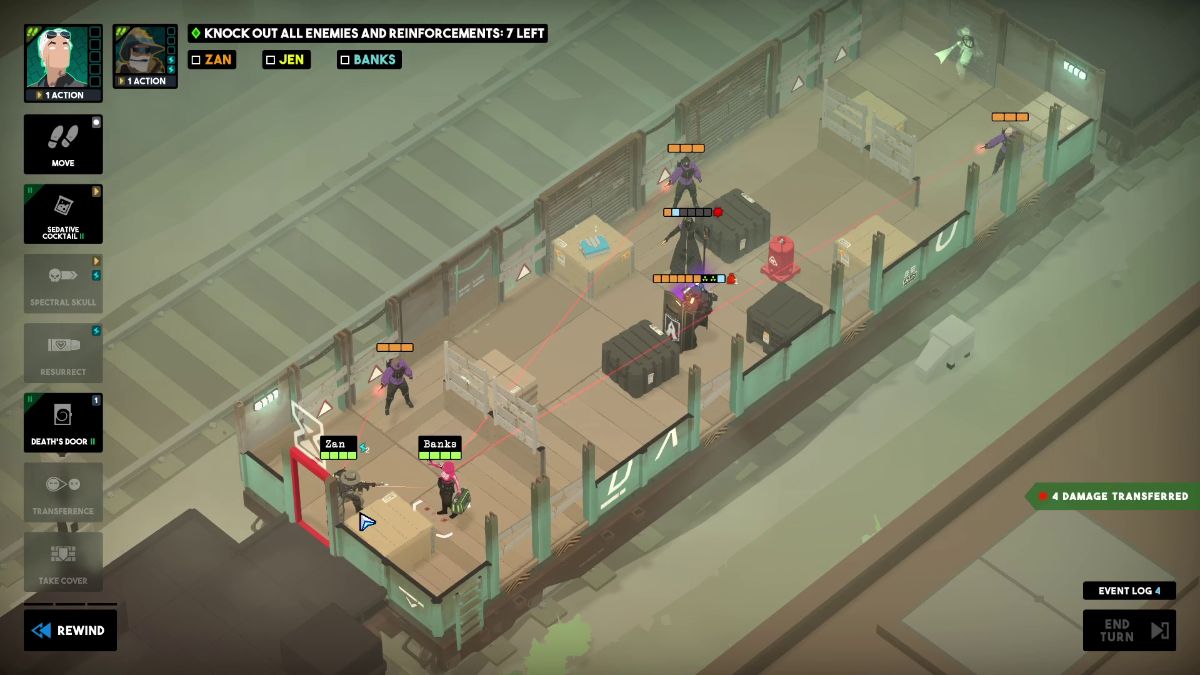
Transfer 4 damage at once.
Finish by the end of turn 2.
Visual Reference
Instructions
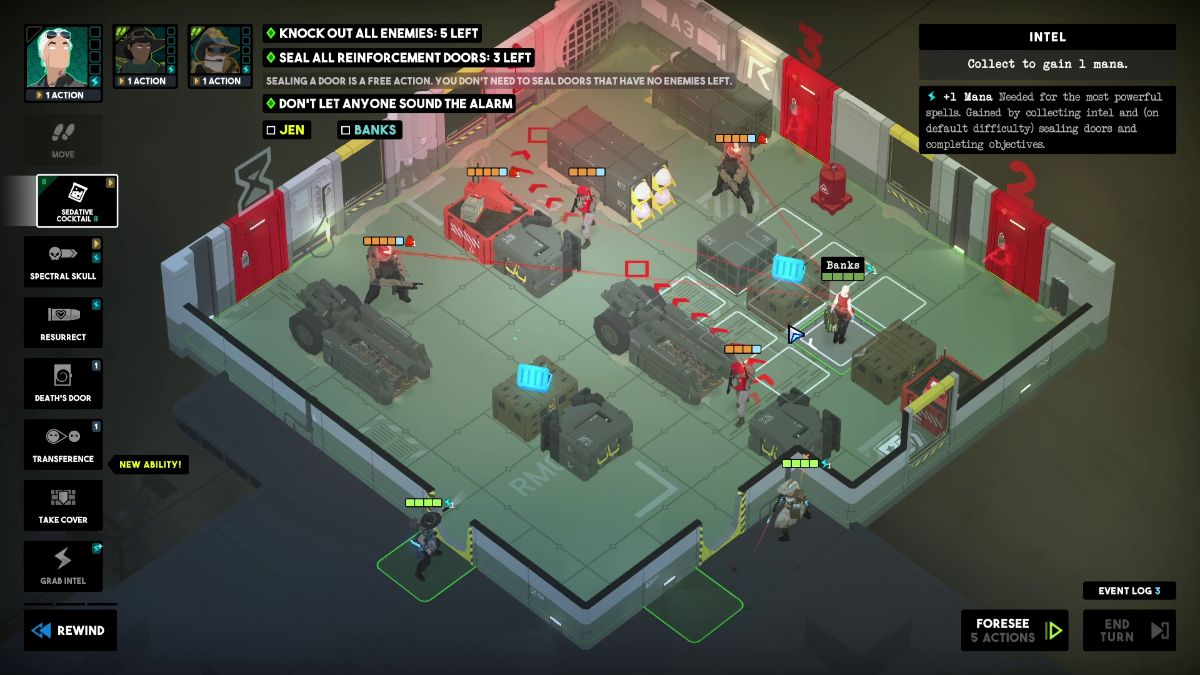
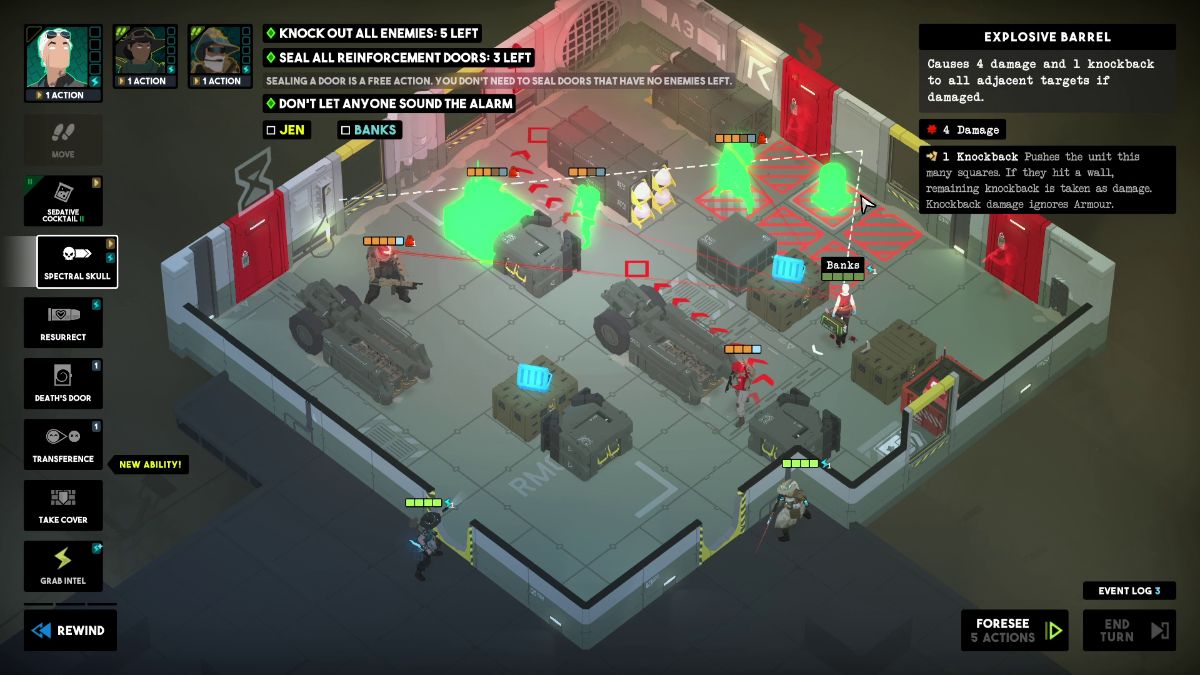
Breach with Banks and move it toward the desk with intel on the right.
Aim Spectral Skull toward the wall on the right to hit three enemies and an explosive barrel.
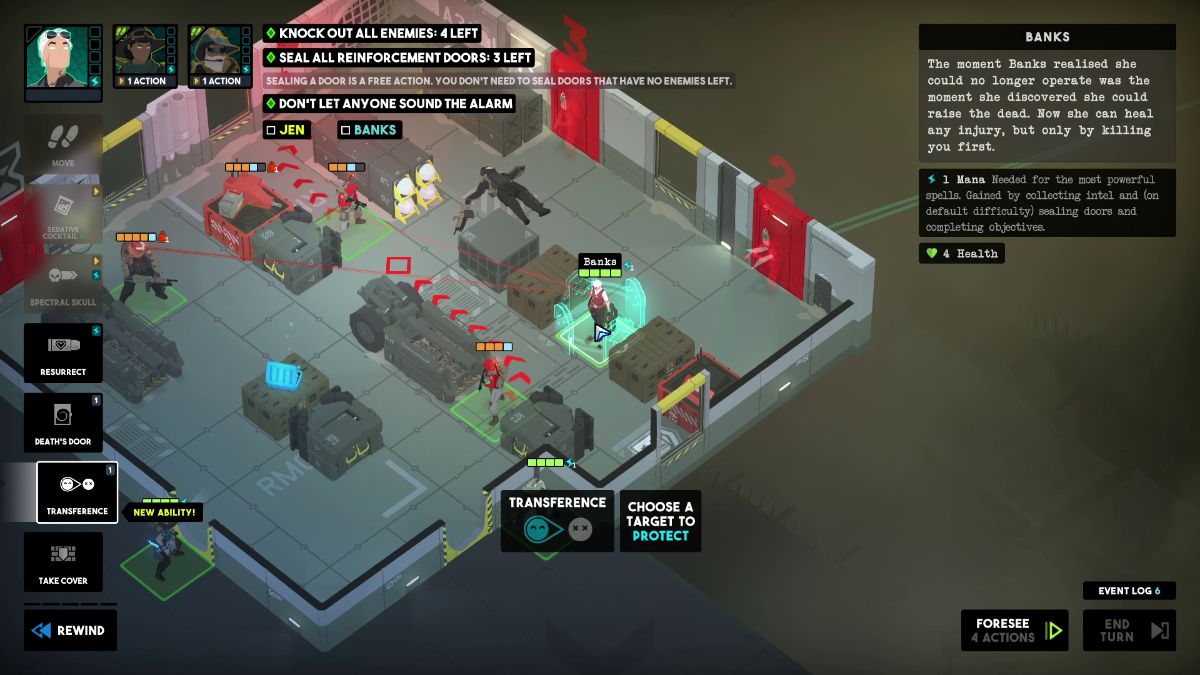
Use Transference to protect Banks and hit the Gunner.
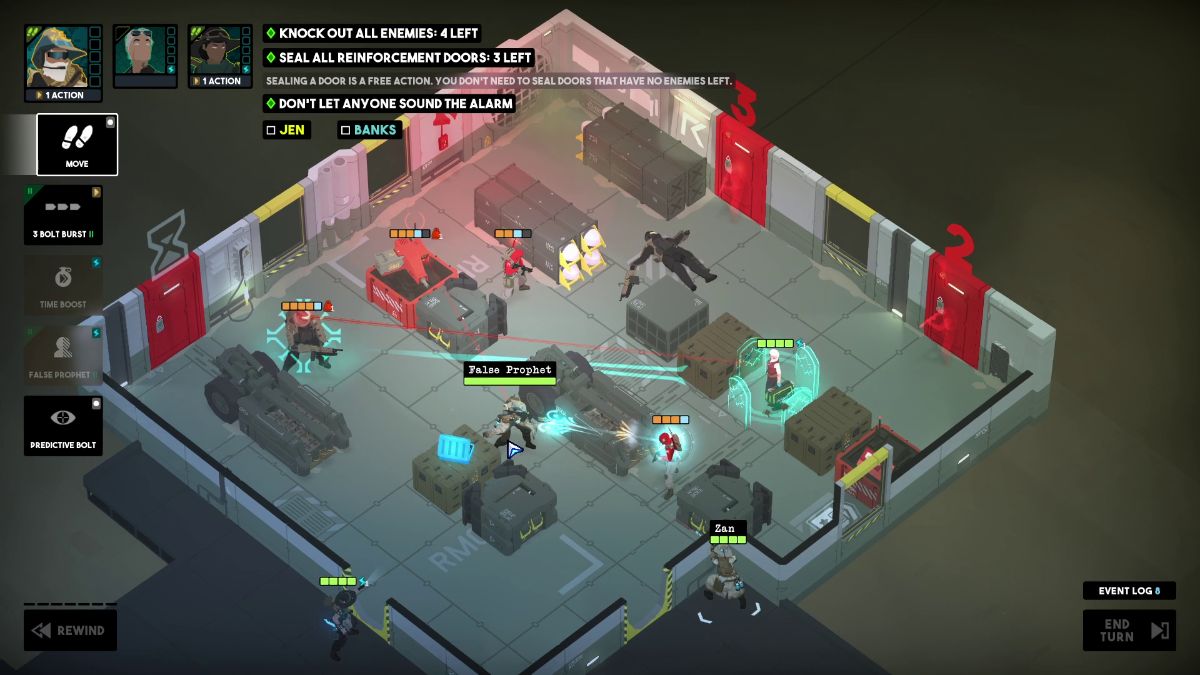
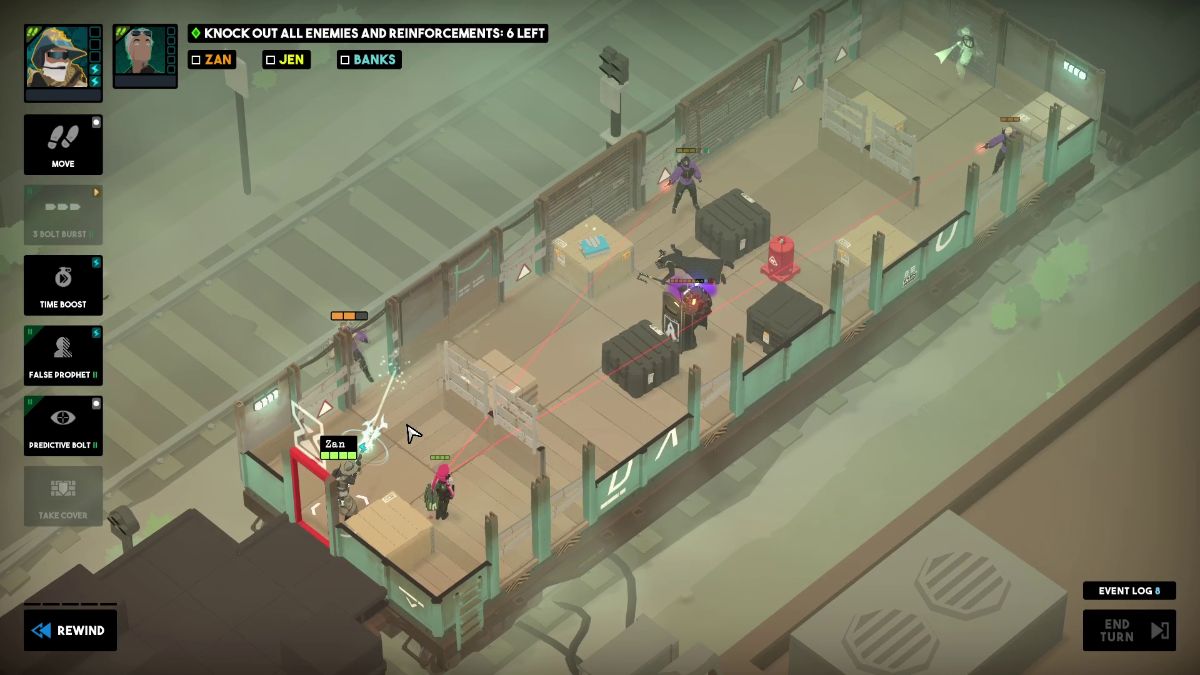
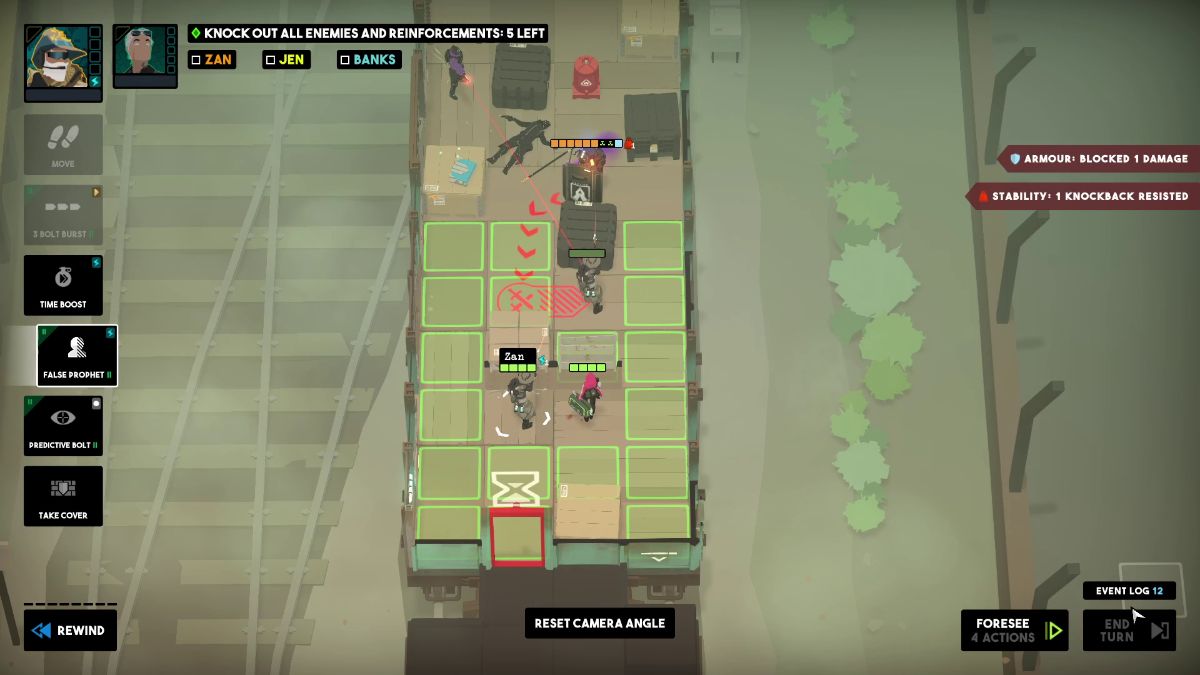
Send one of Zan’s False Prophets next to the desk with Intel to lure the turret’s attention. With the right upgrade, it’ll also damage the enemy on the lower right.
Move Zan near the Turret’s console on the lower right.
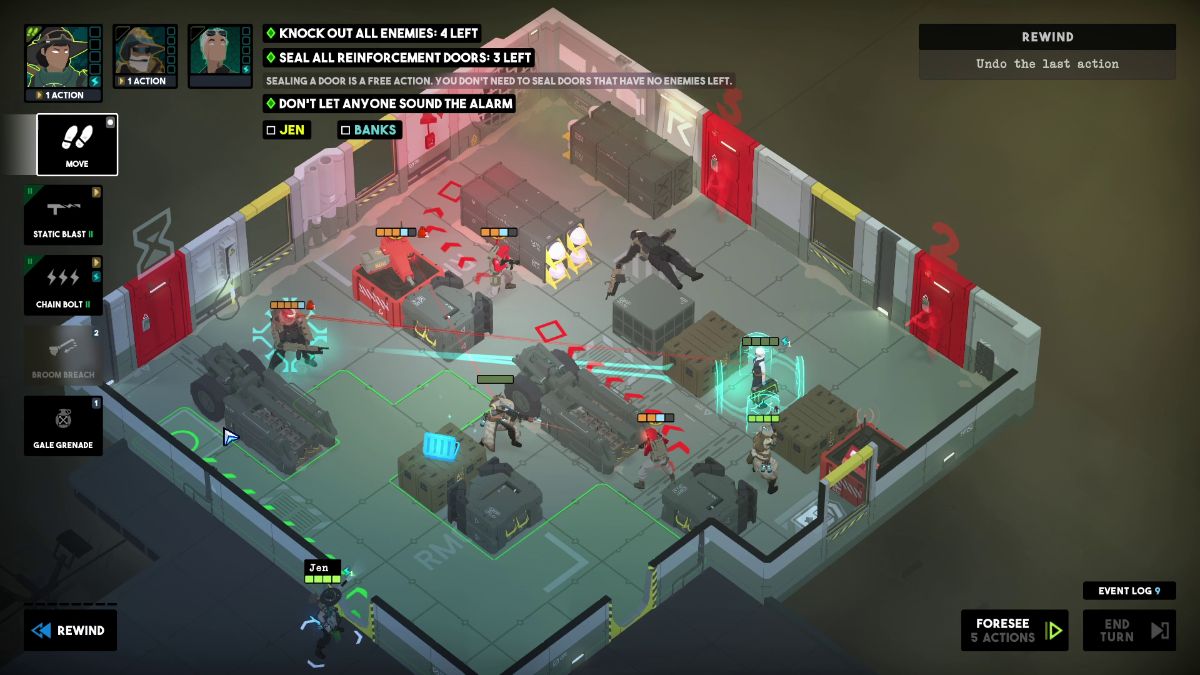
Use Jen’s Chain Bolt to zap the enemy on the upper right, the Gunner, and the Turret.
Move Jen near the red door on the upper left and take cover.
Use Zan’s 3 Bolt Burst on the enemy on the lower left to defeat him. Take cover and end this turn.
Move Banks toward the red door on the upper right to seal it.
Move Jen toward the red door on the upper left to seal it.
Then, Chain Bolt the turret, and the two enemies on the right.
Move Zan to the remaining door on the right and seal it. Then, Time Boost Jen.
Shoot the Turret with Jen’s Static Blast.
Use Bank’s Spectral Skull to bring down the Turret.
With Zan, use 3 Bolt Burst to defeat the last enemy.
Hurtful Lie causes False prophet to shoot at a nearby enemy. Forced Entry lets you Broom Breach even if an enemy blocks the way.
Exit Strategy – Tactical Breach Wizards
Screenshot by Bonus Action
Zone 1
Zone 2
Zone 3
Zone 4
How to Clear Exit Strategy – Zone 1
Objectives
Knock out all enemies.
Use the laptop to open the security door.
Don’t let anyone sound the alarm.
Finish by the end of turn 1.
Have the team use 5 different abilities in one turn.
Visual Reference
Instructions
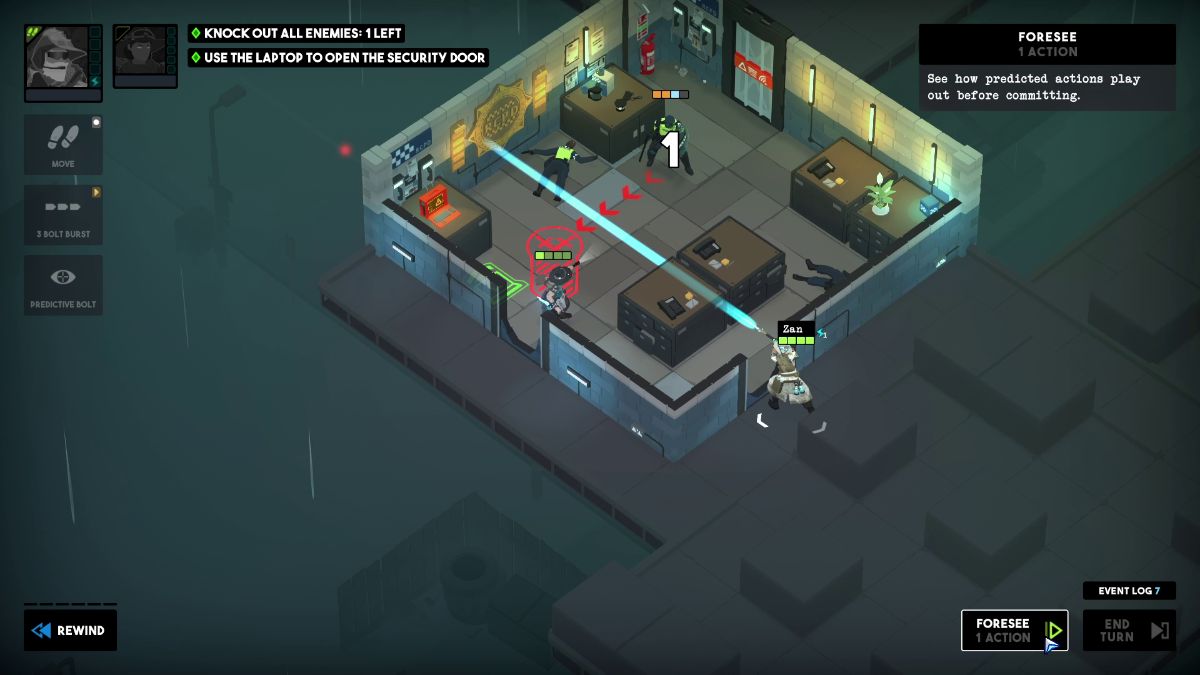
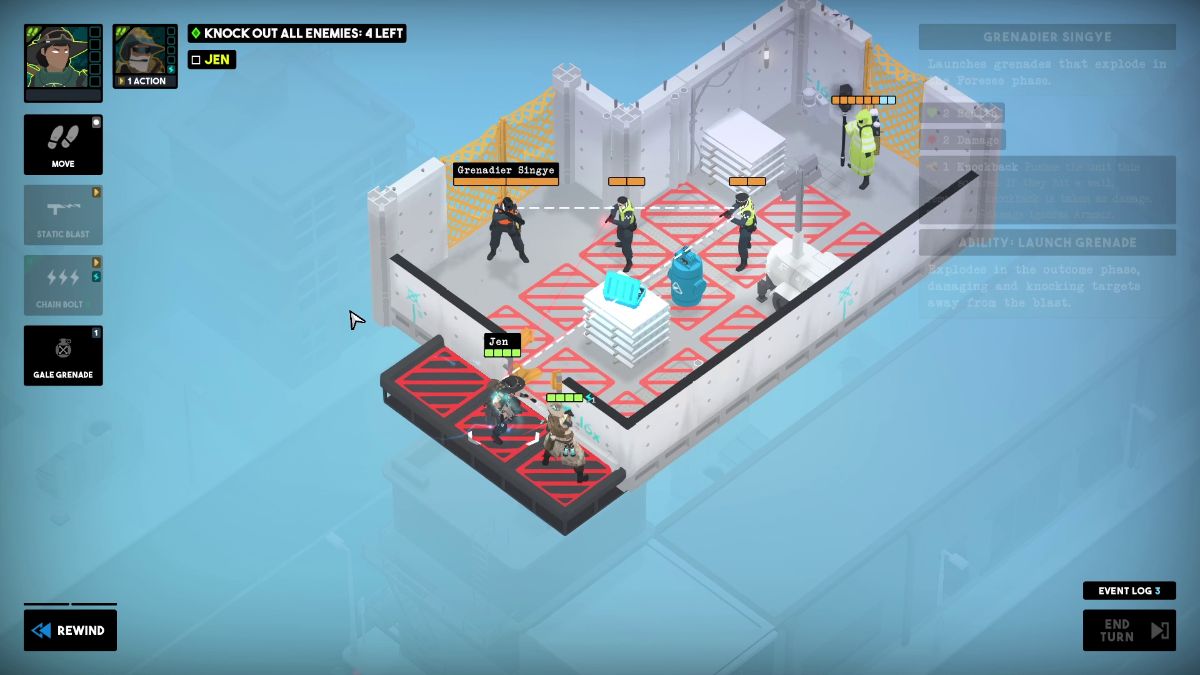
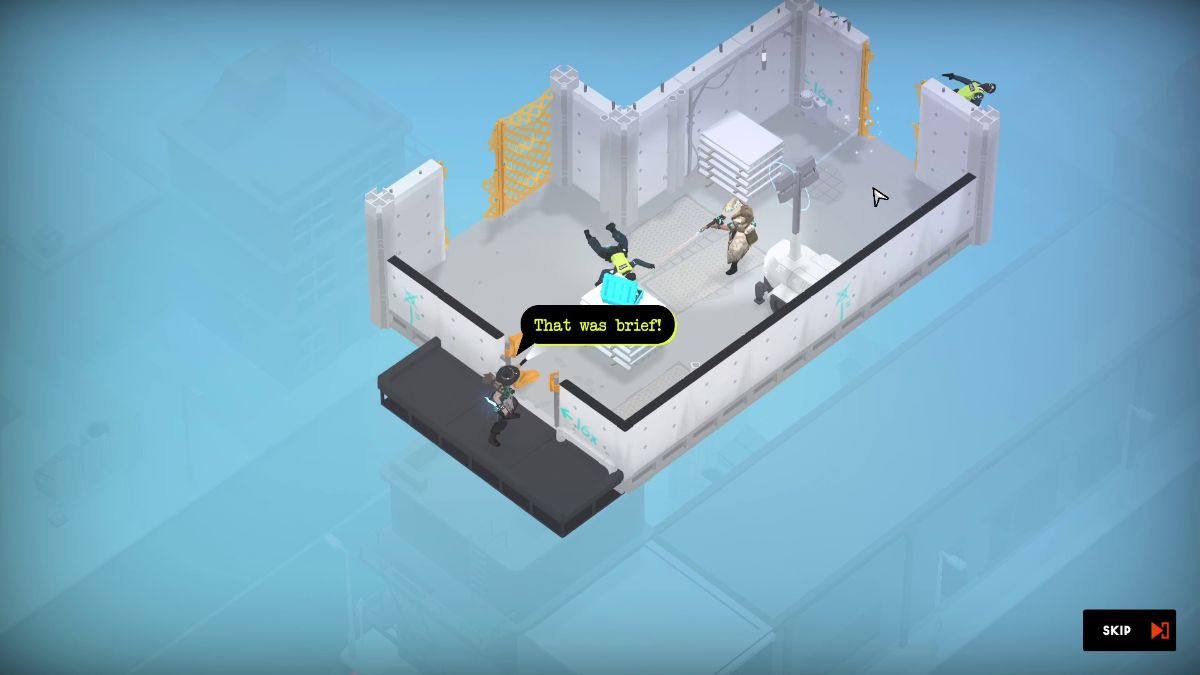
Breach with Banks and move to the upper left corner of the room. Here, use Spectral Skull to hit all three enemies on the right.
Then, place Death’s Door behind the Gunner below her.
Swap Zan and Jen’s breaching positions. Then, move Zan in front of the red laptop and use it.
Use Bank’s Sedative Cocktail on the Gunner in front of Death’s Door.
Then, use Jen’s Static Blast to push the Gunner toward the portal.
With Zan, Time Boost Jen.
Use Jen’s Chain Bolt to zap the three enemies to her right.
How to Clear Exit Strategy – Zone 2
Objectives
Knock out all enemies.
Seal all reinforcement doors.
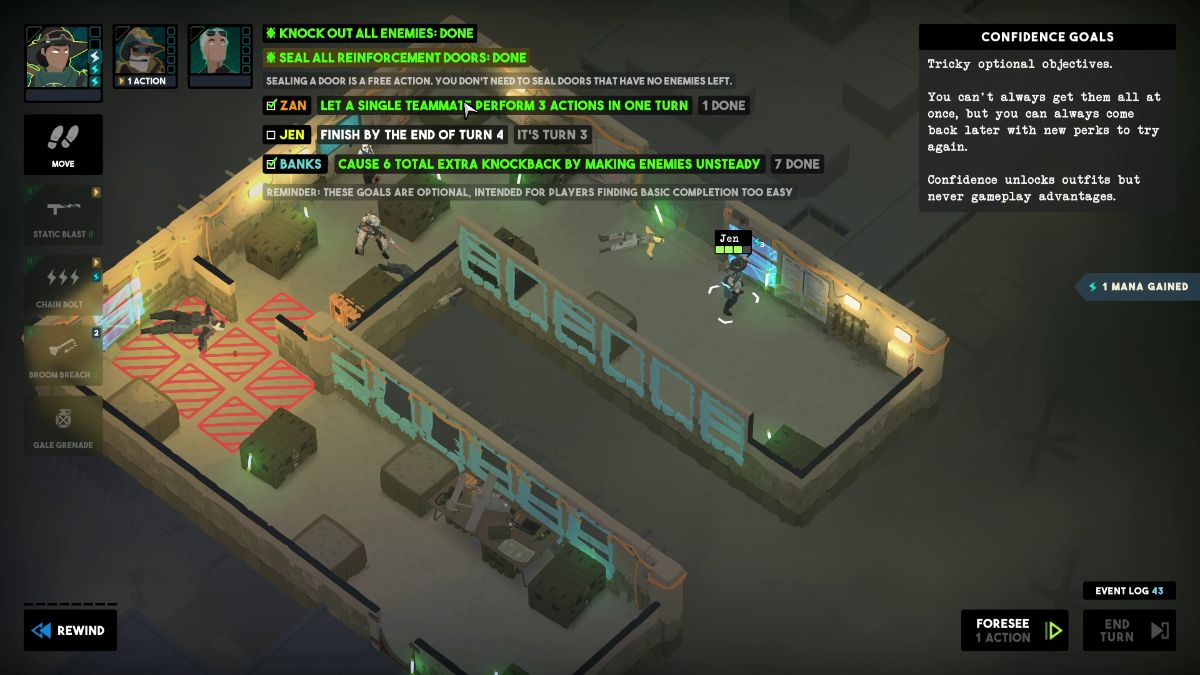
Let a single teammate perform 3 actions in one turn.
Cause 6 total extra knockback by making enemies unsteady.
Finish by the end of turn 4.
Visual Reference
Instructions
Breach with Jen and move toward the yellow area. She dies, but you can resurrect her.
With Banks, throw a Sedative Cocktail at the two lackeys near the windows and the Gunner next to the red door. Then, Place a Death’s Door behind the Gunner.
Use Jen’s Gale Grenade to defenestrate the two enemies near the windows. Then, Static Blast the remaining enemy on the left.
Move Zan to the desk with the Intel and grab it.
Give Jen a Time Boost and use her Static Blast to knock out the enemy next to the red door.
Move Jen toward the red door on the left and seal it. Here, end the first turn.
Move Jen to the bottom left corner and use Sedative Cocktail on the Gunner near her.
Then, Static Blast the Gunner once. Time Boost with Zan. And Static Blast him again to knock him out.
Move all characters out of danger and end this turn.
Use Sedative Cocktail on the enemy on the left. Then, Static Blast and 3 Bolt Burst him to knock him out.
Move Jen toward the door on the right and seal it. Foresee and end mission.
How to Clear Exit Strategy – Zone 4
Objectives
Knock out all enemies.
Seal all reinforcement doors.
Defenestrate 2 hostiles in 1 turn.
Prevent 9 reinforcements in total.
Visual Reference
Instructions
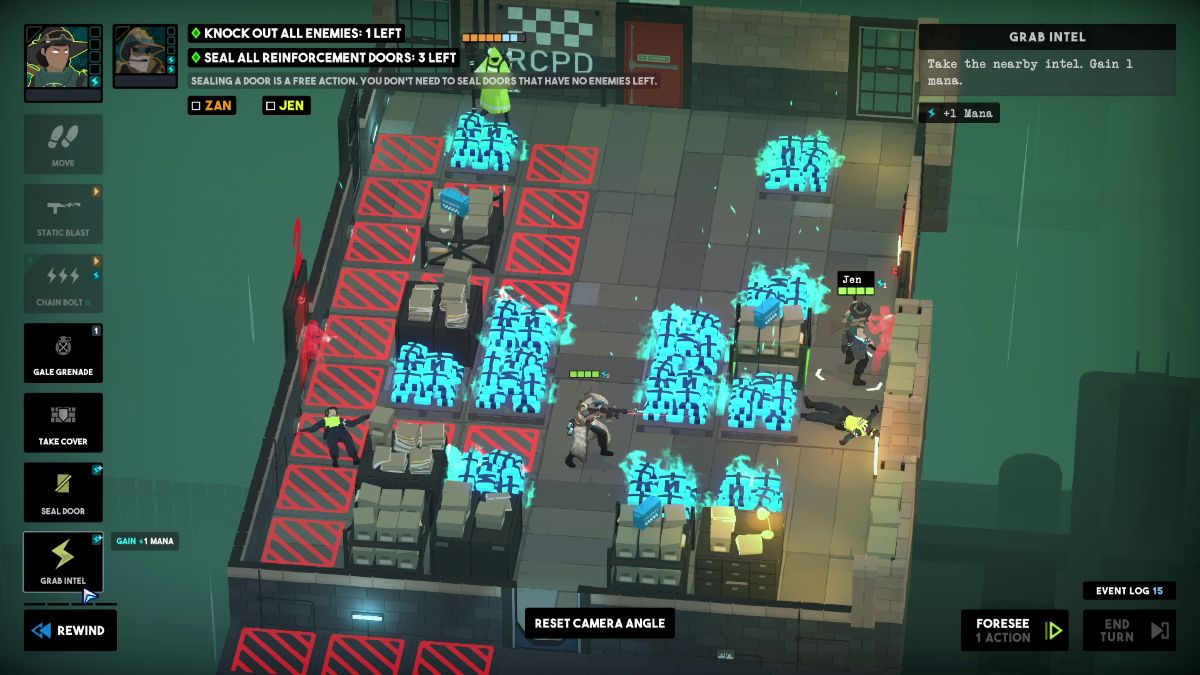
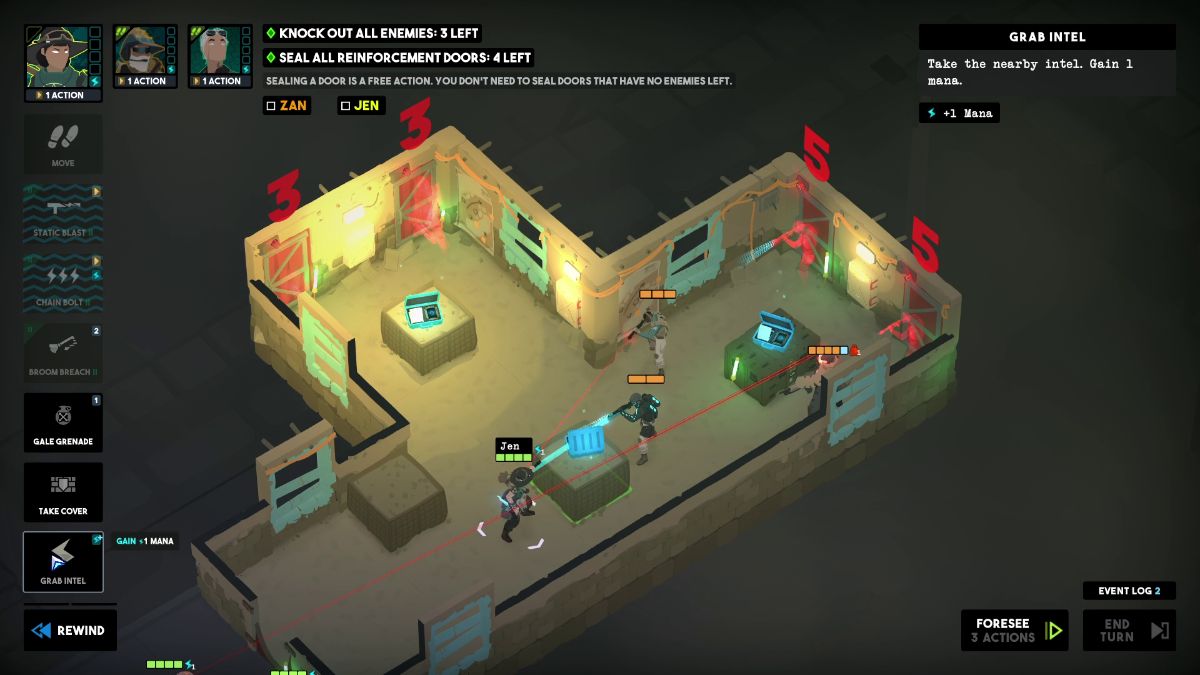
Move Jen toward the desk with Intel near the breached door and grab it.
Then, move Banks and Zan to her side.
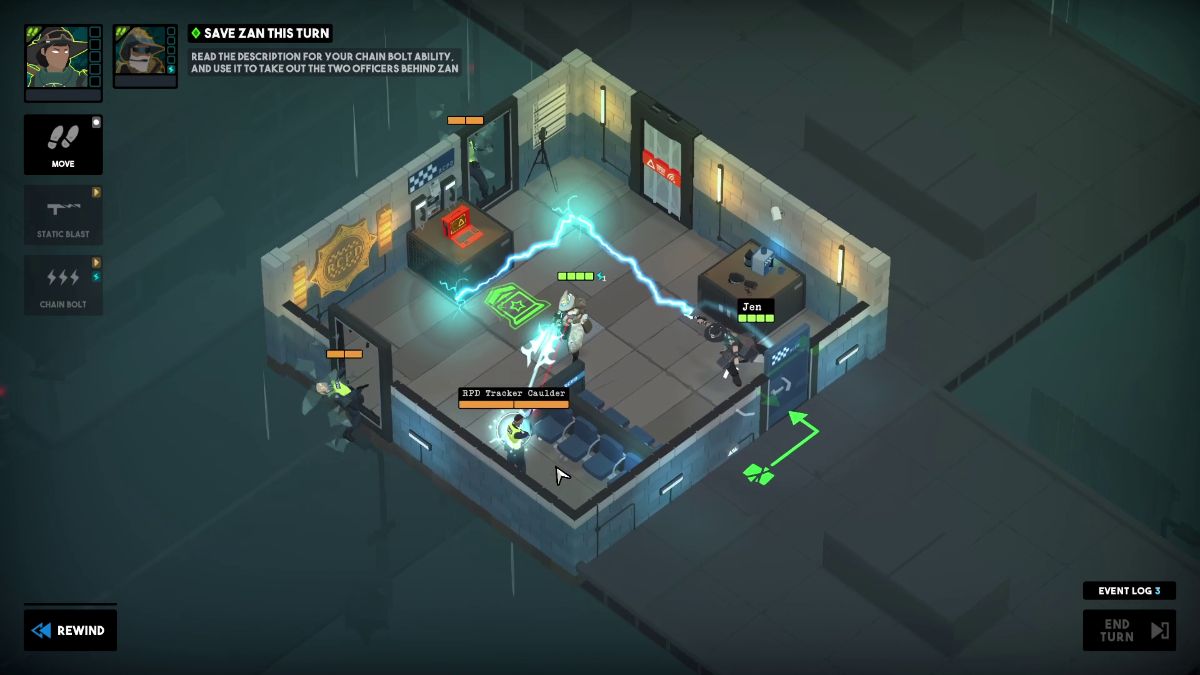
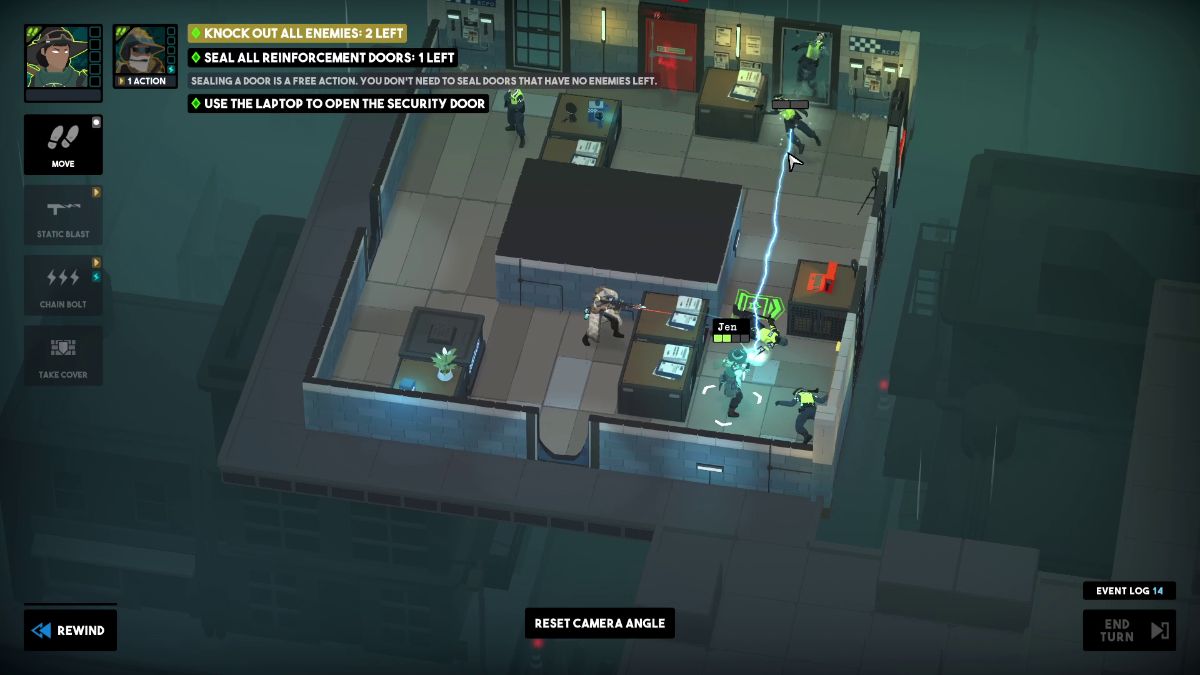
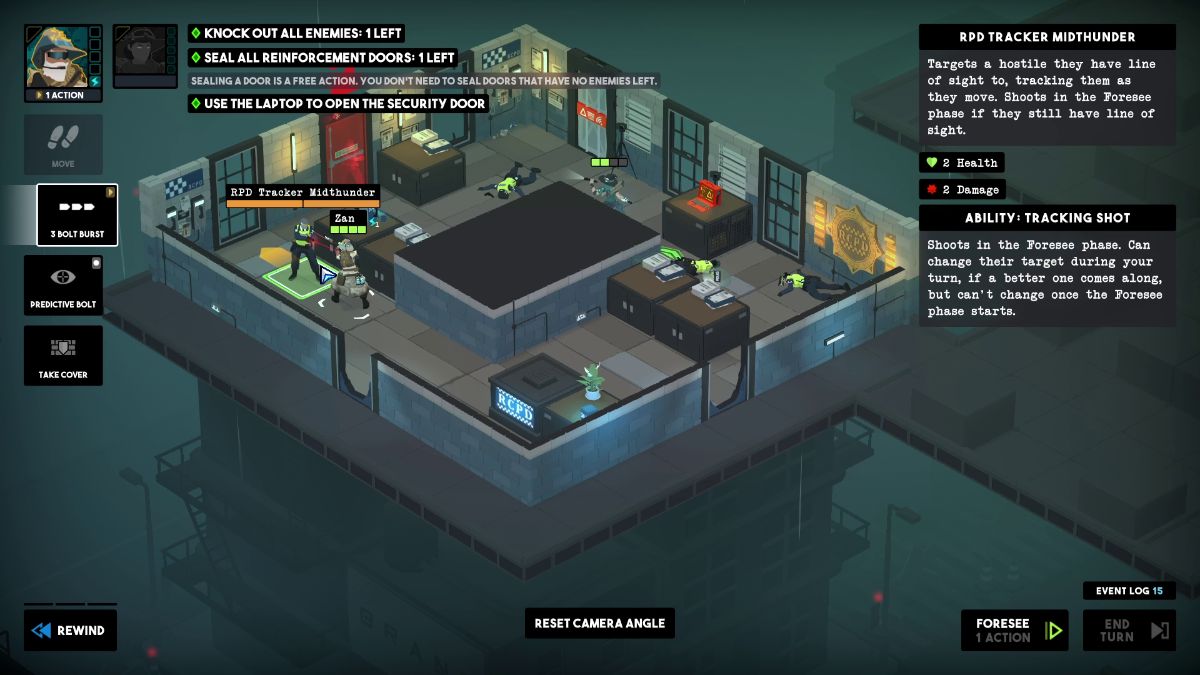
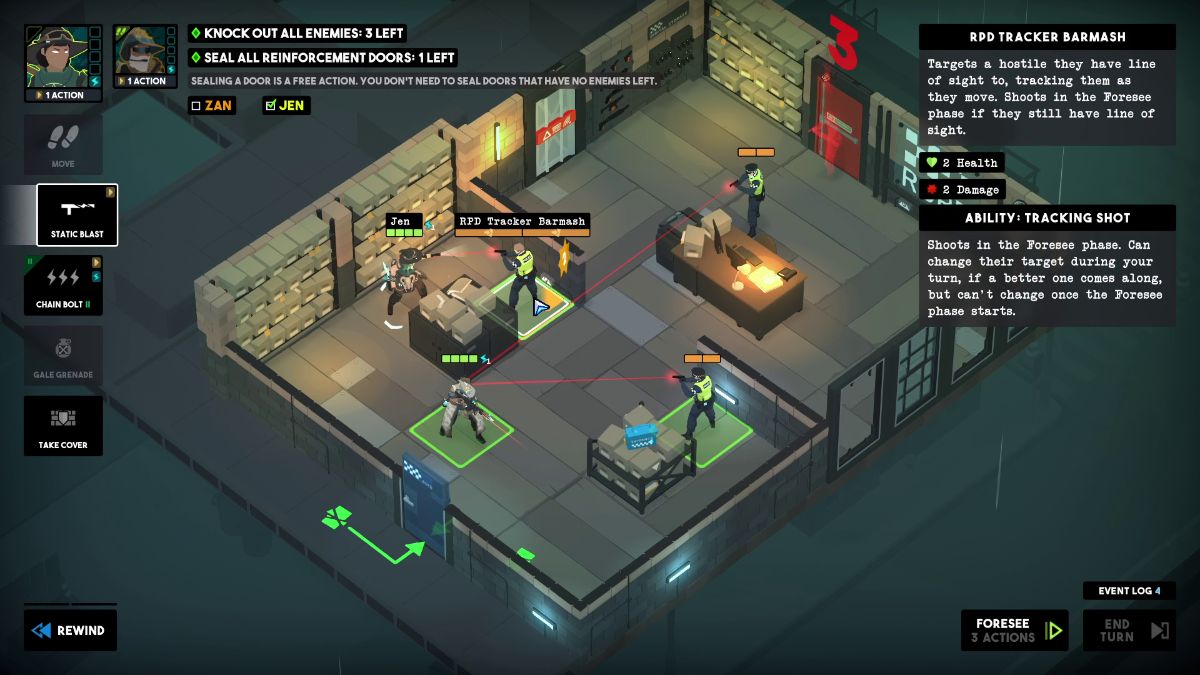
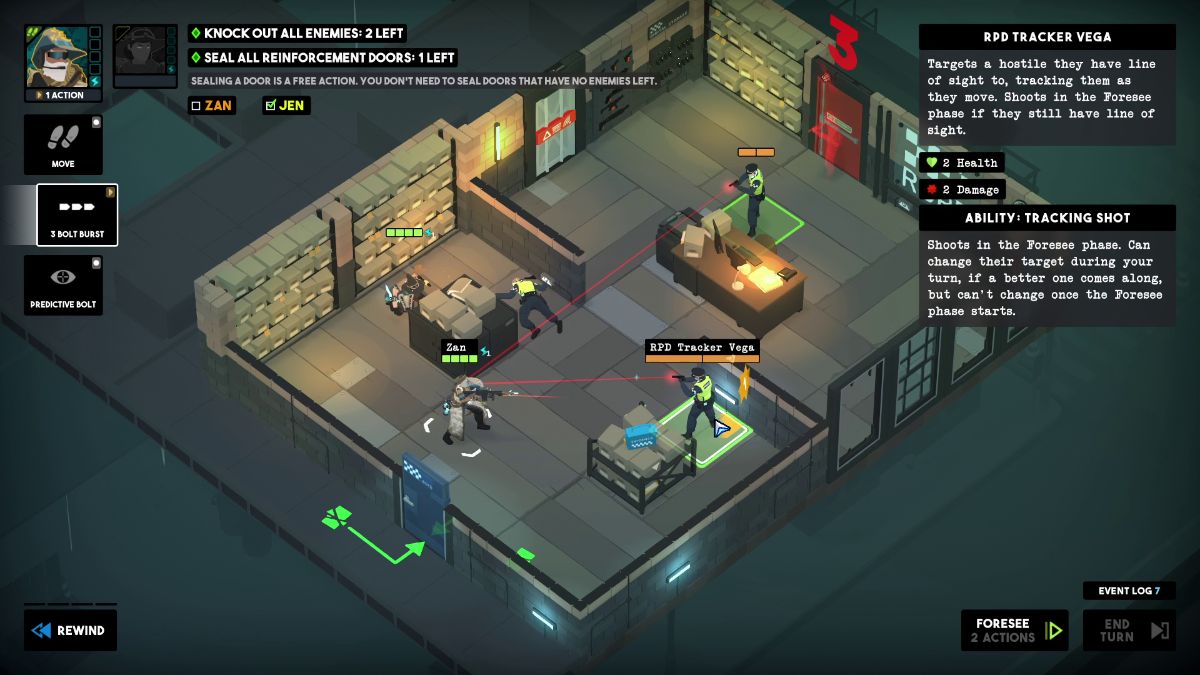
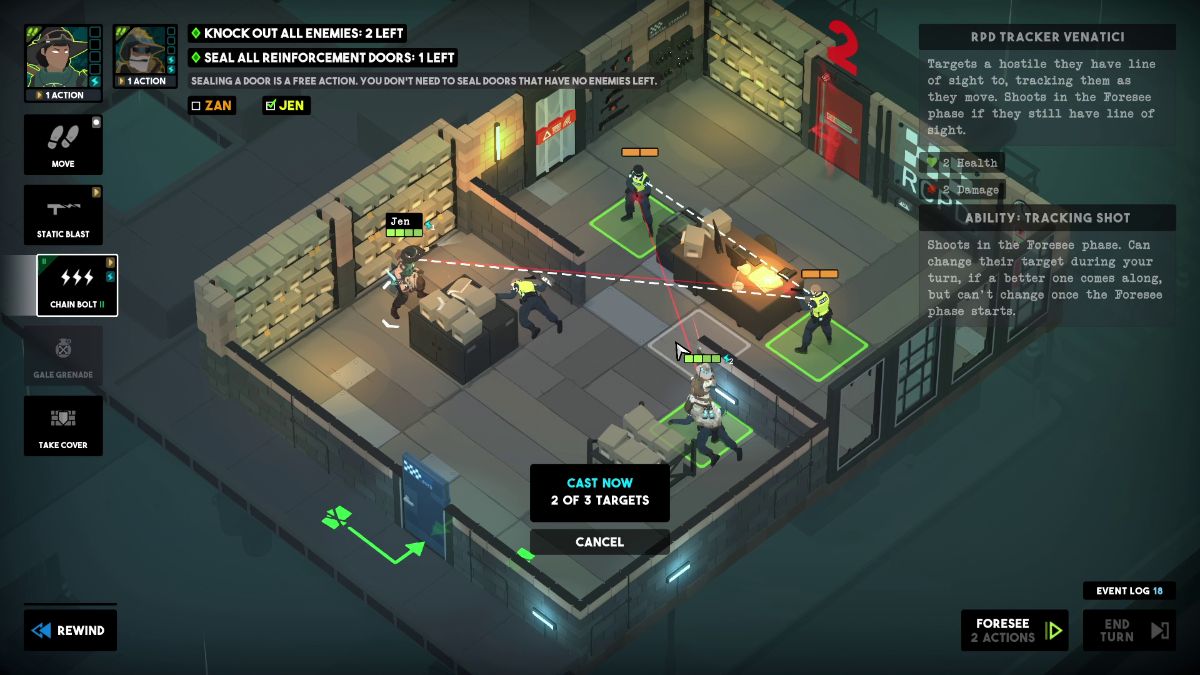
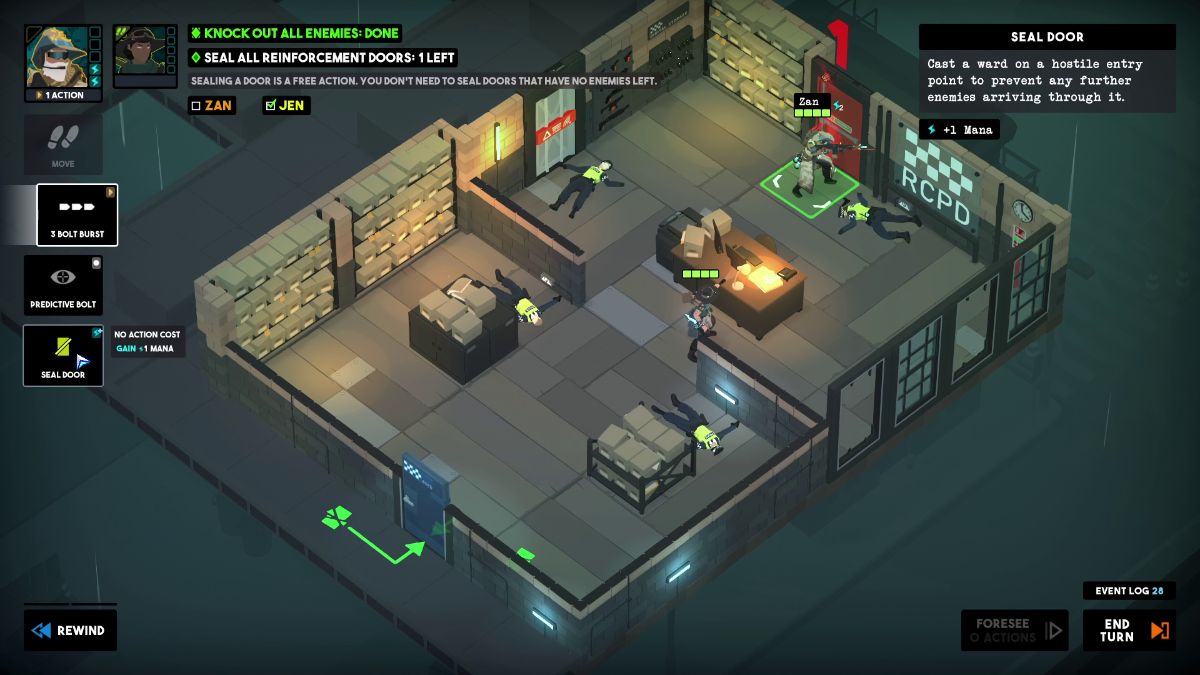
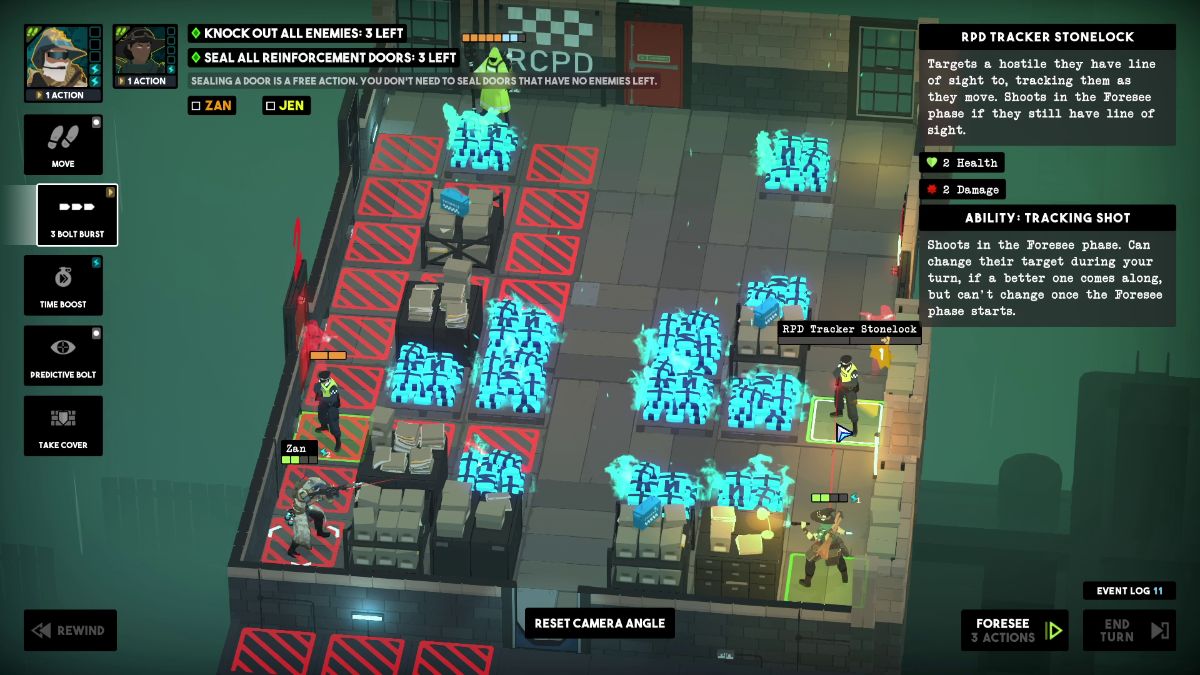
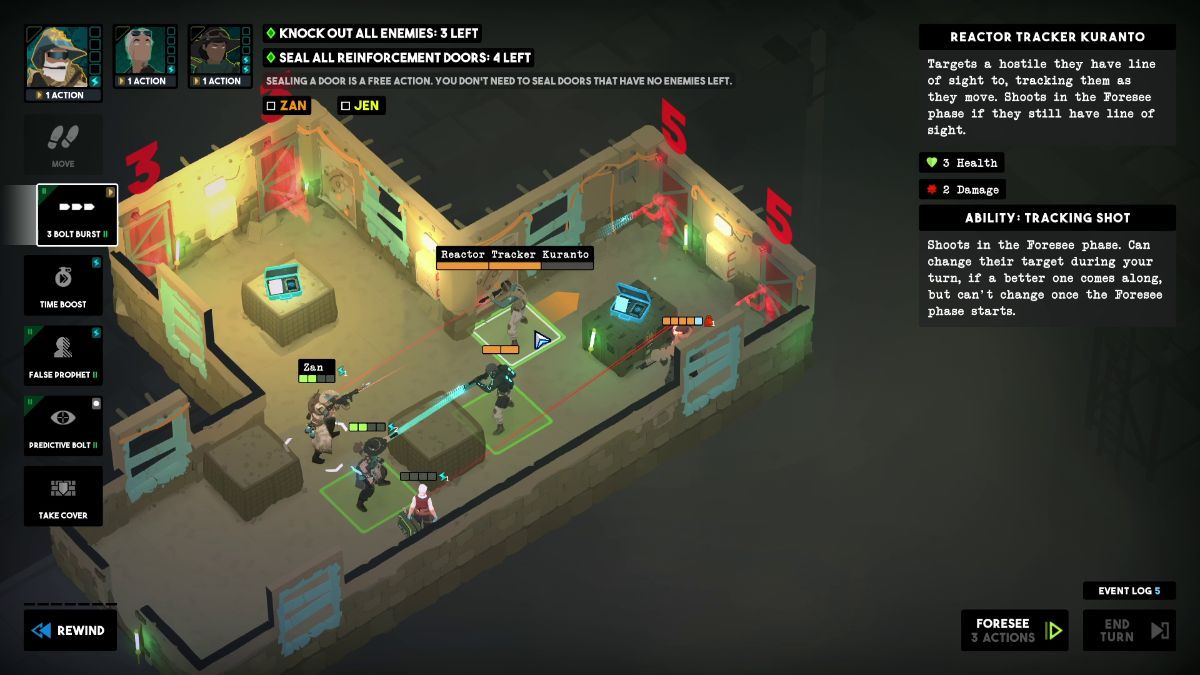
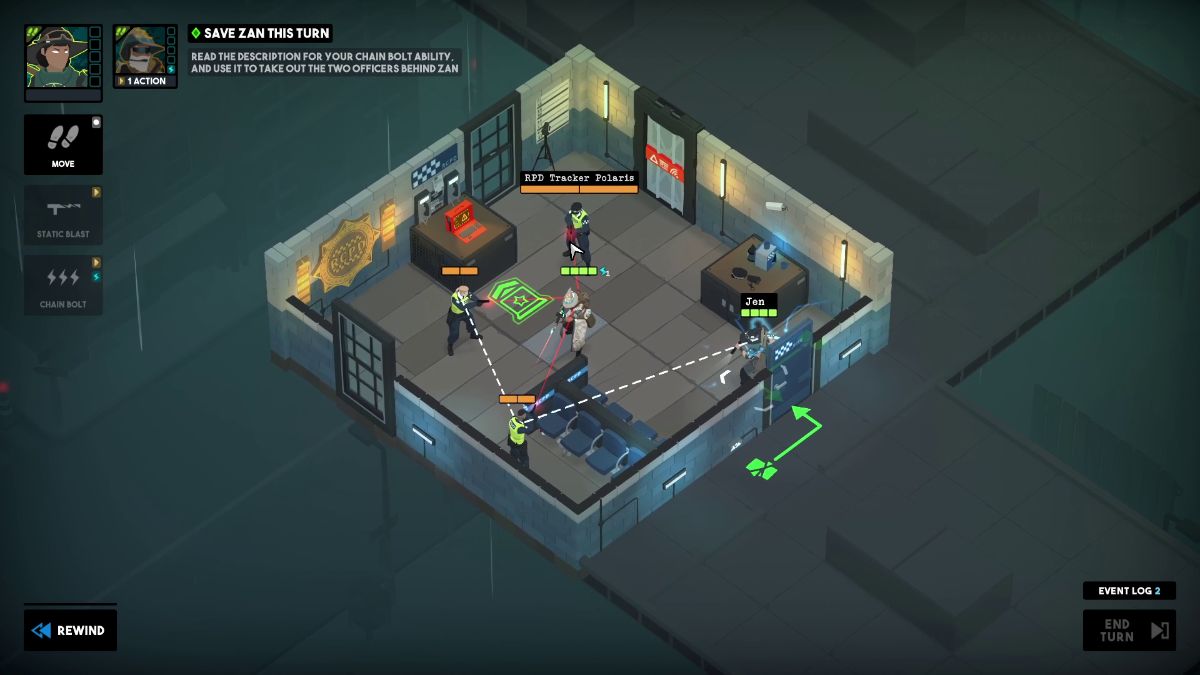
Use Zan’s 3 Bolt Burst to push the Tracker enemy toward the window.
Use Banks’ Sedative Cocktail to Unsteady the Gunner and the Tracker.
Throw Jen’s Gale Grenade at the desk in between the enemies to defenestrate them.
Send Zan’s False Prophet to the spot behind the Neutraliser to distract him.
Use Jen’s Static Blast to beat the Neutraliser. RIP False Prophet.
Move Jen toward the door on the left to seal it.
Use Zan’s Predictive Bolt on the door to the right to knock out an enemy on the next turn. Time to end this turn.
Move Jen to the door on the right to seal it.
Move Zan to the door to his right and seal it.
Move Banks in front of the desk with intel to her left.
Use Transference to defend Jen and transfer the damage to the Gunner. Then, resurrect Jen.
Throw a Sedative Bolt at the remaining enemy.
Then, place Death’s Door behind him and have Zan 3 Bolt Burst him. End this turn here.
Seal the last door with Zan and deal with the remaining enemy. I pushed him with 3 Bolt Burst and a False Prophet, then ended him with Jen’s Static Bolt.
How to Clear Exit Strategy – Zone 3
Objectives
Knock out all enemies.
Seal all reinforcement doors.
Don’t let anyone sound the alarm.
Transfer 4 damage at once.
Finish by the end of turn 2.
Visual Reference
Instructions
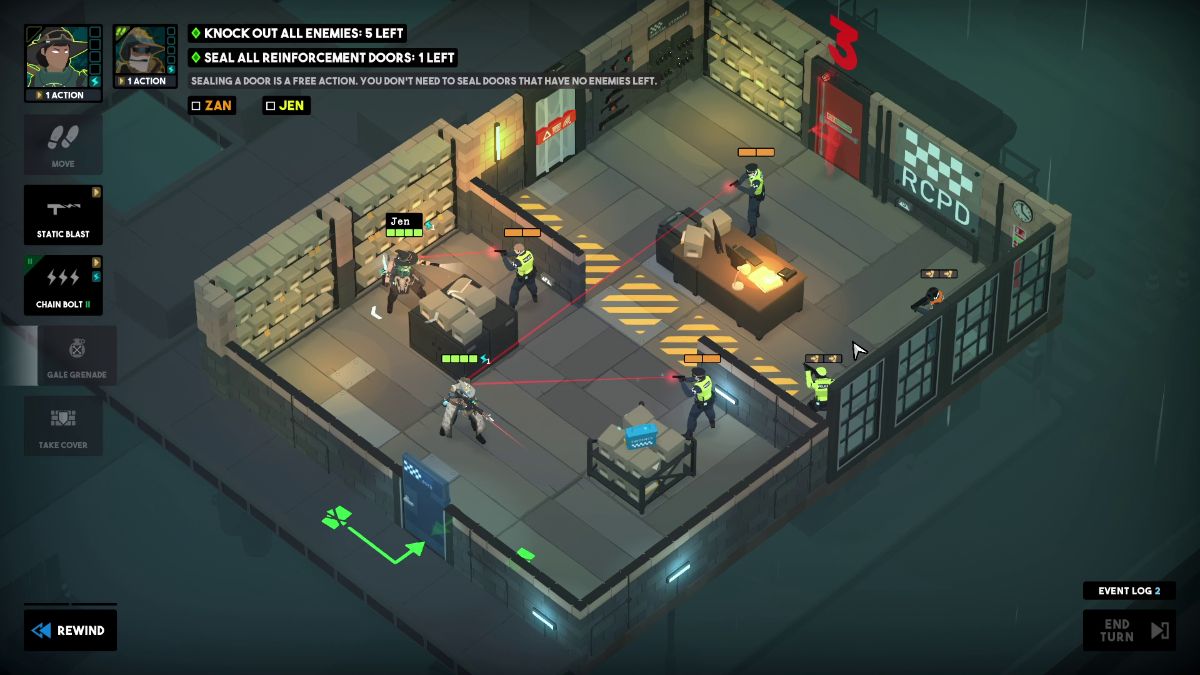
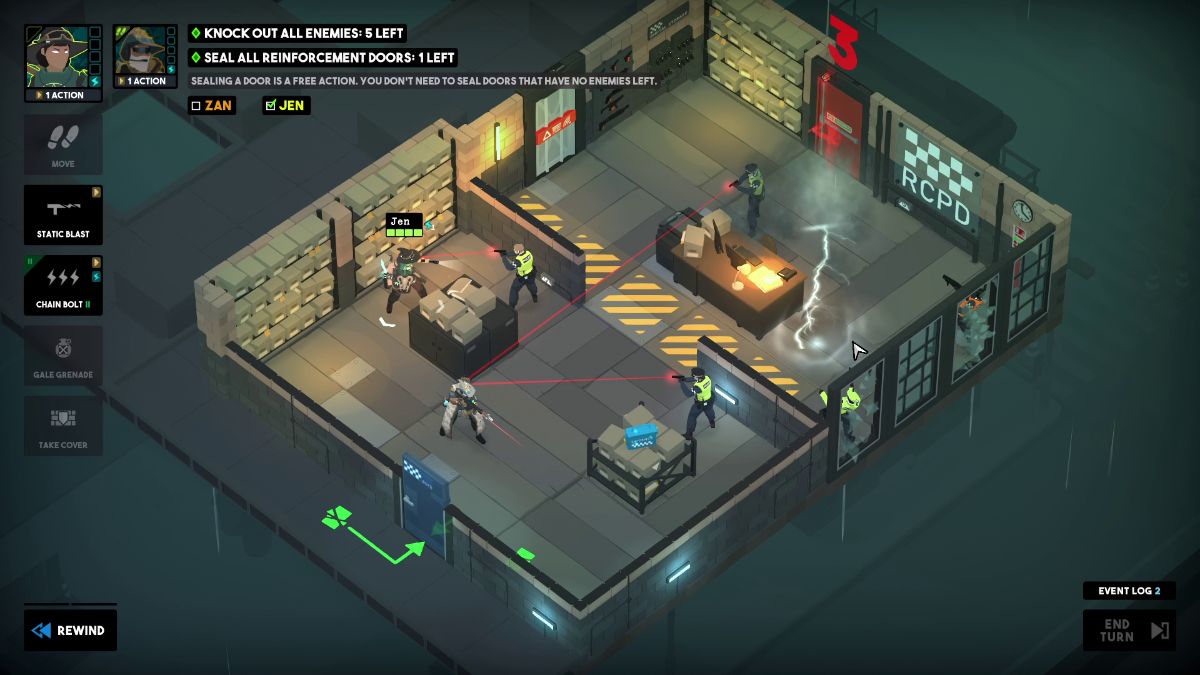
Breach with Jen and move as close to the red door on the left as you can.
Move Zan to the space in between desks on the right.
Static Blast the Neutraliser aiming at Zan.
Breach with Banks. Then, use Transference to protect Jen and transfer the damage to the Gunner.
Then, move near Jen and use Resurrect on her.
Use Gale Grenade to push Jen toward the door on the left and seal it.
Then, use your gained movement to seal the door on the right.
The Pyromancer – Tactical Breach Wizards
Screenshot by Bonus Action
The Pyromancer
How to Beat the Pyromancer
Objectives
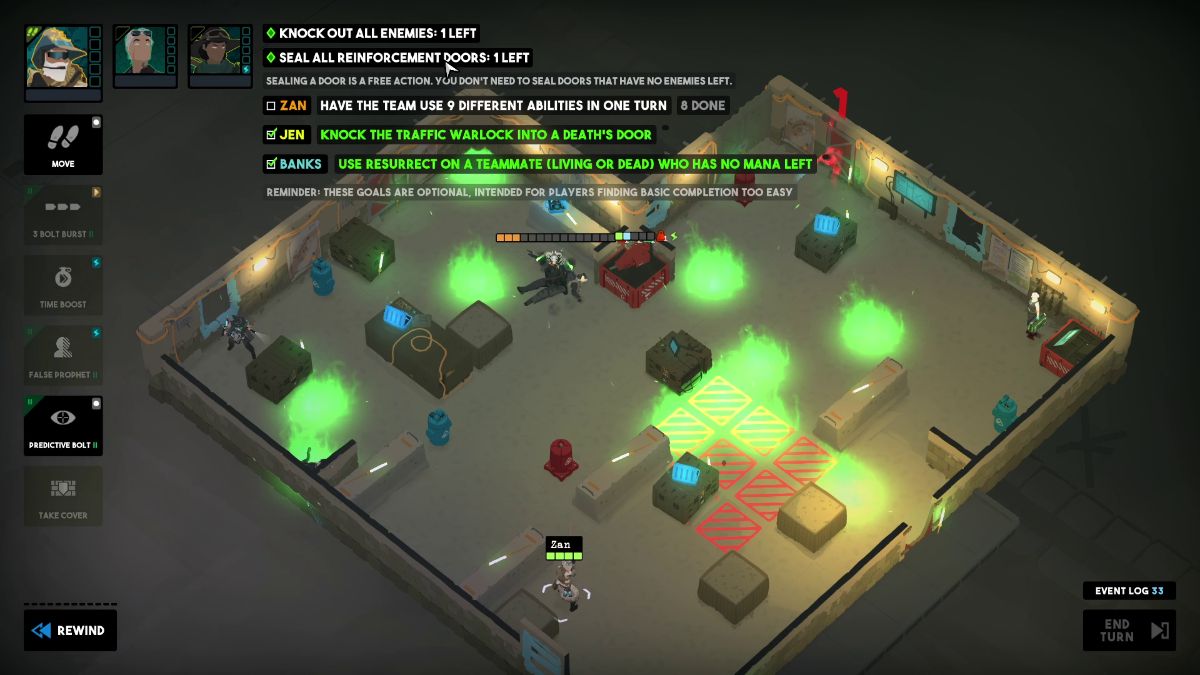
Knock out all enemies
Seal reinforcement doors
Have the team use 9 different abilities in one turn
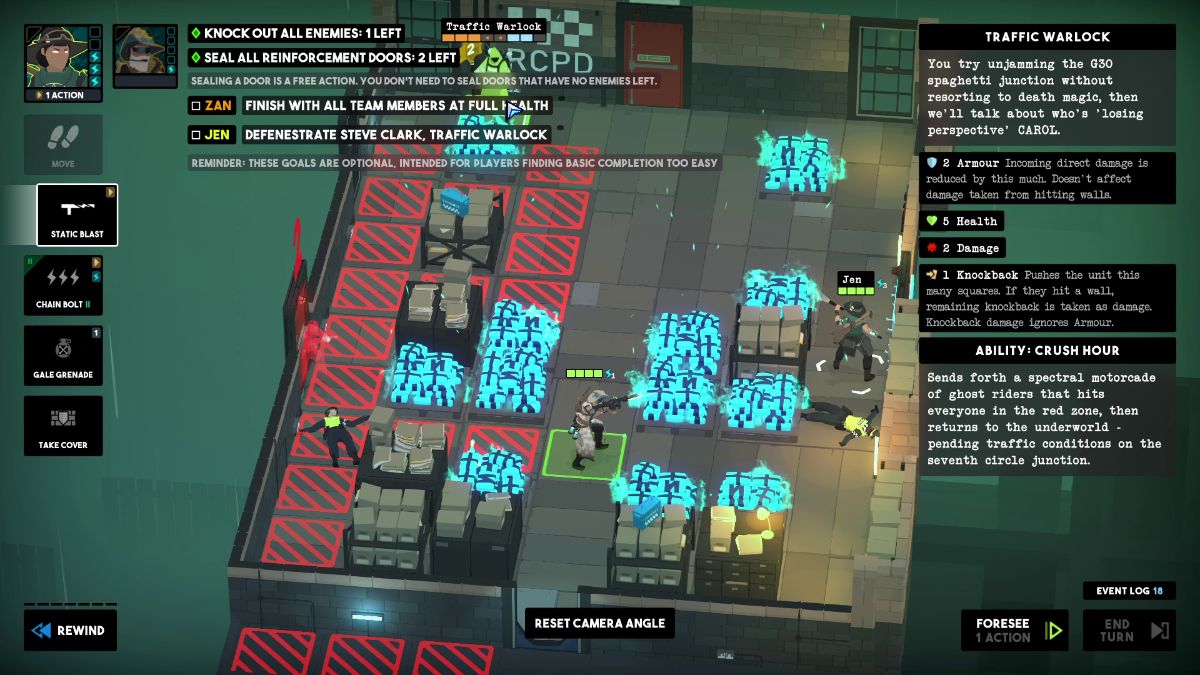
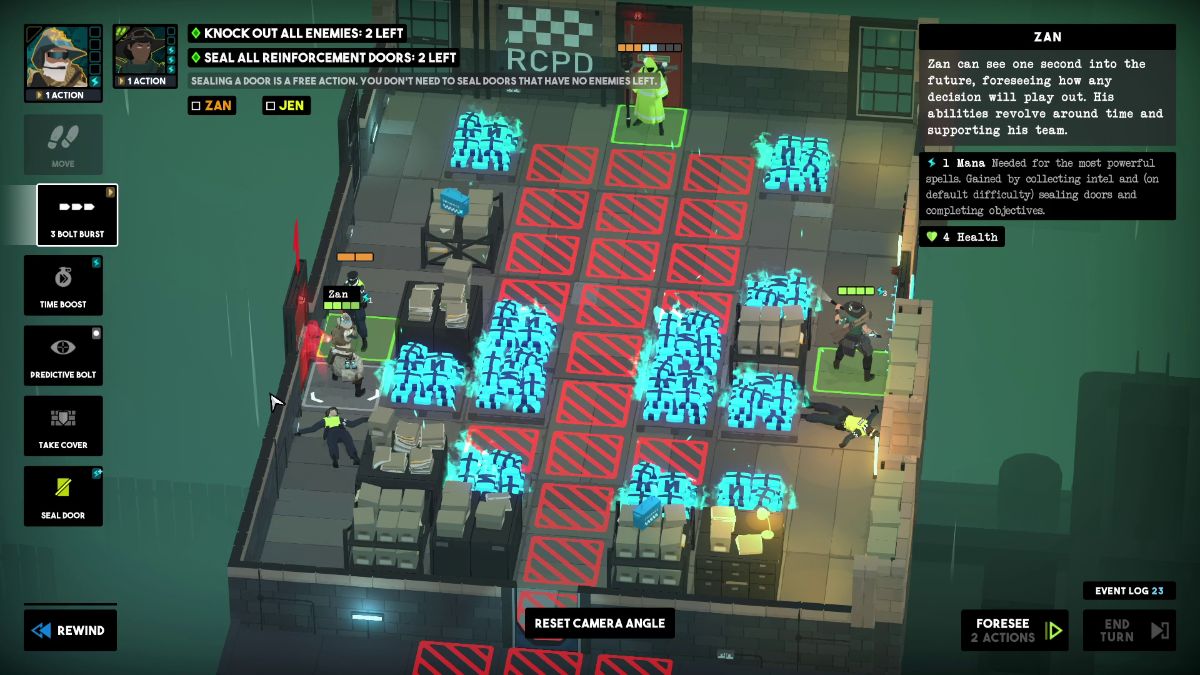
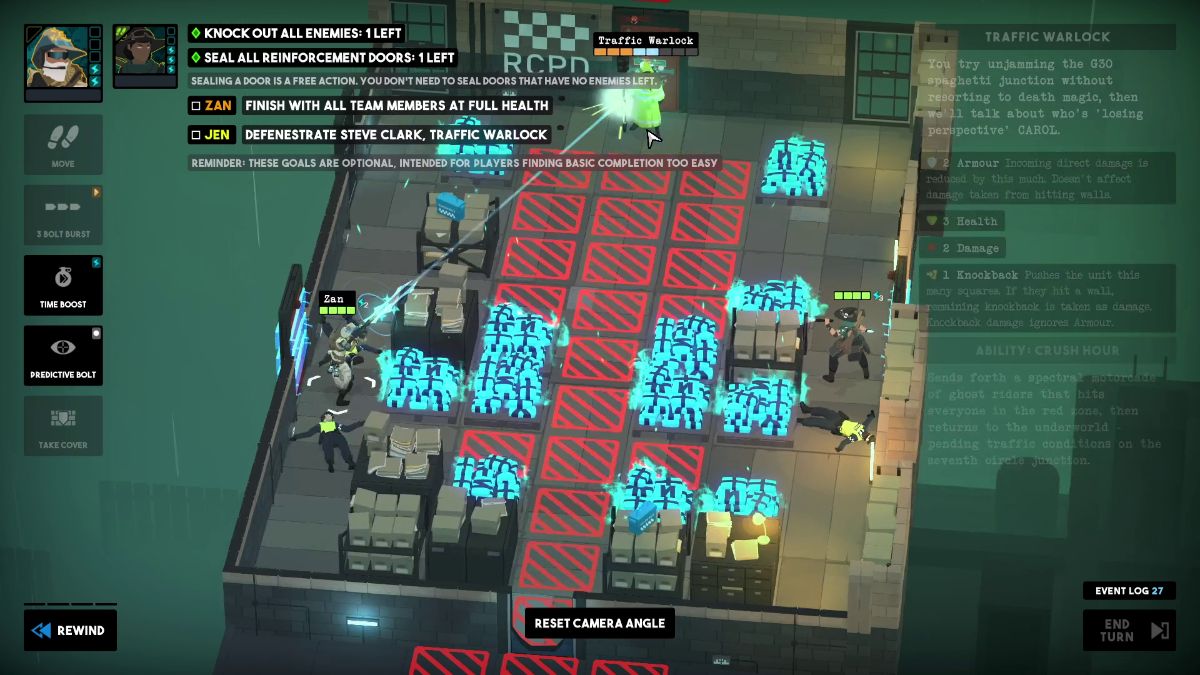
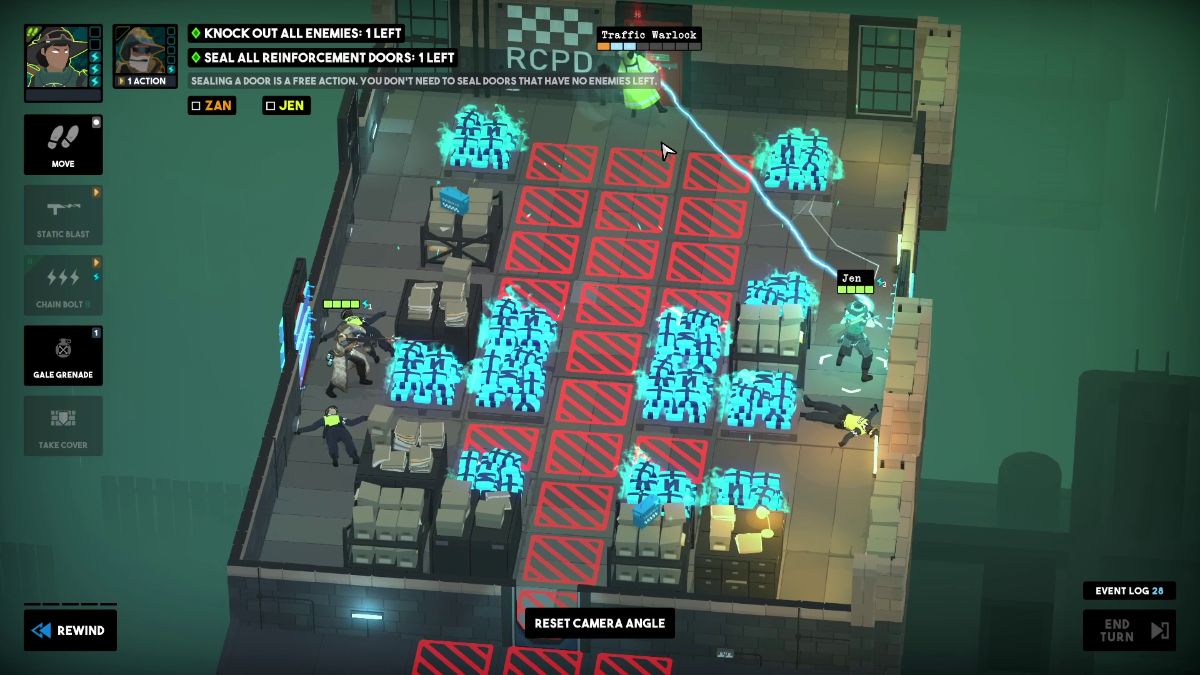
Knock the Traffic Warlock into a Death’s Door
Use Resurrect on a teammate who has no mana left
Visual Reference
Instructions
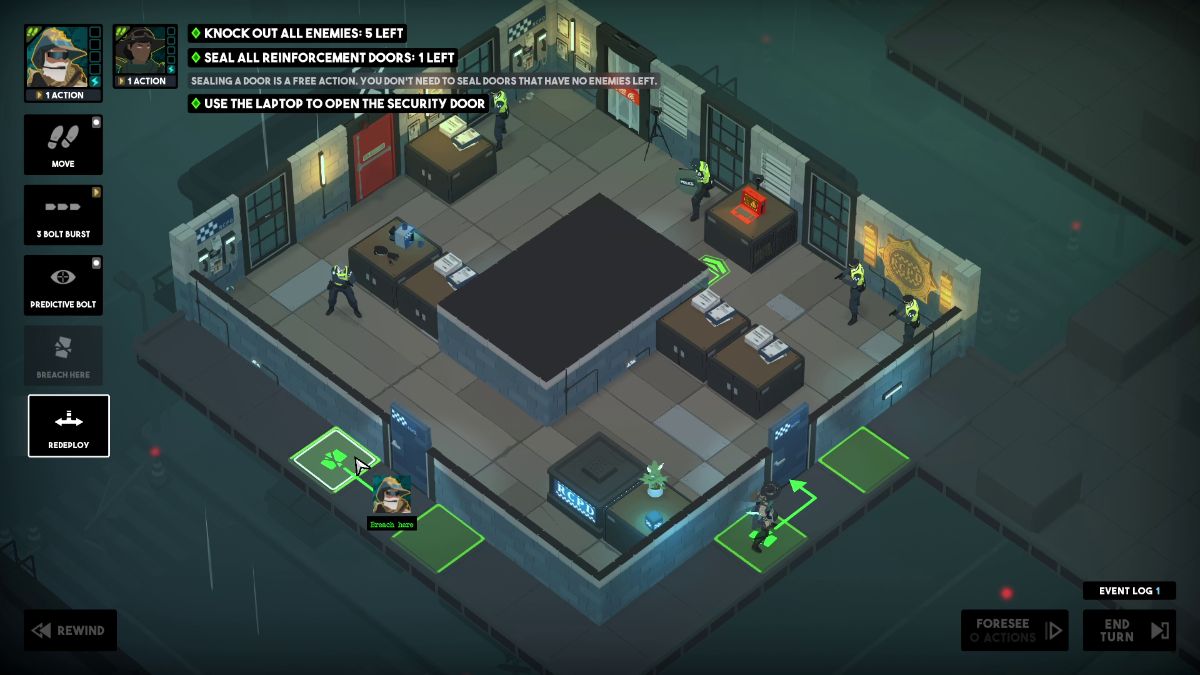
Redeploy Jen next to Banks and breach with them.
Move Jen to the desk in front of the breached door and move Banks to the desk with Intel on the right. Pick it up.
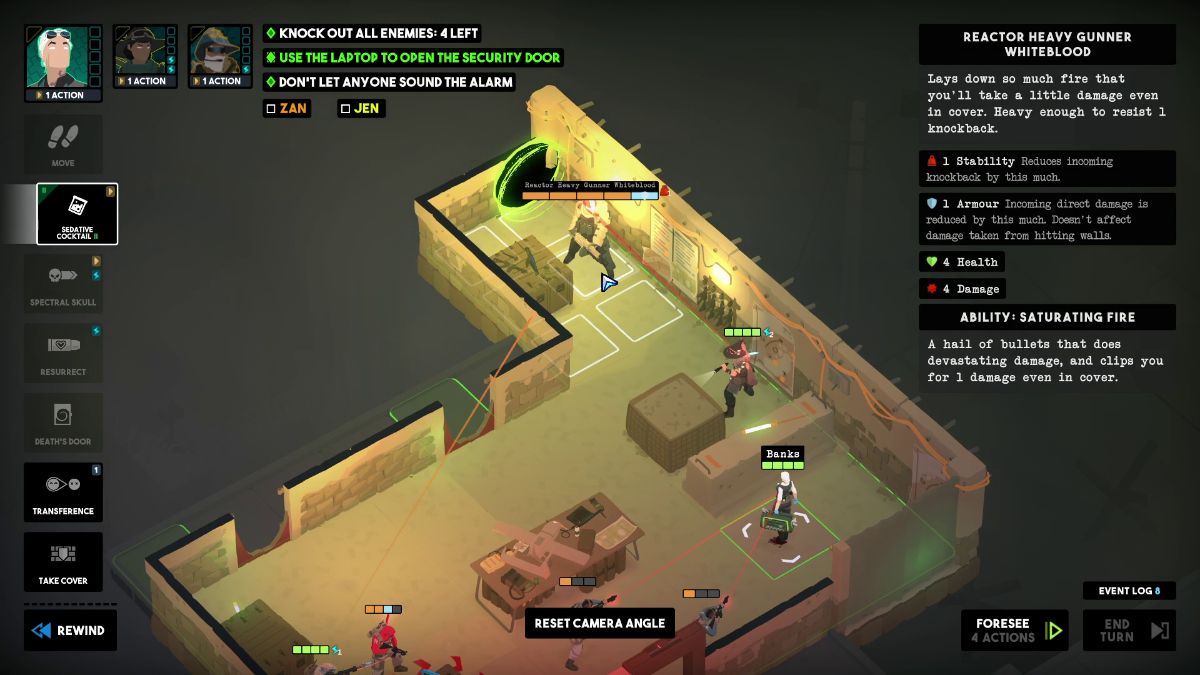
Place a Death’s Door behind the Traffic Warlock and throw a Sedative Cocktail to Unsteady him.
Breach with Zan and move him behind the desk with Intel on the left. Pick it up.
Use Zen’s Gale Grenade and Static Blast to push the Traffic Warlock inside the Death’s Door portal. Take cover with all characters and end this turn.
Use Jen’s Chain Bolt on the Explosive Barrel, the Pyromancer, and the Neutraliser.
Then, move her toward the desk with Intel on the right. Here, Static Blast the Pyromancer.
With Banks, resurrect Jen. Use this turn to Hack the turret as well.
Use Banks’ Spectral Skull to damage both remaining enemies.
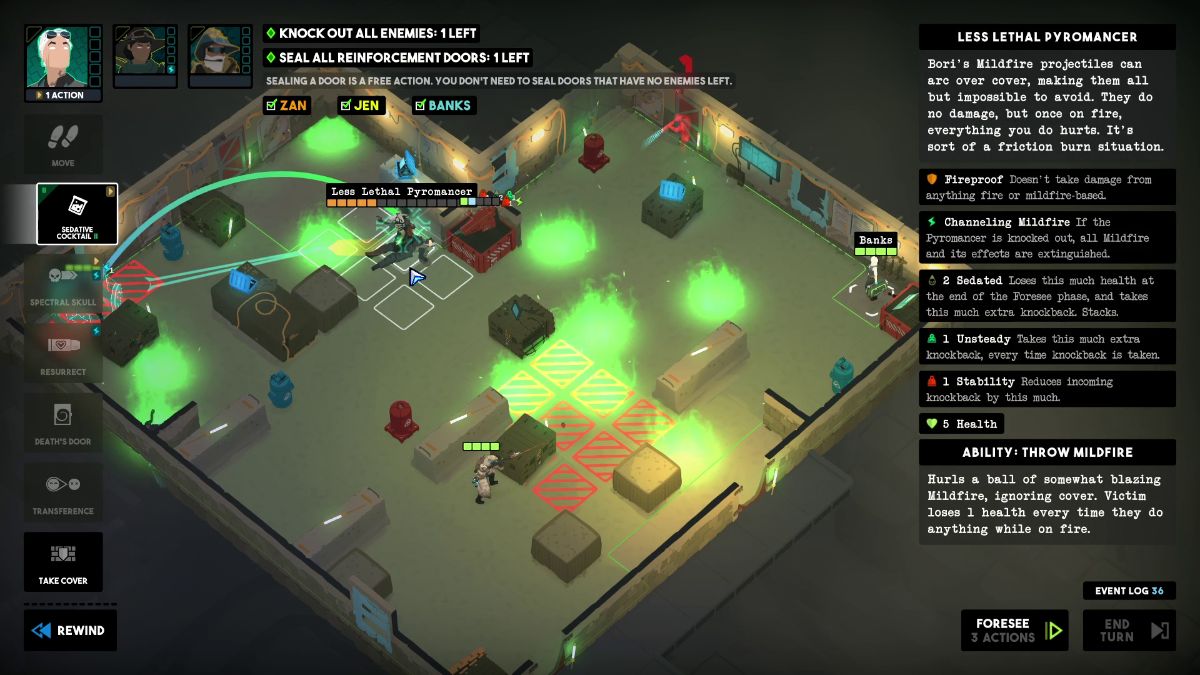
Time Boost Banks and have her throw Sedative Cocktail at the Lethal Pyromancer.
With Zan, 3 Bolt Burst the Pyromancer.
Move Zan toward the remaining Intel and pick it up. Time Boost Banks.
Throw a second Sedative Cocktail to the Pyromancer. End this turn here.
If you need an extra skill to cross off Zan’s confidence objective, use Transference on Jen.
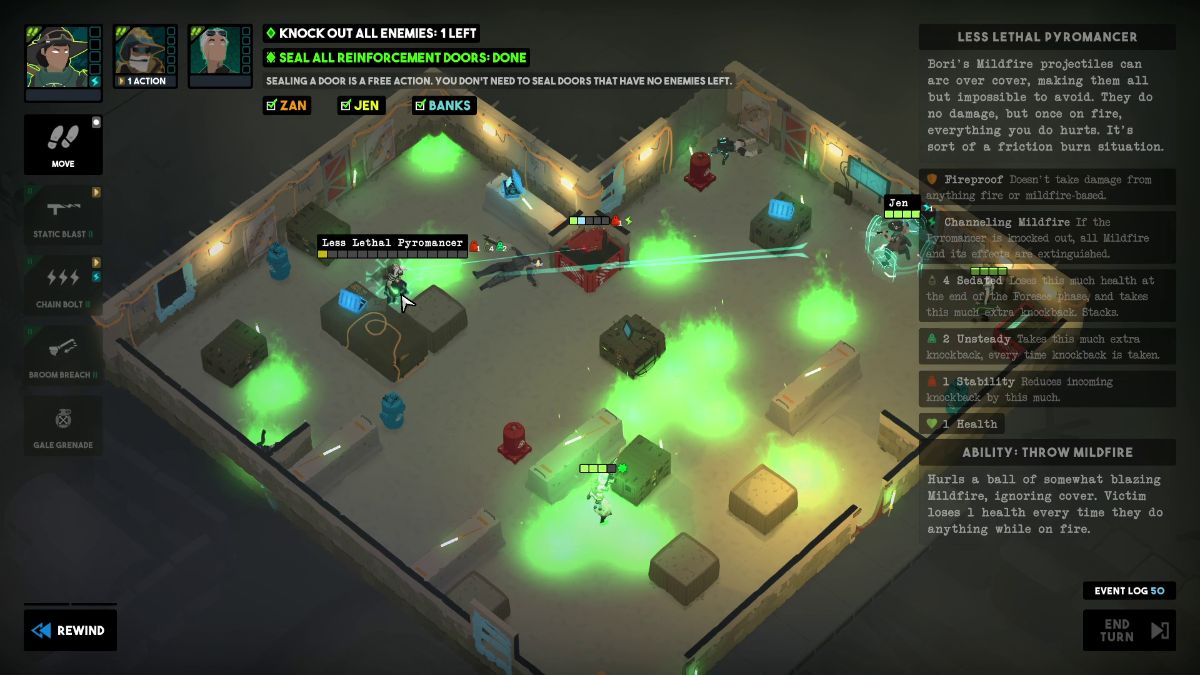
In the next turn, throw a Sedative Cocktail at the Neutraliser and let Zan end him.
Then, Static Blast the Pyromancer and end the mission.
New Perk
Death’s Door: Intercept
If the target is pushed to the tile before the Portal, it gets sucked in.
Anxiety Dream: Jen – Tactical Breach Wizards
Screenshot by Bonus Action
Zone 1
Zone 2
Zone 3
Zone 4
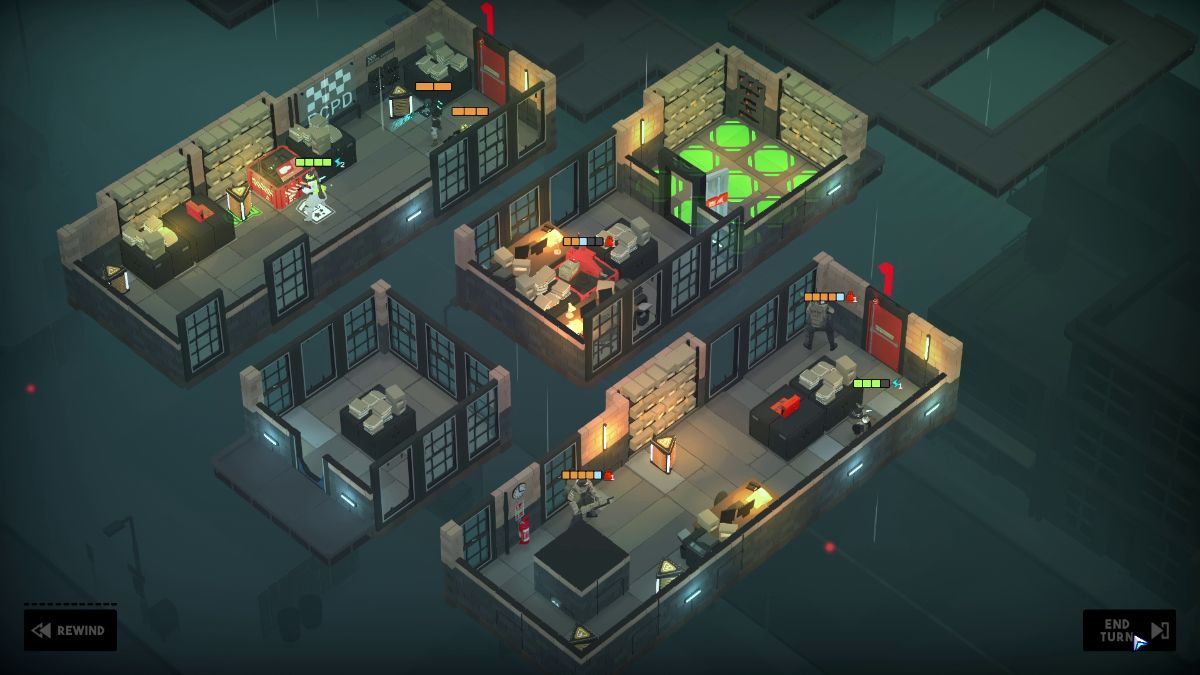
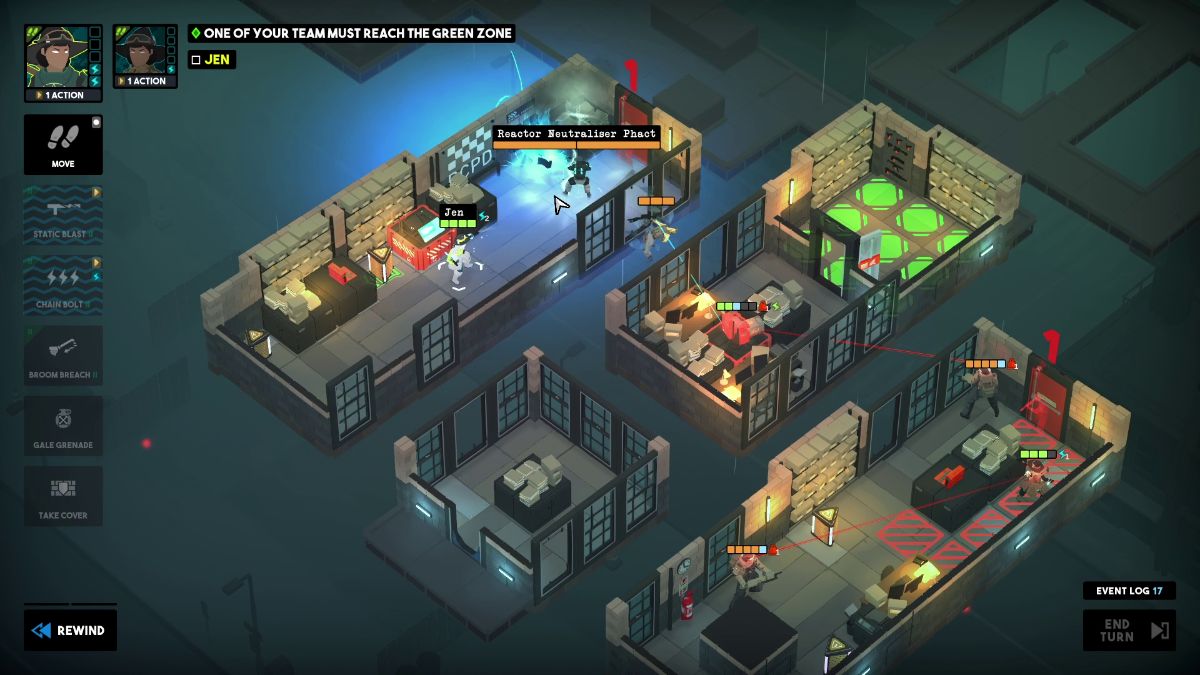
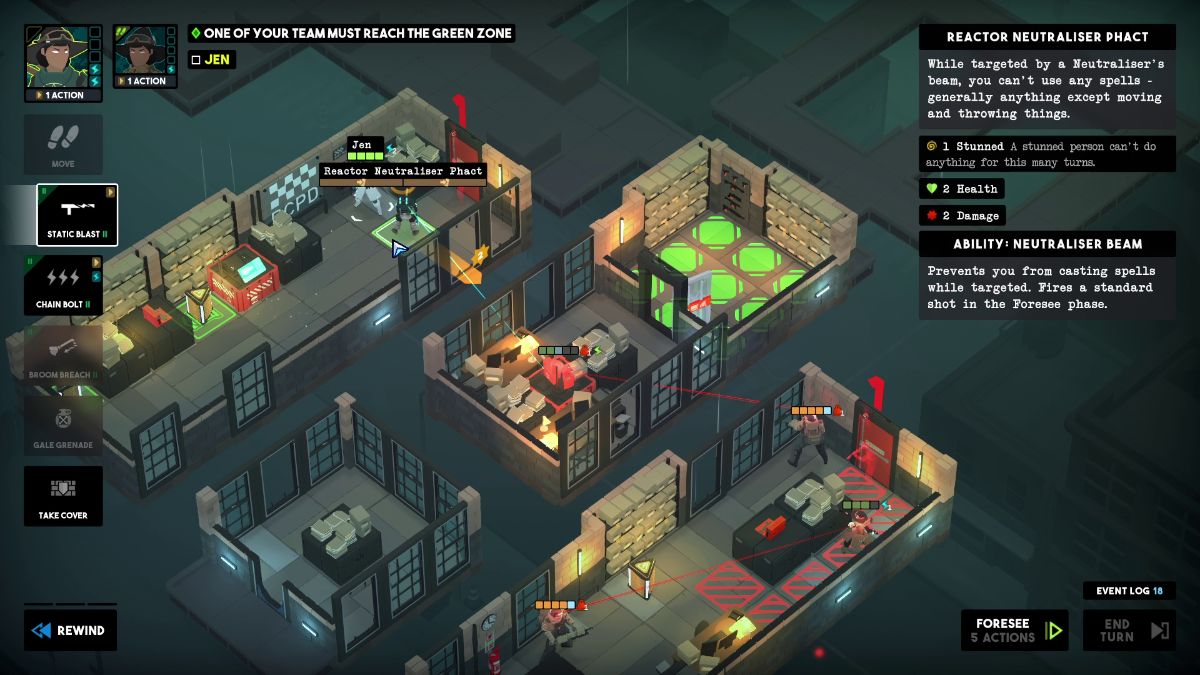
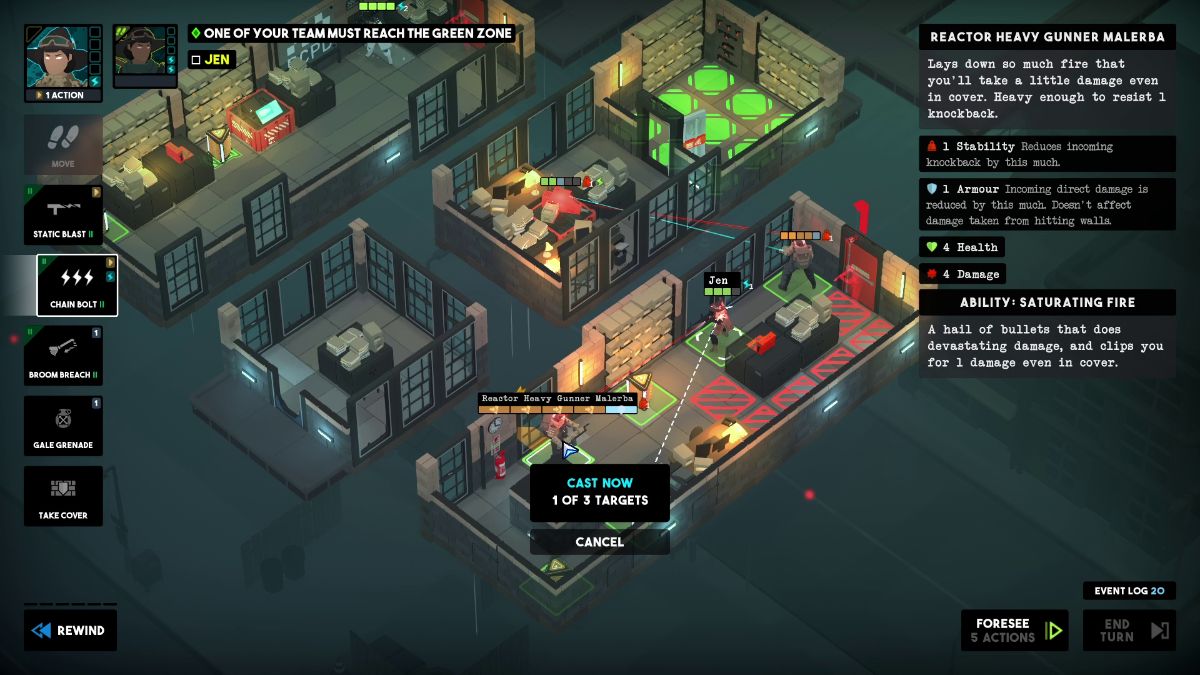
How to Clear Anxiety Dream – Zone 1
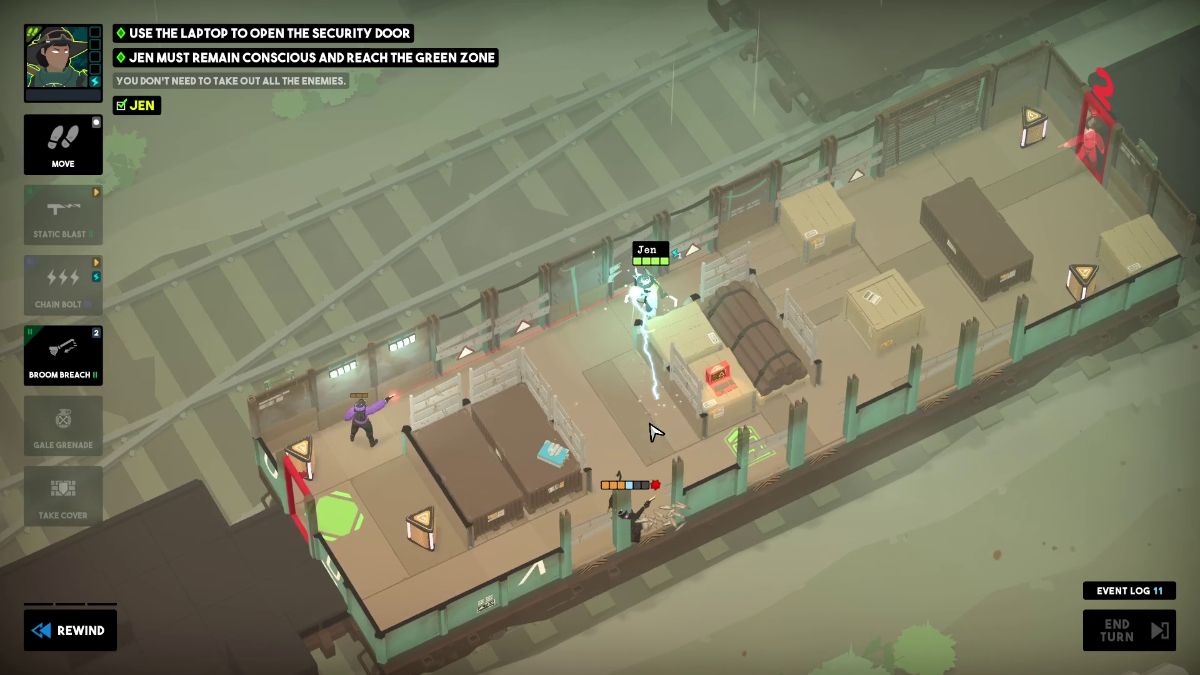
Objectives
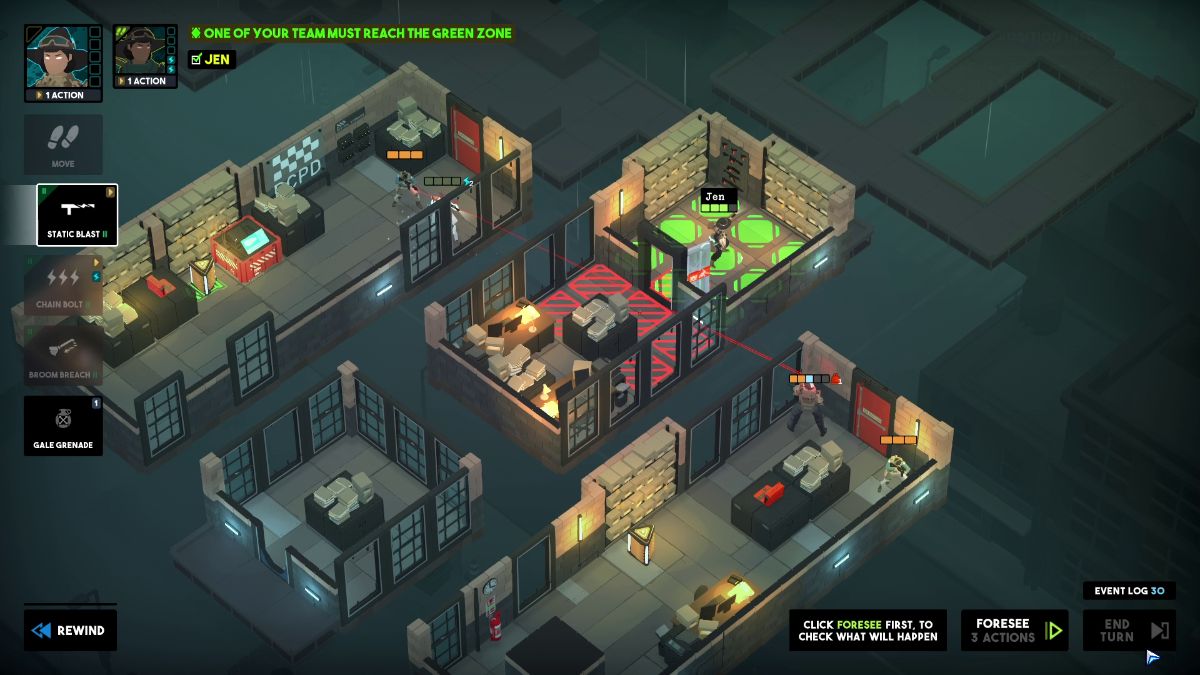
One of your team must reach the green zone
Defenestrate 3 hostiles in one turn
Visual Reference
Instructions
Broom Breach with one Jen to the window in front of the laptop on the right.
Then, Broom Breach behind the Reactor on the left and stand in front of the turret panel.
With the other Jen, Broom Breach to the room on the right and take cover from the turret. End the turn here.
With the Jen on the left, throw Gale Grenade to defenestrate the Reactor. Then, hack the turret.
Once that’s done, stand behind the Neutraliser and Static Blast him into oblivion.
With the Jen on the right, stand next to the laptop and Chain Bolt the barrel and the Gunner to defenestrate him.
Then, Broom Breach to the room with the turret.
In the next turn, move the Jen in the center to the green zone and end the mission.
How to Clear Anxiety Dream – Zone 2
Objectives
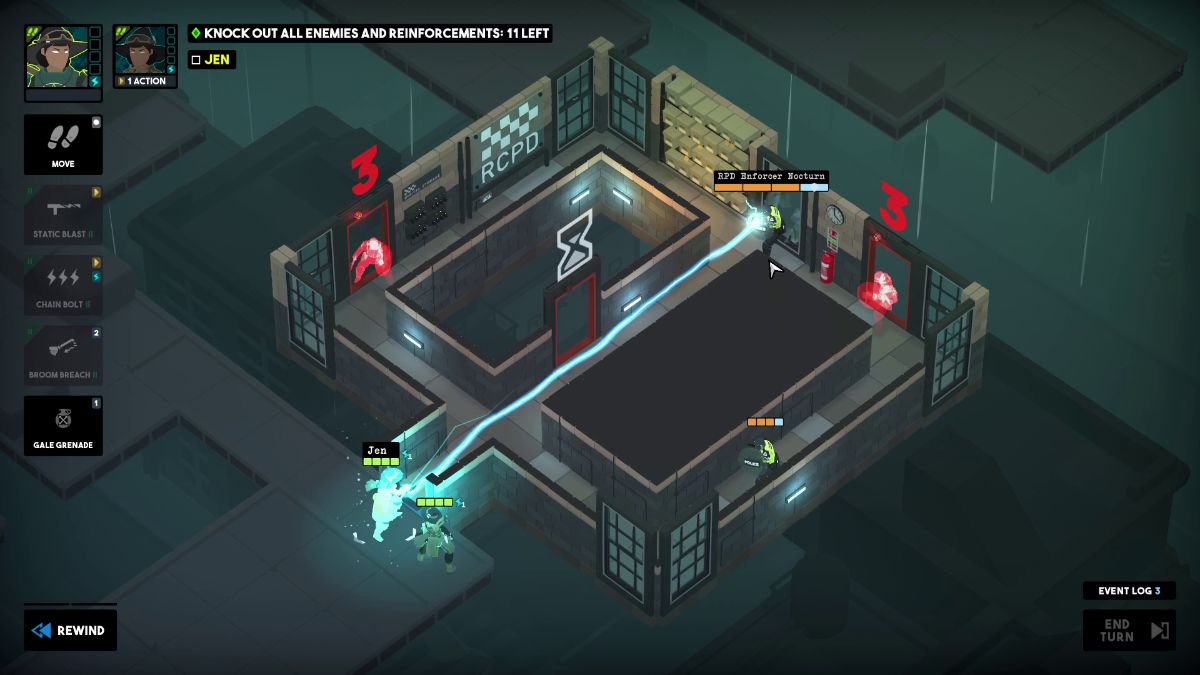
Knock out all enemies and reinforcements.
Defenestrate at least 100 of the hostiles you take out.
Visual Reference
Instructions
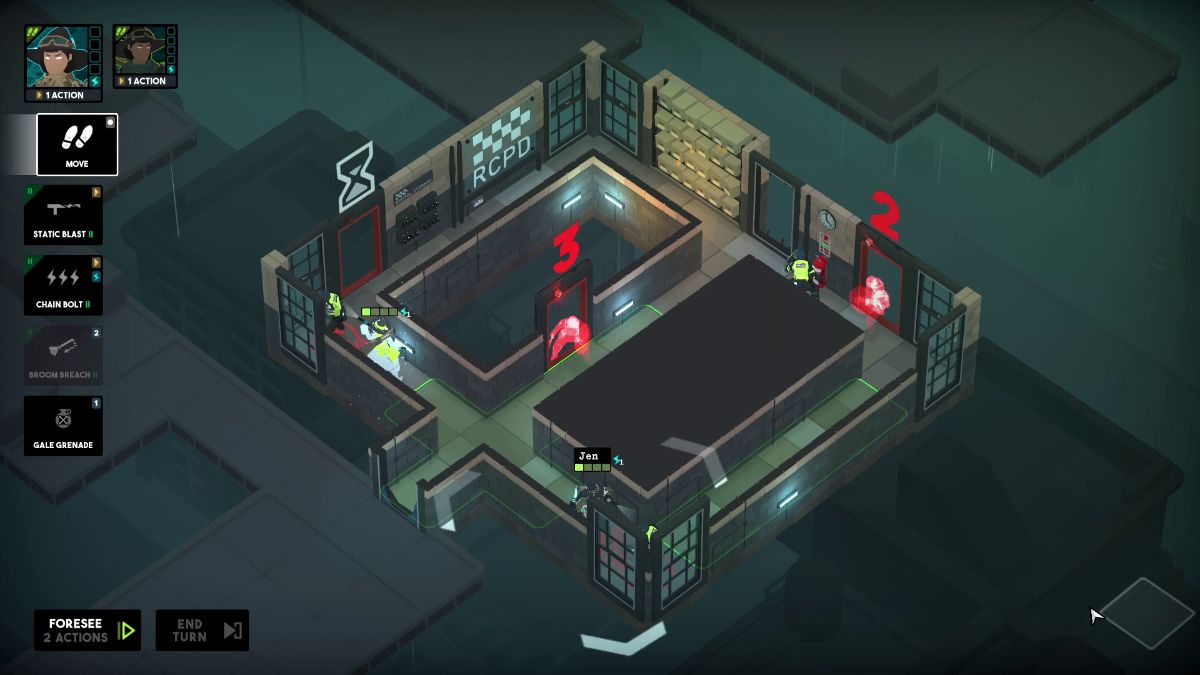
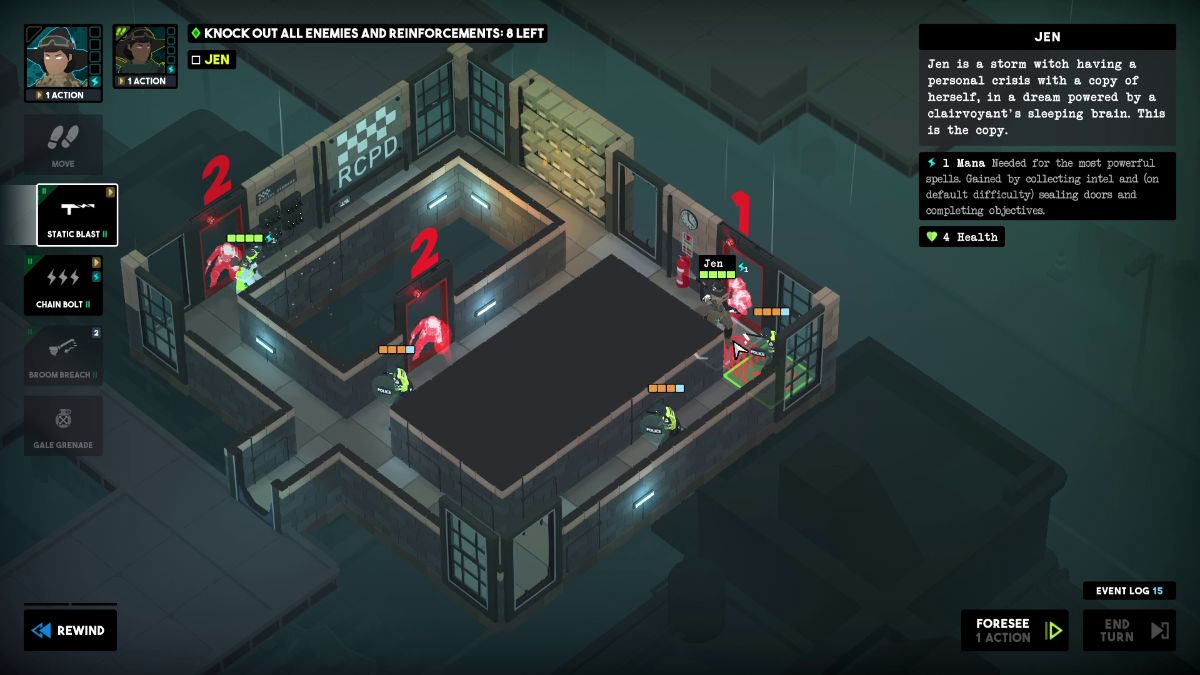
Breach and Static Blast the Enforcer ahead to defenestrate him.
Move each Jen to the tile before the windows to lure the Enforcers. Then, Static Blast them.
Follow this strategy to deal with all remaining reinforcements. Play it safe and lure them near the windows to defenestrate them all.
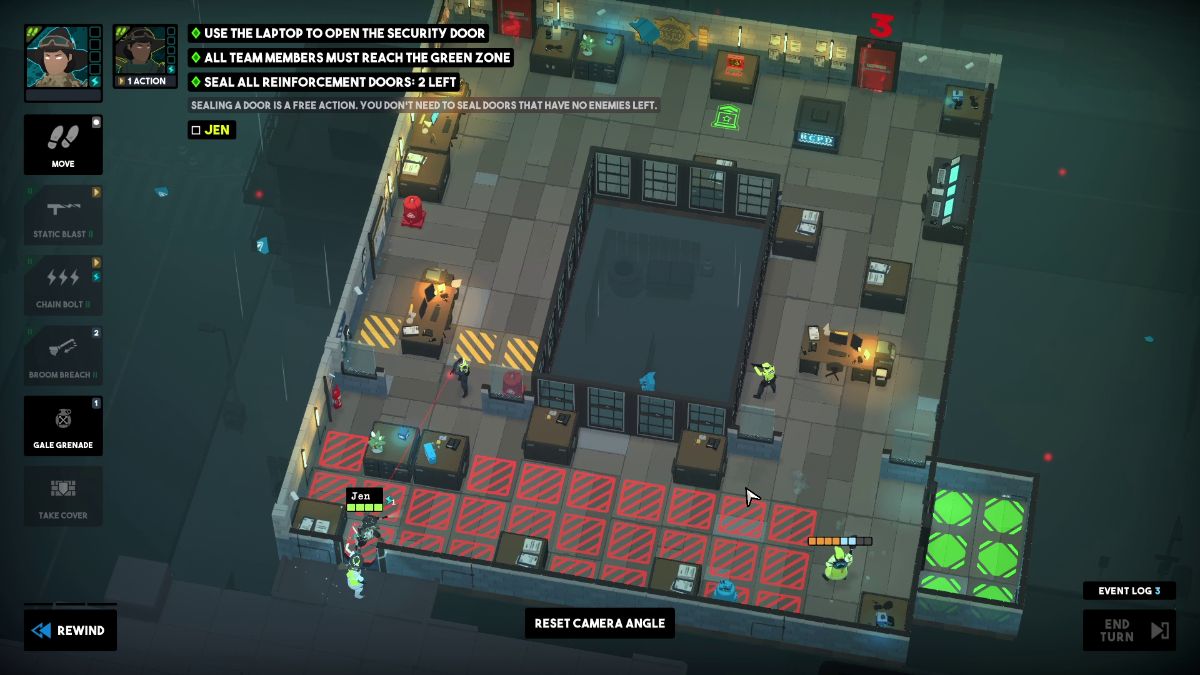
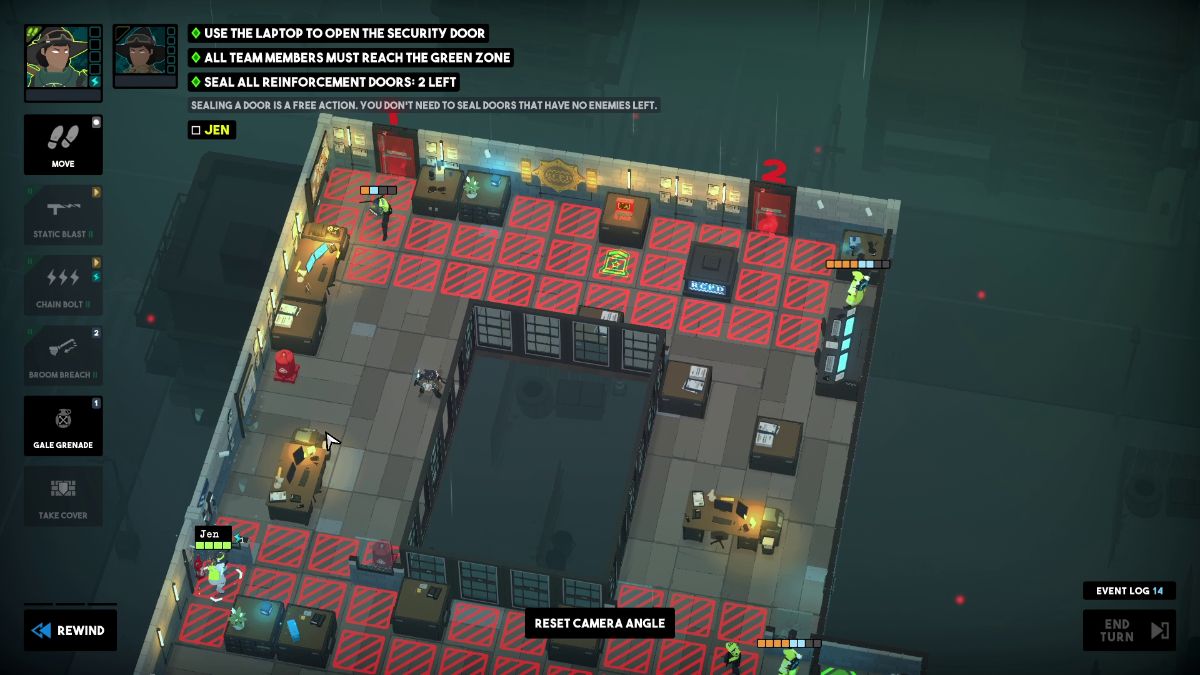
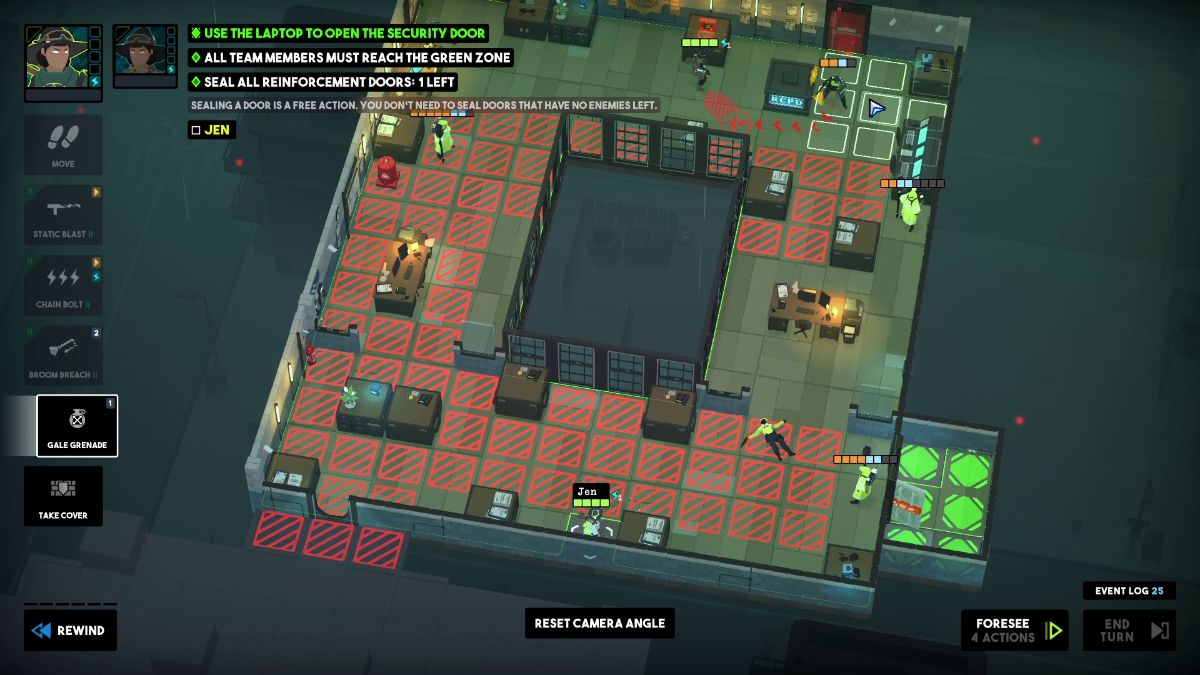
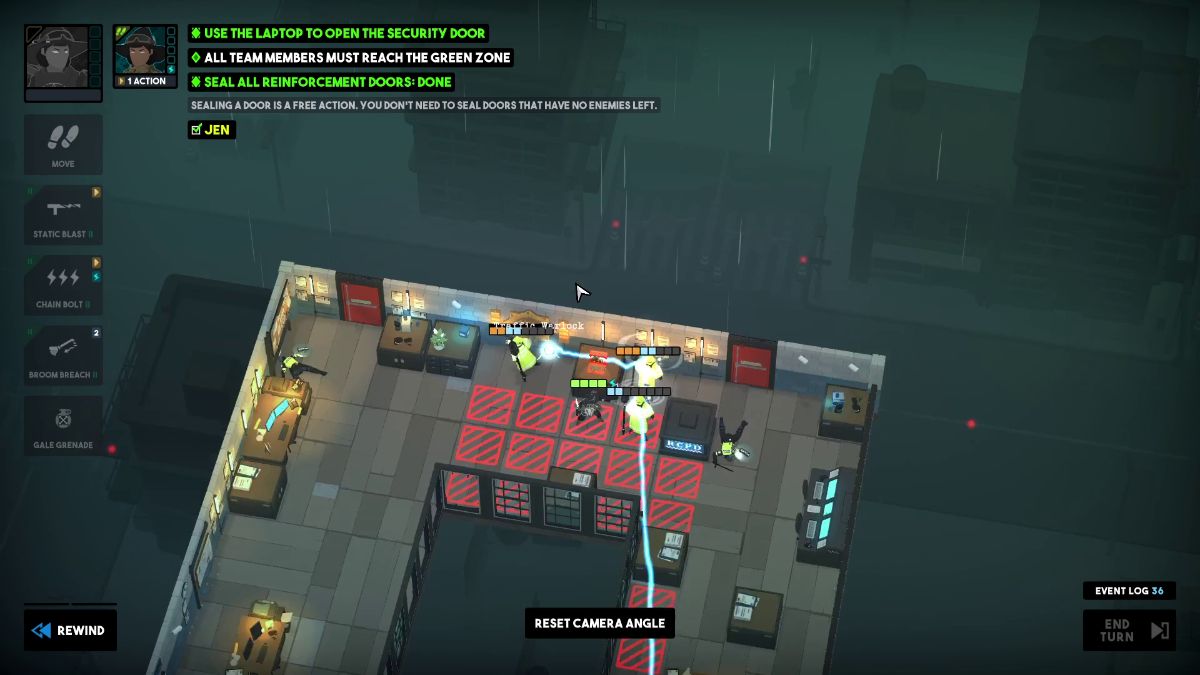
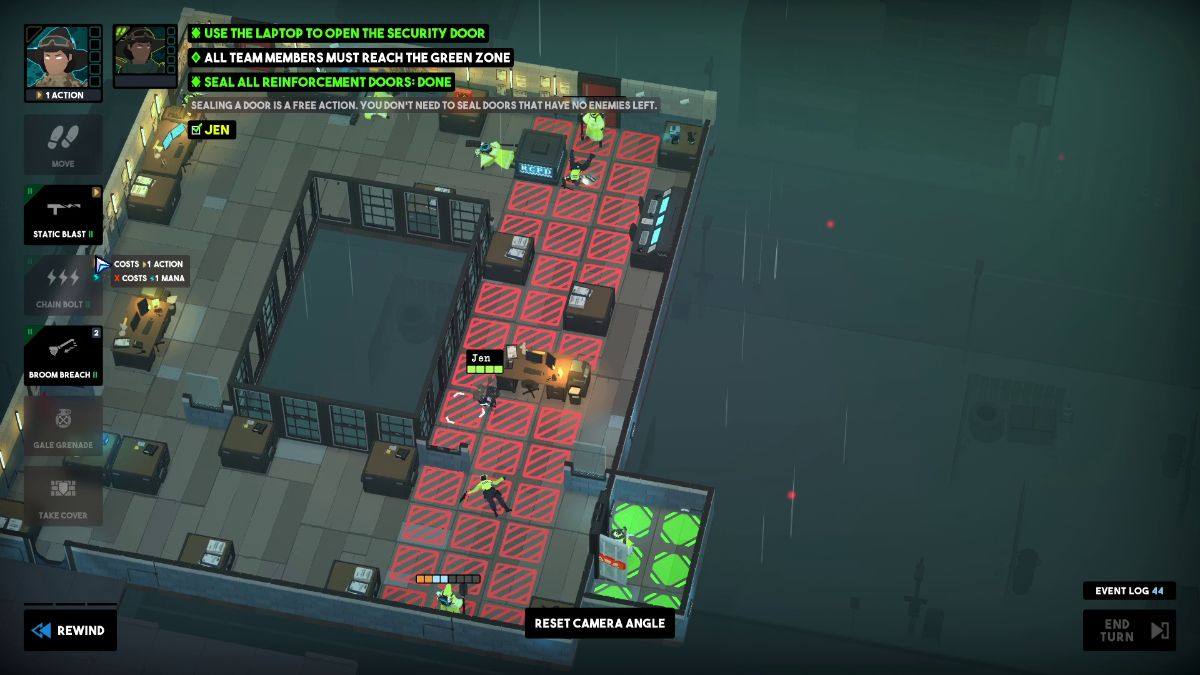
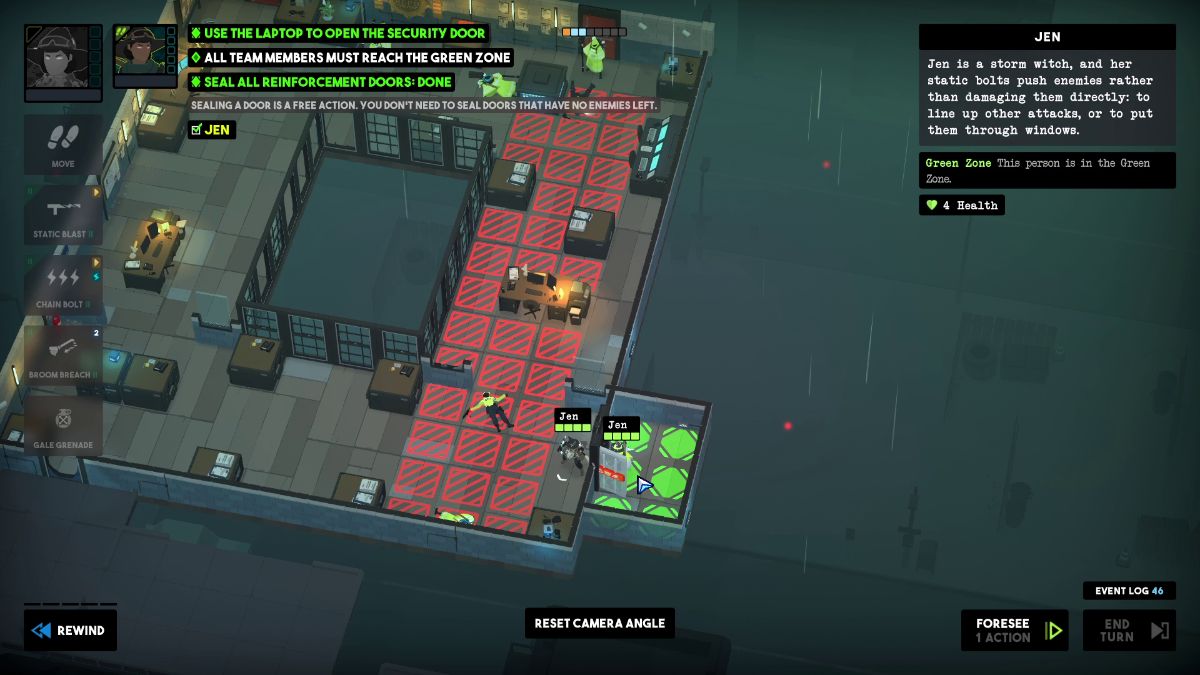
How to Clear Anxiety Dream – Zone 4
Objectives
Use the laptop to open the security door.
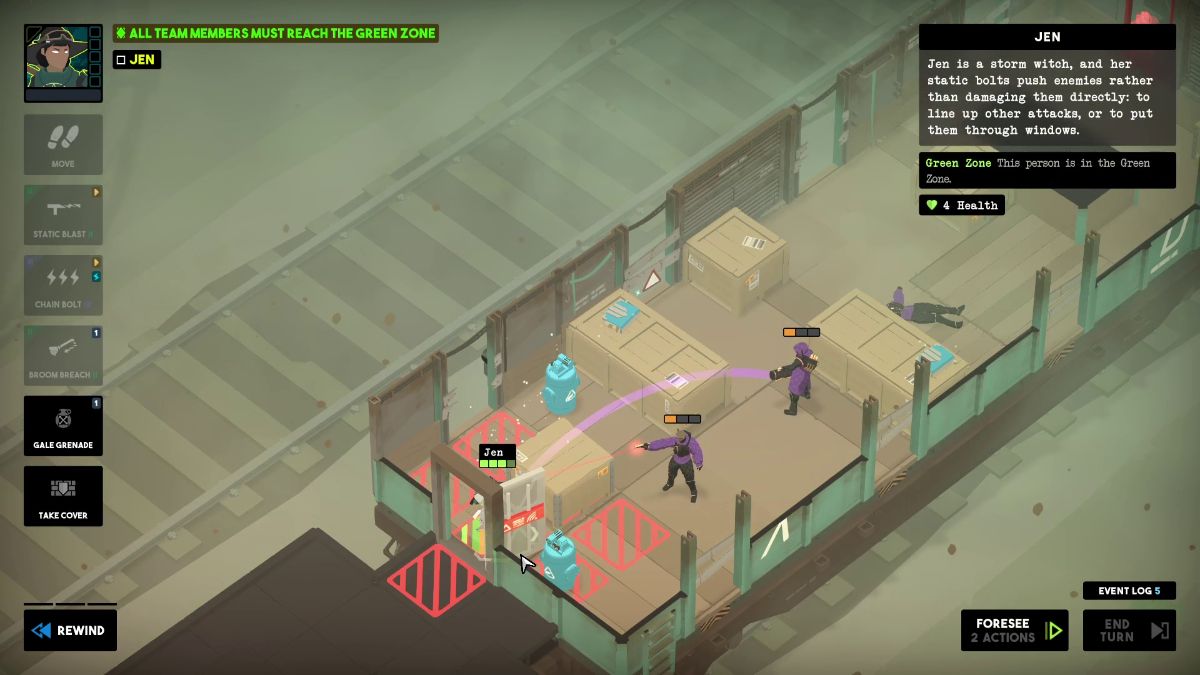
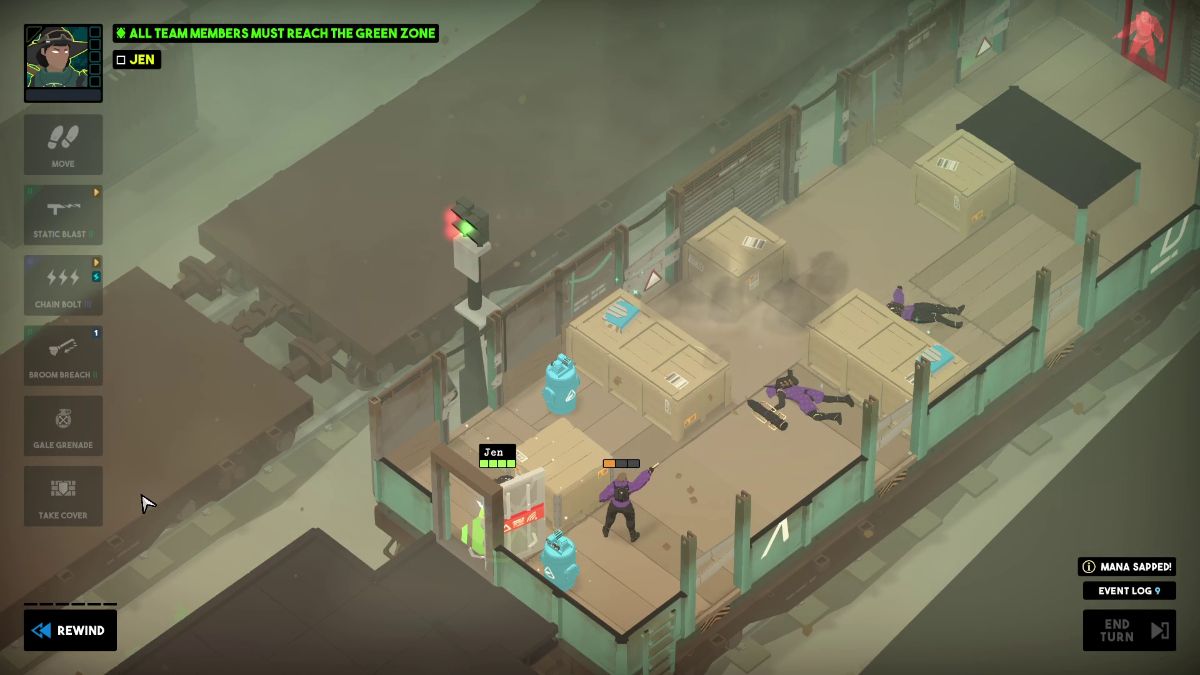
All team members must reach the green zone.
Seal all reinforcement doors.
Make a Steve hit another Steve with Ghost Traffic.
Visual Reference
Instructions
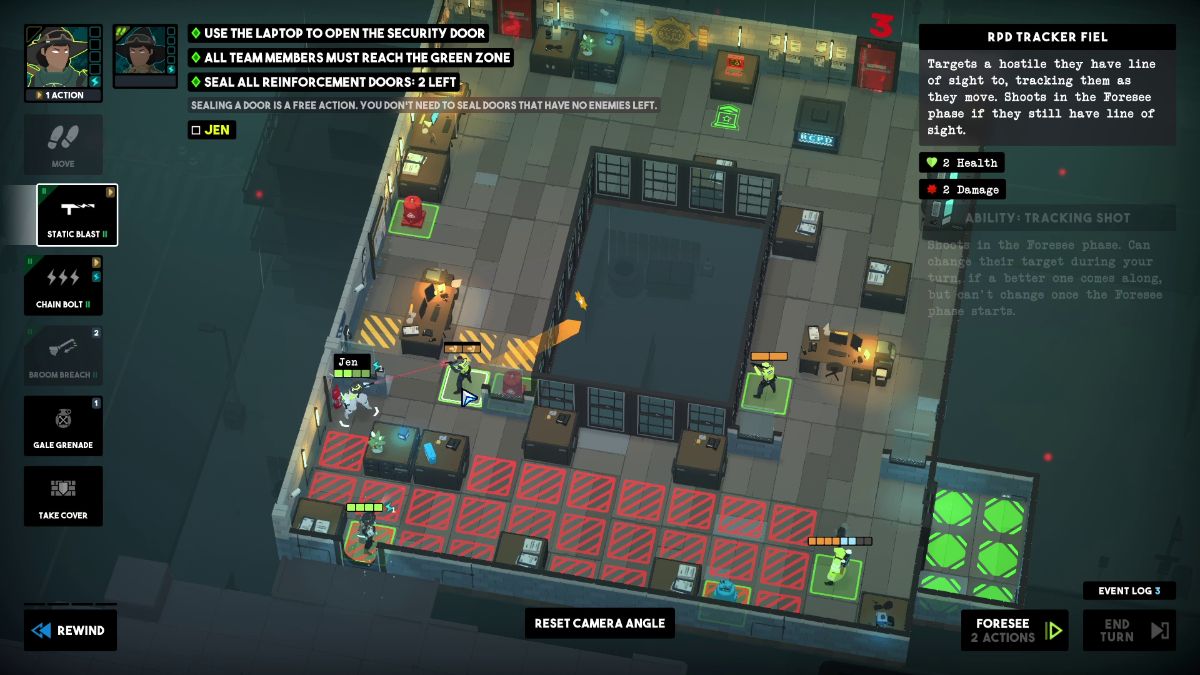
Static Blast the Air Canister next to Steve to move his Traffic attack one tile below.
With a different Jen, defenestrate the Officer near the window.
Move the other Jen to safety and end this turn.
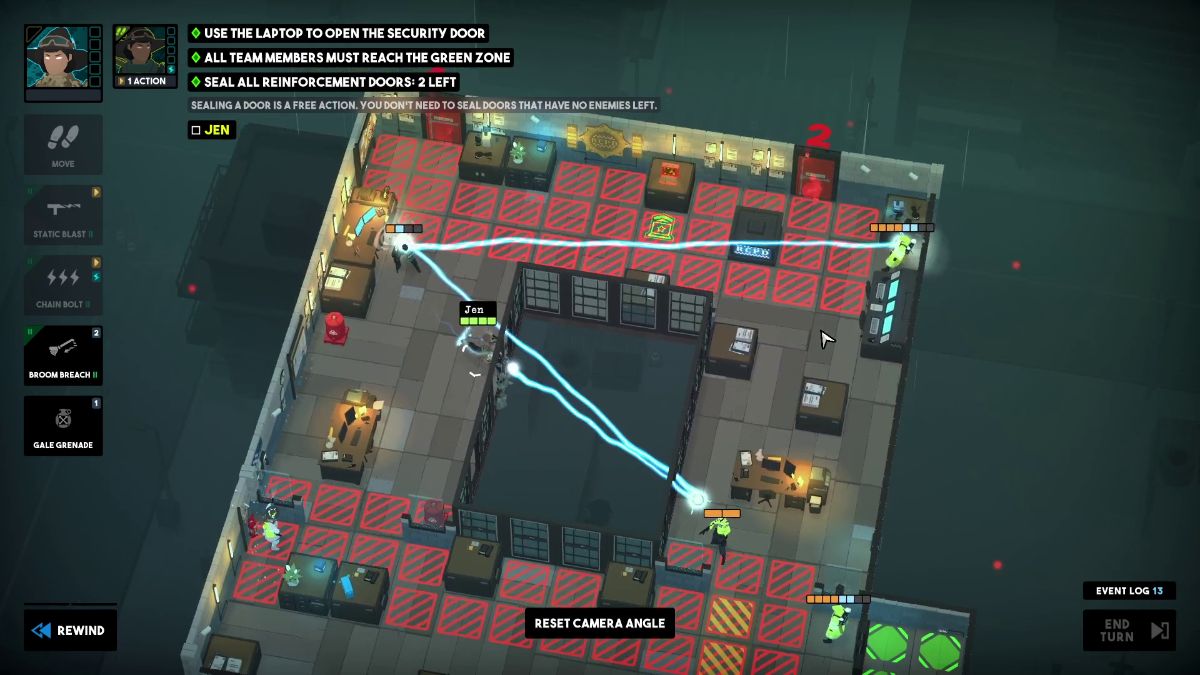
Move one of the Jens to safety. Chain Bolt the Officer on the lower right, zap back to the Officer on the upper left, and end with the Warlock on the upper right.
With the other Jen, Static Blast the Enforcer on the upper left toward the Warlock’s Traffic.
Move this Jen to safety in front of the desk with intel. End this turn.
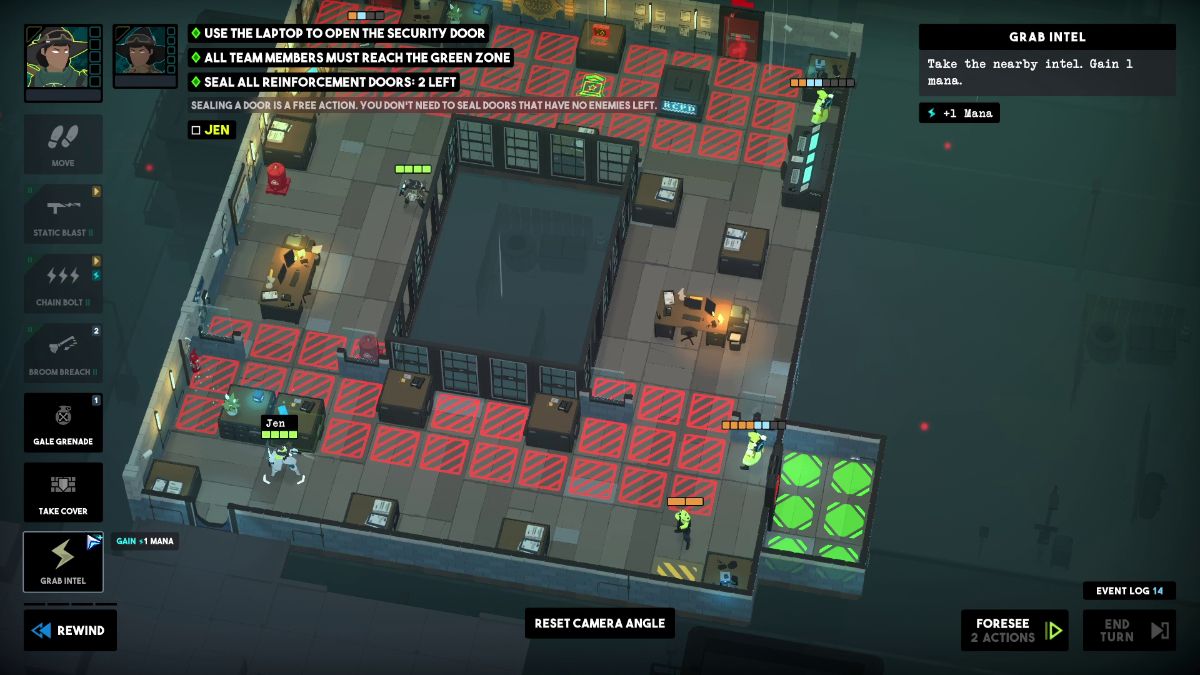
Move the Jen above near the laptop. Static Blast the Enforcer to get some extra movement and use it.
Move the other Jen to safety and use her Chain Bolt to zap the Traffic Warlock on the upper right, the Enforcer, and the Traffic Warlock on the left.
Use Gale Grenade on both Jen’s to bring down the Enforcer. End this turn.
With the Jen on the lower region of the zone, Chain Bolt all the Warlocks above. Move her to safety.
With the Jen on the upper region of the Zone, Chain Bolt the remaining Warlocks here. End this turn.
Move one Jen to the green zone and Static Blast the Warlock nearby.
Bring the other Jen closer to the green zone and Static Blast this Warlock to death. End this turn.
You can easily head inside the green zone here, but before you do, Static Blast the last Warlock standing. Screw you, Steve.
How to Clear Anxiety Dream – Zone 3
Objectives
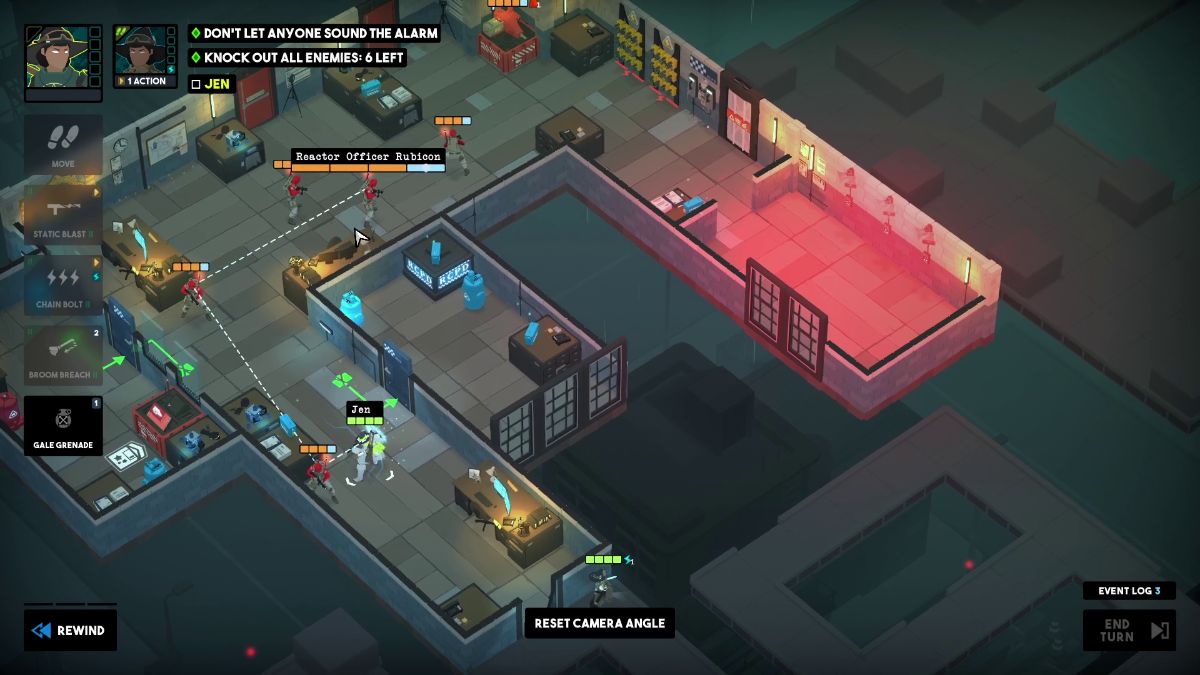
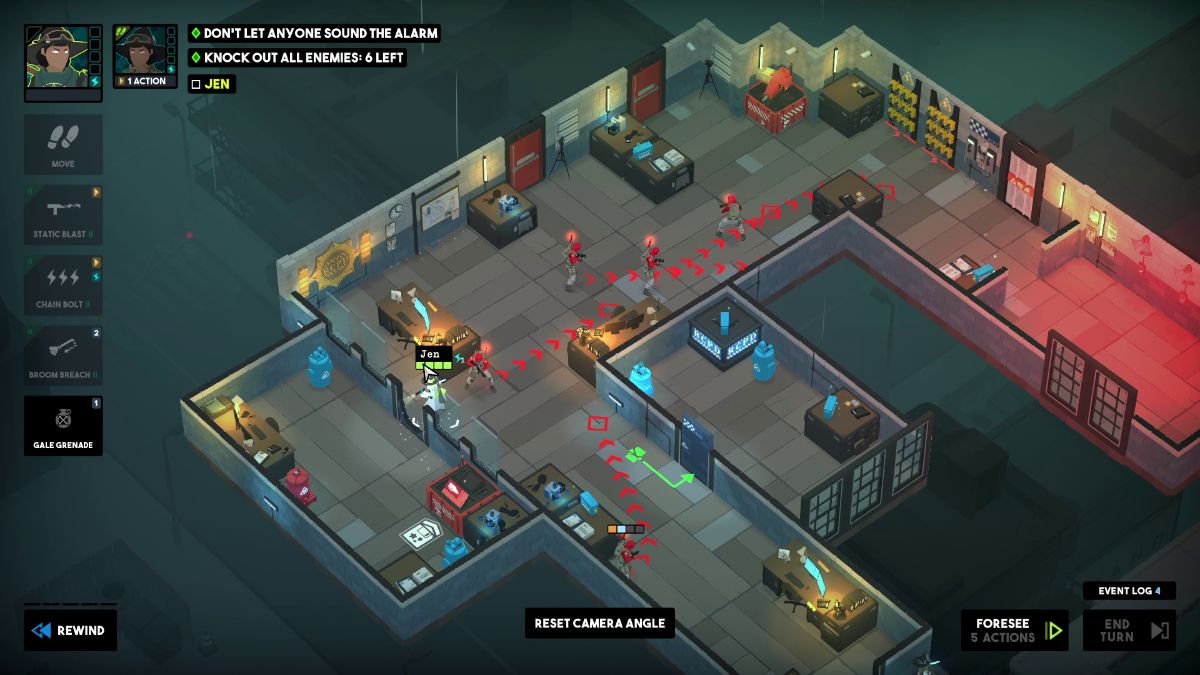
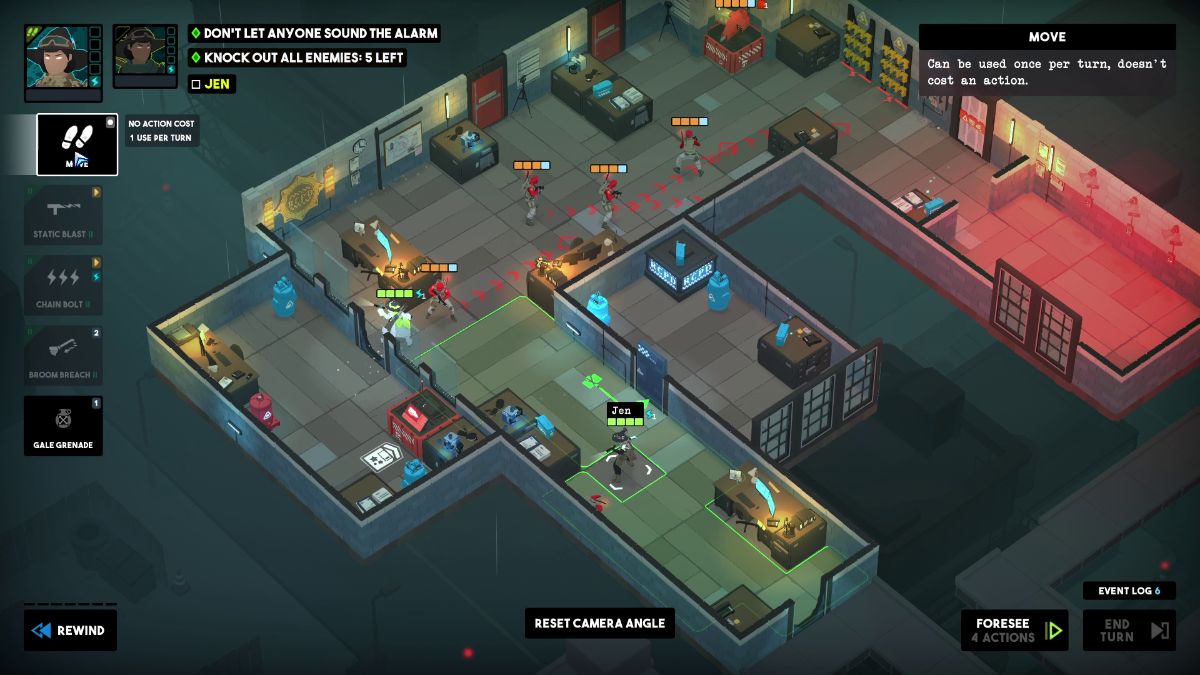
Knock out all enemies.
Don’t let anyone sound the alarm.
Finish by the end of turn 3.
Visual Reference
Instructions
Move Jen next to the Officer on the left. Then, Static Blast him to get an extra move.
Move to the room on the left and Breach it.
Move the other Jen next to the same Officer.
Chain Bolt him and two enemies above to deal some damage before ending this turn.
Move one Jen inside the breached room and hack the Turret. Then, use Chain Bolt on the Air Canister and two Officers on the right. (Chain Bolt them against each other).
Use Gale Grenade to fry the Officer in front of the electrical wall.
Move the other Jen toward the upper portion of the room. Use her Gale Grenade to knock the two enemies near her toward the desk and wall below. End this turn.
Move the Jen on the right toward the door before the alarm room and Static Blast one officer.
Move the Jen on the left outside of the turret panel room and Static Blast the Officer near the electric wall to fry him. End the turn and let the turret handle the rest.
Basic Training – Tactical Breach Wizards
Screenshot by Bonus Action
Zone 1
Zone 2
Zone 3
Zone 4
Zone 5
How to Clear Basic Training – Zone 1
Objectives
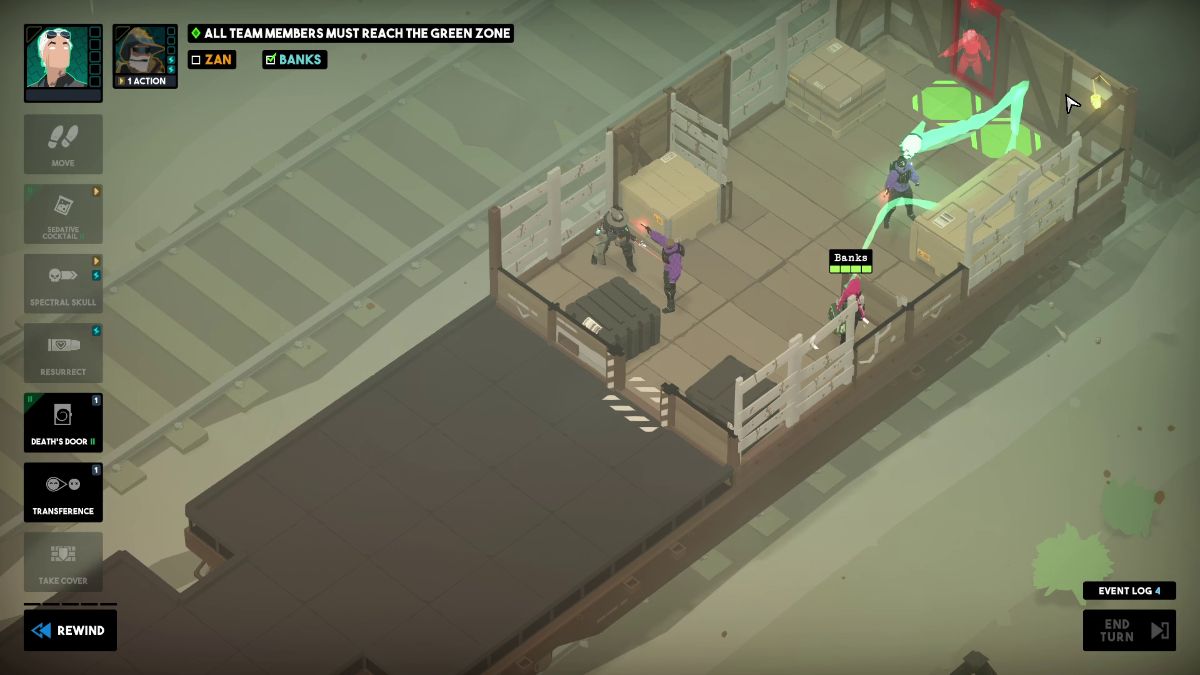
All team members must reach the green zone
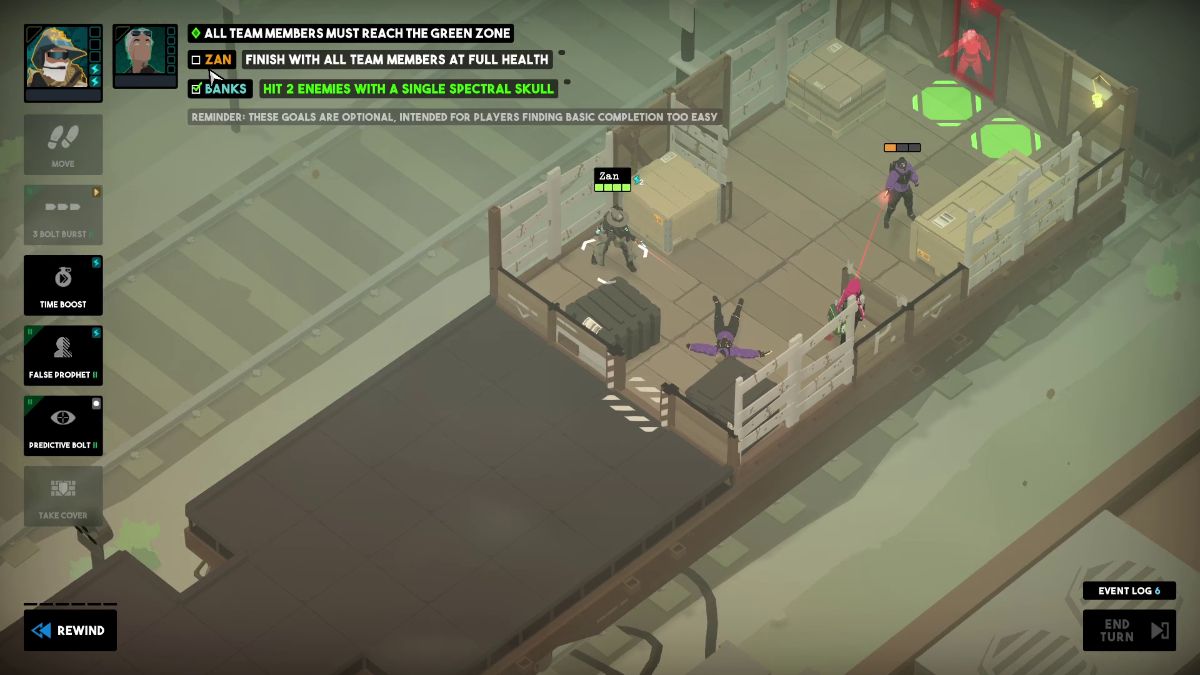
Finish with all team members at full health
Hit 2 enemies with a single Spectral Skull
Visual Reference
Instructions
Move Zan in front of the desk with the intel book.
Move Banks to the opposite corner of the room and use Spectral Skull to damage two enemies.
Knock down the enemy nearby Zan with 3 Bolt Burst. Take cover and end the turn.
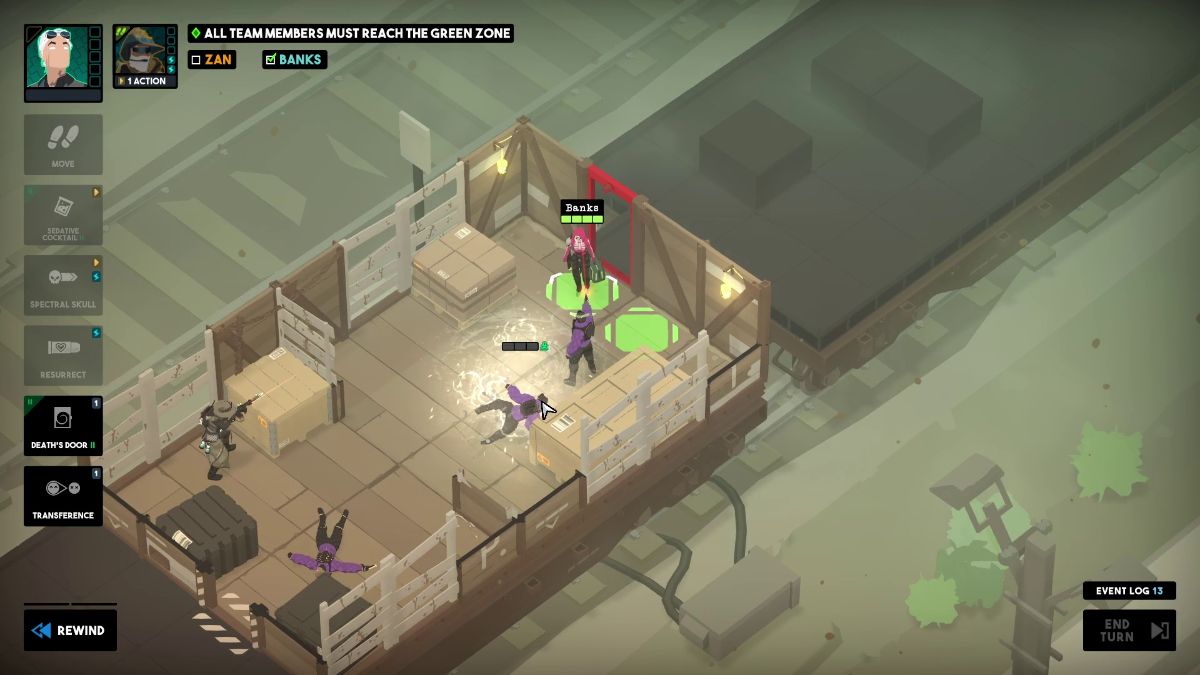
Take Banks to the safe zone and throw a Sedative Cocktail at the enemies below her
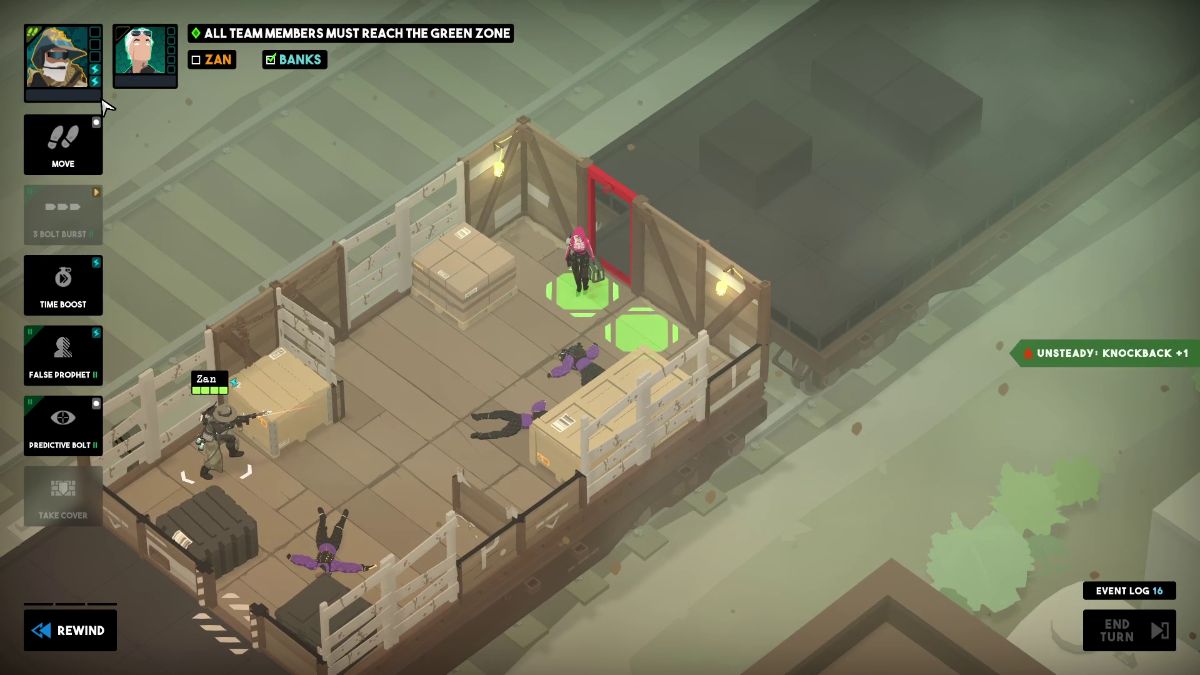
With Zan, 3 Bolt Burst the remaining enemy and move to the safe zone.
How to Clear Basic Training – Zone 2
Objectives
All team members must reach the green zone
Finish by the end of turn 2
Visual Reference
Instructions
Chain Bolt all three enemies from left to right.
Broom Breach toward the green zone.
Here, Gale Grenade the remaining enemies and end the mission.
How to Clear Basic Training – Zone 3
Objectives
Knock out all enemies
Finish with all team members at full health
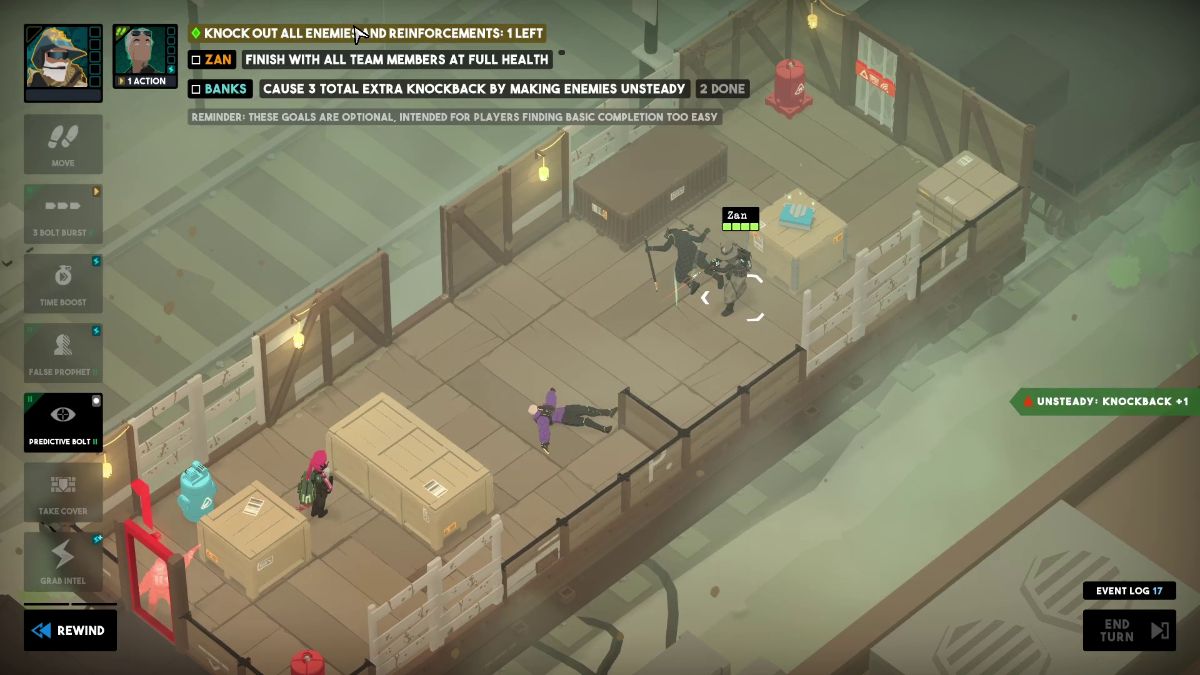
Cause 3 total extra knockback by making enemies Unsteady
Visual Reference
Instructions
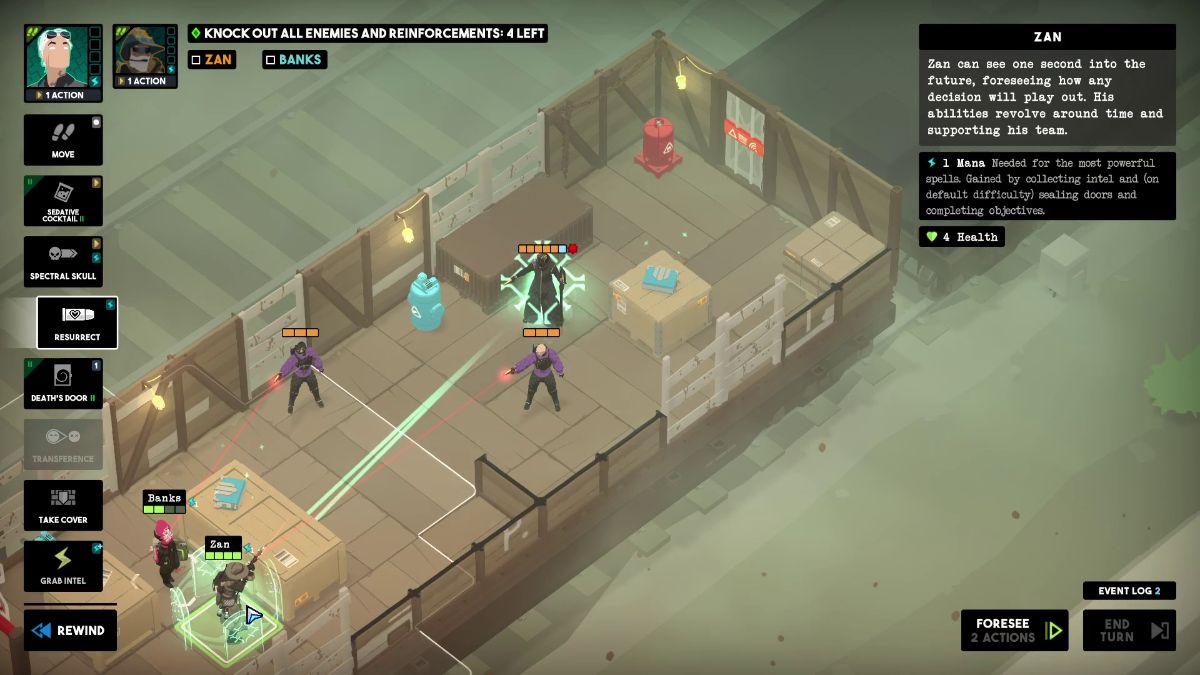
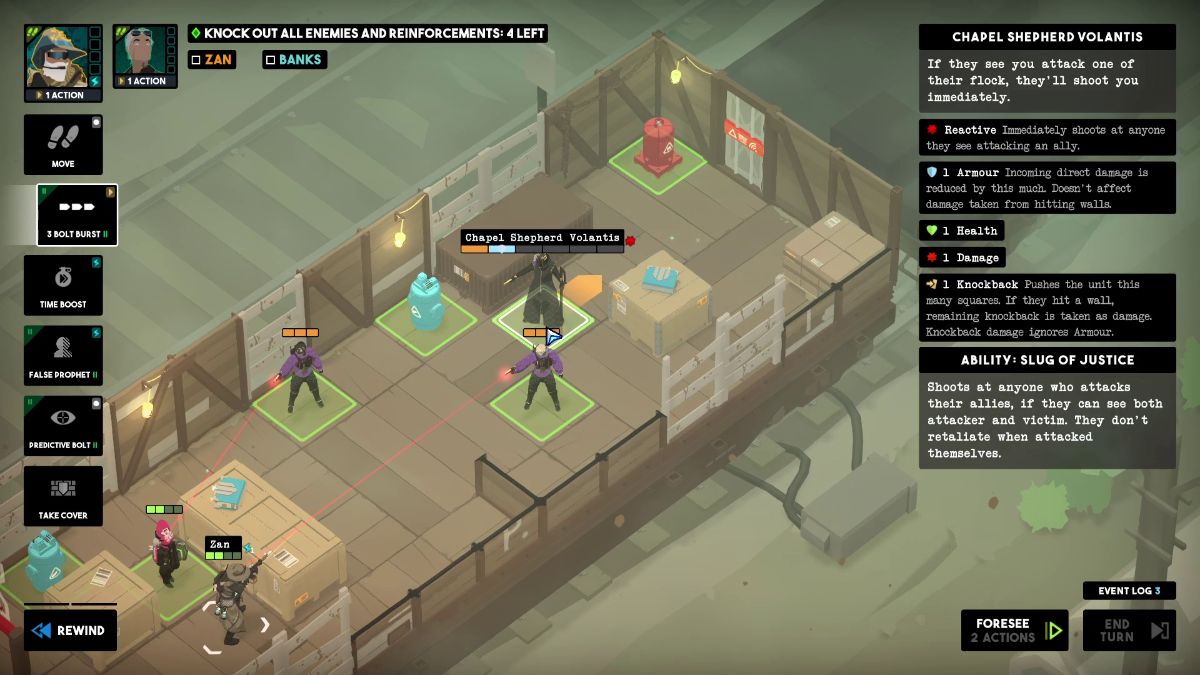
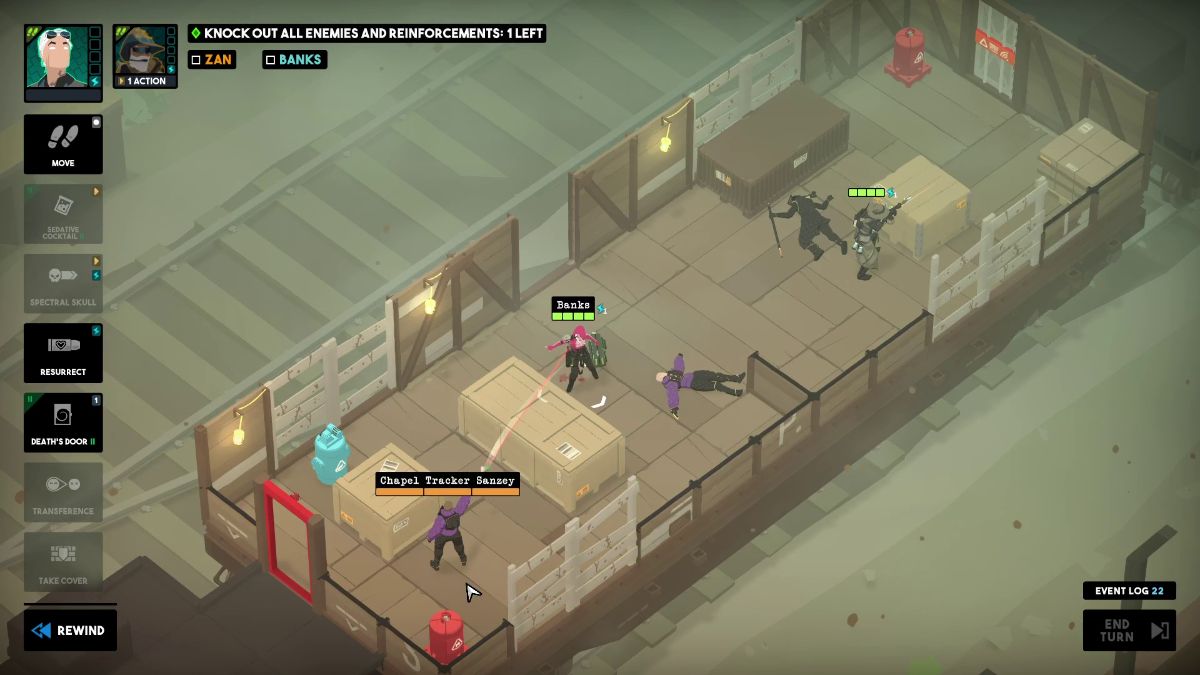
Use Banks’ Transference on Zan to damage the Shepherd. Then, resurrect Zan.
Throw a Sedative Cocktail. Then, 3 Bolt Burst the Shepherd to knock him out.
With one of Zan’s False Prophets, defenestrate the enemy on the left. Take cover and end this turn.
Then, 3 Bolt Burst the remaining enemy to death. To welcome one more enemy, end this turn as well.
Throw a Sedative Cocktail at the new enemy and 3 Bolt Burst him.
How to Clear Basic Training – Zone 4
Objectives
Use the laptop to open the security door
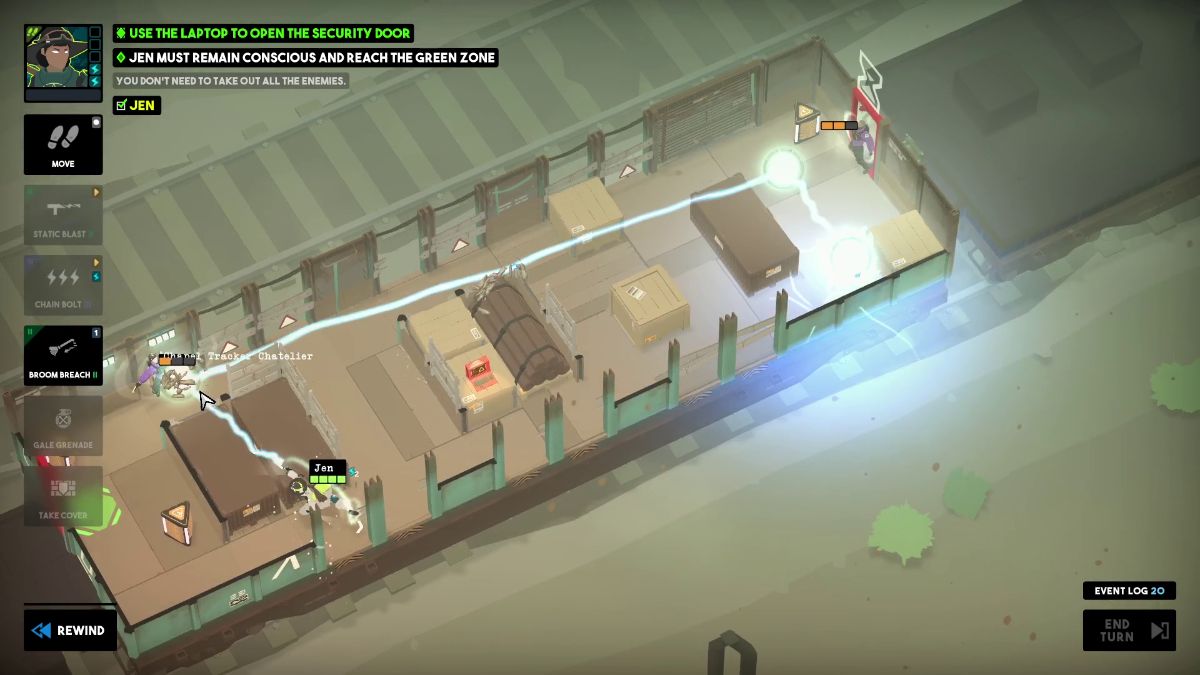
Jen must reach the green zone
Defenestrate two hostiles in one turn
Visual Reference
Instructions
Chain Bolt the barrel, the Shepherd and the enemy near the left window to defenestrate him.
Then, throw a Gale Grenade at the enemy on the right.
Take cover behind the barrel and end this turn.
Stand on the space in between the window and the desk and Static Blast the Shepherd to defenestrate him.
Move toward the laptop and activate it.
Broom Breach to the desk with intel nearby.
Chain Bolt the incoming enemies.
Move to the green zone. End the mission.
How to Clear Basic Training – Zone 5
Objectives
Finish with all team members conscious
Defenestrate 2 hostiles in one turn
Use Death’s Door to eliminate 1 hostile
Visual Reference
Instructions
Use Transference on Zan to damage the Shepherd. Then, Resurrect him.
Throw a Sedative Cocktail toward the Shepherd and the enemies around it.
With Zan, 3 Bolt Burst the enemy on the left to defenestrate him.
Send a False Prophet to lure the Chapel Riot Priest, take cover, and end the turn.
Place a Death’s Door behind the Chapel Riot Priest and use Jen’s Chain Bolt to push him back and damage the other enemy in the room.
Time Boost Jen and Static Blast the Chapel Riot Priest toward the Death’s Door portal. End this turn to welcome the next enemy.
Static Blast and 3 Bolt Burst this enemy to end the mission.
Looking for more puzzle-based games to sink your teeth into? Why not check out our Dungeons of Hinterberg review and walkthrough?
Cande’s calling in life is to annoy NPCS, smash virtual pottery, and complete every side quest available in RPGs. Her passion for games dates to 2006, when she mounted a Chocobo for the first time, but she has been writing professionally for the past four years. Under Nintendo and Square Enix’s chokehold, she willingly pours hours upon hours into reaching 100% completion in the longest roleplaying games ever made. But hey, who needs fresh air and sunlight when you can just live in Ivalice?


























































































This is excellent and I hope you write more. Really appreciate the detailed steps.
Thanks a lot! I’m happy to hear you’re finding the guide helpful. I’m working on it and adding a new mission almost daily.
my reservation is: is this with all perks unlocked? do we need certain perks to perform certain parts of this guide?
Hey! You don’t need to unlock every skill to follow this guide, but it’s a good idea to unlock the same ones I did.
I’ve added suggestions for which skills to unlock after each set of missions so you don’t get stuck. Hope it helps!