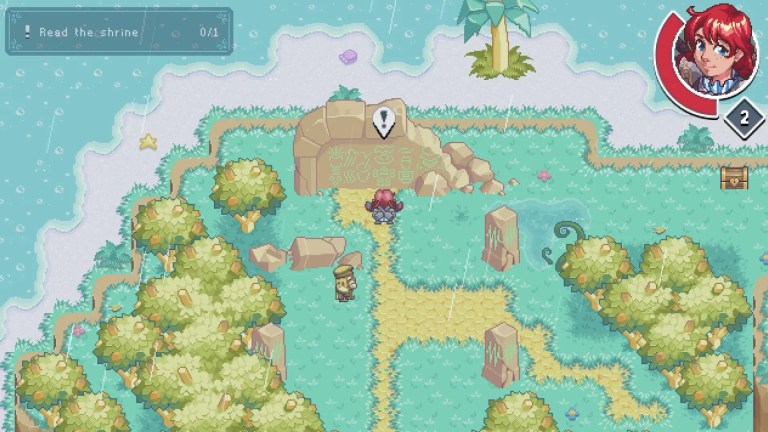
Image via Sunny Side Up
In our book, there’s never a wrong time for a witchy, cozy game. Whether you’re settling in for spooky season or just looking for a good magical tale, Little Witch in the Woods has something to offer. This pixel art life sim lets players step into the shoes of Ellie, an apprentice witch working to grow her craft. Along the way, you’ll brew potions, help local residents, and uncover the secrets of a cozy, pixelated world. As you get to know the villagers, you’ll level up your friendship and learn more about each member of the community.
Little Witch in the Woods first released in early access back in 2022. Then, it finally got its 1.0 release for PC in 2025. But if you’re like me, a cozy pixel art game simply demands to be played on the Nintendo Switch. And as of September 16th, 2026, that’s finally a realistic possibility. With the game’s handheld release on my favorite cozy gaming platform, it felt like high time we dove in for a guide to ensure all the new Little Witches have a smooth experience in the woods.
**This guide is in progress. Last updated on 10/5/2026**
Table of Contents
- All Little Witch in the Woods Guides
- What Platforms Can You Play Little Witch in the Woods On?
- Basic Gameplay Overview
- What Age is Little Witch in the Woods Rated For?
- Is There Romance in Little Witch in the Woods?
- Can You Have Multiple Saves in Little Witch in the Woods?
- Can You Use a Controller?
- How Long Is Little Witch in the Woods?
- Getting Started & Early-Game FAQs for Little Witch in the Woods
- How to Get Rid of the Giant Prickly Vines to Enter the Village
- How to Find & Destroy the Core for the Village Vines (Concocting the Moon… Blah Blah Quest Guide)
- Where to Get the Materials to Rebuild Roy’s House & Complete All Constructions Projects
- Where to Use the Prayer Stone
- Solving the Planet Puzzle in the Place of Promise
- How to Repair the Bridge Across the River in Wisteria
All Little Witch in the Woods Guides
If you’re looking for more nuanced help with Little Witch in The Woods, here’s the full list of guides we’ve got on offer. Need help with something not listed? Let us know!
What Platforms Can You Play Little Witch in the Woods On?
As of September 16th, 2026, Little Witch in the Woods is available for PC via Steam, Xbox One, Xbox Series X|S, and the Nintendo Switch. It will also run on Nintendo Switch 2 via backwards compatibility.
The game is priced at $19.99 USD on all platforms.
Basic Gameplay Overview
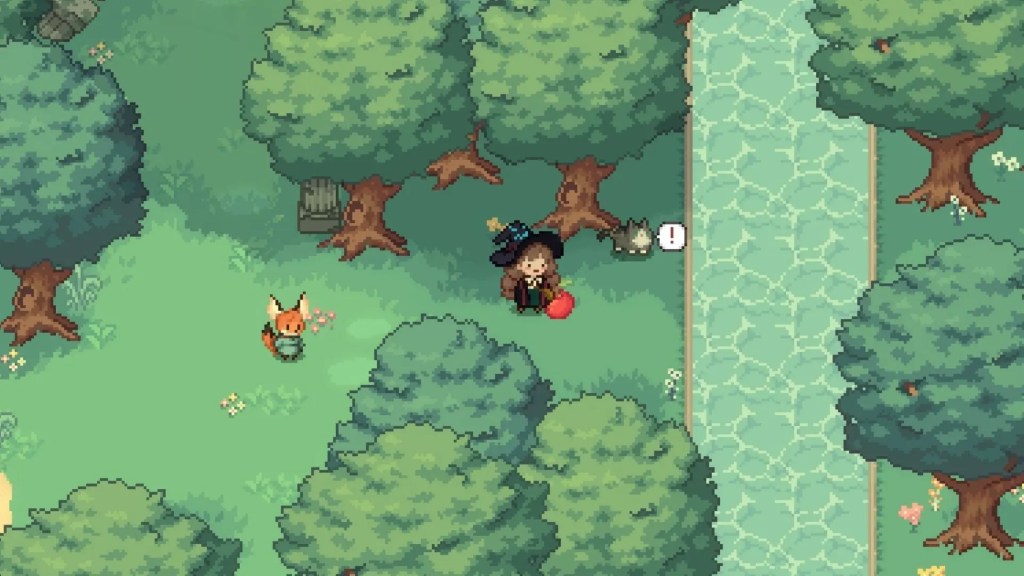
Little Witch in the Woods is a narrative life sim, where you play as the apprentice witch Ellie. It’s fairly dialogue- heavy, with much of gameplay involving talking to villagers and Ellie’s hat, Virgil. However, as you progress further in the game, you will unlock additional content, including villager side quests and friendship, fishing, and befriending the local cats. Quests often involve gathering ingredients, then brewing potions or candies to complete them. You’ll also do some exploration quests, where you need to find specific items. The gameplay gets much more diverse as you get further into the game.
What Age is Little Witch in the Woods Rated For?
Little Witch in the Woods is rated T for Teen by the ESRB. This is due to some alcohol references related to making/brewing potions and recipes.
Is There Romance in Little Witch in the Woods?
No, there is no romance or marriage in Little Witch in the Woods. The game does have a robust relationship system, but it’s crafted around friendship and growth rather than romance and dating. So, while you will develop strong relationships and learn more about NPCs as your friendship level grows, you cannot fall in love or get married in the game.
Can You Have Multiple Saves in Little Witch in the Woods?
Yes, Little Witch in the Woods supports two unique loadable save slots. You can load your preferred game via the Main Menu.
Can You Use a Controller?
The PC version of Little Witch in the Woods supports two different keyboard and mouse layouts, as well as full controller support. On Switch and Xbox, you will use the associated controller. The game gives clear indicators of controls, making it easy to swap between them as needed.
How Long Is Little Witch in the Woods?
We’re still working on our playthrough of the game, so we’ll update with how long it took us once we hit completion. However, according to sources like HowLongToBeat, most players report taking around 35-40 hours for a full, completionist playthrough of Little Witch in the Woods. Because many of the side quests are optional, you can get through the main story much more quickly, in as few as 20 hours.
Getting Started & Early-Game FAQs for Little Witch in the Woods

Little Witch in the Woods starts with a pretty streamlined tutorial opening. You’ll follow along with simple quests during the introduction on the train. From there, the game opens up as you discover the witch’s house and village. Here’s what you need to know as you settle into your new life as a witch in the woods.
How to Save
The game will save automatically at key points during the early tutorial. It also autosaves when you go to sleep for the night. However, you will unlock manual saves once you clean up the witch’s house in the woods. After you dust off the witch’s journal, you can interact with it to save your game at any time.
How to Get More Bag Space
Like with any resource gathering game, bag space will quickly become a premium in Little Witch in the Woods. Thankfully, you can increase your bag space by buying the Auxiliary Bag Compartment upgrade from Aurelia. She’s the non-magical vendor who sells and buys items for Gold Coins, and you’ll find her in the village once you clear the prickly vines. Each bag upgrade adds 4 more bag slots, and they can be purchased as follows:
- Auxiliary Bag Compartment 1 – 118 Gold Coins
- Auxiliary Bag Compartment 2 – 400 Gold Coins
- Auxiliary Bag Compartment 3 – 1,000 Gold Coins
- Auxiliary Bag Compartment 4 – 2,500 Gold Coins
You can also earn Auxiliary Bag Compartment upgrades by completing certain Encyclopedia reward tasks, as well.
Just like with potion recipes, you’ll need to use the Auxiliary Bag Compartment from your inventory before it goes into effect. Once you do, you’ll have more space to store items.
How to Get Rid of the Pumpkin Vines

Before you can begin making your way towards the village on the right, you need to clear the pumpkin vines. This requires figuring out how to make a Weed Exterminator potion. The game does a pretty good job of guiding you through the steps. However, the key to brewing the potion is finding your cauldron. It’s in the basement of the Witch House. You’ll find this by uncovering the Witch’s Elevator in the top-right corner of the house.
From there, head downstairs and follow the steps to tidy up and find your cauldron. You will also see two scrolls on the ground, which have the most essential starter recipes: Weed Terminator Potion and Curse-Lifting Candy. Keep searching the basement, and you’ll also find prepared ingredients to make the Weed Terminator Potion you need. To get rid of the pumpkin vines blocking the path to the village, head to the cauldron and follow the recipe instructions to brew the potion. Then, use it on the vines and destroy the core.
How to Fix the Extractor

The Witch’s House comes equipped with an extractor, but it’s missing its bottle! To use it, you’ll need a new one. Thankfully, you can buy 1 Glass Extractor Bottle from the merchant Aurea for 10 Gold. You’ll meet her near the path to the village, where she sets up her cart since the vines are blocking the path.
Once you purchase the extractor bottle, simply interact with the Extractor in the Witch’s House basement to fix it. Then, you will be able to use it to acquire ingredients for potions and candies. You can buy upgraded extractors from Diane over time, letting you prepare more ingredients at once.
How to Fix the Roaster
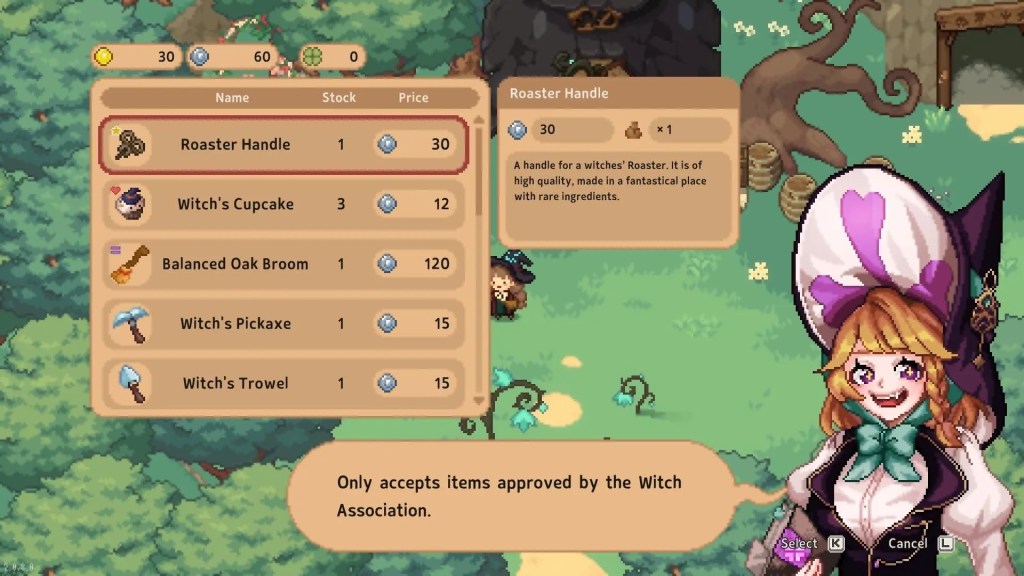
To fix the Roaster, you will need to find a new handle. To do this, use the bell outside your house to summon Diane. She offers a variety of items for sale through the Witch’s Catalogue and will be able to offer you a Roaster Handle. After you complete her request, Diane will sell you the Roaster Handle for 30 Luna Coin (the silver money). If you need more, you can get it by crafting and selling more candies.
Once you buy the roaster handle, simply interact with the roaster in the basement. You will be able to fix it and gain access to even more potion and candy ingredients! You can buy upgraded roasters from Diane over time, letting you prepare more ingredients at once.
How to Get Your First Broomstick

Every witch needs a broomstick! Ellie finds her first one in the forest, specifically in the Green Forest Plateau area. You will see some pumpkin vines blocking an abandoned broomstick near the side of the cliffs. Use the Weed Terminating potion on the vines and destroy the core. Then, you’ll be able to pick up your first broom! From there, head to your backpack and equip it. Once you do, you can ride the broomstick. This first one is a bit old and dusty, but you can repair it when it inevitably breaks.
Diane will also offer a better, upgraded broomstick for sale in the Witch’s Catalogue after you complete the quest to break and repair your first broom.
How to Increase Villager Friendship

Early on in Little Witch in the Woods, it’s a bit hard to track your progress getting to know the villagers. However, you can build your relationship by using the “chit chat” dialogue option. You can also give each villager gifts, which will increase your friendship as well.
Once you bring the first villager back and she completes her house, you will get access to a special notebook for tracking your friendships. This will help you keep tabs on info about your relationship progress, likes and dislikes, etc.Starting from this point in the game, you will also be able to do special friendship quests for the villagers. This offers another way to help out your friends and gain friendship points.
After you complete the content unlock quest, you will eventually be able to build friendships with local stray cats as well as the villagers. This will add a new page to your encyclopedia, where you can track each cat’s unique likes and dislikes.
There is no romance in Little Witch in the Woods, but you can still build closer relationships with your new friends to learn more about them and unlock new quests in the game.
How to Decorate Your House in Little Witch in the Woods

Early on, only the basement of the Witch’s House can be customized. To move items around, use the decorating bell located in the basement.
Eventually, you will get a quest to fix a hole in the floor of the main room. When Kyla repairs the house, she also expands it. At this point, you will be able to decorate and customize the main floor of the Witch’s House. You will also get new questlines to expand the house’s size even further, including a brand-new second floor. Like with the basement, you will need to ring the decorating bell to enter decoration mode. You can buy new furniture from a few places, including the Witches’ Catalogue, Kyla, Aurea, and Roy.
How to Get Rid of the Giant Prickly Vines to Enter the Village
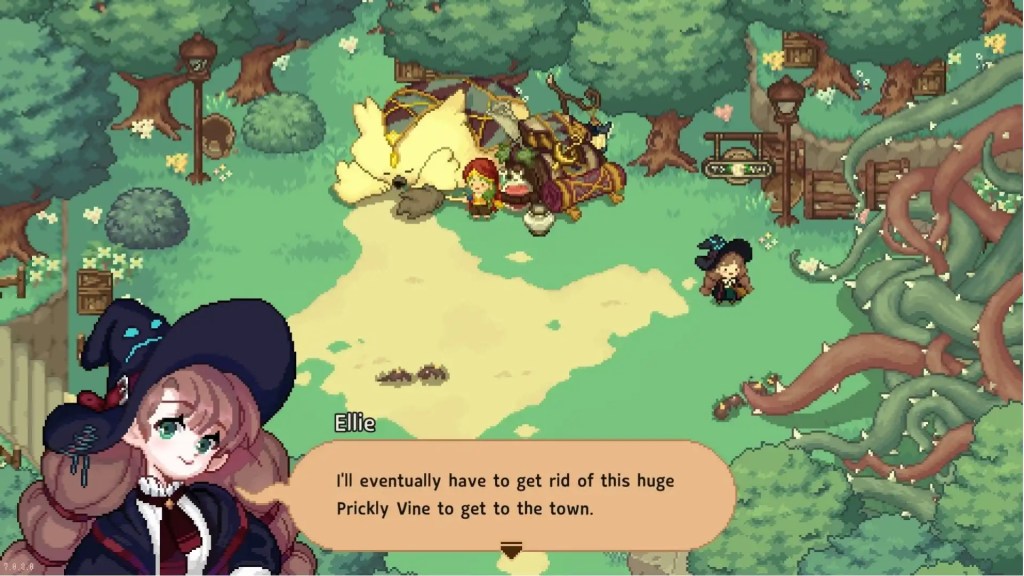
Getting rid of the vines blocking the path to the village is a key early objective in Little Witch in the Woods. As the quest suggests, you’ll need to explore the forest to find out how to remove it. Craft a few Weed Terminator Potions and explore the area until you find a small fox trapped in a spider web. Rescue them using Maple Leaf, and you’ll be able to progress the quest to remove the Prickly Vines. Follow the steps in the quest, and you’ll eventually enter a cutscene where Ellie removes the vine. Be warned, you will need to progress the story for about 10-15 minutes at this time before you’ll be able to save again.
How to Find & Destroy the Core for the Village Vines (Concocting the Moon… Blah Blah Quest Guide)
After you finally gain access to the village, you’ll find another problem. All the houses have been destroyed by strange vines. These aren’t quite like the prickly vines, so you need to try another approach to remove them. Soon, Ellie realizes she’ll need to find and destroy the core. But that’s easier said than done. First, you’ll need to find another way to mimic moonlight. This is done by learning the Moon Tears Potion recipe. The quest will guide you through the steps, which mainly involve talking to Diane.
Finding the Core
Once you have the Moon Tears, you need to locate the core. To do this, follow the vines popping out of the ground. These go in many directions, but you’ll hit several dead ends at first. Head up towards the big glowing tree you saw at the start of the game. When you do, a dialogue pop-up lets you know you’re on the right track, but also presents you with a new problem to solve.
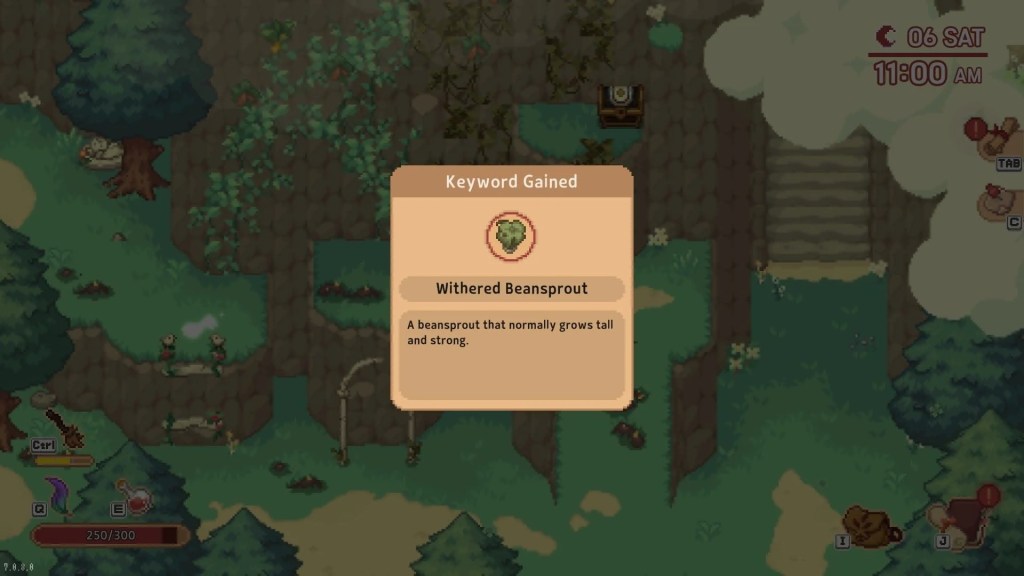
The path is blocked, and you need to regrow the withered plant to progress. Summon and talk to Diane, using the new special Withered Bean Sprout dialogue you unlocked. This will offer your solution: the Nutrition Potion. Buy the recipe and brew it up. Then, take it back to the withered vine and use it to regrow the plant. I suggest having at least one White Witch’s Chalk in your inventory when you go. This will let you redraw sigils to gain easier access to the newly unlocked map area in the future.
Here, you will find new potion ingredients and yet another obstacle: the noisy Gaga bird. To pass this, you will need to buy the recipe for the Earmuff Potion, also from Diane. Brew this up and return to the Gaga Bird. There, drink the potion, and you’ll be able to enter a new area: The Green Forest Depths.

Head to the center of the depths, as shown above, and you’ll find a gate blocking the core. In front of it, pick up the Blue Witch’s Chalk.
Solving the Puzzles to Reach the Core
With the chalk in hand, return to where you first rescued the fox child. I suggest bringing 1x Weed Exterminator Potion and 1x Nutrition Potion before you go. This will give you the tools you need to progress without having to backtrack. You will find a destroyed blue sigil just behind where the spider webs were. Use the Blue Witch’s Chalk to restore it, then activate it. This will lead you to a puzzle-filled garden area.

The first puzzle is quite simple. Just move the weights to the left-hand side of each set of scales. Wait a moment, and the magic will activate to open the door. Inside, you will find another set of scales. These are a bit trickier.

First, head to the set of scales to the left. You will see some pumpkin vines here. Toss a Weed Exterminator Potion on them, then destroy the nearby core. Next, grab the weight that was hidden by the vines. The scale should tip to the correct direction.
Now, carry the weight over to the scales on the right. You will not be able to place the weight, as the hook is too high. But there’s a withered bean sprout below it. Toss a Nutrition Potion on the sprout. It will regrow, allowing you to place the weight on the hook.
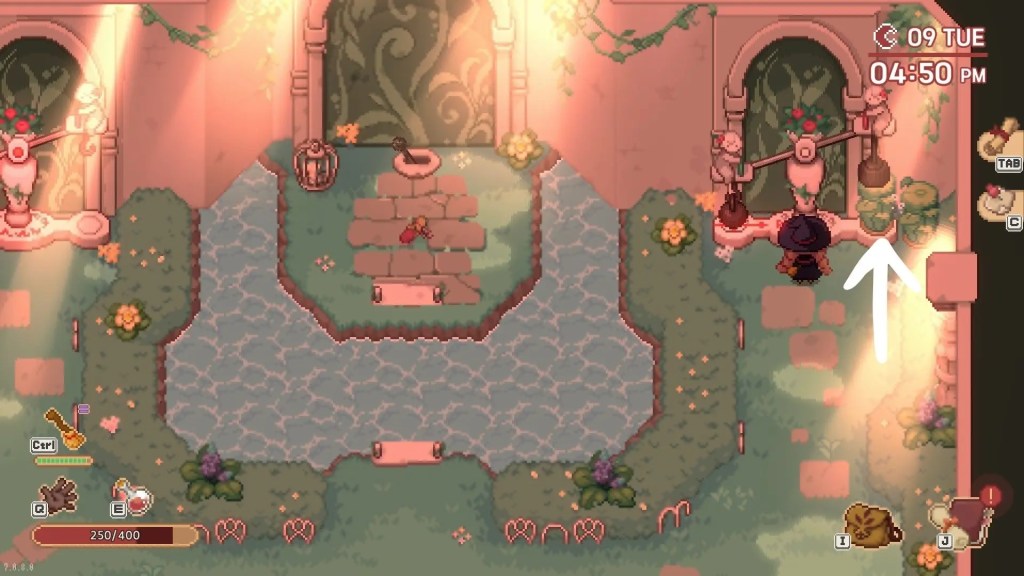
Now, the bridge should be restored, letting you progress across it. Grab the Red Witch’s Chalk on your way. Then, pull the lever behind the chalk. This will remove the chains blocking the door in the Green Forest Depths.
Finally, return to the gate to the core with the Moon Tears and Red Witch’s Chalk in your inventory. Head inside, use the chalk to redraw and activate the sigil, then use the Moon Tears on the core. This will complete the quest, removing the vines from Kyla’s house. You will then proceed to the next main story quest! At this point, the game will also open up a bit more, with more side quests and friendship quests available. This ensures you have plenty to do each day.
Where to Get the Materials to Rebuild Roy’s House & Complete All Constructions Projects
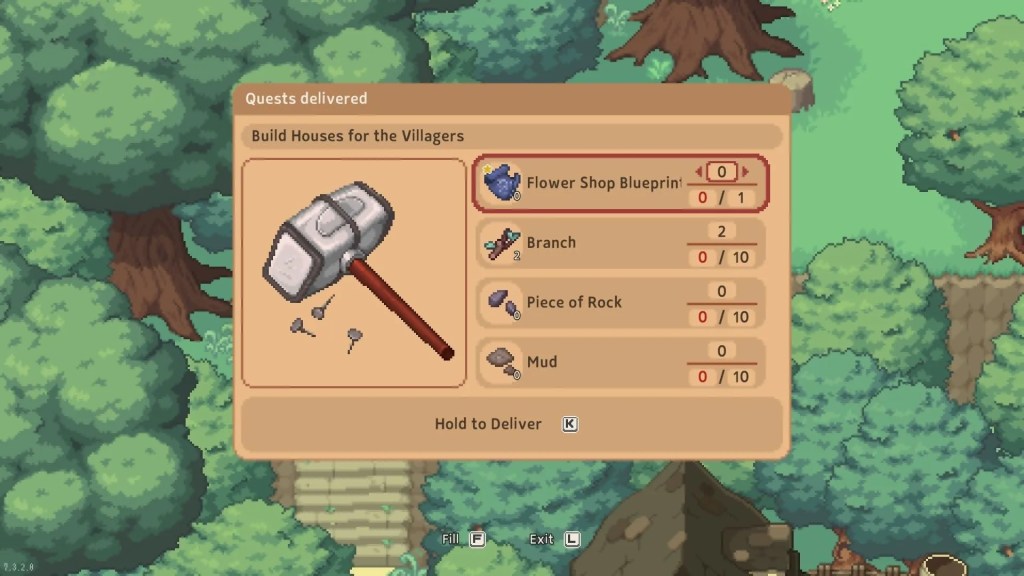
After you bring Kyla back to the village, she’ll be able to help you rebuild the other homes in town. But it’s up to you to collect the materials! The first villager you’ll move in is Roy. Kyla will request that you get a blueprint for his house, along with a few key materials. Here’s everything you need & how to get it.
- Flower Shop Blueprint – Purchase from Aurea’s shop for 350 Gold Coins
- 10 Branch – Collect from trees in the Green Forest Plains area (you can get 3 per tree if you shake them, and you will sometimes find them on the ground nearby)
- 10 Piece of Rock – Collect from the Green Forest Plateau. You will sometimes find them on the ground, but can use the Witch’s Pickaxe from the Witch’s Catalogue to break bigger rocks to harvest more quickly. It costs 15 Luna Coins.
- 10 Mud – Collect from the Green Forest Waterfall and Green Forest Depths. You’ll find some clumps on the ground, but can dig in mud patches with the Witch’s Trowel. It can be purchased from the Witch’s Catalogue for 15 Luna Coins.
After repairing Roy’s house, you will need to gather similar materials for future building projects. Once you have the tools and know where to look, it’s just a matter of gathering the right number and bringing them to Kyla. Branches, pieces of rock, and mud will be essential for rebuilding the fountain and repairing the Witch’s House, and they can be gathered the same way for these main quests.
The exception here is repairing the temple. For this, you will need to pick up large stones near the temple when instructed by Kyla. To fix the top of the temple, you will need to bring Kyla a Sticky Candy to help repair the statues.
Similarly, you will need something unique to repair the bridge to cross the river in Wisteria. This will come as part of a quest and is detailed below.
Where to Use the Prayer Stone
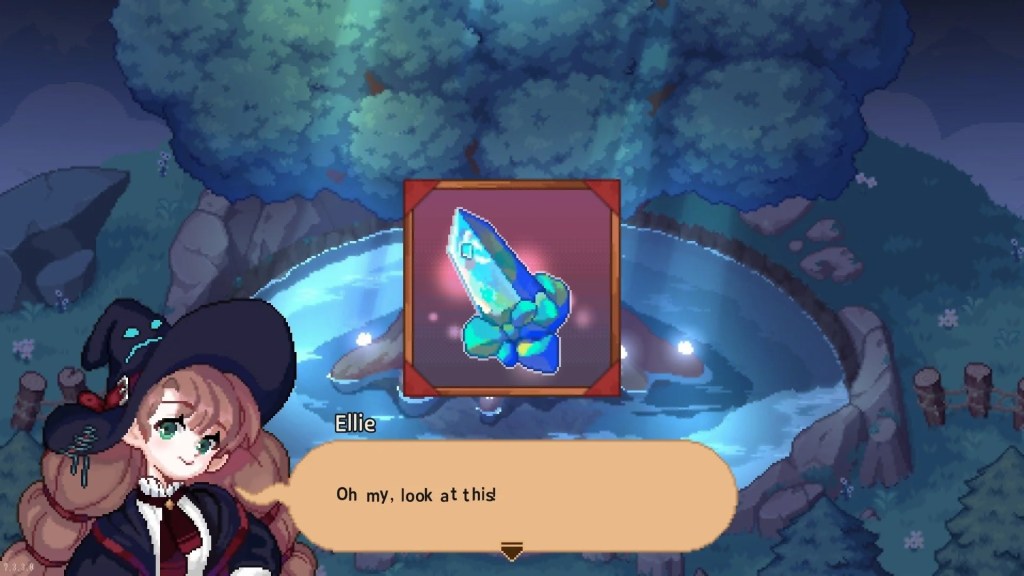
After you help Kyla restore the temple, Enite will ask for your help restoring the water that flows through the temple fountain. To do it, she will let you use the Prayer Stone. But where should you take it to find the waterway?
To use the Prayer Stone, head to the tree at the very top of the map. This is where you first followed the White Cat at the start of the story. Before you go, make sure you have the Prayer Stone and at least one Twinkle Twinkle Juice potion in your inventory. Trust me, that’ll make life simpler.
When you go to the tree, you will see that the stone engraving in front of it is glowing red. Step on the stone, and you’ll be invited to the Place of Promise. After the cutscene, you will enter a mysterious chamber where you’ll find a planetary puzzle.
Solving the Planet Puzzle in the Place of Promise
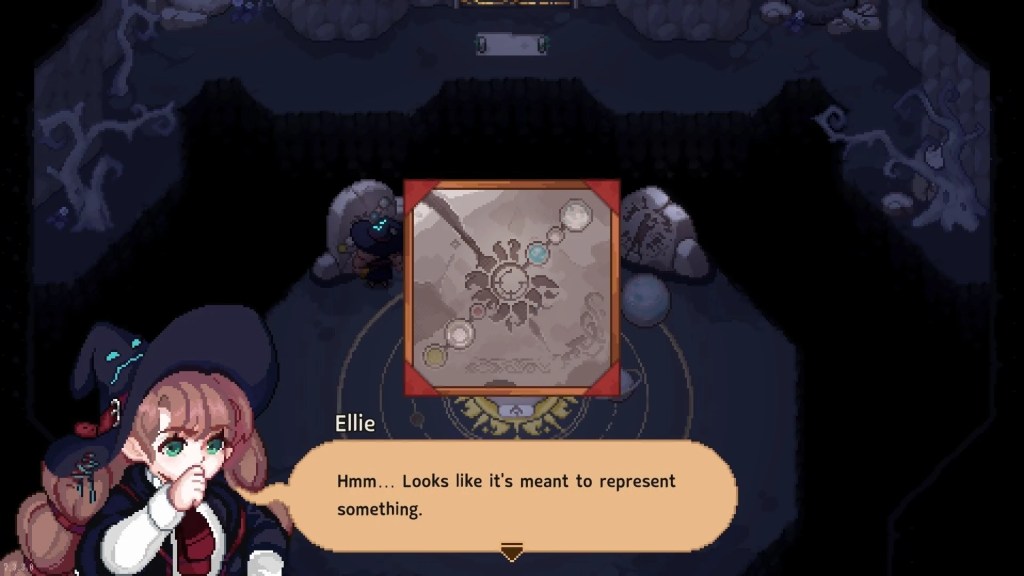
There are two components to the planet puzzle in the Place of Promise. The stone tablets on either side of the central area will give you hints. On the right, you learn that you need to drink something that will make you glow. That’s why you need some Twinkle Twinkle Juice in your inventory for this puzzle.
On the left, you will get a hint for the order of the planets. This can be a bit tricky, because it shows them all in a straight line. However, you need to insert the planets into the holes in the solar system in the correct order. The order is as follows:
- Place the yellow planet in the slot to the far left
- In the second ring, to the right of the pedestal, place the small white planet
- In the second ring, directly below the planet puzzle hint and to the top left of the pedestal, place the white planet with a ring around it
- In the third ring, to the bottom left of the pedestal, place the small red planet
- Also in the third ring, directly to the right of the pedestal, place the medium blue planet
- At the far right edge of the solar system, place the large white planet
When you’re done, it should look like this:

The pedestal at the center will glow, then transform into a walkway that you can use to step into the center. Drink the Twinkle Twinkle Juice, then climb the stairs to stand on the pedestal. The center should begin to glow, eventually lighting the whole solar system. This will repair the bridge to the mural and restore the waterway. From here, proceed across the bridge and through the mural to find Enite at the temple and unlock your next quest.
How to Repair the Bridge Across the River in Wisteria

If you’re like me, you wanted to know how to fix the broken bridge in Wisteria Village from the moment you first laid eyes on it. But it will take a bit of time before you can truly repair the bridge. Doing so is part of the “Repairing the Village Bridge” quest. This opens up once you’ve spoken to both Cat Gods as part of your quest to learn about the former witch in the Witch’s House.
Like most construction projects, repairing the bridge begins with a conversation with Kyla. However, you won’t bring her sticks or mud for this project. Instead, you must speak to the villagers to get special, sentimental items. Here’s everyone who can give you a brick ingredient for the bridge:
- Arden
- Enite
- Roy (he will mention this during the initial cutscene; go to his shop to pick up the blue flowerpot)
- Rubrum
Use the special topic Red Brick from the Bridge when speaking to each person to acquire their brick ingredient. To get the final item, talk to Kyla. She will tell you the story of her own contribution, then tell you to wait a day before returning to find the repaired bridge.
Still here? Good.
That means the article did its job! If you’d like to see more of them (and get first crack at what’s next) our Patreon’s the place.
About the Author

Discover more from Bonus Action
Subscribe to get the latest posts sent to your email.