Citizen Sleeper 2 is an incredible game, but its complex systems can be overwhelming.
There’s nothing like the thrill of completing a Contract and recruiting a new crewmate. On the other hand, running out of good dice and having Laine closing in on you is a nightmare.
This guide will help you stay ahead by breaking down the game’s mechanics, recommending the best teams for each Contract, and sharing tips to maximize your resources.
All Difficulties Explained
There are three difficulties in Citizen Sleeper 2: Safe, Risky, and Dangerous. Let’s break them all down:
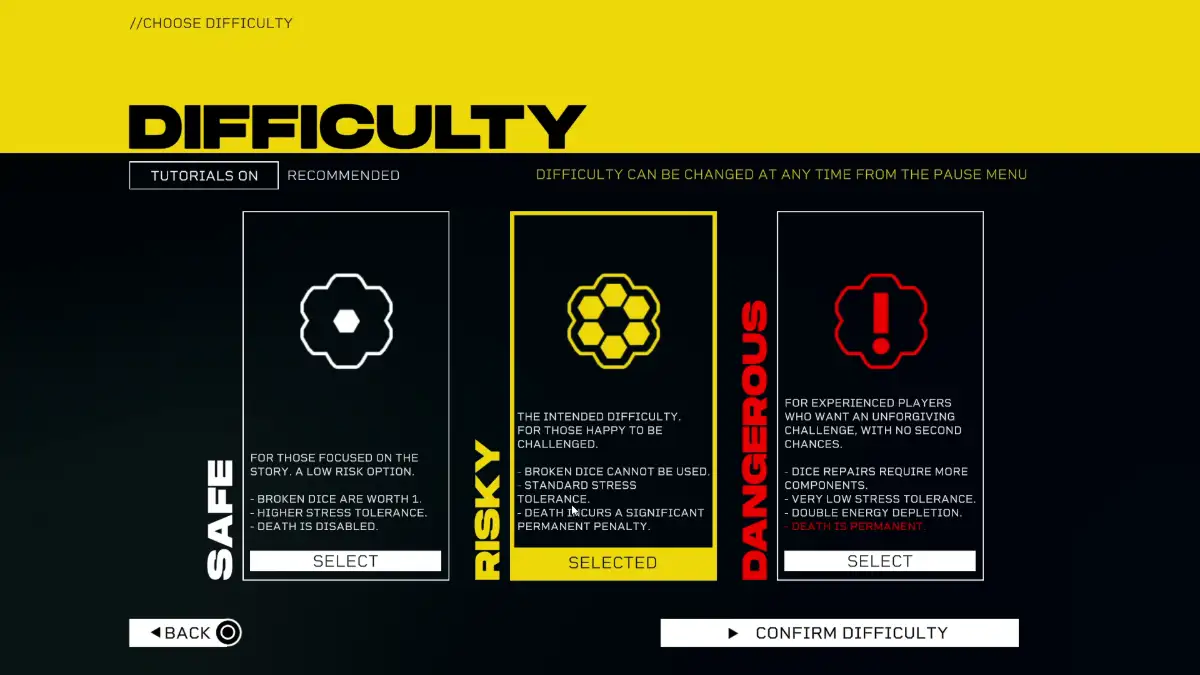
- Safe: If you’re interested in the story and want to avoid stress during contracts, choose this mode. It disables death, increases stress tolerance (meaning fewer broken dice), and even if your dice do break, they can still be used as a “1” die.
- Risky: If you want to experience the challenge of managing a stressed Sleeper and crewmates, dealing with broken and glitched dice that can’t be used until fixed, and facing the possibility of death if things go wrong, choose this difficulty.
- Dangerous: If you’re a tryhard or playing a second run, this is the mode for you. Repairing dice is harder, your Sleeper and crewmates stress out more easily, and permadeath is enabled.
You can change the difficulty at any time by pressing Esc. However, there’s an achievement for completing the game on Dangerous difficulty – you’ll only earn it if you never lower the difficulty.
All Sleeper Builds Explained
There are three Operator classes you can choose in Citizen Sleeper 2. Let’s go over each of them:

- Operator:
- Solid Interface skill
- Decent Intuit and Engage skills
- Can build Engineering skill
- Doesn’t have (and will never have) Endure skills
With an Operator Sleeper, you’ll always take the sneaky, persuasive, or technical approach in Contracts and conversations.
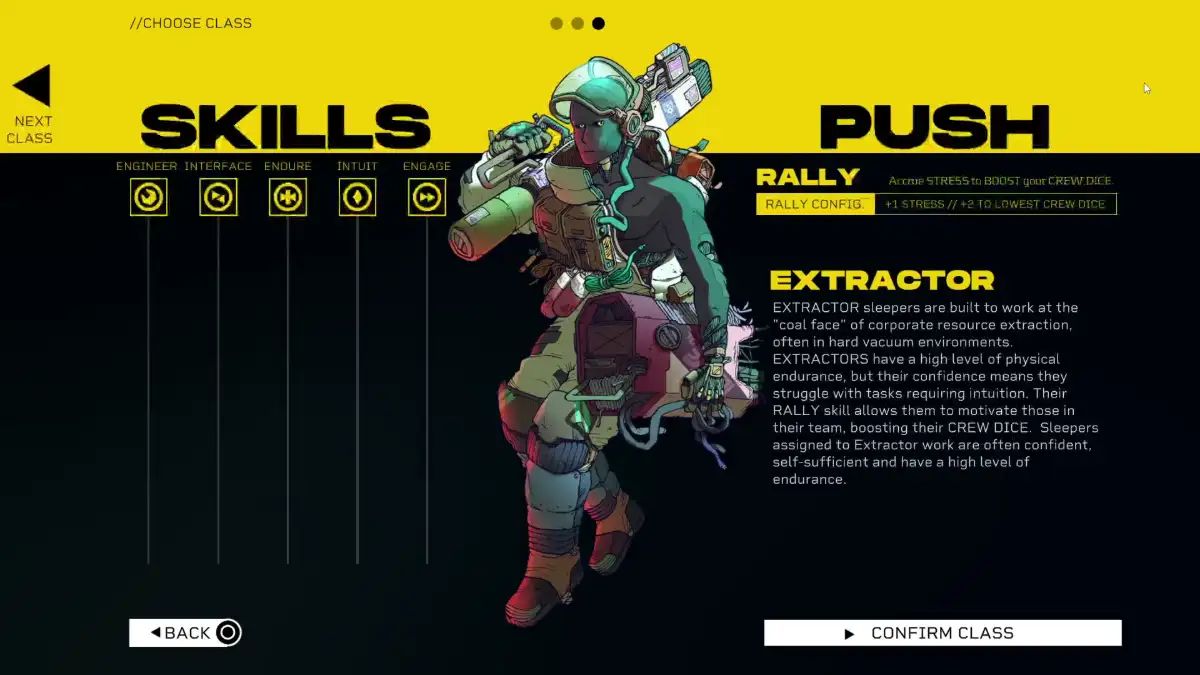
- Extractor:
- Solid Endure skill
- Decent Engineer and Engage skills
- Can build Interface skill
- Doesn’t have (and will never have) Intuit skills
With a Extractor Sleeper, you’ll want to pick the direct approach options. It’s a solid option since there aren’t lots of crewmates with Endure skills.
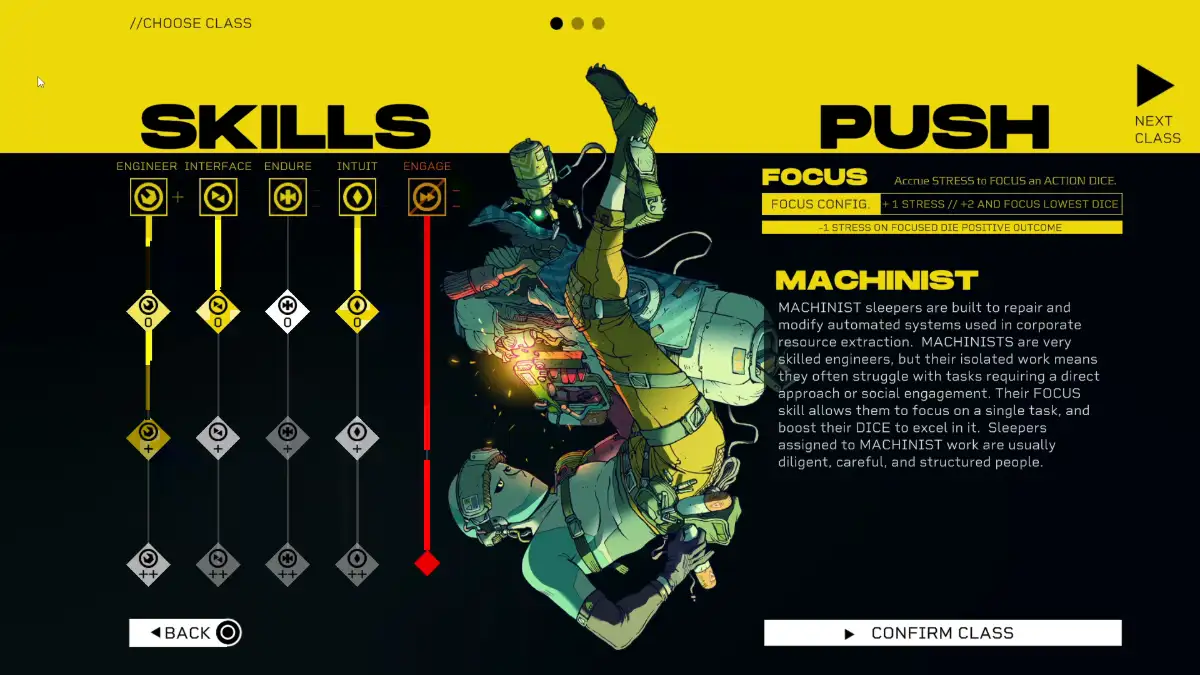
- Machinist:
- Solid Engineer skill
- Decent Interface and Intuit skills
- Can build Endure skills
- Doesn’t have (and will never have) Engage skills
The Machinist is the master of all things tech – just don’t ask them to speak to other people. Having no chances to Engage at all does set you back, but you’re pretty much covered in every other aspect.
How to Increase Stats
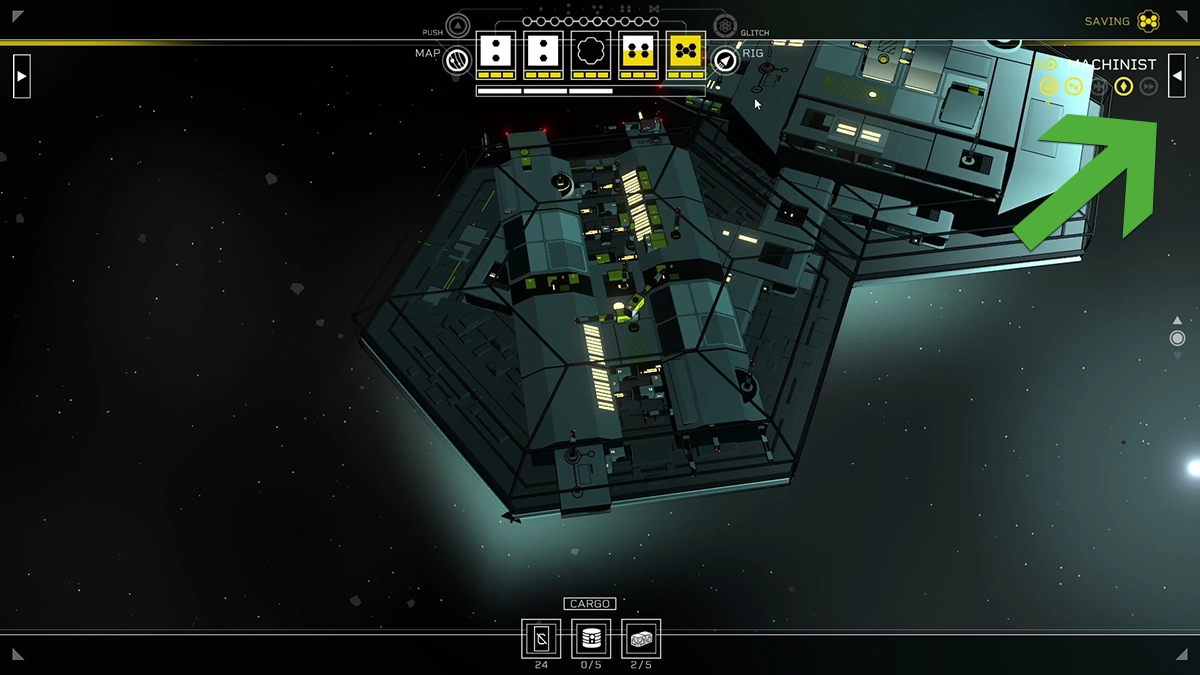
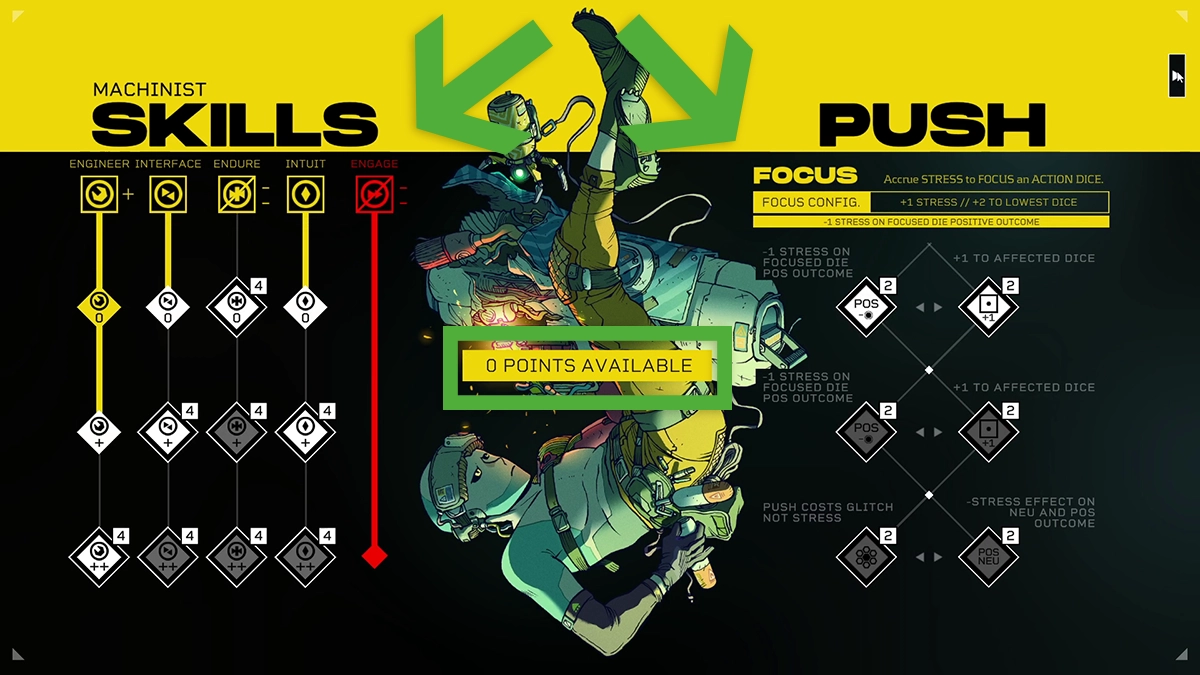
To increase your stats in Citizen Sleeper 2, select the arrow next to your class on the upper right corner of the screen.
- Increasing stats costs four points.
- Unlocking Focus or Rally perks costs two points.
You get points by completing contracts, side quests, and main quests.
How to Get Cryo
The fastest way to get Cryo in the early game is to purchase a Contract and complete it. You can get the money for the Contract by doing a workshift or gambling.
Here are a few ideas to get Cryo in Hexport, which you can later look for in most settlements.
| Appearance | Location | Activity | Skill Required |
|---|---|---|---|
 | The Bends | Play Star and Stroker | Intuit |
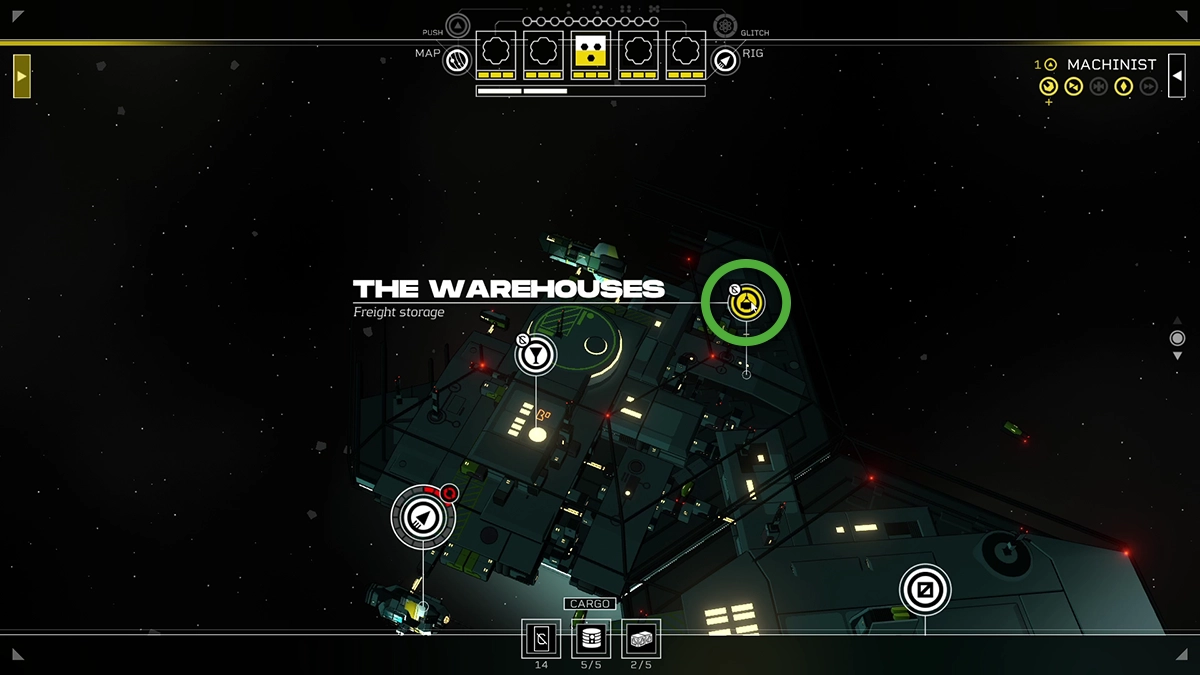 | The Warehouse | Work a shift | Endure |
 | Switch Scrap Sol. | Data Defusal Shift | Interface |
| Switch Scrap Sol. | Scrapyard Shift | Engineer |
With 10 Cryo, you can purchase the Conway Signal contract in Hexport – there are also other Contracts in pretty much every settlement.

You’ll also need 5 supplies and some fuel to fly there – so a few working shifts will do you good.
How to Repair Dice
You unlock Dice Repair once you escape Hexport and reach the Far Spindle and meet Bliss. He sets up a workshop in The Rig to fix dice.

Repairing Dice requires 2 Scrap Components or 1 Rare Component.
Here’s some notes on how dice repair works:
- You can’t fix a die until it’s fully broken.
- Die fixed with Scrap Components (Improvised Dice Repair) results in Glitches, which leads to Glitched dice.
- You can’t fix Glitched dice if you’re playing on Risky and Dangerous difficulties.
All Crewmates & How to Recruit Them
Juni
Femi
Nia
Bliss
Kadet
Yu-Jin
Luis
Flint
How to Recruit Juni

Skill: High Intuit
To recruit Juni, accept her offer to tag along in Karsten’s Solheim HS22 contract and agree to give up the feed lines for her investigation. Later on, you’ll run into her at Helion Gate while completing Diagnose Your Frame. Here, agree to help her out complete a contract before leaving and she’ll join your crew.
How to Recruit Femi
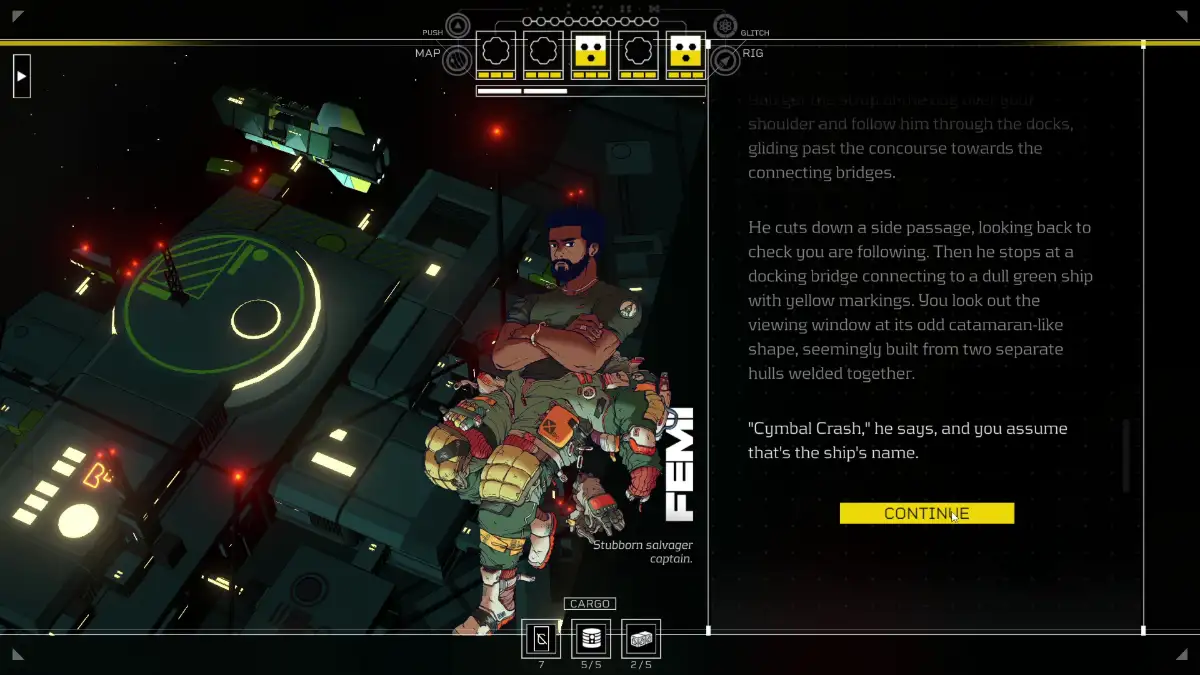
Skills: Endure & Engage
You meet Femi for the first time in Hexport. When things get dicey, you flee, but you’ll find him again in Floatsam after you return from Wellspring. He’ll ask for help to rescue Nia and, at the end of the contract, you can hire either him or his sister.
How to Recruit Nia
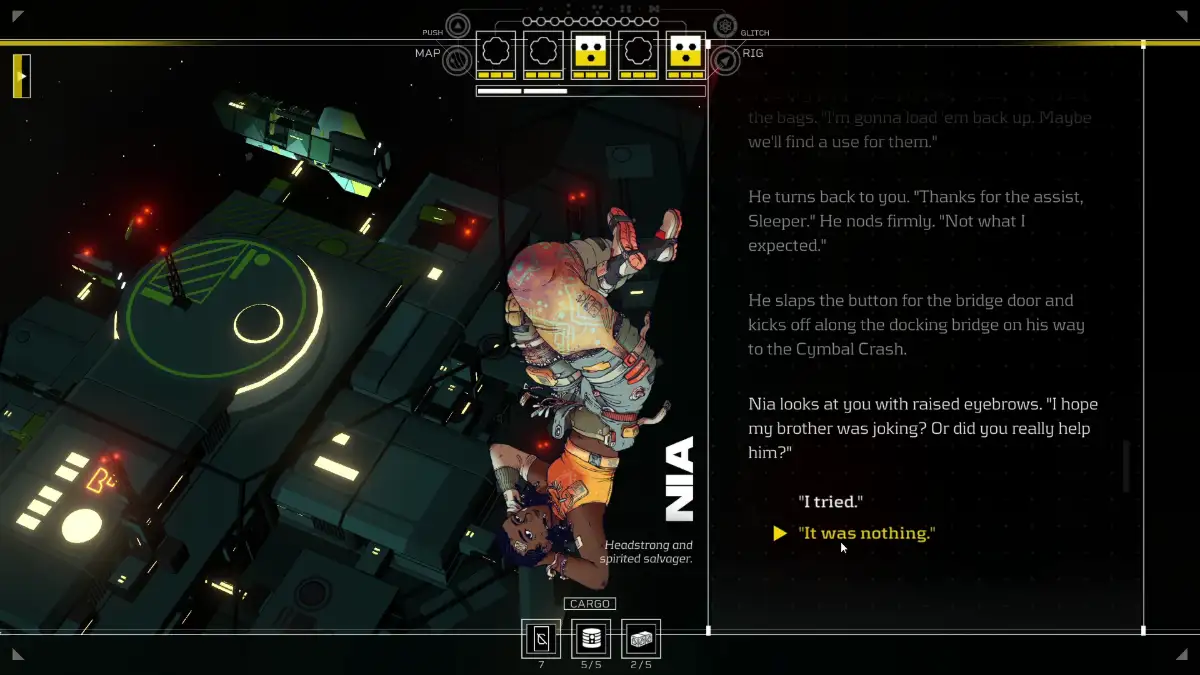
Skills: High Interface
To recruit Nia, chat to crews and explore the docks in Hexport until you complete the Hexport Connections objective. After completing the interaction with his brother, Femi, Nia will thank you and ask if she can join your crew. But because of your unprecedented escape, your journeys diverge here.
You’ll meet again when Femi enlists you on a rescue mission in Floatsam. After the contract is over, you can recruit either her or Femi.
How to Recruit Bliss
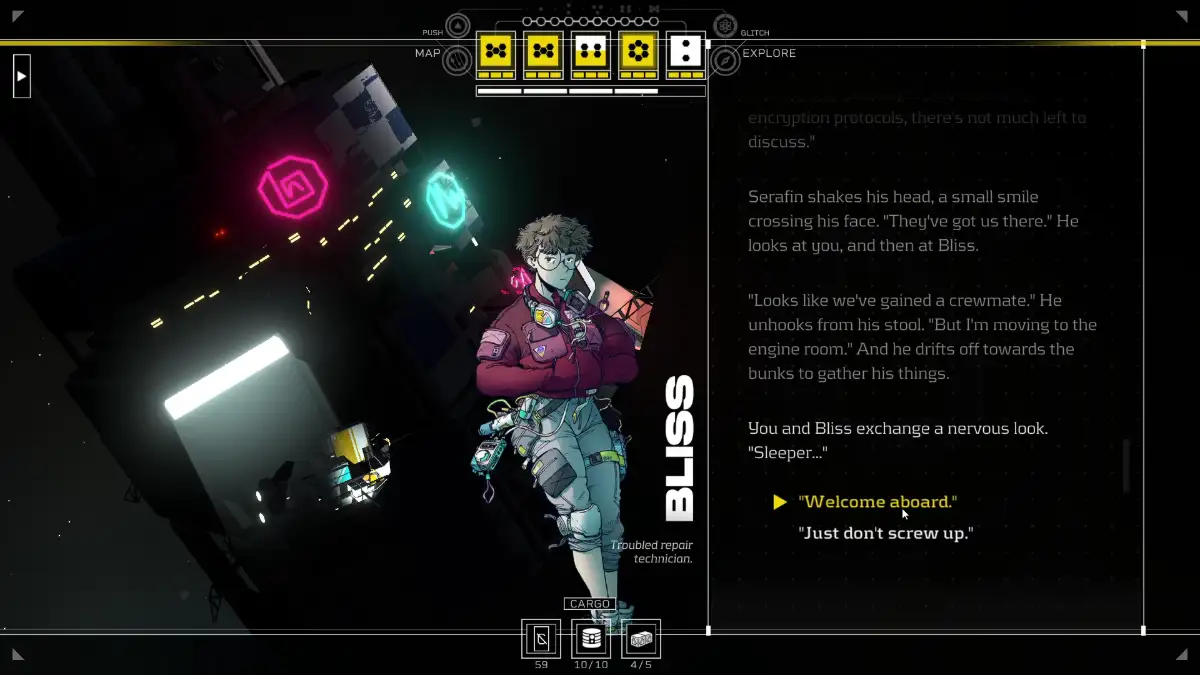
Skills: Engineering & Interface
You can recruit Bliss after escaping Hexport. Once the Rig is fully repaired, Bliss asks if they can join your crew.
How to Recruit Kadet
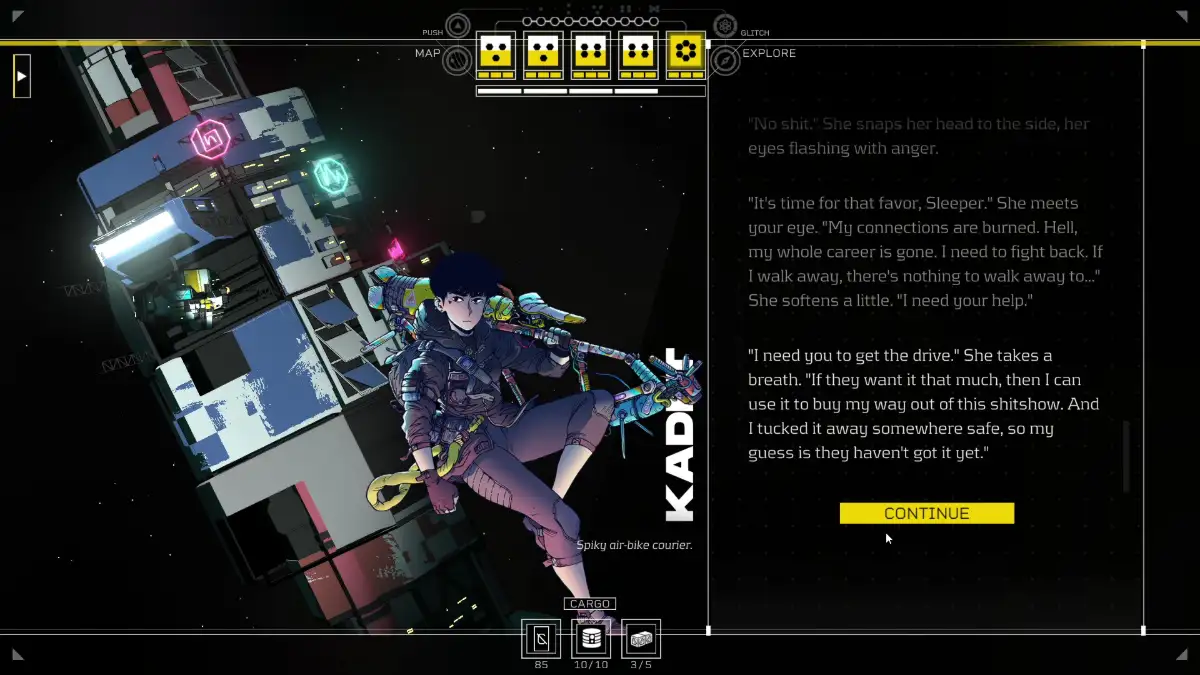
Skills:
You run into Kadet for the first time while exploring the Far Spindle. She asks you to extract a dangerous drive from the Stripline Express. After doing so, she’ll flee to Scatteryards; meet her there to recruit her.
How to Recruit Yu-Jin
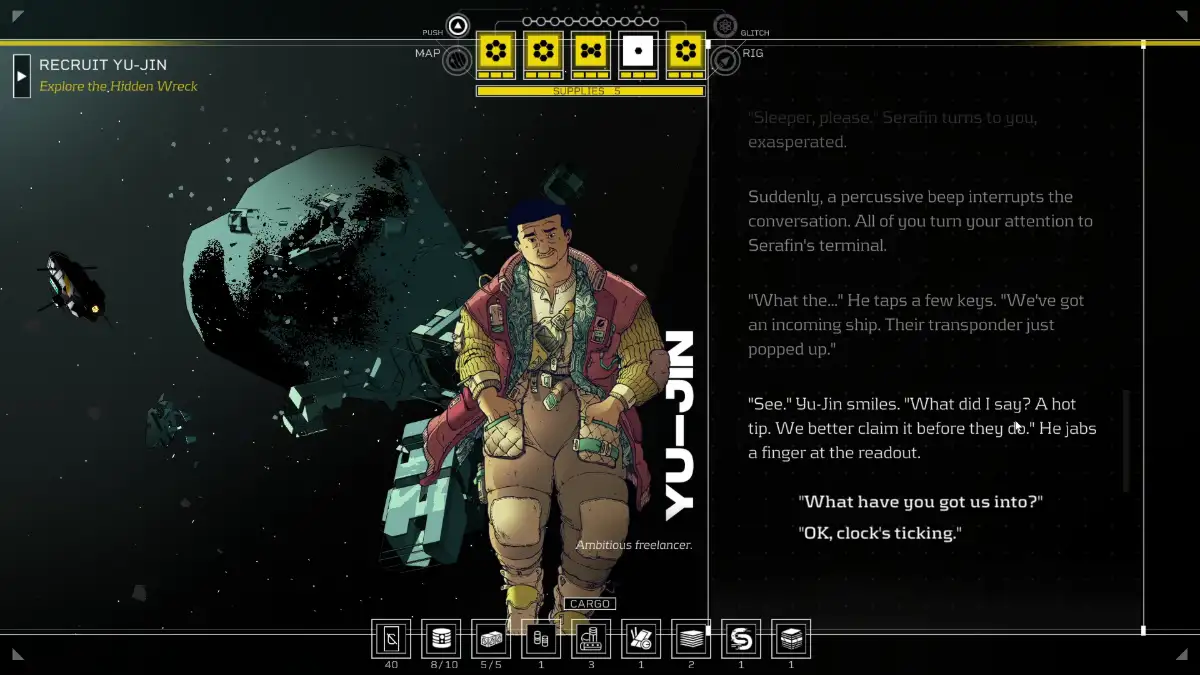
Skills: Endure & Engage
You can recruit Yu-Jin by meeting with him at the Far Spindle bar, completing the Hidden Wreck contract, and agreeing to welcome him to the team.
How to recruit Luis

Skills: Intuit & Engage
You can recruit Luis in The Hollow while completing the Aphelion Beacon Contract. That said, to do so, you must decide to leave Yu-Jin behind.
How to recruit Flint
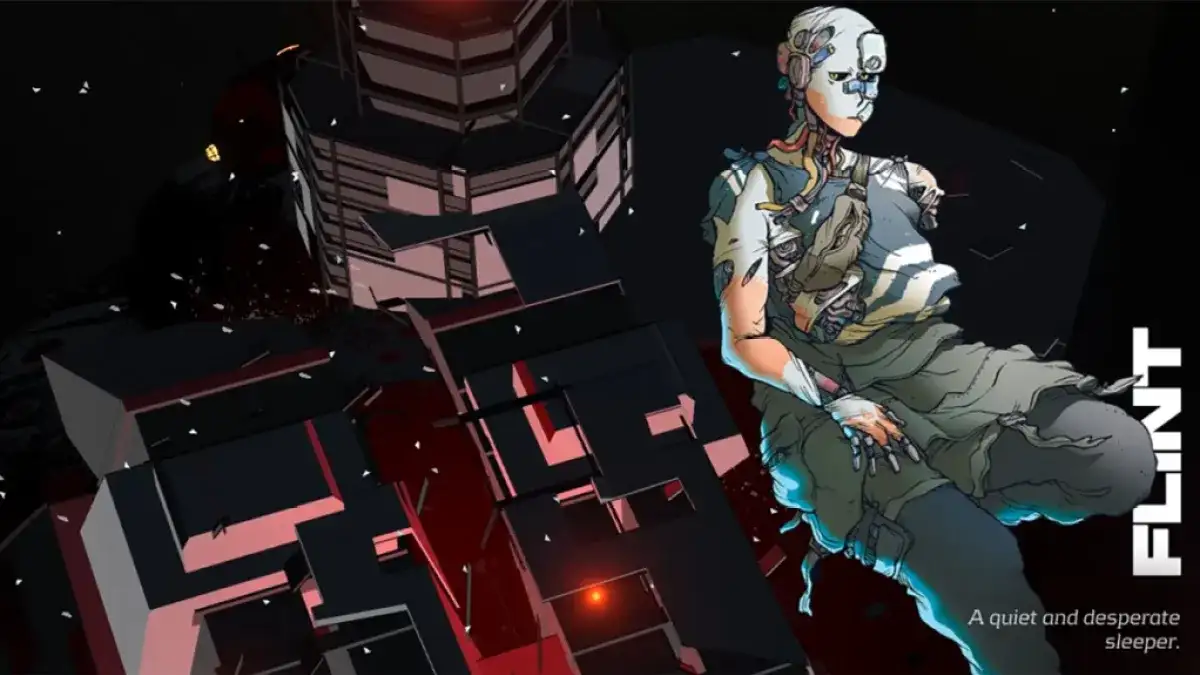
Skills: Engineer & Interface
You can recruit Flint in Olivera by rescuing Karman and Flint in the Old Manufactory Contract.
Best Team for Every Contract
| Contract name | How to start | Best team | Why |
|---|---|---|---|
Conway Signal | Head to the Contract Board and purchase this contract for 10 Cryo.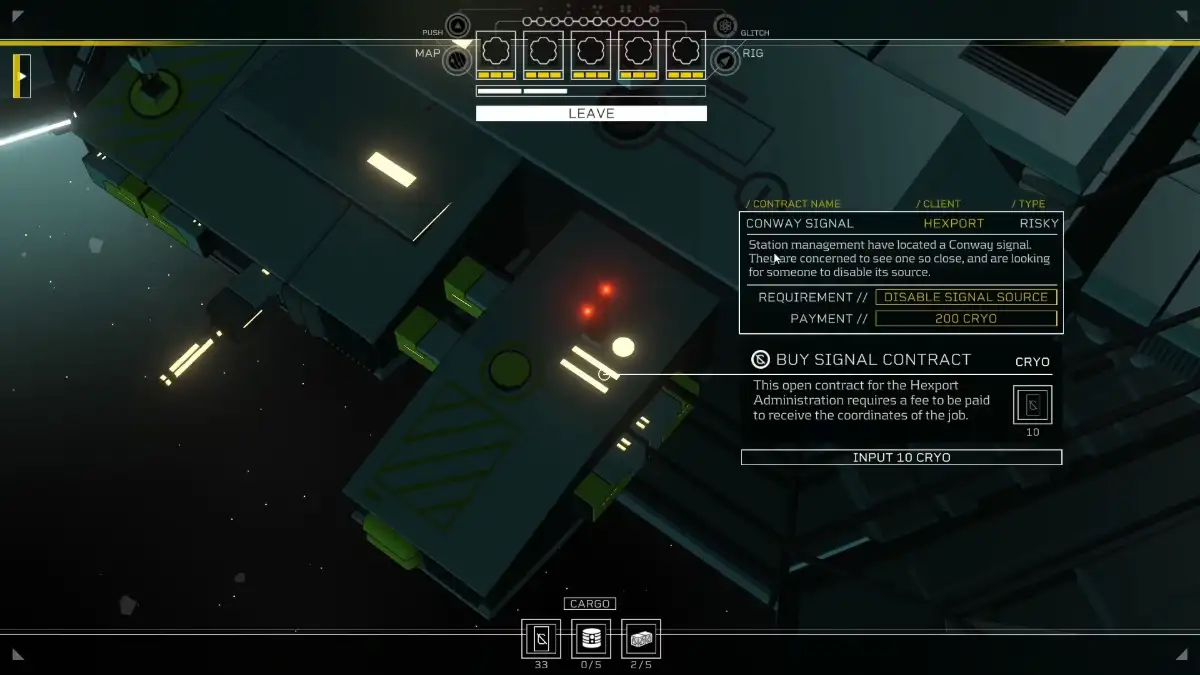 | Serafin & Nia | Not many alternatives at this point of the story. That said, you can gain Control Access with your own Engineer skills or Nia’s high interface skills. Then, you’ll be able to Disconnect the backup with your own Intuit. Finally, when it’s time to address Hull Damage, Serafin’s Endure skill will come in handy. |
Solheim HS22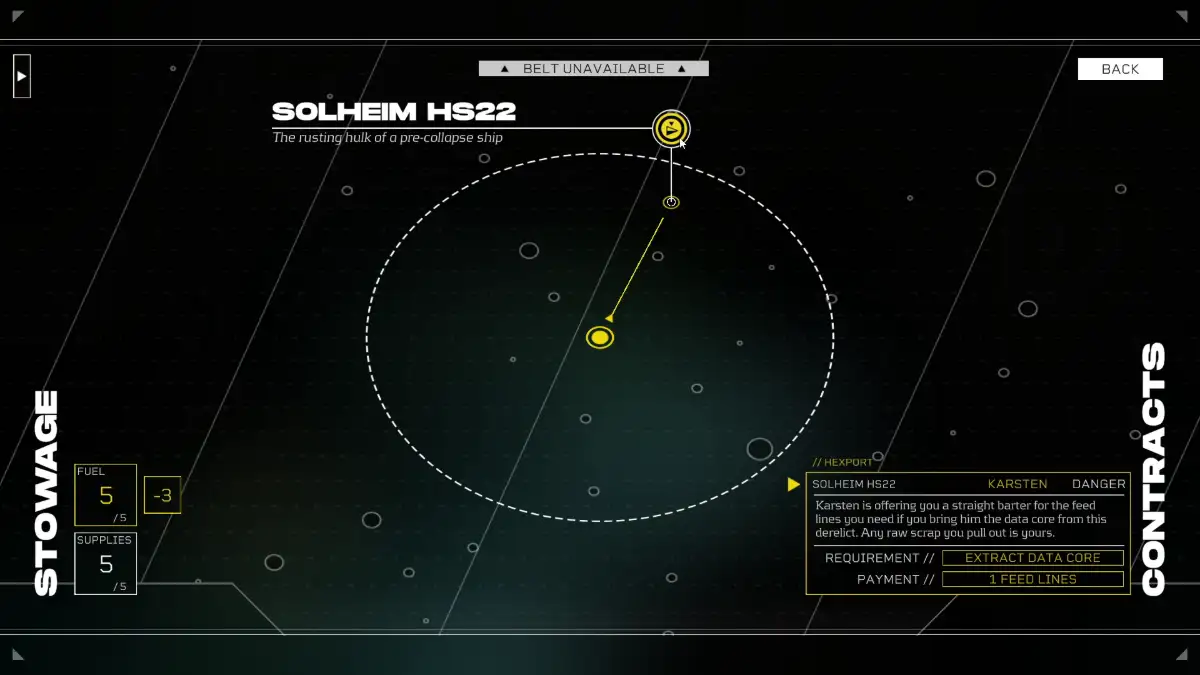 | In Hexport, search Factory Row and haul Materials until you find the trusted supplier in the factories. Then, agree to help Karsten to get the feed lines. | Serafin & Juni | You don’t really have much of a choice here. Serafin’s Engage and Endure skills will come in handy to dissect and force the lock in the Corroded Airlock, which is the main priority. He can also Clear the cargo doors to get some extra scrap in the Depressurized Bay. Juni’s high Intuit skills can help find an access point to the cargo entry. If the crisis event Hull Breach occurs, Serafin can seal the Emergency Seal with his Endure skill. |
Hidden Wreck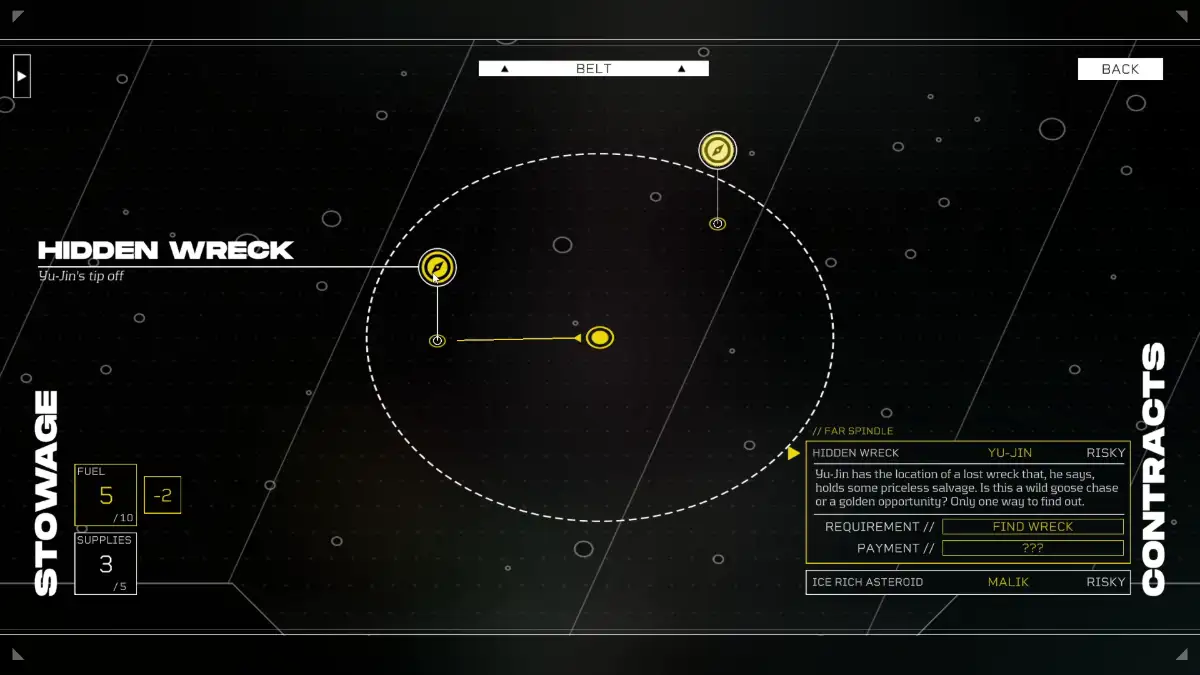 | Speak to Yu-Jin in the Far Spindle’s bar. | Yu-jin & Bliss | This contract requires lots of Engineering and Interface, both of which Bliss has. Yu-jin’s Endure and Engage skills will also come in handy to clear the wreckage and take care of interactions. The one skill you need to provide as a Sleeper is Intuit. |
Ice Asteroid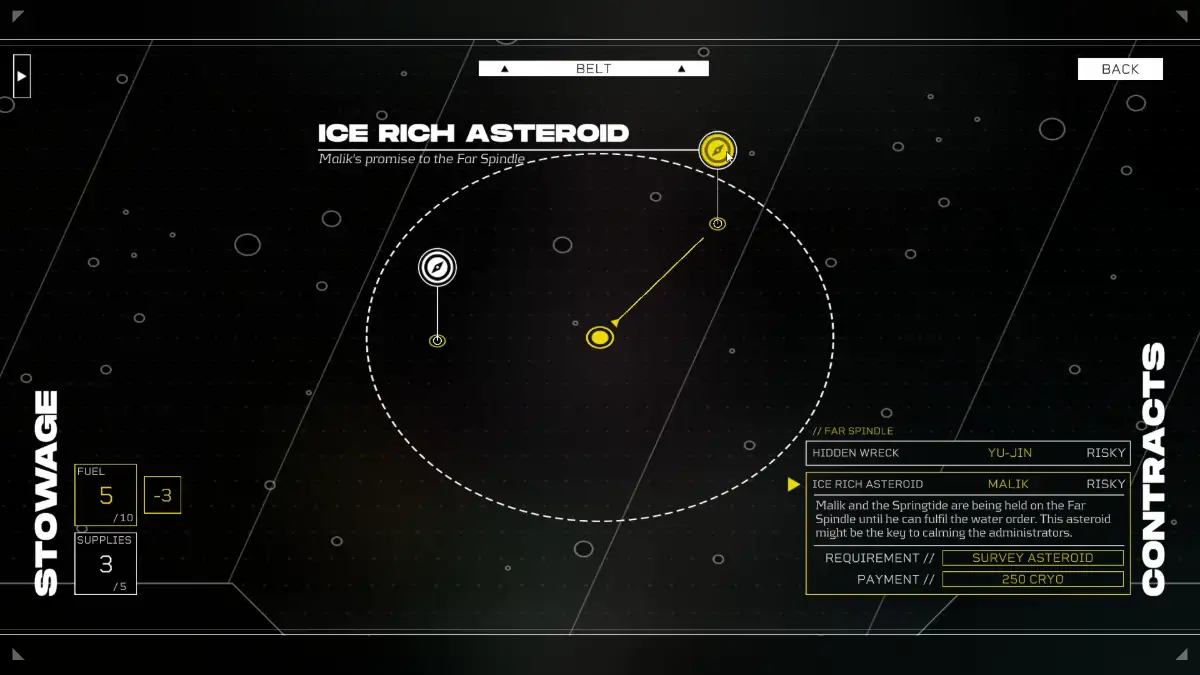 | In the Far Spindle, Repair the leaks and Reroute the Flow to save Springtide at the very top of the settlement. Its captain, Malik, will give you this contract. | Yu-jin & Bliss | This contract requires a lot of Endure and a lot of Engineering. Since you’re still in the early game, Bliss and Yu-jin will do. Again, the one skill you must provide as a Sleeper is Intuit. If you can’t do that, then you’re better off bringing Juni. |
Winds Long Shadow | Speak to Aki in the Greenbelt and agree to retrieve supplies in the Wind’s Long Shadow protect the farm.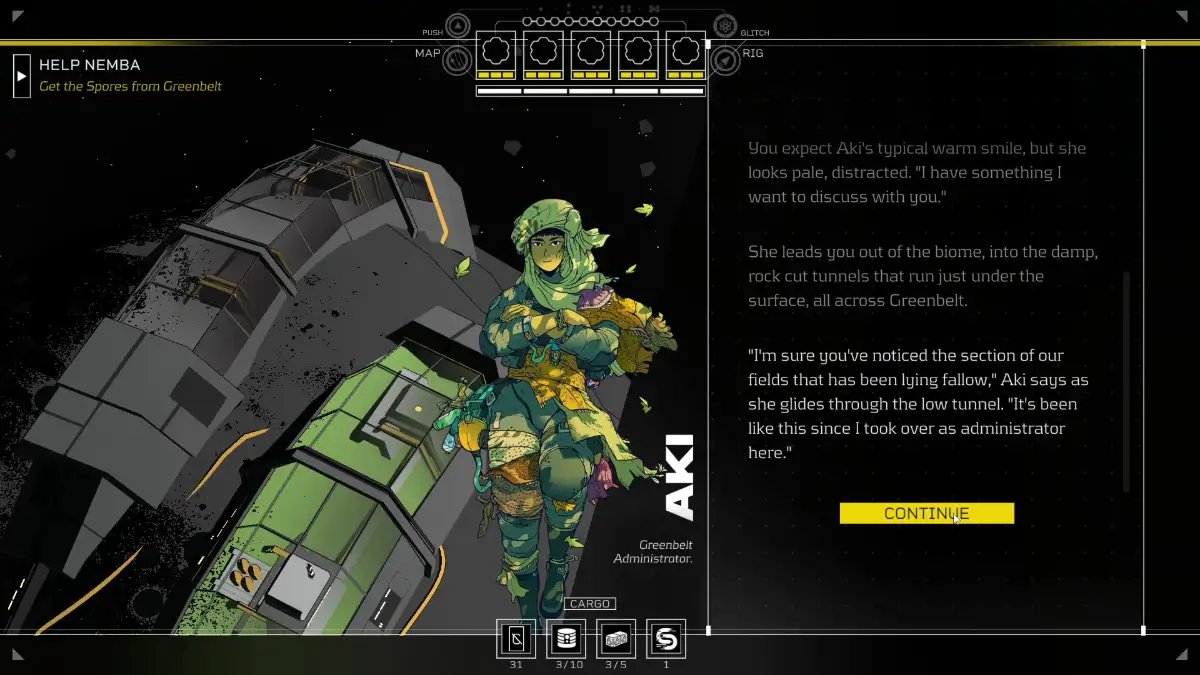 | Bliss & Yu-jin | You’ll need to expertly search and clear the dusthouse using Intuit and Endure without breaking the Fragile Husks. To access the bays, you can either cut them open with Engineer or break them open with Engage. Once inside, Interface and Intuit will help you scan and search for the Husks. With such a wide range of skills required, Bliss and Yu-jin make the best team, as their opposing abilities cover everything needed for the job. |
Stranded Rig | Purchase in Floatsam’s bar for 8 Cryo. | Juni & Yu-jin | This Contract requires high Intuit, which makes Juni a perfect candidate. Yu-jin can take care of the hard work like tracking cables and isolating the bay. You’ll need to take care of the Interface and Engineering tasks. If you can’t, perhaps you’re better off bringing Bliss. |
Shipmind Wreck | Accept Jean-Mi’s help in Floatsam. | Juni & Yu-jin | This is a pretty straightforward contract. However, you’ll benefit from binging Yujin and his Endure skills to do Engine Labor and Gather Scrap. Juni can also use her high intuit to complete Component Search. |
Solheim Bunker | Recruit Juni in Helion Gate and agree to visit her bunker. | Juni & Yu-jin | If you’re able to bring Engineering and Interface to the table, then these two can expertly deal with sensitive Endure and Intuit tasks. |
Headstream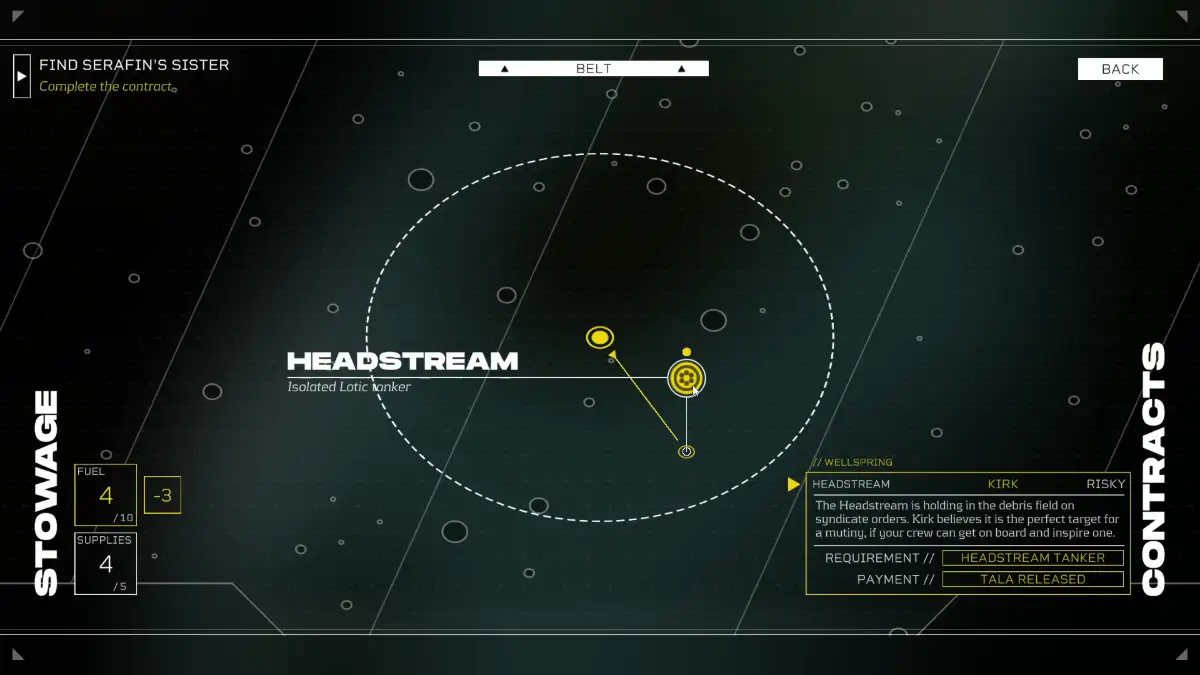 | Agree to help Kirk with the mutiny in Wellspring.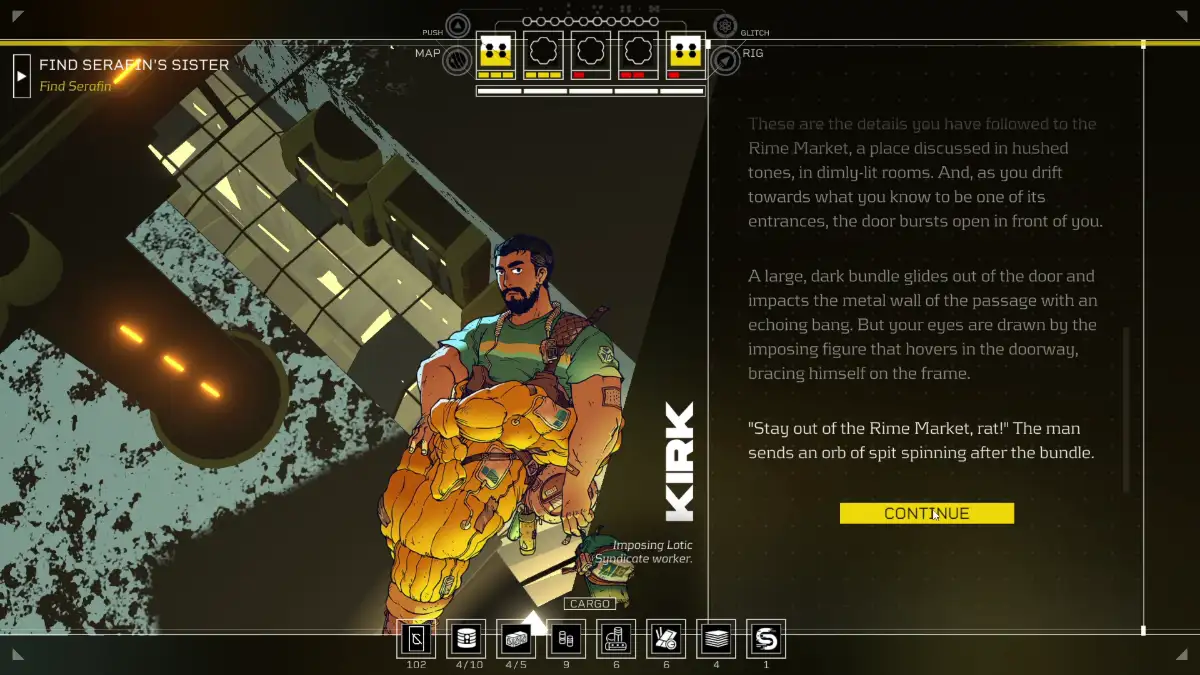 | Kirk & Bliss | Kirk handles the Engage and Endure tasks while Bliss takes care of the Engineering and Interface ones. All you need to provide is some Intuit. |
Debris Field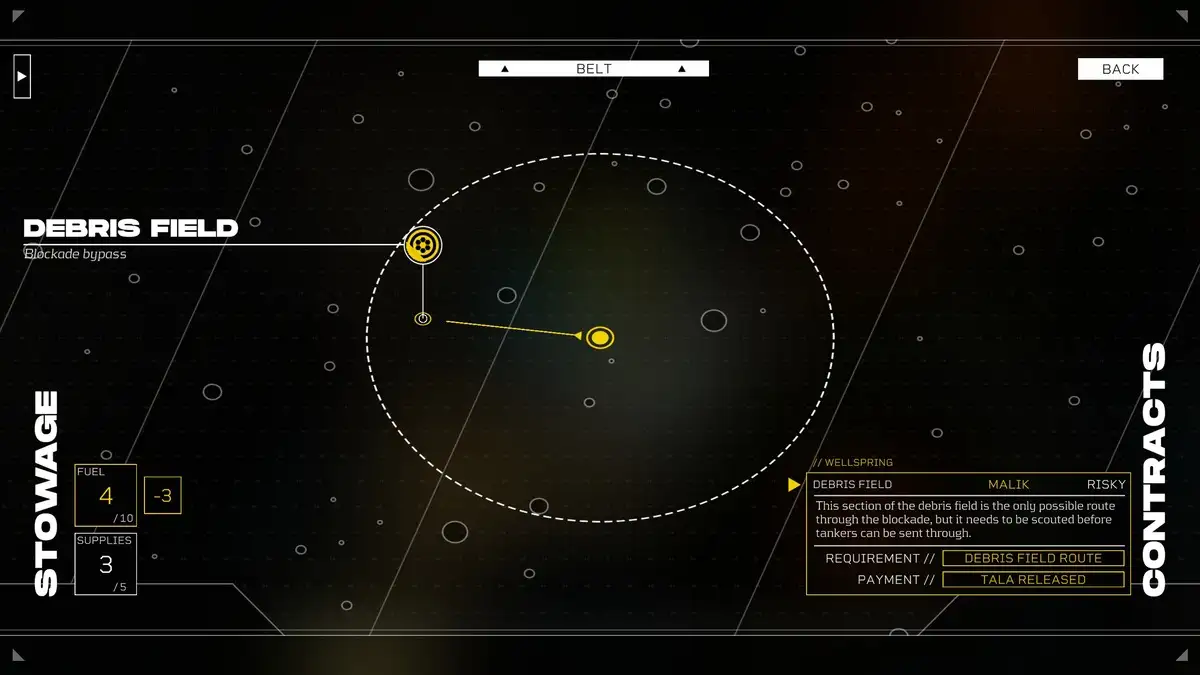 | Side with the Lotics after speaking with Malik. | Juni & Yu-Jin | With Yujin’s Endure skills you’ll be able to enter the Asterioid, Clear the debris, and Reshape the Rock. Juni, on the other hand, can handle the high-intuit tasks like Constrct Shielding and Searching the Surface. |
Cutter’s End | Agree to help Femi rescue Nia in Floatsam (post-Wellspring)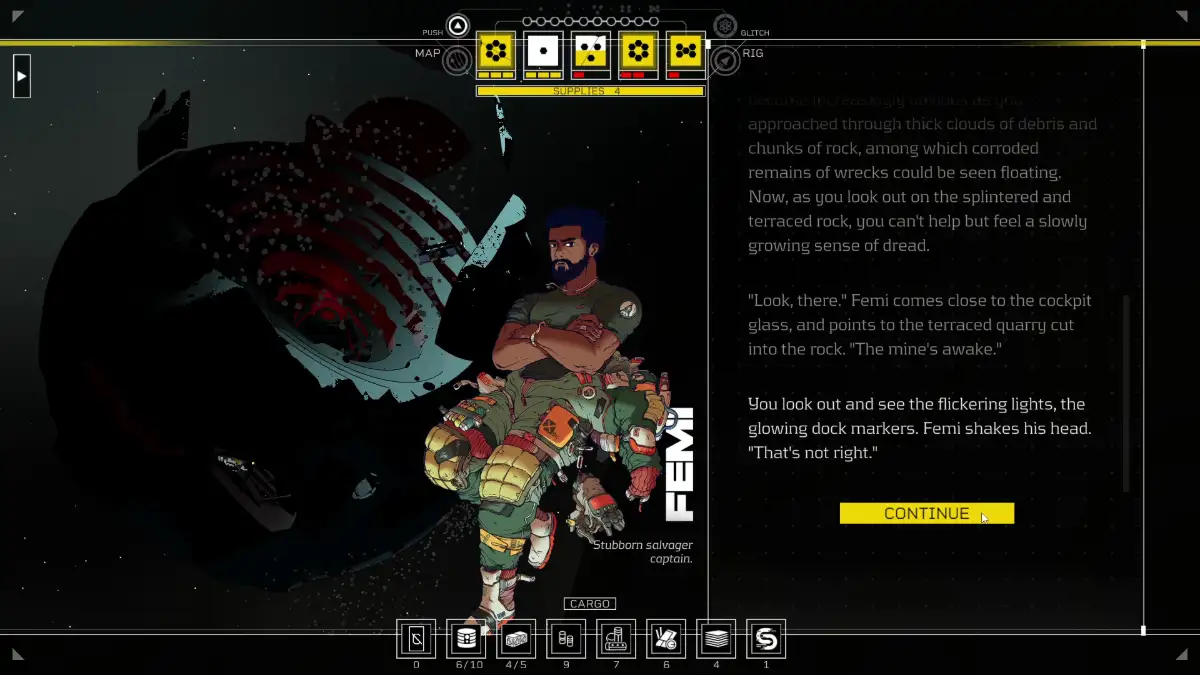 | Femi & Bliss | This contract requires a lot of Engage and Endure, so try to at least have one of those yourself. Femi will help in that department. Bliss, on the other hand, will handle the Engineering and Interface tasks. |
| Aphelion Beacon | Agree to help Yu-jin in The Hollow. | Yu-jin & Nia | Nia will handle all the Interface tasks like triangulating and decrypting the signal. Yu-jin will take care of all the Endure tasks like searching rocks and forcing the drive’s startup. I recommend you polish your Engage skills for this mission. |
Darkside Recon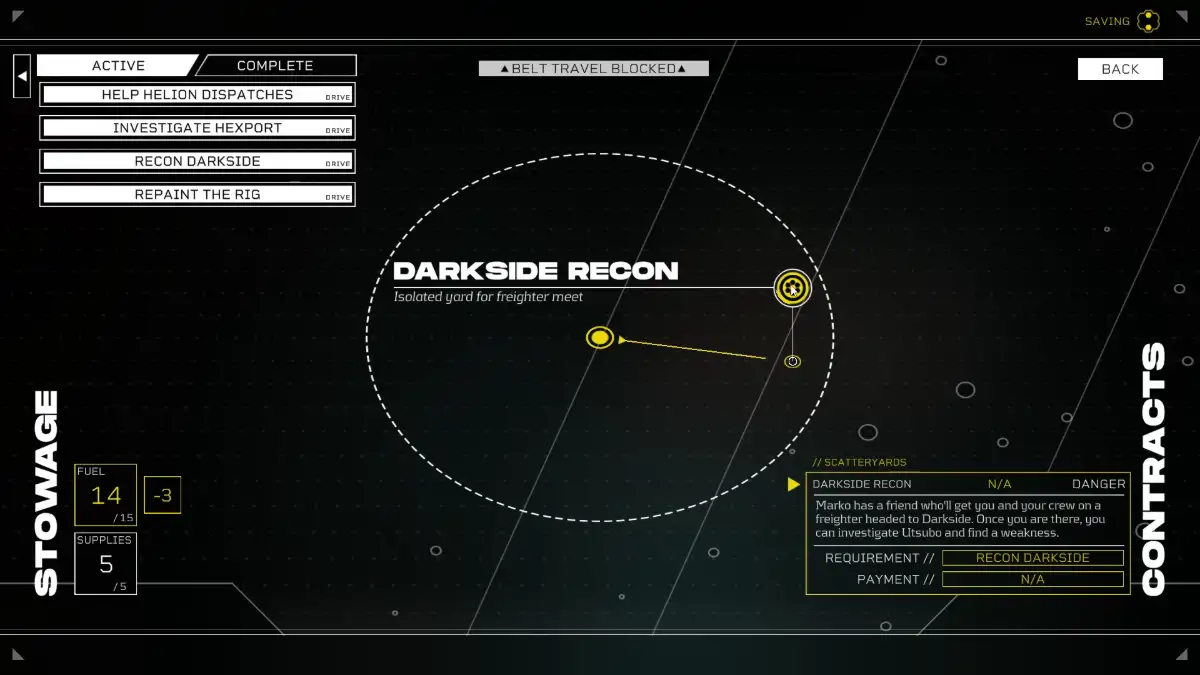 | Agree to confront Laine.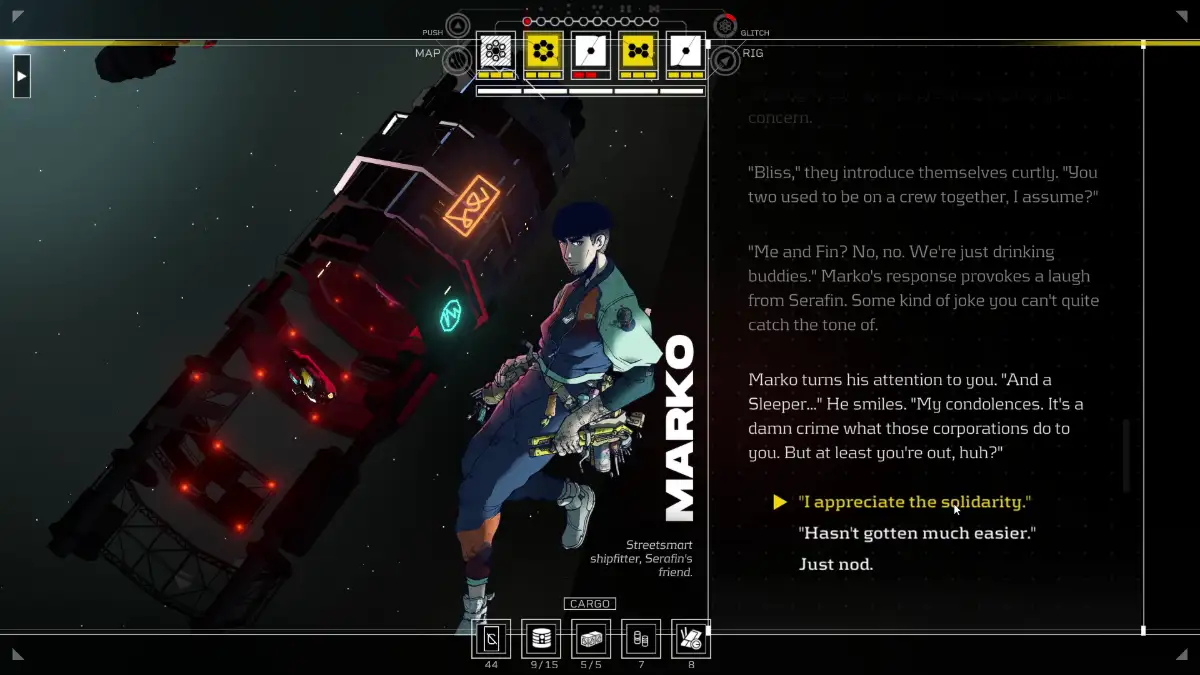 | Marko & Two-skill Crewmate | Marko has Engage and Interface skills. I would recommend you bring a crewmate with two skills that can easily fill your Sleeper’s gaps. As a Machinist, I’d pick Yu-jin or Kadet. But if you’re an Extractor, maybe Bliss is a better choice. |
Old Manufactory | Agree to help Flint get rid of the Hunter.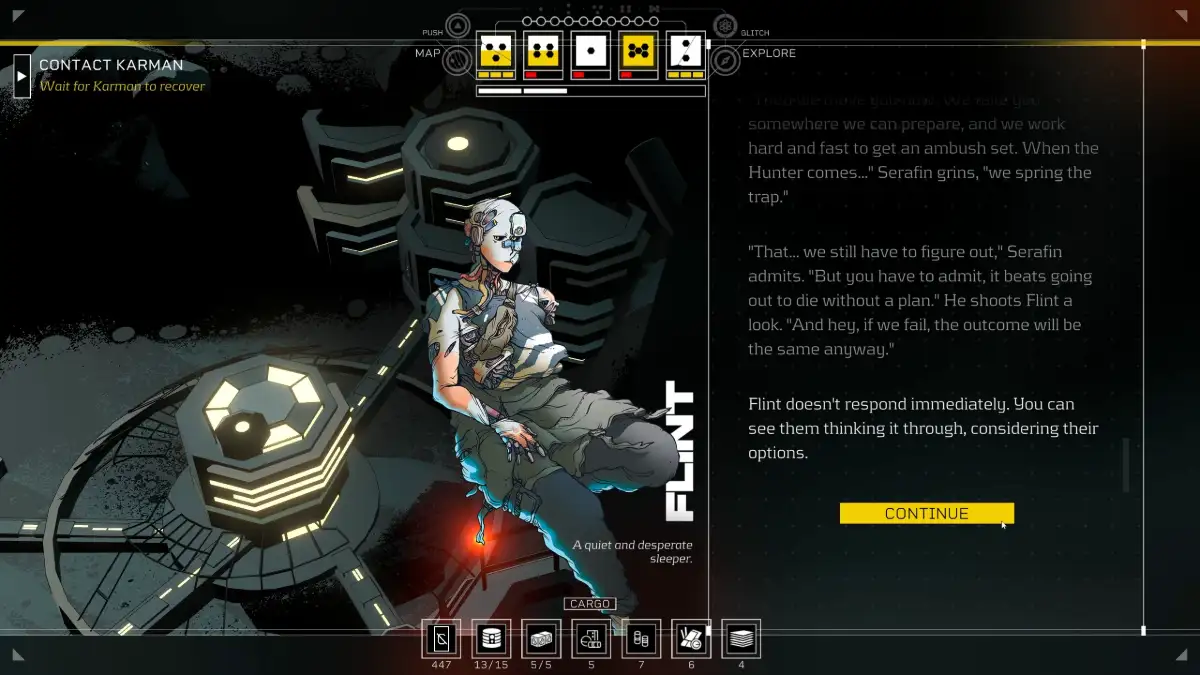 | Juni & Yu-Jin/Luis | You’ll have to set up a fair share of traps with Endurance, Engage, and Intuit, so Juni and either Yu-Jin or Luis, depending on who’s on your team at the moment, are the perfect match here. |
All Materials & How to get them
| Material icon | Material | How to get |
|---|---|---|
 | Scrap Components | Purchase in Scrapper Ship in Far Spindle and Debris Dealers in The Hollow. |
 | Rare Components | Speak to Jean-Mi in Floatsam to get 1. Complete Hidden Wreck Contract to get 4, Complete Ice Asteroid to get 2. Search Storage in Juni’s Solheim Bunker Contract to get 2. Print components in exchange for Solheim Data in Holm’s Rock. |
 | Raw Scrap | Extracted during Solheim HS22, Hidden Wreck, Shipmind Wreck Work in Floatsam Integration (Interface) and Maintenance (Intuit) |
 | Solheim Data | Data Scraping in Helion Gate (Interface or Endurance) |
 | Engine Components | Bought in Floatsam for 50 Cryo. Retrieve Kadet’s drive to receive 3. Can be built in the Scatteryards’ Fabricator Bay. |
How to unlock all Citizen Sleeper 2 Paint Jobs

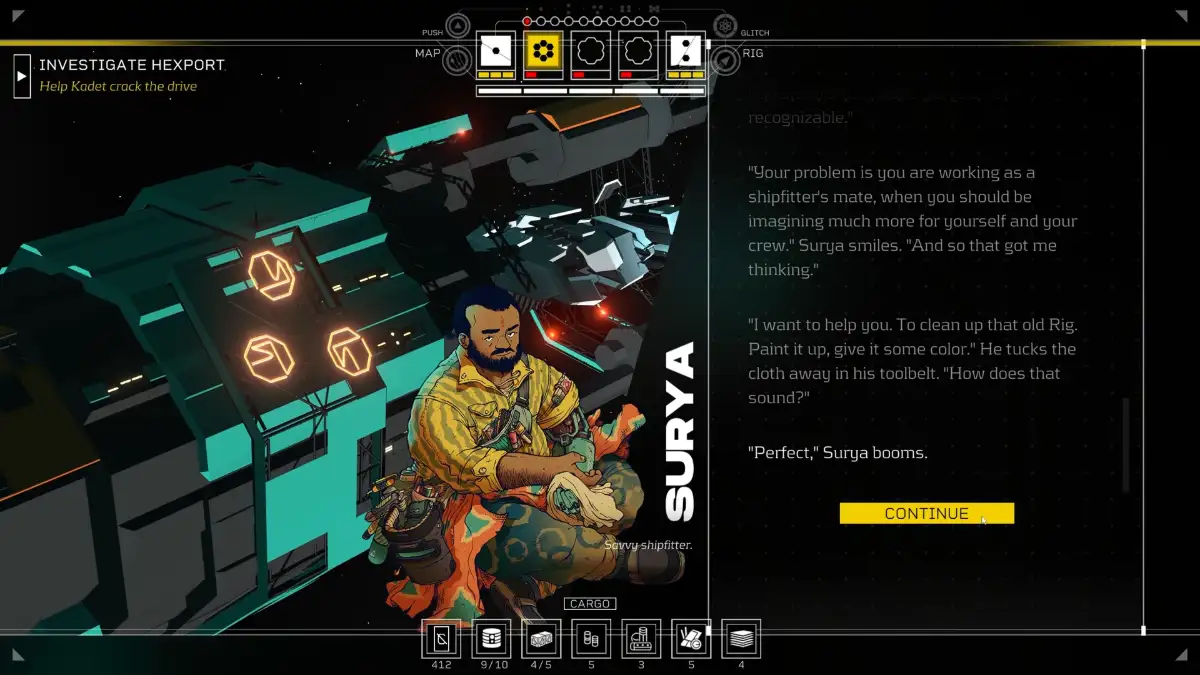
Here’s how to complete this side quest:
- Find Surya in Scatteryards: He needs inspiration and wants you to sketch different hubs.
- Accept the task: Say yes, and you’ll get 150 cryo upfront. Nice.
- Create Three Sketches: Visit Far Spindle, Greenbelt, and The Hollow and use your Intuit Skill to find the eye icon. Each sketch earns you another 150 cryo and unlocks a new paint job.
- Return to Surya: Hand over the sketches one by one or all at once.
- Complete the Drive: Once all sketches are in, the “Paint The Rig” drive is done! You’ll get a skill point and the “Proud Rig Owner” achievement.
That’s our Citizen Sleeper 2 walkthrough. If you’re looking for other indie RPGs, check out Caravan Sandwitch and Dungeons of Hinterberg.
About the Author
Discover more from Bonus Action
Subscribe to get the latest posts sent to your email.