Screenshot by Bonus Action
Initially, our walkthrough for Bloomtown: A Different Story had everything baked into one long guide. However, as we got deeper into the game, that started to feel a little unwieldy. There’s so much happening in Bloomtown and even more going on in the Underside. We were scrolling a lot while updating our guide, and felt like you might be scrolling a lot, too. The guide’s total read time was over an hour!
And while that might be a nice, juicy walkthrough, we felt it might be easier on you (and me) to break out the dungeon section. Since the Underside often operates separately from but in tandem with Main Quests from Bloomtown, it feels more user-friendly to be able to break them out side by side. So, the Underside dungeon walkthrough of our Bloomtown: A Different Story guide is going to live here now.
For FAQs and Main Quest guides, check out the main walkthrough hub. Then, when it’s time to hit the Underside, you know where to find the dungeon guide.
Table of contents
Bloomtown Dungeon Guide
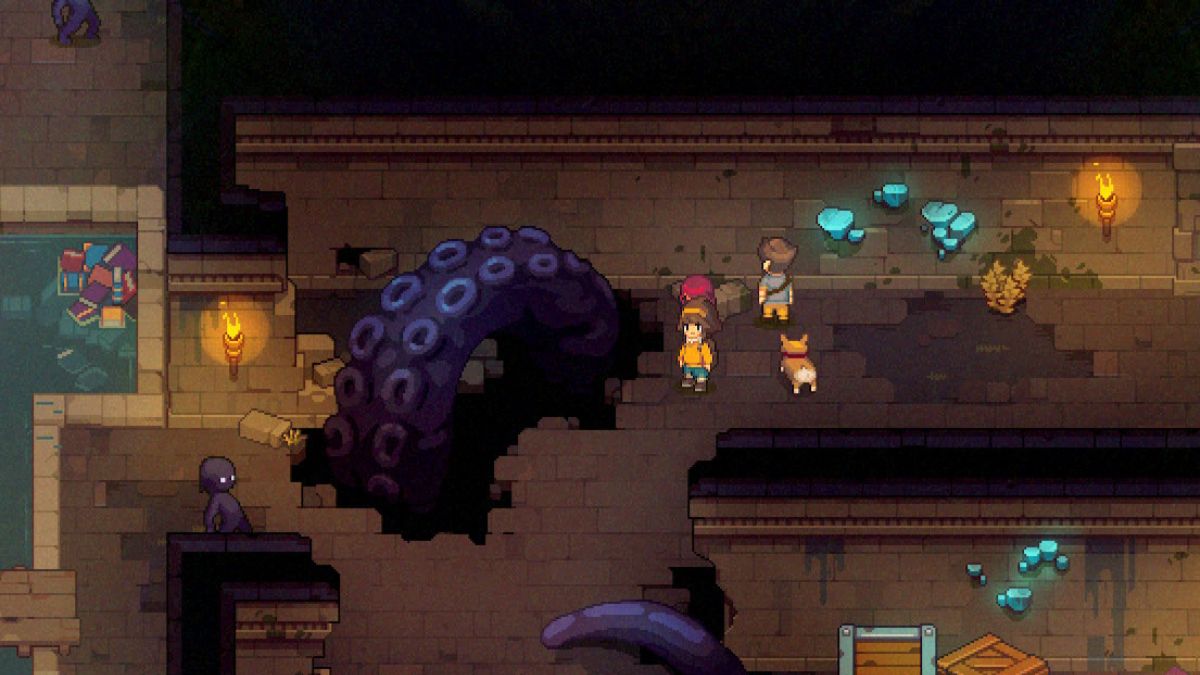
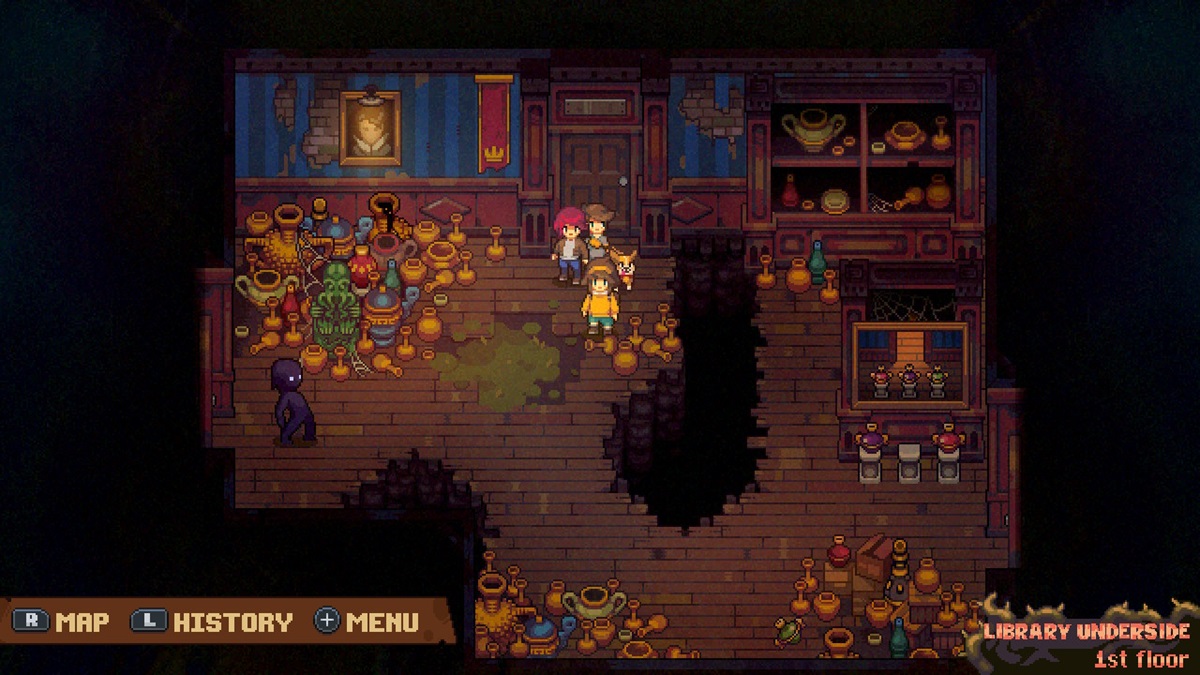
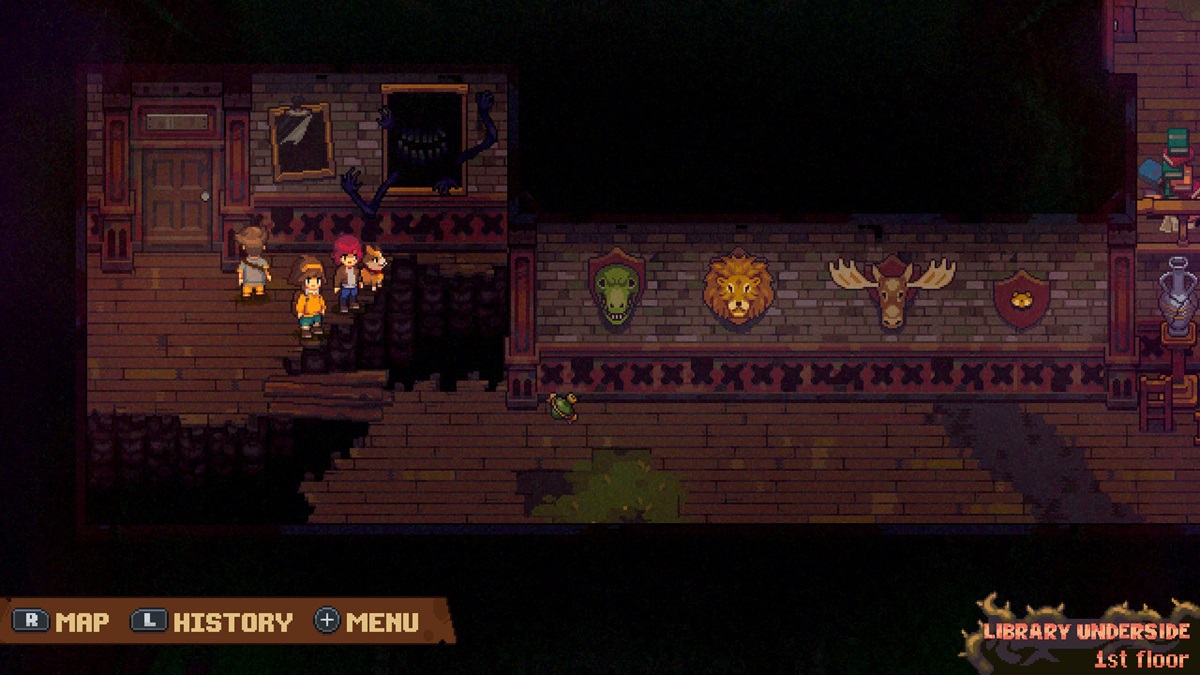
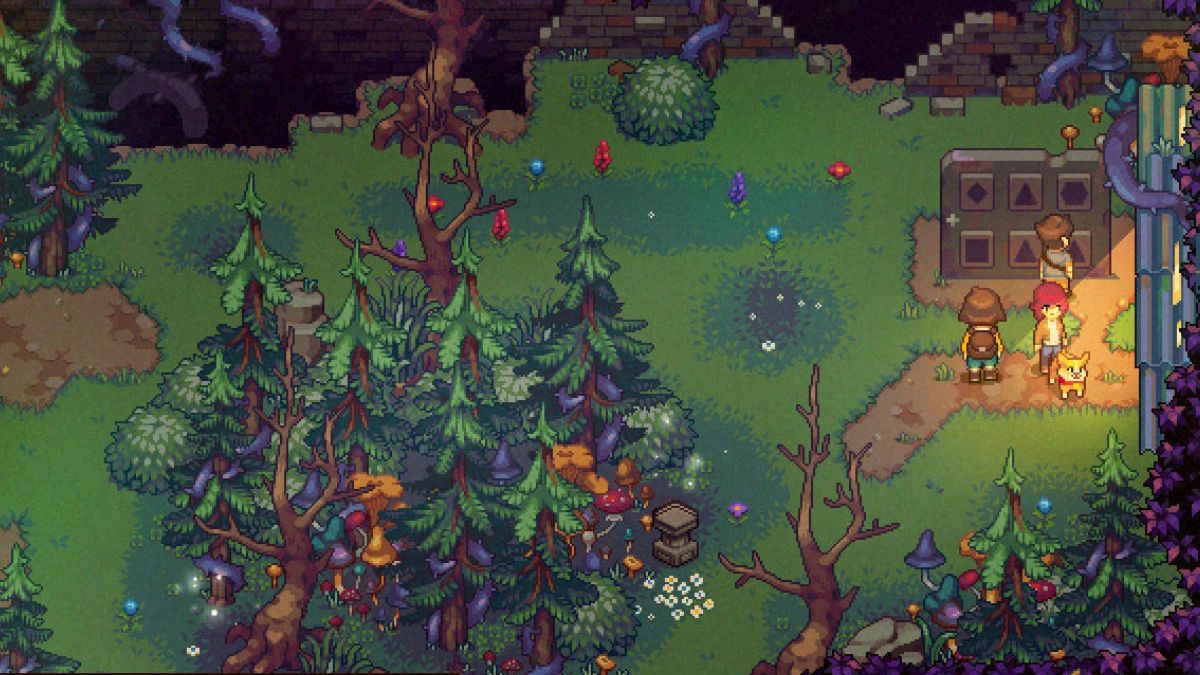
The first major dungeon in Bloomtown is the Library Underside. It has two main parts – the Library Basement and the Library Exhibition Hall. You need to complete both to get the keys, unlock the door, and save Sarah.
Library Basement Dungeon Walkthrough

Basement key
To get the basement key, follow these steps:
| Visual Reference | Instructions |
|---|---|
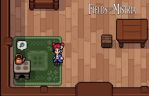
 | Head to the left hallway and grab the Old Travel Brochure book from the desk. |
 | Before descending the stairs, go through the door on the south to open a few chests and get a Purple Vase. |
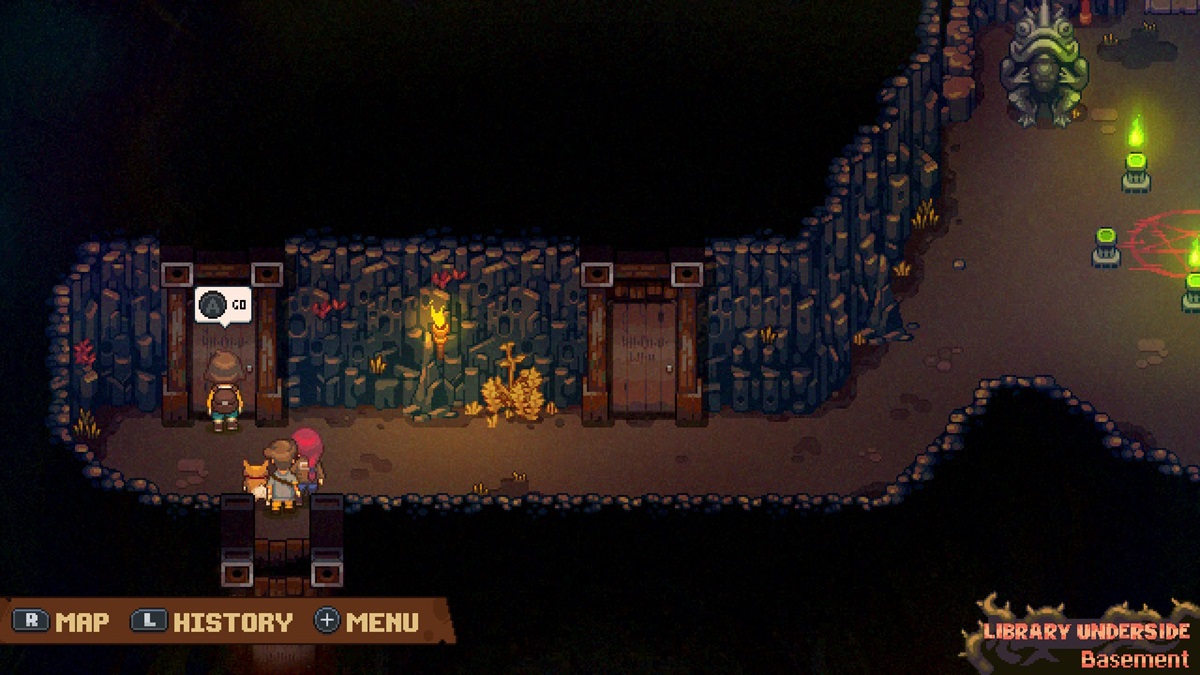
 | Then, head down the stairs to enter the basement. |
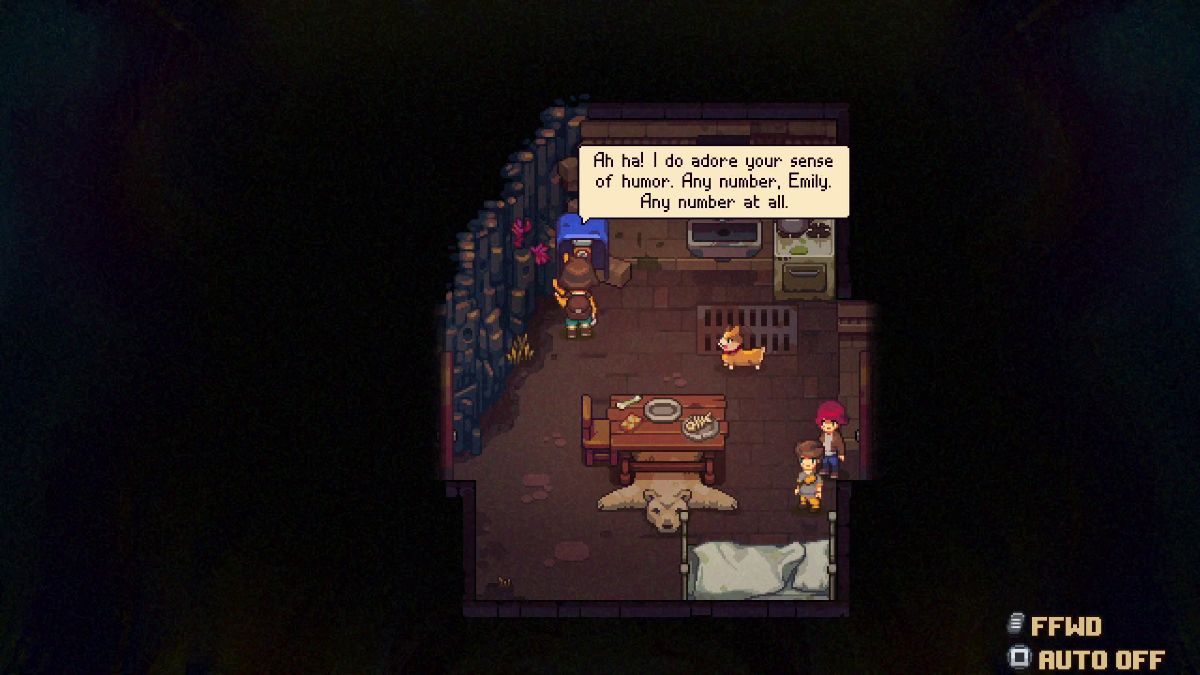
 | The door to your right opens the way to a resting room. Here, you can also get a Strange Coin. |
 | Head through the door south, where you’ll find your first group of enemies. |
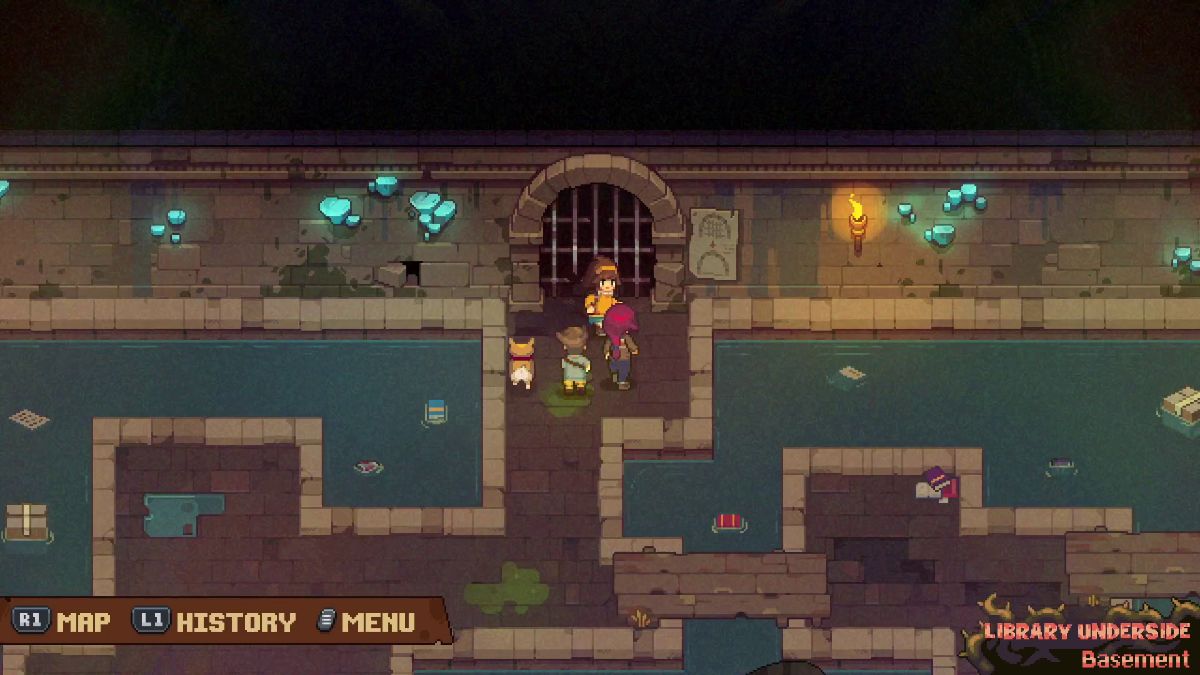 | Head back up and follow your way to the left. Here, you’ll spot a rusty gate that can only be opened with a lever. |
 | Follow the planks across the sewers south to find a math puzzle. |
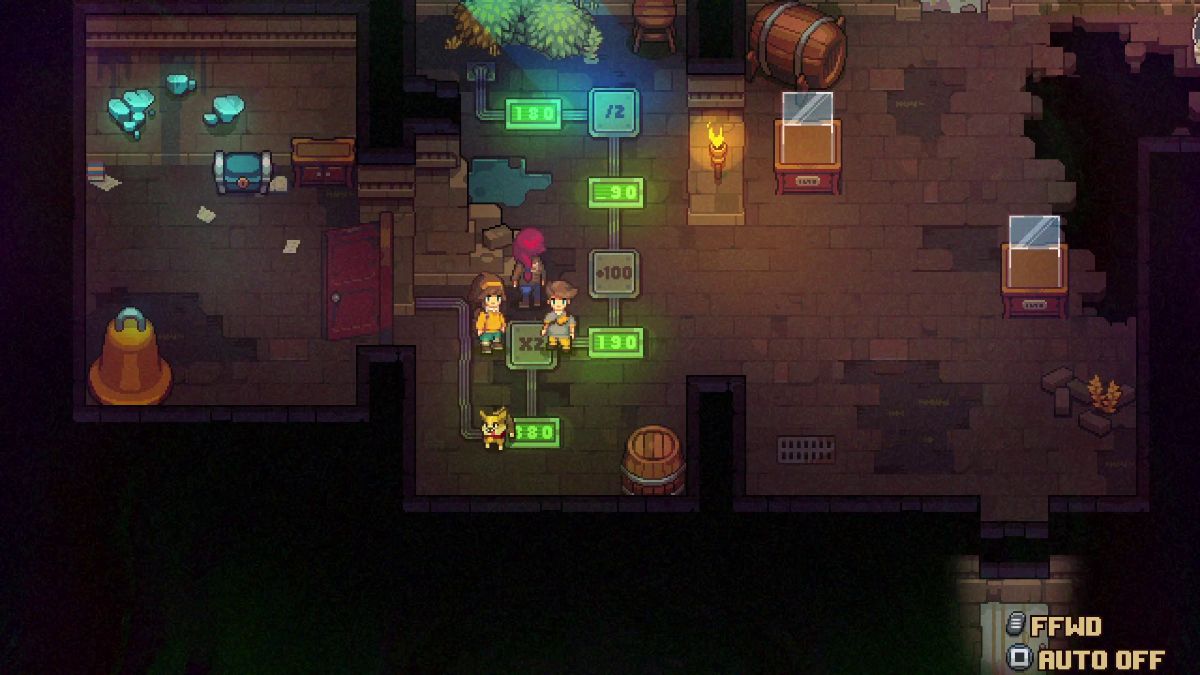 | To solve this math puzzle, arrange the plates in the following way: 180/2+100×2. |
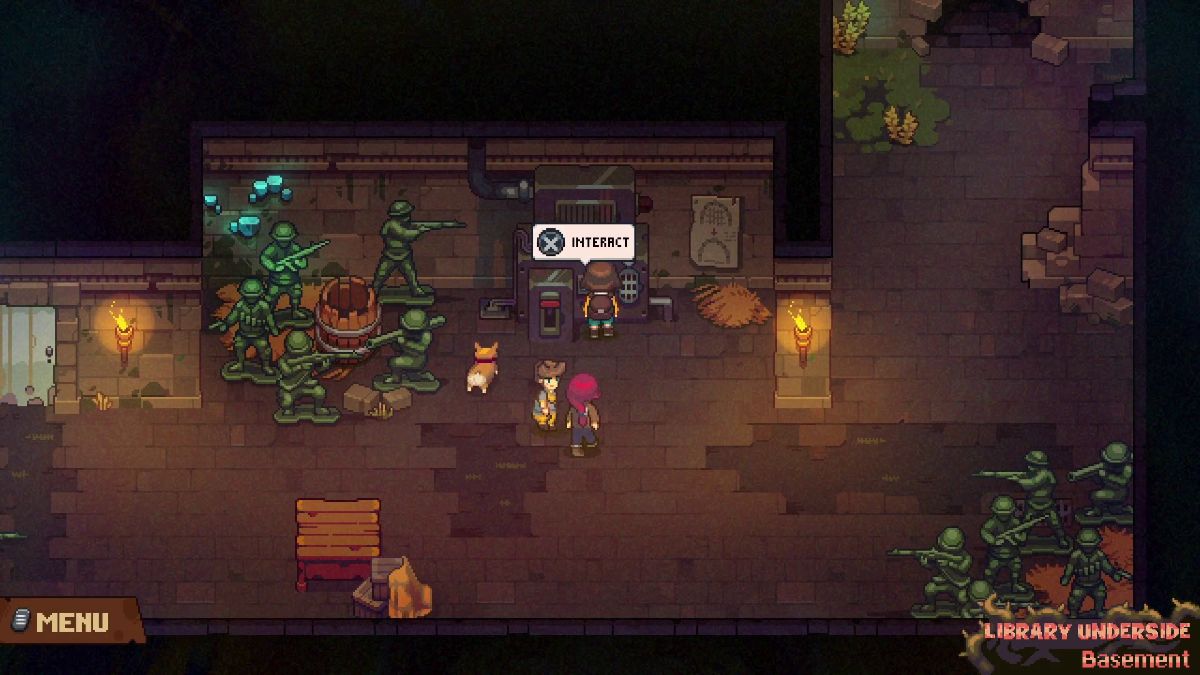 | Clear the room past the door to the south, then interact with the machine with the red lever to open the gate above. |
 | Head back to the gate, and once you’re done exploring, open the door on the left to return to the real world. |
Library Basement – Part Two
After returning to Bloomtown to recoup, you’ll need to continue your library basement journey. Use the phone in your house to infiltrate the Underside, and you’ll return to the Library Basement safe room where you left off. Here’s what to do next.
| Visual Reference | Instructions |
|---|---|
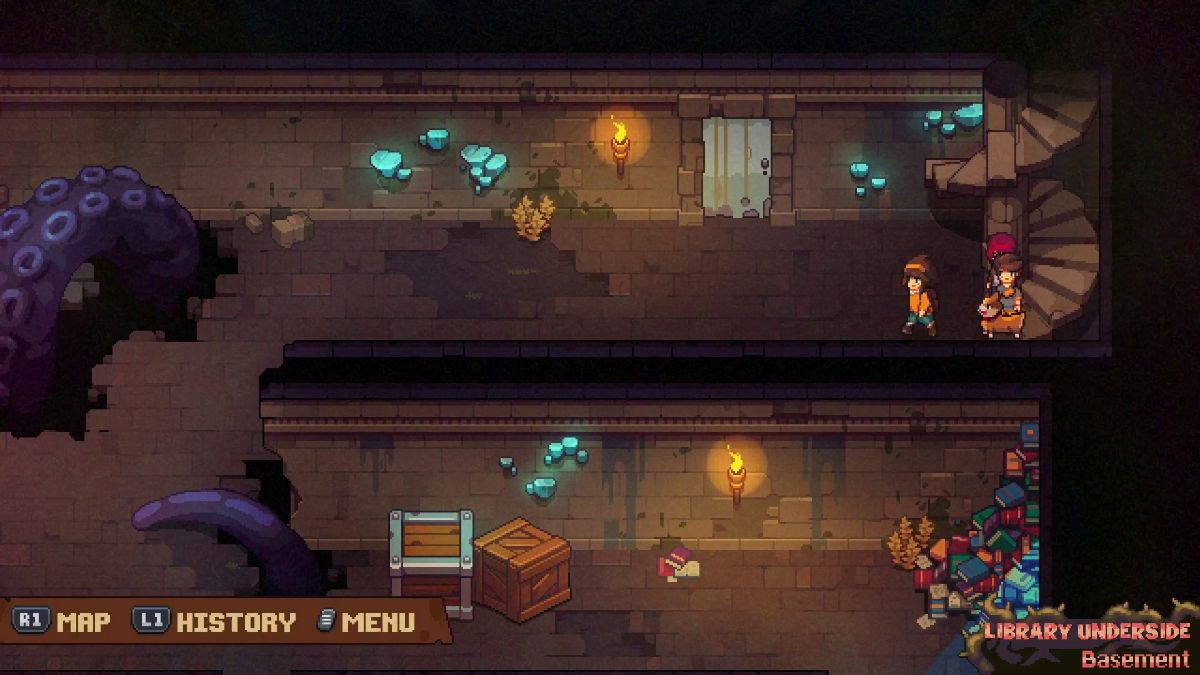
 | In the Basement safe room, notice the door on the left side of the room. Head through here to enter a small room. Pass on through to the Caves. |
 | You will see two doors right above. Head into the one on the left and open the chest. |
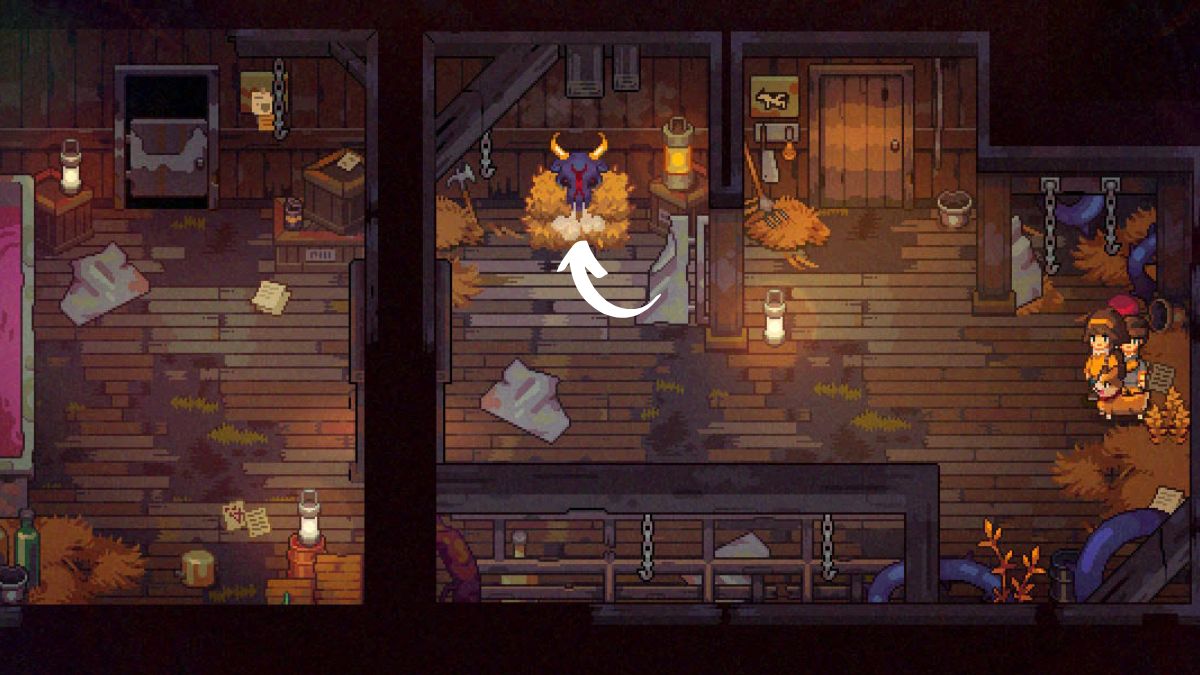
 | Head into the door on the right and read the Ominous Note. This is a hint for how to make the demon in this room appear. |
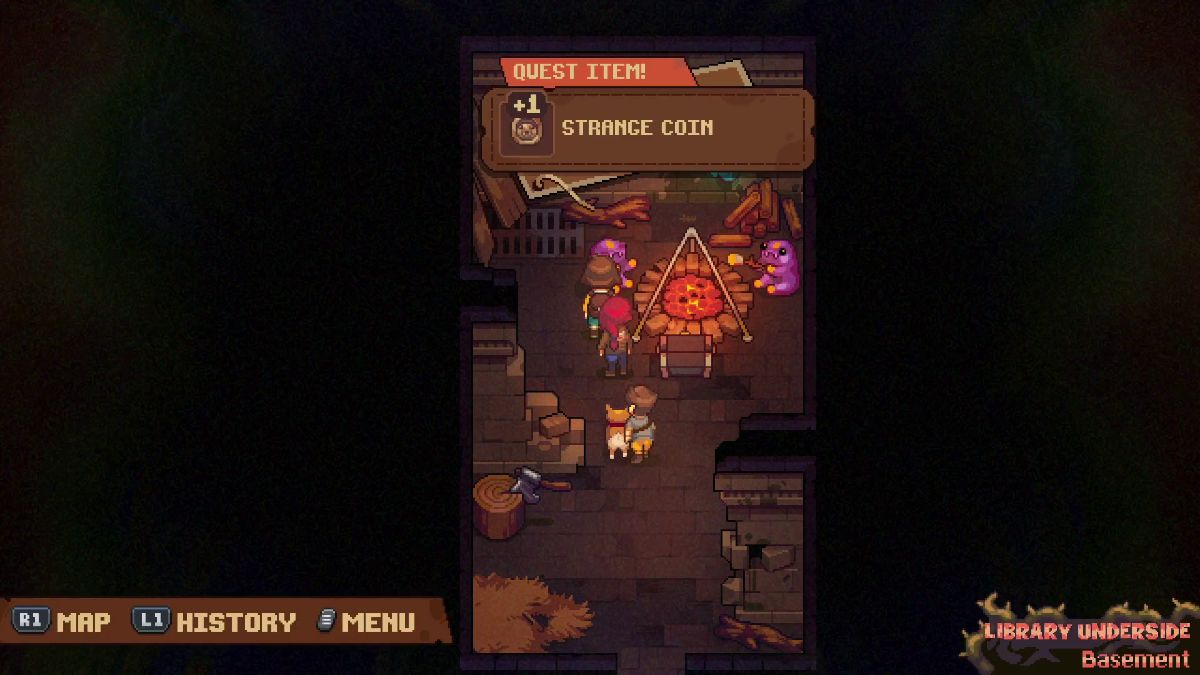
 | Go back out into the main cavern and walk towards the pentagram surrounded by candles. Emily will ask how to find the key. Interact with the three unlit candles in the circle to light them. |
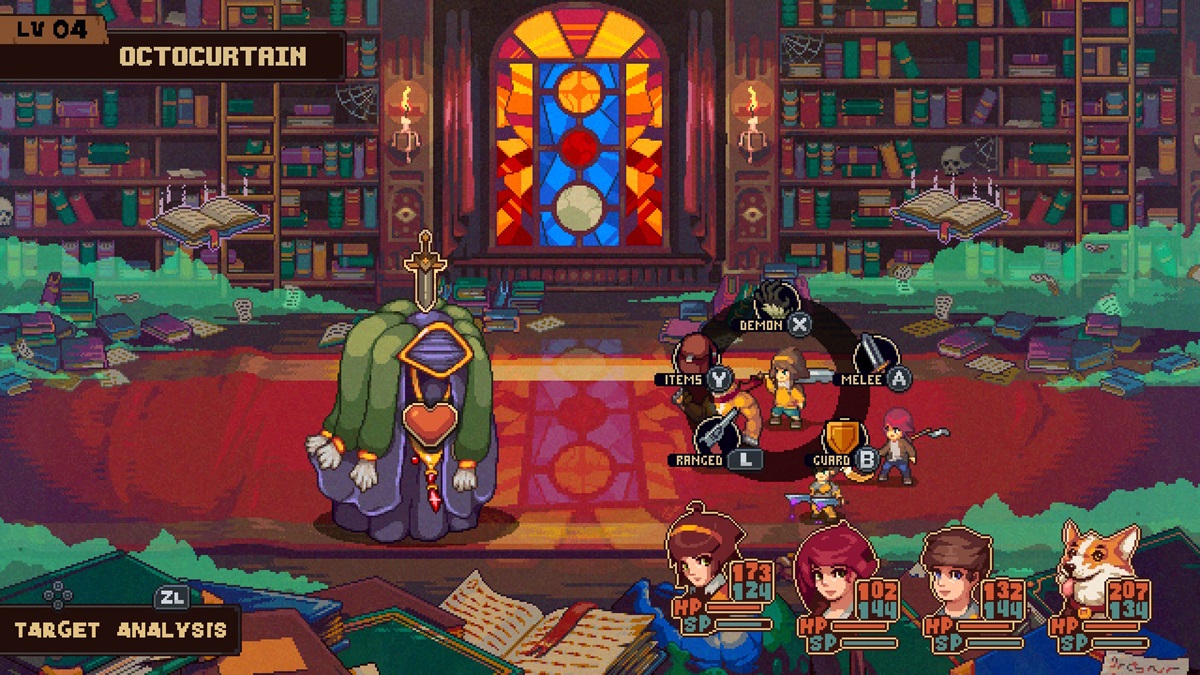 | The Demon boss will appear. It is Lvl. 4 with no apparent major elemental weaknesses. It will cause Wooze and Aimed Whisper frequently, so come prepared for damage-dealing without spells. Defeat the boss and you will secure the key. |
 | Before you leave, check out the Fishing Spot. You can fish in this dubious spot just once and get a Moon Catfish. |
At this point, you can head back to Bloomtown for a rest by heading back to the phone room. You can also progress straight to finding the key in the Exhibition Hall, if you want. There is no actual need to complete the basement dungeon now that you have the key, unless you want to gather the loot and XP.
Should you want to gather the goodies, here’s how to progress through the rest of the Library Underside Basement.
Library Basement – Bonus Exploration Part One
To fully explore the Library Underside Caverns, follow these steps.
TIP: Be sure to replenish your stash of lockpicks before taking on this section, as you’ll need them a couple of times.
| Visual Reference | Instructions |
|---|---|
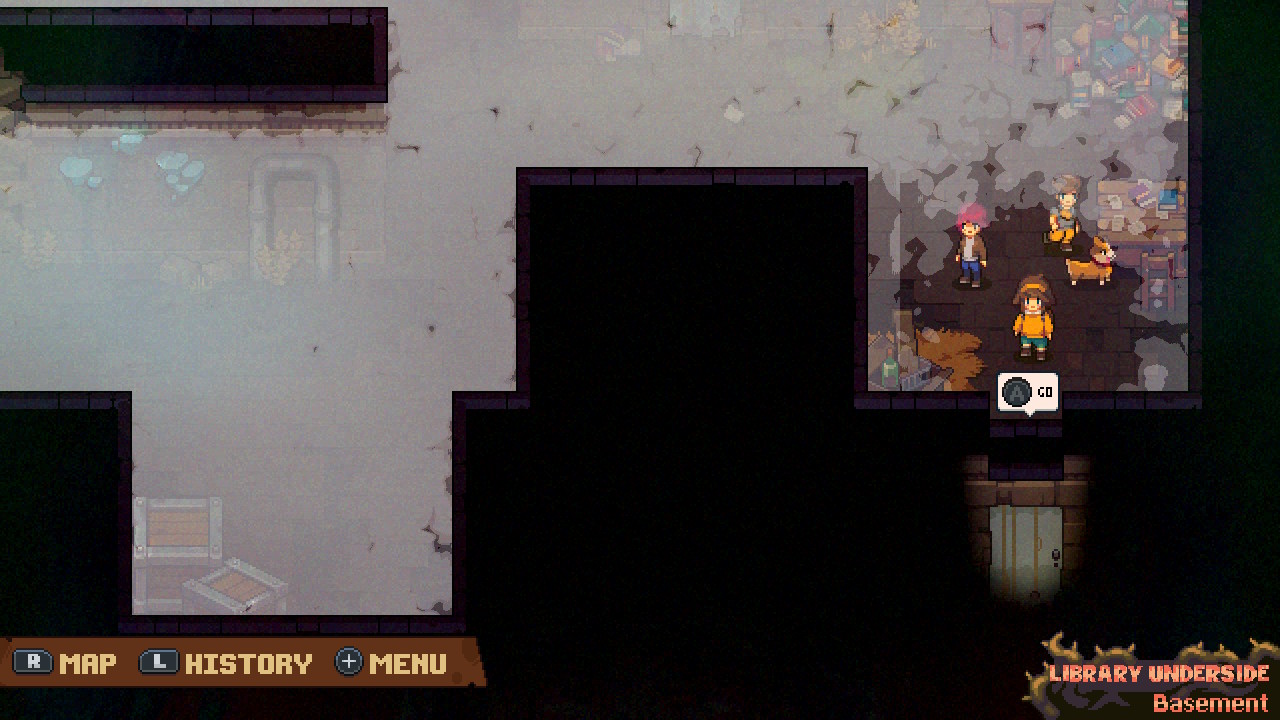
 | Head through the door on the right to enter a long hallway with several doors. |
 | Enter the door at the top left. This leads to room with another door, which leads to a steamy room full of pipes. Fight the demon. |
 | Open the door at the top left to find a chest. Open it, then head back out to the pipe room. |
 | Head to the far right of the pipe room and open the door. This leads to an even larger steamy room full of even more pipes. |
 | In here, head through the door straight across from where you enter. Search around – this room appears to be empty, but we might’ve missed something! |
 | Return to the larger room and head to the far bottom right. You will find another door that leads you back to the first hallway you started in. |
 | Head back towards the skeleton and investigate the table beside it. You will find a book that you can read to improve your skills. |
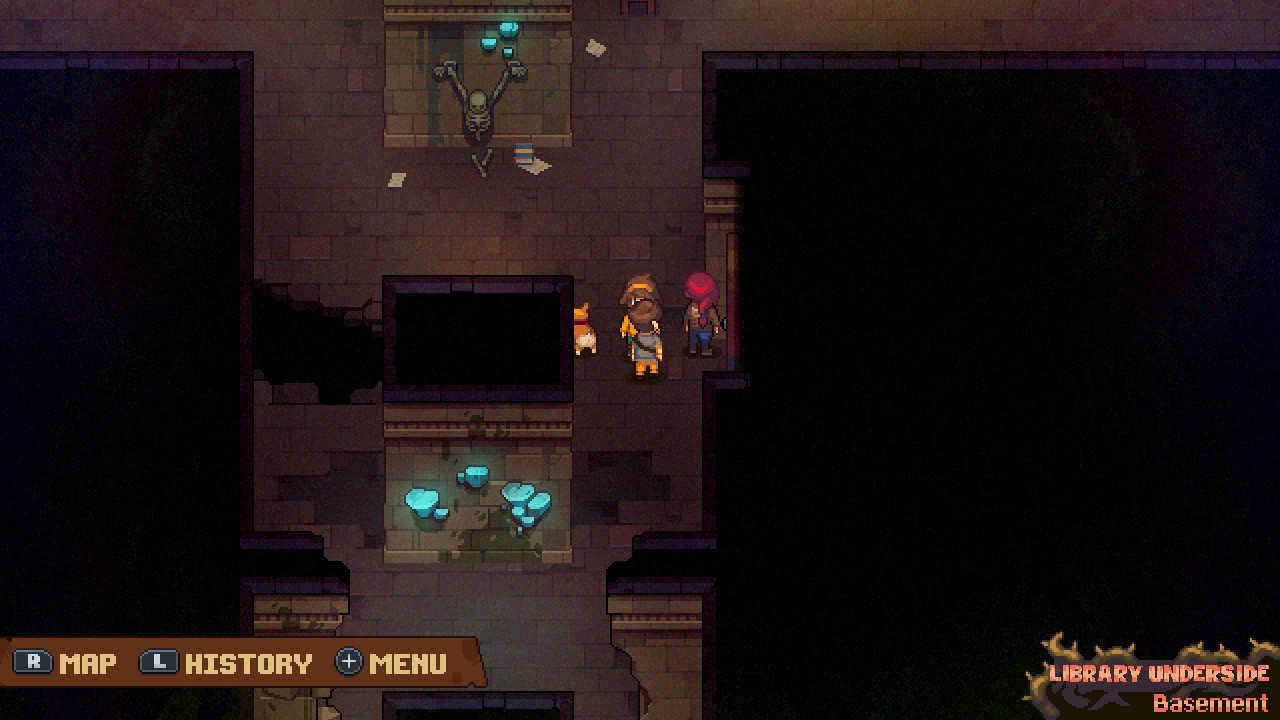 | Just below the table and to the right, find another door. This one is locked. Open it with a lockpick and talk to the demons to get another Soul Coin. |
 | Head further below this door. You will see a ladder. Climb this to return to the main floor of the Library Underside. From here, proceed to the Exhibition hall or save Sarah if you already have both keys. |
Library Exhibition Hall – Part One
After completing the Basement portion of the Library, you need to find the second key in the Exhibition Hall.
We started this from the safe room in the Library Basement because Amanda didn’t see the door on the other side of the safe room to finish the Library Basement dungeon until later.
Your basic steps are the same no matter where you begin – head back to the Library Underside main floor, then interact with the Rubble to start the quest to get into the Library Exhibition Hall.
| Visual Reference | Instructions |
|---|---|
 | Head back towards where you first entered the basement. Make sure you’ve fully explored as you go – open any doors from the steps above if you missed them the first time. |
| Go back up the stairs to the library main floor. |
 | Head back to the far right of the library’s main floor. Here, you’ll find planks fallen in a doorway. Interact with the planks. Emily will try to move them and find out she isn’t strong enough – this prompts a new quest for Bloomtown. |
 | Return to the front entrance of the library to use the payphone to head home & get stronger. |
You will not be able to progress in the Library Underside until completing the questline “The Rubble.” See our quest guide above for tips, and return to the Underside only once you’ve managed them.
I also recommend you spend some time at your workbench making lockpicks before heading back to the Library Underside. You will need them to unlock a few doors along the way. When you’re fully pumped up and stocked on lockpicks, use the phone to return to the Underside.
Library Exhibition Hall – Part Two
| Visual References | Instructions |
|---|---|
 | Go to the rubble and interact to remove it and reveal the doorway. Fight the demon and then head through the hallway to an open library archive area. |
 | Enter the door at the bottom of the room. You will see tentacles that you can walk on to get over the gaps in the floor. Fight the demons and open up the chests at the end of the room to get some money & supplies. |
 | Head back to the main archive room and make your way to the other side, where you’ll find a hallway. One door is blocked by a demon. There are two other doors to the right – hit up either of these doors first to gather supplies from chests & Soul Coins from the chill demon. |
 | At the end of this hallway, find another door. Head through and interact with the sword to try and pull it free. Thoughts of chivalry did not work here, and I couldn’t pull out the sword. It may be impossible, as Ramona says. Fully explore this room to find two more chests. |
 | Head to the door at the end of the hall. It will open up to the main room again, with a demon blocking the door. Fight the demon and proceed. You will enter another safe spot. You can use the phone to return to Bloomtown to rest and resupply if needed. |
Aside from needing supplies or rest, there is no need to return to Bloomtown here.
Whenever you’re ready, progress to the final stage of the Library Basement dungeon to get the Exhibition Hall key.
Library Exhibition Hall – Part Three
| Visual Reference | Instructions |
|---|---|
 | Head through the door to enter a room with two doors. The one on the left is blocked by a demon. On the right, the door is locked and has no keyhole. Fight the demon on the left to proceed. |
 | Here, you’ll enter a large room with two doors – one at the top, one at the bottom. The top door is locked, but you can use a lockpick on it. It has a chest and a green vase quest item. |
 | Head through the door at the bottom of the room. Interact with the boards to your right and you’ll be able to proceed. Grab the chests here and interact with the hand statue by the bear rug to get another item. Then, head back to the main room. |
 | At the center of the large room is a demon that’s on fire. This is the boss fight you need to win to get the key. This boss is Level 5 and uses Electricity spells. |
 | After beating the boss, head to the bottom and inspect the level machine near the lift. It has no stick. Go up the stairs and interact with the knight. He is holding the missing lever. Put the lever in the machine and the lift will work. |
 | Head through the veiled doorway and you’ll enter a room with two doors. The door on the left leads back to the main library area. Head through the door straight on first to trade some Soul Coins with the demon and get rewards (Demon Essence and Mechanical Parts). |
 | Head through the door on the left, fight a demon, and return to the main library to use the phone to return to Bloomtown. |
Forest Underside Dungeon Walkthrough
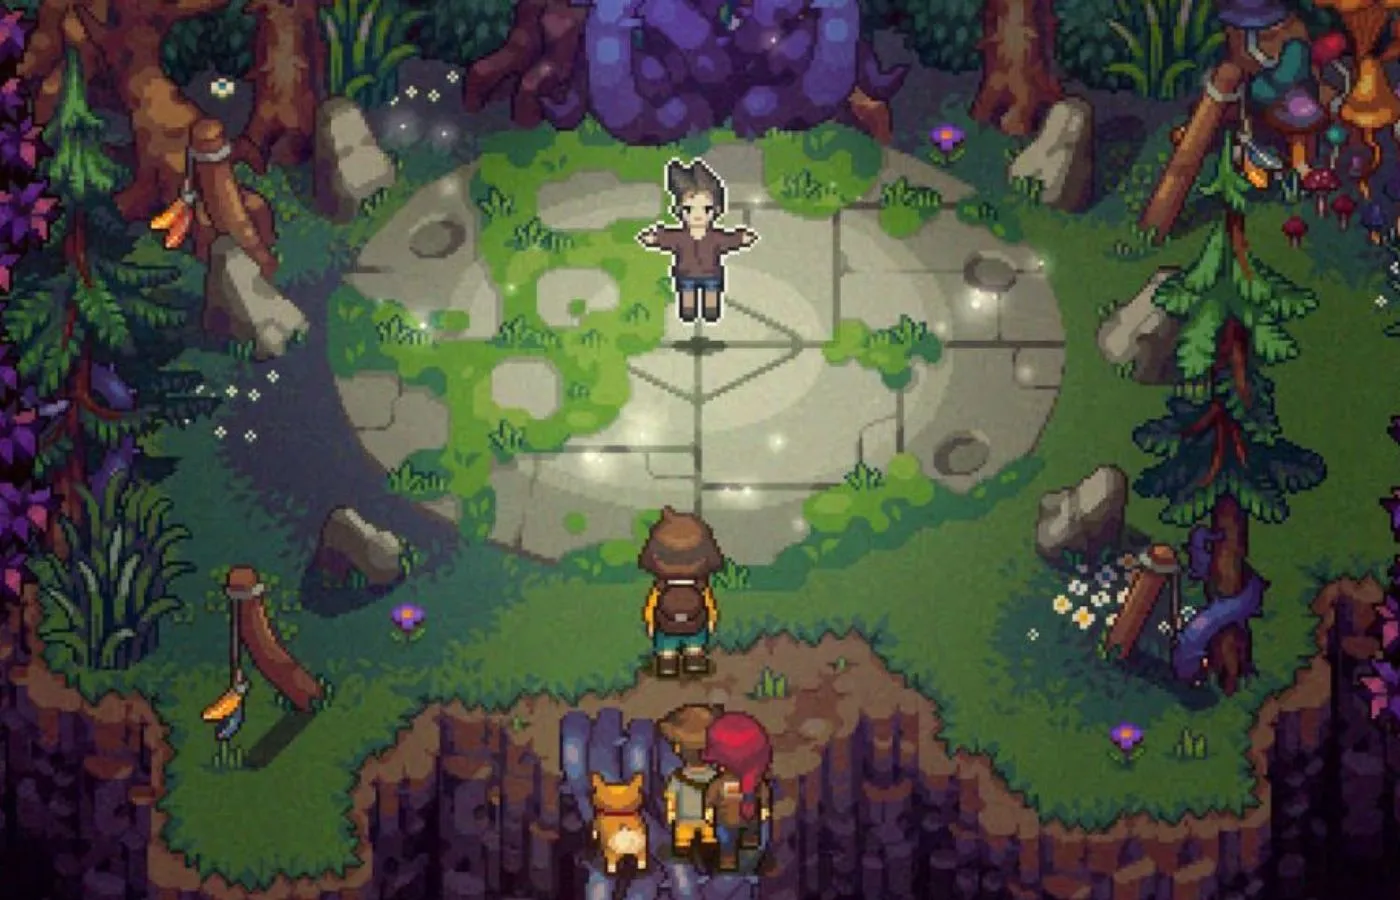
You will enter the Forest Underside for the first time after hearing the scream from the watchtower in the Farm District. To begin this dungeon crawl, head up to the cornfields just to the north of the tower.
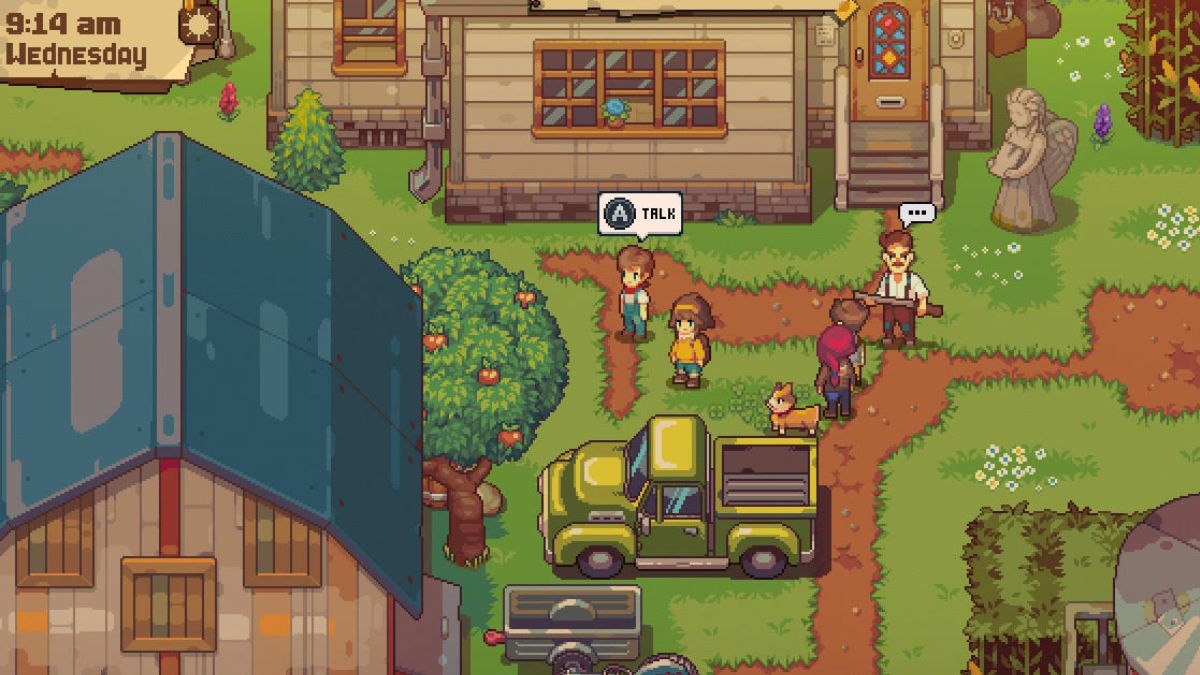
Talk to the man with a gun and his son. They’ll tell you what happened and suggest you head to the forest to check it out. This cutscene leads you right to the dungeon for the first time.
Forest Underside – Part One
| Visual Reference | Instructions |
|---|---|
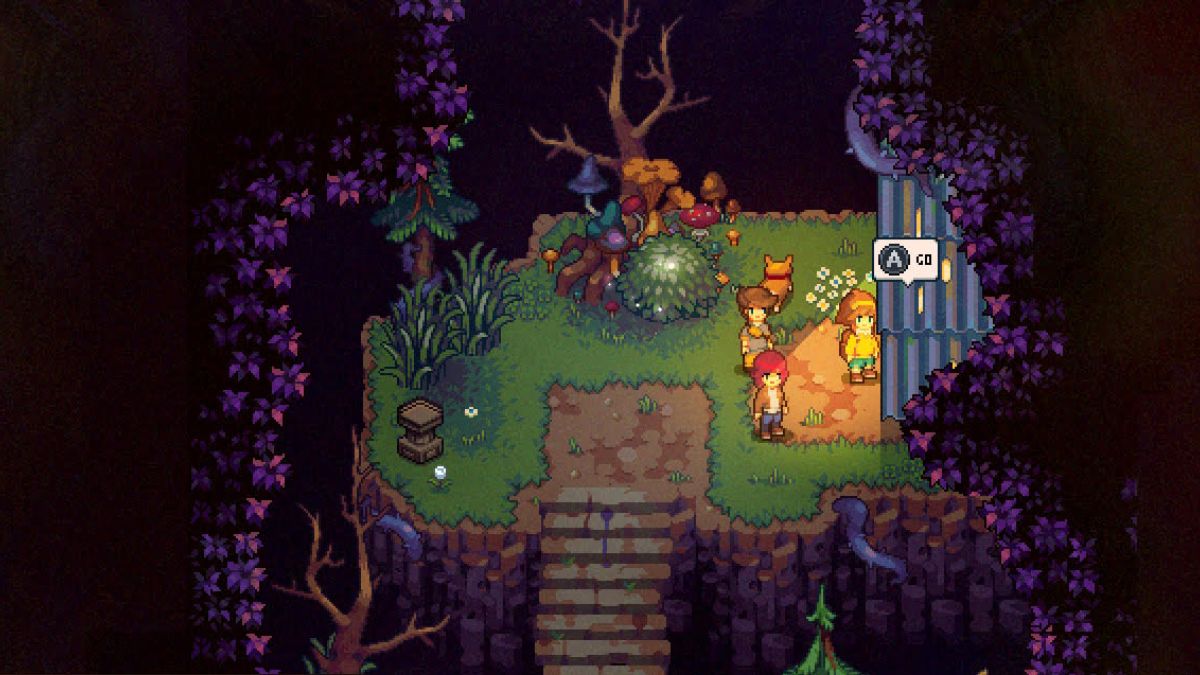
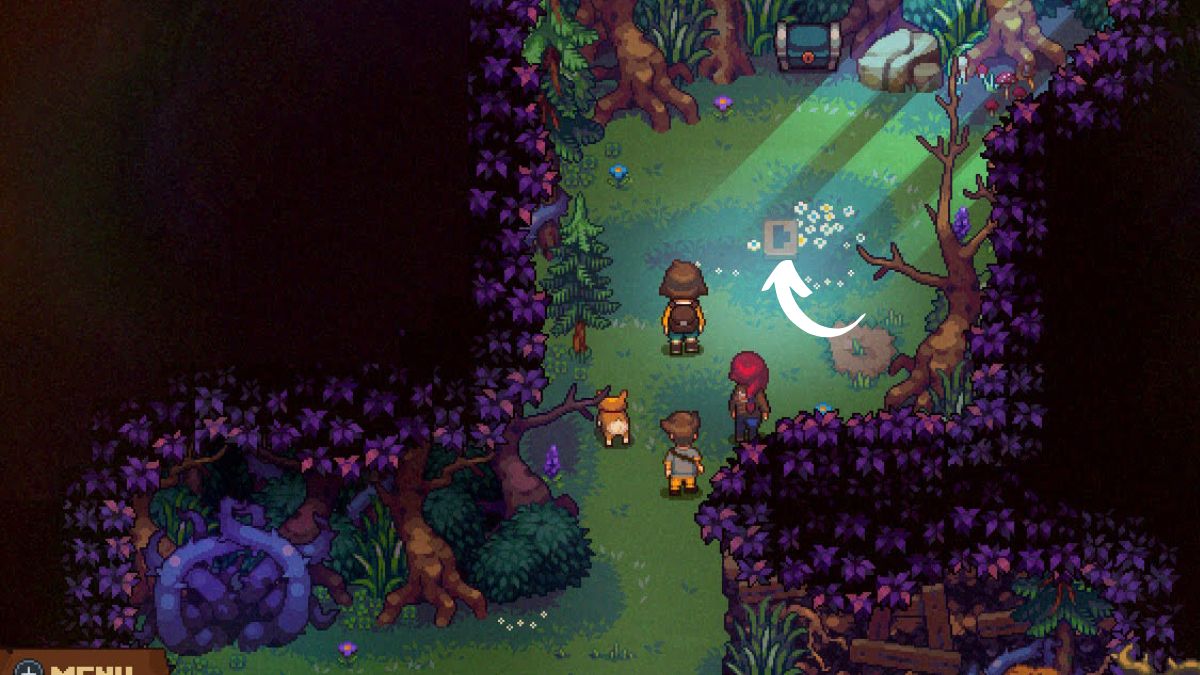
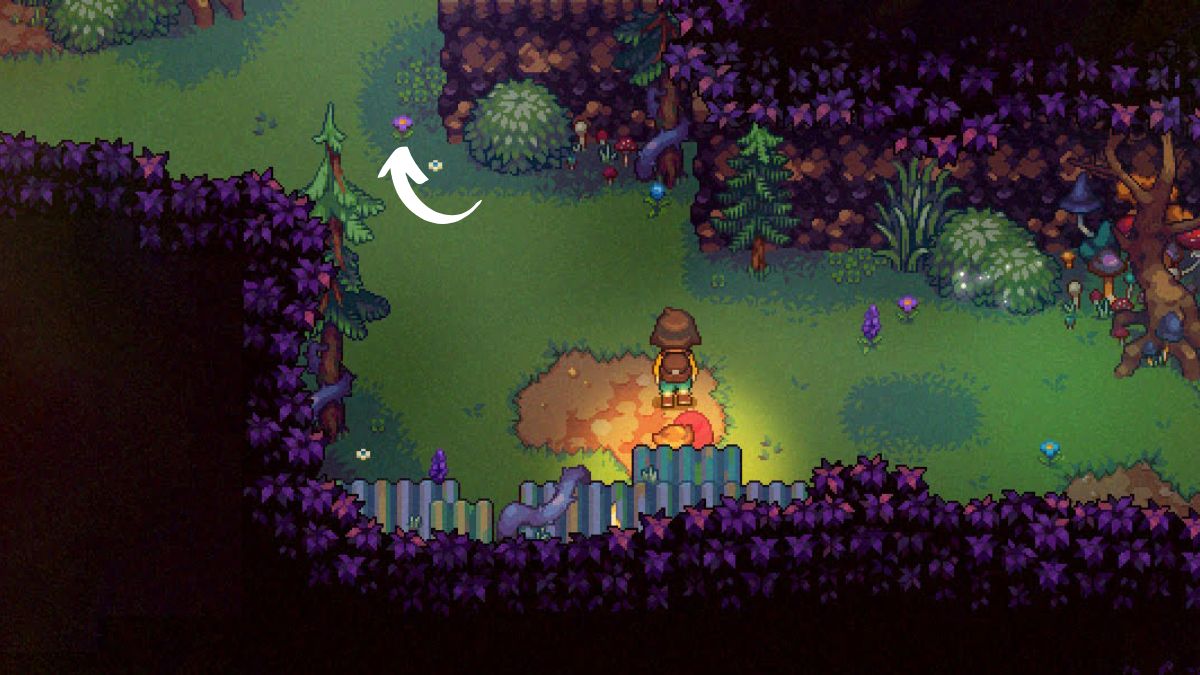
 | As you enter the forest path, be sure to pick up the brown coat. It’s your first clue. Then, walk through the door to start the dungeon crawl. |
 | The first area is a safe zone with a phone. However, you can’t return to Blomtown until you find “at least one lead.” Be sure to check out the sparkly note on the floor. Then, proceed through the door on the left to carry on. |
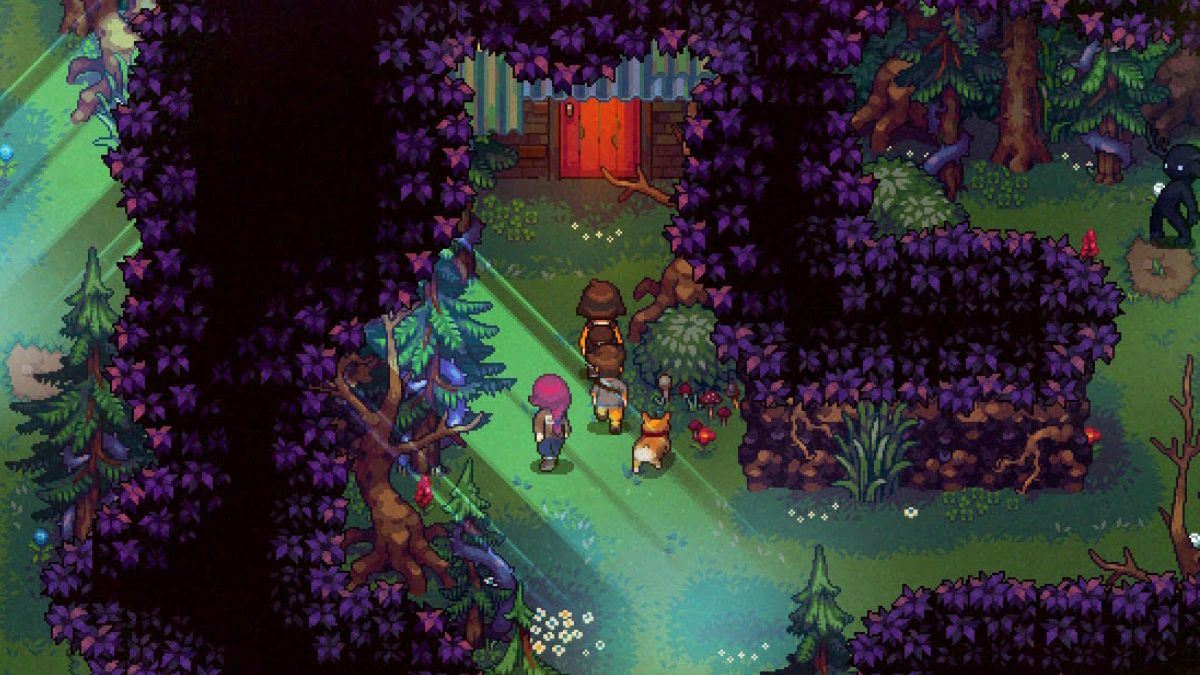
 | Head up and to the left to grab your first chest. Then, head back to the right and fight the demon to proceed. Note the demons here will be higher levels than in the Library Underside. |
 | Follow the path to a clearing with a chest. Open the chest, then head down to the bottom where you’ll see two paths to choose from. |
 | The quickest way to get the info you need to return to Bloomtown is to choose the far right path. Head through here to enter a sunlit clearing. |
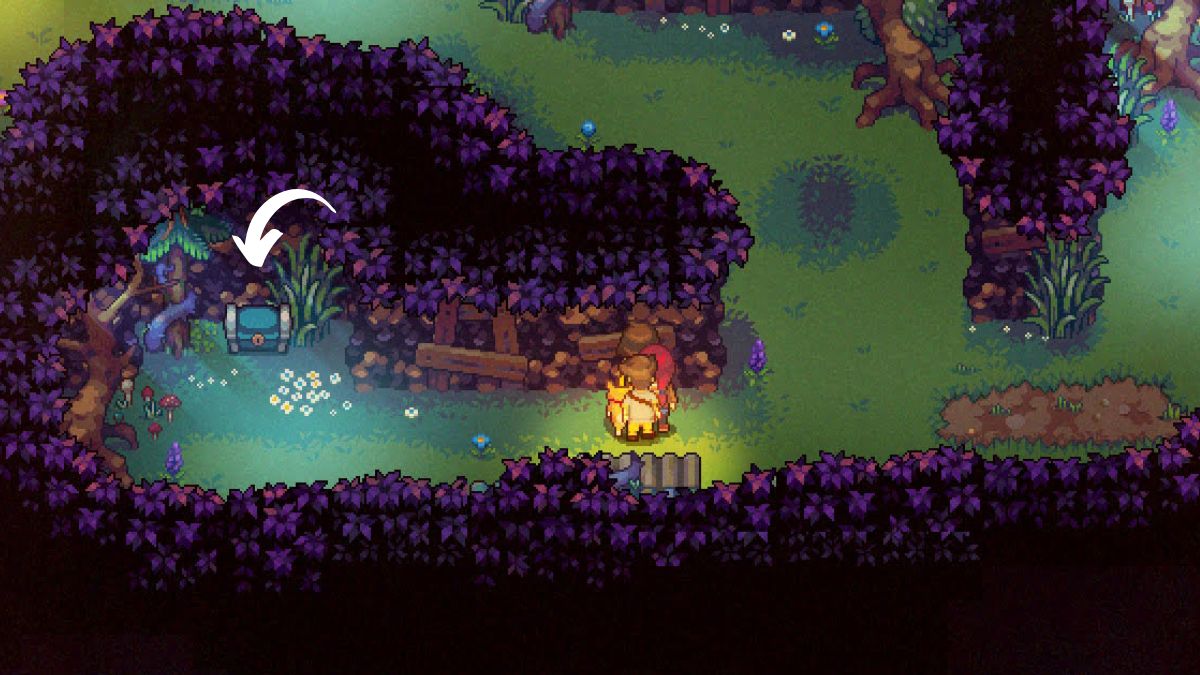
 | Head up two sets of stairs. To the left, you’ll see a chest. Open it. |
 | The corrugated metal to the right is another door. Head through it. |
 | This brings you to another safe room. Head through the door on the far side to continue. You’ll first the lead you seek soon and can return here to head back to Bloomtown. |
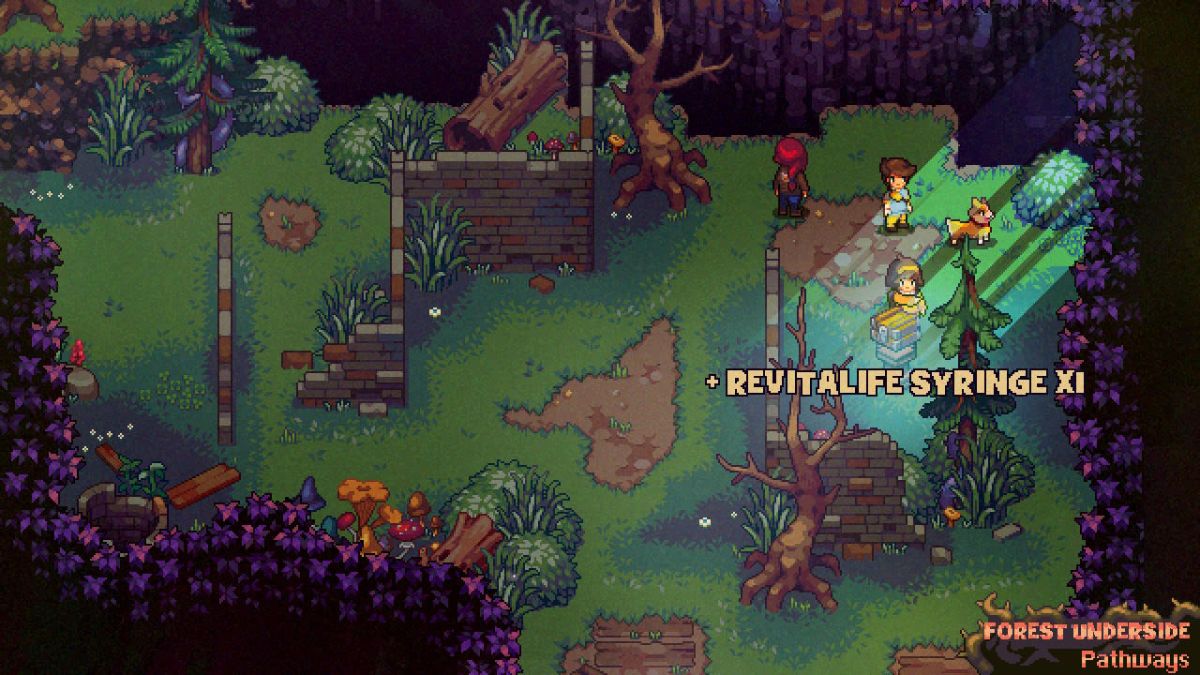
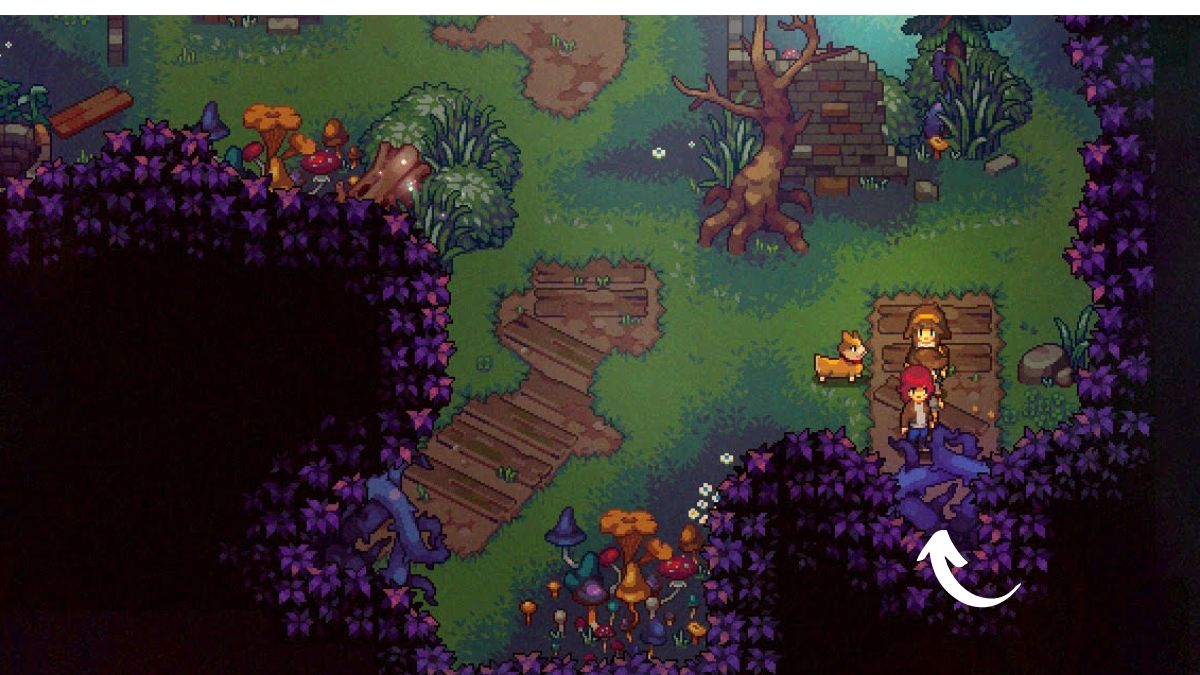
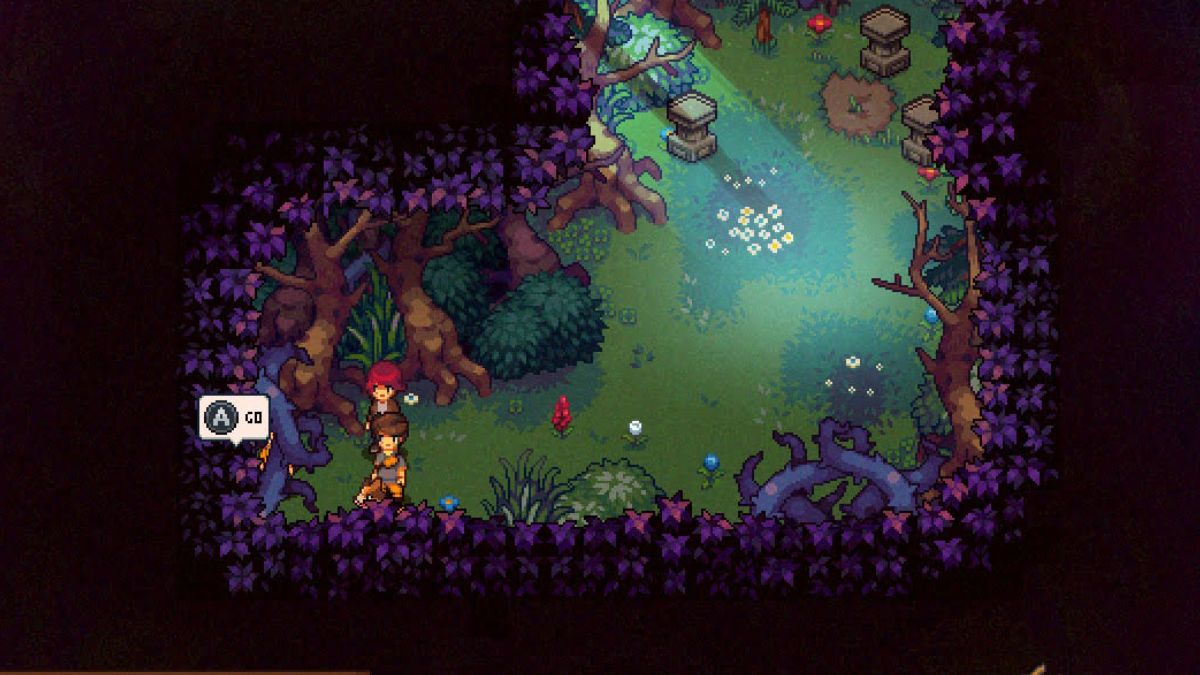
 | Head down the stairs, then grab the chest at the bottom left of the clearing. You will need a lockpick to open it. If you don’t have one, come back for it later. Next, head through the vines at the top to get your big break in the case. |
 | Beyond the vines, you’ll find a ghost! Talk to him and you’ll learn he can’t really remember much. Your quest is to return to Bloomtown and do some sleuthing. Head back to the safe room and return to Bloomtown to dig into the ghost’s identity. |
While you could keep exploring the forest underside, we suggest completing the Suburbs Terror Main Quest in Bloomtown first. You’ll need to follow up with the ghost boy about the crime scene & his name, so it’s easiest to return to the nearest safe room before you proceed with this dungeon.
Forest Underside – Part Two
Once you find the crime scene andl earn the ghost’s name, you’re ready to return to the Underside to let him know. I suggest stocking up on lockpicks, getting better equipment, and leveling up your party – the demons get quite a bit tougher as you progress through the Forest Underside.
| Visual Reference | Instructions |
|---|---|
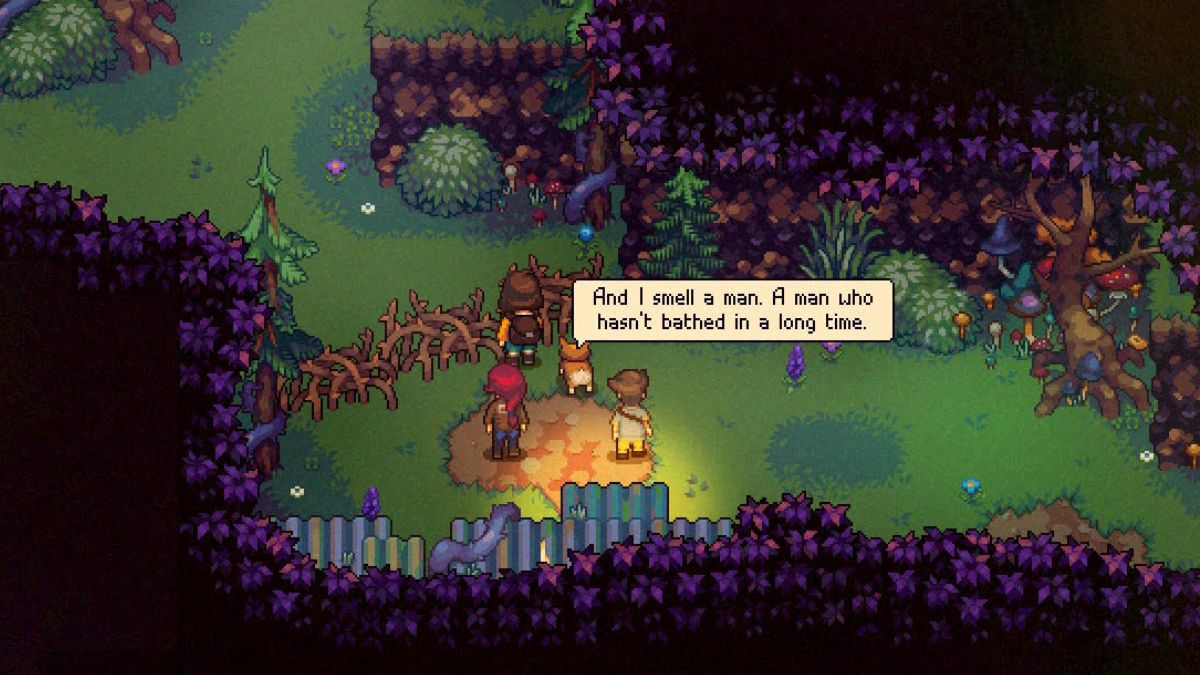
 | Head back to the vines to go see the ghost again. Exhaust all dialogue options to tell the ghost his name and remind him of his life. Eventually, he will thank you and move on. |
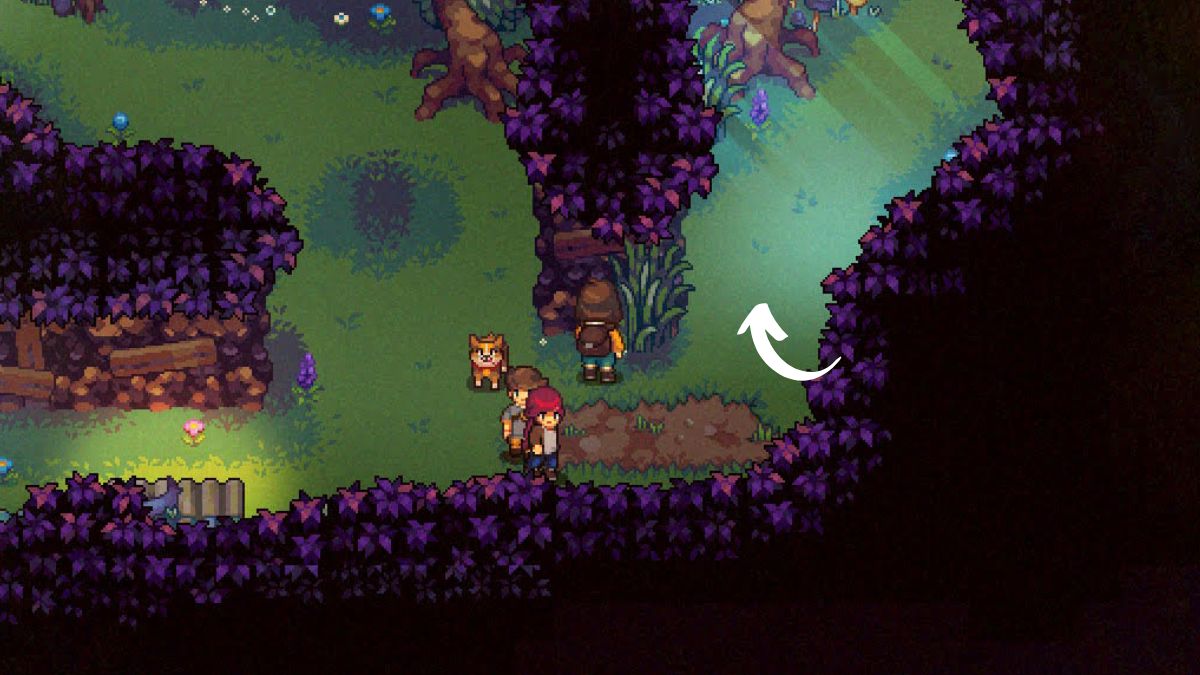
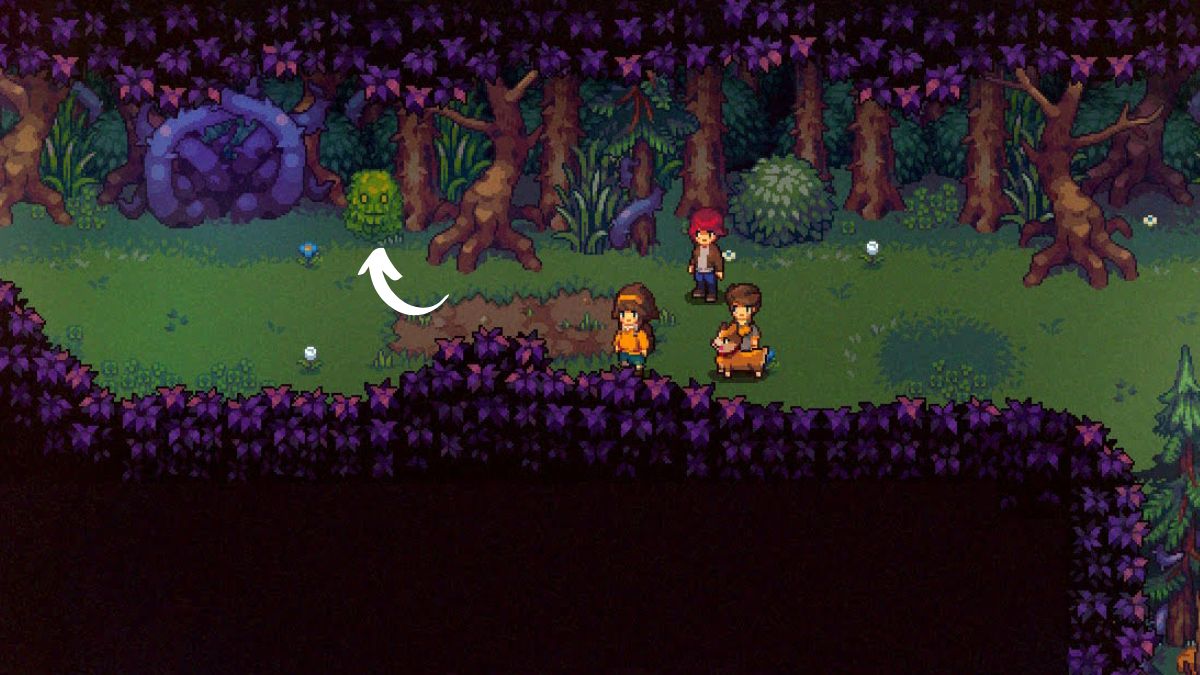
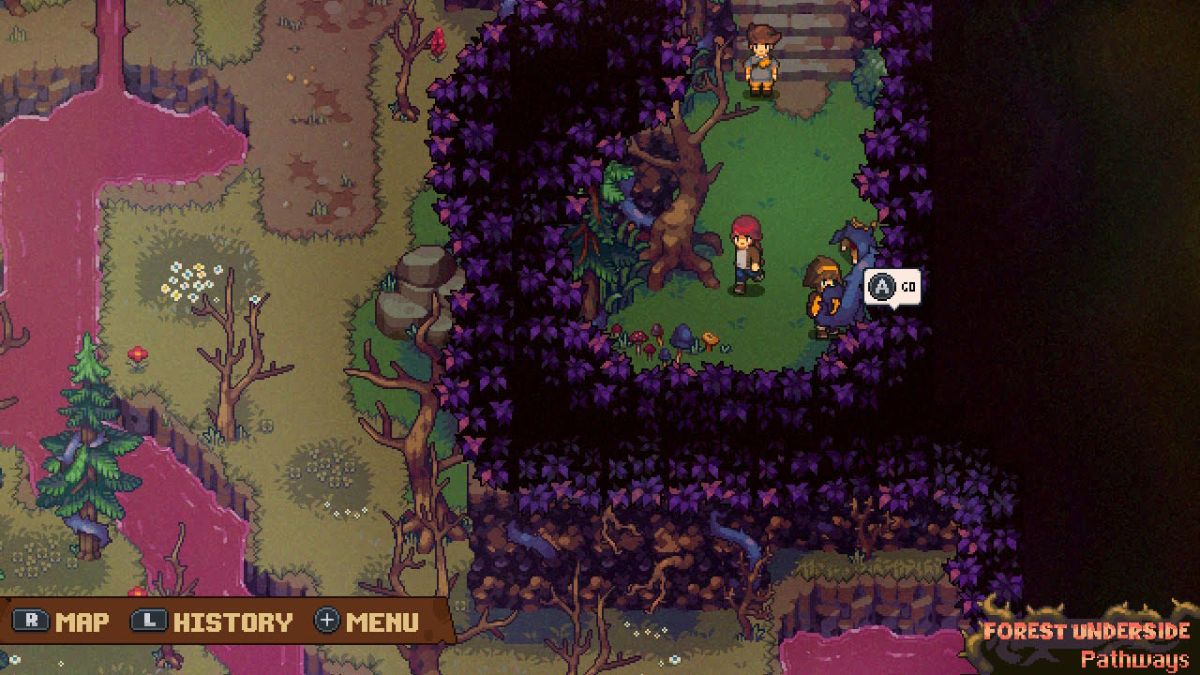
 | Head through the vines behind where the ghost was to continue with the dungeon. Be sure to head to the left to grab the chest – it can be a bit hidden by the lighting. |
 | Follow the path, fighting demons along the way. You will come to some writing on the wall that says Triangle Equals 3. Be sure to interact with this and grab the plate with a hexagon nearby before continuing. |
 | Around the corner, you’ll see a series of empty spaces on the ground with the numbers 658 on the wall. Pick up the tile on the ground, then click on the puzzle to place tiles. One will be missing, but the writing on the wall holds the key. The tiles need to go in order 658, based on the number of sides of the shape. Place the six sided figure first and the hexagon in the middle. |
 | Head through the vines below the puzzle to find the last tile, as well as an item chest. Then return to the puzzle and place the 8-sided shape in the final slot. This will open a door so you can proceed. |
 | As you enter the new area, head to the right to fight a demon and open the chest. |
 | Now proceed through the red door, and you will find the next safe room. This room has two doors – one at the top and one on the right, which is locked and cannot be lockpicked. If you do not yet have the quest Talk to the Detective, be sure to head back to Bloomtown now to get it. |
Before you proceed to the next area, make sure you are well stocked on healing items and that your party has solid equipment and levels. I found the demons beyond here got quite a bit tougher.
You should also make sure you have the active Main Quest Talk to the Detective. Heading on will put you directly on the path to find him, so you want to be ready to progress the story. Then, it’s time to do the next section of this dungeon.
Forest Underside – Part Three
| Visual Reference | Instructions |
|---|---|
 | Head through the door at the top of the safehouse. Be sure to head to the left and open the chest – you will need a lockpick. |
 | Here, the path branches. You can choose either the left or right path first. I suggest going to the left, as you’ll pick up a relevant quest that you complete at the right. |
 | You will find another corrugated metal roof with a door. Head inside and talk to the eerie cow’s head. This opens up a quest to retrieve 60 of its teeth. |
 | Next, head out the door to the far left. This will take you on a quick side quest to open some chests & fight some demons before we tackle the teeth problem. |
 | Follow the path until you reach the chest at the far side. Unlock with a lockpick. Then, proceed through the vine-covered door to another area with three more chests. You will need to battle the demon first. |
 | Head through the vines at the left to get two more chests. Then, return to the strange house with the cow head. |
 | Go through the wooden door at the top of the house. You will come to a path blocked by twisted branches. Interact with the branches for a quick cutscene. |
 | Head to the right to find yourself back at the fork in the road. This time, take the right path. |
 | Head up to the right and fight the demon. Then, open the chest. |
 | Next, go up the middle path. Interact with the well & you’ll get two choices – cast a line or throw in a penny. Choosing the penny grants you a wish to increase stats. Casting a line offends the being within and gets you nothing. |
 | Now go talk to the pumpkin-headed scarecrow to the left. Here, you have a choice. If you ask to move the scarecrow aside, you will battle him. If you win, he vanishes, letting you pass. If you ask what he wants from you, you will get a quest to find the scythe that killed him. This takes you back to Bloomtown. |
 | We chose to fight him since it’s the quicker option to continue. If you opt to find the Scythe, return to the safe house and head back to Bloomtown. Otherwise, fight the Scarecrow so you can pass. |
 | When you’re able, proceed past the scarecrow and interact with the weird object on the ground. This is the first batch of 10 teeth for the cow’s head. |
 | To find the remaining teeth, jump in one of the holes on either side. The order doesn’t matter here. Jump through holes until you find 5 more sets of 10 teeth to get 60 total |
 | You’ll get a popup showing the “Tooth Harvest” subquest is complete when you get 60. Head back to the firt set of holes, then return to the strange house to reunite the cow with its teeth. Then, head through the wooden door. |
 | The brambles blocking the path should be gone. Proceed up and to the left to continue. (Note: It seems like finding the scythe for the Scarecrow can also help get rid of the brambles, if you choose that route instead). |
 | Follow the path to the right to fight a demon and find a chest. (The red door to the left is locked-ignore it for now). |
 | Head back past the red door to the left, where you’ll find another vine-covered opening. Go through it. |
 | You’ll come to a large clearing. There is nothing to the bottom, so head straight on past the demon. |
 | You will come upon a bush with eyes. If you try to go through the vines, it will block you. Talk to it and it will complain about someone smelly in its house. |
 | Speak with the bush again and it will offer to let you pass if you solve the riddle. The riddle is “Who is the stinky guy behind the door?” We answered Detective and the bush let us through. |
 | Through the vines, you will see a path to the left and a bridge. Head around to the left first to grab the chest – it needs a lockpick. |
 | To the top, you will see another well where you can toss a coin and increase a stat. Then, head for the monolith at the middle. Interact with it to get an important clue. |
 | Fight the demon blocking the bridge, then head across. At the middle, interact. Shout “Dandelion” and you’ll get some stats boosts. Then, proceed across and to the door. |
 | The door has a combination lock. Add the sides of the shapes in each column beside the door to get the combination. 4+4 = 8 3+3 = 6 6+3 = 9 So the correct combination is 869. |
 | Head through the door at the bottom of the room to talk to the detective. |
 | Fully exhaust all dialogue and you will get the key to “The Woods.” Pass through the door at the bottom of the detective’s hideout and you’ll find yourself on the other side of the locked red door from earlier. Return to the safe room with the note and locked door. The key will open this door – if you’re ready. |
Before you continue through the previously locked door, I suggest heading back to Bloomtown for a resupply of healing items. You will also want to start the Bloomtown main quest, accuse Ranger before going through the locked door. This quest opens up your next task in the Underside, so it’s best to progress there before you return.
When you’re ready, the phone will bring you back to this room to continue into “The Woods.”
Forest Underside Part Four – Where to find The Bat and The Wolf
It’s time to head beyond the locked door to fight The Bat and The Wolf! Here’s how to find both of them so you can prove your power to the ghost girl. Remember, you want to fight the Bat first!
| Visual Reference | Instructions |
|---|---|
| Head through the formerly locked side door using the Detective’s Key |
 | You’ll come out to a new area with a path to the top and to the bottom. You want to follow the path up and to the left first. |
 | Head straight up and you’ll find another well. Toss in a coin and raise a stat of your choice. Then, continue on to the right. |
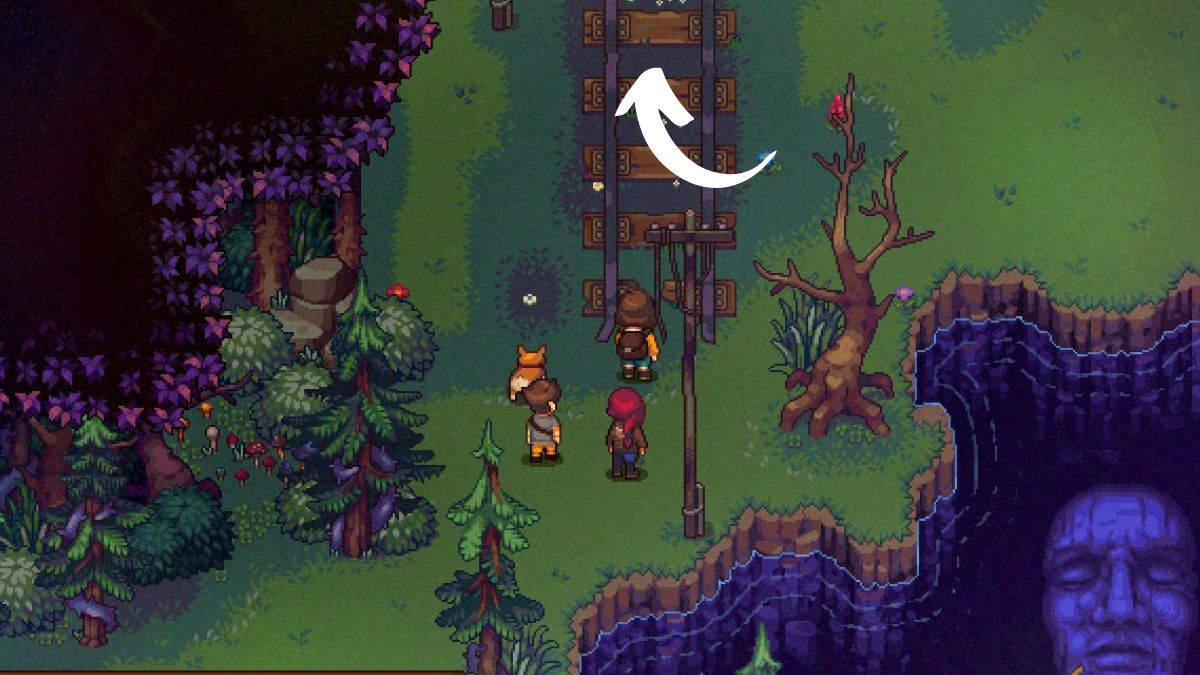 | Go up past the pool with a face in it and follow the railway path. |
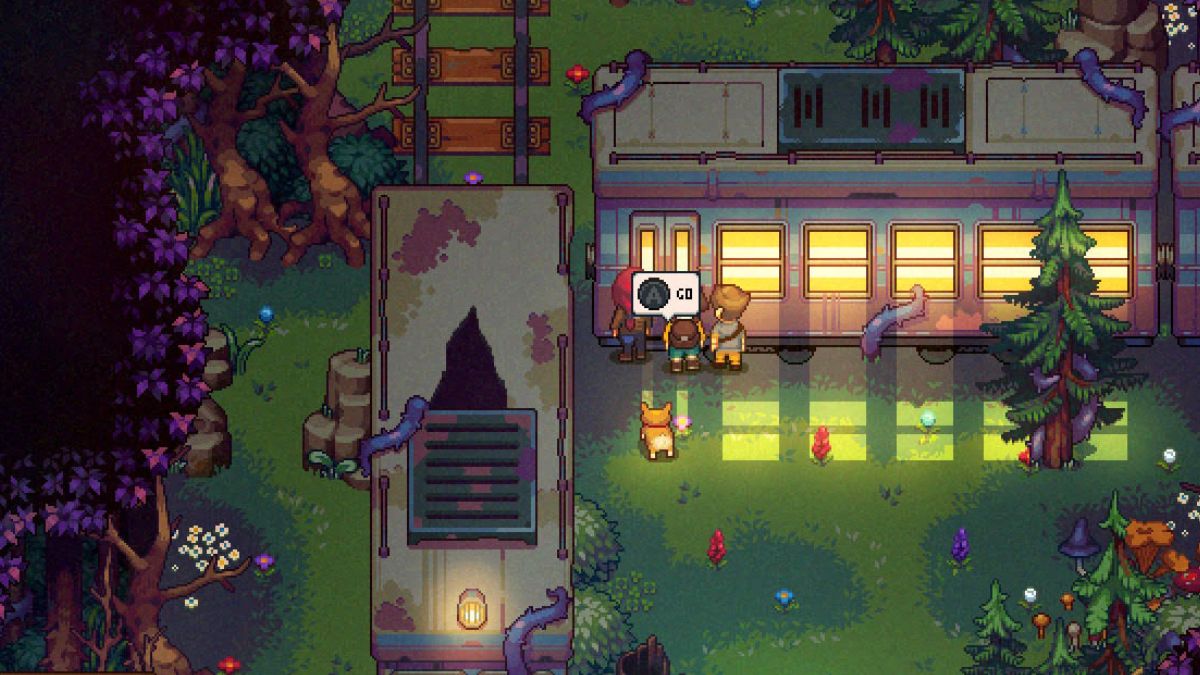 | You will come to an old train with the lights on. Walk up to the door and go inside. |
 | In the first car, talk to the demon for a quick Underside fishing tip. Then, keep head through the train car doors until you reach the end. |
 | When you come out onto a path, follow the stairs up. |
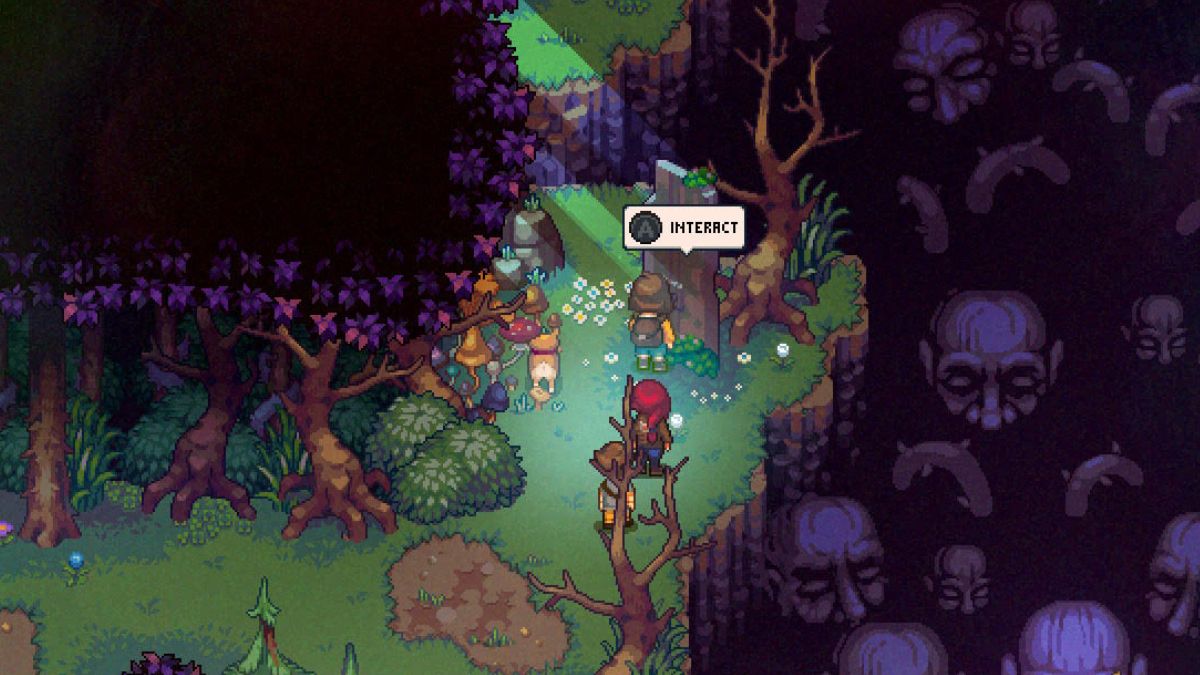
 | You will come to a grave that looks recently exumed. Interact with it and you’ll get a quick cutscene, ending with the sugggestion to put flowers on the grave. |
 | At this point, youcan either head back to Bloomtown and grow some flowers or steal them from the grave to the left. I opted for grave theft because it was quicker. You’ll have to fight an angry spirit if you steal the flowers, but placing flowers on the grave now will help you out with the Wolf later. |
 | Follow the path along to the right. Don’t forget to grab the two chests on the way. Head down the stairs and follow the winding path. |
 | You will come to a mosoleum blocked by a flaming ghost. This is the Bat demon. Fight it and claim the Bat Trophy as proof of your power. |
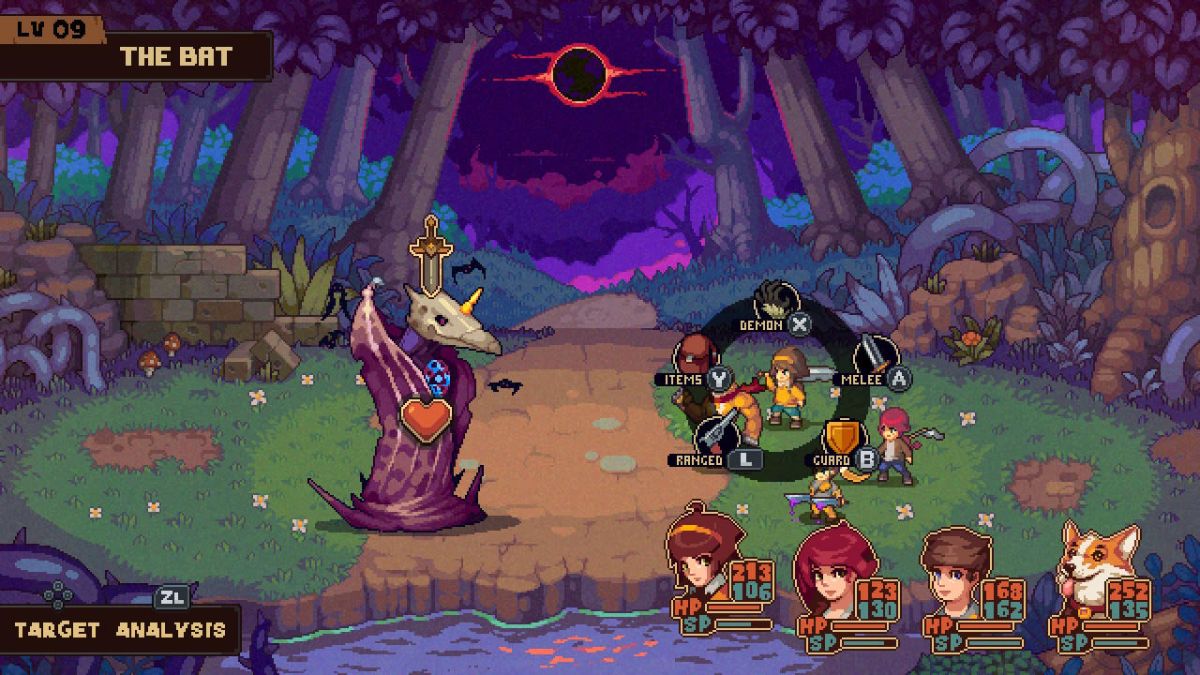 | The Bat is a Level 9 demon that’s strong against magic but vulnerable to physical attacks. Focus on melee to take it down. |
After beating The Bat, you’re ready to find The Wolf. Retrace your steps to find the train car and head back through it to return to the train tracks. If you need to rest and heal up, there is a campfire on the bottom side of the lake with the face in it. There’s also a fishing spot where you can use the demon’s advice, cast your rod far, and get some items.
At this point, you could also return to the safe room and head back to Bloomtown. When you’re ready, return to the corrugated roof where you started. It’s time to find The Wolf!
| Visual Reference | Instructions |
|---|---|
 | Head back past the corrugated roof where you entered. This time, head down past the small building. |
 | Grab the chest to the left. Interact with the building above if you want. You’ll get a cutscene but will not be able to enter. |
 | Continue on past the building and head over the bridge. |
 | Head to the right. If you want, stop at the fishing spot and follow the demon’s advice to cast your line close to shore. |
 | Before crossing the stone bridge, follow the path up on the left side of the river to grab two chests. |
 | Then, head back to the stone bridge and cross it. Follow the path and head up the stairs. Here, you’ll fight a demon before you can continue. |
 | Next, head down the stairs on the other side. |
 | At the bottom of the stairs, head through the vines on the right. |
 | In the next area, follow the path around to the vines at the top, to the left. Head through the vines. |
 | In the next area, go through the vines at the top. You will come to a clearing with a door. Interact with the door to find out what it says. |
 | Go through the door and you’ll find an area with a clearing to the right and another door above. The door leads to a safe room with a phone. Return to Bloomtown if you need to, or head to the right to find a puzzle. |
 | To solve the puzzle, light up every tile without stepping off. Start at the bottom left or right and walk across the two bottom rows. Then, follow the path along the top. |
 | Proceed through the door and talk to the flaming demon. If you put the flowers on its grave earlier, you should have the option to just ask it to go away. Do this or battle the Wolf to get the trophy you need to show the ghost girl. |
At this point, it’s time to head back to Bloomtown. Go back to the safe house door from earlier and use the phone to head home. Then, get ready to go to the Forest to talk to the Ghost Girl so you can pass by and confront the Ranger!
Forest Underside Part 5 – Returning to Fight the Ranger
Your final trip to the Forest Underside will be quick and easy. After you accuse the Ranger and escape his wrath (temporarily), Emily will receive a note. The Ranger wants to battle you in the Underside, at the place where you first met the ghost of Bob. Here’s how to get back there for the big boss fight!
| Visual Reference | Instructions |
|---|---|
 | Using the payphone in the Underside safe room, select Deep Forest Hut to fast travel to the area closest to where you met Bob. Once there, head through the door at the bottom. |
 | Head to the right and go through the vines at the top, where you first met Bob. |
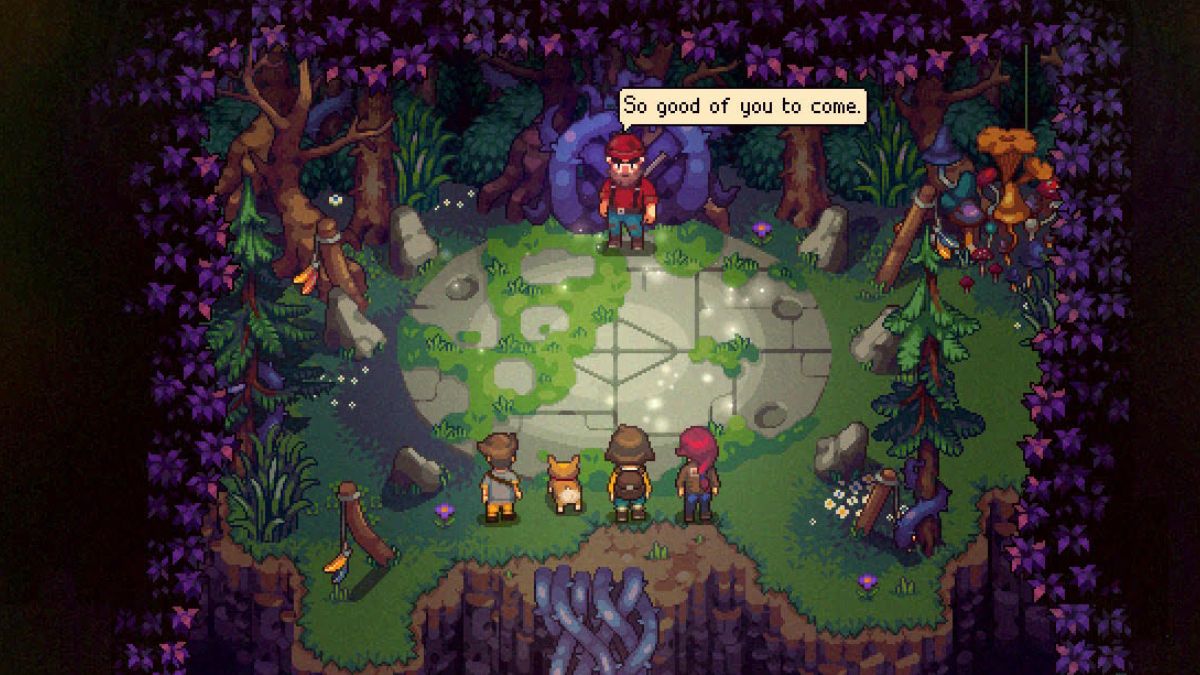 | Walk out into the middle of the circle and the Ranger will approach. It’s time for a boss battle! See our main quest guide for pointers. |
We’ll keep adding to the dungeon guide & overall walkthrough as we play, so check back soon for what’s next!
About the Author
Discover more from Bonus Action
Subscribe to get the latest posts sent to your email.