

In The Plucky Squire, Jot’s got big dreams and even bigger pages to leap from, and you’re here to help him outwit the pesky Humgrump and his minions.
Our The Plucky Squire walkthrough will fill in the gaps (literally) with solutions to every word puzzle, point you to the perfect pages to flip, and sniff out the well-hidden Glitchbirds and Art Scrolls scattered throughout this tale of dimension-hopping mayhem.
Whether you’re jumping into books, skittering across mugs, or hopping between the pages of a trading card battle, we’ve got you covered. With this walkthrough, you’ll not only save the day but do it with a grin that matches Jot’s bravest smirk.
Table of contents
- The Plucky Squire Chapter 1
- The Plucky Squire Chapter 2
- The Plucky Squire Chapter 3
- The Plucky Squire Chapter 4
- The Plucky Squire Chapter 5
- The Plucky Squire Chapter 6
- How to get the two handhorns for the yellow door
- How to get a pass in Mountain Trarrg
- How to find cheese for the rat in the cave
- How to get all three fragments from Rocket Dad
- How to solve the heavy blocks puzzle
- How to bring the mushroom to Moonbeard
- How to solve the pillars puzzle
- Glitchbird in Chapter 6
- All Scrolls in Chapter 6
- The Plucky Squire Chapter 7
- The Plucky Squire Chapter 8
- The Plucky Squire Chapter 9
- Glitchbirds in Chapter 9
- All Scrolls in Chapter 9
- How to escape the cell
- How to avoid the guards – Pip puzzle 1 and 2
- How to beat the laser puzzles
- How to sneak past the guards
- How to solve the Metal Crates puzzle
- How to solve the Metamagic Pipes puzzle
- How to trigger the big switch
- How to get past the third data center
- How to open Humgrump’s door
The Plucky Squire Chapter 1
WALKTHROUGH
GLITCHBIRDS
SCROLLS
How to open the Gate


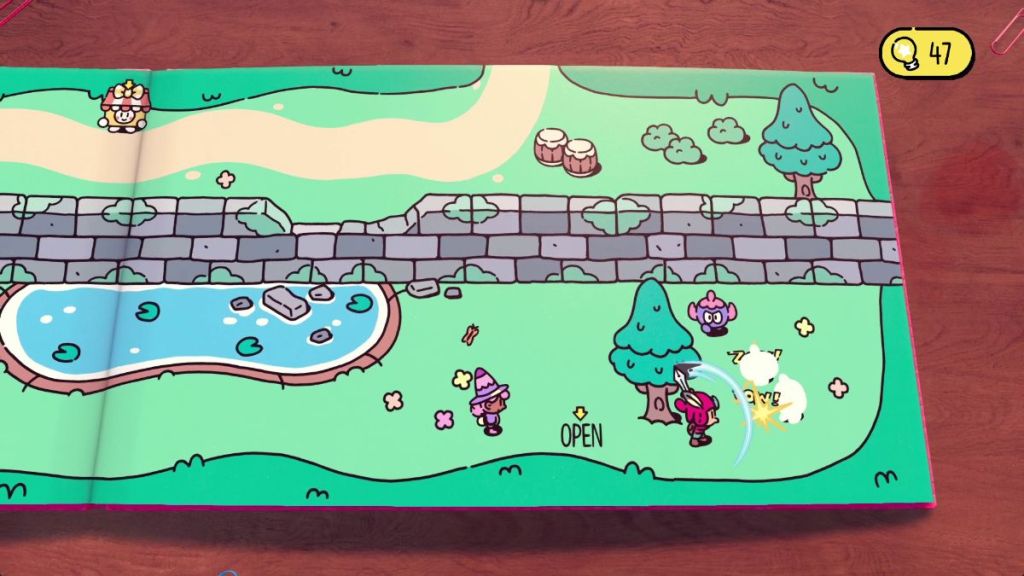
To open the gate on your way to Tome Tower, you must fill in the gaps with the words “Gate” and “Open.”
First, look for the word “Gate” behind the bush on the left. Place it on the first gap so it says “The gate swung _____.”
Then, look for the word “Open” behind some bushes to the right. Make sure you take out all enemies and clear the area of vegetation to spot it. Then, place it on the second gap so it says “The gate swung open.”
Glitchbrid in Chapter 1

There is only one Glitchbird in Chapter 1, and you can grab it after solving the “The gate swung open” puzzle. In the forest, look for a Glitchbird behind the sign.
All Scrolls in Chapter 1
| Visual Reference | Instructions | Art name and appearance |
|---|---|---|
 | You can find the first Piece of Artwork Scroll on the first forest page on your way to Tome Tower. Look behind a tree next to the northern lake. | 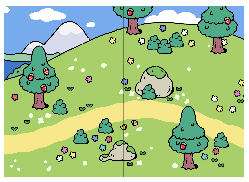 Concept – Area – Mountains |
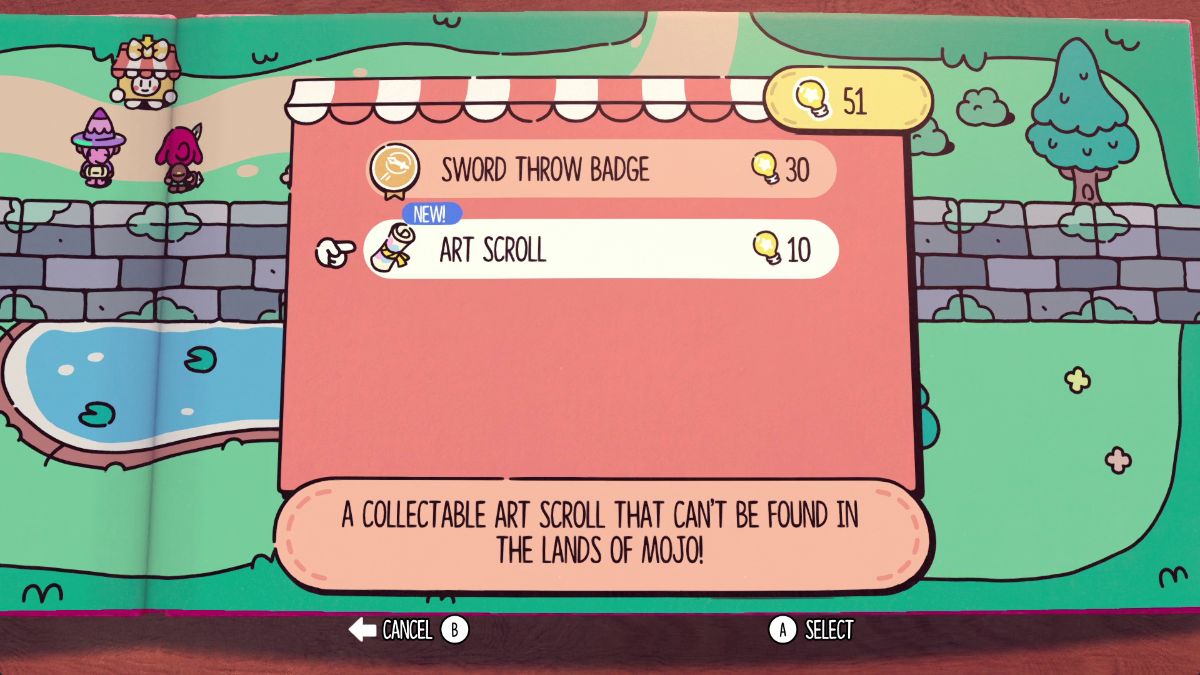 | You can purchase the second Art Scroll from Martina the vendor after solving the “The gate swung open” puzzle. | 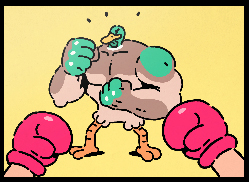 Concept- Boxing Minigame |
The Plucky Squire Chapter 2
WALKTHROUGH
GLITCHBIRDS
SCROLLS
How to open the Blue Gate

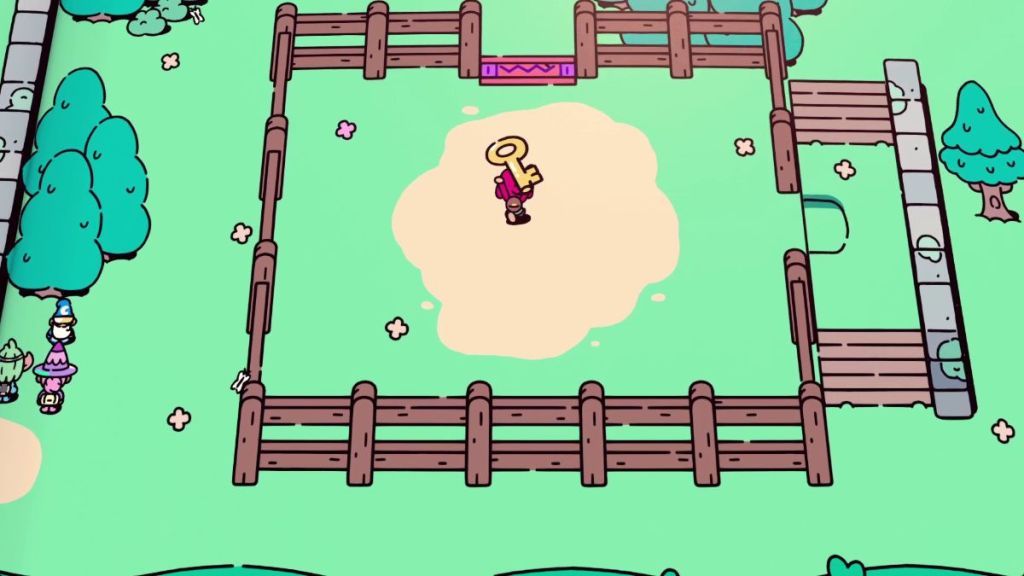
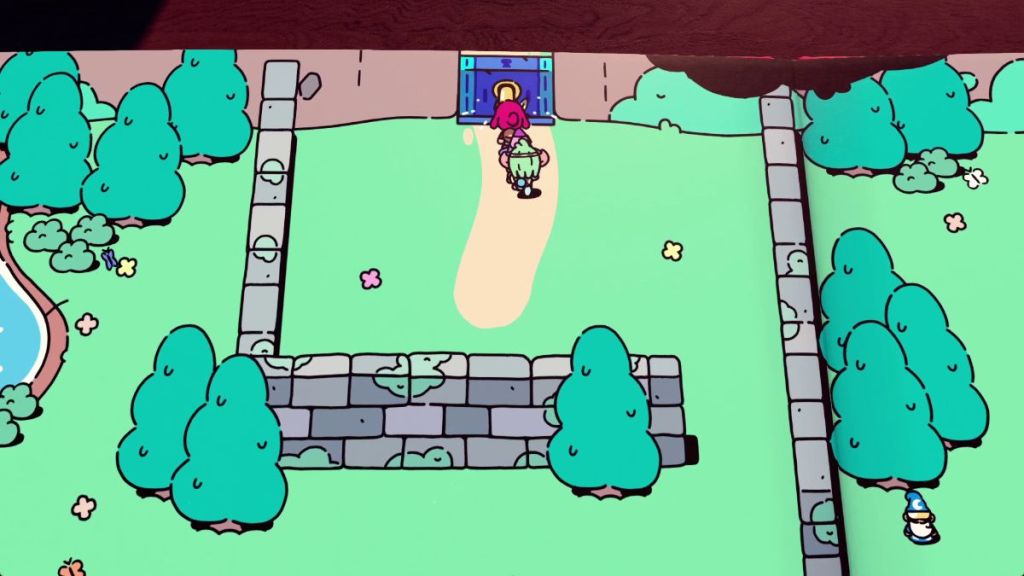
To open the Blue Gate in the forest of Chapter 3, you need to grab the key from the bull ring on the right side.
First, head to the right and go under the bull ring. Climb the stairs and jump into their pen. After defeating both bulls, the pink gate will lower and open the way out of here. Grab the key and make your way to the blue gate to open it.
How to get Topsy the Cat’s biscuits
To solve this puzzle in The Plucky Squire, follow these steps:
| Visual Reference | Instructions |
|---|---|
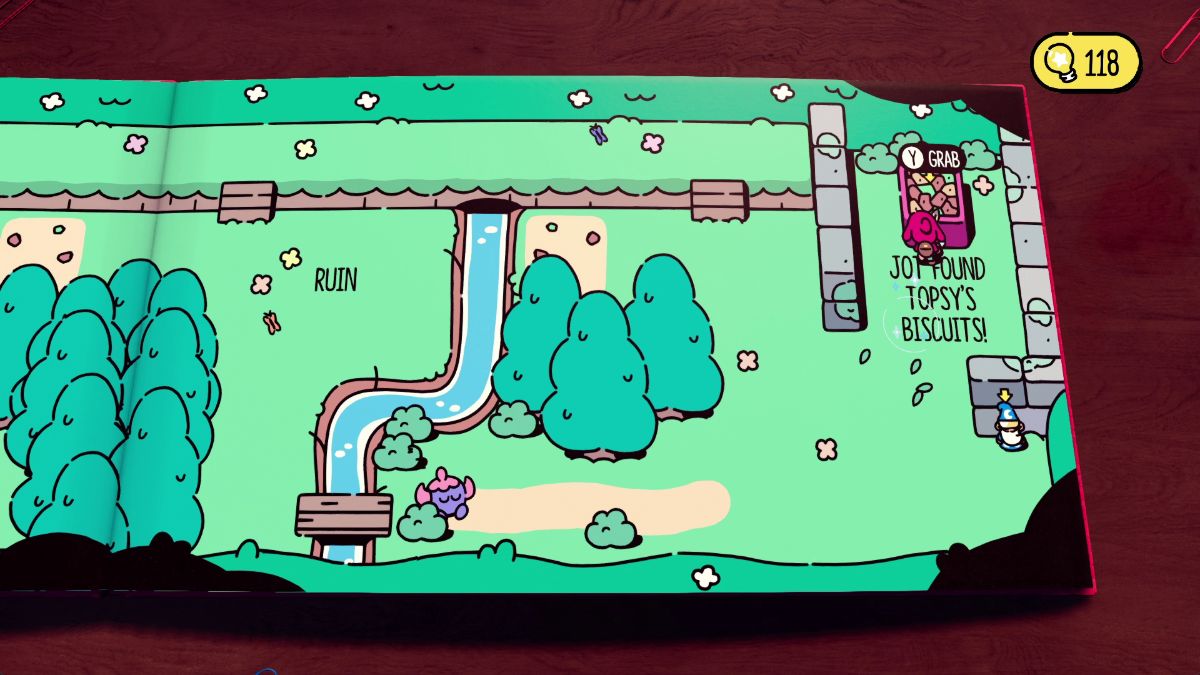 | Grab RUIN, stand near FOREST, and select the swap option. Now, you can move the biscuits a bit closer to the cat. |
 | Grab the word RUIN and bring it to the area with the cat. We’re going to swap FOREST with RUIN. |
 | With your sword, give the phrase “HERE WAS A SECLUDED FOREST” a hit. When it’s underlined, it’s removable. |
 | Keep swapping and dragging the biscuits to the rectangle-shaped spot until they’re next to Topsy. |
 | Keep swapping and dragging the biscuits to the rectangle-shaped spot until they’re next to Topsy |
 | He will roll over and reveal a hidden key. Use it to open the gate here. |
How to get through the Dark Cave
The bridge to cross the lake is in shambles. The only way across is through a dark cave. Follow these steps to get through this poorly-lit area:
| Visual Reference | Instructions |
|---|---|
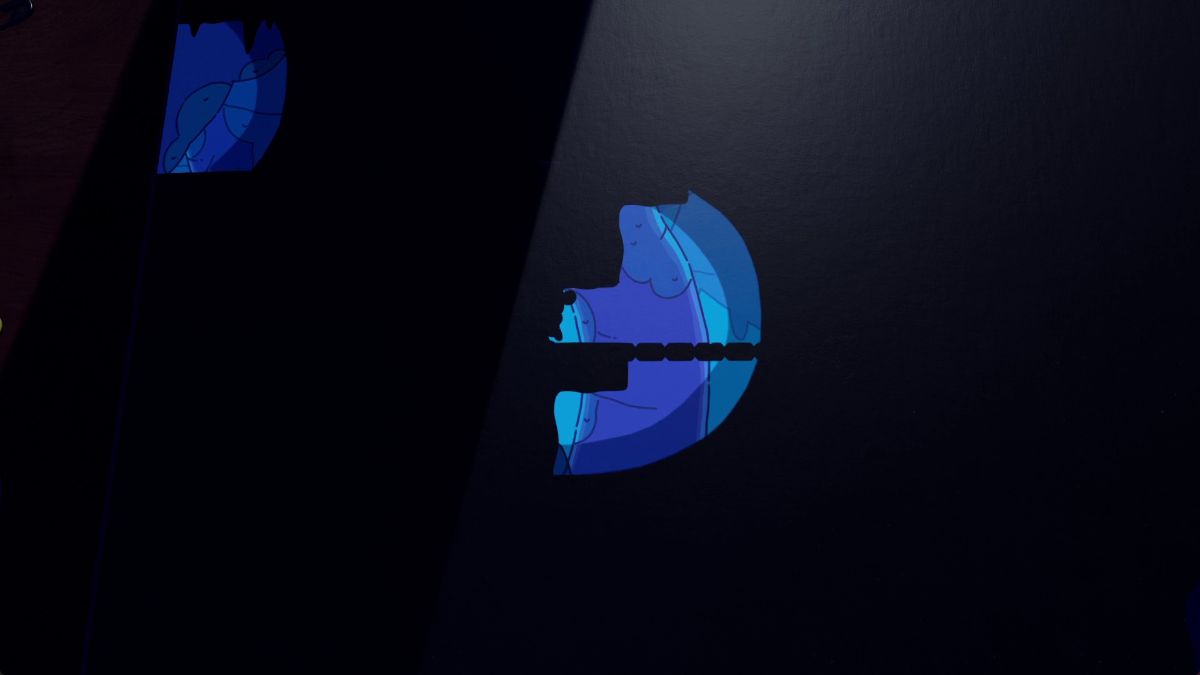 | Drop down and head toward the lower left corner of the cave. Here lies a fake wall you can go through. |
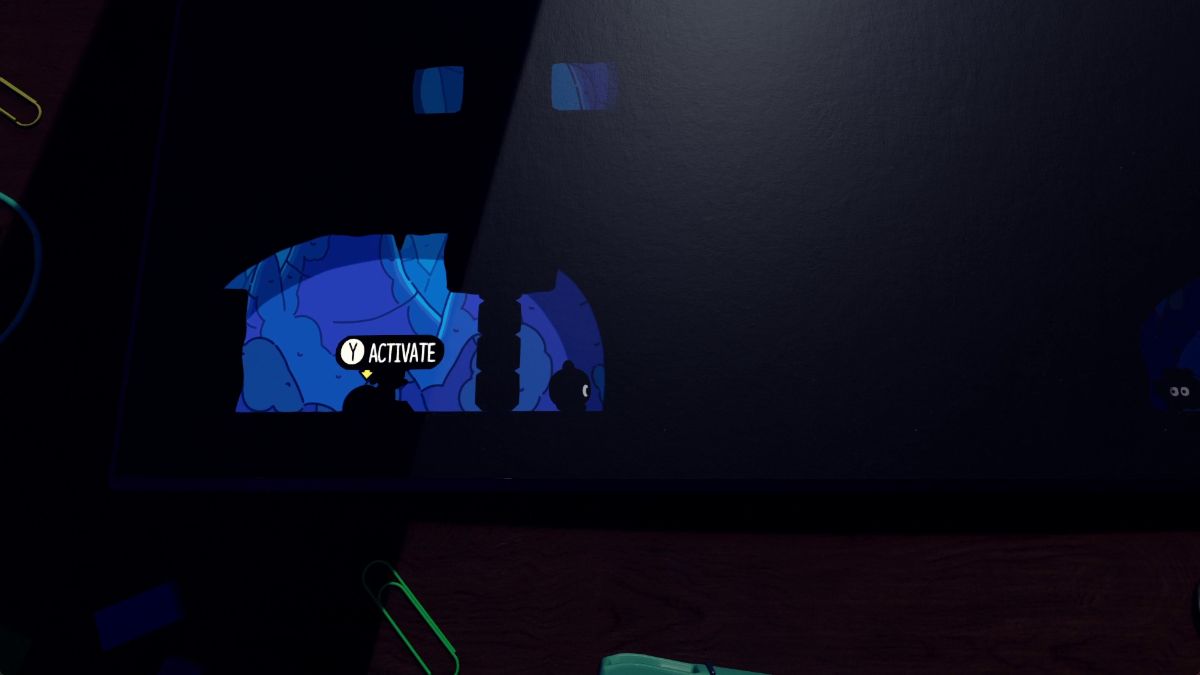 | Activate the lever below to open the way to the right. |
 | When you run into a cliff, look for another fake wall on the platform above and to the left. |
 | On your way up, you can spot a fake ceiling you can jump through to find the exit. |
How to solve the book puzzle
To solve the stacked book puzzle, follow these steps:
| Visual Reference | Instructions |
|---|---|
 | Defeat all the enemies to lower the pink gate on the left. Enter this room and grab the key. |
 | With the key, open the blue gate on the right side. Here, smack the phrase and pick up the word “SCATTERED.” |
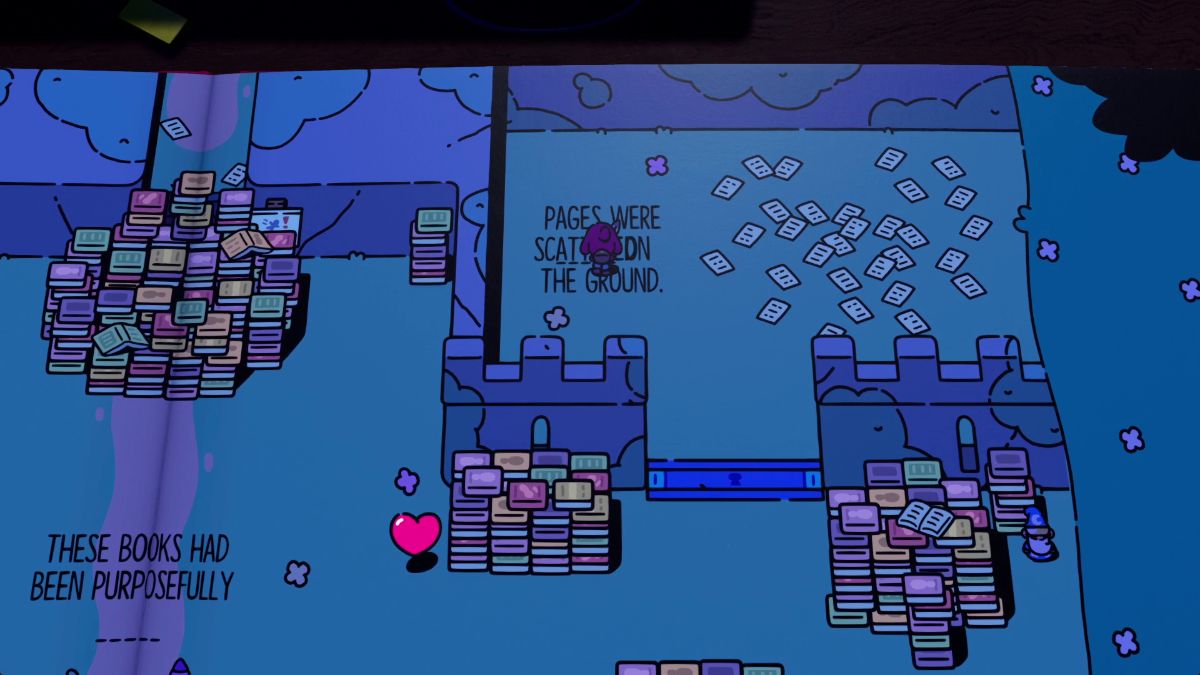 | In the center of the room, swap the word “STACKED” for the word “SCATTERED” to open up the path forward. |
 | To go over the hole here, place the word “STACKED” in the gap you left in the phrase inside the room to the right. |
 | Grab the stack of pages and place it over the hole to fill the gap. |
How to give the bunny something to eat
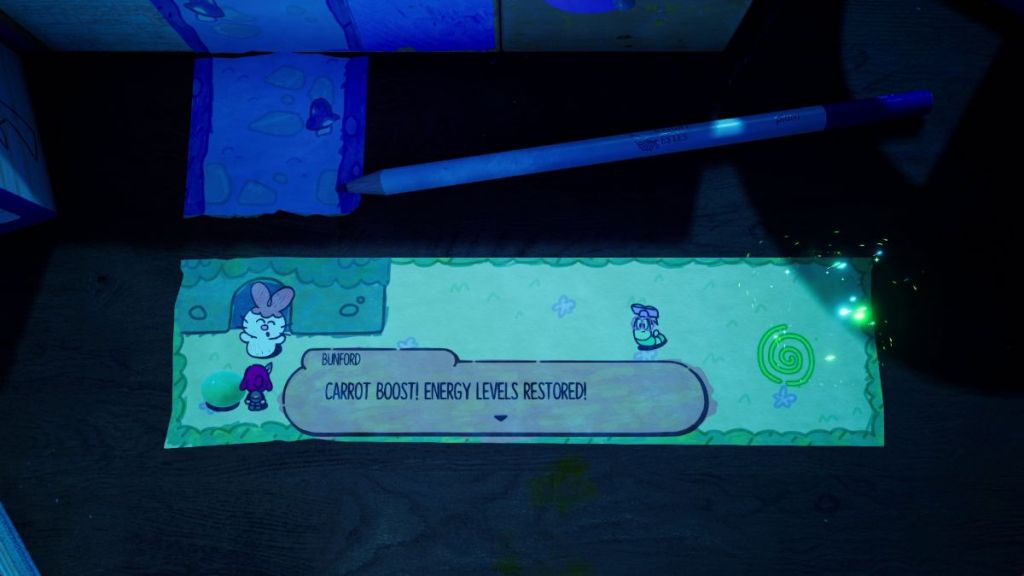
Inside a paper on the 3D world, you’ll spot a hungry bunny blocking your way forward. To get him to move, grab a carrot from the 3D world and bring it inside. Mind you, he doesn’t like grapes.
How to reach the paper strip above you
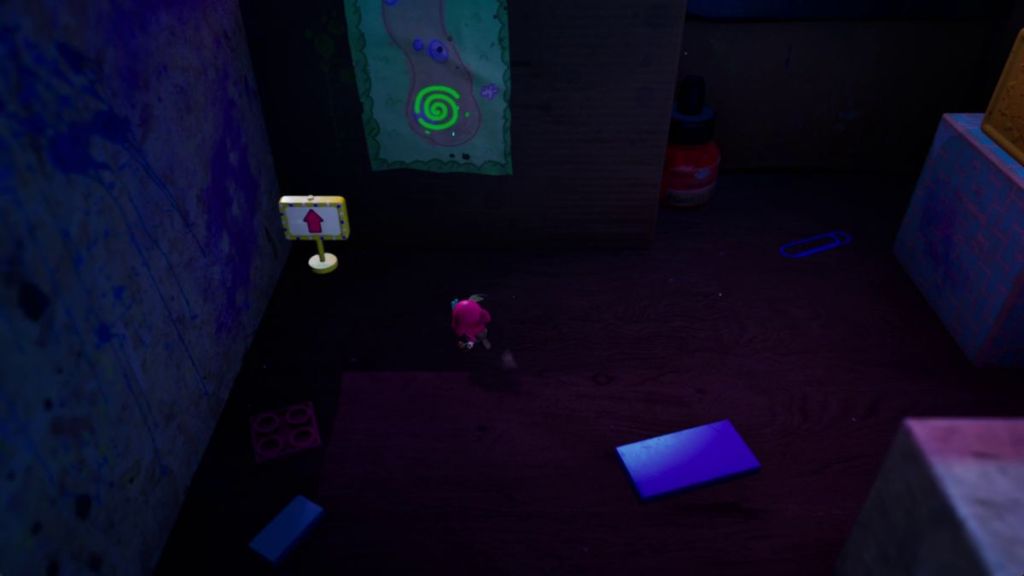

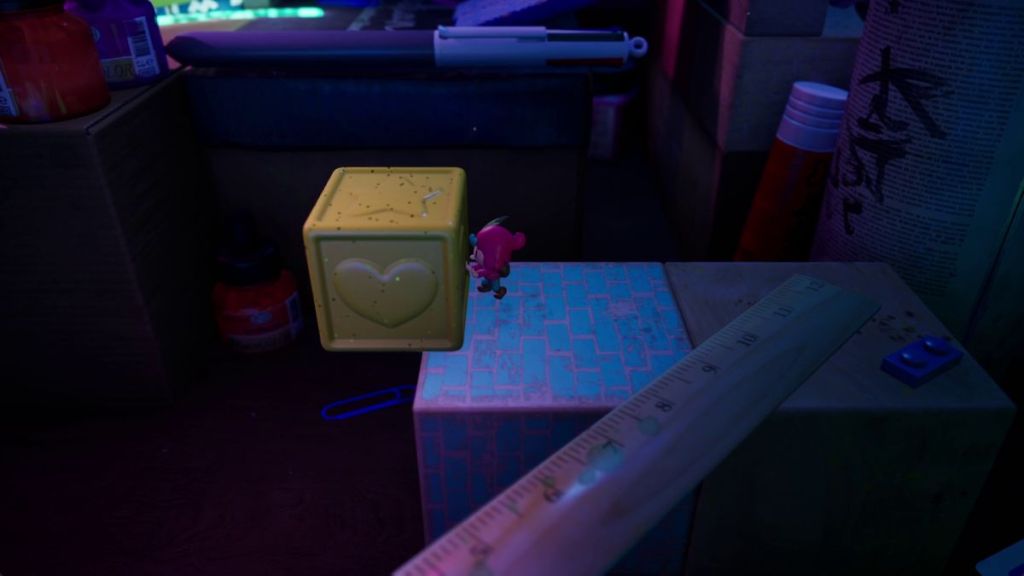
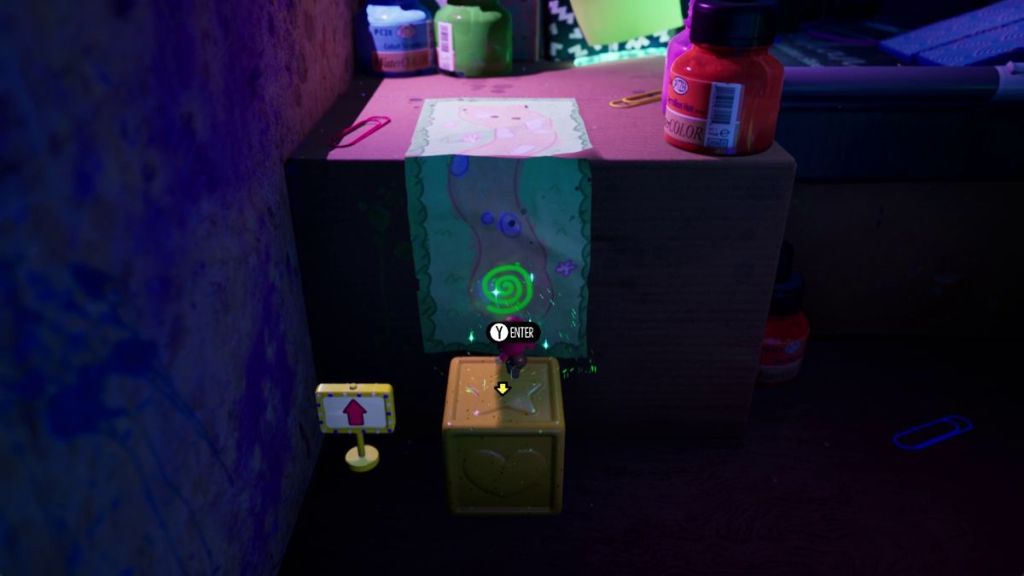
After dealing with the bunny, you’ll face a taller problem: an out-of-reach portal. To reach it, climb the blocks on the right side, use the ruler as a bridge, and knock the yellow block over. Then, push it toward the paper strip and climb it.
How to get through the domino area
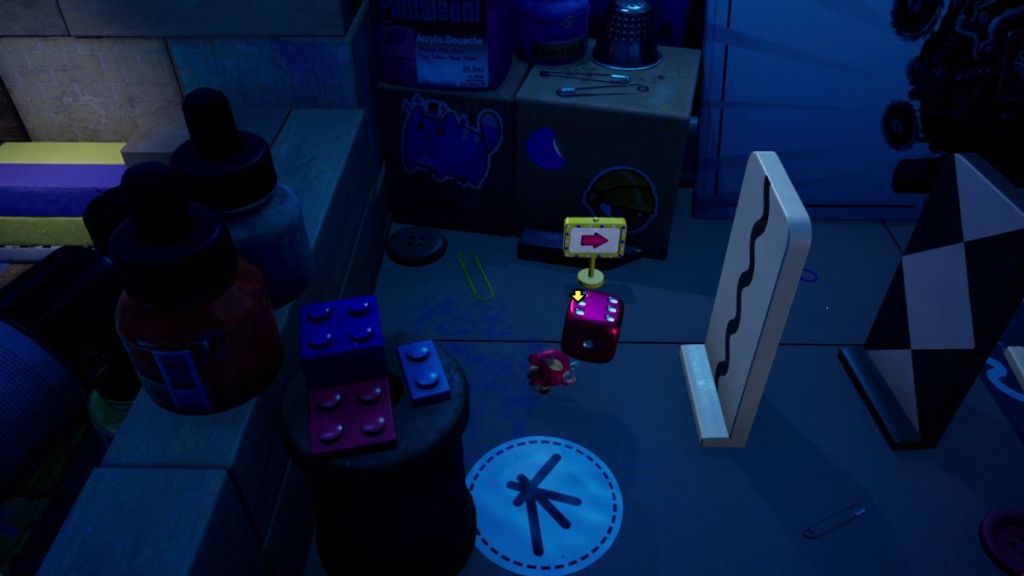

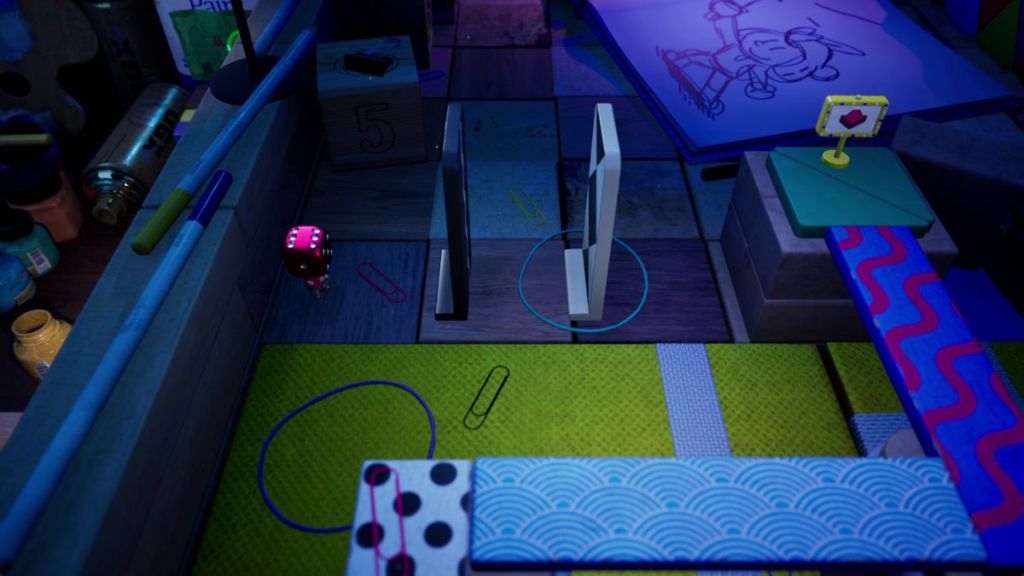
After sneaking past the beetle, grab the red dice and, as you run, throw it toward the dominoes to create a staircase. Take your domino into the 3D world and place it on this trigger to open the yellow gate.
After a second sneaking section, grab another red dice and climb up the ramp. Here, throw the dice at the dominoes again.
Glitchbrid in Chapter 2
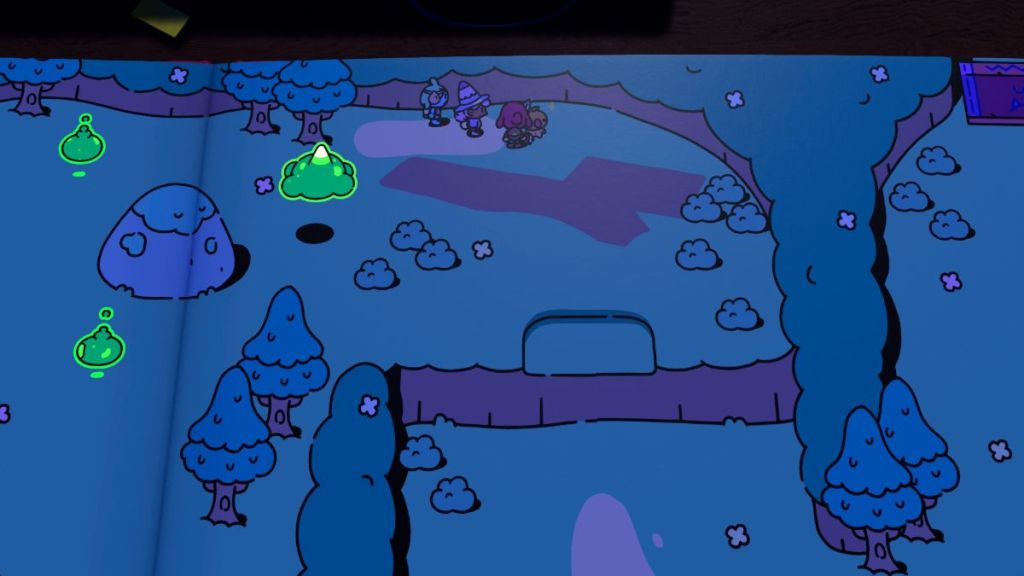
To find the Glitchbird in Chapter 2, progress through the chapter until you reach the dark forest struck by lightning. Here, look for a Glitchbird behind a tree before you jump off the platform.
All Scrolls in Chapter 2
| Visual Reference | Instructions | Art name and appearance |
|---|---|---|
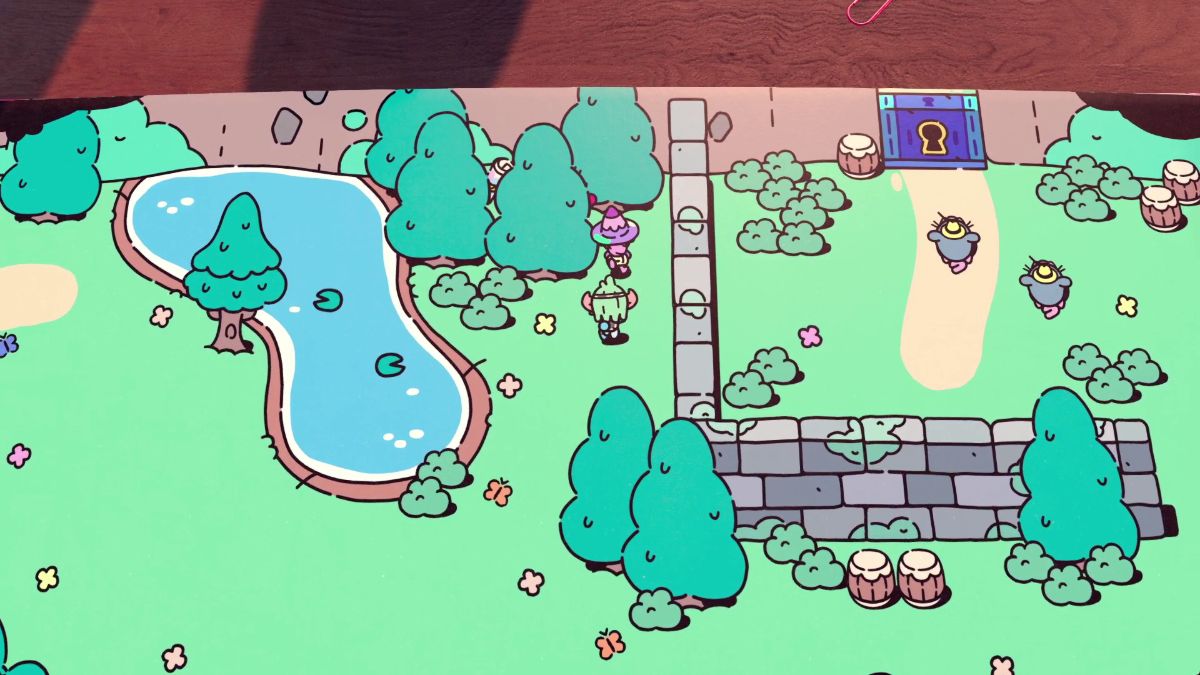 | After climbing down the mountain, in the forest with your first red bull enemy, look behind the trees next to the concrete wall to spot this Art Scroll. |  Concept – Character: Jolt |
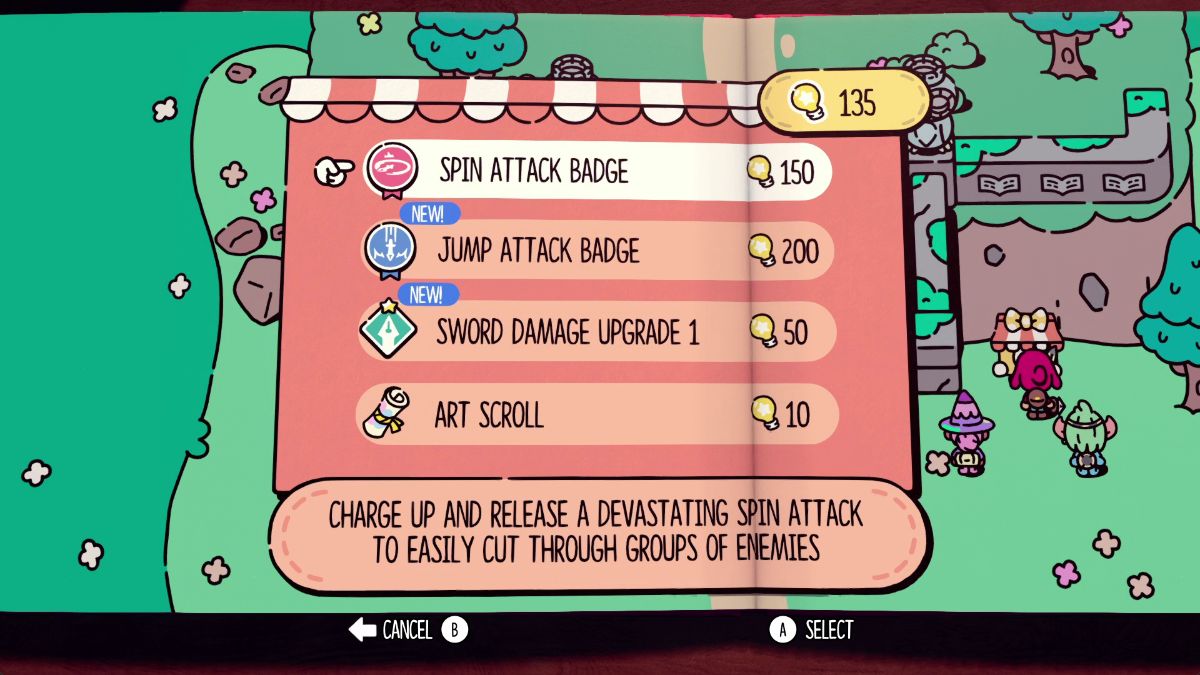 | You can purchase the second Art Scroll in Chapter 2 from Martina after solving Topsy’s puzzle. |  Concept – Character: Moonbeard |
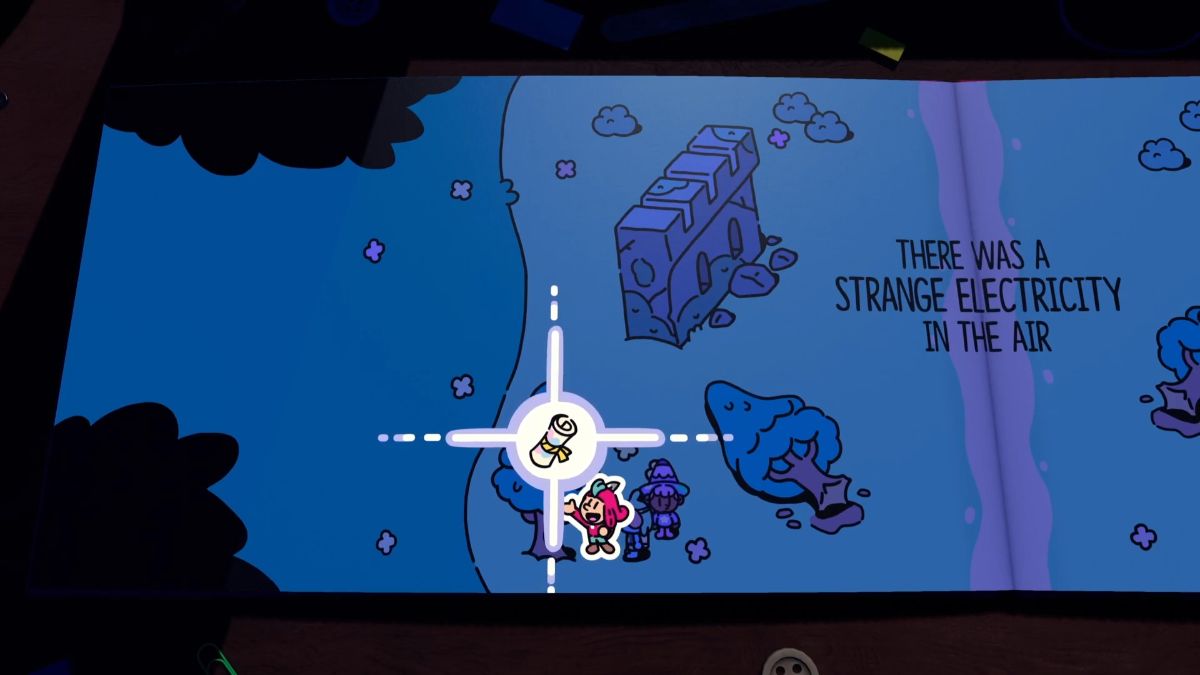 | On the page where electricity storms into the forest, look for a scroll on the tree in the bottom left corner. |  Concept – Character: Pip |
 | On the other side of the river with the broken bridge, purchase an Art Scroll from Martina. | 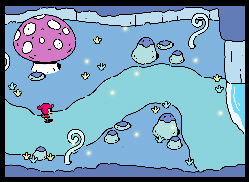 Concept – Area – Fairy Forest |
 | In the area with the stacked books, look for a scroll on the lower left corner of the page. | 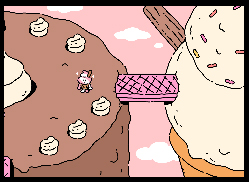 Concept – Area – Candy Land |
The Plucky Squire Chapter 3
GLITCHBIRDS
SCROLLS
Glitchbird in Chapter 3
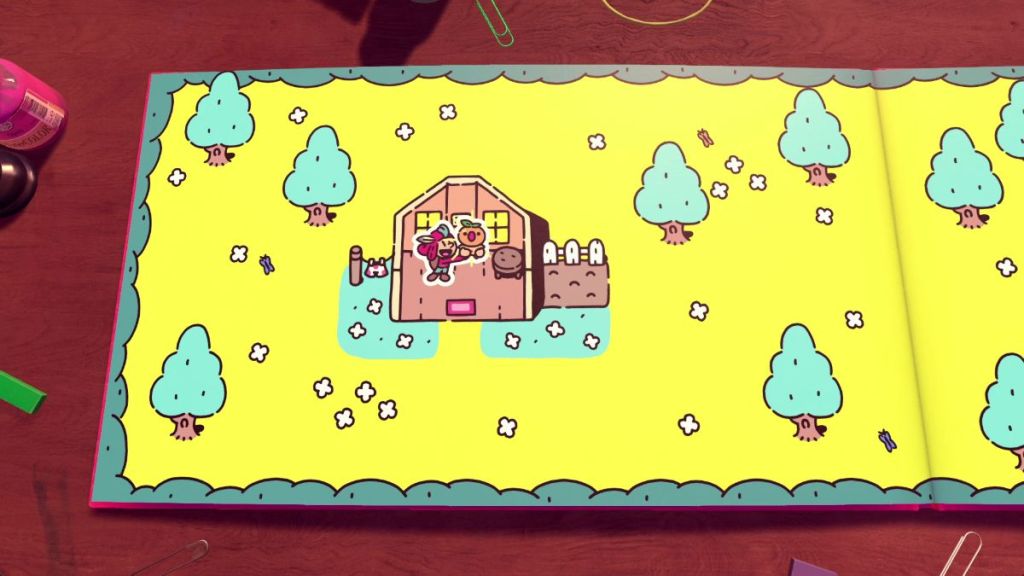
You can find a Glitchbird inside Jot’s house pretty early into the chapter.
All Scrolls in Chapter 3
| Visual Reference | Instructions | Art name and appearance |
|---|---|---|
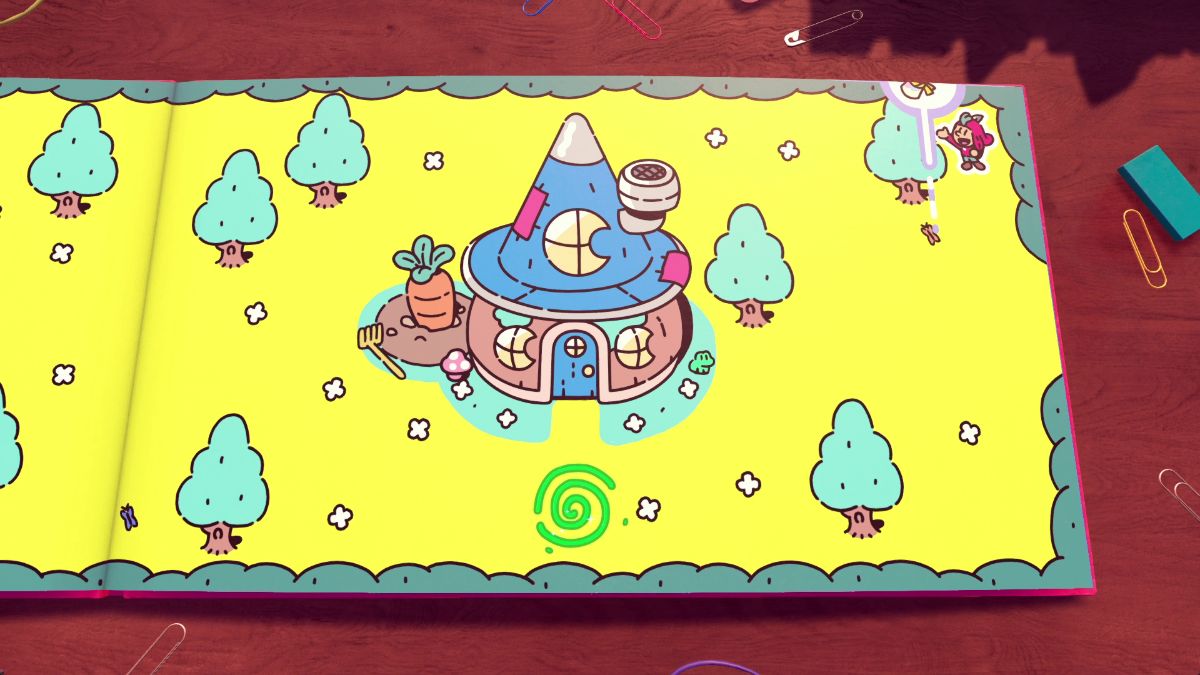 | The first Art Scroll in Chapter 3 is on the page with Jot and Moonbeard’s house. This scroll is hiding behind a tree in the upper right corner of the page. |  First Sketches 5 |
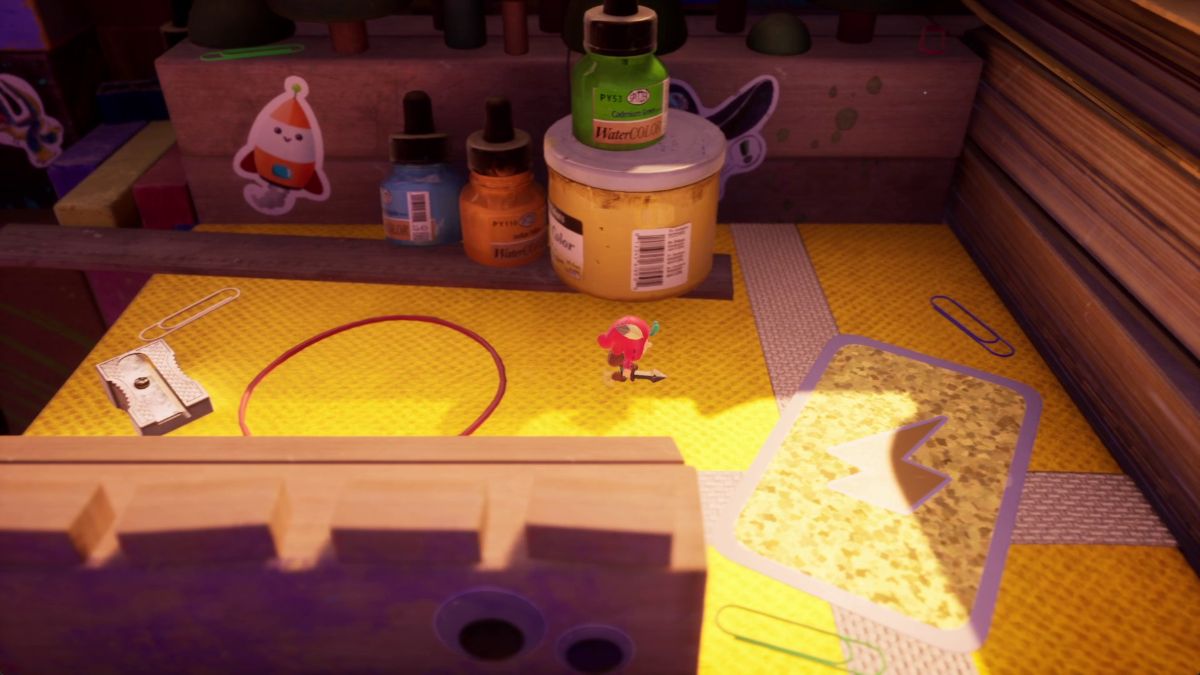 | In the 3D world, climb your way to the right until you find a yellow area with a yellow card and an elastic band. |  Object Design – Domino |
The Plucky Squire Chapter 4

WALKTHROUGH
GLITCHBIRDS
SCROLLS
How to get the key in the Sonnet Swamps


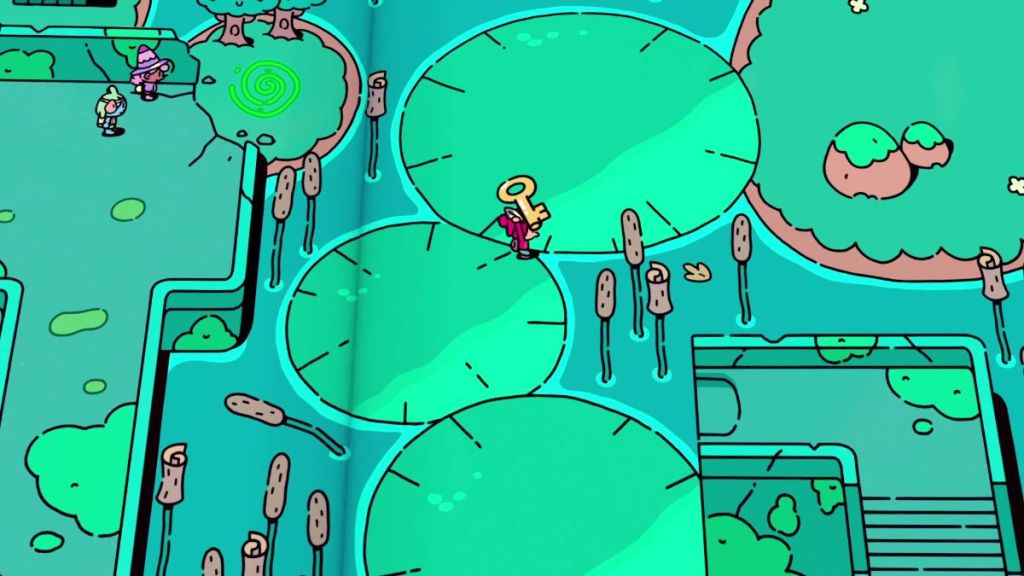
To get the key for the blue door in the Sonnet Swamps, you must use the green portal to head into the 3D world, head to the right side of the page, and enter through that portal.
Then, clear the area of enemies and grab the key. Now jump off the ledge, head out into the 3D portal, and get back in through the portal on the left side of the page.
How to move the huge bug

You can’t move the bug, but you can make it smaller. Follow these steps:
| Visual Reference | Instructions |
|---|---|
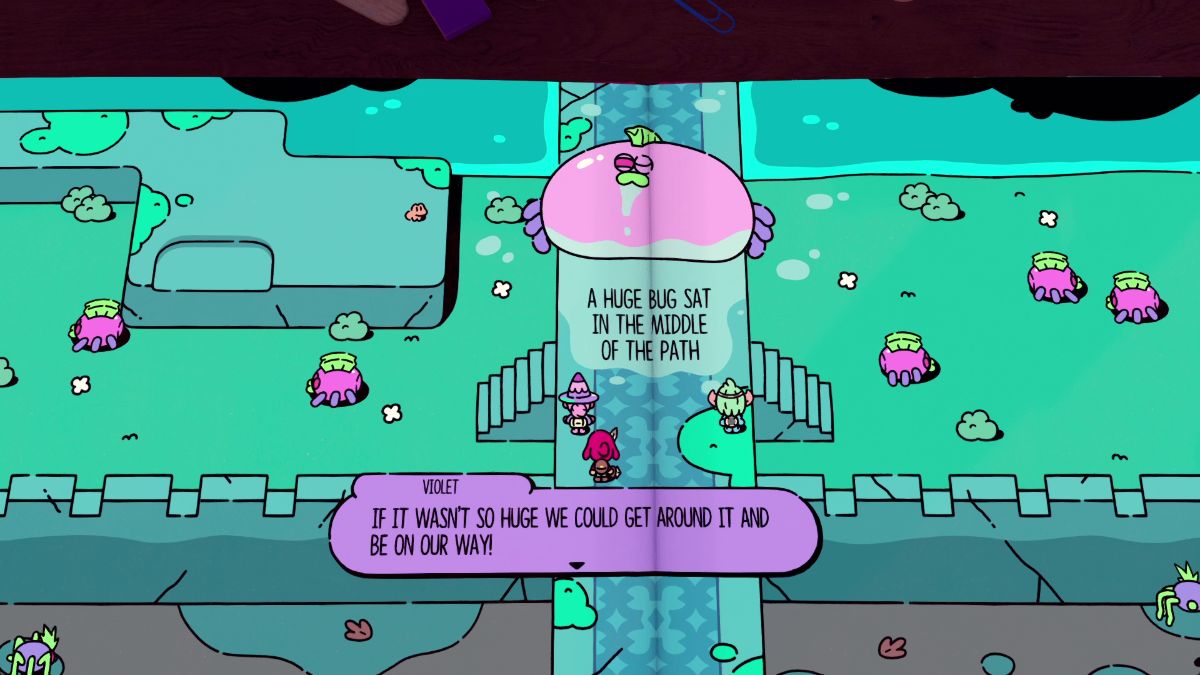 | Clear all the enemies to open the gate to the left. Grab the word HUGE and take it with you. |
 | Grab the word FULL and take it with you to the 3D World. Enter through the portal to the right. |
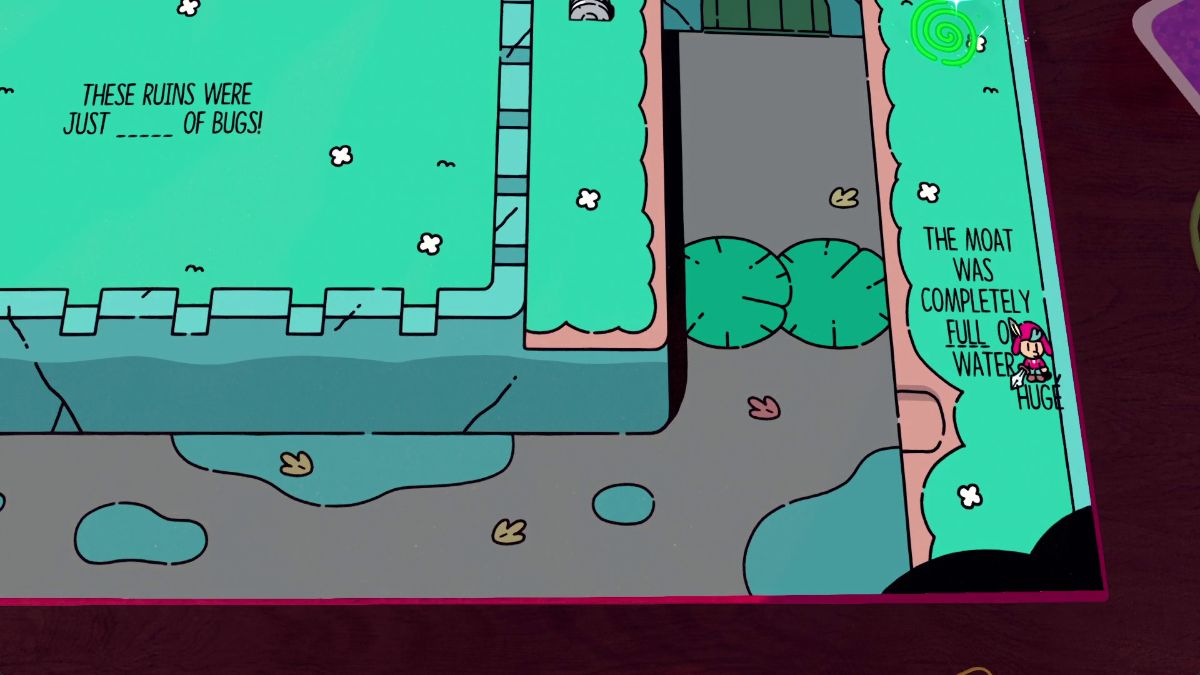 | Swap the word DRAINED for FULL so the phrase here says “The moat was completely full of water” |
 | Activate the lever on the other side. Then, place DRAINED back on the phrase. |
 | Grab the word OPEN from “Jot peered into the open grate” and place it on “The rusty gate was closed.” |
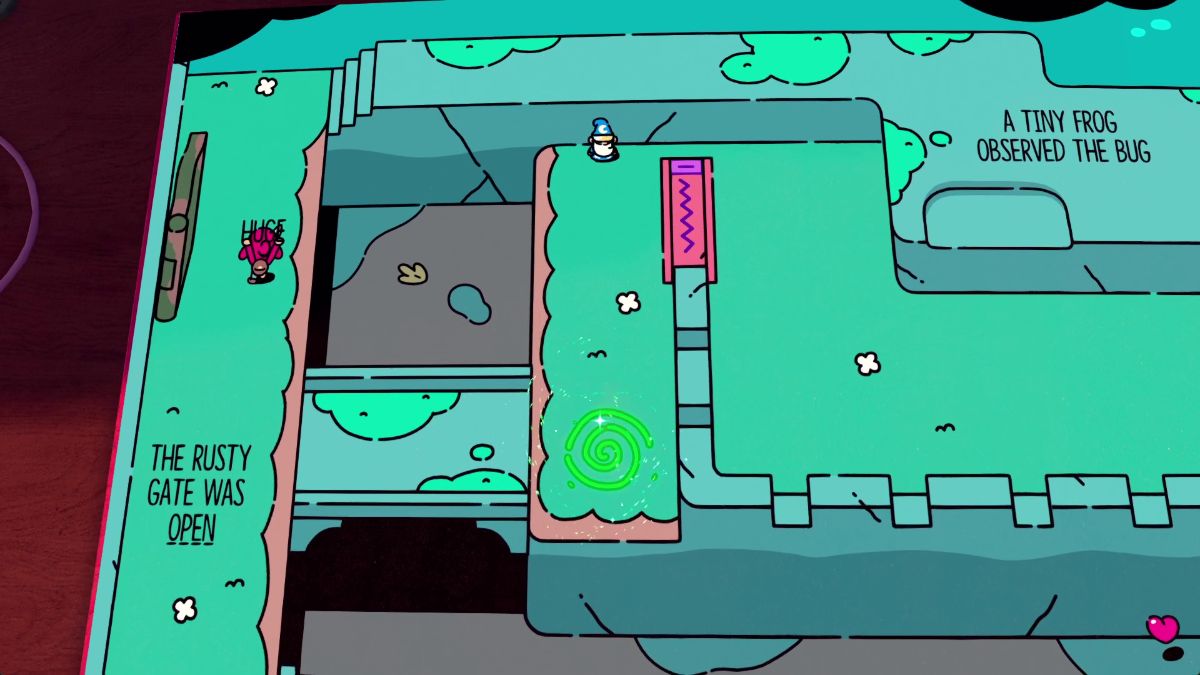 | With Closed swapped from Open, the gate opens for The Plucky Squire. Grab the word HUGE and move forward. |
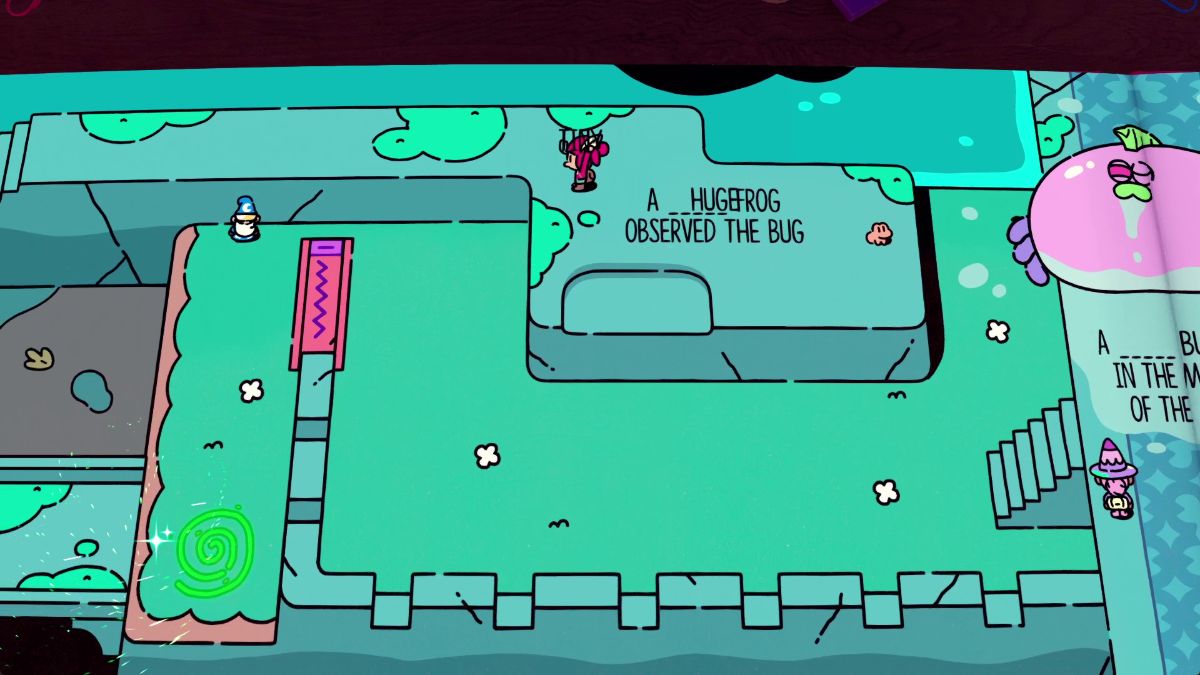 | Take the word “TINY” from “A tiny frog observed the bug” and place it on the blanks before the pink bug. |
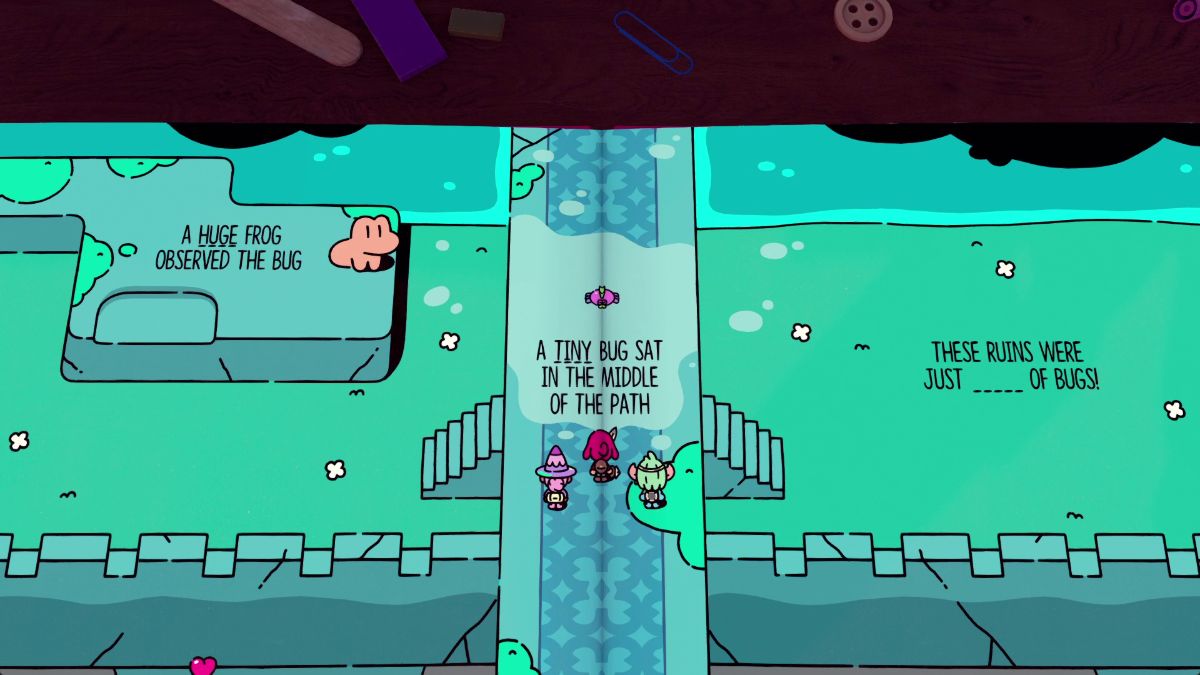 | The tiny bug is no match for our squire and his team. P.s. You get a trophy for turning the tiny frog into a huge frog. |
How to repair the bridge
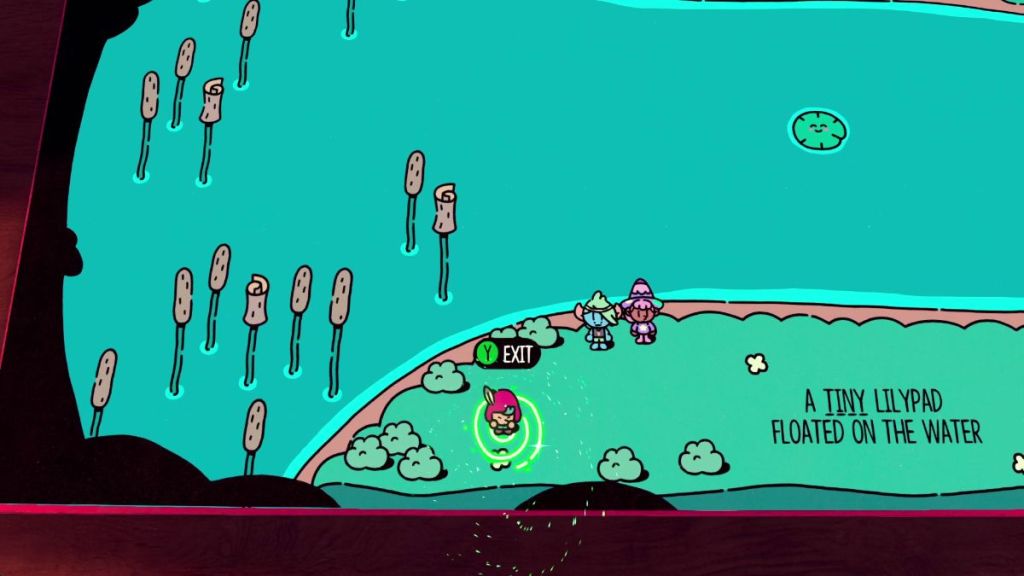
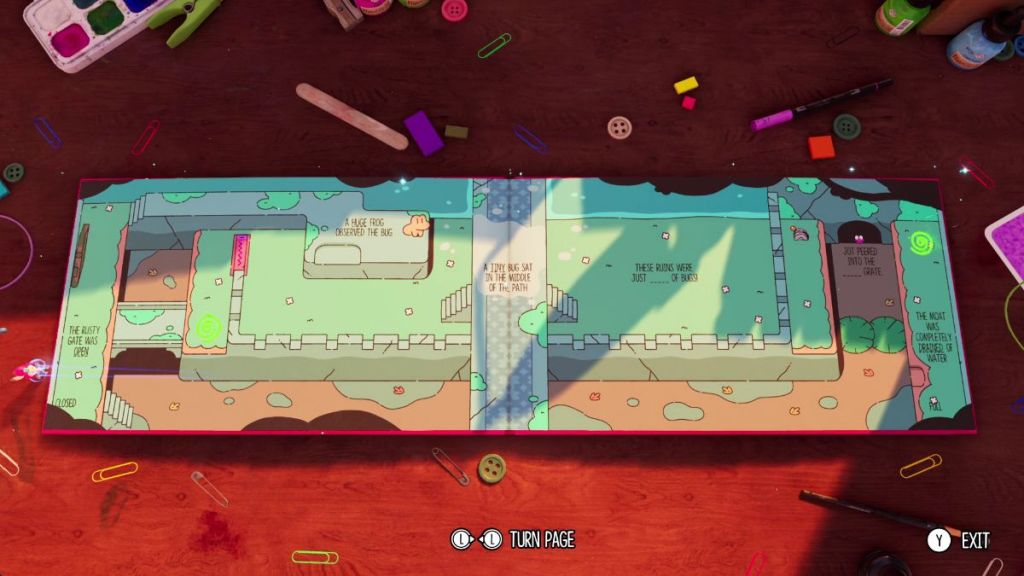
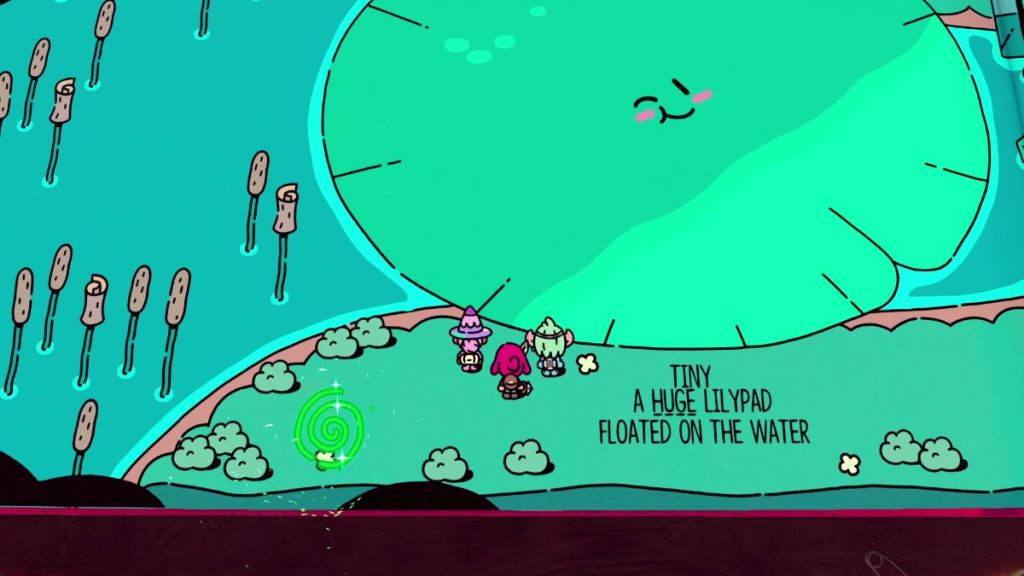
While you can’t repair the bridge, you can use something else to get across the river. Use the portal on the left to head to the 3D world, and flip two pages to the left. Here, grab the word HUGE and take it to the page with the broken bridge.
Swap the word TINY for HUGE so the phrase says “A huge lilypad floated on the water.”
How to help the fish
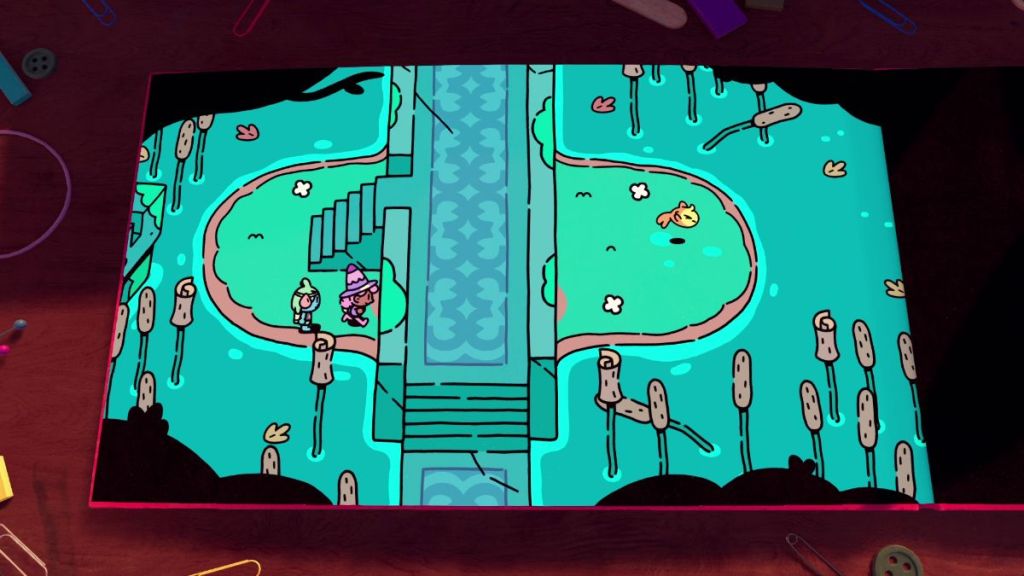
To help the fish that’s flopping out of the water, go down the stairs and walk under the bridge to reach it. If you manage to grab it on the first try, you get a trophy.
How to solve the frog puzzle
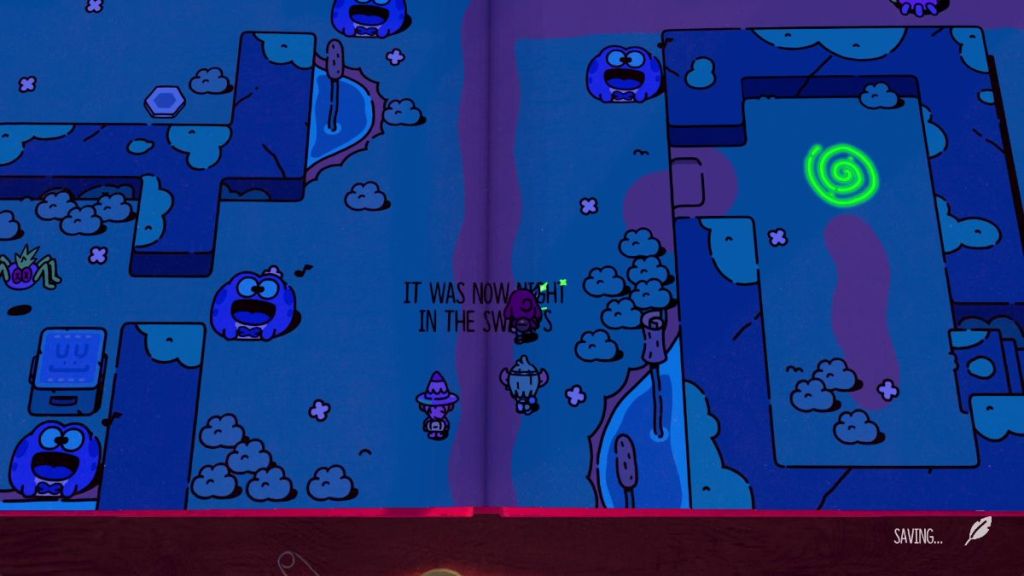
You can make the singing frogs move by swapping the words NIGHT and DAYTIME in the phrase “It was now night in the swamps.” Here’s a step-by-step solution:
| Visual Reference | Instructions |
|---|---|
 | Follow the path to the right, climb up the stairs, and exit through the portal here. |
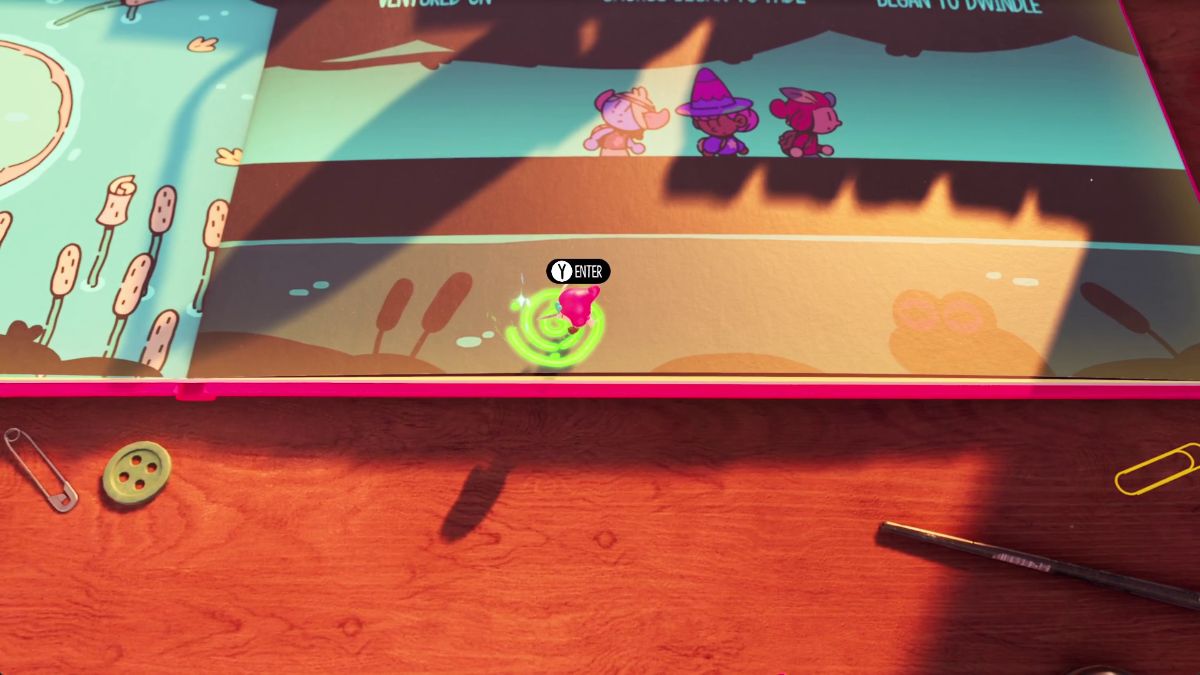 | Flip to the previous page and look for a hidden portal on the lower right portion of the book. |
 | Grab the block and place it on top of the trigger device in the room above to lower the yellow gate. |
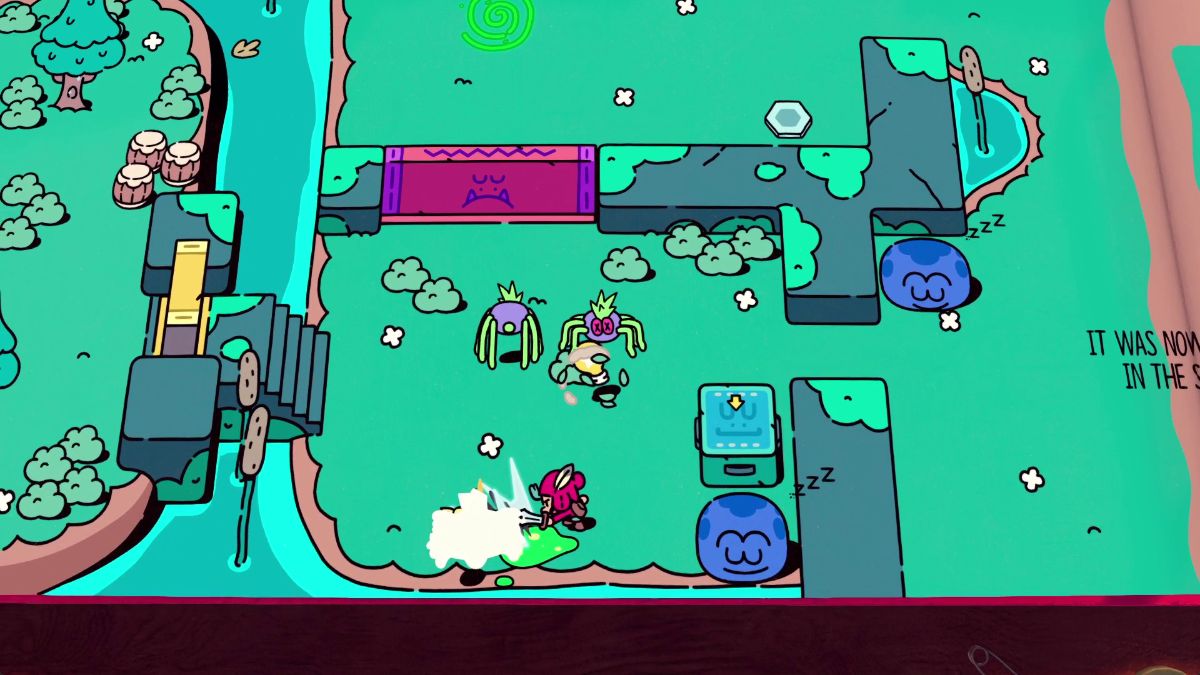 | Go through the unblocked door on the left and defeat all enemies to lower the pink gate. |
 | Grab the block and place it on top of the trigger device on the room above to lower the yellow gate. |
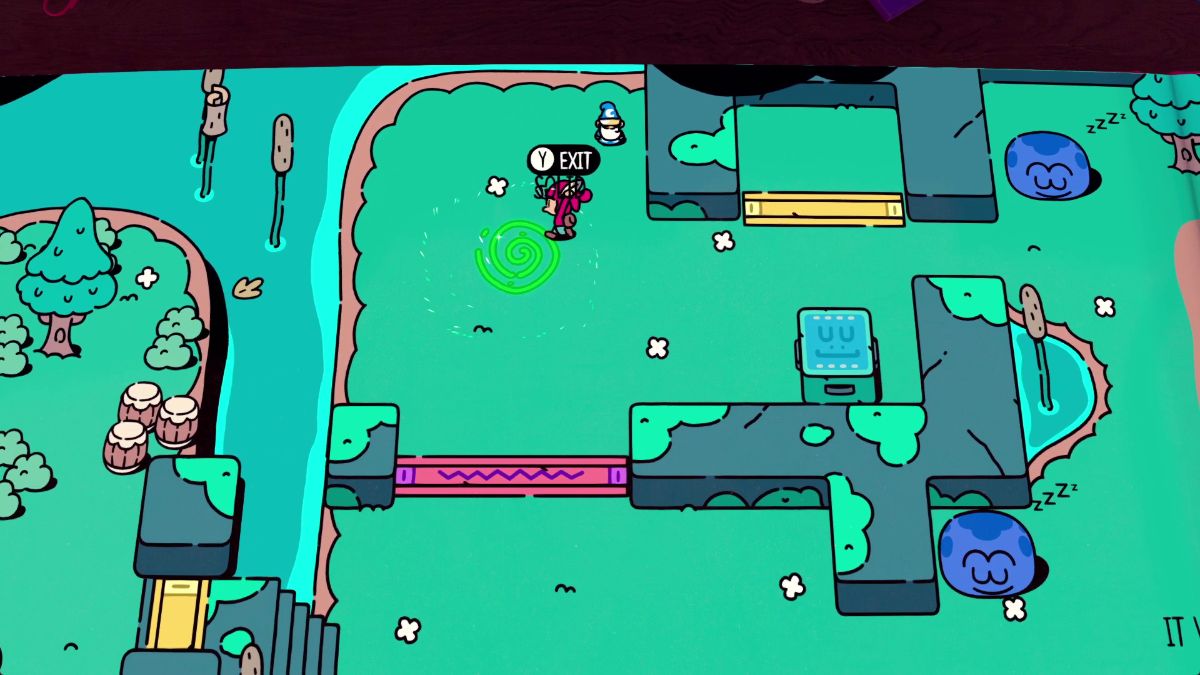 | Grab the word SOLID. |
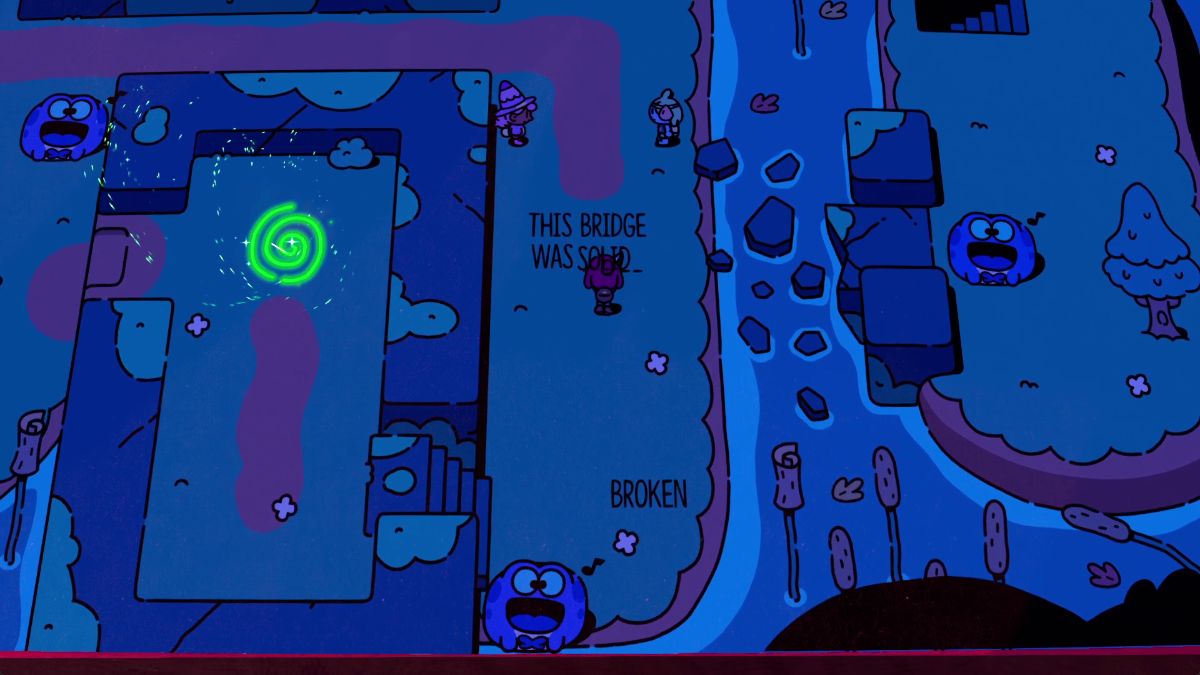 | Swap to NIGHT and place the word SOLID on the phrase to the right to fix the BROKEN bridge. |
 | Push the block to the stairs next to the bridge. With the block pushing the way, this pesky frog won’t move. |
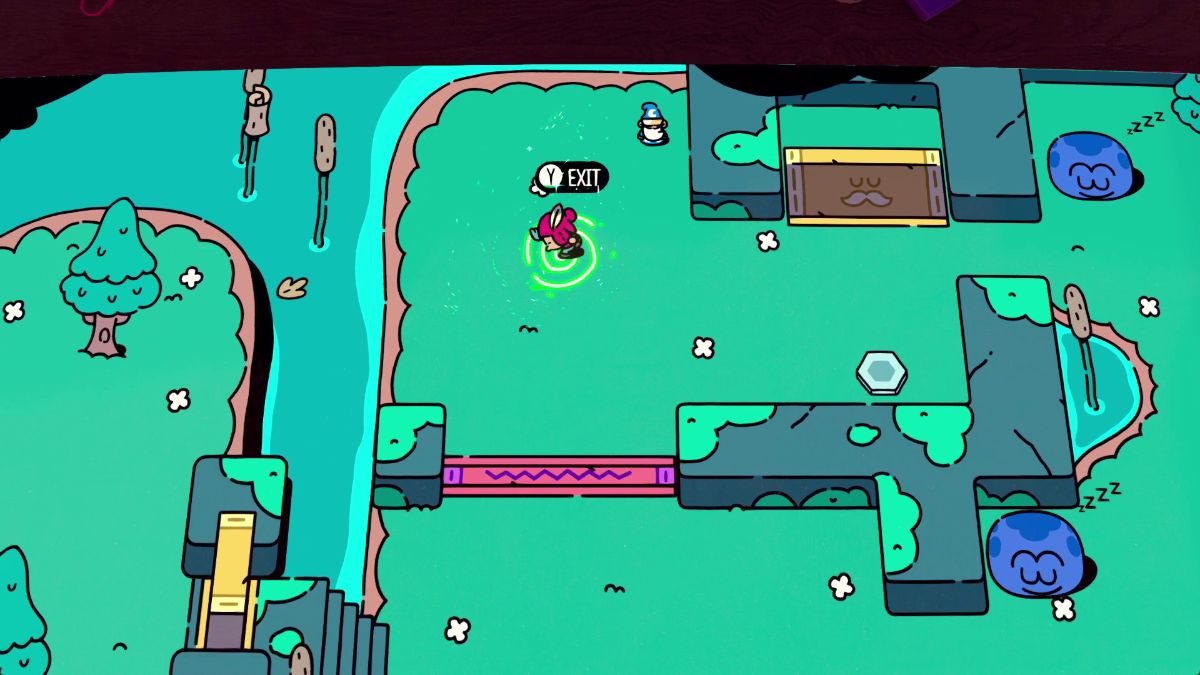 | Then, switch to DAYTIME. Go through the portal on the left. |
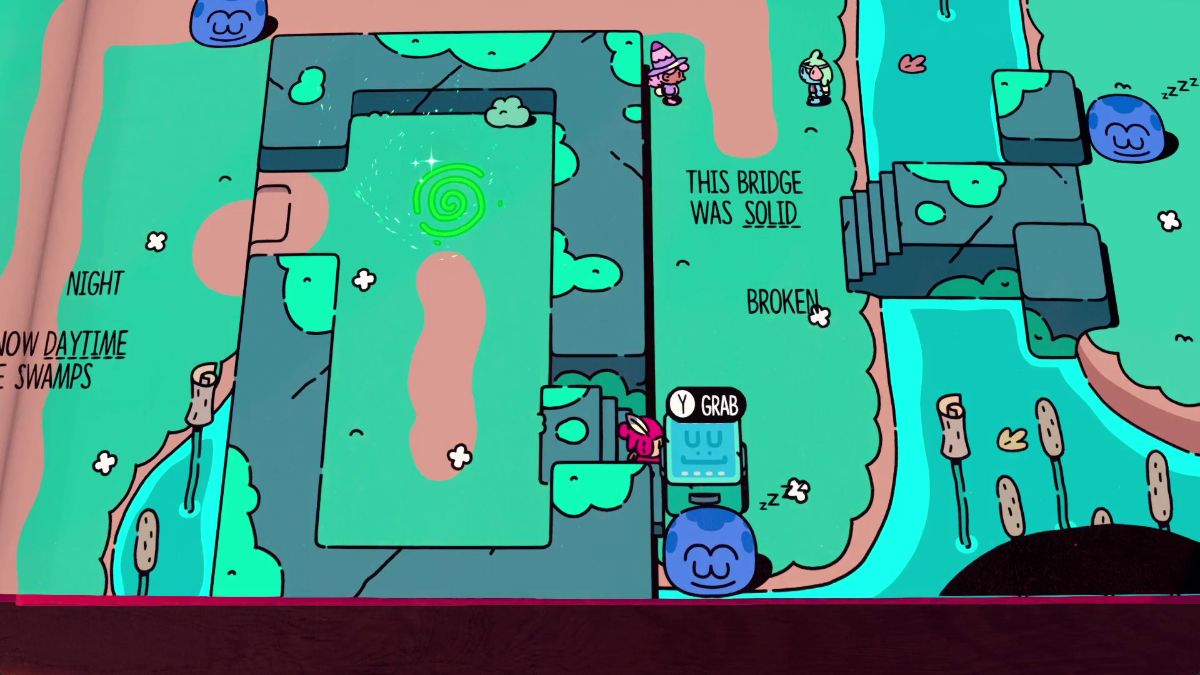 | Get back in through the portal on the right and get out of this room. |
How to get through the Dark Cave
There is another Dark Cave in Chapter 4. Here’s how you can get to the other side:
| Visual Reference | Instructions |
|---|---|
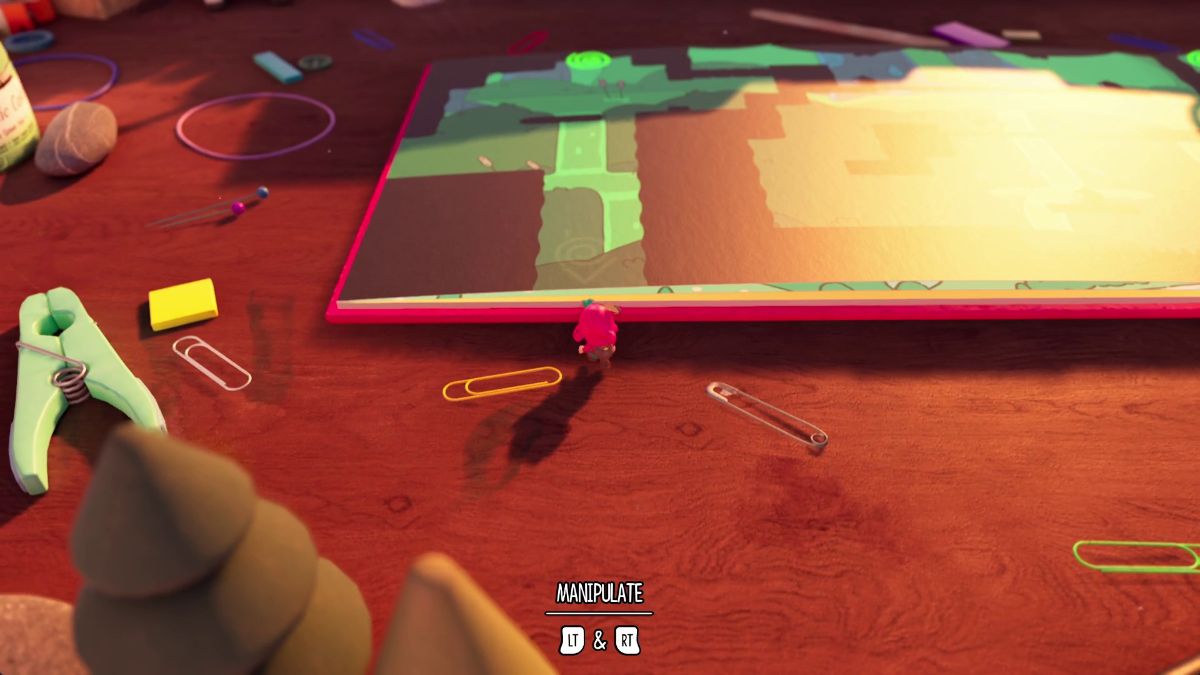 | Drop down to exit the cave through a hole on the floor. |
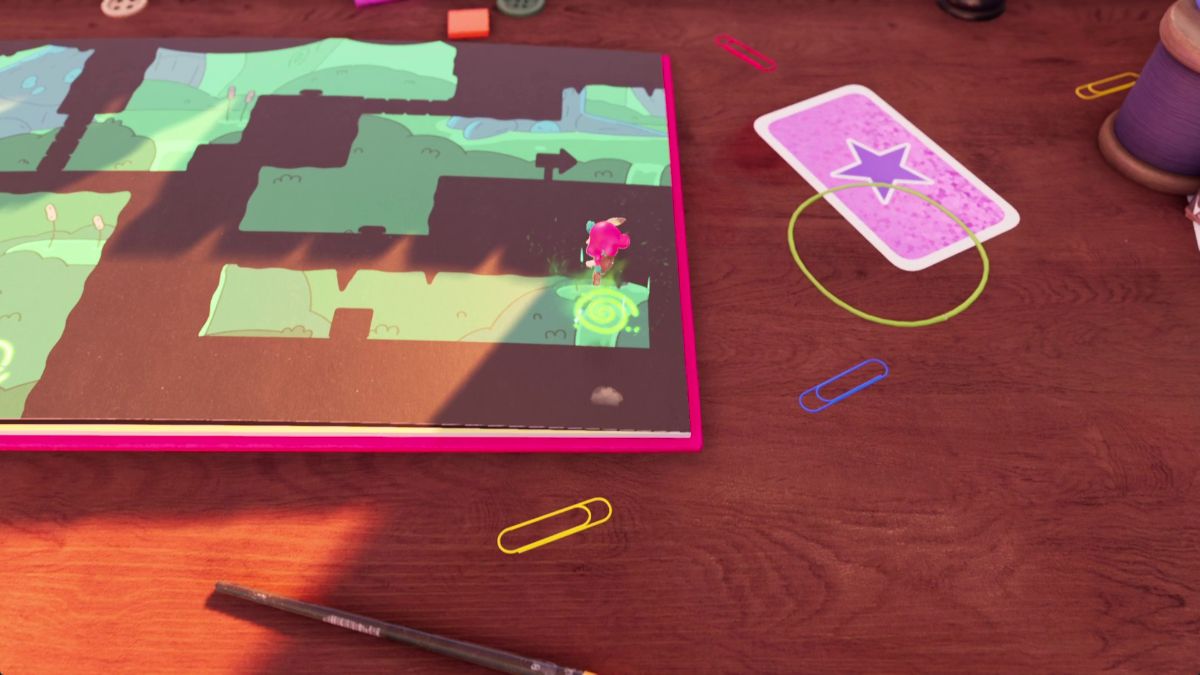 | Look for a portal in the lower right corner of the book. Here, grab the block and head back out. |
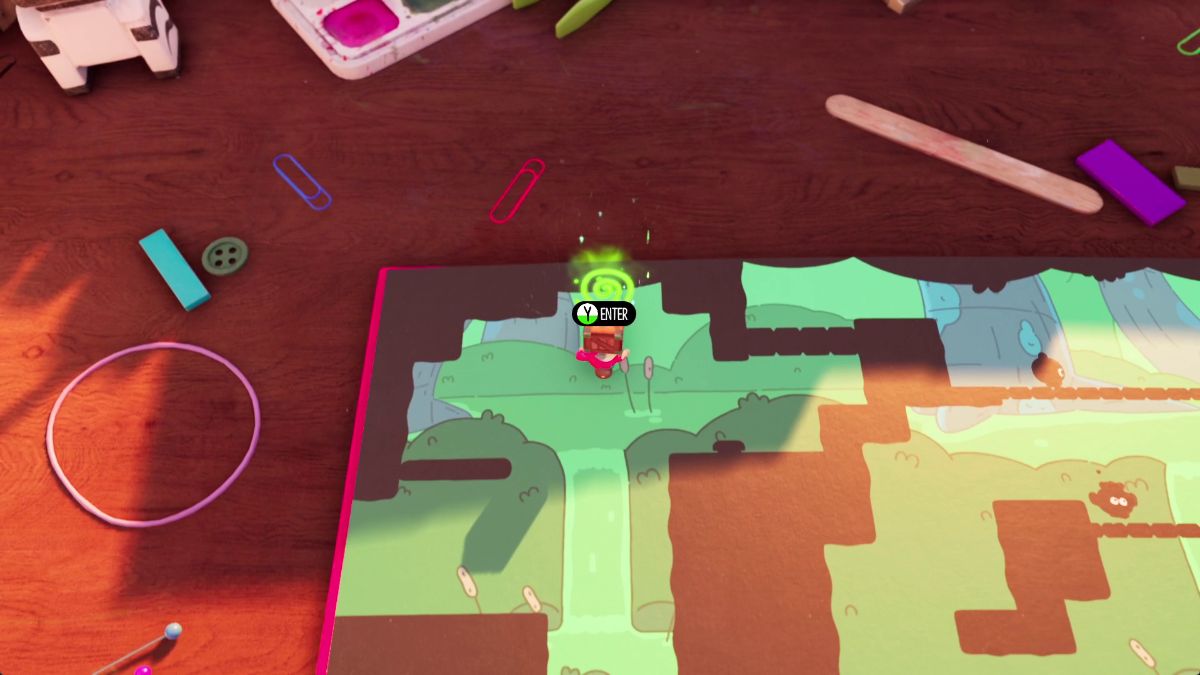 | When the time is right, head inside through the portal on the upper left. Make sure you land on the moving platform. |
 | Place this block on the trigger on this platform. |
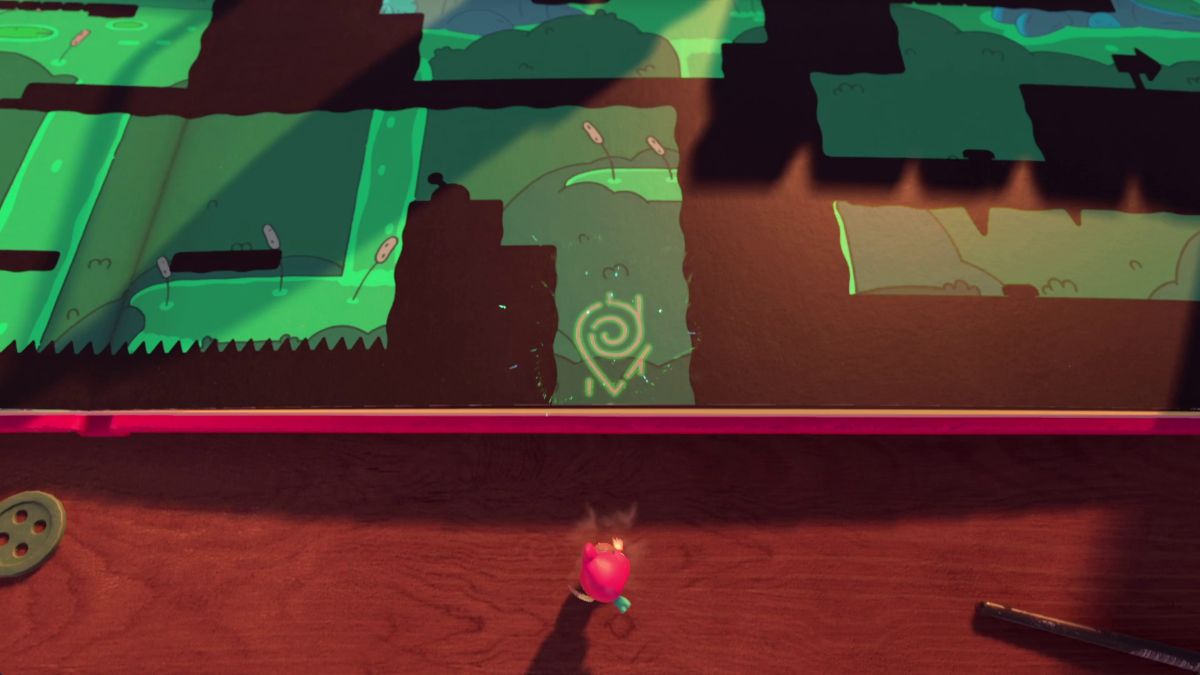 | Activate the switch and drop down to exit to the 3D world. |
 | Grab the block you left in the trigger at the top left. Then, drop down and go through the portal in the center above. |
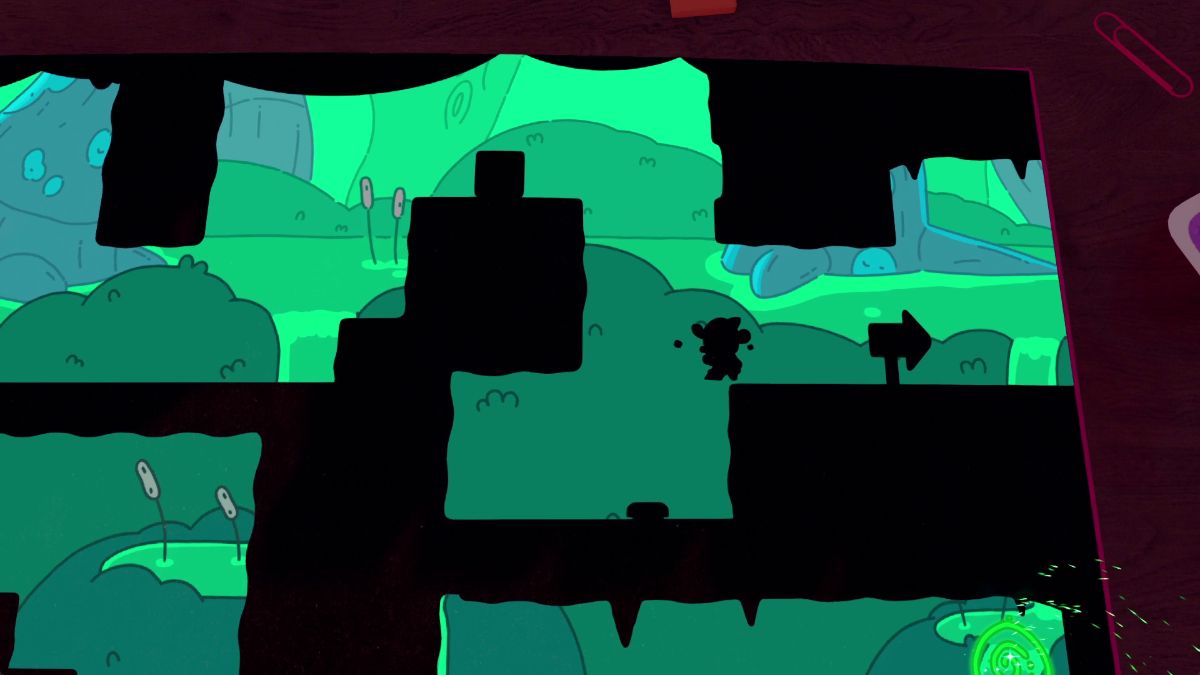 | Place the block on the trigger and exit the cave. |
How to reach the archer card and beat Alowynia
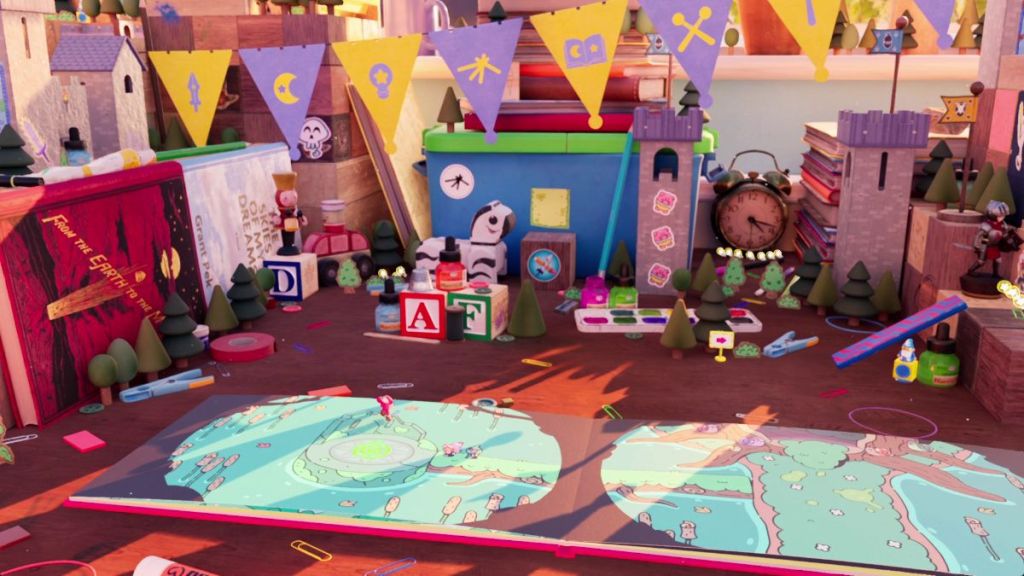
Follow these steps to reach the card and get the bow in The Plucky Squire:
| Visual Reference | Instructions |
|---|---|
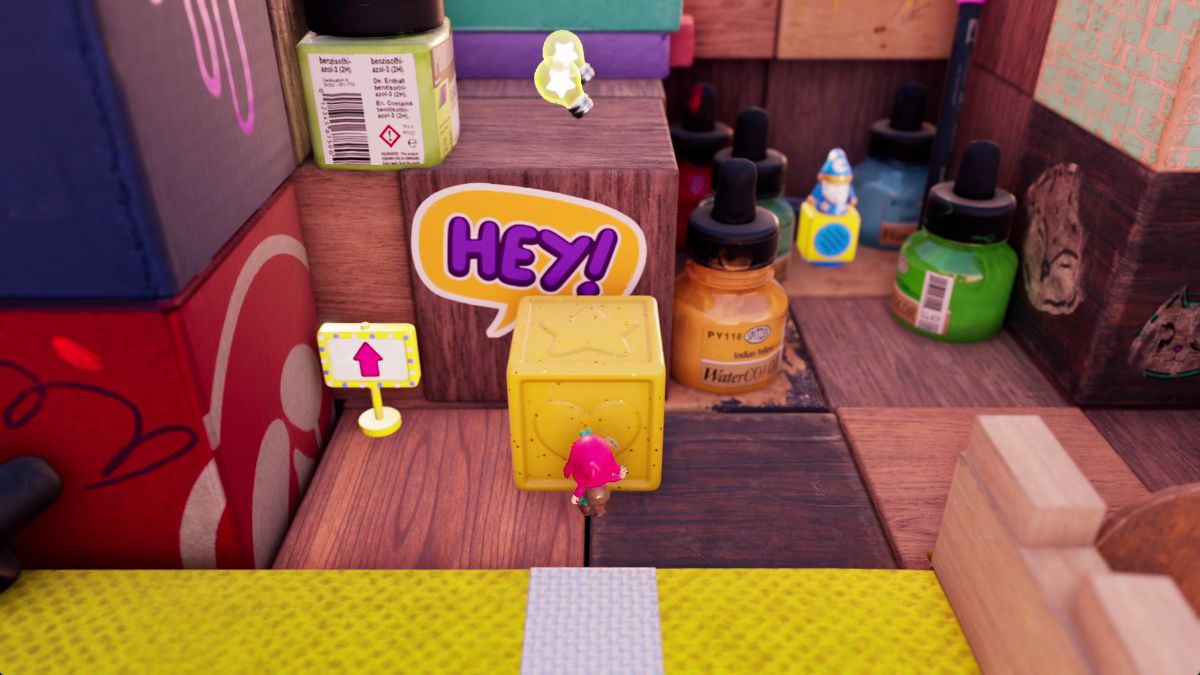 | After speaking with Mini Moonbeard, head to the right and grab the yellow block. Place it against the wooden block with the “HEY!” sticker to climb up. |
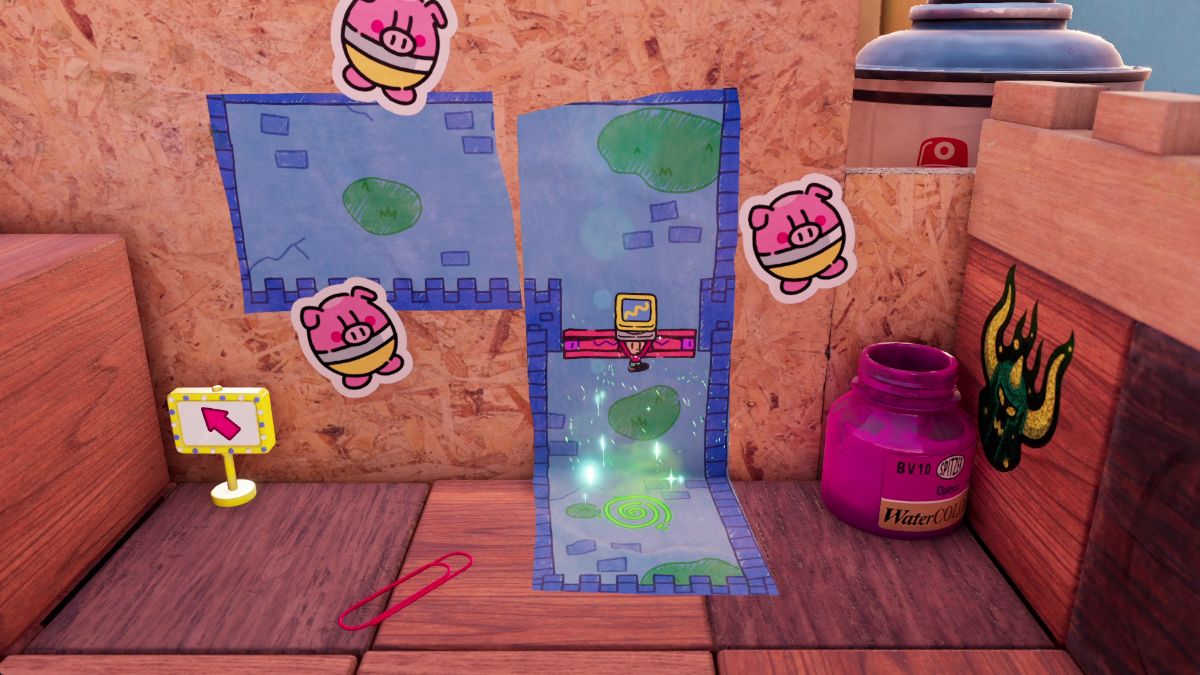 | Defeat all enemies to lower the pink barrier in the paper strip. Head inside, grab the springboard, and bring it to the 3D world. |
 | To open the castle gate, defeat all enemies, and lower the pink gate. Follow this paper strip to the left. |
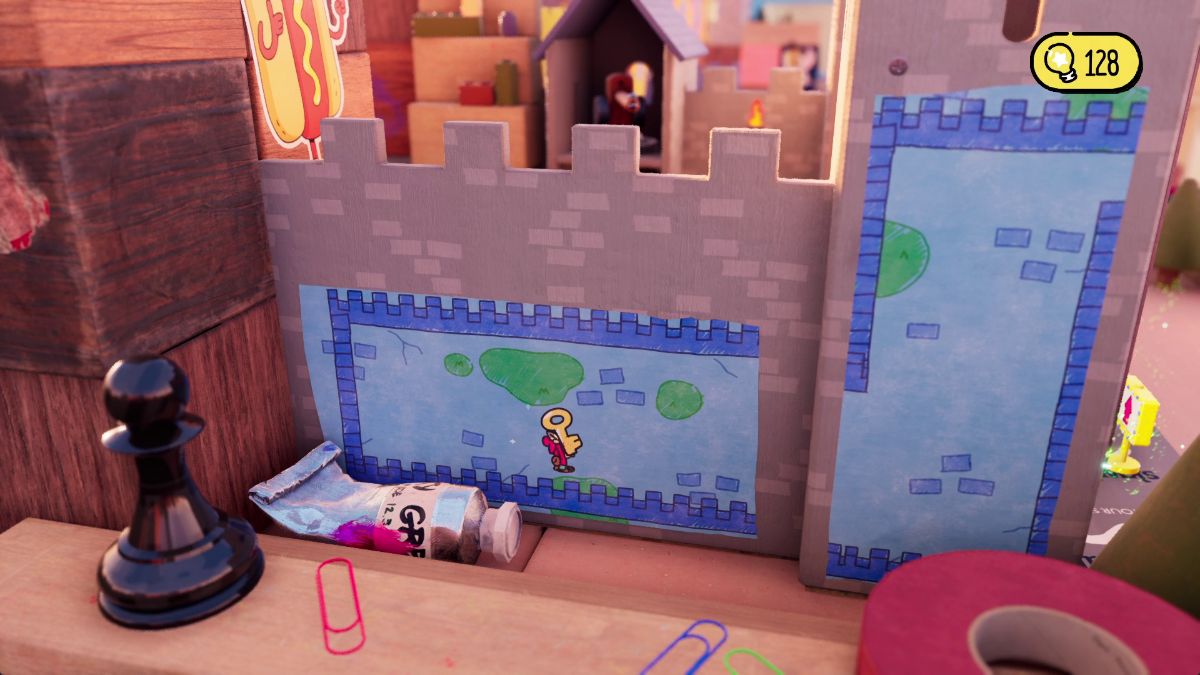 | Bring the key to the castle gate and head inside. |
 | Follow the paper strip’s path to the right side to find a secret exit portal. Bring the Springboard here. |
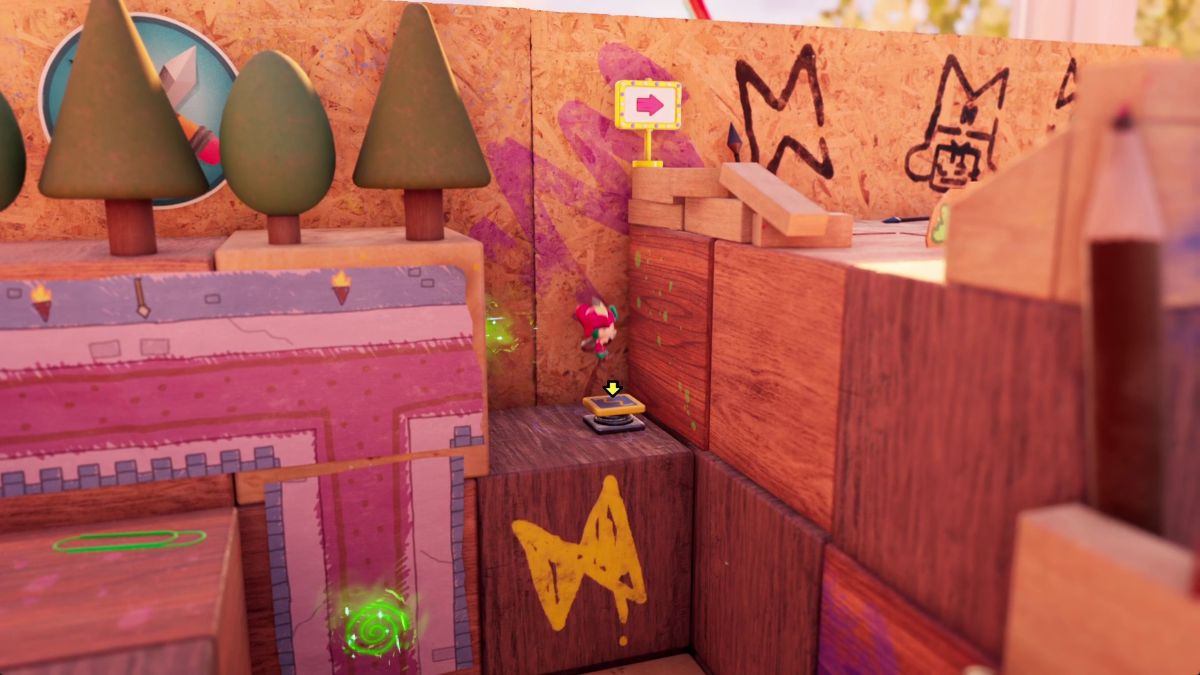 | Jump past the Jenga blocks and follow the path upward to meet Alowynia. |
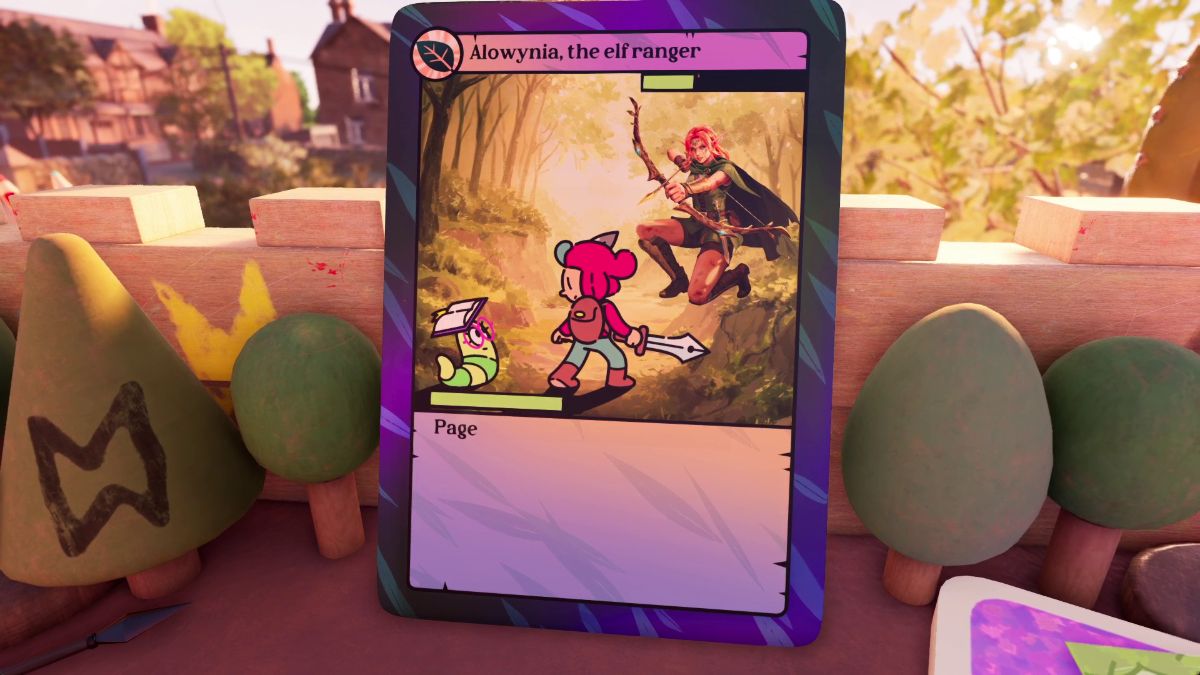 | To get Alowynia’s bow, stick to fighting (slashing and stabbing) until she mentions Humgrump. Then, talk to clarify you’re his enemy. |
How to get the tomes for the snails
The Plucky Squire’s adventures take him to the kingdom of snails, where his help is required. Follow these steps to get the red and blue tomes for the snails:
| Visual Reference | Instructions |
|---|---|
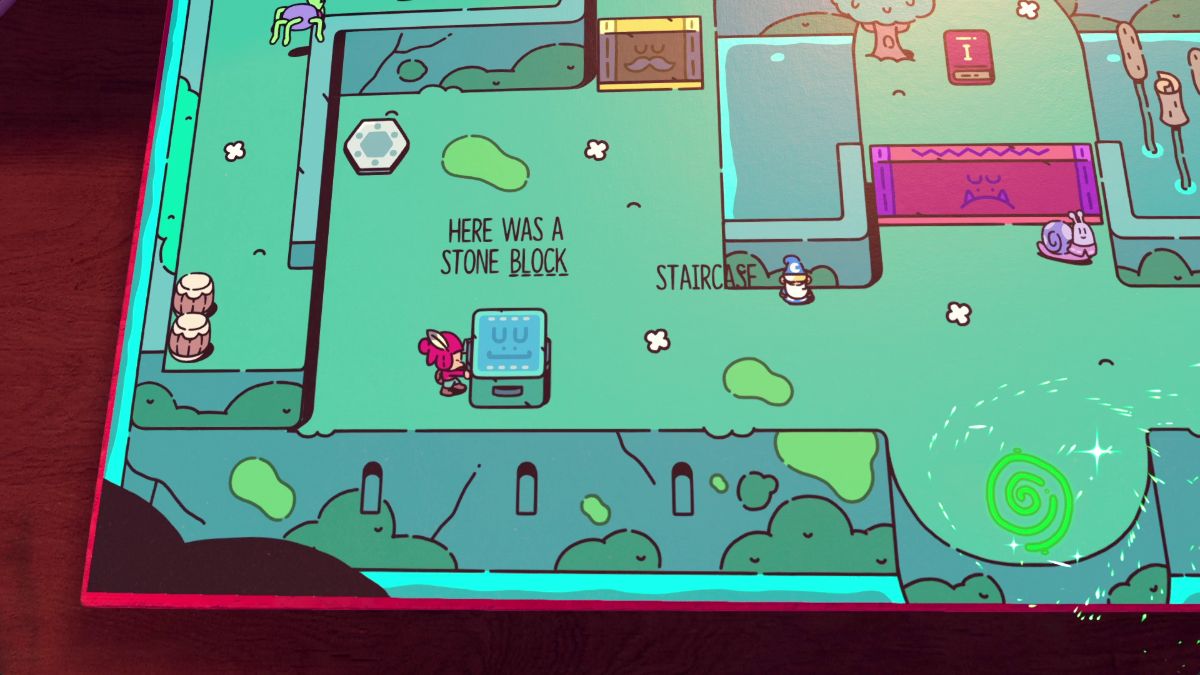 | Grab the red tome and place it in front of the castle. |
 | Swap the words BLOCK and STAIRCASE. You can get the word from a phrase to the right. |
| After defeating all enemies on the platform to the left, turn the staircase back into a block and push it toward the trigger device on the upper left. |
 | Defeat all enemies in the forest above. Then, as you stand on the edge, throw your sword to defeat the remaining enemies. |
 | Grab the red tome and place in front of the castle. |
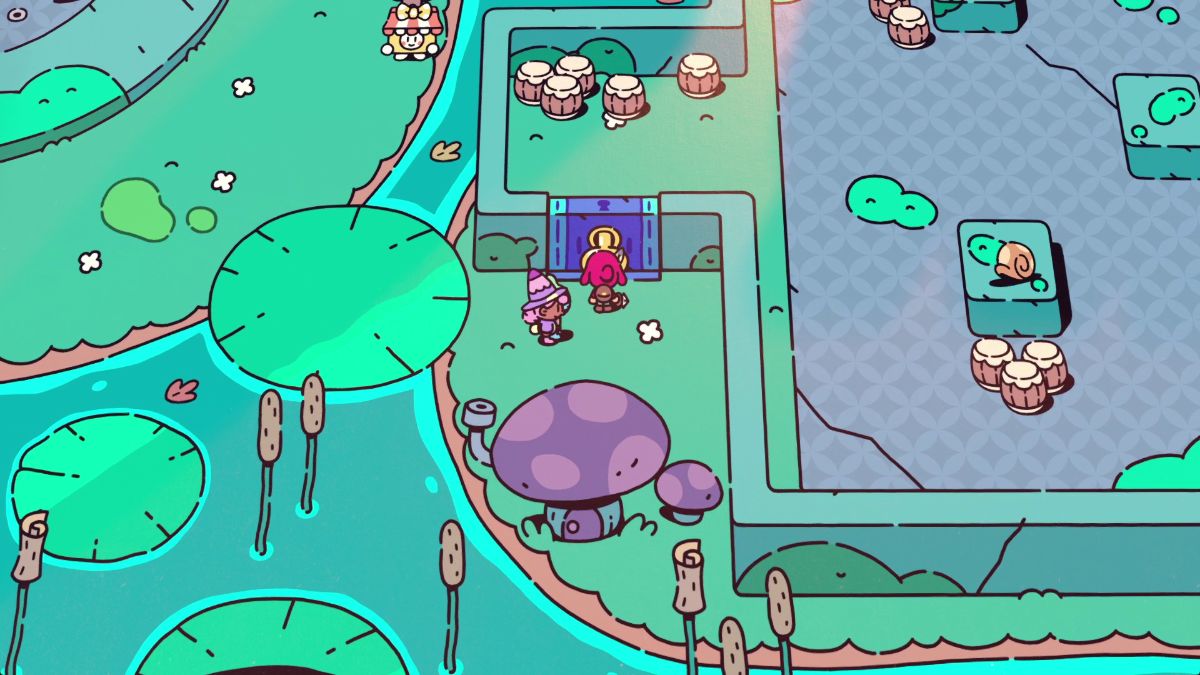 | Use the key to open the blue gate here. |
 | Defeat the centipede enemies by hitting the pink enemy leading the centipede. |
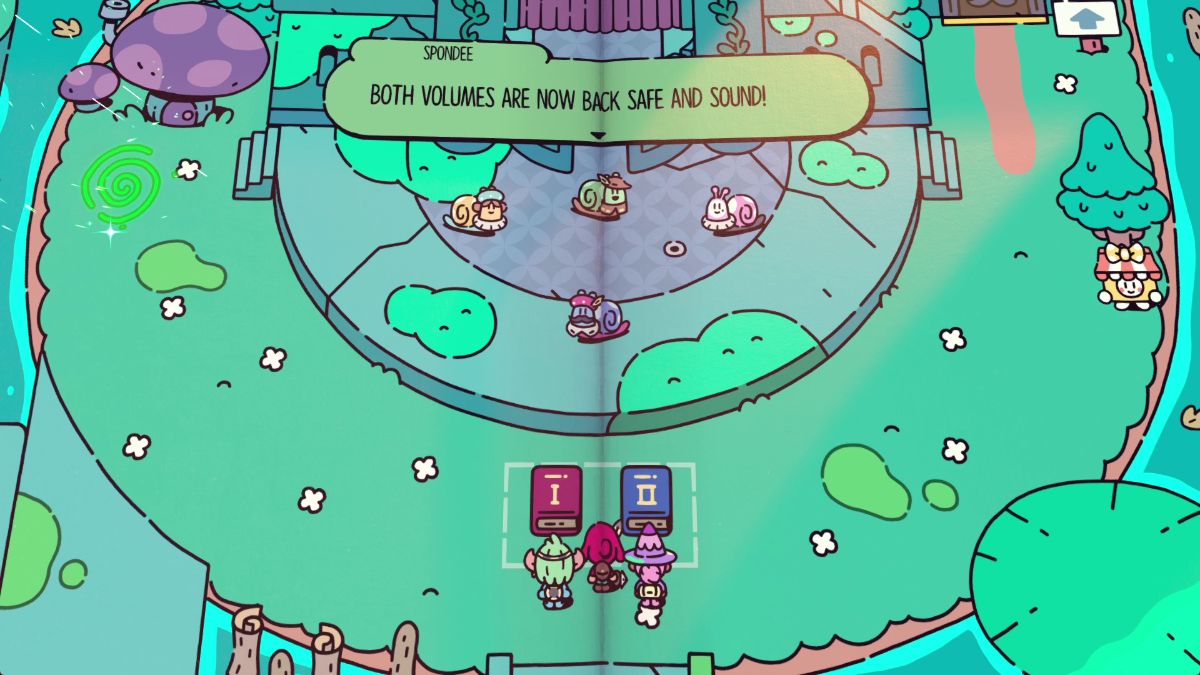 | Grab the blue tome and place it next to the red one. |
Glitchbird in Chapter 4
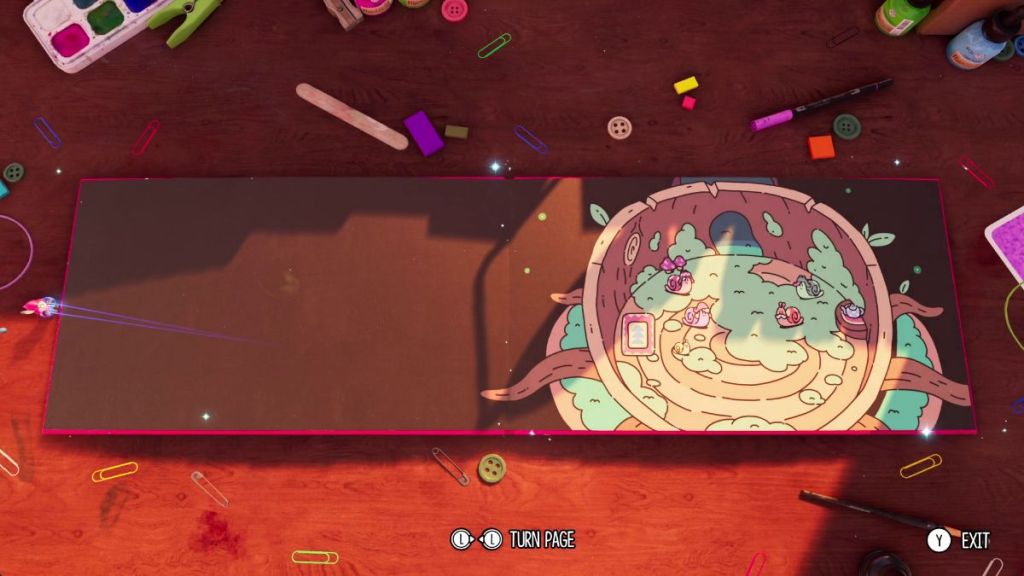
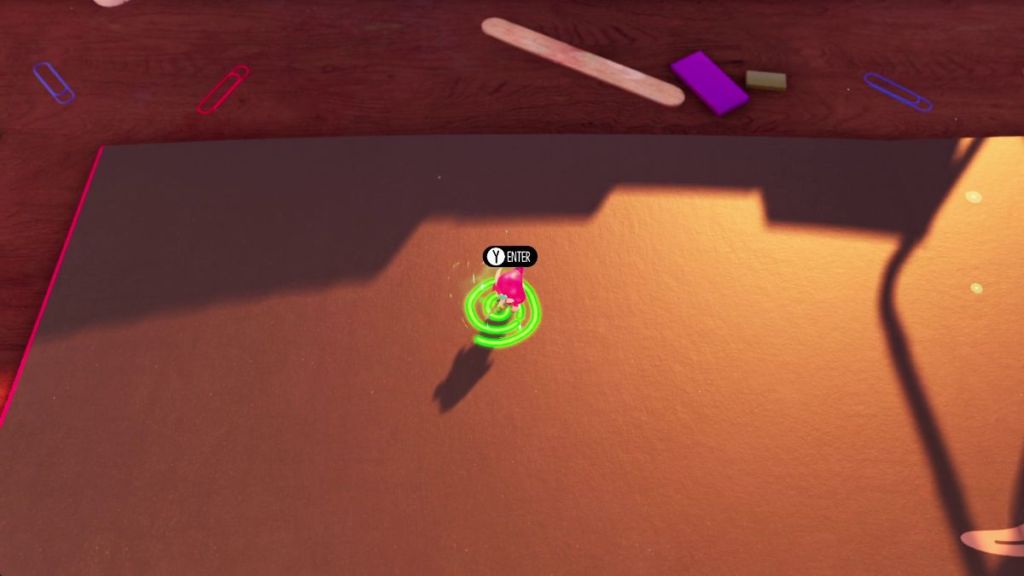
To find the Glitchbird in Chapter 4, wait until you reach the Snail Kingdom. Then, use a portal to exit to the 3D world and flip back two pages.
Look for a hidden portal on the black portion of the page. Head inside to find this Glitchbird.
All Scrolls in Chapter 4
| Visual Reference | Instructions | Art name and appearance |
|---|---|---|
 | After solving the tiny and huge bug puzzle, purchase your first Art Scroll from Chapter Four from Martina. |  Concept – Area – Haunted |
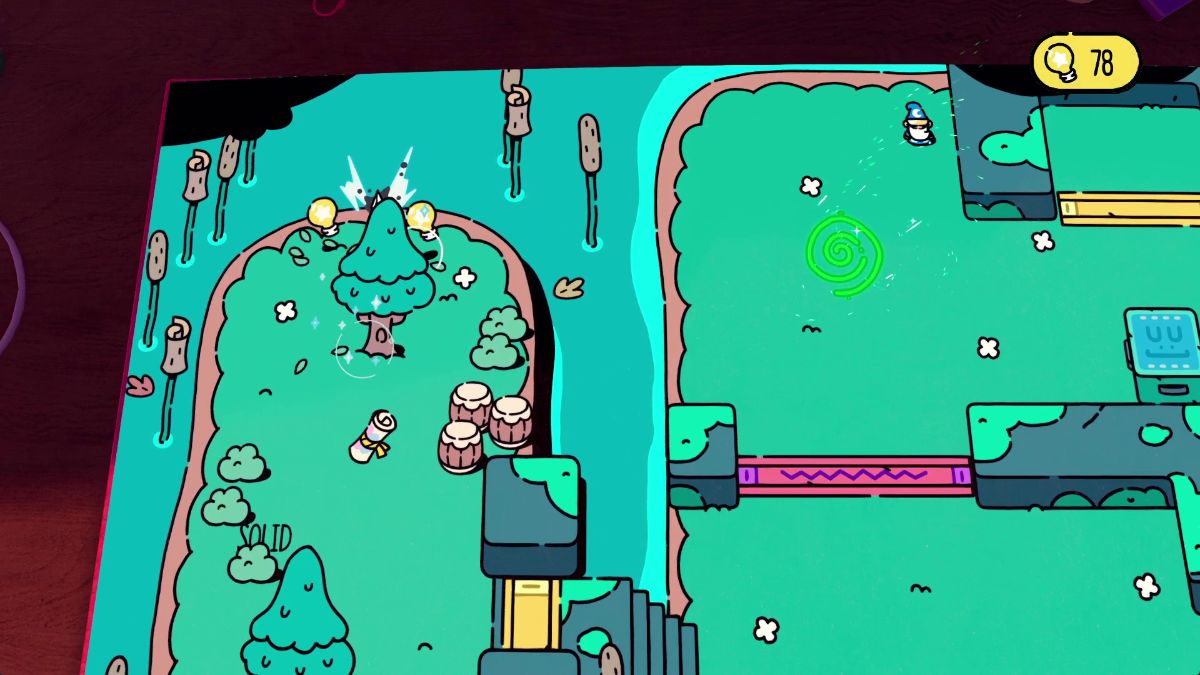 | In the room with the day and night frog puzzle, explore the forest to the left to find an Art Scroll. | 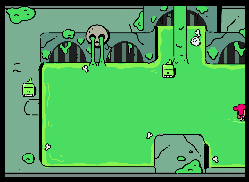 Concept – Area – Slime Dungeon |
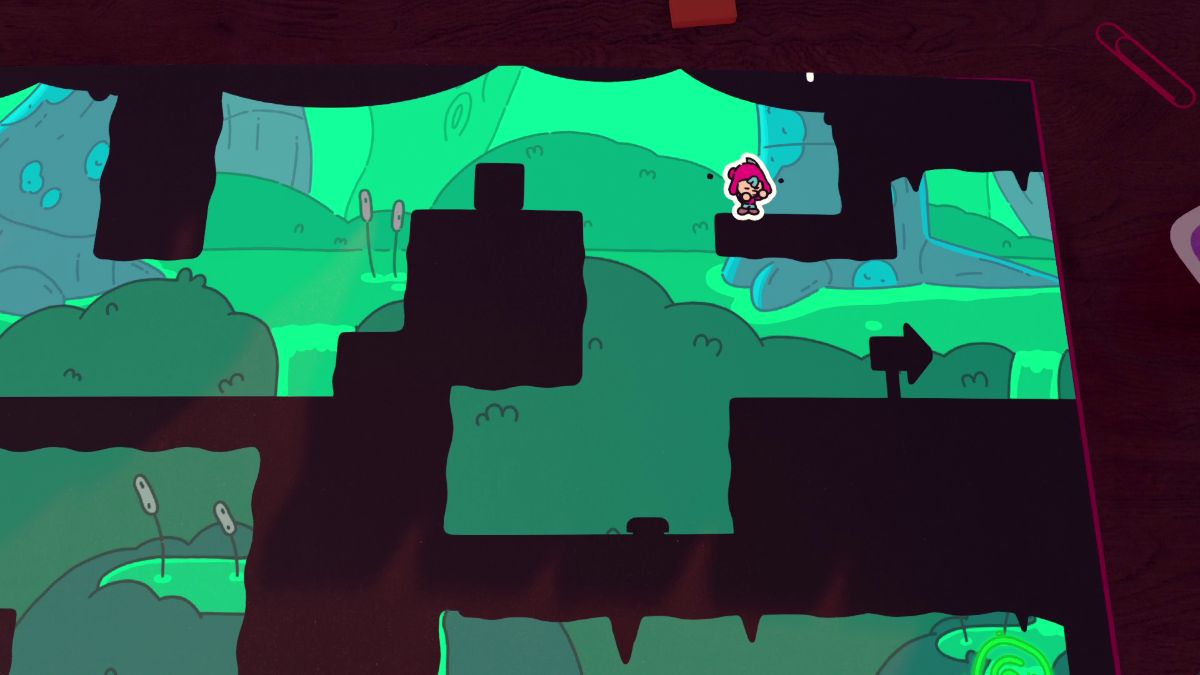 | Before you exit the Dark Cave, look for a secret path on the upper right. On this platform, you’ll find the last Art Scroll. |  Concept – Area – Swamp |
| In the 3D world, when you’re looking for the bow, look behind the yellow block you pull to climb up. | 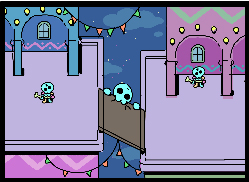 Concept – Area – Skeletown |
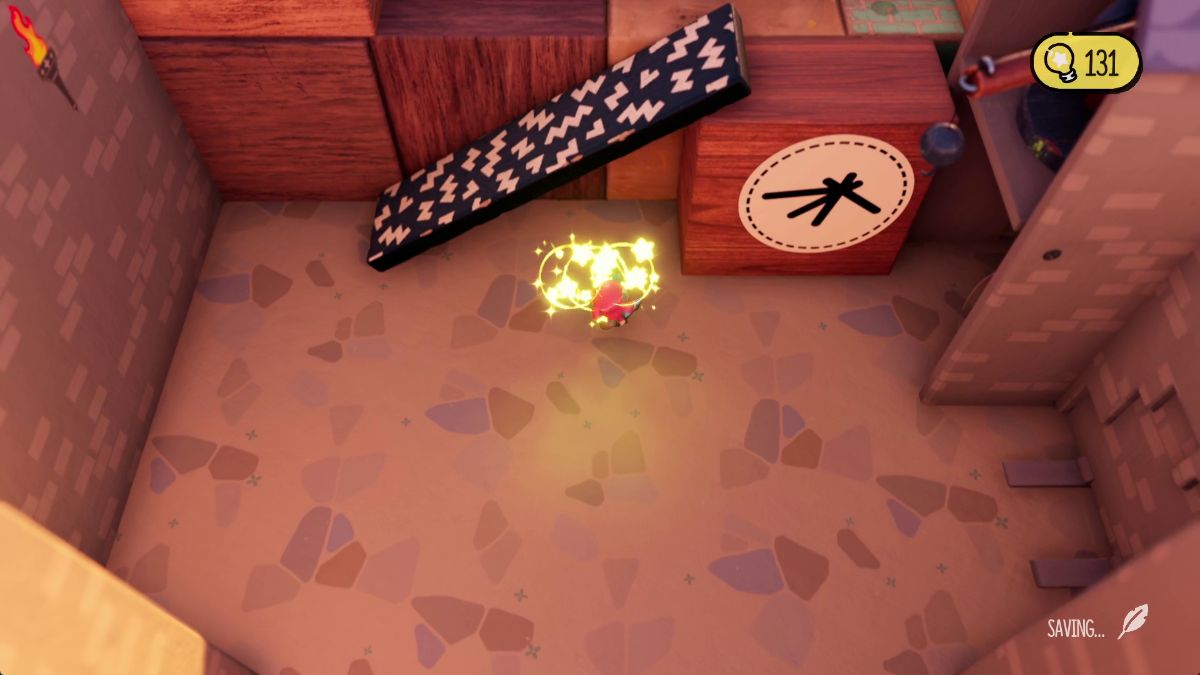 | In the 3D world, after you open the castle gate, look for a hidden scroll to the right. |  Enemy Ideas 1 |
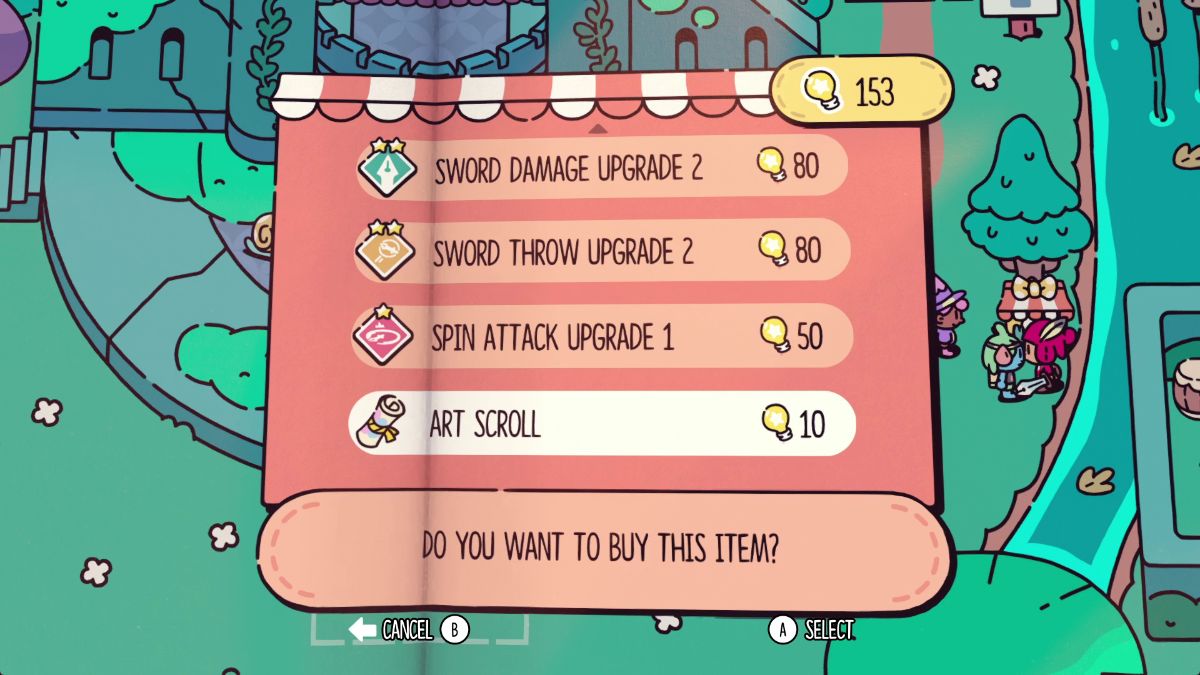 | In the Snail kingdom, you can purchase another Art Scroll from Martina. |  Enemy Ideas 2 |
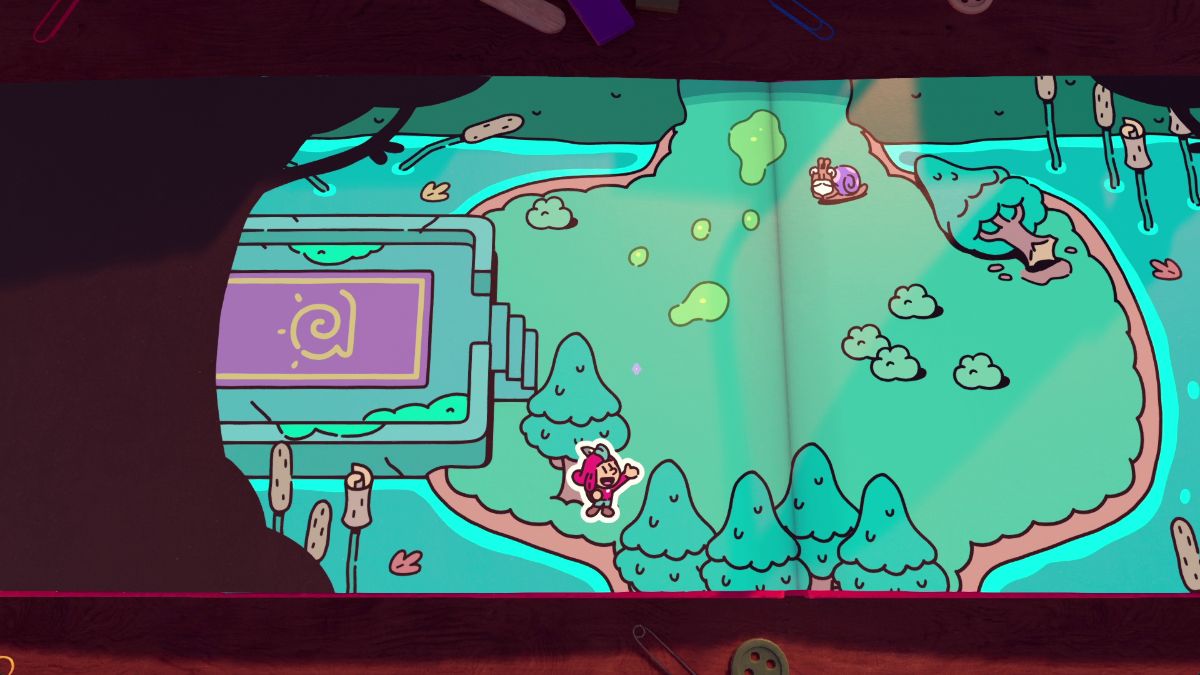 | After saving the Snail Kingdom, a mean bug kidnaps your friends. In the next room, look for a hidden Art Scroll behind a tree on the lower left corner. |  Enemy Ideas 3 |
The Plucky Squire Chapter 5
WALKTHROUGH
GLITCHBIRDS
SCROLLS
How to find all of Uncle Umber’s piggies
The first quest you’ll have to complete in Chapter 5 of The Plucky Squire is finding all of Uncle Umber’s piggies. Here’s every pig location:
Pig 1
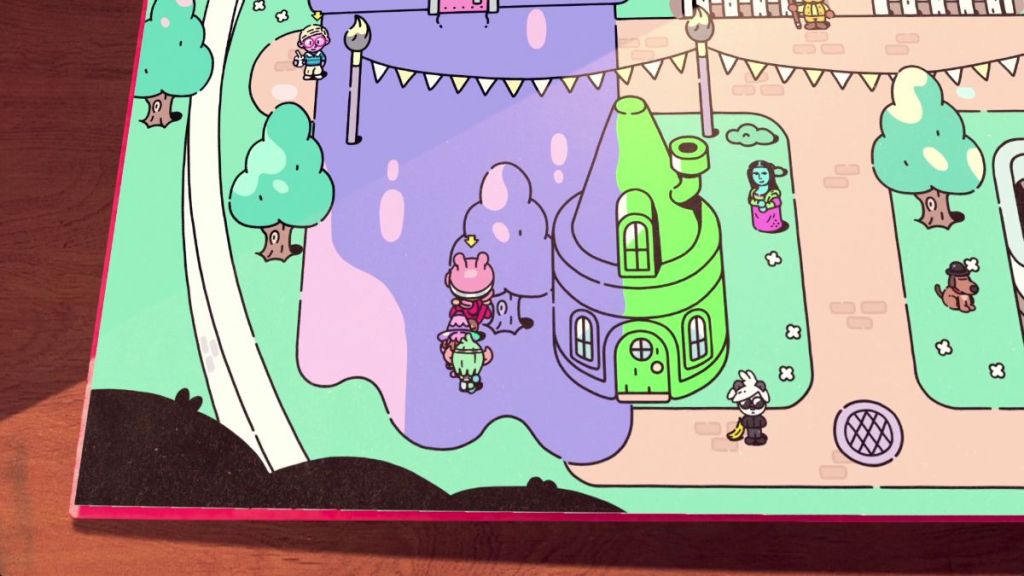
The first pig you can find is running wild near the purple and green lab. This is in the lower left corner of Artia.
Pig 2
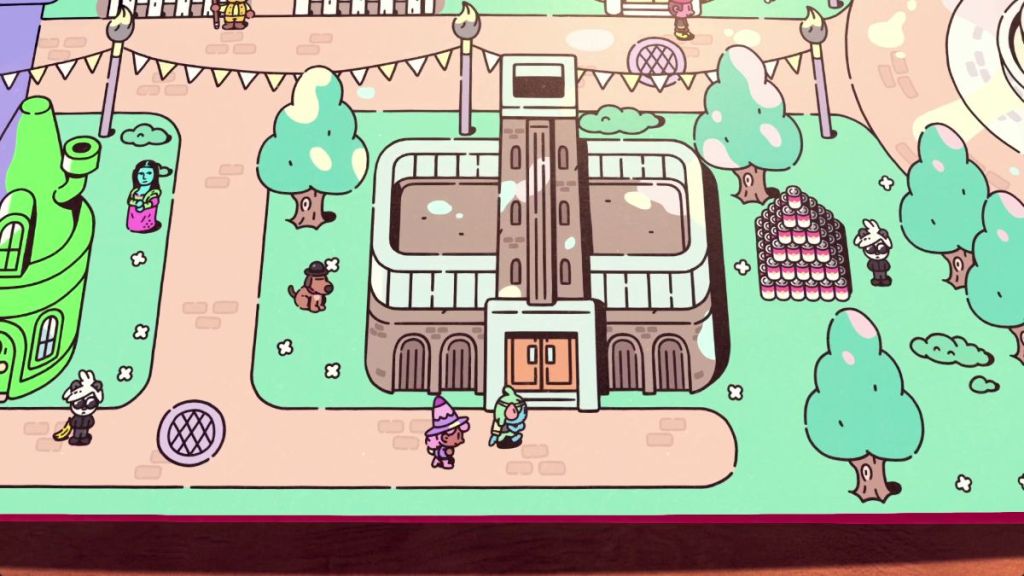
You can find one piggie inside the factory next to the purple and green lab.
Pig 3
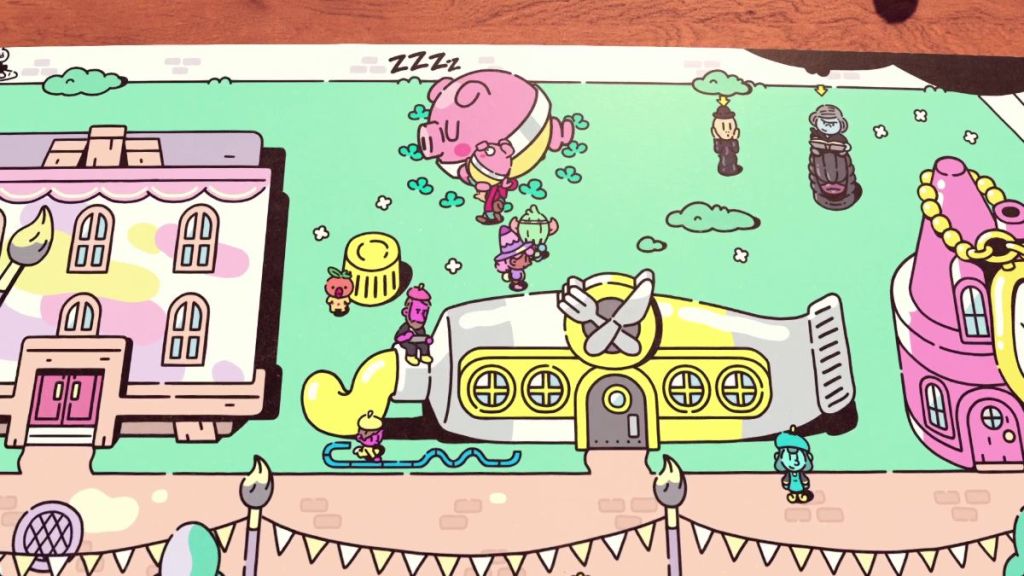
There’s a third piggie running wild on the upper right side of Artia.
Pig 4

Look inside the building next to Martina to find a fourth piggie.
Pig 5, the big one
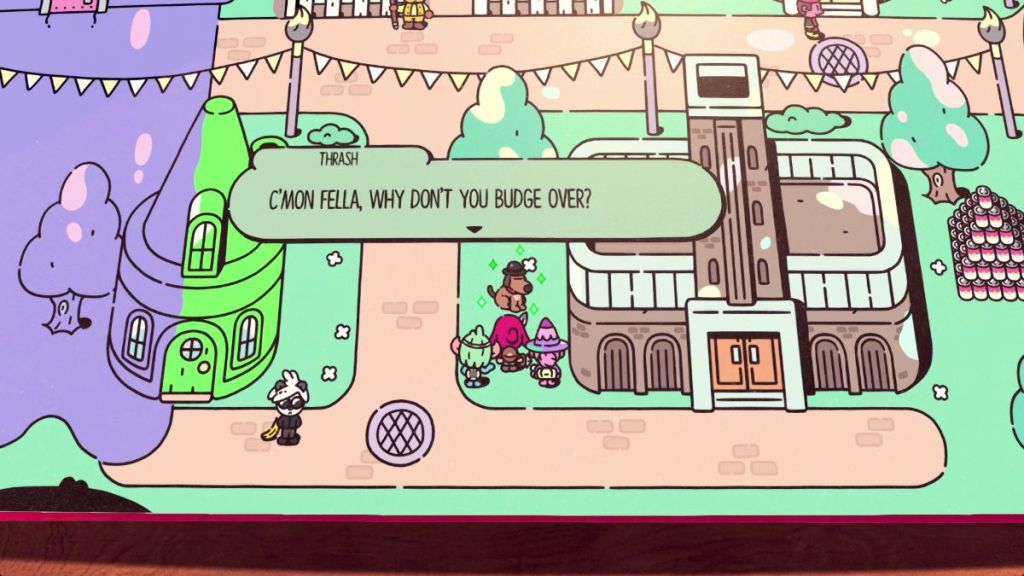

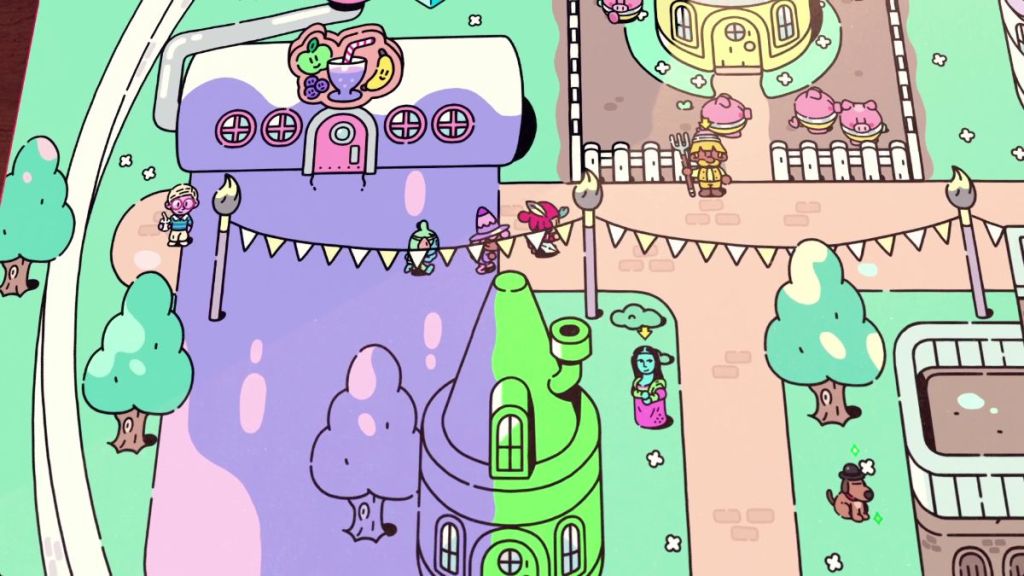
Follow these steps to get Tiny, the big pig:
- Look for a conspicuous dog with a black hat near the purple and green lab.
- Find his owner, who’s a fella standing by the lake, wearing the very same hat.
- Get Mr. Magri a fruit at the store in the upper left corner of Artia.
- Speak with the dog once more and let him know it’s nap time. Then, head through the portal to enter the 3D world.
- Follow the steps to the top of the house to get the power to tilt the book and move Tiny to his mud pool.
Need help to reach the top of the house?
| Visual Reference | Instructions |
|---|---|
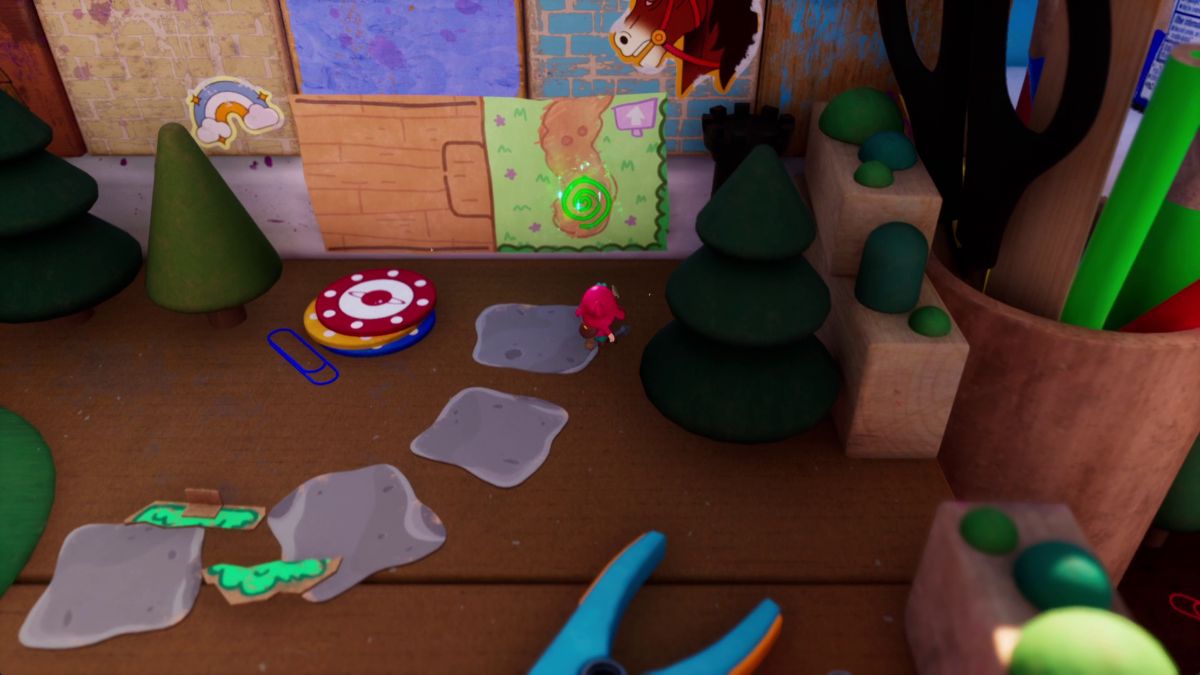 | Follow the ramp to the left and head inside the portal to this paper strip. Once inside, follow the path upward. |
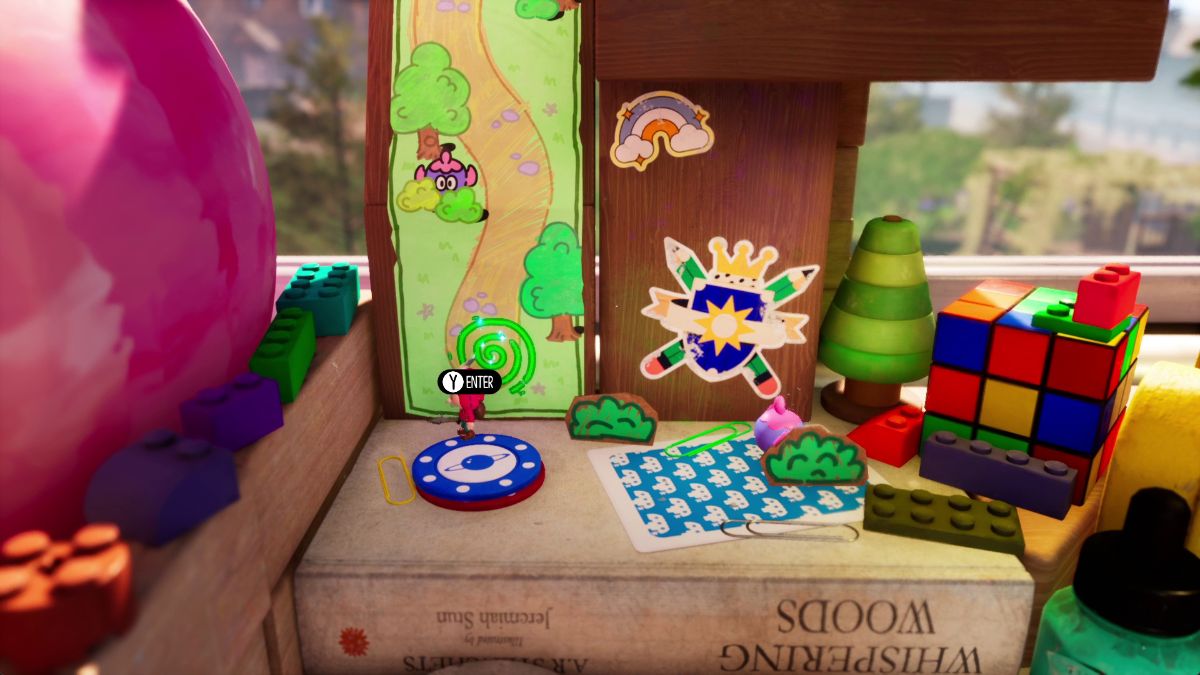 | Follow the cobble path to the left and enter the paper strip on top of the book. |
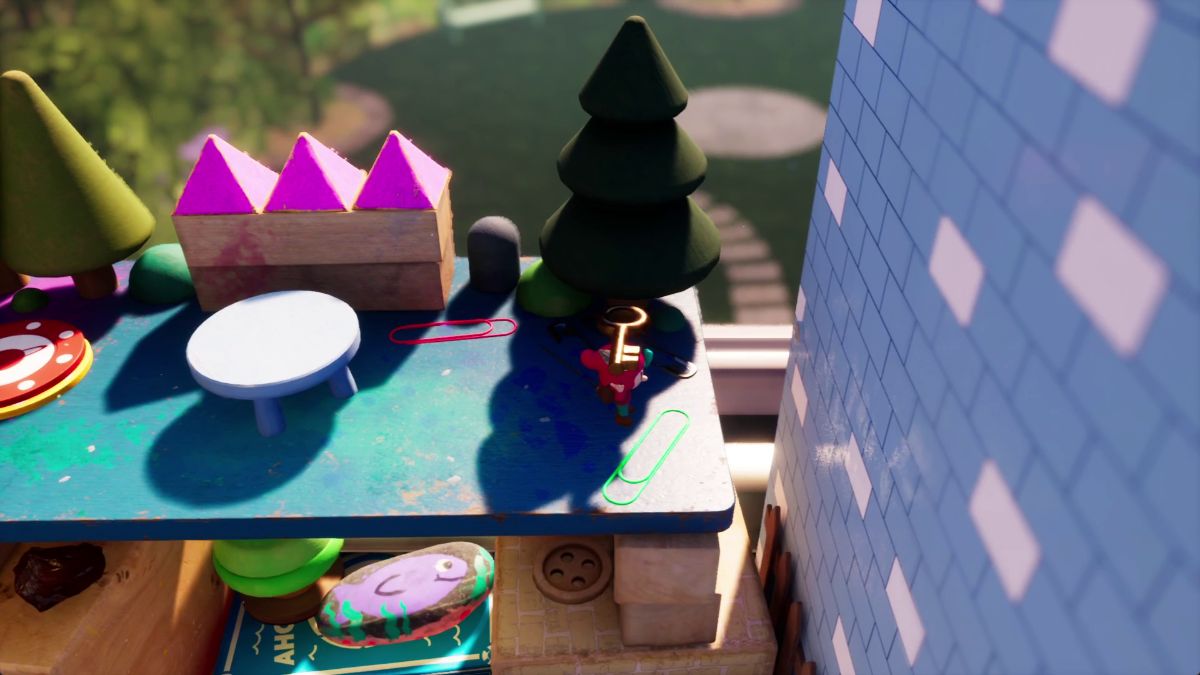 | Grab the key on the right and use it to unlock the house’s door. |
 | Head up the stairs and hit the closet in the room to the right to get a key. |
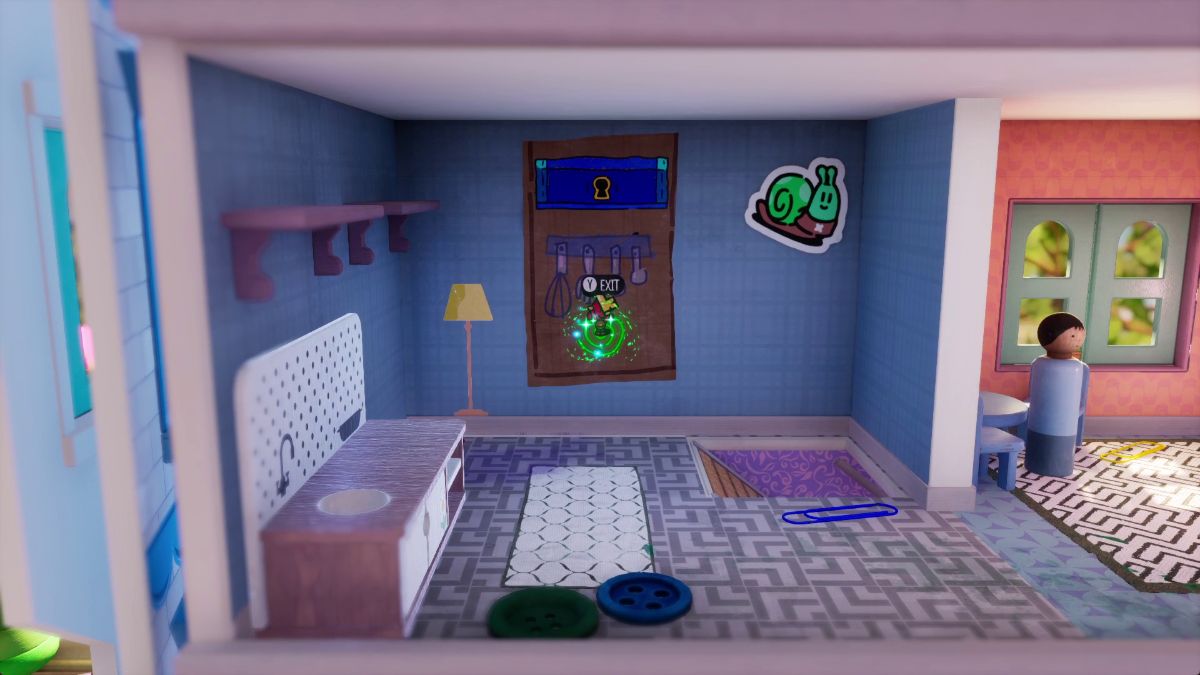 | Hop on the paper strip on the kitchen wall and open this blue gate with the key. |
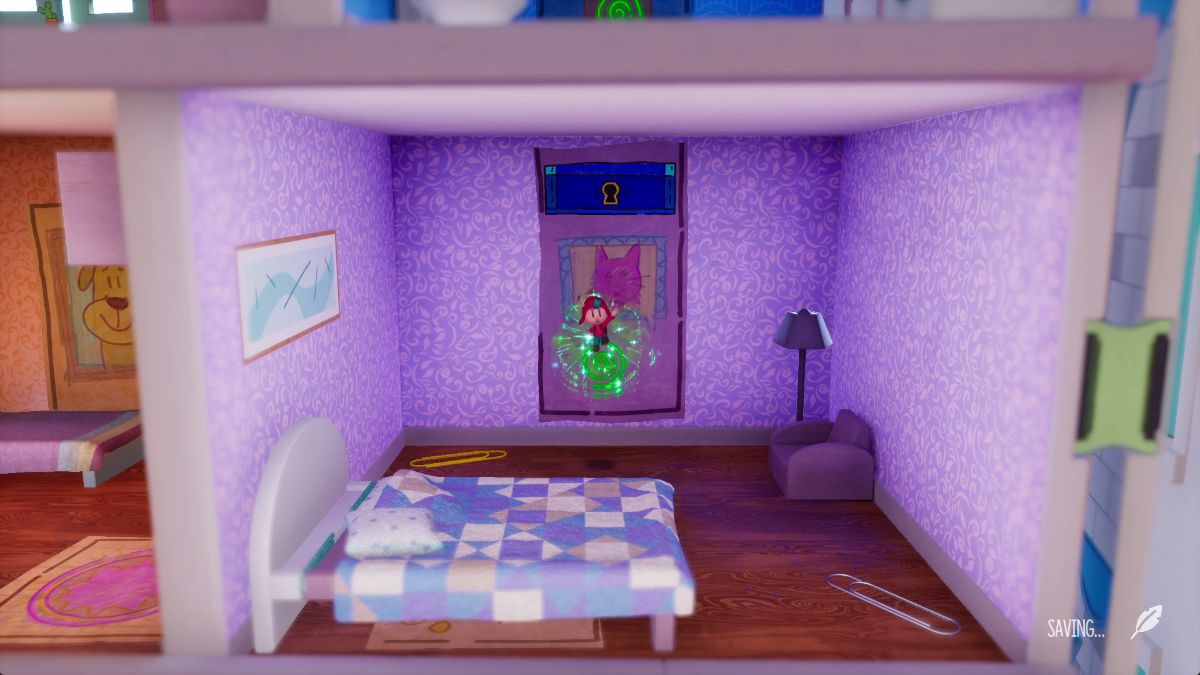 | Follow this path to the bedroom on the right. |
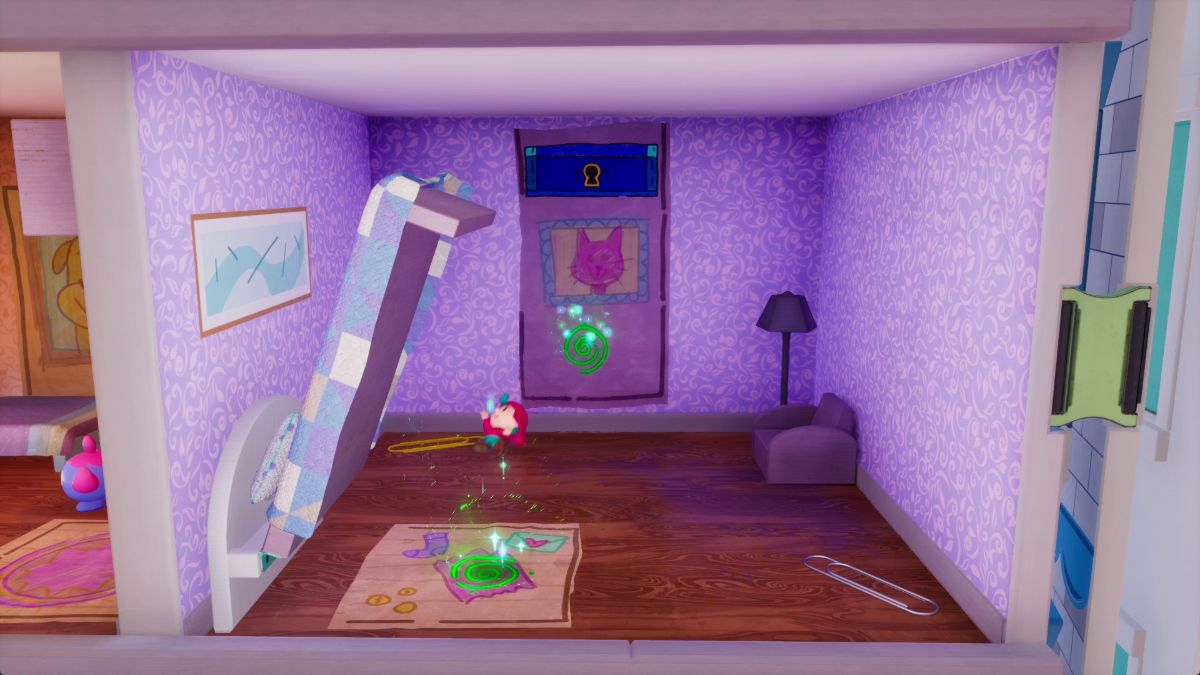 | Head inside the paper strip under the bed and travel to the paper strip on the room on the left. |
 | Hop on the bed to reach the key on the cupboard and use to open the blue gate on the bedroom to the right. |
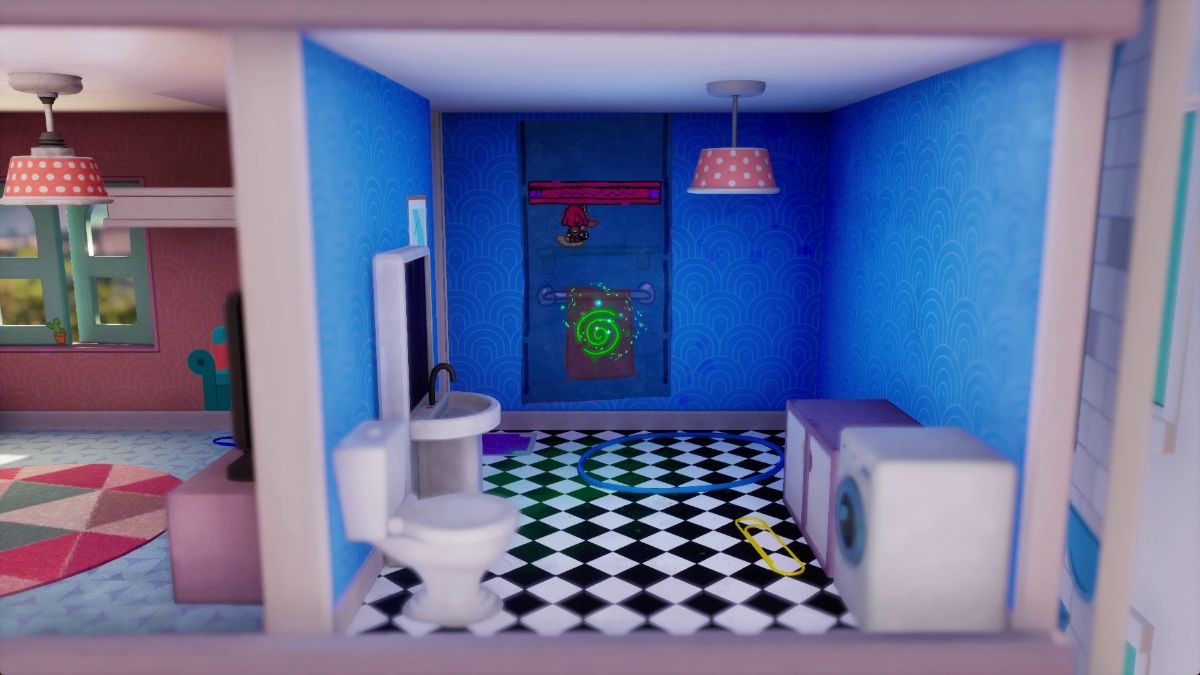 | Defeat all enemies on the floor to lower the pink gate on this paper strip. Head up. |
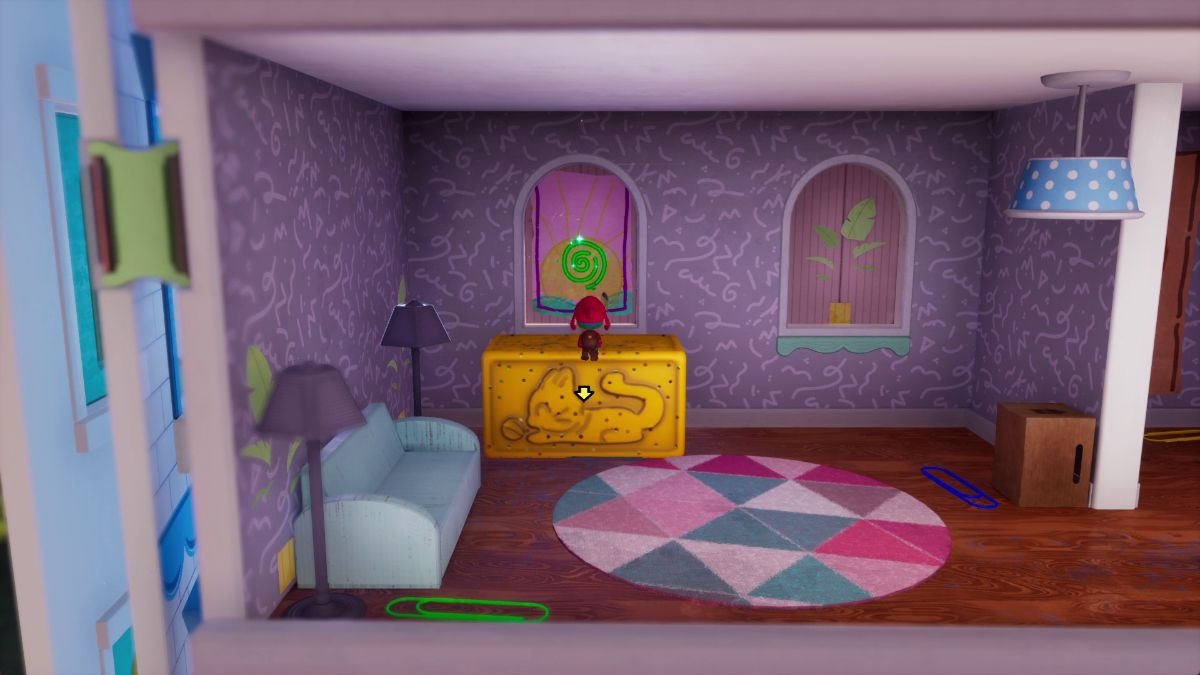 | Push the yellow block in front of the paper strip window and head inside. |
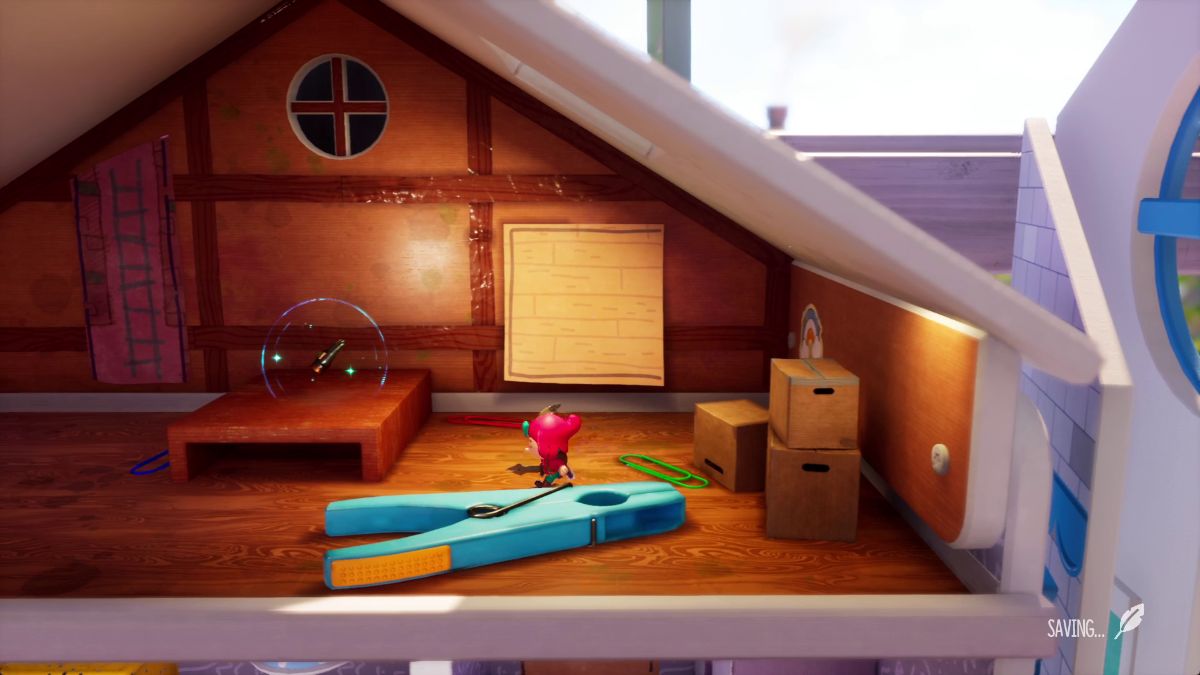 | Drop down through a hole on the ceiling to reach the Tilt Gauntlets. |
Pig 6 and 7

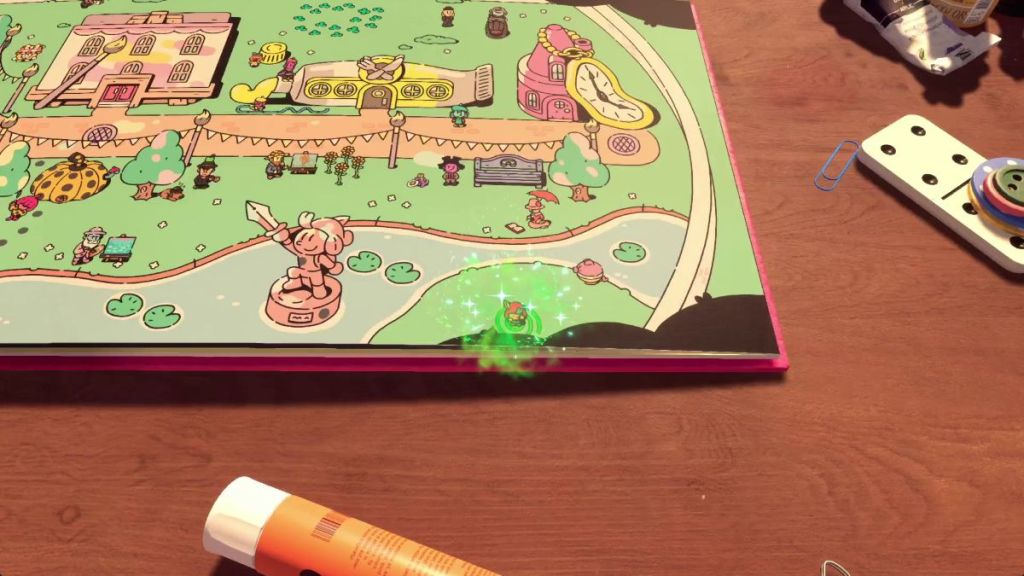
Look for portals on the left and right corners of the book to pick up the remaining two piggies.
Glitchbird in Chapter 5
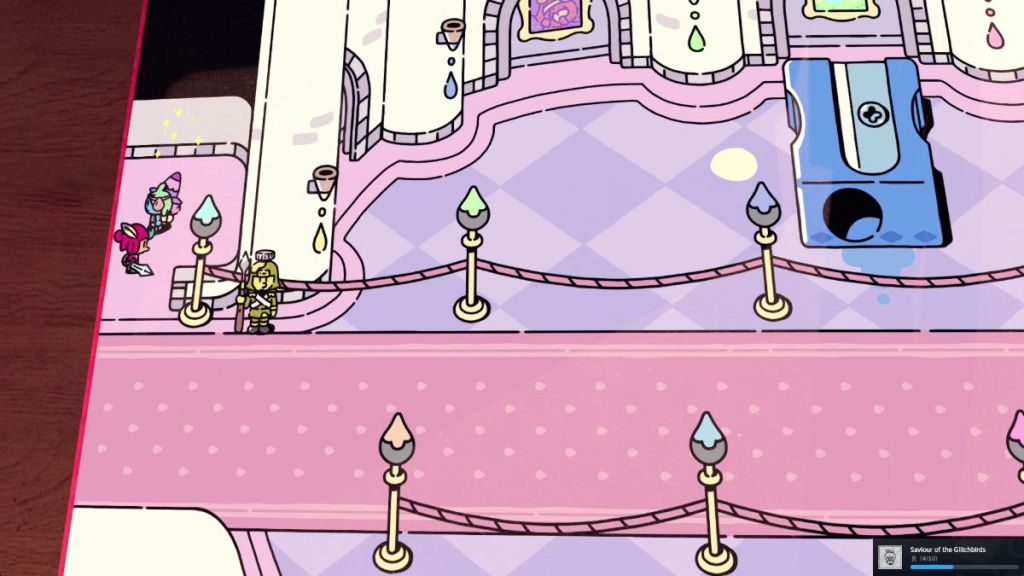
To find the fifth Glitchbird, follow the path behind the brushes and past the blue pencil sharpener to the left. There’s a hidden entrance here, where you’ll find a Glitchbird.
All Scrolls in Chapter 5
| Visual Reference | Instructions | Art name and appearance |
|---|---|---|
 | In the 3D world, follow the path up the raft to the right, but then you see the Rubix Cube, drop down to it, and hop on the yellow and blue paint jars. Follow the book named Skies of my Dries to find this Art Scroll. | 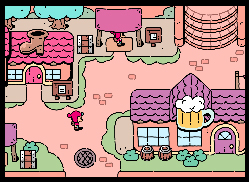 Concept – Area – Castle Town |
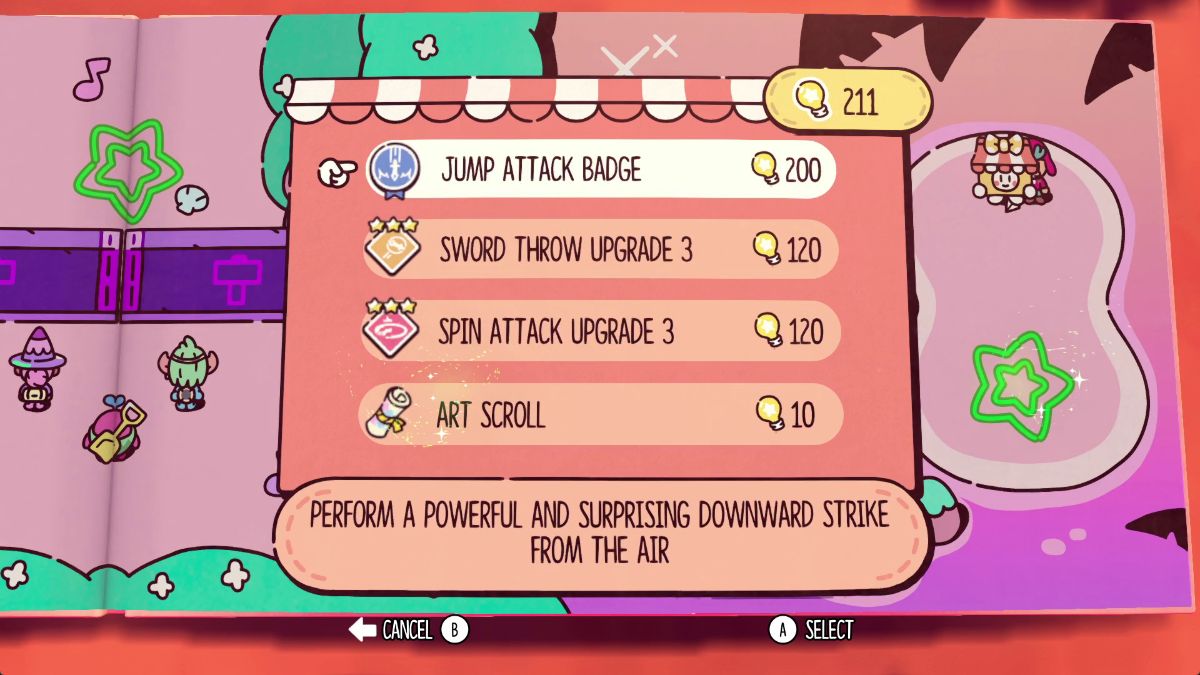
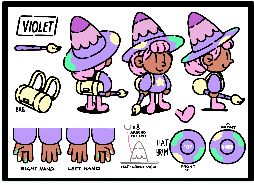
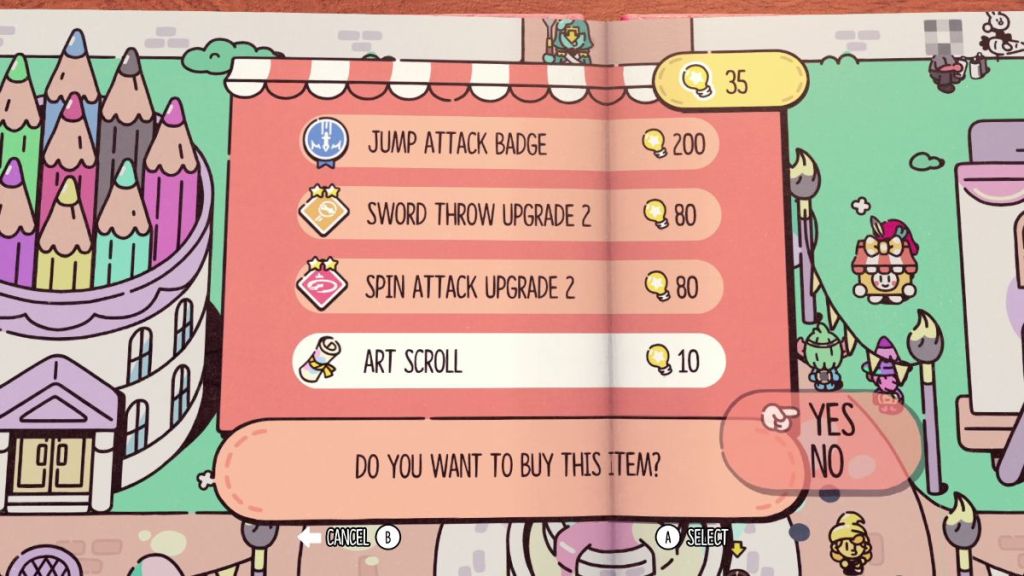 | Purchase another Art Scroll from Martina. |  Concept – Character: Violet |
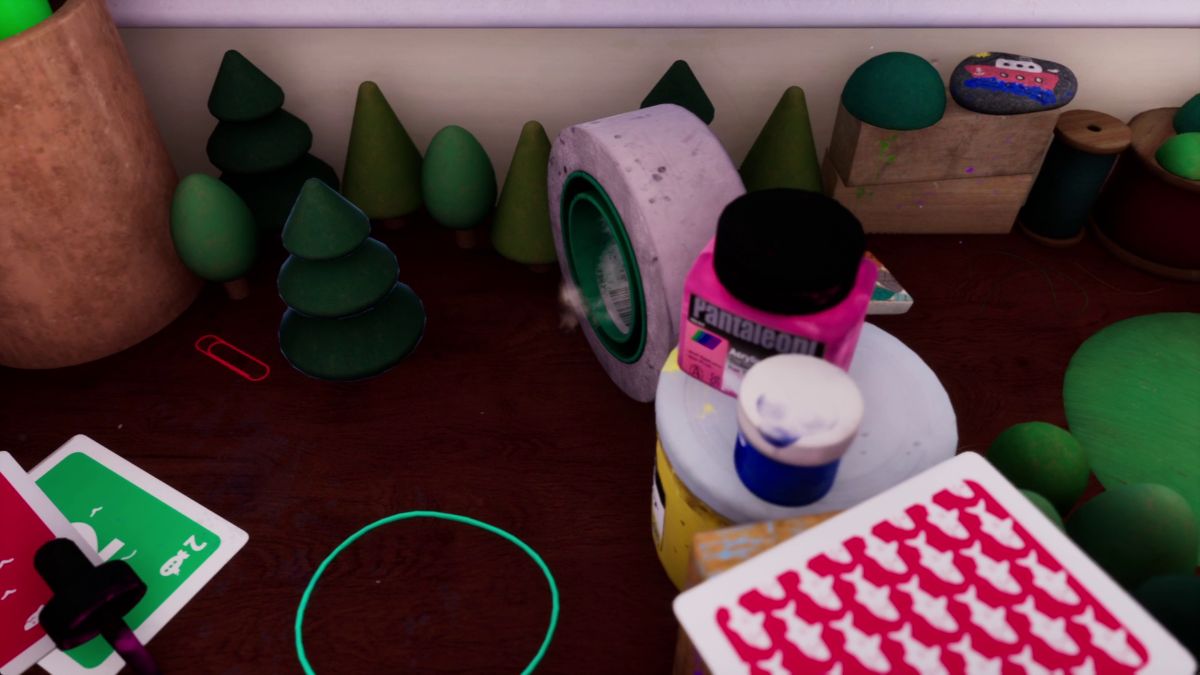 | In the 3D world, look for a forest in the upper right corner. Jump through the duct tape to spot an Art Scroll inside a tube to the right. |  Concept – Area – Snow Route |
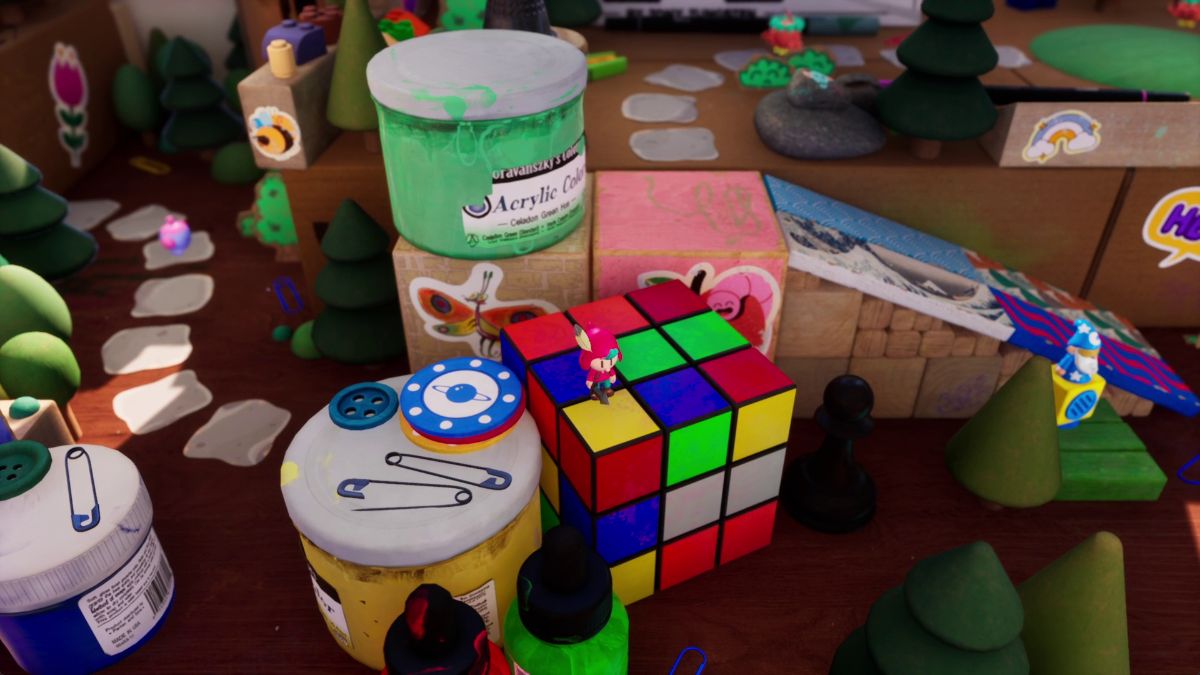  | In the 3D world, follow the path up the raft to the right, but then you see the Rubix Cube, drop down to it, and hop on the yellow and blue paint jars. Follow the book named Skies of My Dries to find this Art Scroll. | 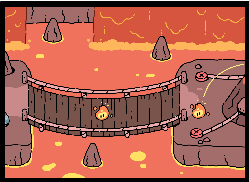 Concept – Area – Volcano |
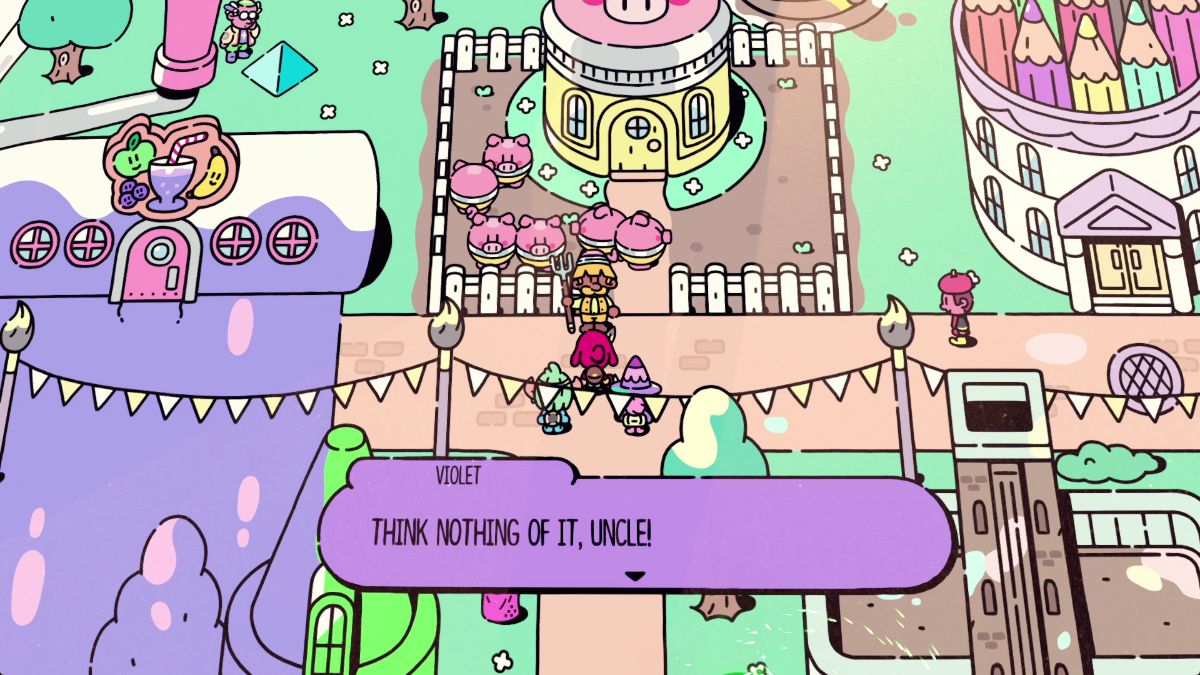 | After helping Uncle Umbrell get all his piggies back, he gives you an Art Scroll. | 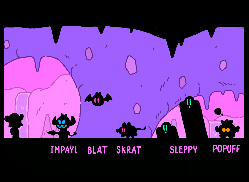 Enemies 4 |
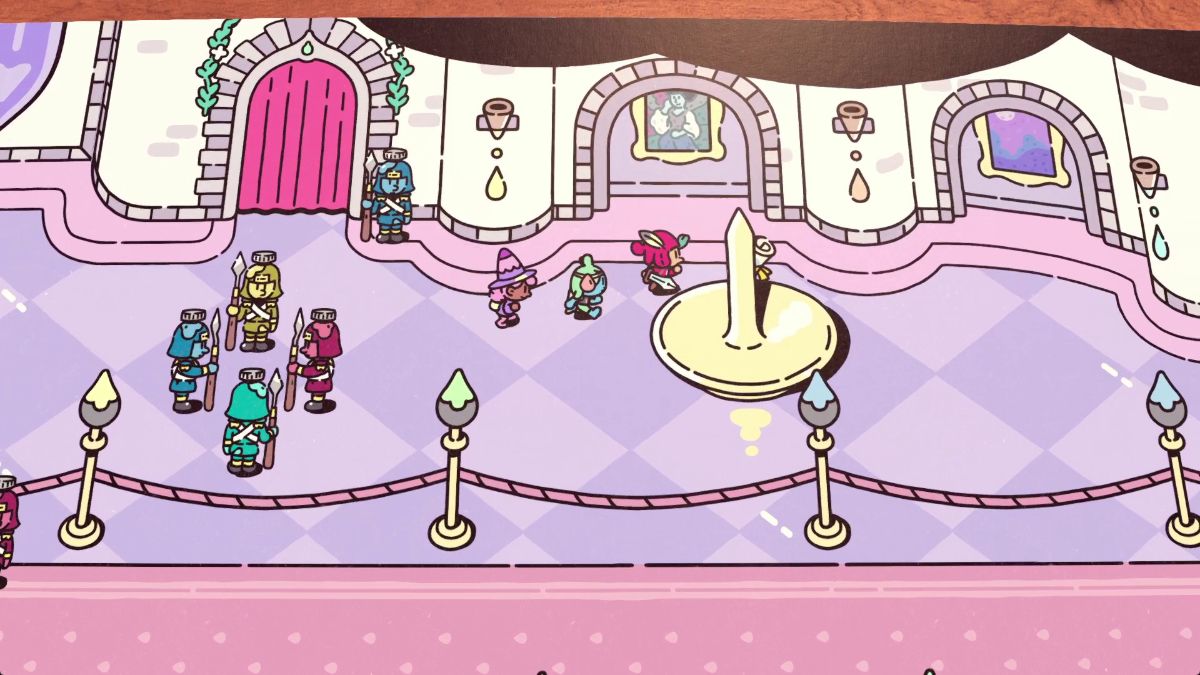 | Once you enter the palace, look for a scroll behind a statue to the right. | 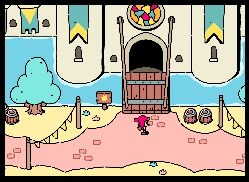 Concept – Area – Castle |
The Plucky Squire Chapter 6
WALKTHROUGH
GLITCHBIRDS
SCROLLS
How to get the two handhorns for the yellow door

To lower the yellow door on the first few pages of Chapter 6, follow these steps:
- Use the metaspringboard on the left and defeat all enemies on the way until you reach the first metal handhorn.
- Jump down and place it in front of the gate.
- Then, use the metaspringboard to the right and defeat all enemies to lower the gate and pick up the second metal handhorn.
- Place this one in front of the gate to lower it.
How to get a pass in Mountain Trarrg

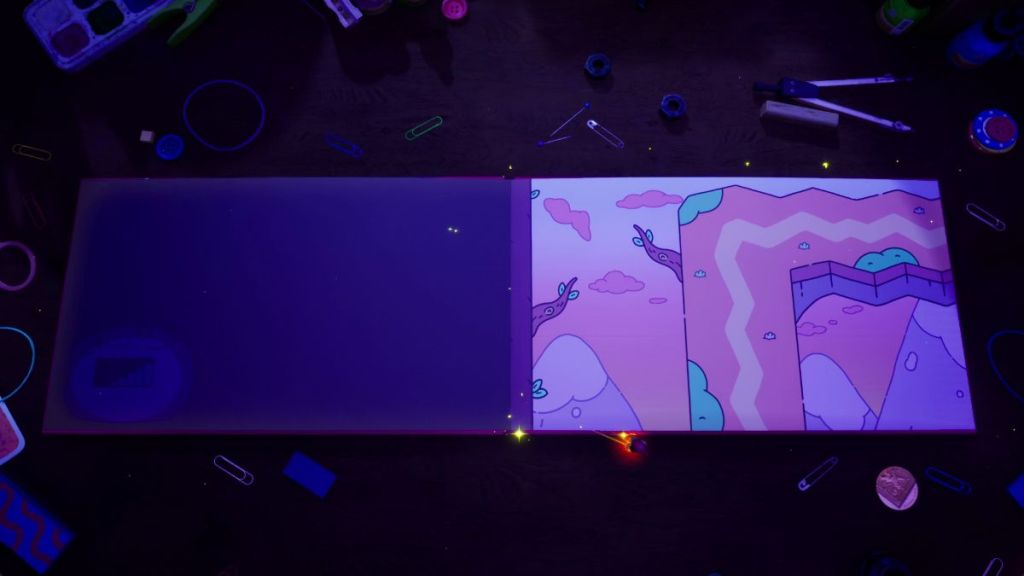
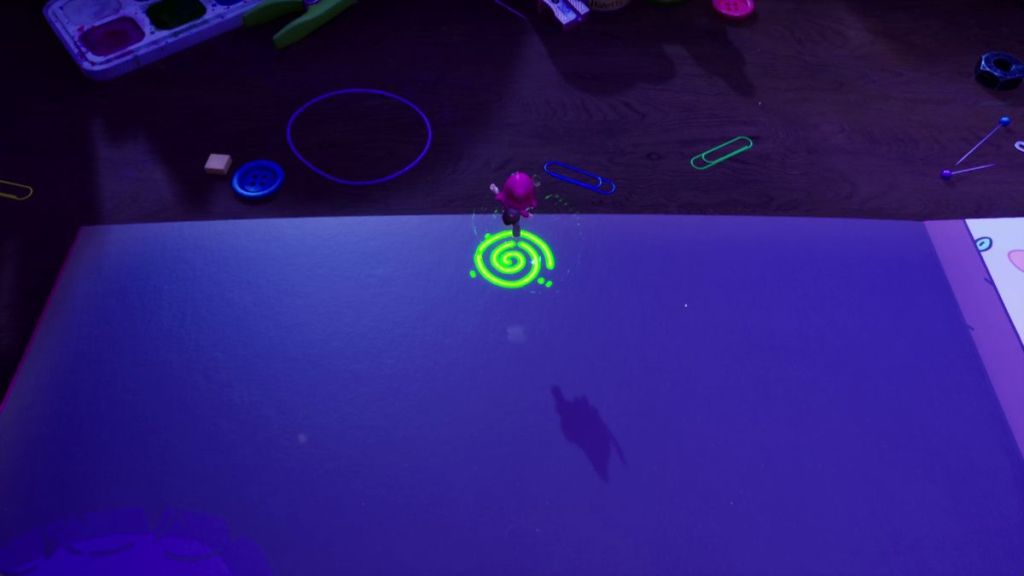
To get a pass to go through the bunnies’ checkpoint in Mountain Trarrg, you must head to the 3D world, flip one page back, and look for a portal on the left side. Here, make your way to the lower left stairs to enter a secret page with a puzzle, and, of course, the coveted pass.
| Visual Reference | Instructions |
|---|---|
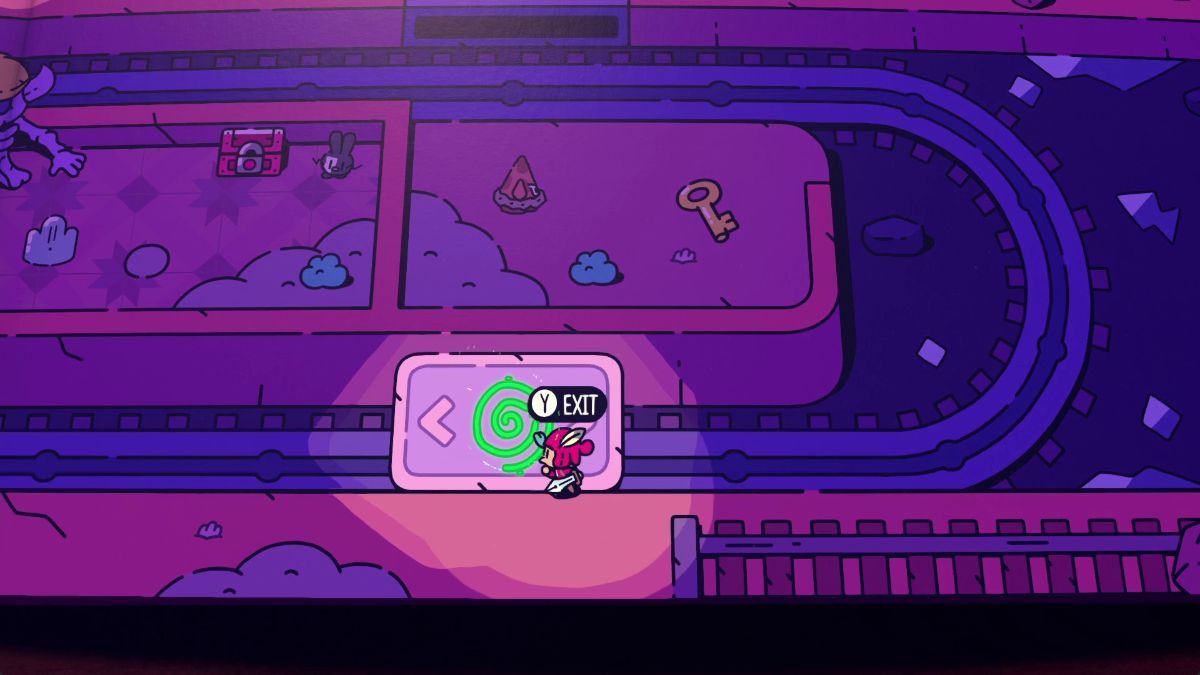 | Exit through the portal in the minecart. |
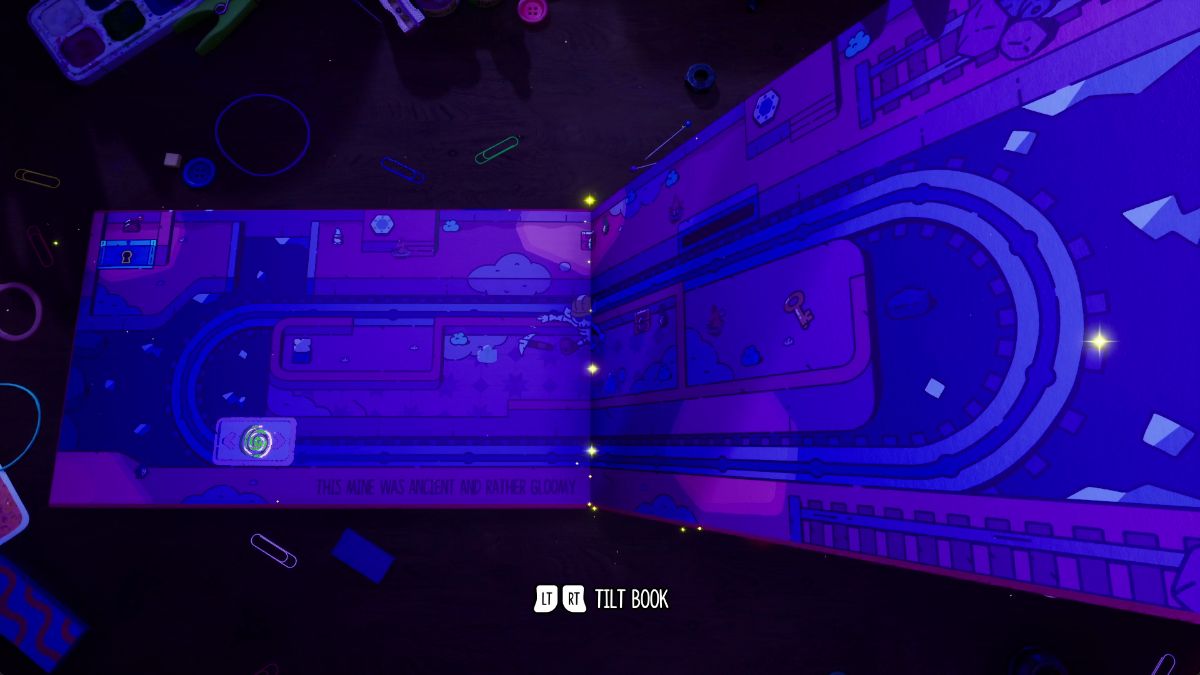 | Outside, tilt the book to move the minecart and hop back in when it’s on the other side. |
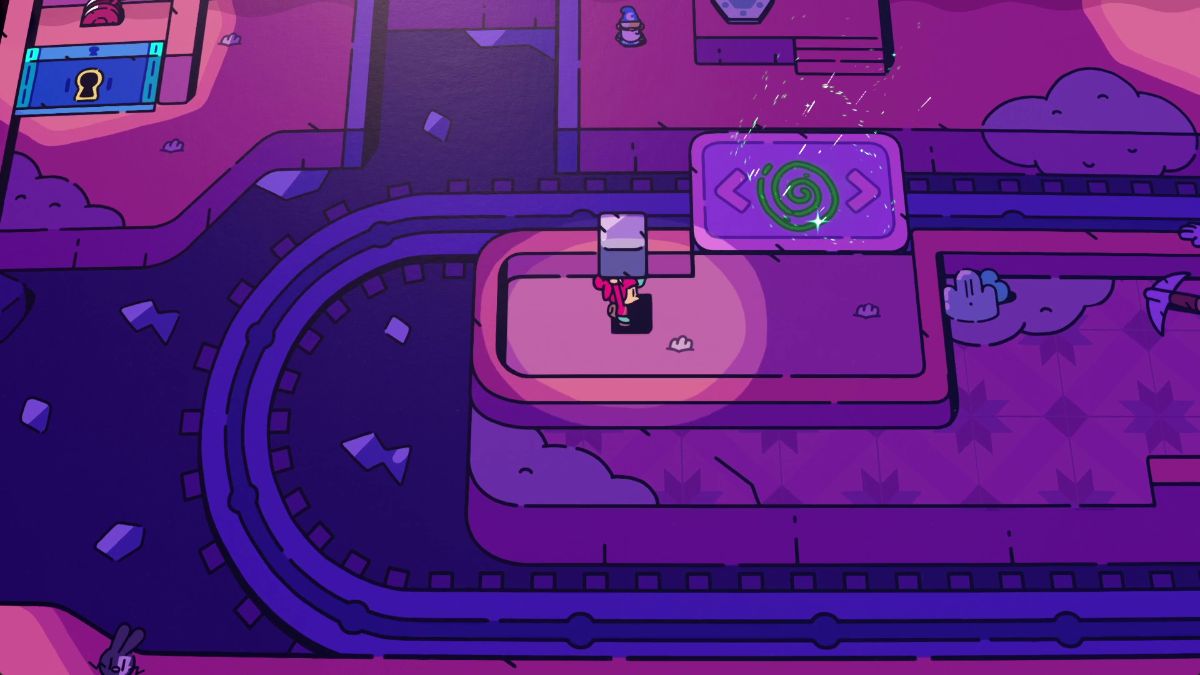 | Grab the block on the enclosed area under the minecart and place it on the trigger on the right side. |
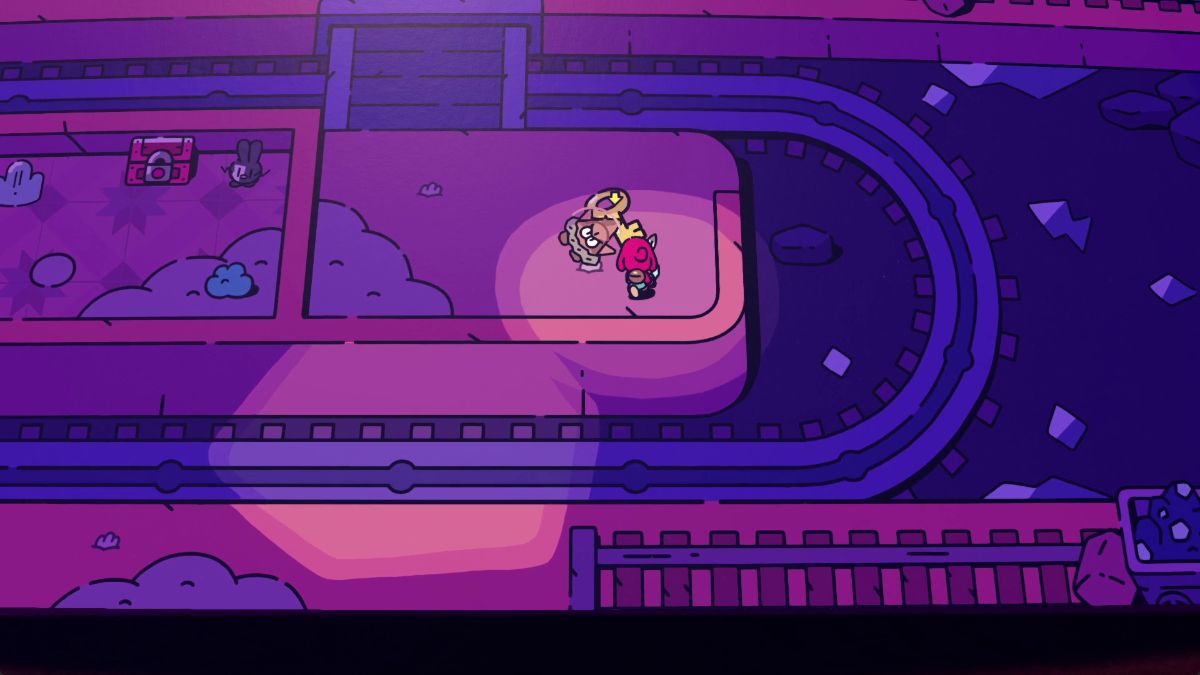 | With the bridge deployed, grab the key from the enclosed area below the trigger. |
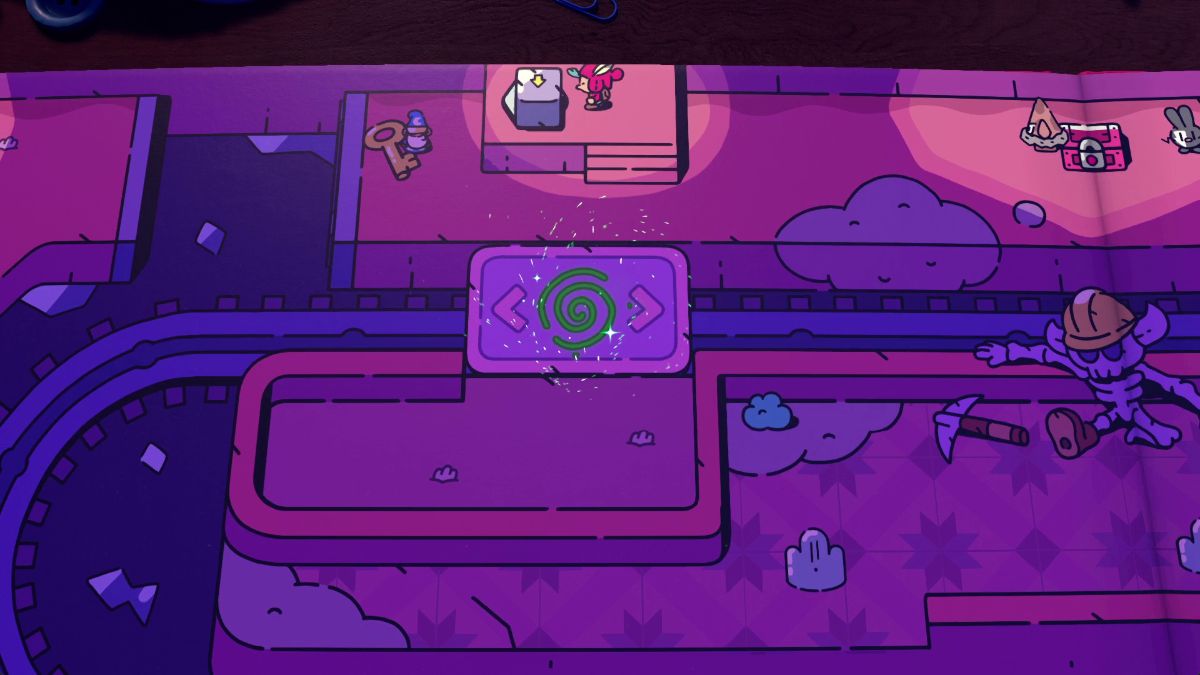 | Leave the key near the trigger to the left. Then, place the block here. |
 | Grab the key, go across the bridge, and open the blue gate to the left. Here, activate the switch to open the red chests. |
 | After finding out the red chest north is empty, place the block on the right-side trigger again. |
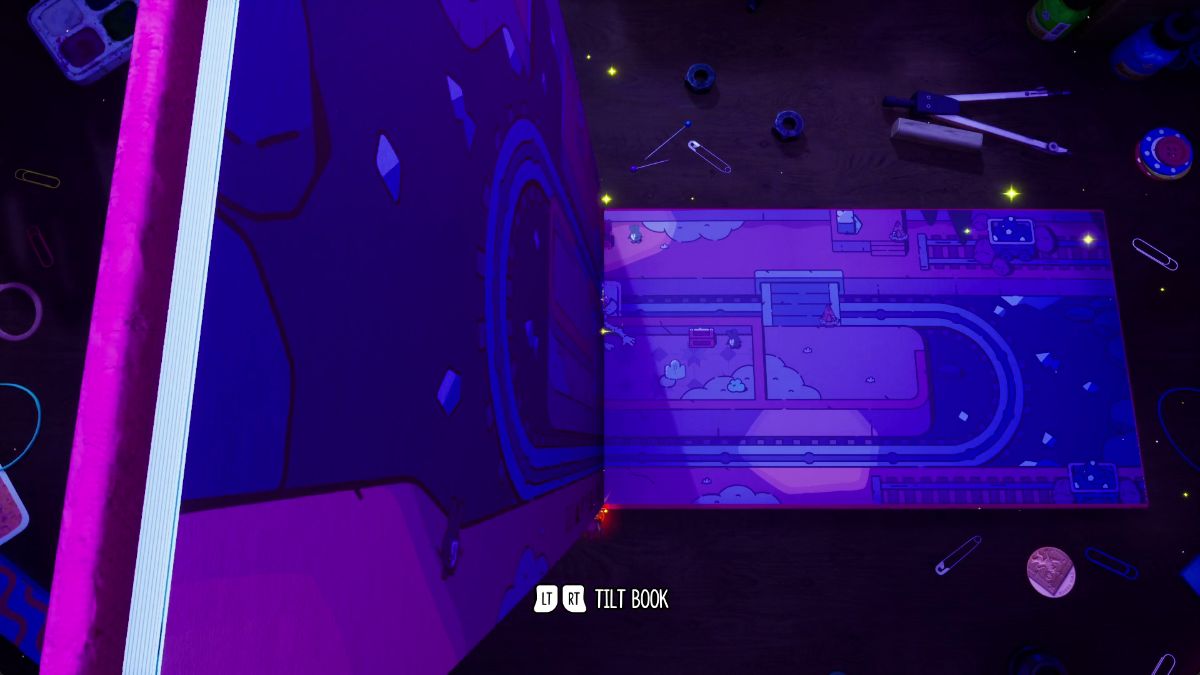 | Exit to the 3D world and tilt the book toward the right, and then to the left. |
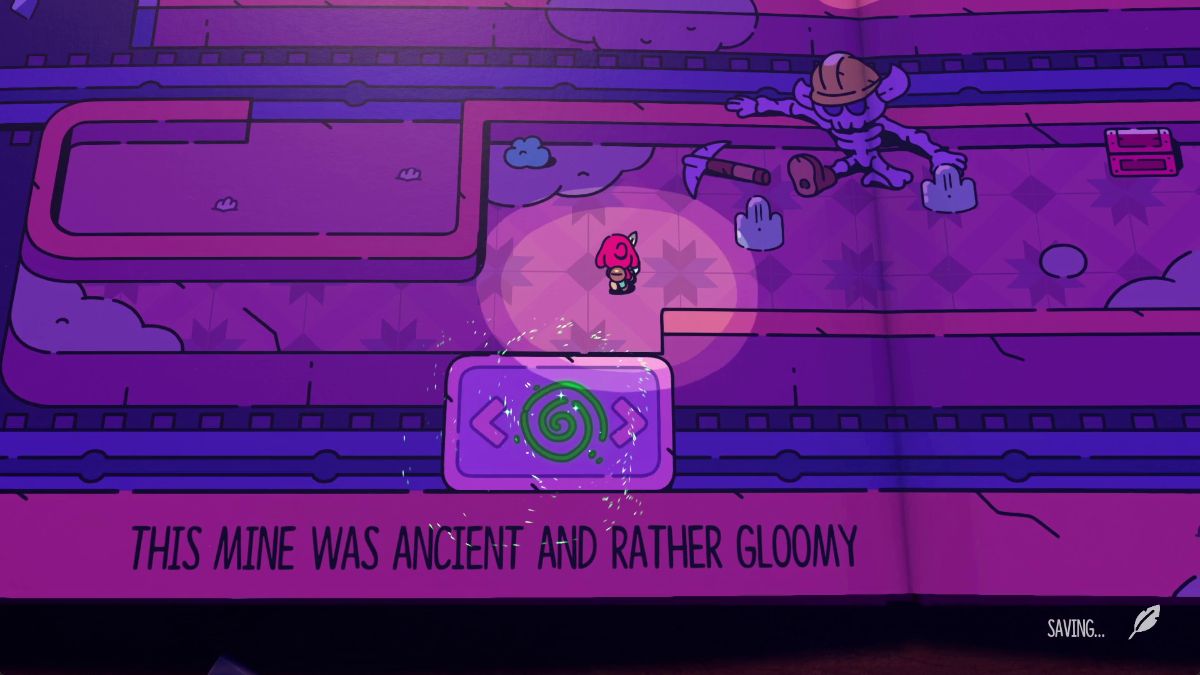 | Hop back into the 3D world and open the red chest to the right to get the pass. Now, head back to the other page. |
How to find cheese for the rat in the cave
Follow these steps to get through this deadly rat and help your bunny friend:
| Visual Reference | Instructions |
|---|---|
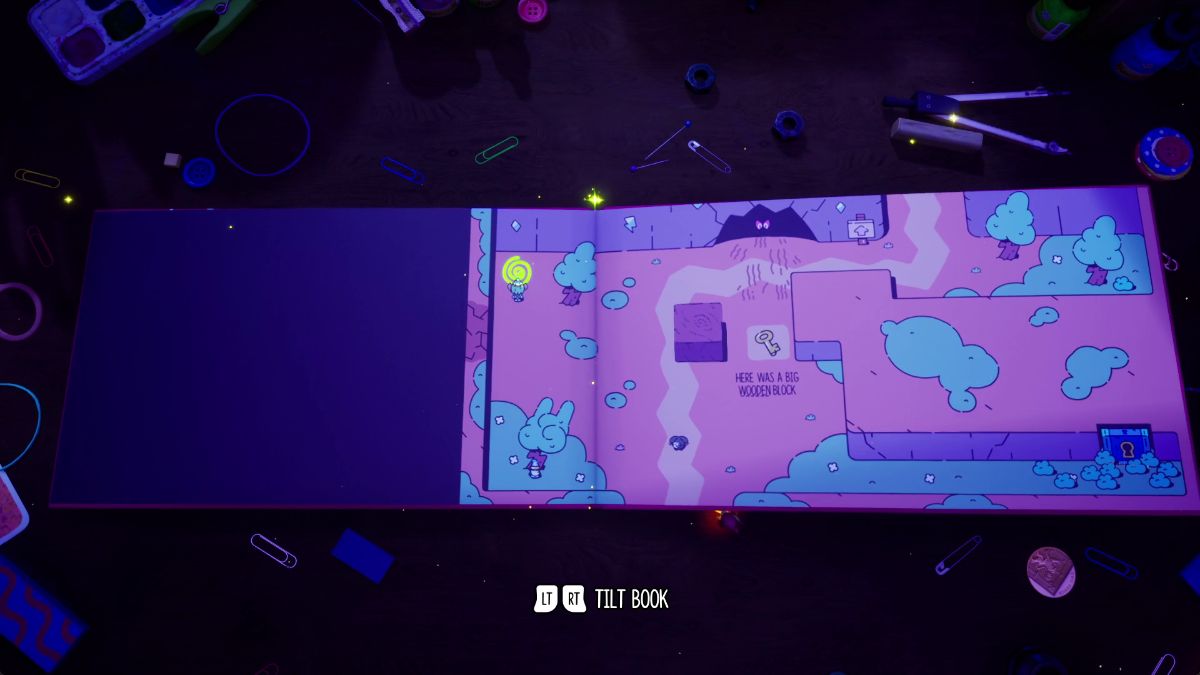 | Use the portal on the upper right to head out into the 3D world. Here, tilt the book to the left to reveal there’s a key under the wooden block. |
 | Use the key to open the blue gate to the lower right. Here, defeat all enemies and steal the word “METAL” |
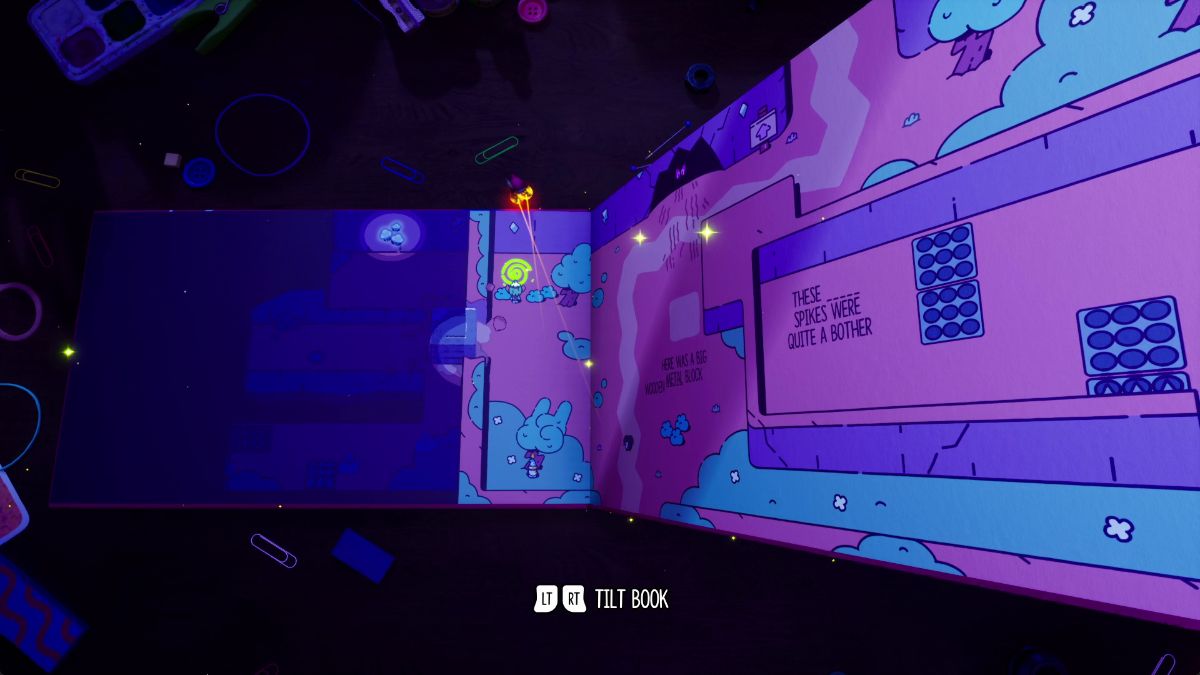 | After turning the “BIG WOODEN BLOCK” into a “BIG METAL BLOCK”, head out into the 3D world and tilt the book to the right and to the left to break the fragile wall and reveal a cave. |
 | Head inside the cave and steal the word GLOWING. Turn this BIG METAL BLOCK into a BIG GLOWING BLOCK. |
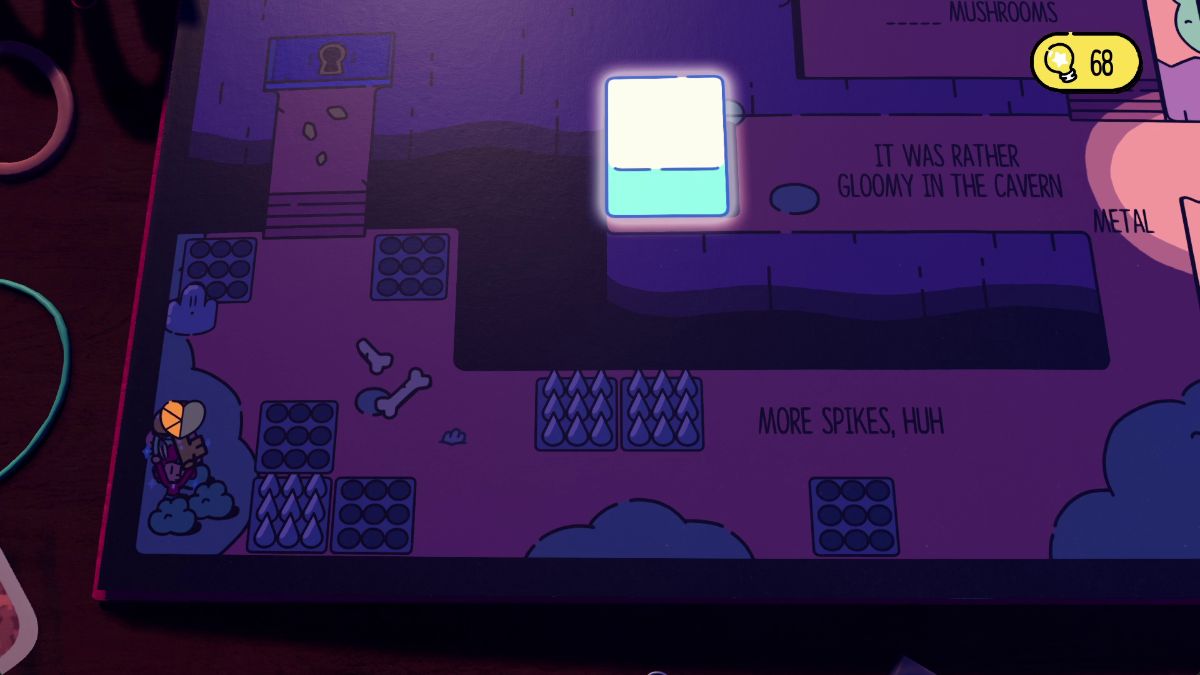 | Inside the cave, grab the key on the lower left and open the blue gate to reveal the word cheese. |
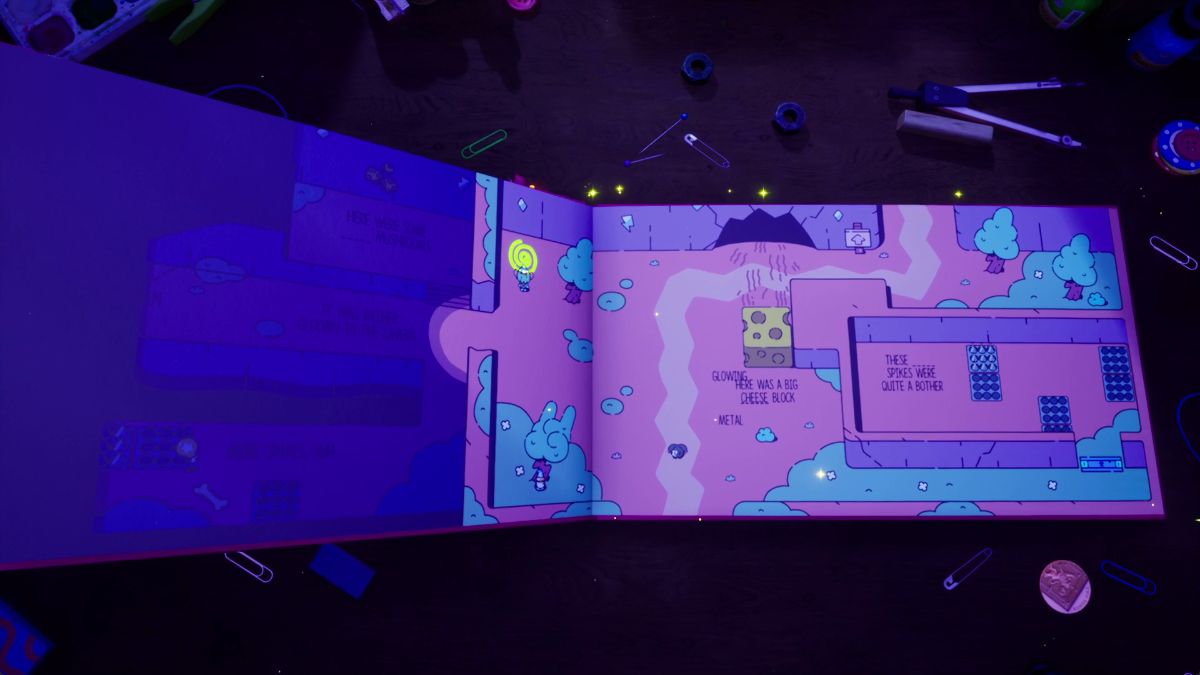 | Turn the BIG GLOWING BLOCK into a BIG CHEESE BLOCK. Then, tilt the book to the right to lure the rat outside the cave. |
How to get all three fragments from Rocket Dad
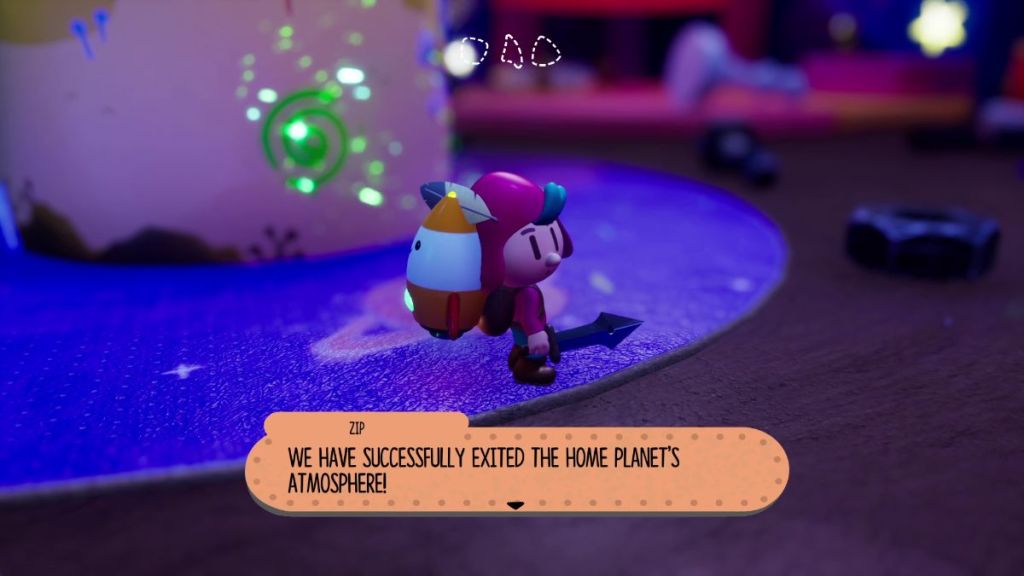
To get all three fragments and piece Rocket Dad together in The Plucky Squire, you must head to the mug’s left and right side to give Zip some confidence while you grab the first two fragments. Then, head north to find the last fragment.
Left side fragment

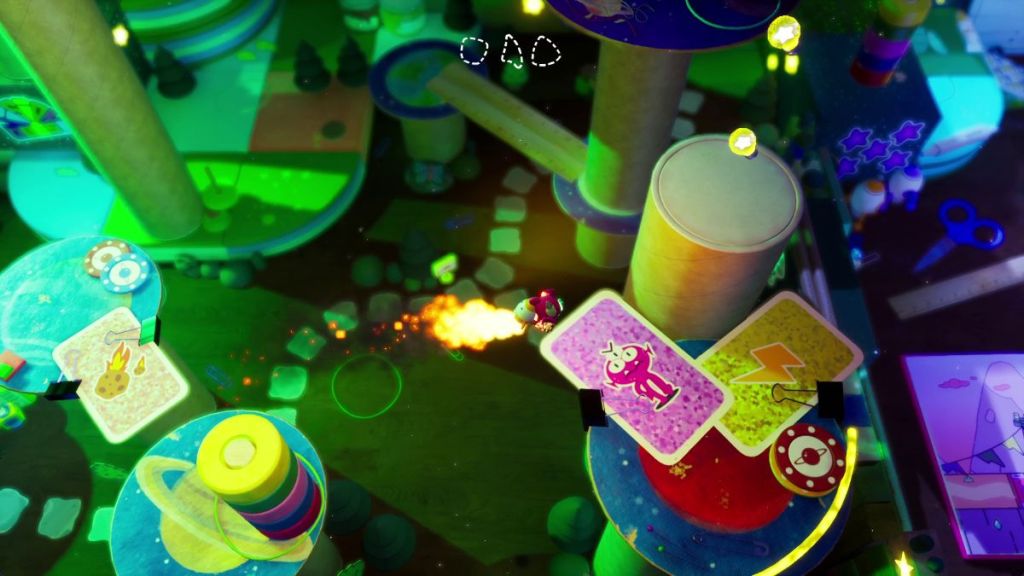

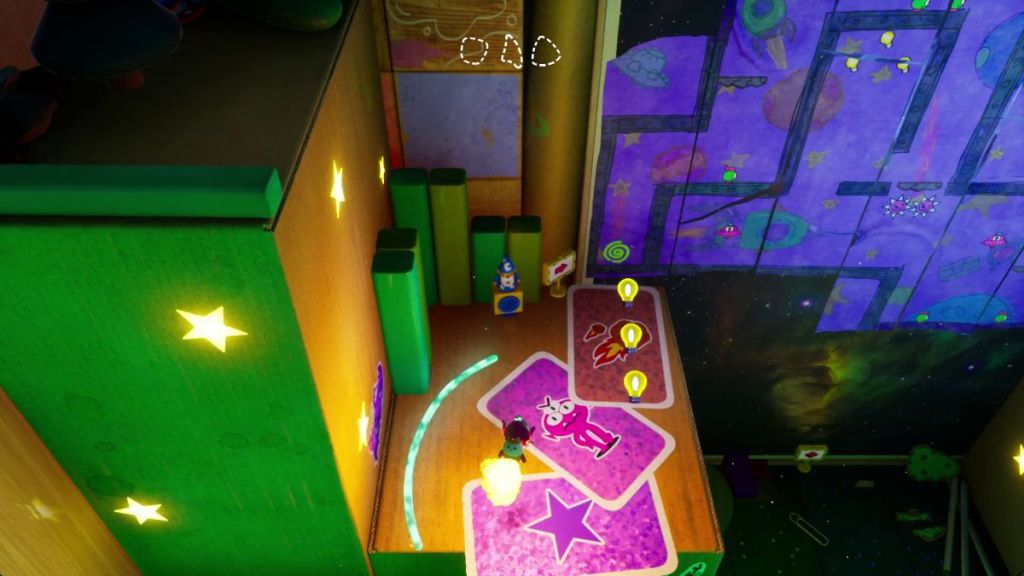
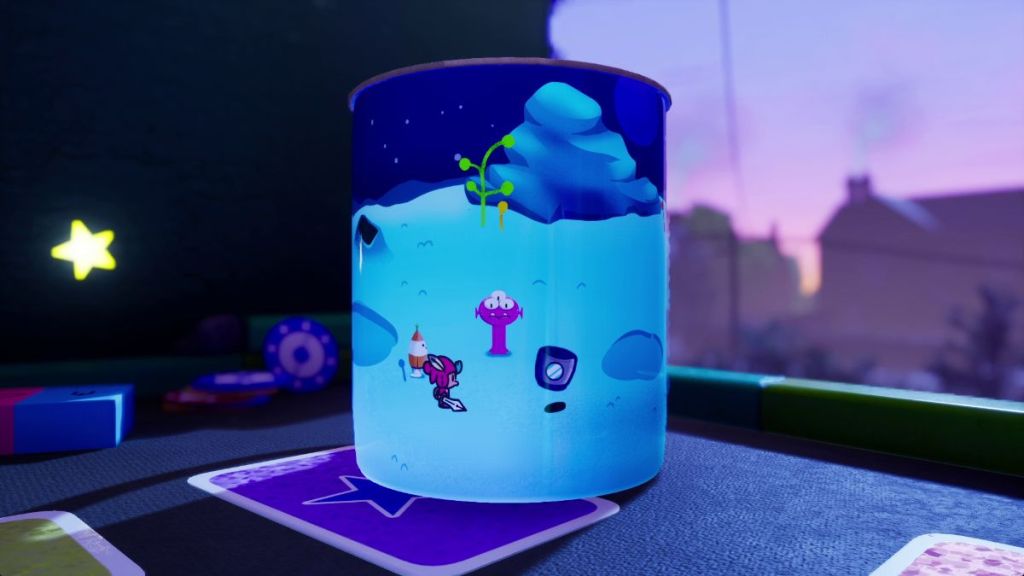
Start on the left side and jetpack up the circular platforms. You’ll eventually reach a mug with a tiny pink alien. The path begins in the far left corner, where you’ll spot a My Talkin’ Minibeard. Jump to the tall platform on the right, then continue to the next one.
From there, move north across the ruler and keep going until you reach another Minibeard further north. Enter the portal and complete the platforming puzzle to find the cup with the first Rocket Dad fragment.
Right side fragment: All Candle locations
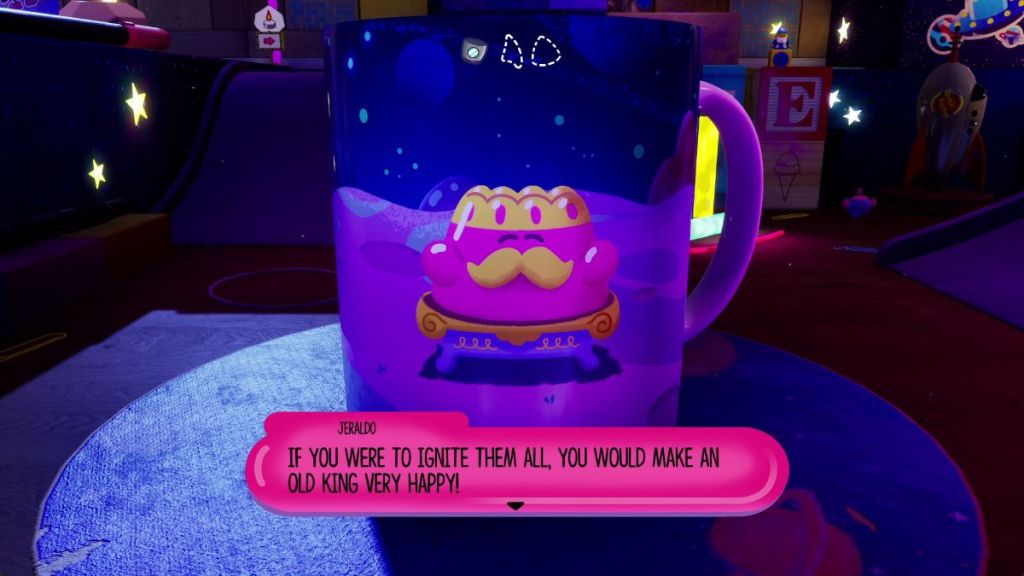
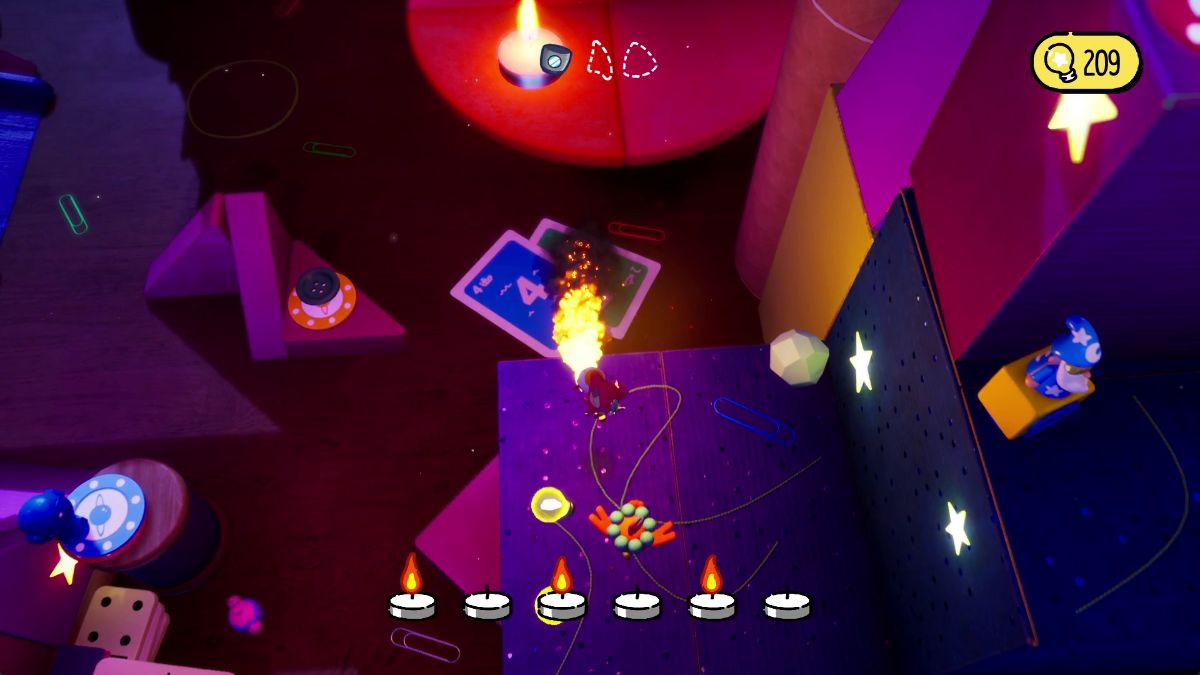
On the right side of the 3D world, you must find 6 candles and light them up to make the Old King so happy, he’ll be willing to grant us the second Rocket Dad fragment. Follow these steps:
| Visual Reference | Instructions |
|---|---|
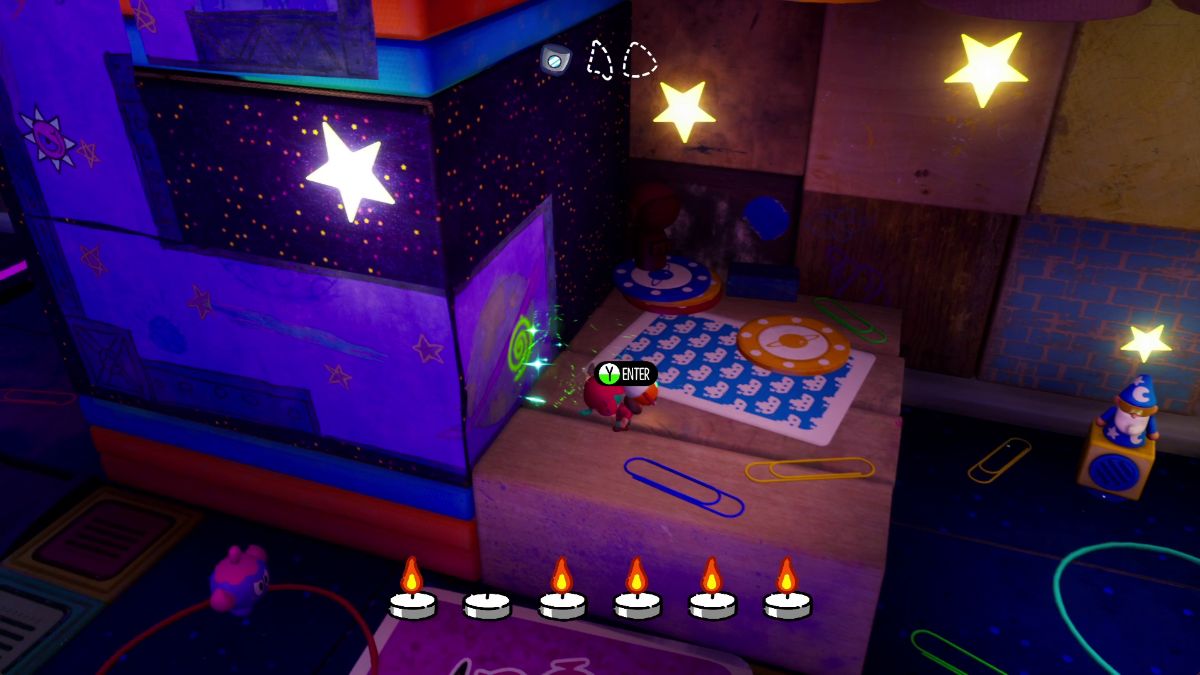 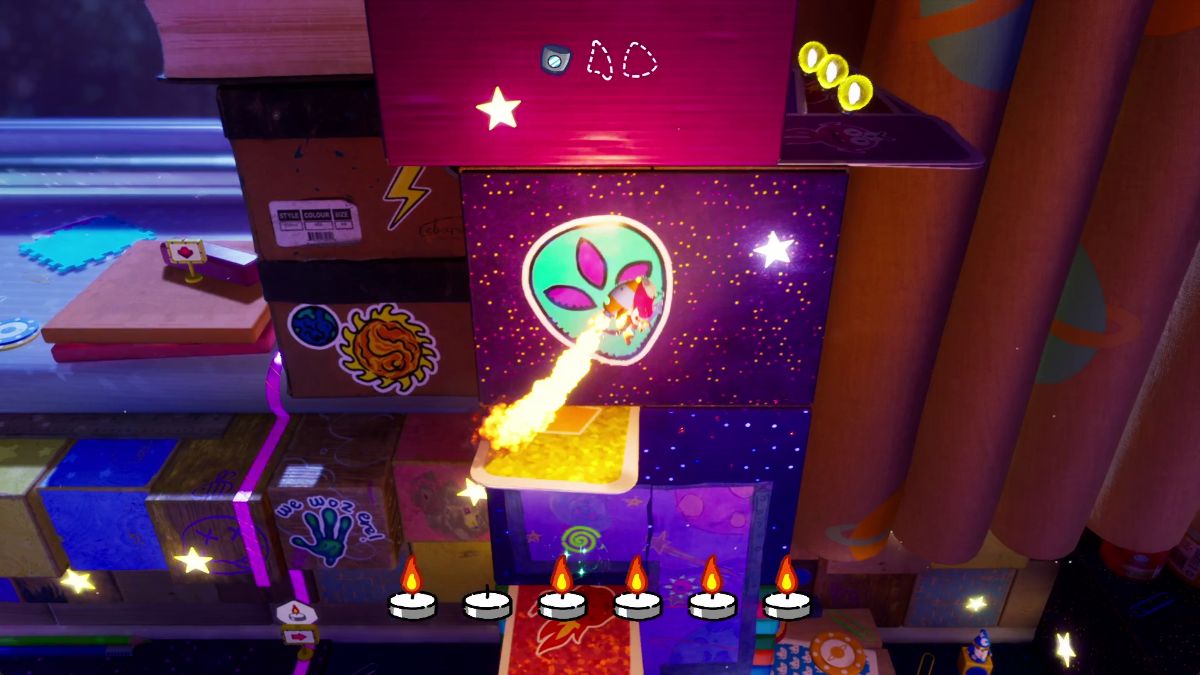 | On the upper left corner of this room, look for a portal on the right wall of a block. After solving the platforming puzzles, head back into 3D and jetpack from one card to another until you reach the candle. Use your jetpack to light it up. |
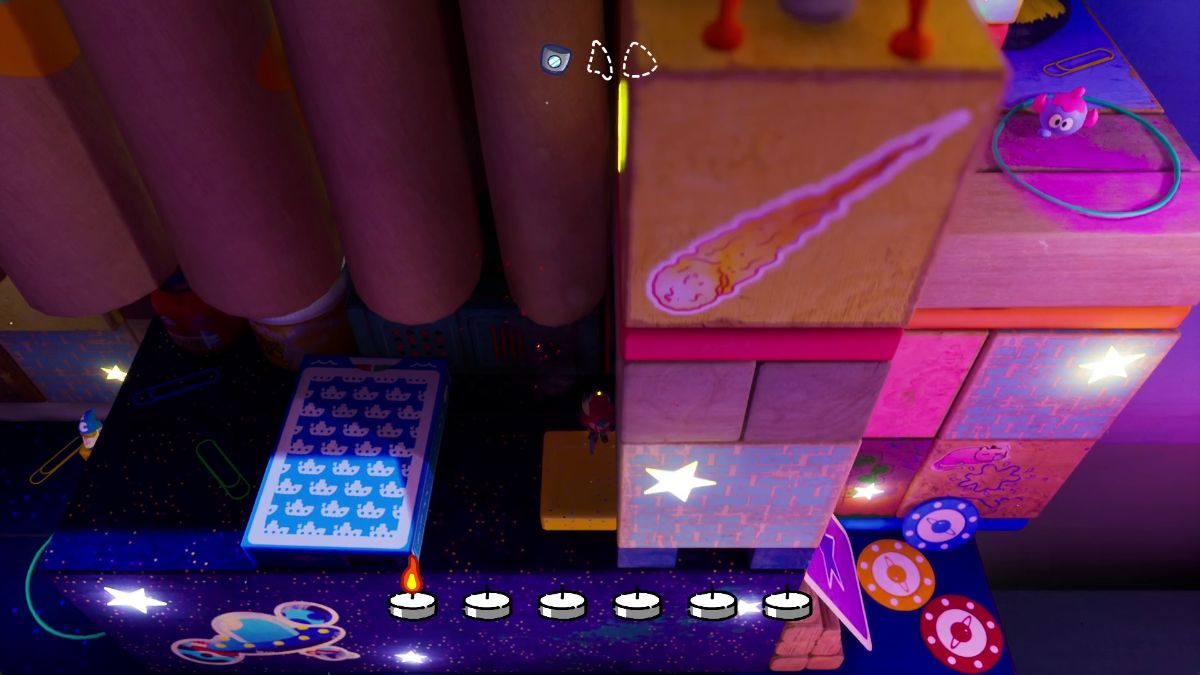  | On the upper right corner of this room, look for a block with a meteorite sticker. From under this pile of blocks, push the yellow domino. Then, on the other side, use it to reach the top right corner of the room and light up the candle there. |
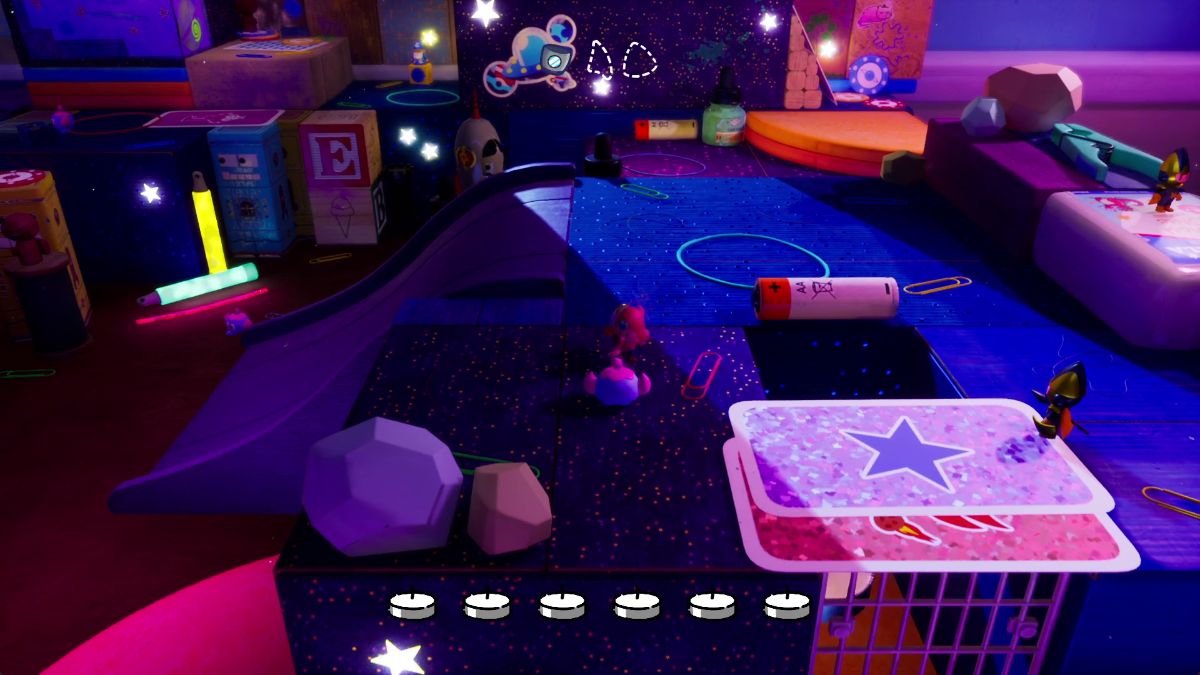 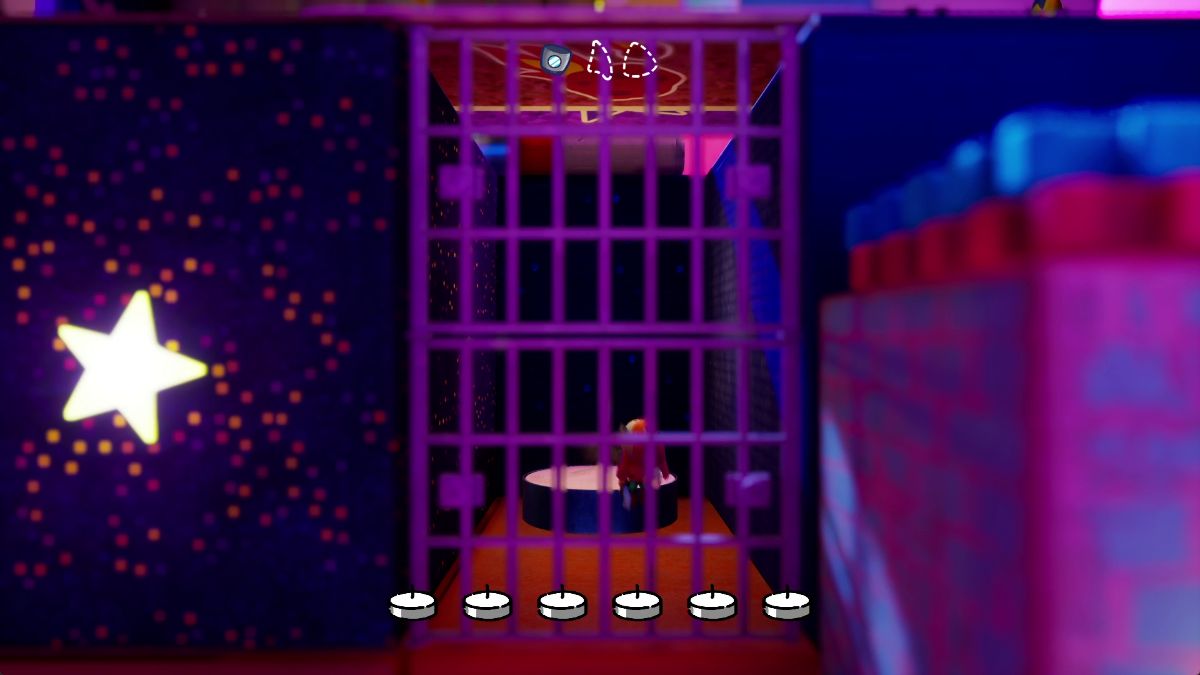 | On the center-right, you’ll spot a few cards holding a candle hostage. Stand near the cards and drop down to the cell to light up this candle. |
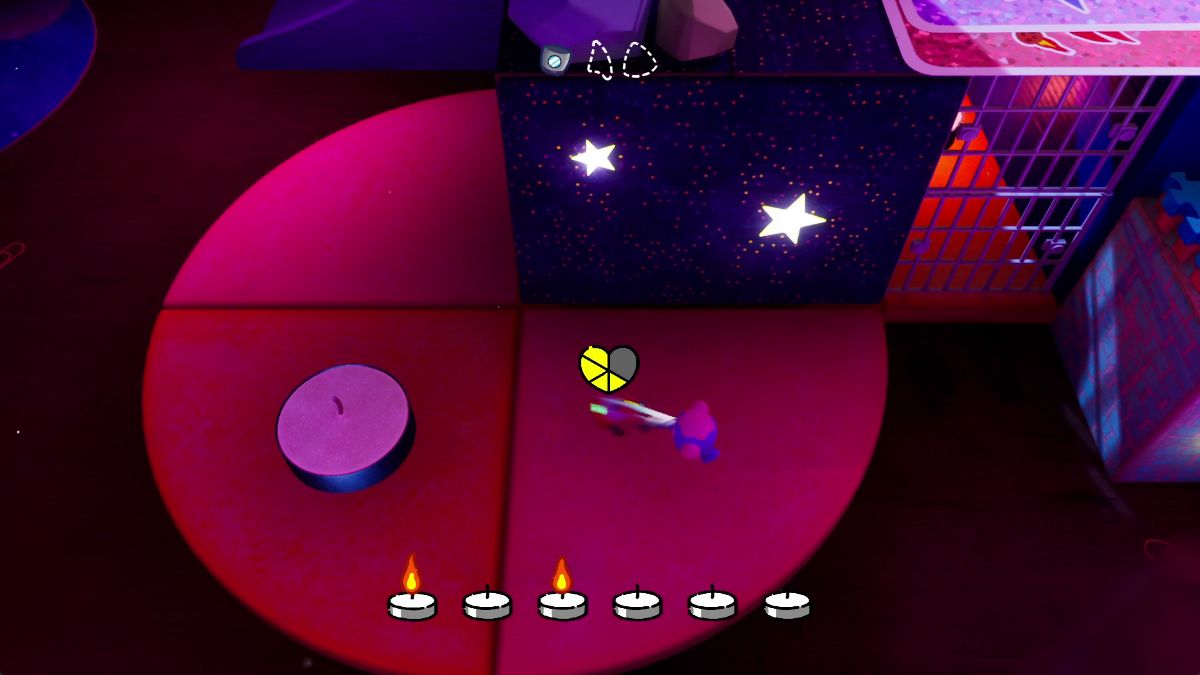 | Nearby the caged candle, you’ll spot a second candle in a red, circular platform. |
 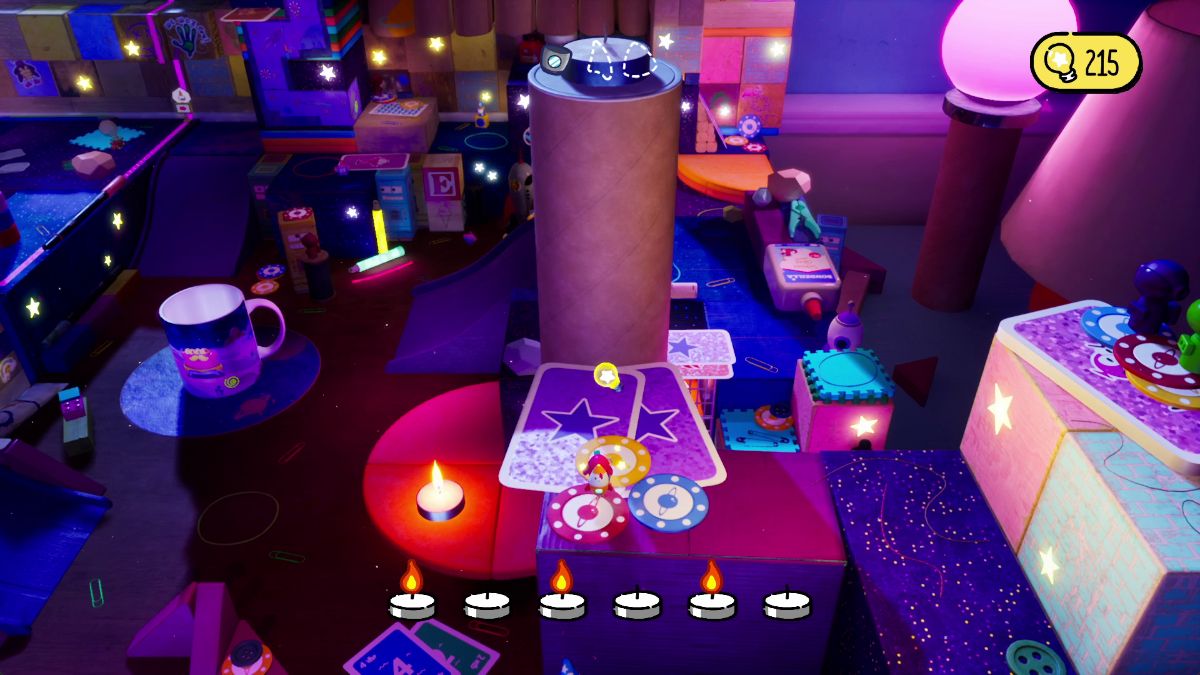 | Under the two candle locations marked above, you’ll spot a blue block with a Minibeard on the right. Climb your way up and jump across to the cylindrical platform to light this candle up. |
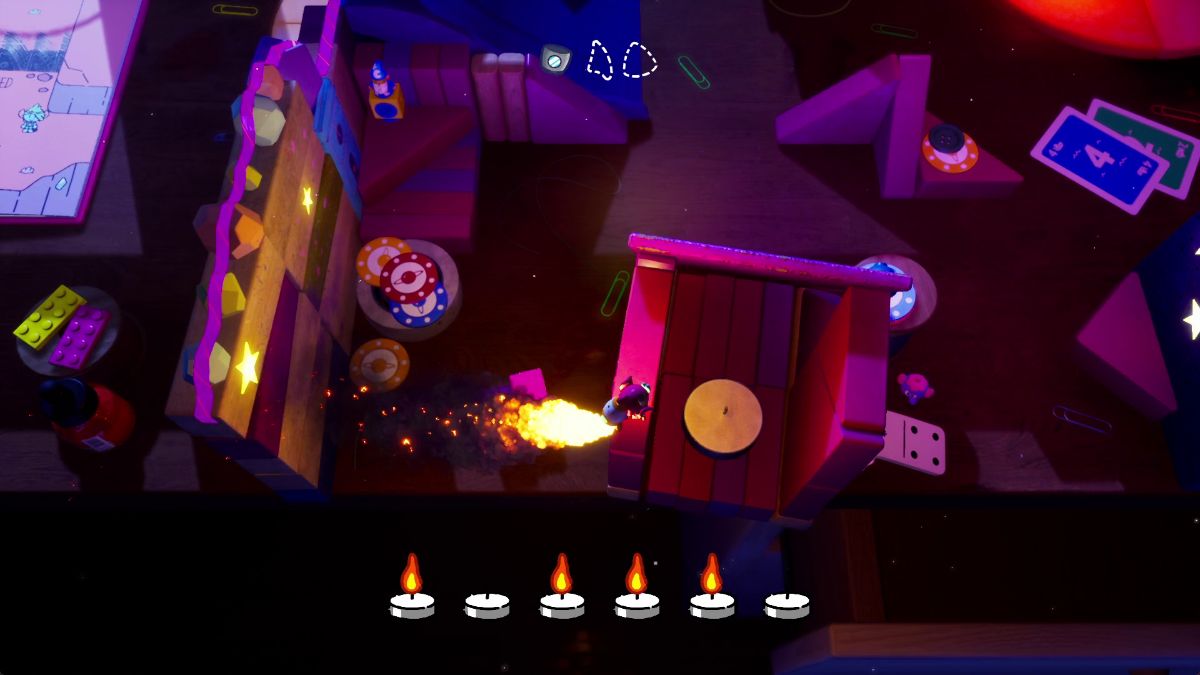 | In the lower-left corner of this room, there’s a candle inside a house of pink blocks. To reach it, you must jetpack slightly beyond the desk and then propel yourself back inside. |
North fragment
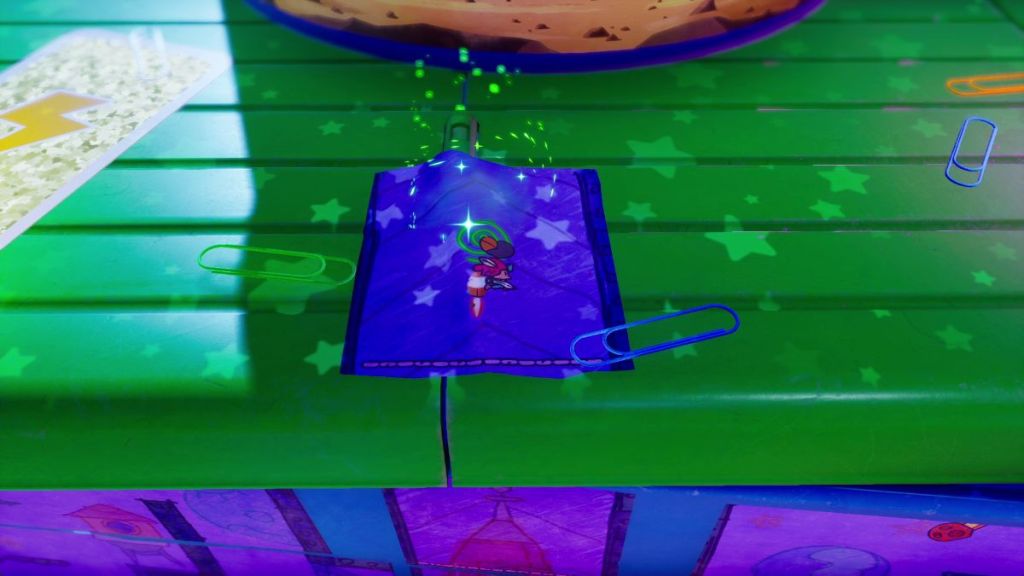
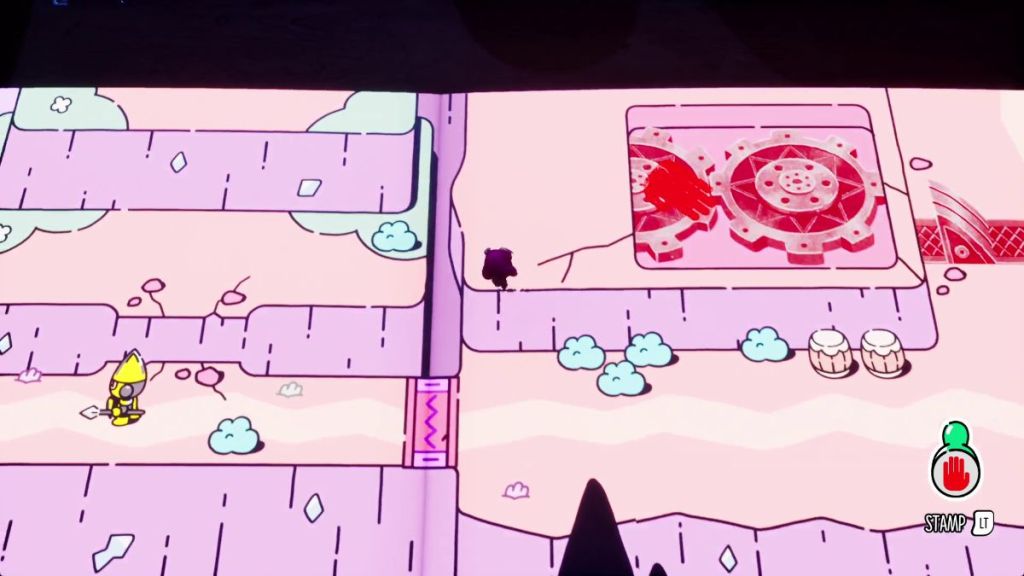
To get the last fragment, you have to head north through the 2D drawing, enter the space minigame, and win it. Once you do, bring all three Rocket Dad fragments to the cup near your book (south) to piece him together. As a reward, he’ll give you the Stop Stamp, which you should use to stamp the engines.
How to solve the heavy blocks puzzle
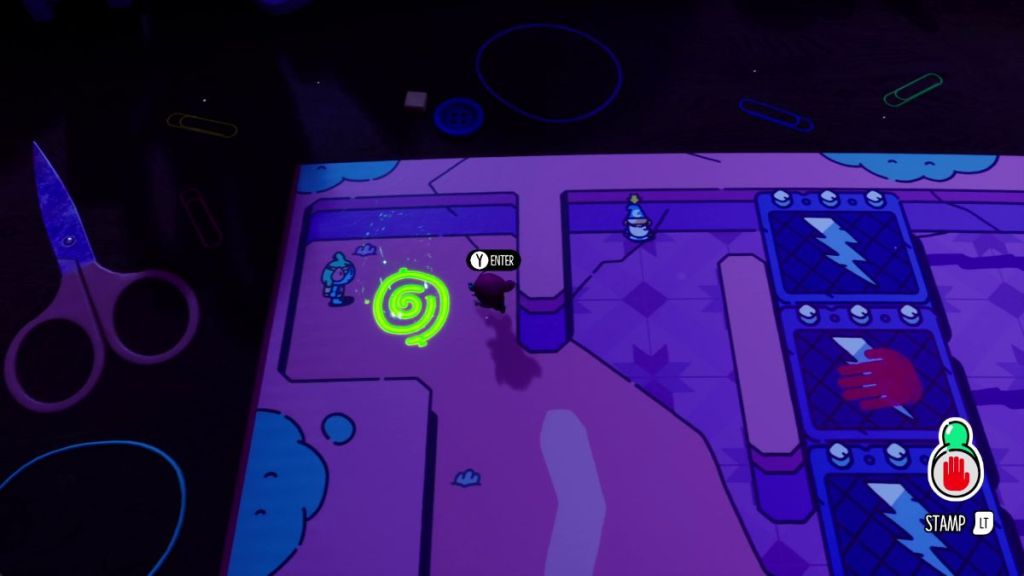

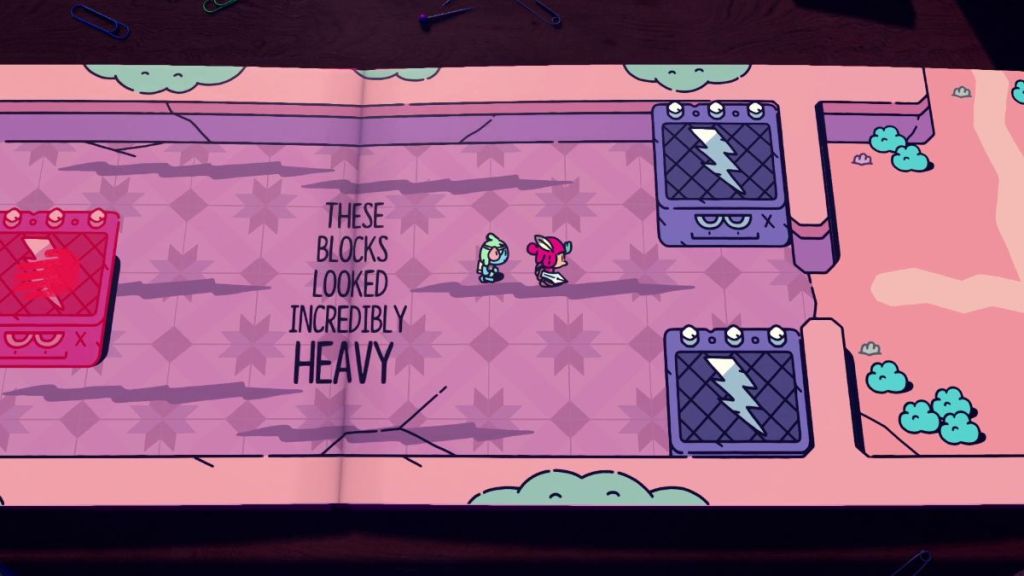
The solution to this puzzle is to step out into the 3D world and stamp the block in the middle. Then, Tilt the book to the right to open the way forward.
How to bring the mushroom to Moonbeard

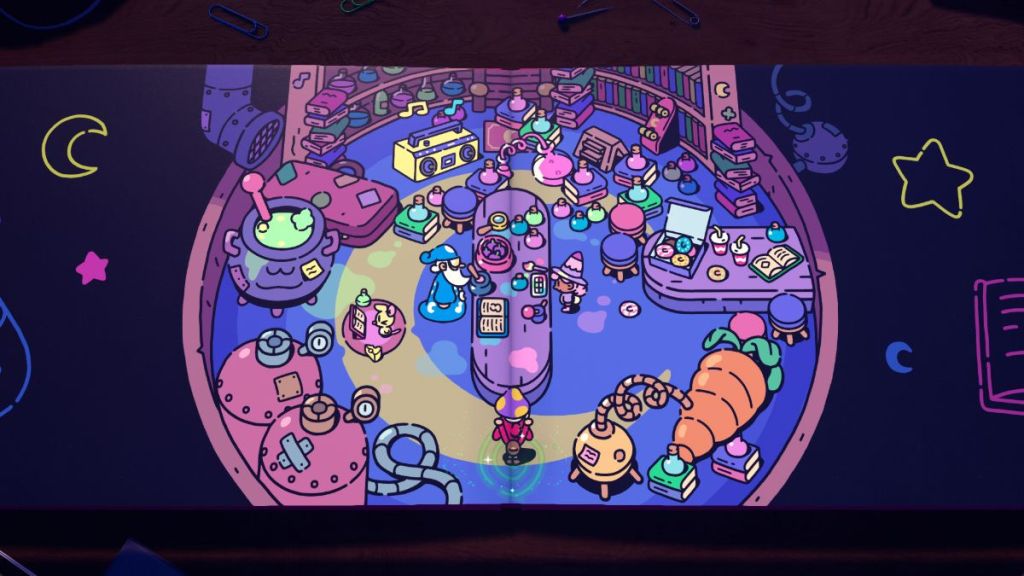
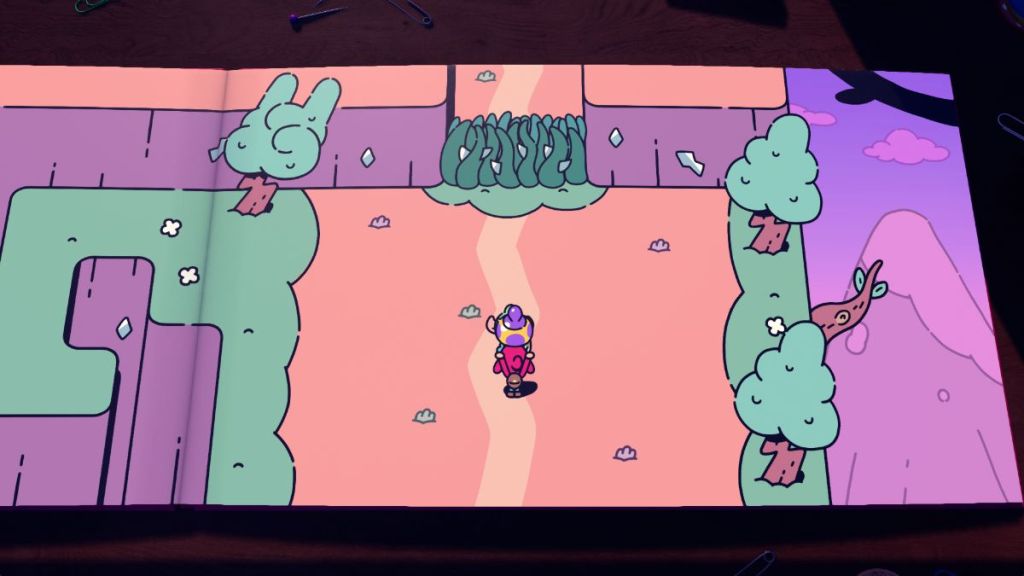
You’re miles apart, but only one page away. Grab the mushroom, hop out into the 3D world, and flip one page back. Then, hop back with the Weedkiller Bomb, throw it, and open the way forward.
How to solve the pillars puzzle
Follow these steps to solve the pillars puzzle and get another Weedkiller bomb from Moonbeard:
| Visual Reference | Instructions |
|---|---|
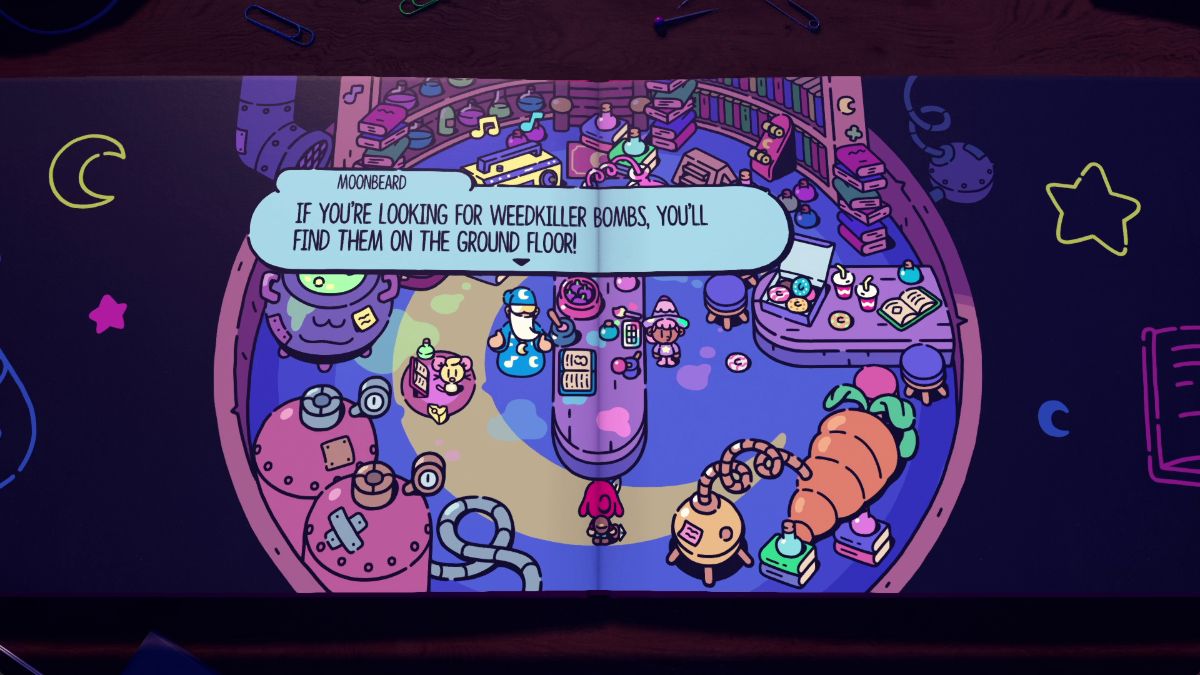 | Head back to Moonbeard’s laboratory to discover that the Weedkiller Bombs are on the ground floor. |
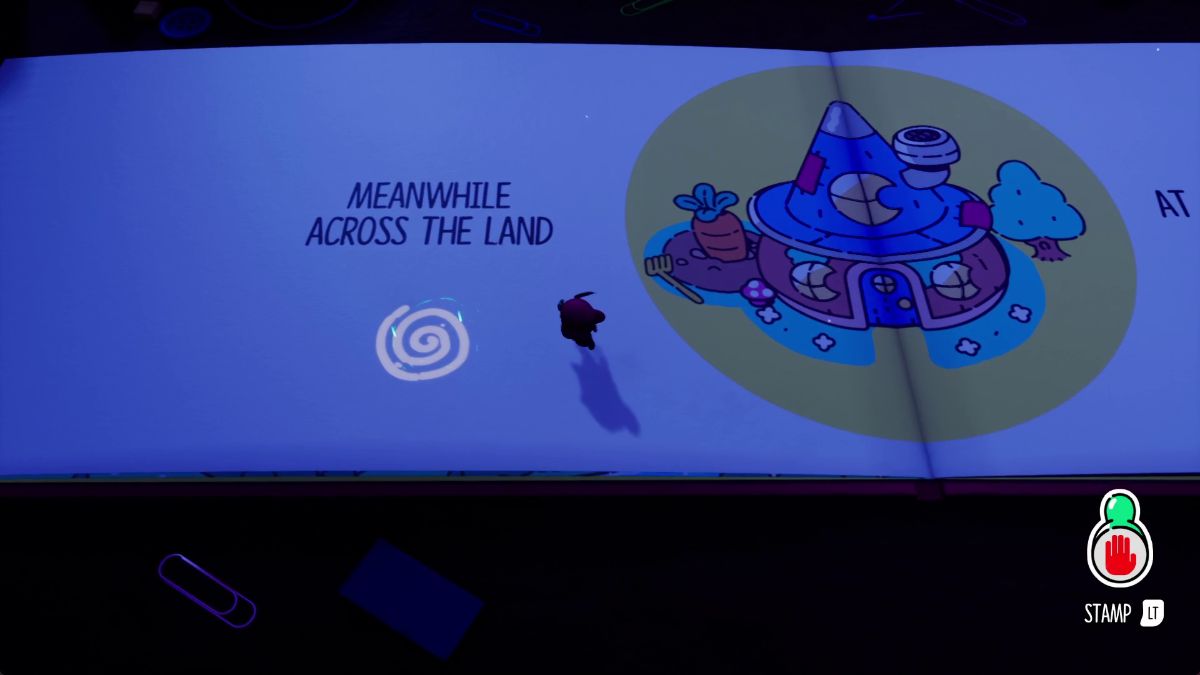 | Flip back one more page and look for a portal under “Meanwhile, across the land.” Then, grab the Weedkiller Bomb that’s inside his house. |
 | Throw the Weedkiller Bomb at the weeds blocking the way on the right. |
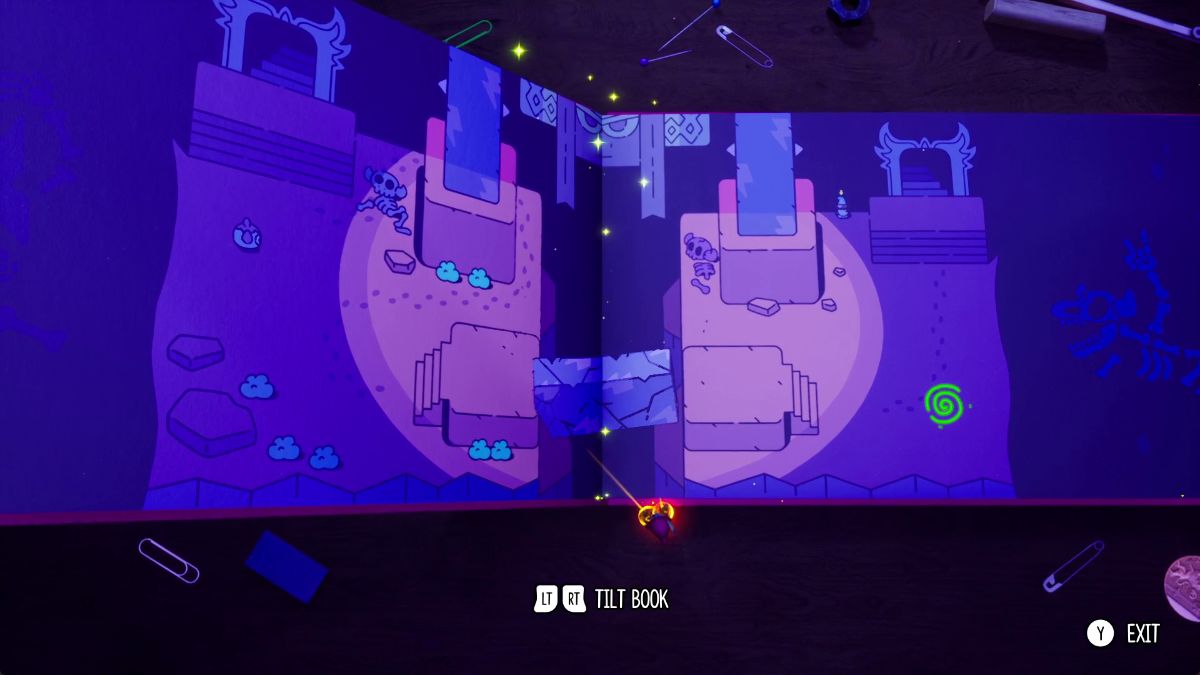 | Inside the cave, defeat all enemies, exit through the portal, and tilt the book to drop the fragile pillar and create a makeshift bridge. |
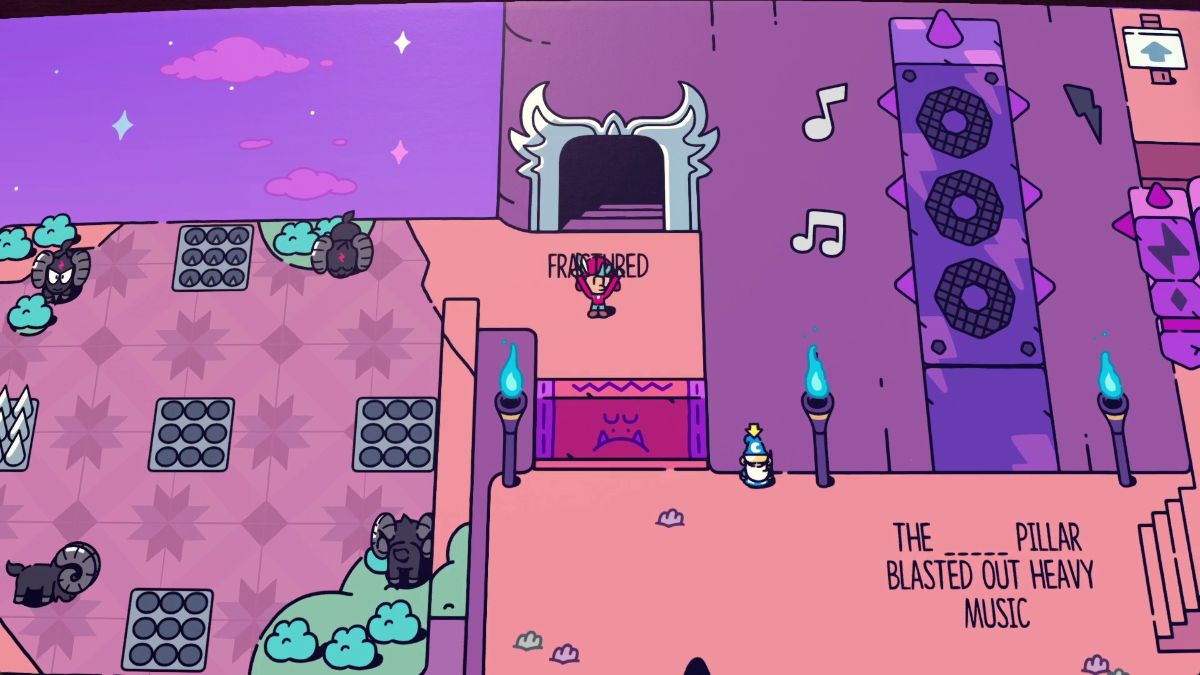 | Snatch the word Fractured and head outside. Here, defeat all the black goats to lower the pink gate. |
 | Place the word Fractured to replace Noisy and Towering. |
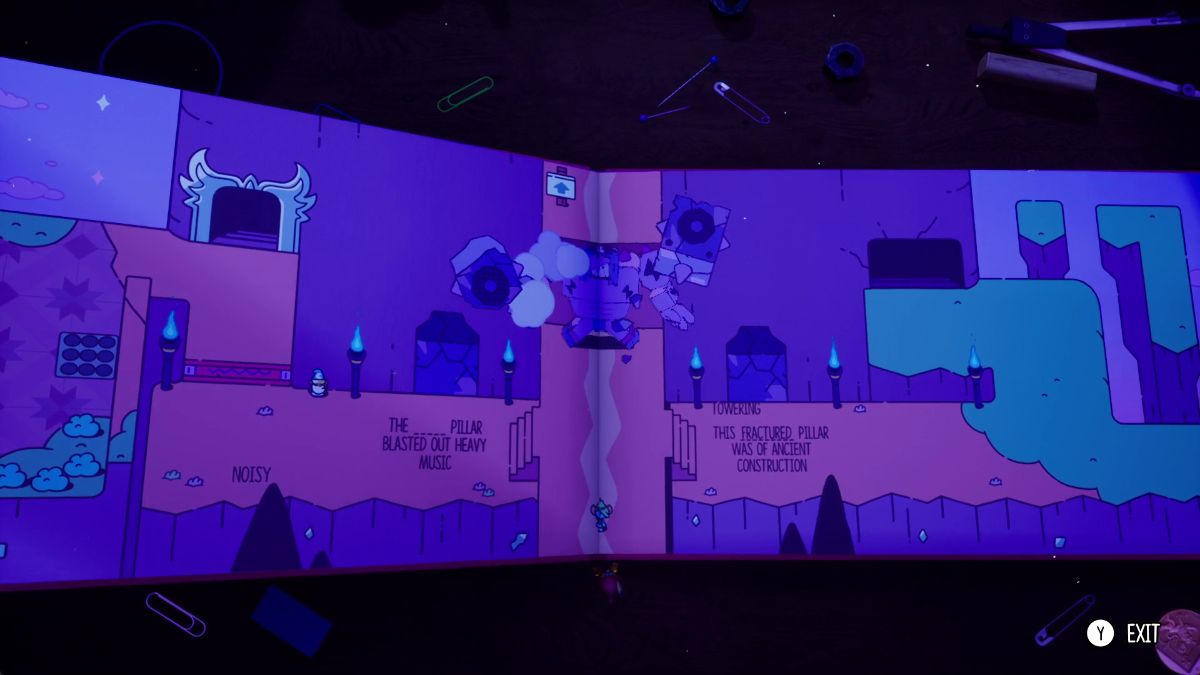 | Head out into the 3D world and place a Stop Stamp on the big fella in the center. Then, tilt the Fractured Pillars toward the center to damage him. |
Glitchbird in Chapter 6
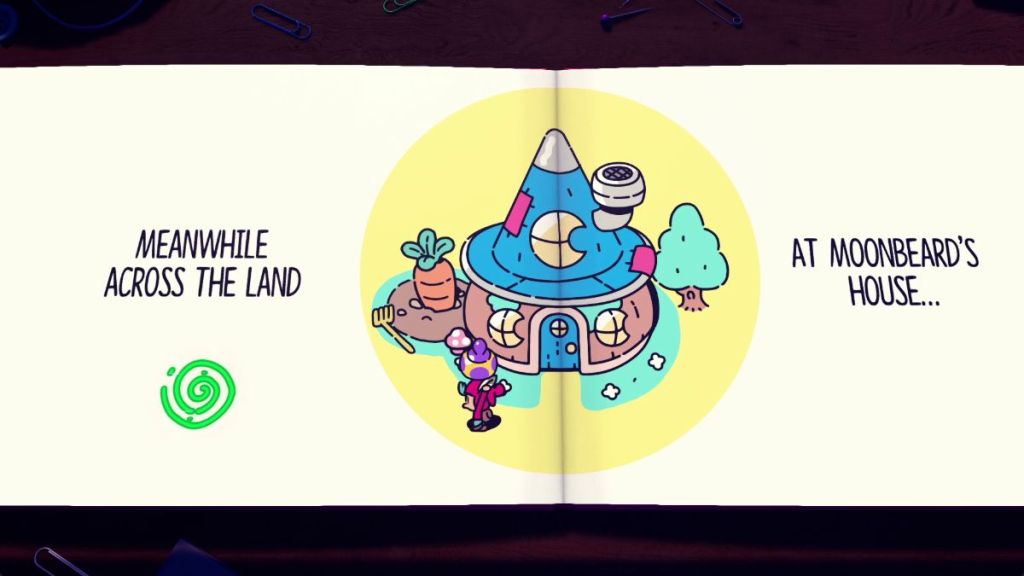
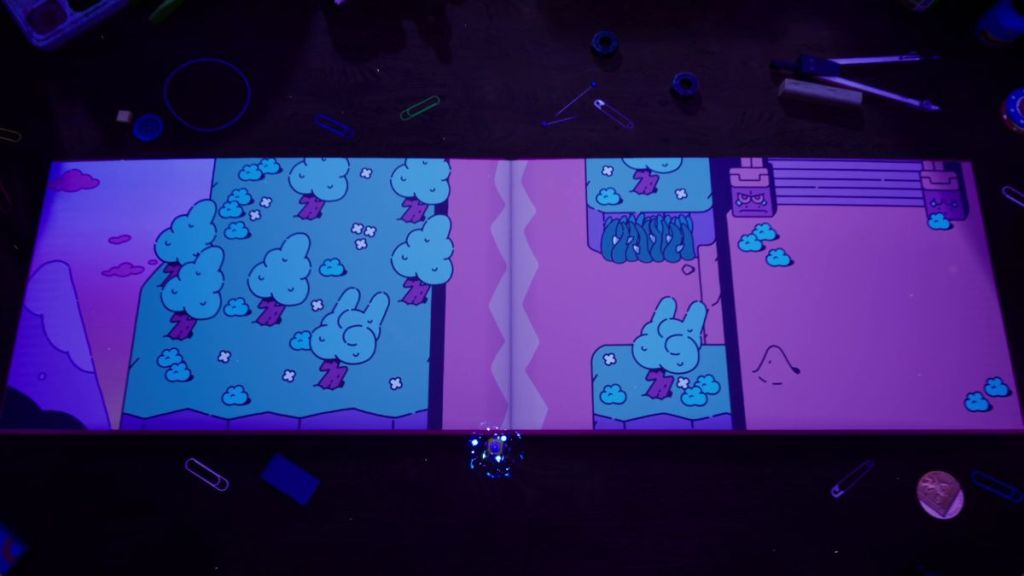
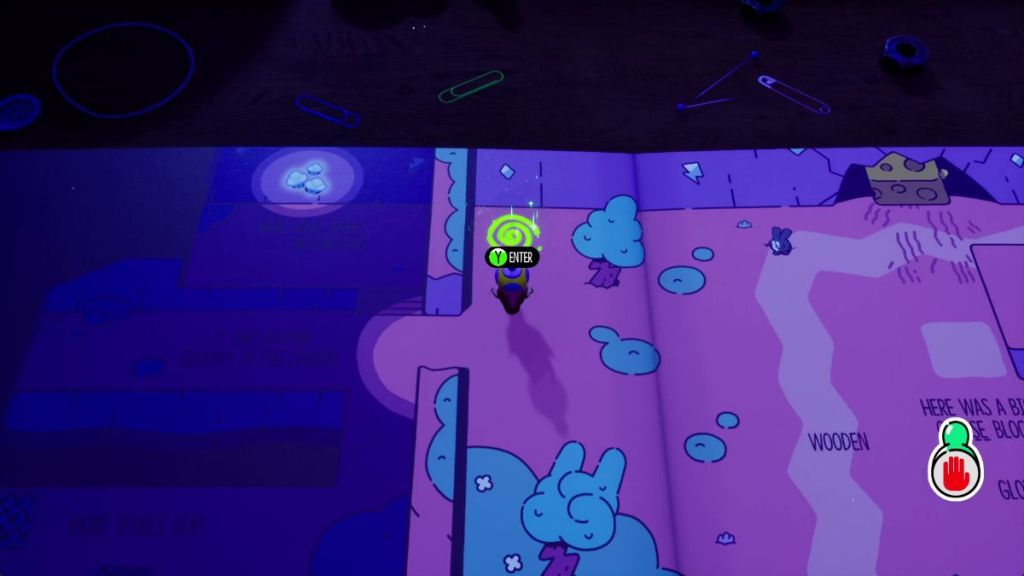

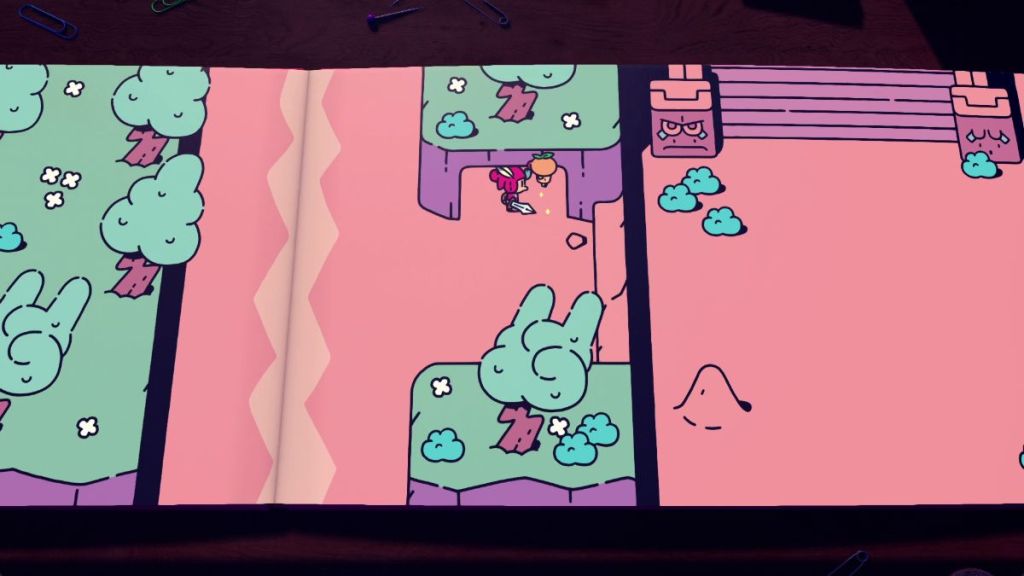
The Glitchbird in Chapter 6 can only be accessed once you get your first or second Weedkiller. Grab it, and flip back 10 pages until you get a page with a forest on the left, stairs on the right, and a cave blocked by metal weeds on the center. You can enter through the portal on the next page and head back through the path south. Then, throw your Weedkiller Bomb at the weeds and rescue this Glitchbird.
All Scrolls in Chapter 6
| Visual Reference | Instructions | Art name and appearance |
|---|---|---|
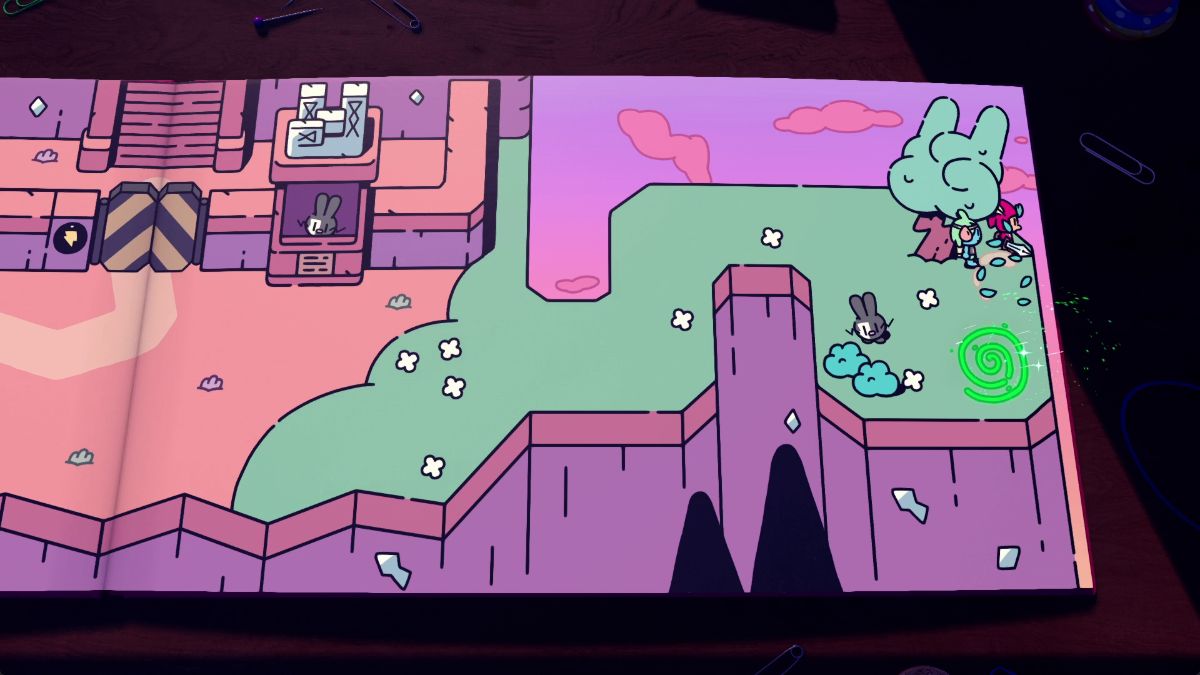
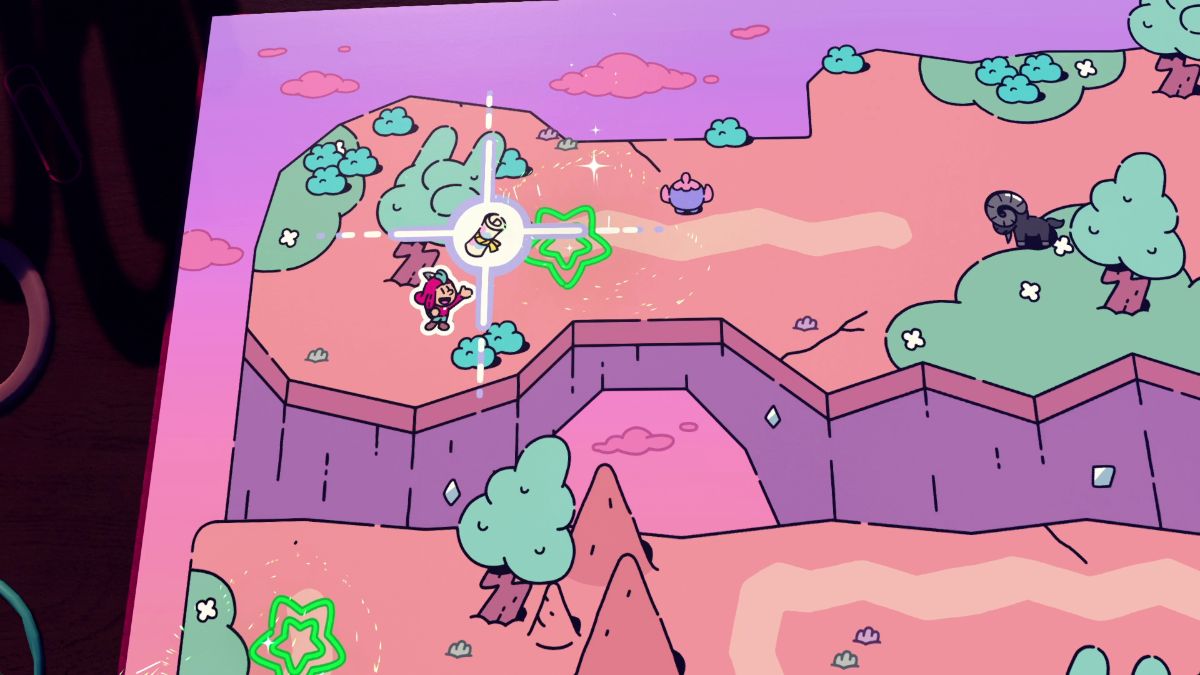 | In the page where you look for two metal handhorns, hit the tree on the upper left side to find this. | 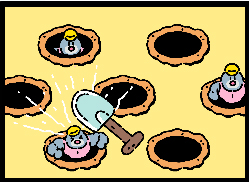 Concept – Gameplay – Moles |
 | Purchase from Martina in the area where you need to show your pass. | 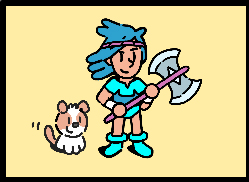 Concept – Character – Thrash |
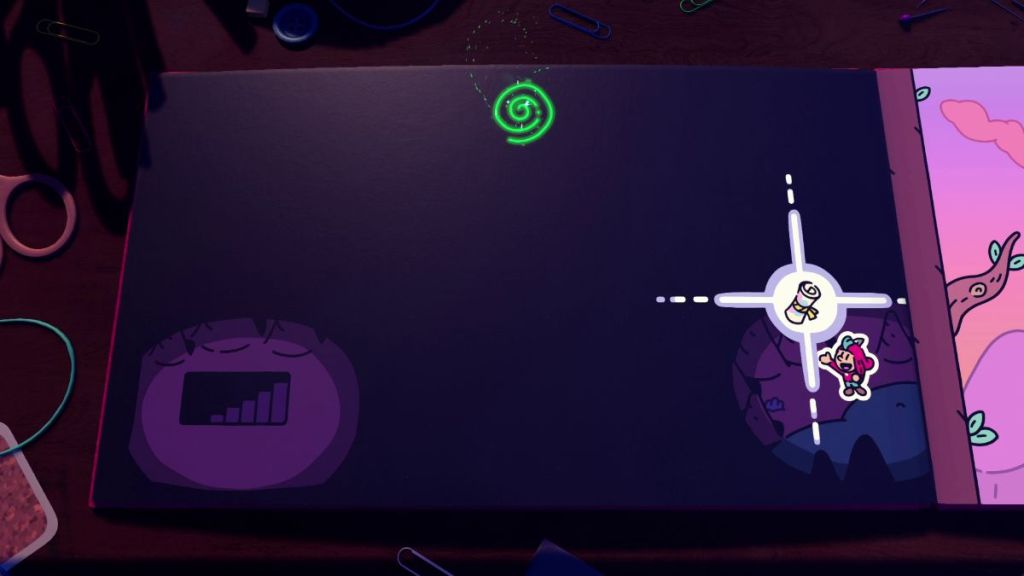 | When you flip to the previous, black page with the stairs on the lower left, look for a scroll on the lower right. | 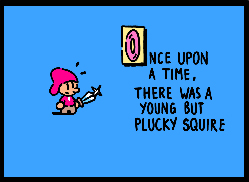 First Sketches 1 |
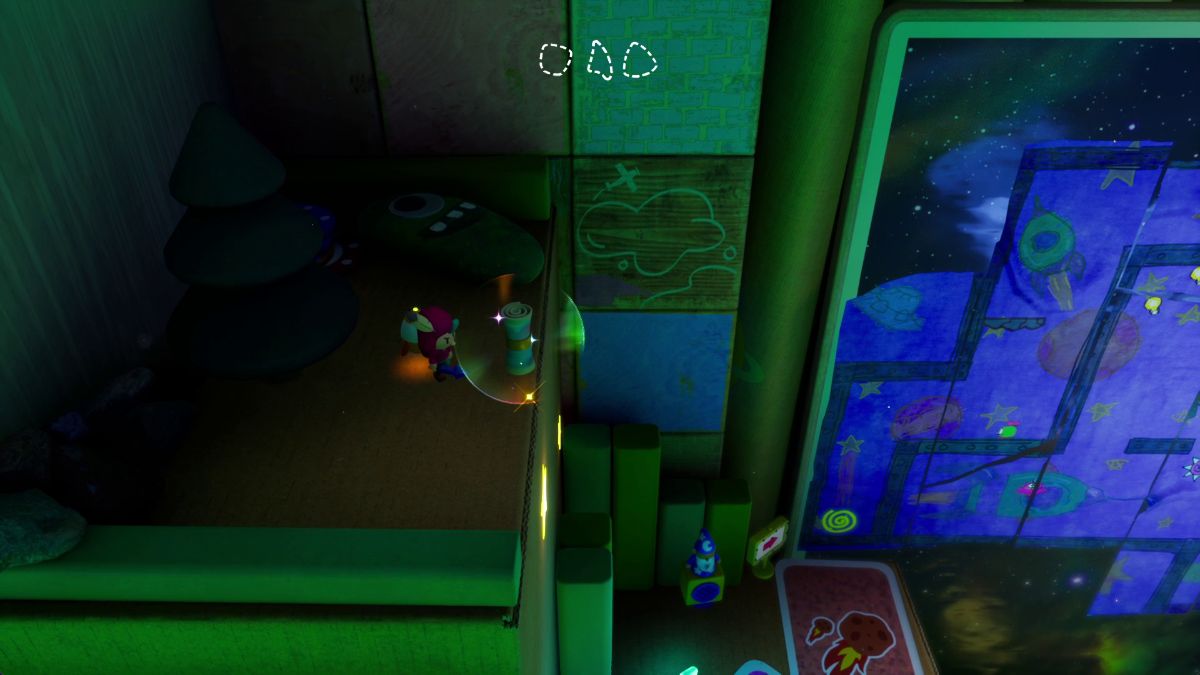 | In the 3D world, while you jetpack through the platforms on the left side, look for a scroll on a floor above Minibeard and before you enter the 2D world on the wall. |  Birth of the Glitchbird |
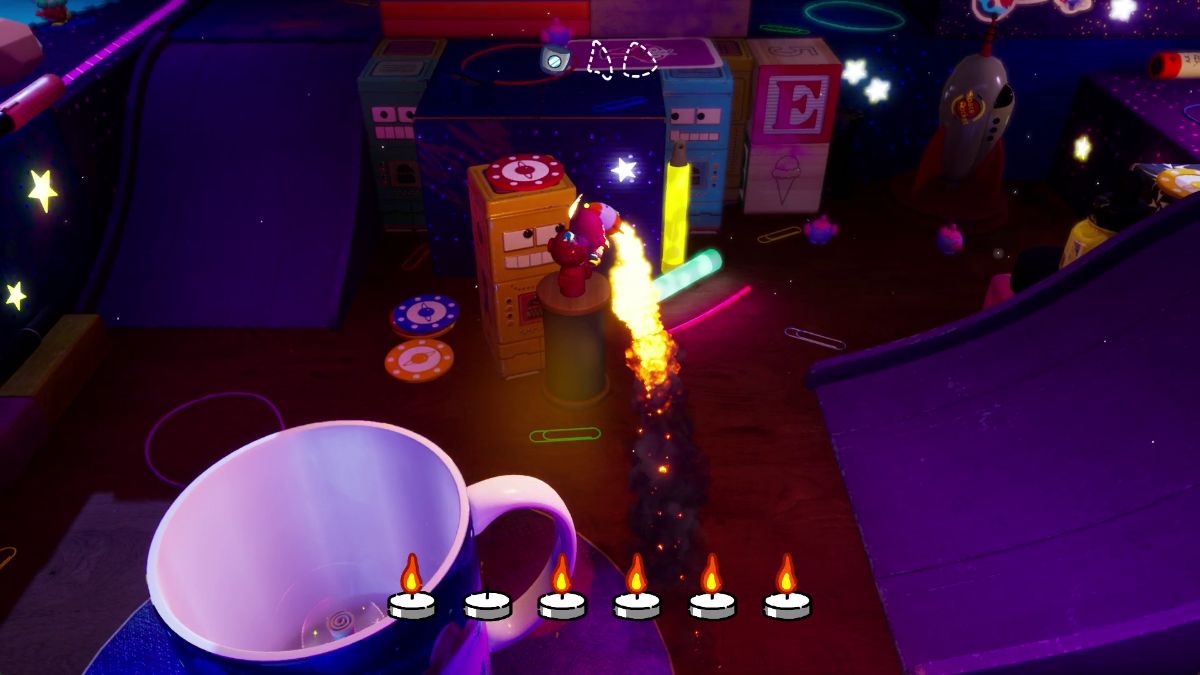 | In the 3D world, while you light up the candles for the Old King, hop inside the cup to find this Art Scroll. |  Alt Hero 1 |
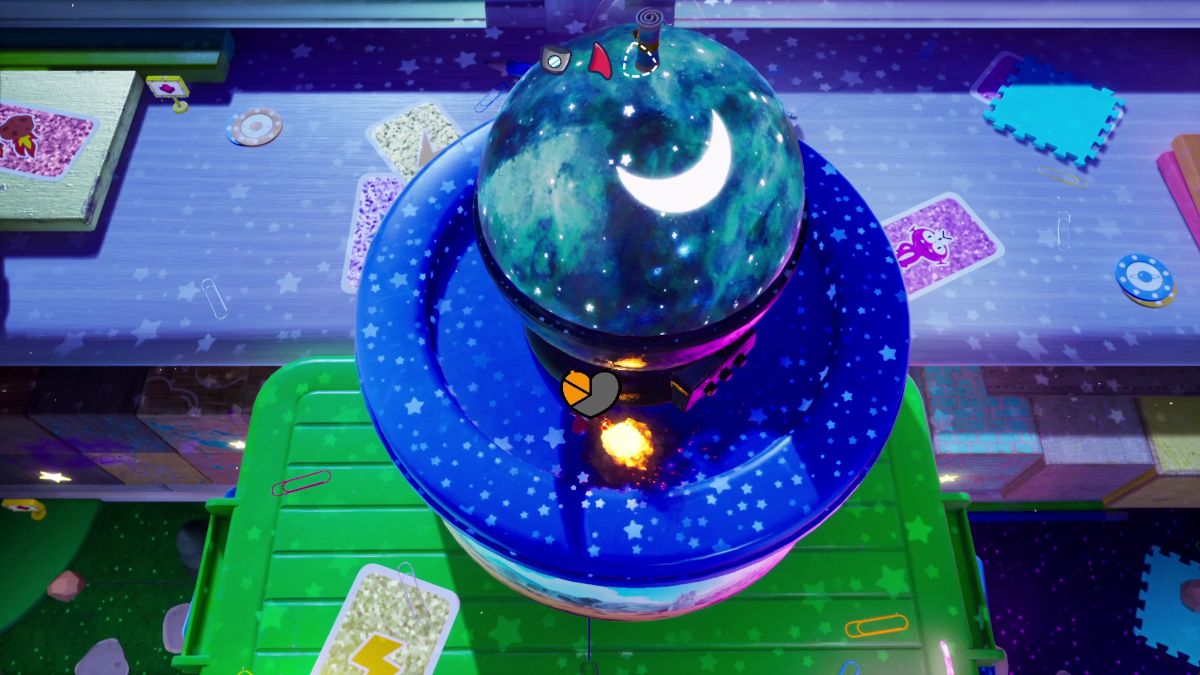 | In the 3D world, on top of the crystal ball where the last Rocket Dad fragment is. | 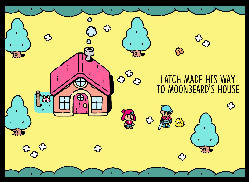 Alt Hero 2 |
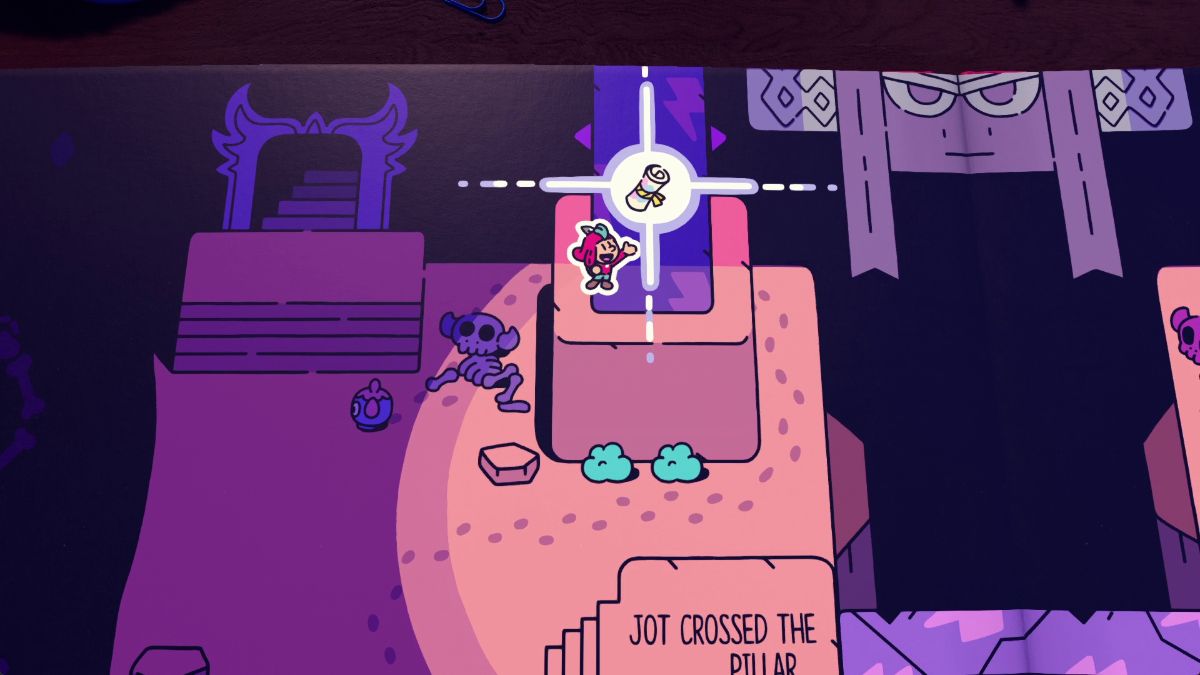 | Inside the cave under the pillars puzzle, look for an Art Scroll behind a pillar on the upper right corner. | 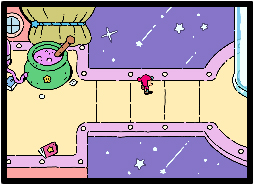 Concept – Area – Wizard Lab |
 | Bought from Martina after solving the Fragmented Pillars puzzle near the end. |  Minigame Art – Resotub |
The Plucky Squire Chapter 7
WALKTHROUGH
GLITCHBIRDS
SCROLLS
Where is Tumba the sleepy bird
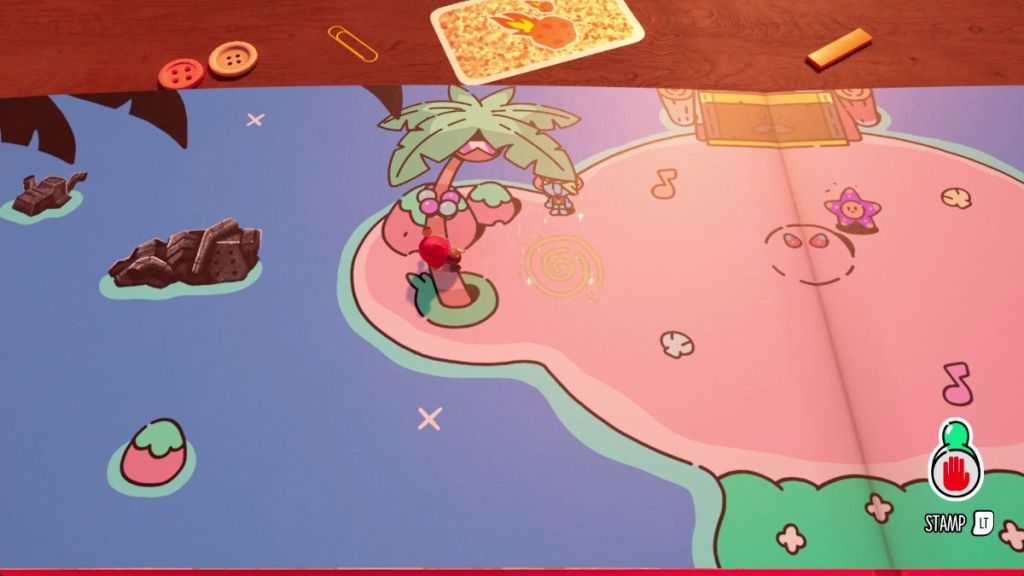
To find Tumba in The Plucky Squire to dig out the starfish, exit through the portal on the left and flip five pages back until you’re at the very start of Chapter 7. Here, look for a portal near the palm tree and, once you’re back in 2D, speak with Tumba and bring him back to the starfish.
How to open the pink gate
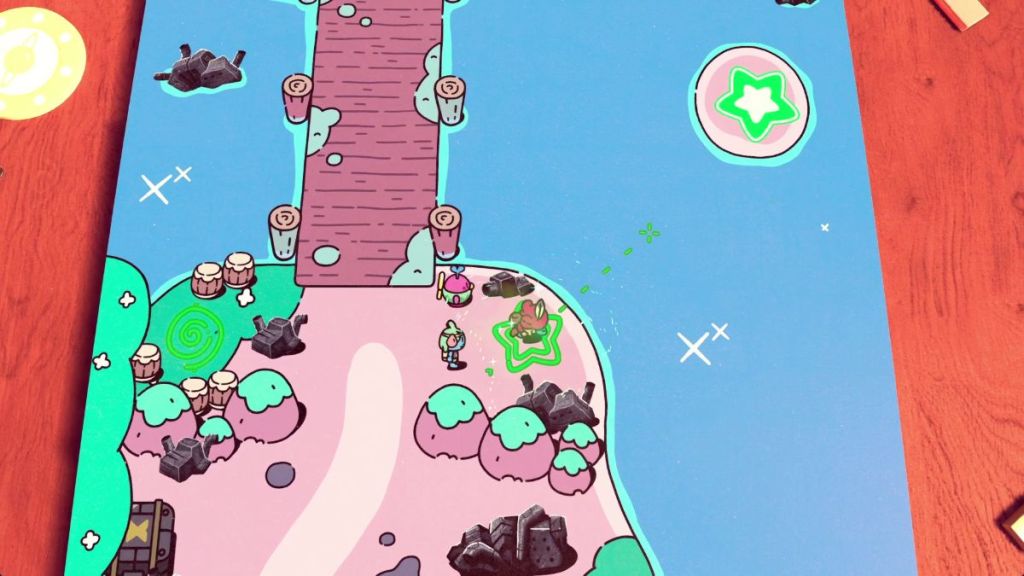
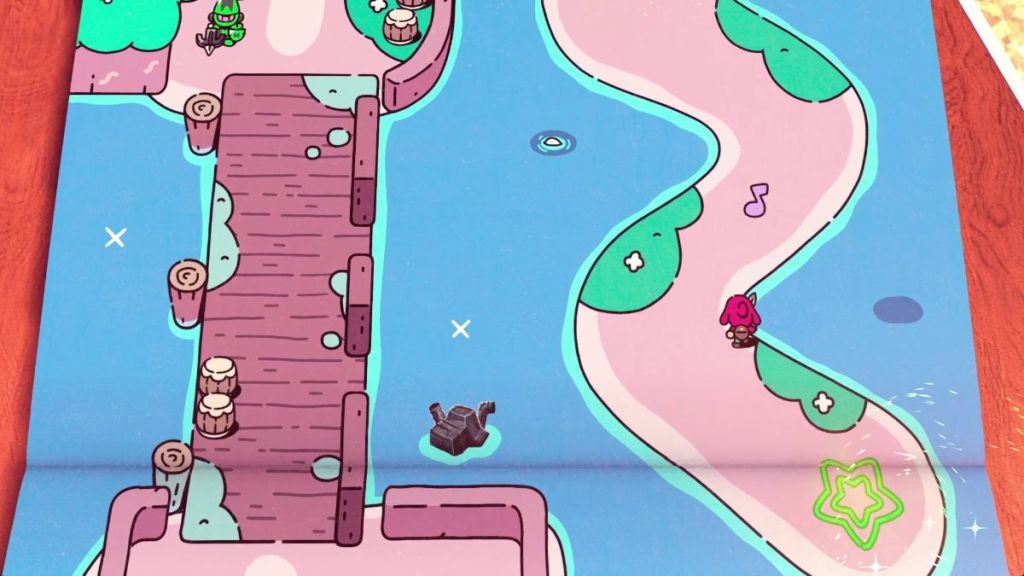
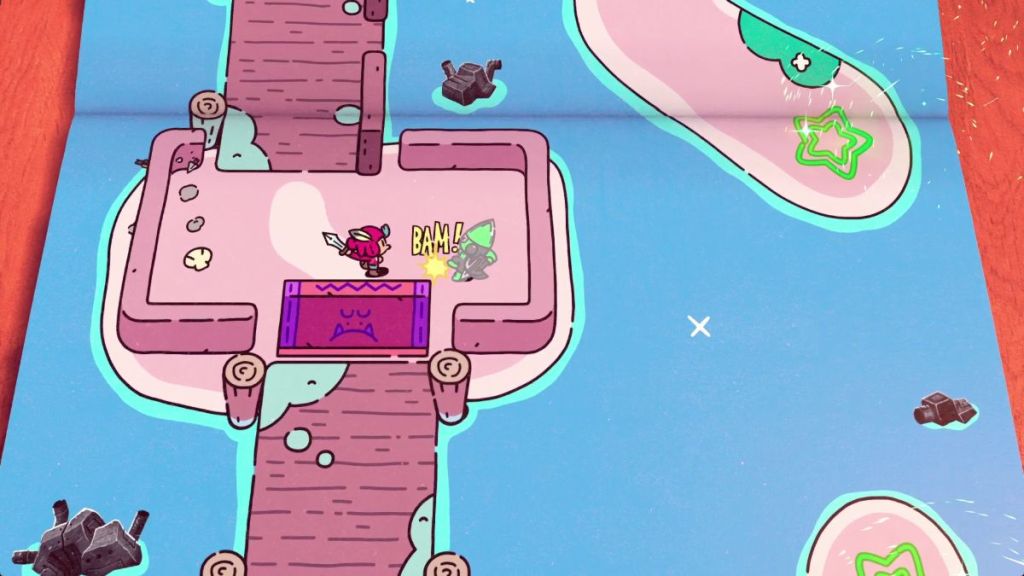
Use the star portals to progress to the narrow islet. Here, shoot the two octopuses. Keep making your way to the mainland and defeat all soldiers here.
How to solve the Buccaneer Bay puzzle
To solve the puzzle with water and ice in Buccaneer Bay, follow these steps:
| Visual Reference | Instructions |
|---|---|
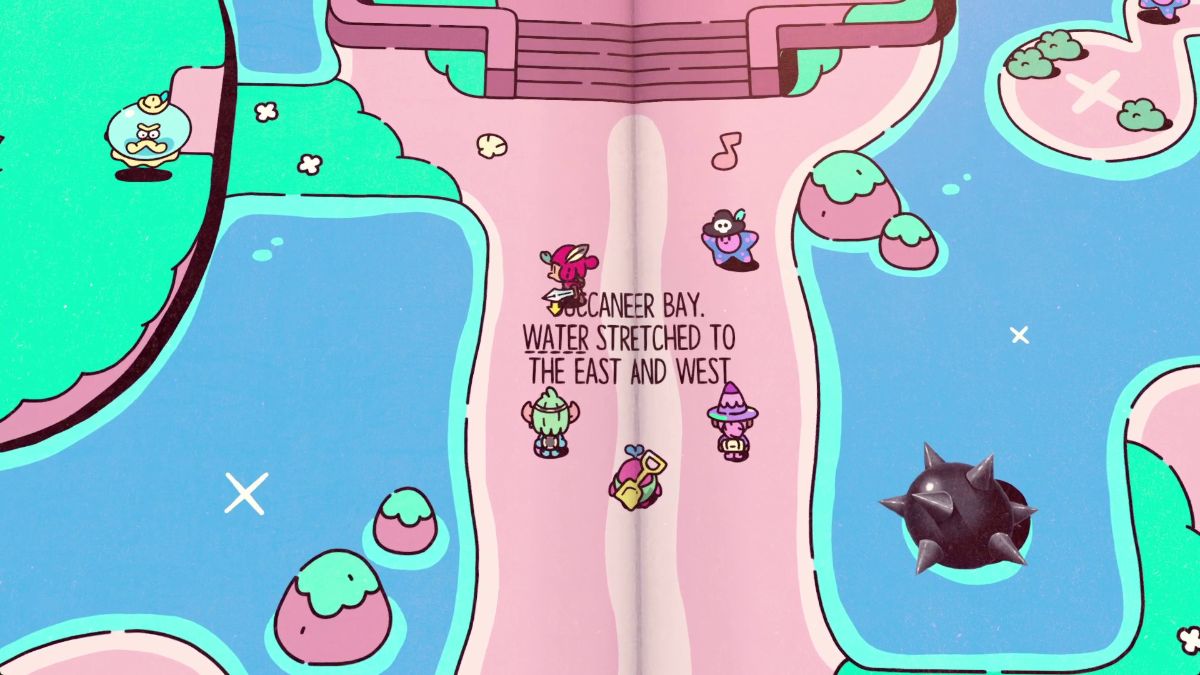 | First, defeat all enemies in the main islet. |
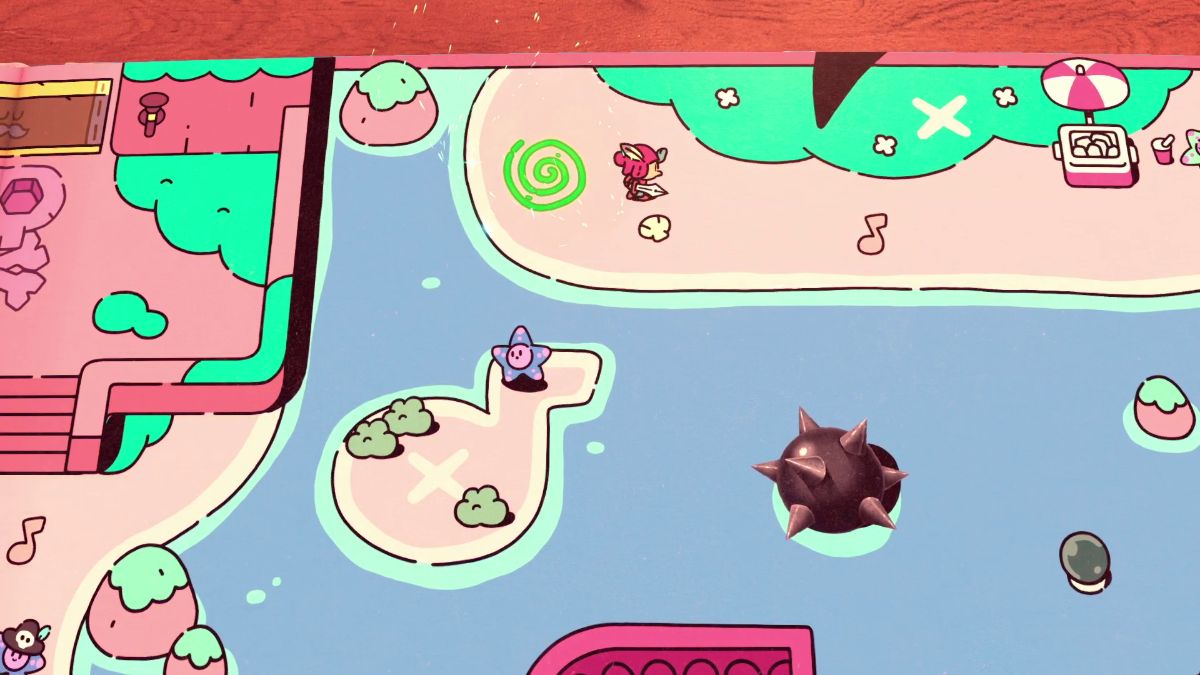 | Then, go through the portal on the upper right and head back into the 2D world through the portal on the northern islet. Here, pick up the word ICE and bring it back to the main islet. |
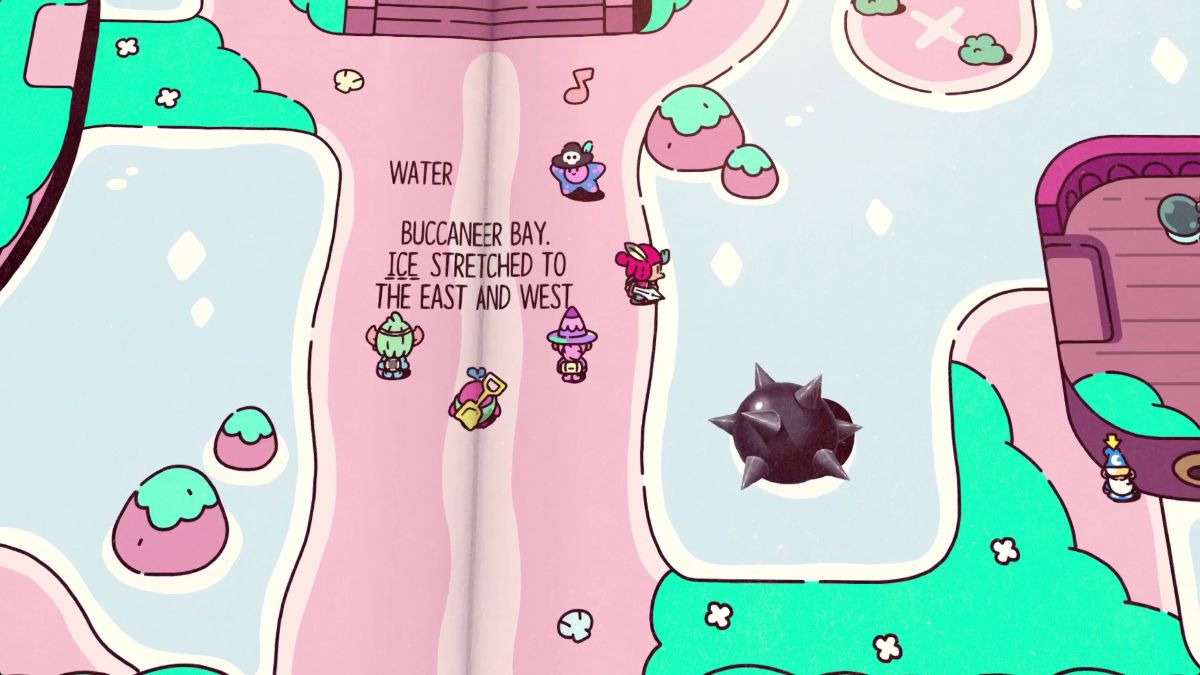 | Replace WATER with ICE. You can now walk all over… or, well, slide clumsily. |
 | Defeat all enemies in the room. The octopuses will be out of reach for now, but we’ll deal with them later. |
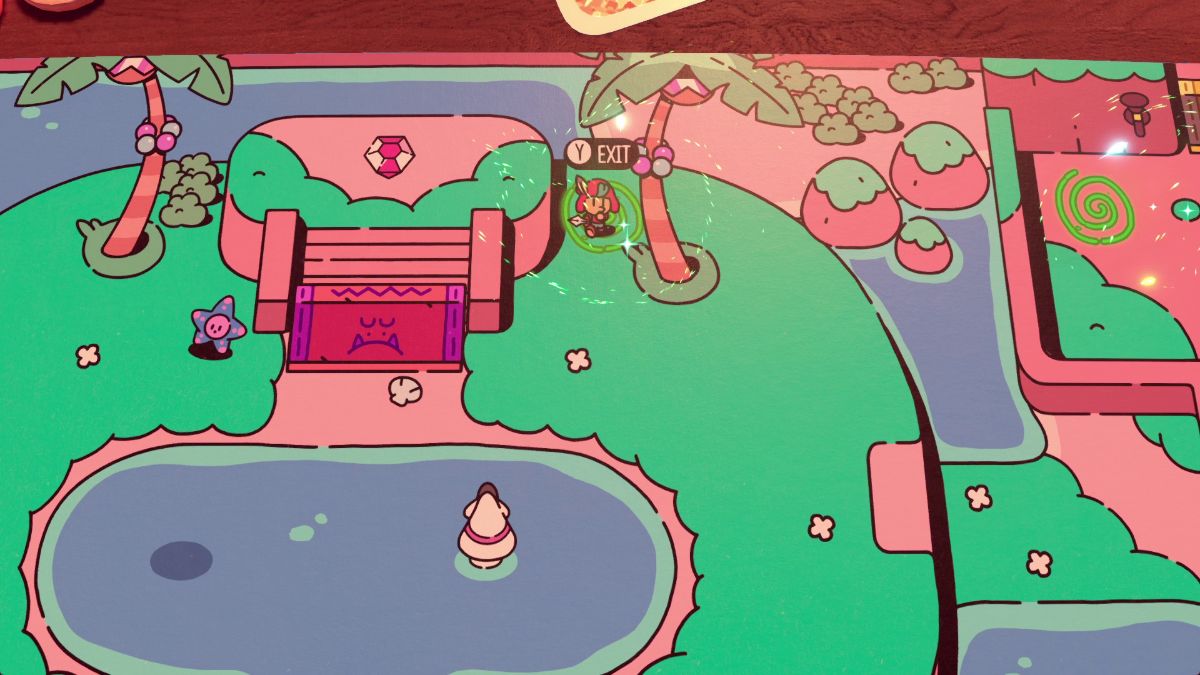 | Replace ICE with WATER again. Using the portal, head to the islet to the left and deal with the octopuses. |
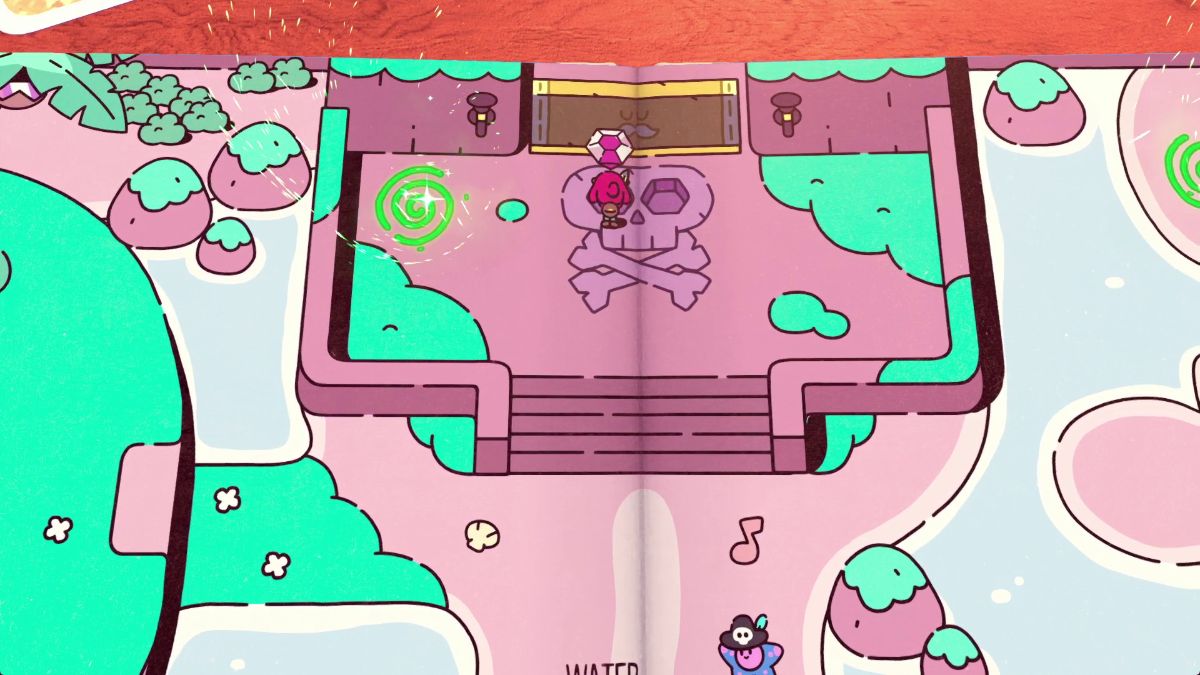 | Once the pink gate lowers, grab the pink diamond and place it on the left eye of the skull before the large yellow gate. |
 | Switch back to ICE and look for a spot you can dig with Tumba on the right. Here, you get a catapult portal. |
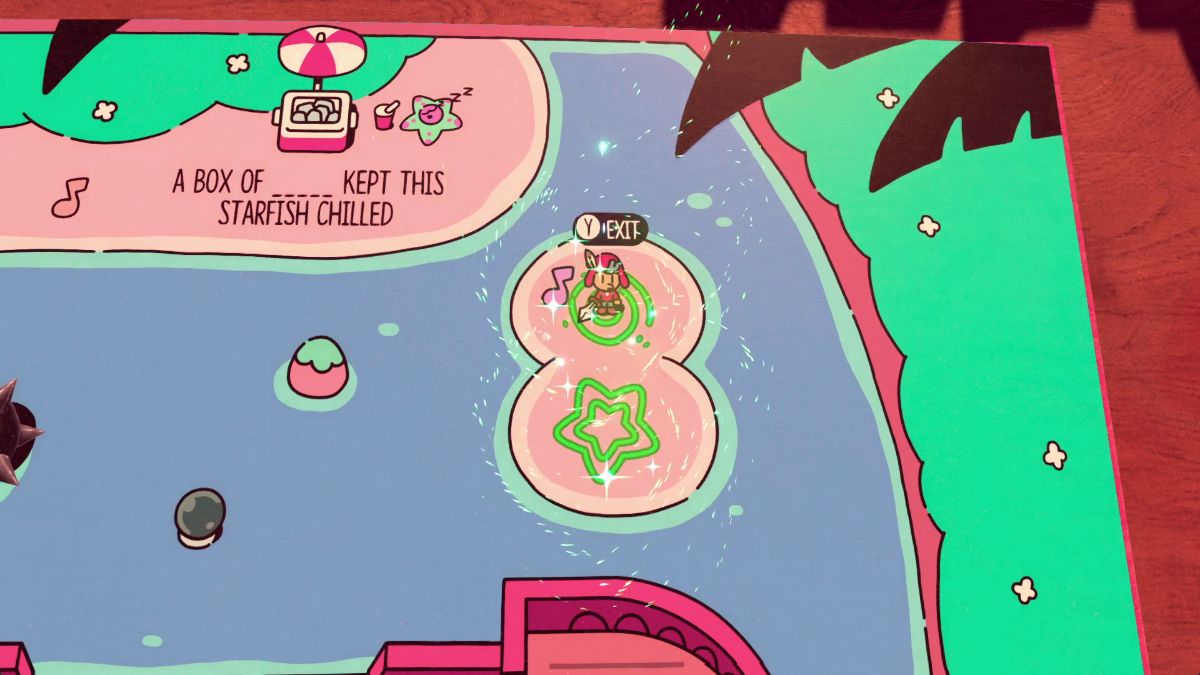 | Switch back to WATER and, with the portals, head to the tiny islet with the catapult portal. |
 | With your sword, hit all three black crystal balls to light them up and open the treasure chest. |
 | Place the blue diamond on the skull’s empty eye socket to proceed. |
How to get the Bomb Stamp
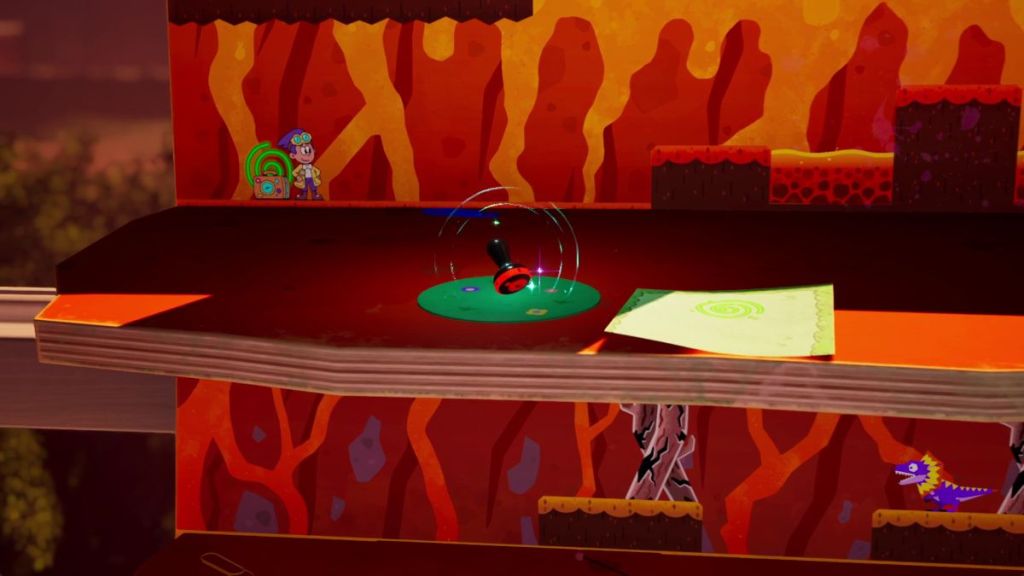
To get the Bomb Stamp, you’ll need to place two key items on each side of the gate to open it and complete a platforming challenge to get to the top. Here’s a step-by-step guide:
| Visual Reference | Instructions |
|---|---|
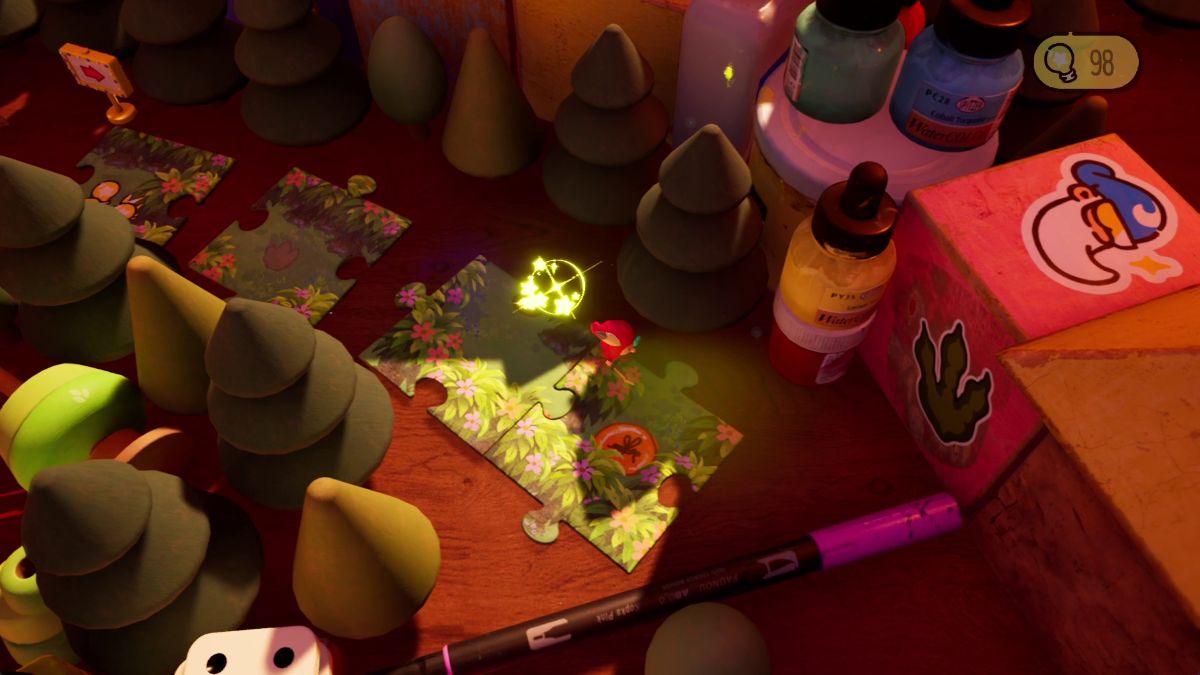 | The first bulb to open the gate is inside a jigsaw to the right. |
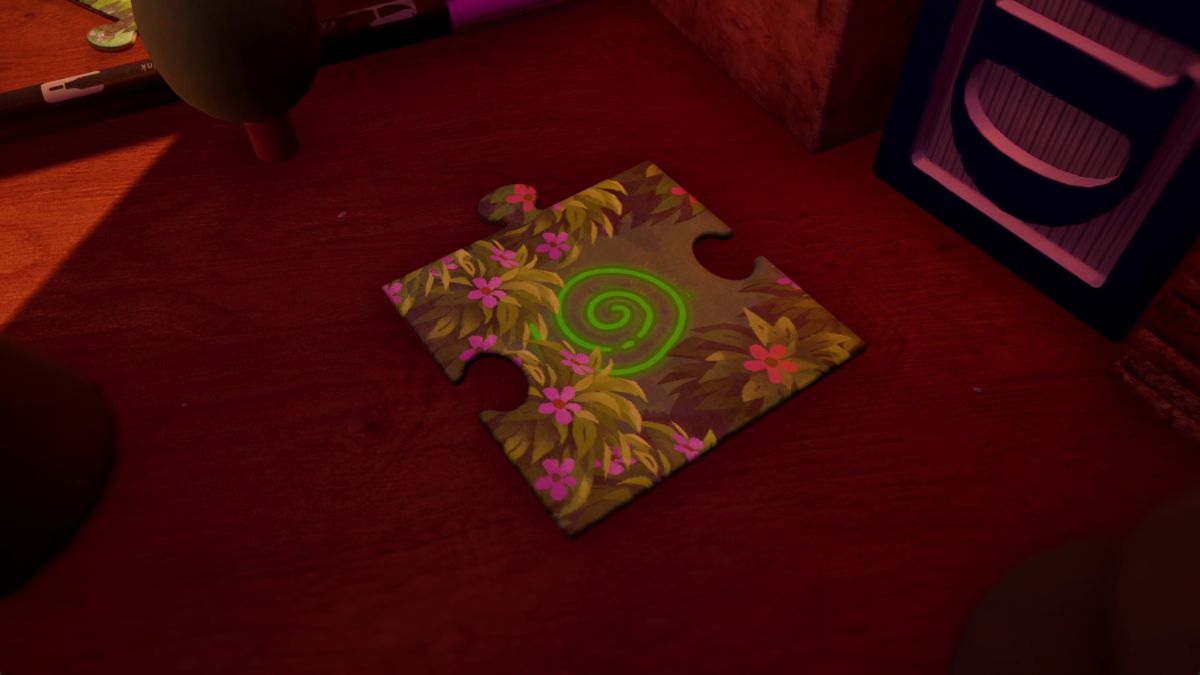 | Defeat all enemies to open up a portal in one of the jigsaw pieces. Then, head in. |
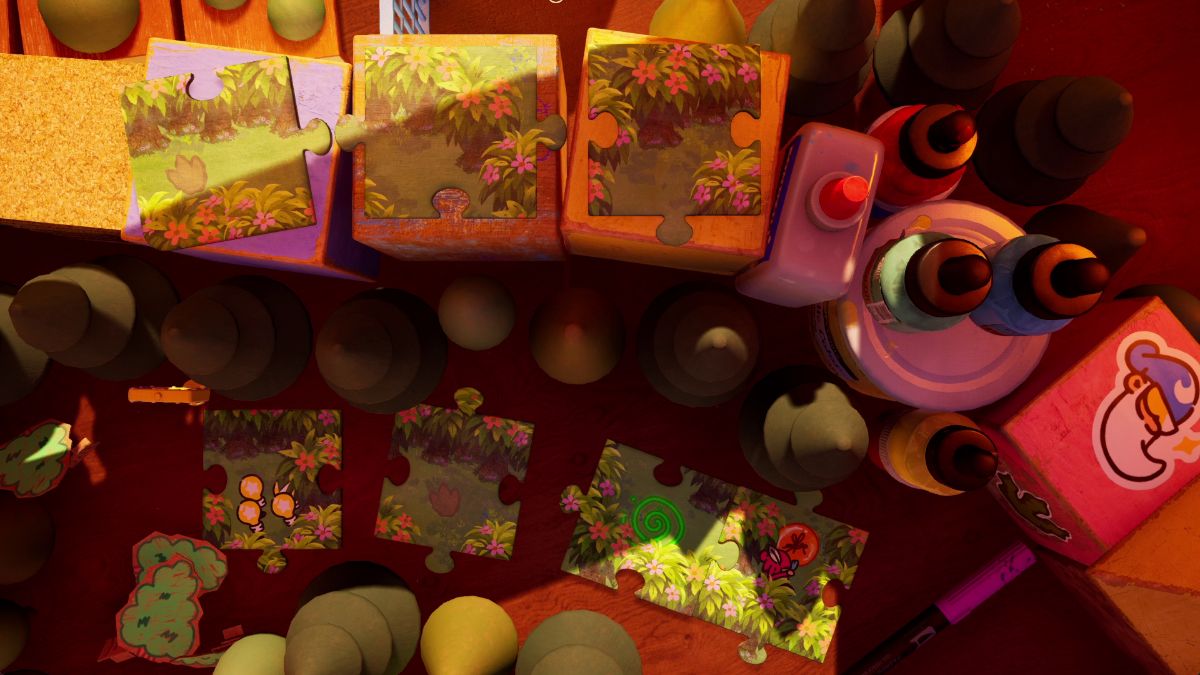 | Head up, right, and down to grab the light bulb and take it back to the portal. Then, place it on the right side of the gate. |
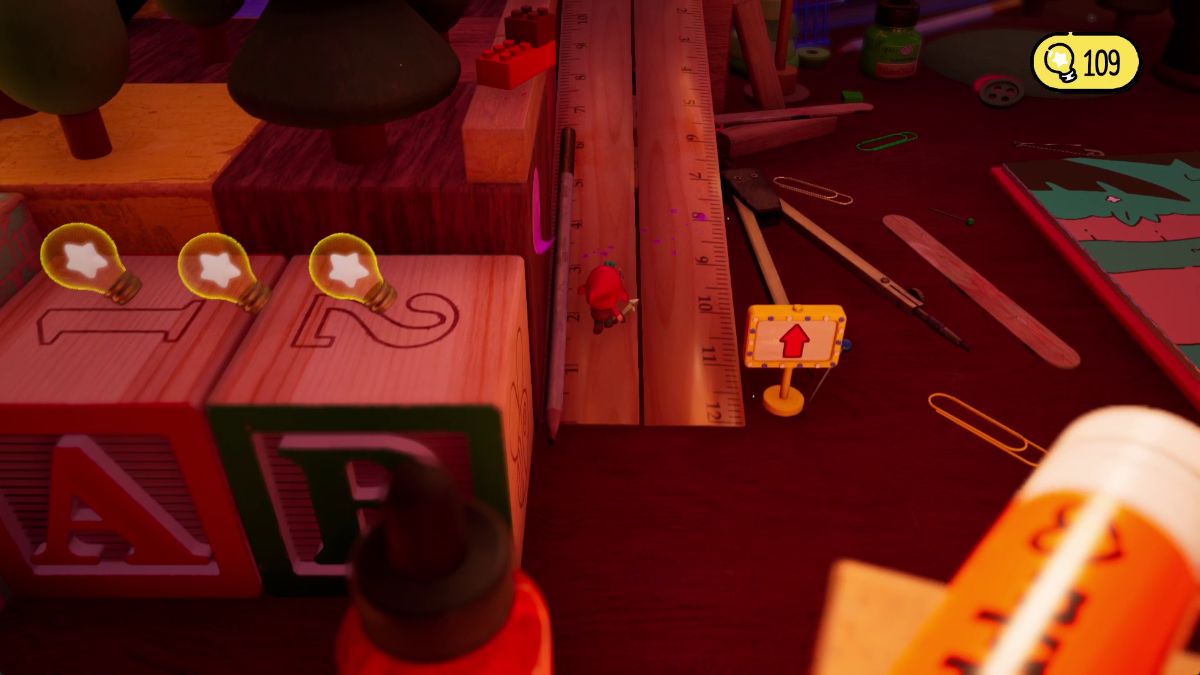 | The second light bulb is on the left. Head up the ruler. |
 | Defeat all the enemies in this area to open up a portal. If it still won’t budge, look for a hidden area down the blue and red domino. |
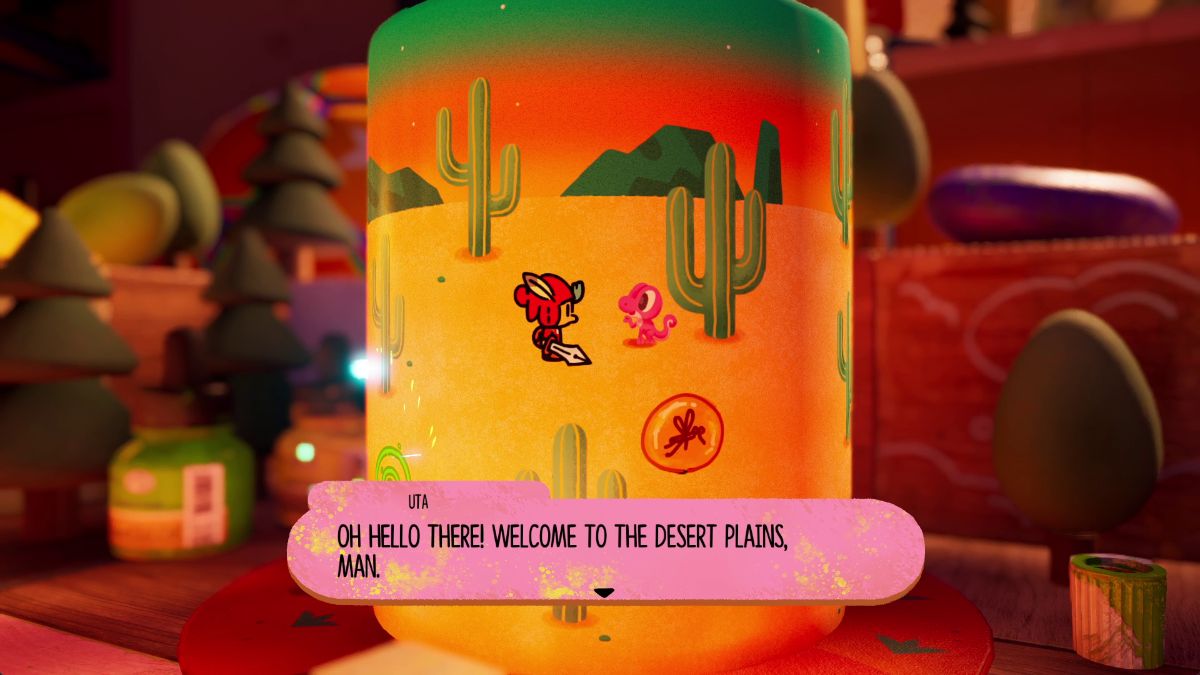 | Inside the cup, speak with the pink dino and take the light bulb. Then, place it on the left side of the gate. |

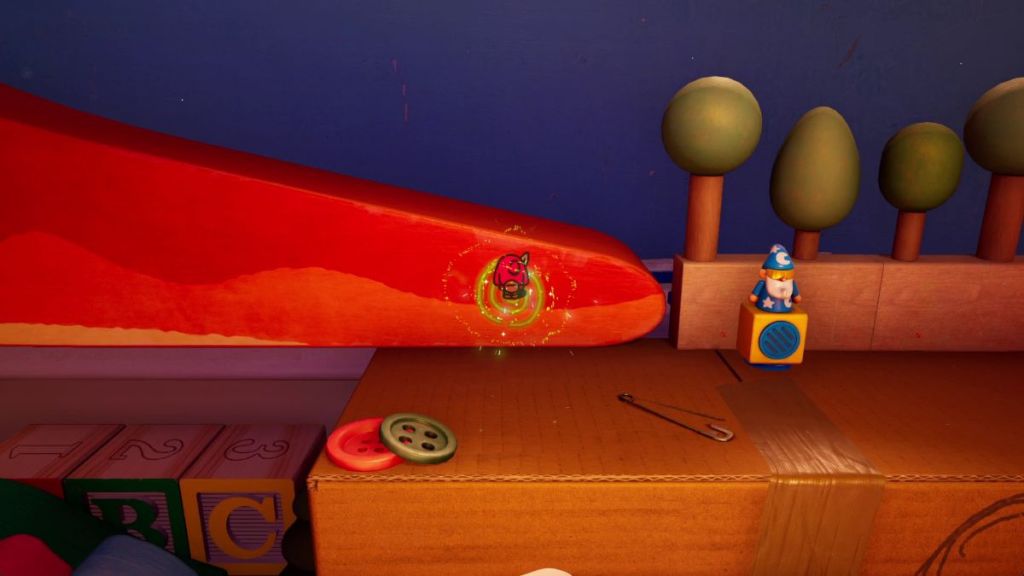
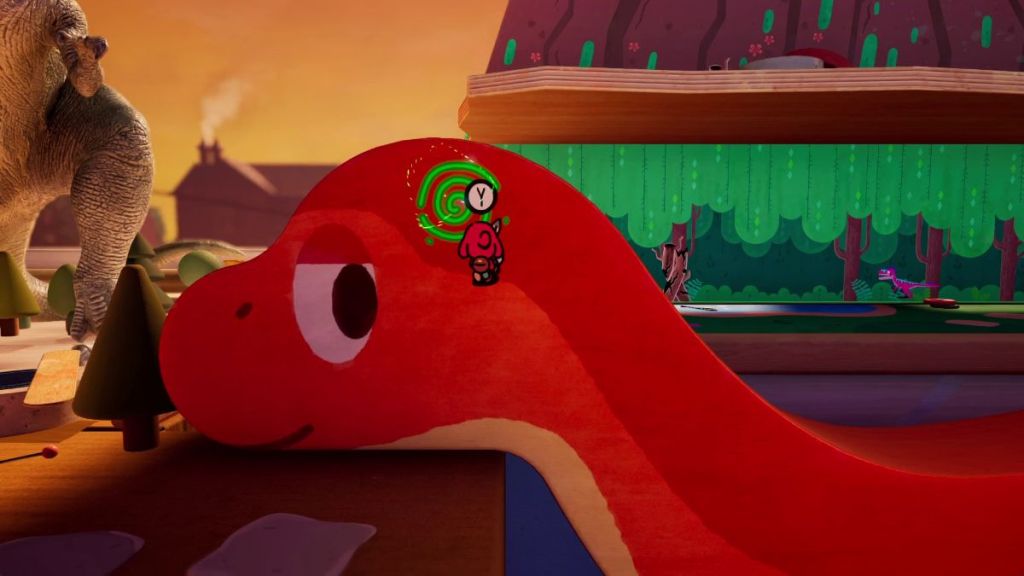
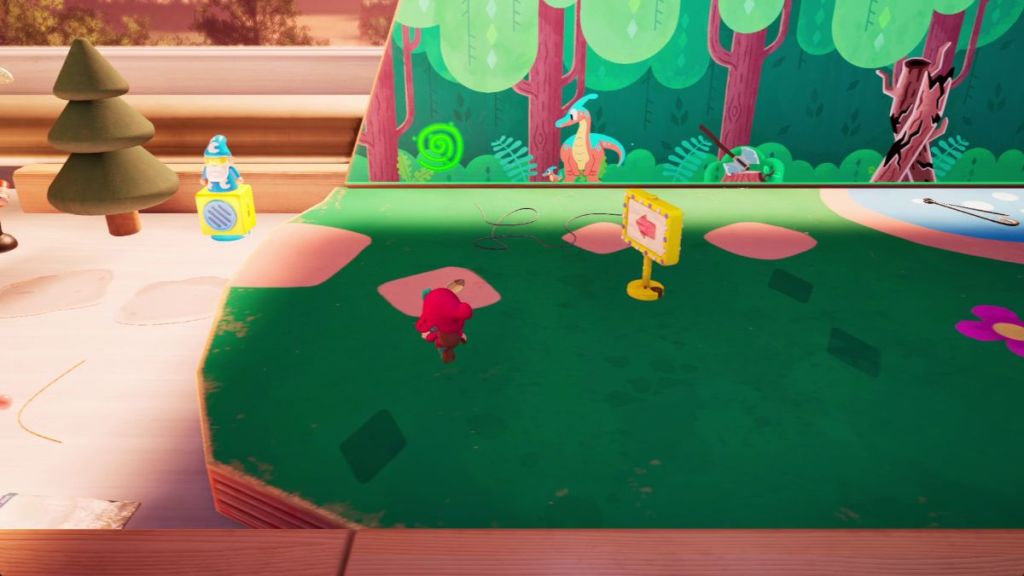
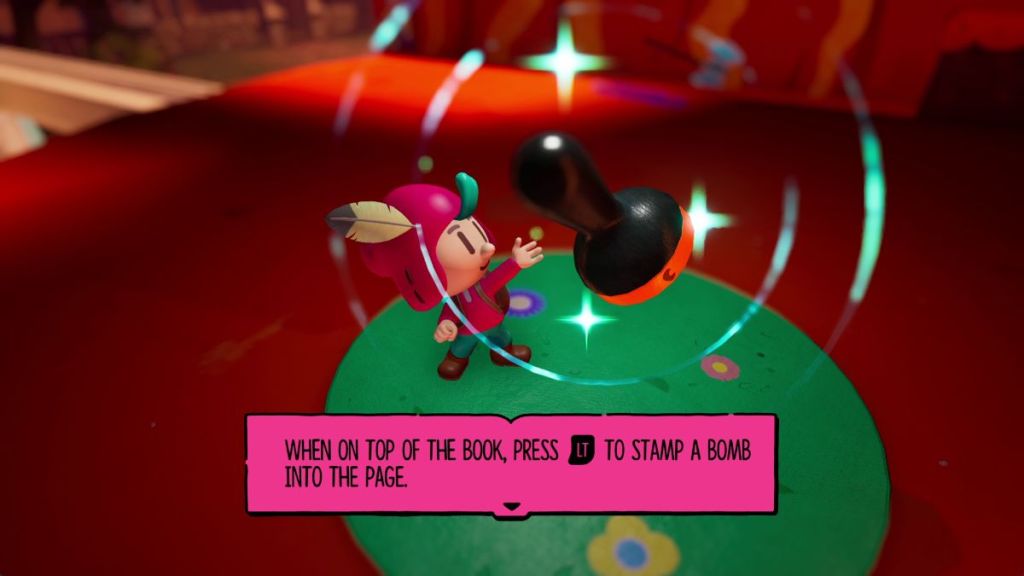
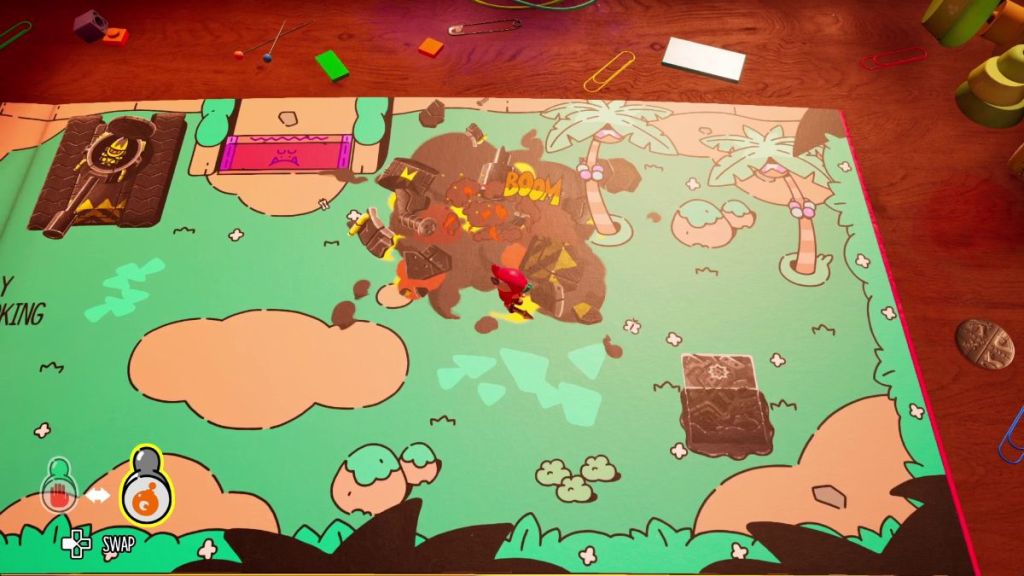
After opening the gate, head to the right to climb up the dino’s tail. Once inside the dino, defeat all mice, and they’ll grant you access to a portal to exit. Then, head inside the 2D jungle and make your way through each level and challenge until you reach the top. Here, you’ll meet Tim and get your Bomb Stamp, which you can use to drop bombs inside the tanks and defeat these soldiers.
How to get out of the cave
When you reach the end of the road, you’ll need to get a bit crafty to carry on through the jungle.

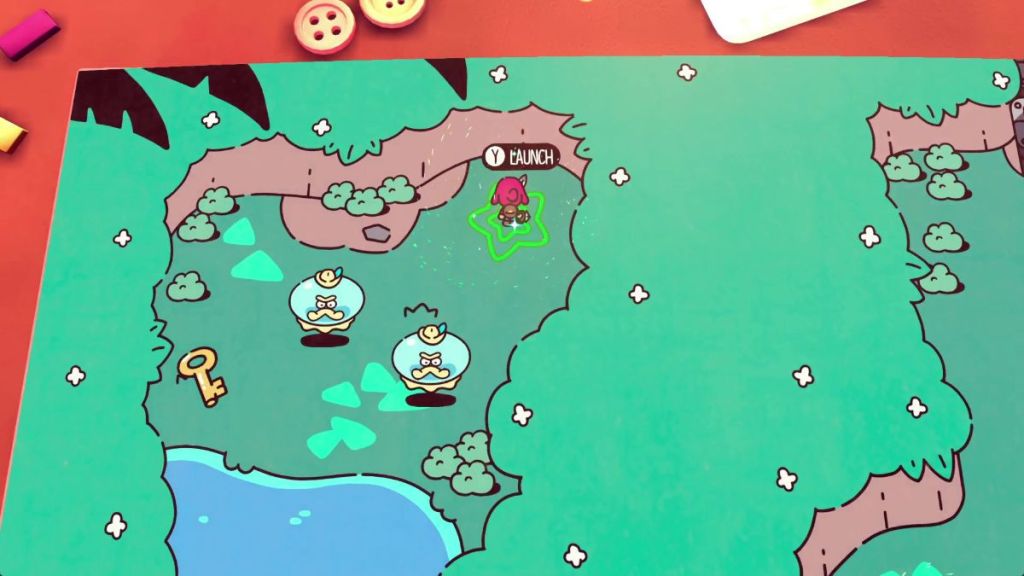
To go through the road, exit through the portal and bomb the greenery on the right and left sides to reveal a path. Back in 2D, launch yourself to the left side and grab the key to open the blue gate on the right side. Head down the stairs to enter a cave.
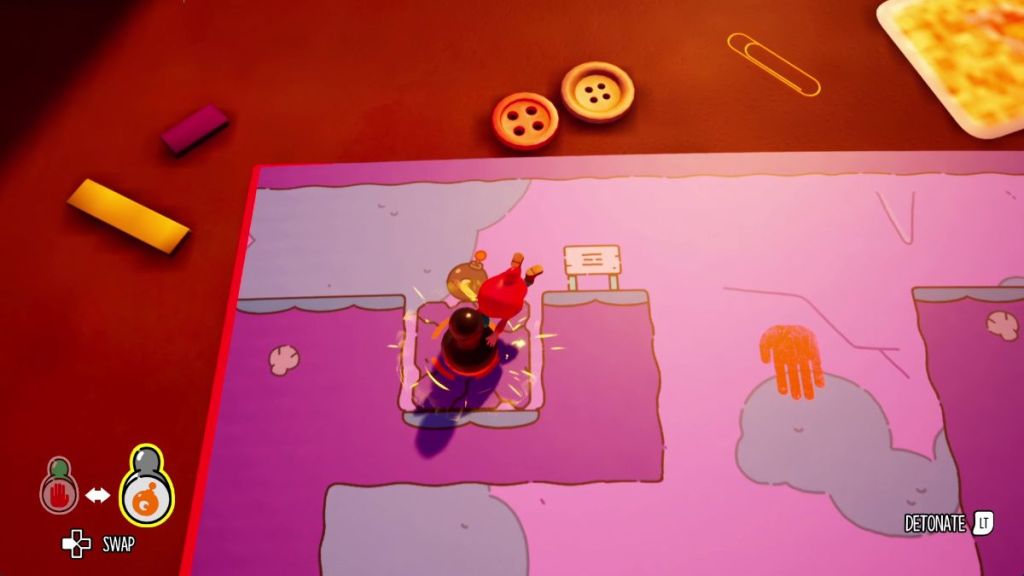

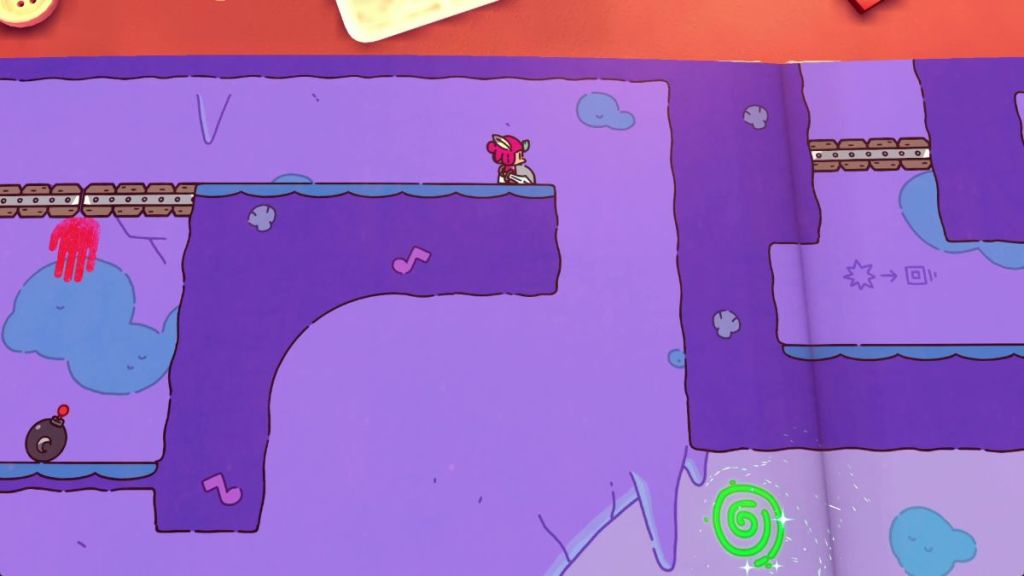
Head outside through the portal and place a Bomb Stamp on the fragile block and detonate it. Then, throw a bomb on top of the red trigger on the right and head back into 2D. Go across the wooden bridge you deployed and activate the lever on the right.
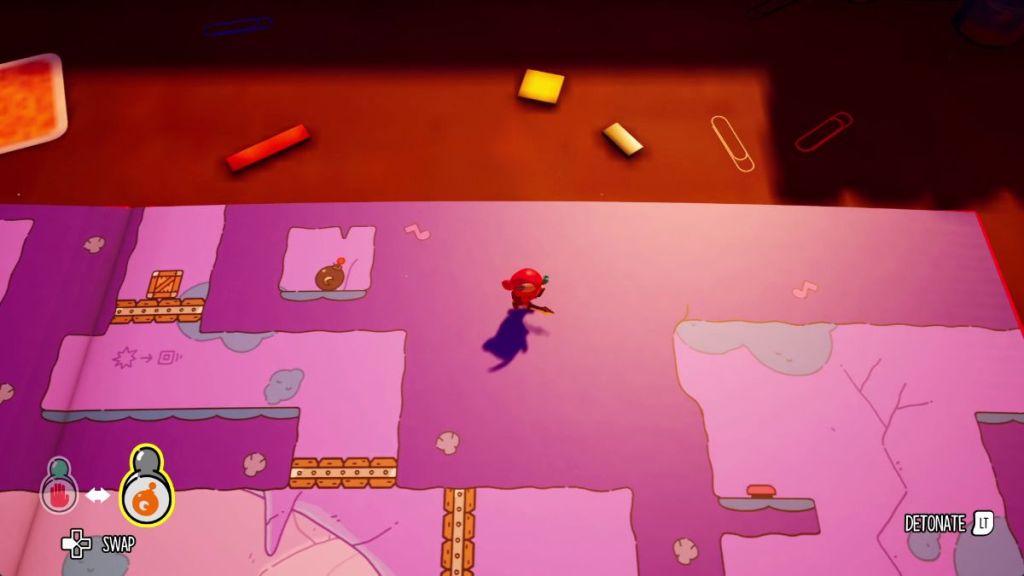
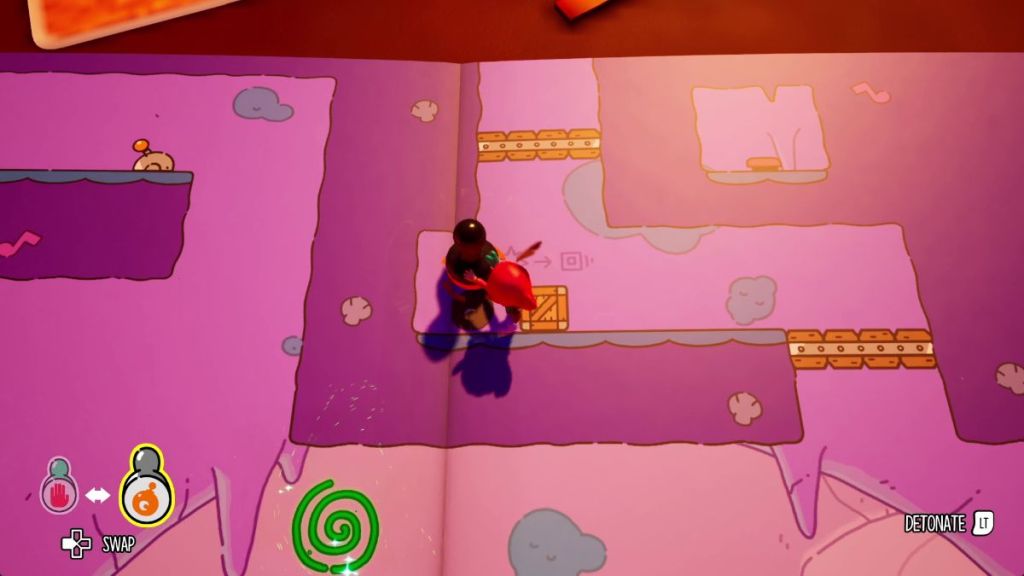
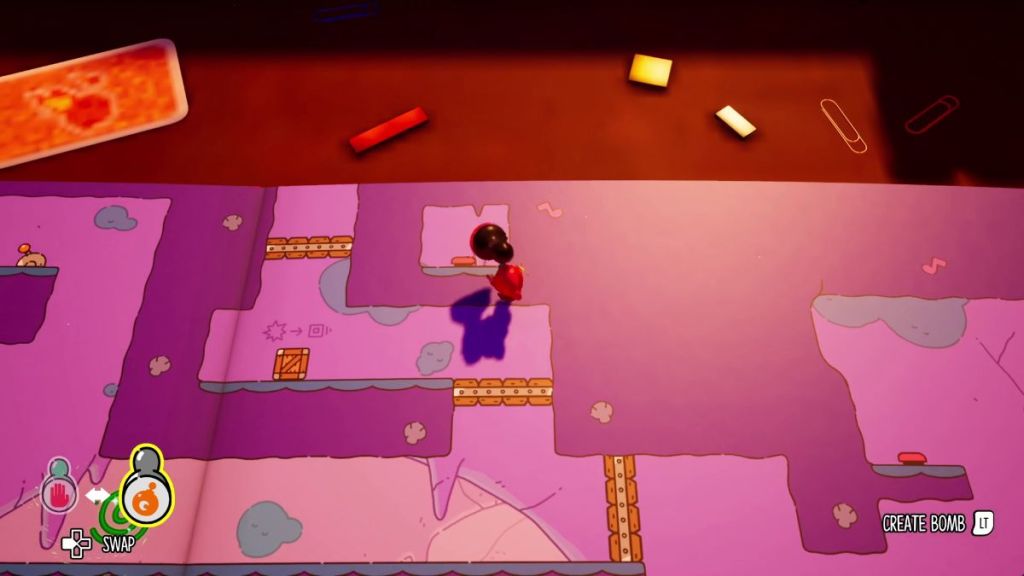
The next step is to stamp a bomb on the red trigger inside a square-shaped space in the upper right corner of the cave. This causes the wooden block to drop. Here, drop a bomb next to the wooden block and detonate it to push it toward the wooden bridge to the right. Then, drop a bomb on the red trigger from before.
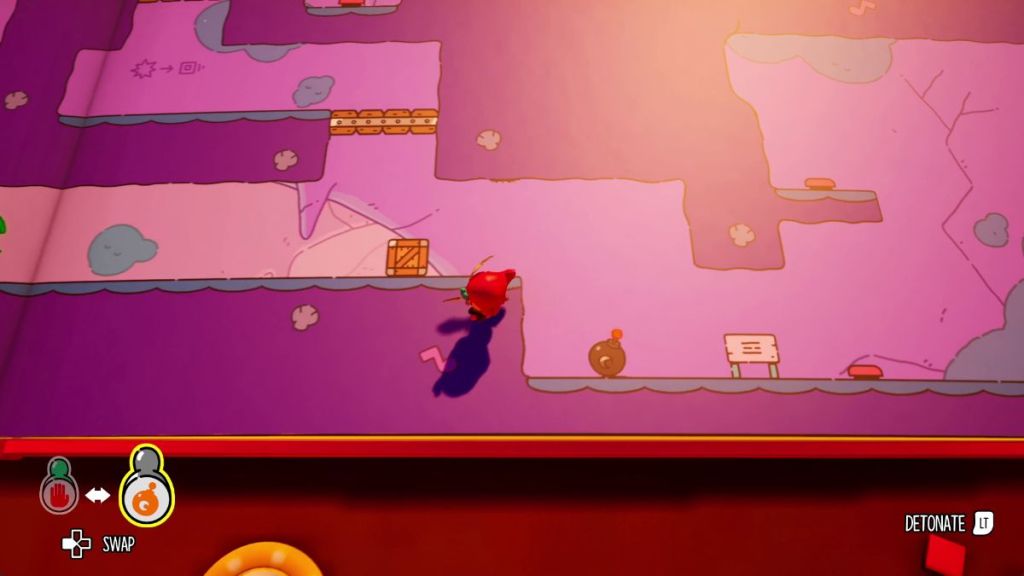
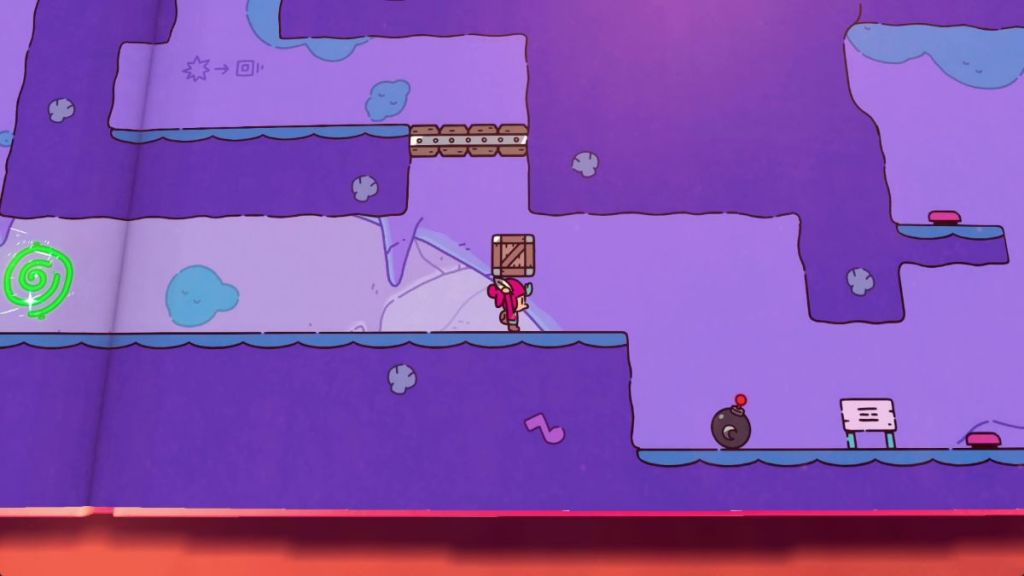

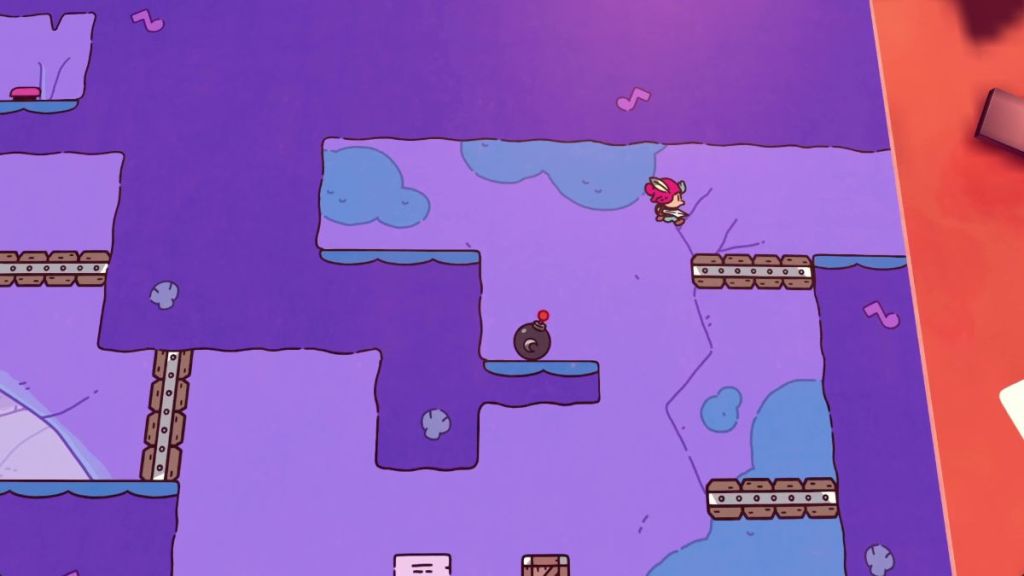
Stamp a bomb on the red trigger to the white sign’s left. Then, head through the portal and manually grab the wooden block. Place the wooden block on the red trigger to the white sign’s right. Then, grab the bomb, climb on the wooden bridge you just deployed, and place the bomb on the remaining red trigger to the upper left. Out of the cave you go!
How to solve the battery puzzle
To power up the bridge with a battery, follow these steps:
| Visual Reference | Instructions |
|---|---|
 | Activate the lever to the right to lower the heavy yellow gates and defeat all enemies. |
 | Step on the cove to the upper left and steal the world GOBLIN. |
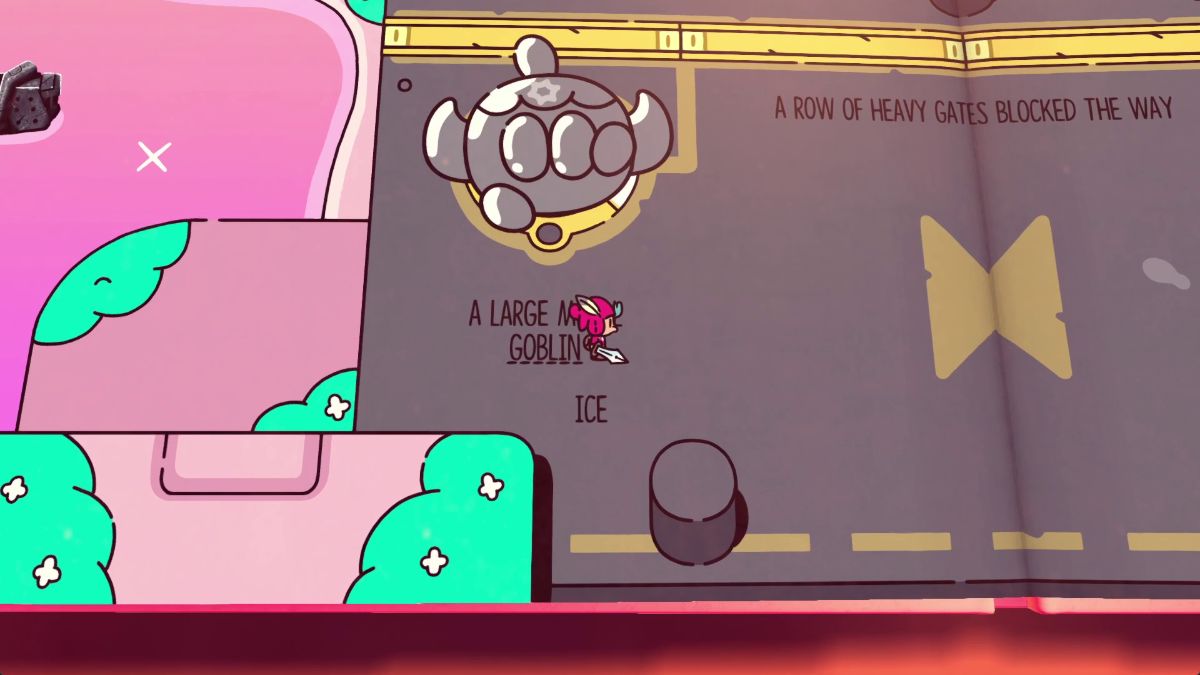 | Replace BATTERY with GOBLIN. Then, place BATTERY in the empty slot above. |
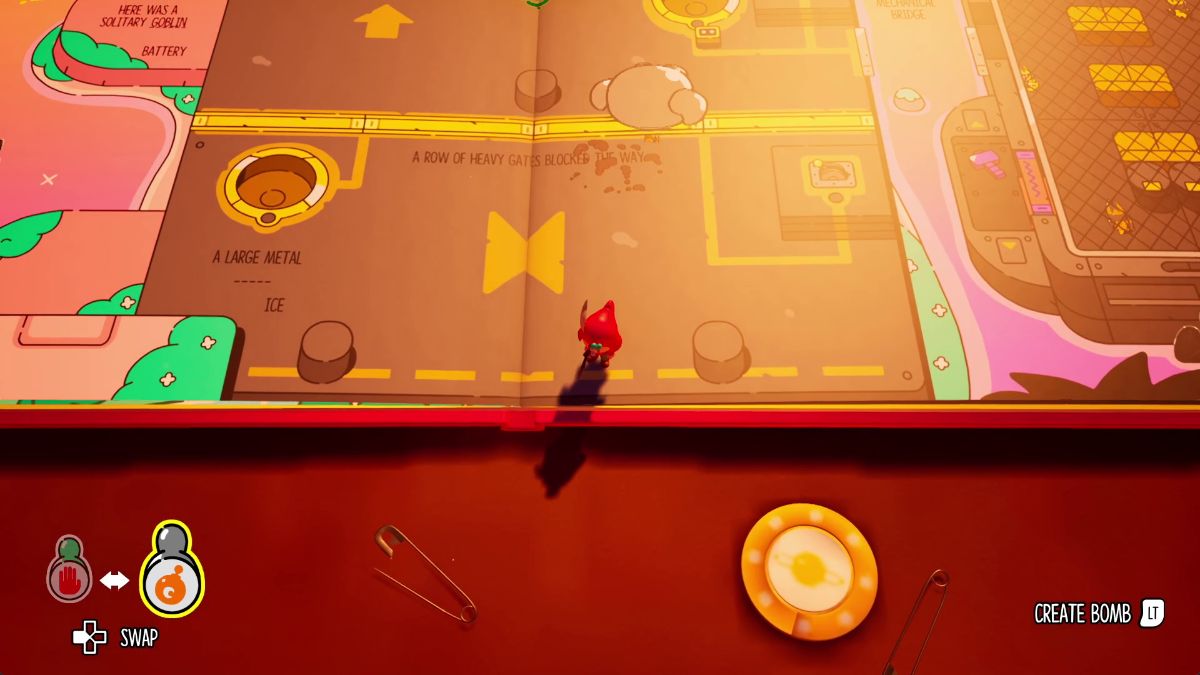 | Step into the 3D world and push the Goblin to the hole on the upper right using your Bomb Stamp. |
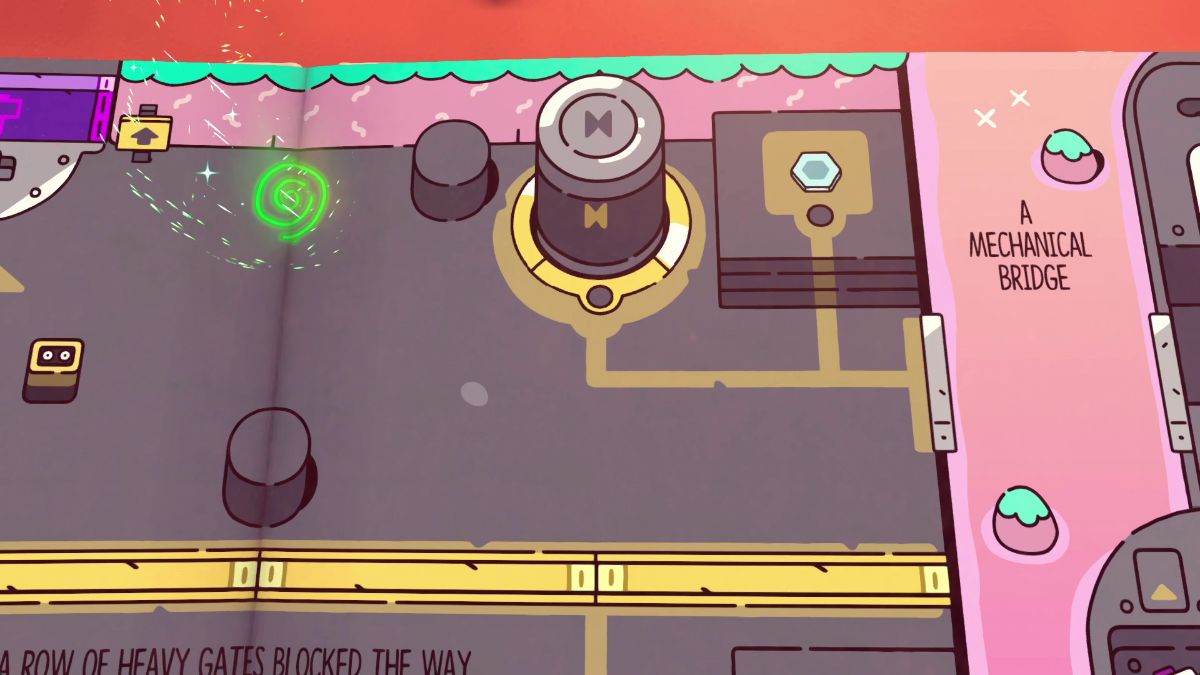 | Turn the METAL Goblin into a BATTERY. |
 | Place the solitary battery on the trigger. |
 | Grab the hammer and use it to open the door. |
Glitchbird in Chapter 7
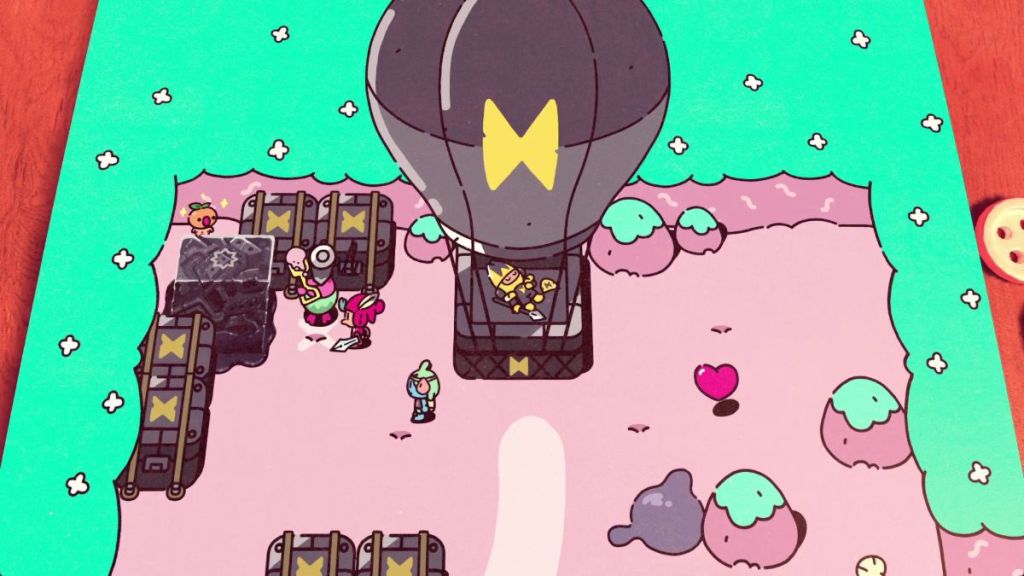
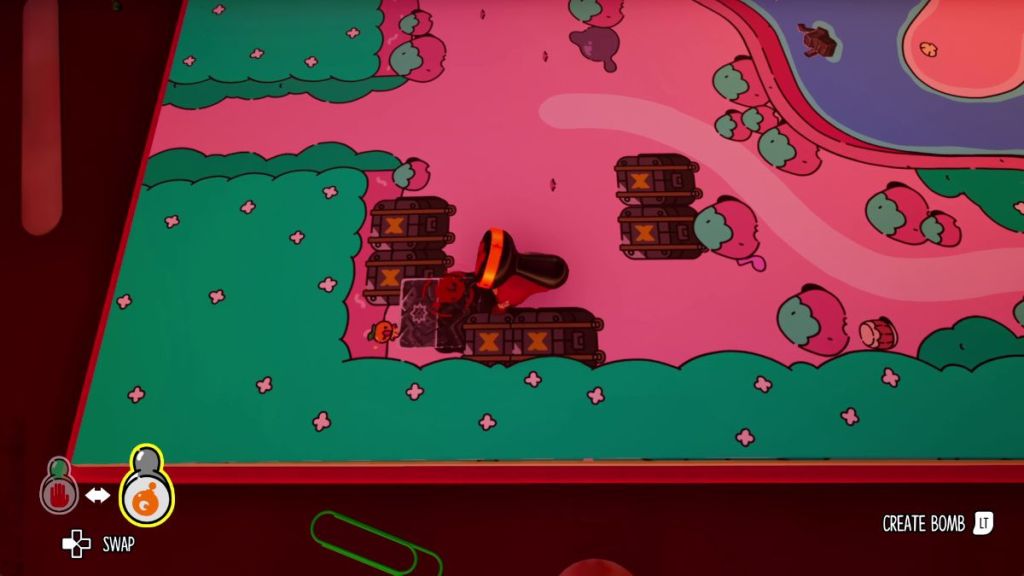

The Glitchbird in Chapter 7 is trapped behind some crates and a rock in the page where you send the soldier in a flying balloon up into the air. You can’t reach it at the time, but once you unlock Bomb Stamps, place a bomb on the rock and blow it up to access the Glitchbird.
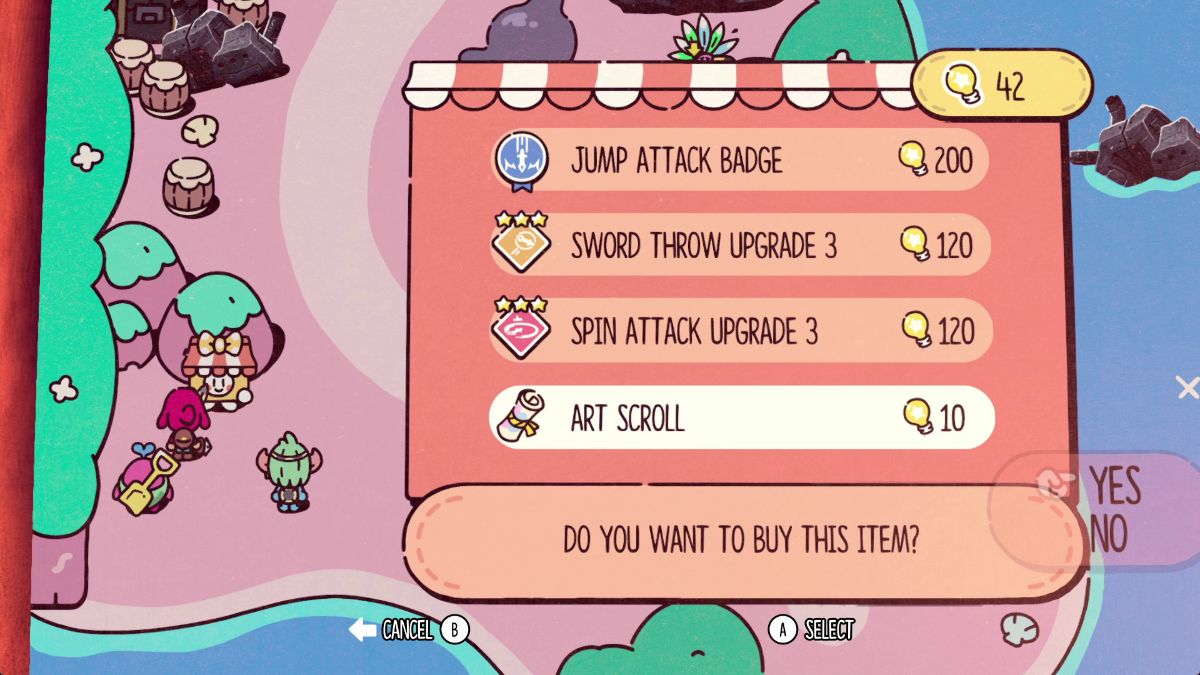
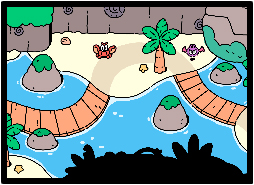
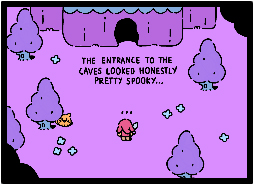
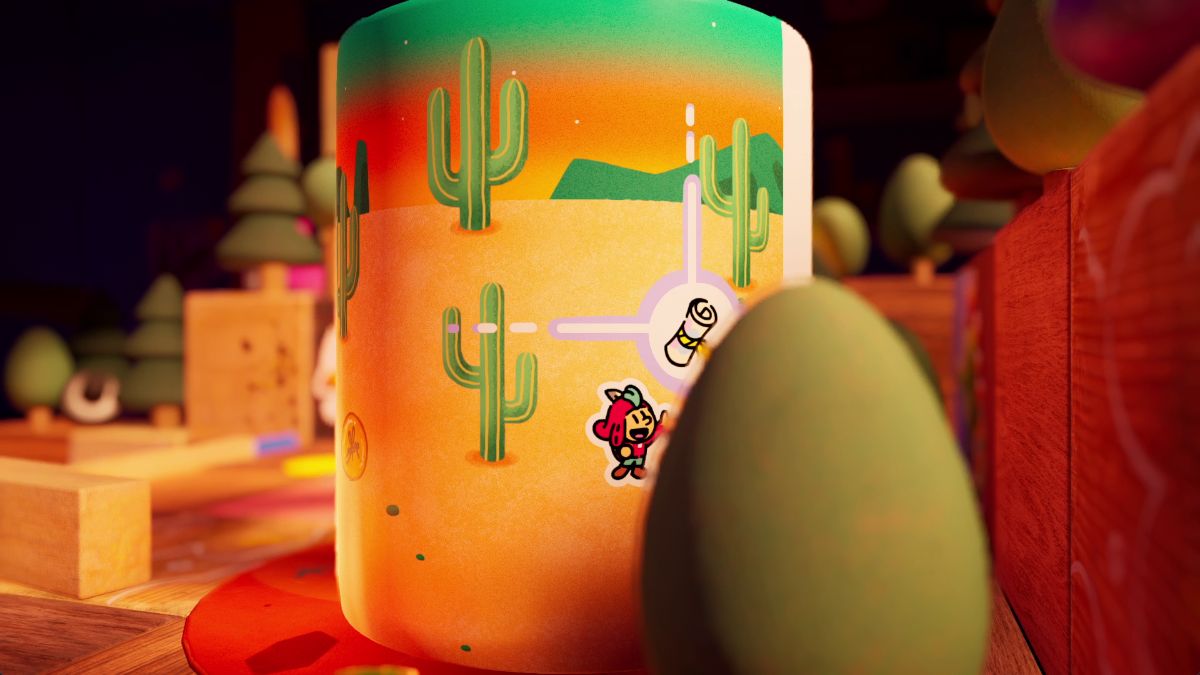
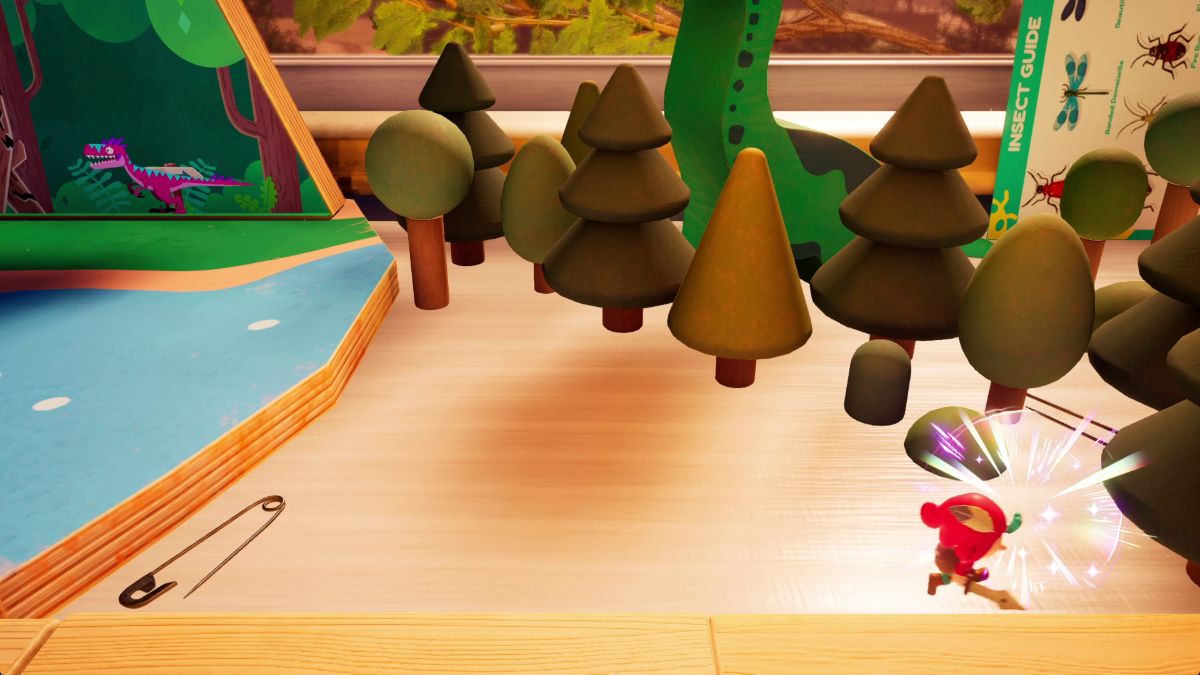
All Scrolls in Chapter 7




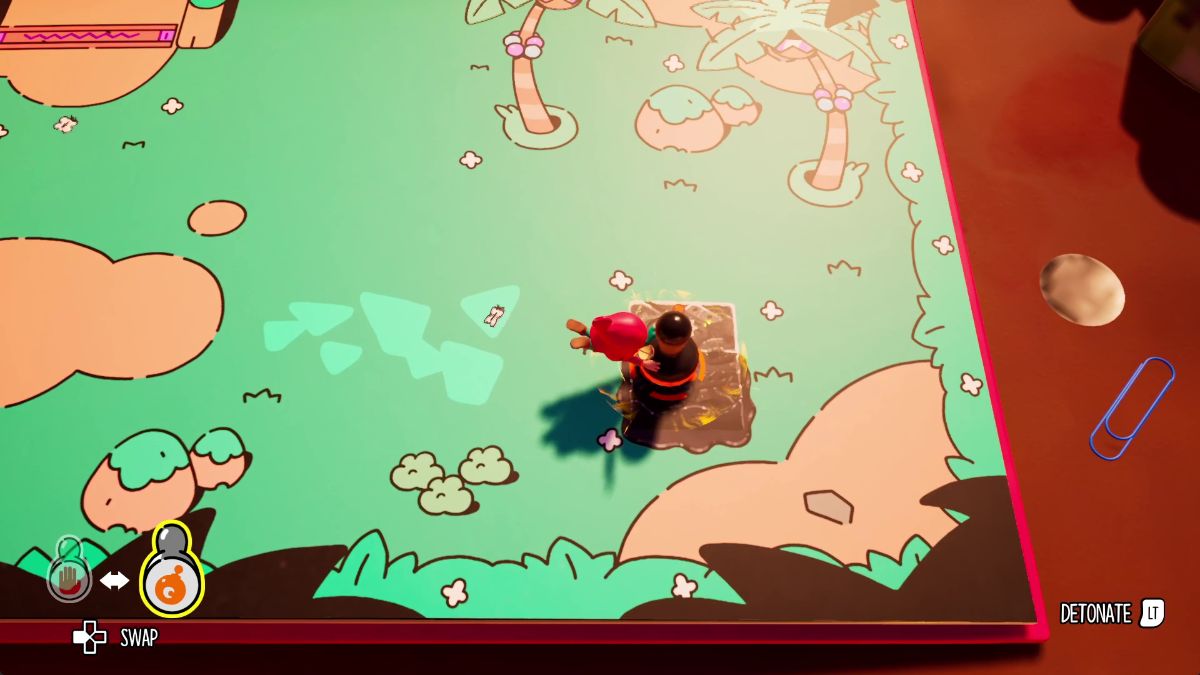
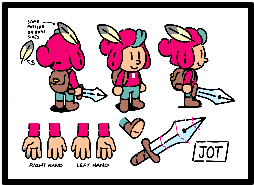
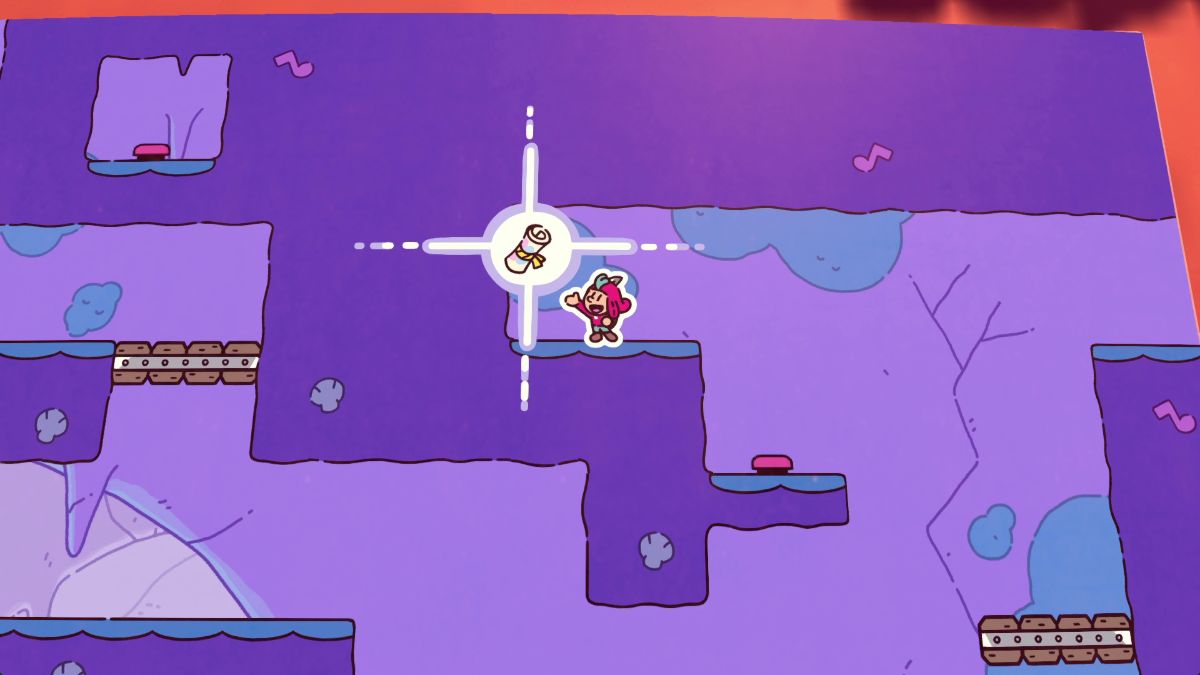
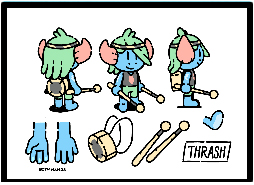
The Plucky Squire Chapter 8

GLITCHBIRDS
SCROLLS
Glitchbird in Chapter 8
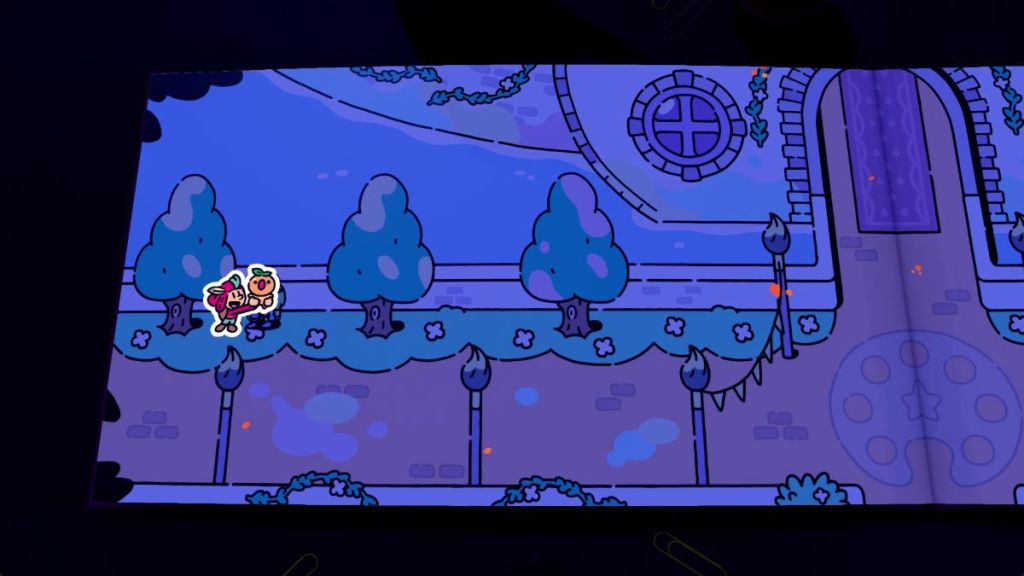
The Glitchbird in Chapter 8 can be found after defeating the Mage in the city of Astria. On your way to the castle, look for a Glitchbird behind the tree to the leftmost side of the entrance.
All Scrolls in Chapter 8
| Visual Reference | Instructions | Art name and appearance |
|---|---|---|
 | You can find the first Art Scroll in Chapter 8 as soon as the chapter begins. It’s hiding behind a flame on the upper left corner. | 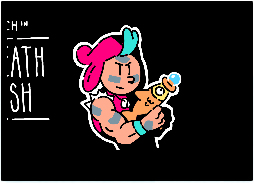 Death Fish Death Fish |
 | The second Art Scroll is inside the house on the upper right corner of Artia, right next to the yellow submarine restaurant. | 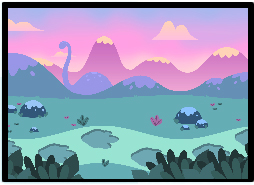 Concept – Area – Dino Land |
 | In the 3D world, look for a hidden scroll behind a stack of books to the right side of the desk. | 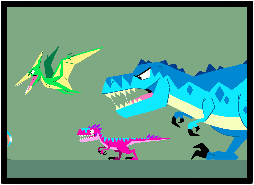 Character – Art Dinosaurs |
The Plucky Squire Chapter 9
WALKTHROUGH
GLITCHBIRDS
SCROLLS
Glitchbirds in Chapter 9
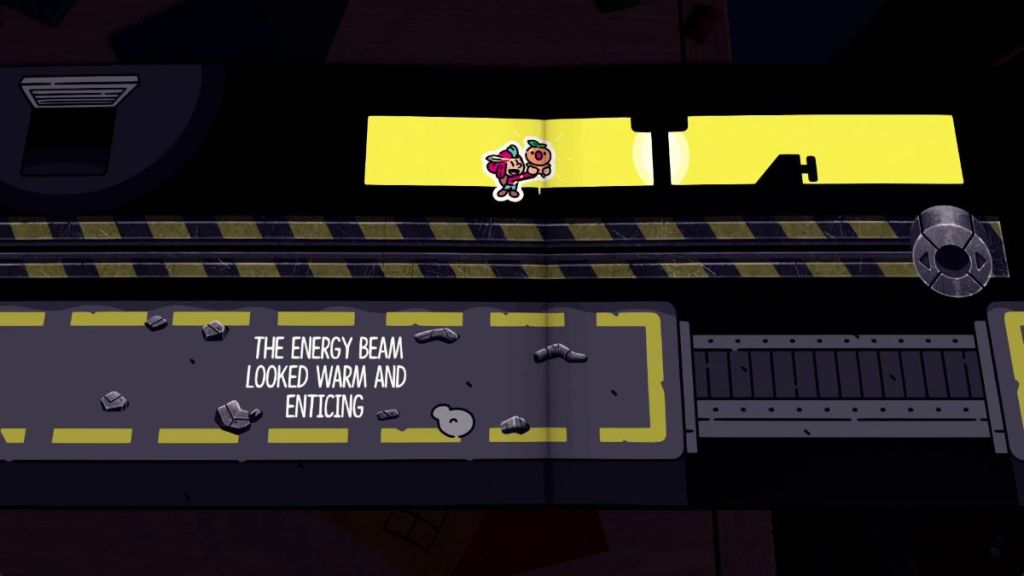
You can find this Glitchbird quite early into the Chapter. After you escape from the cell and go through the first vent, Pip will come out of a yellow pipe. Before you exit this room, head through the pipe to grab the Glitchbird.
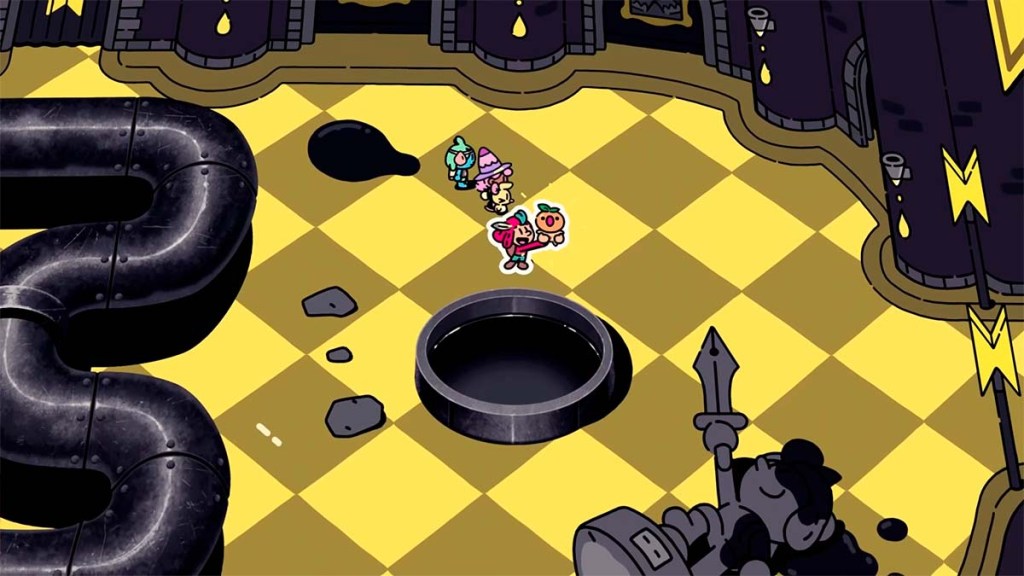
There’s actually a second Glitchbird in Chapter 9. You’ll spot it near the end of the chapter when you enter Humgrump’s castle. Look for the guy from The Scream mopping the floor, and just to his right, past some black pipes, you’ll find the final Glitchbird. Big thanks to our commenter Saphyrox for helping us track it down!
All Scrolls in Chapter 9
| Visual Reference | Instructions | Art name and appearance |
|---|---|---|
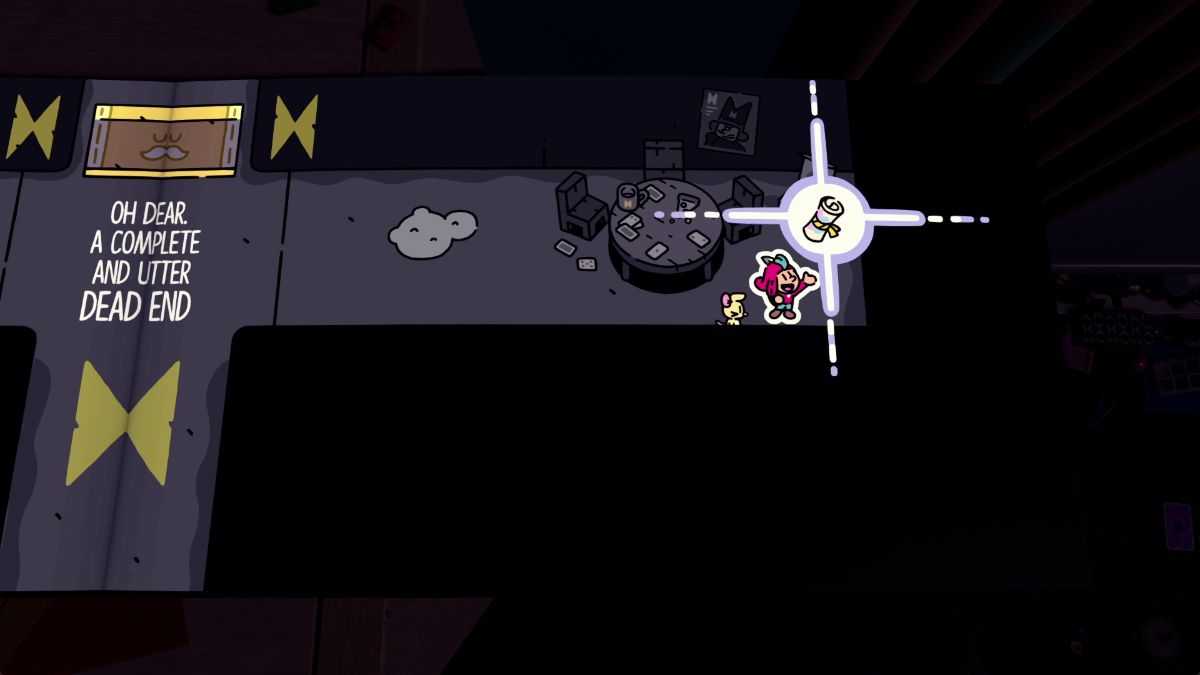 | After Pip’s first stealth puzzle, you’ll enter an area that says you’ve reached “an utter dead end.” Here, look to the right to spot an Art Scroll. | 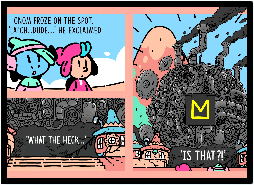 Story Test |
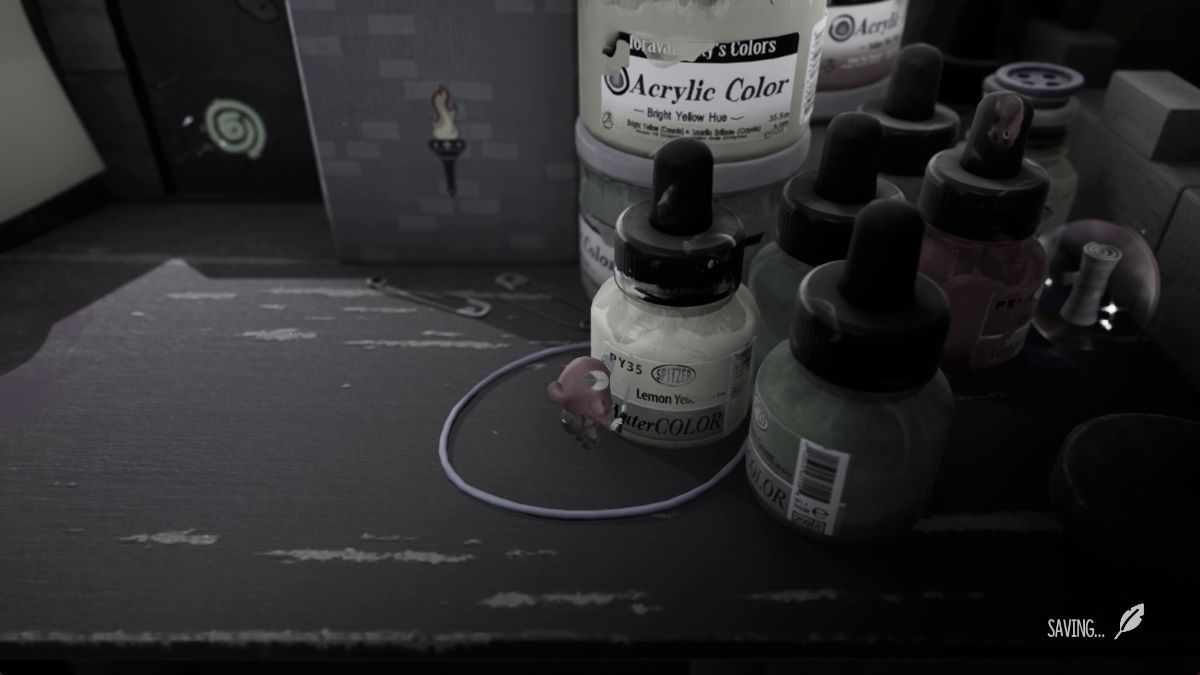 | When you get your Tilt Gauntlets back in the 3D world, look behind a couple of painting pots to find this Scroll. | 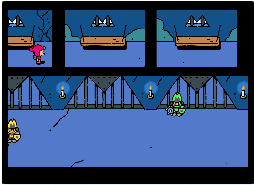 Concept – Area – Jail |
 | After you get your Stop Stamp back and clear the puzzle challenges, follow the hallway with beetles until the very end to find this Art Scroll. | 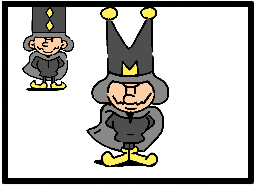 Concept – Character: Humgrump |
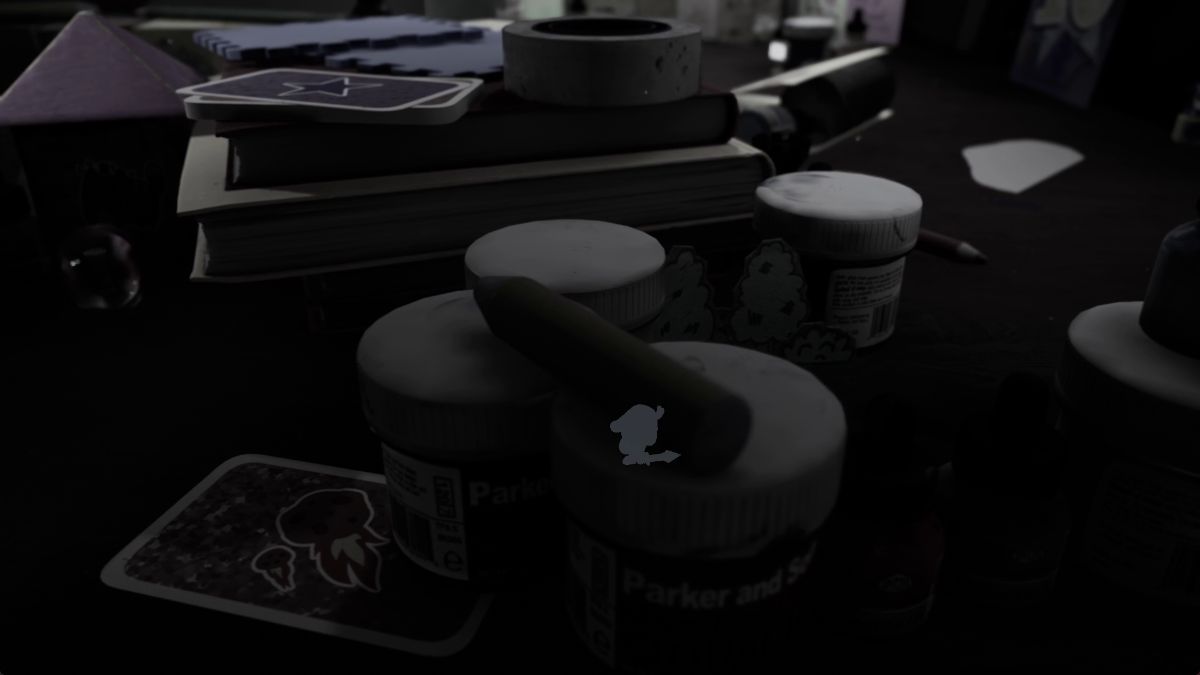 | After returning your book back to the desk, look for a birthday card on the lower right. Then, break the trees blocking the way past it and grab the scroll on the left side. | 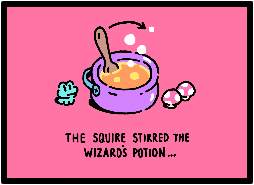 First Sketches 3 |
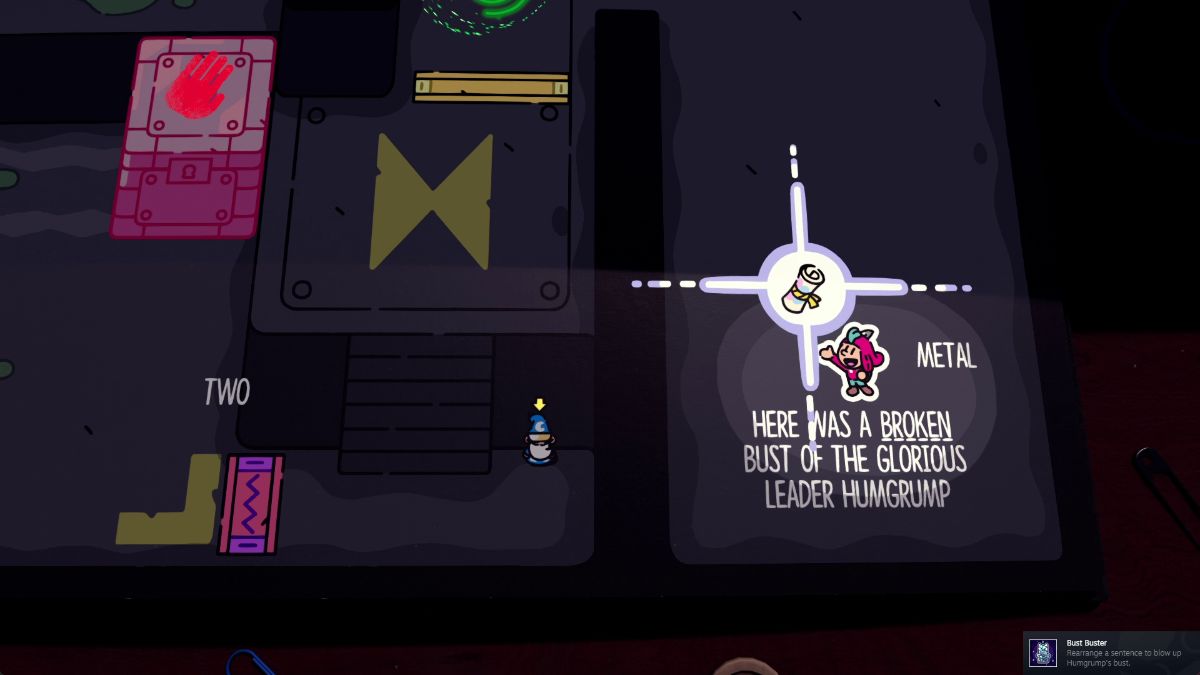 | While solving the crates puzzle in 2D, use the word BROKEN (from the pipe) to describe the bust of the “glorious leader Humgrump.” |  Concept – The Dark Desk |
 | Buy this Scroll from Martina after solving the crates puzzle and rescuing Thrash. |  First Sketches 4 |
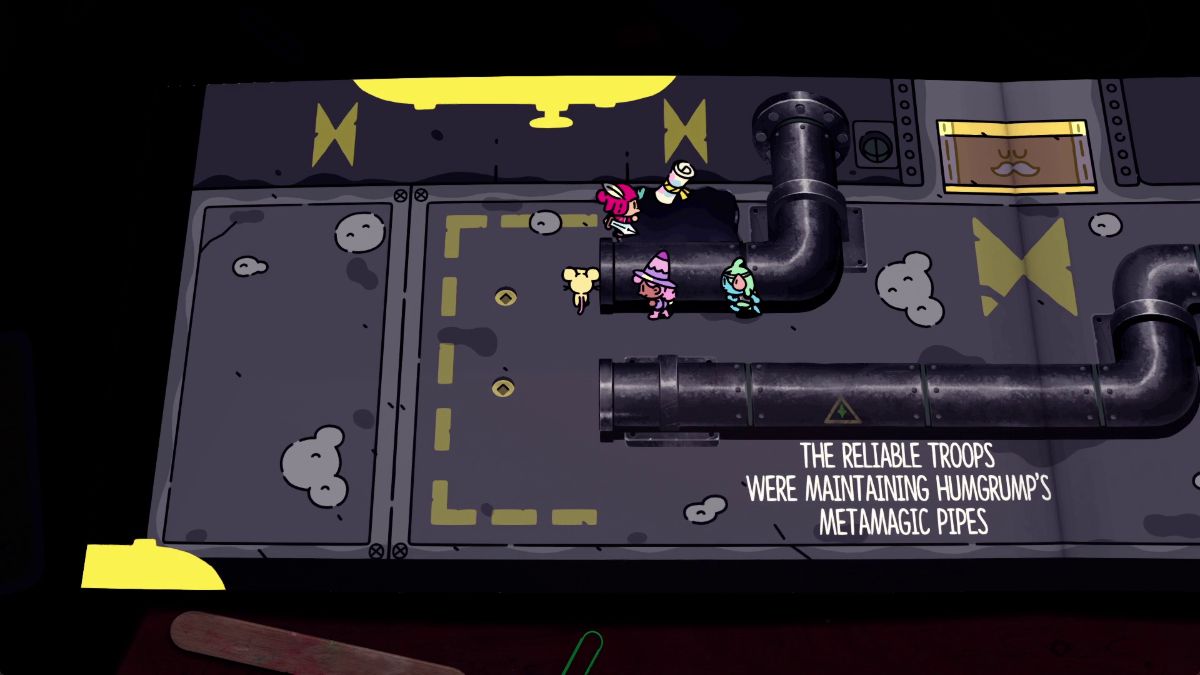 | In the room with the metamagic pipe, place a bomb on the rock next to the yellow gate to find this Art Scroll. |  Key Art – Concept 1 |
 | You can purchase this one from Martina after clearing the last puzzle section with Pip. |  Key Art – Concept 2 |
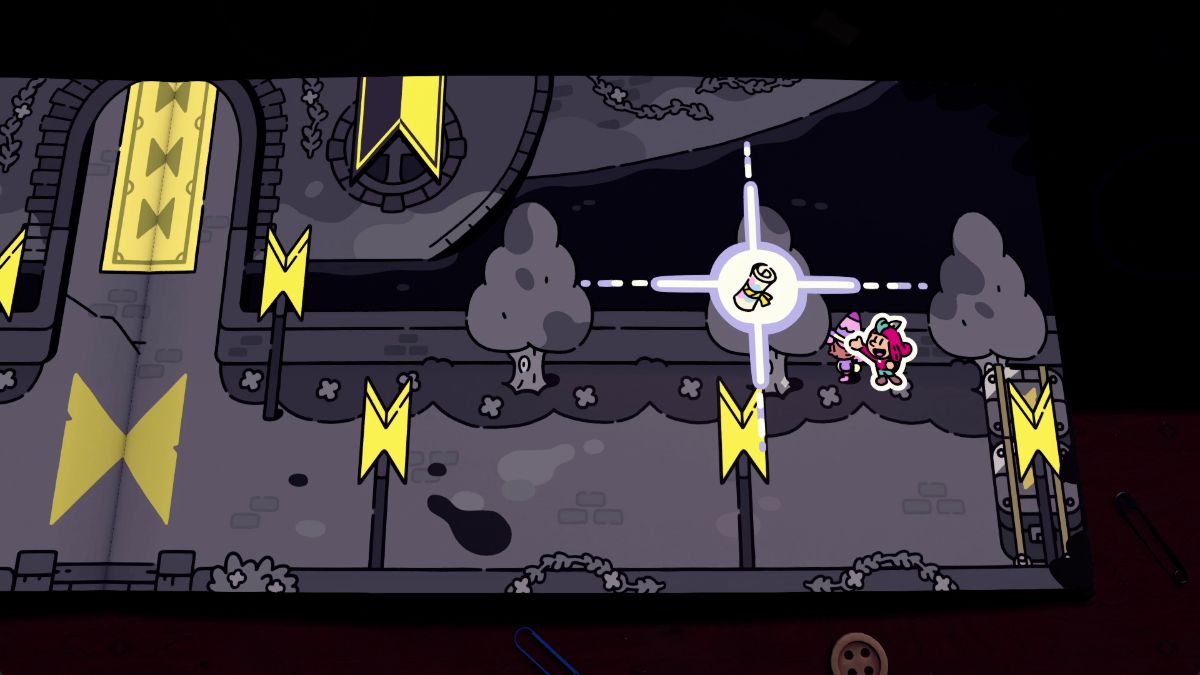 | When you exit the cell and head toward the castle, look for a Scroll behind a tree to the right. |  Key Art – Concept 3 |
How to escape the cell
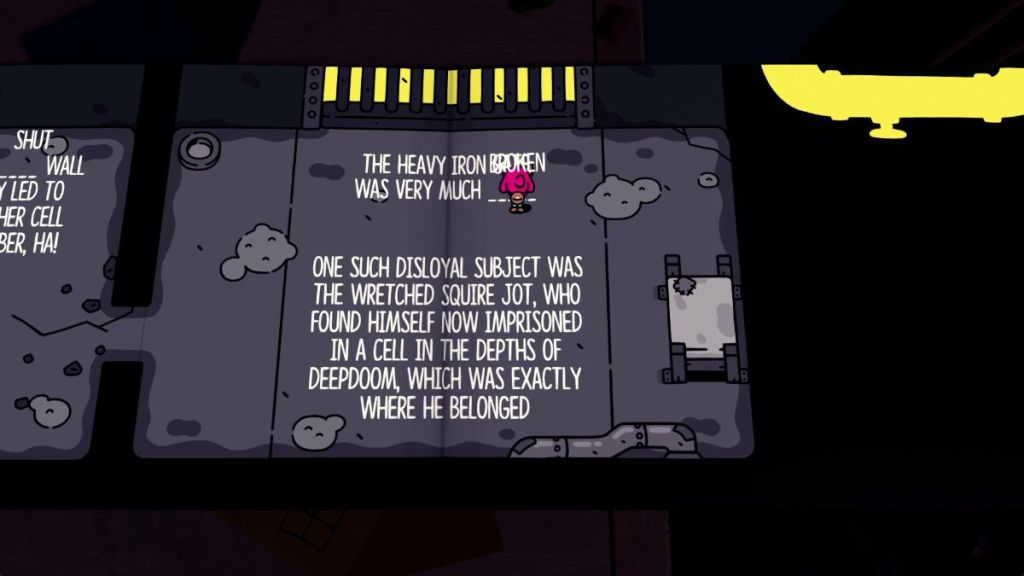
To get out of the cell, look for a secret room to the left side. Here, grab the word BROKEN and replace SHUT with it. Once the door’s open, head out and use the vent to escape.
How to avoid the guards – Pip puzzle 1 and 2

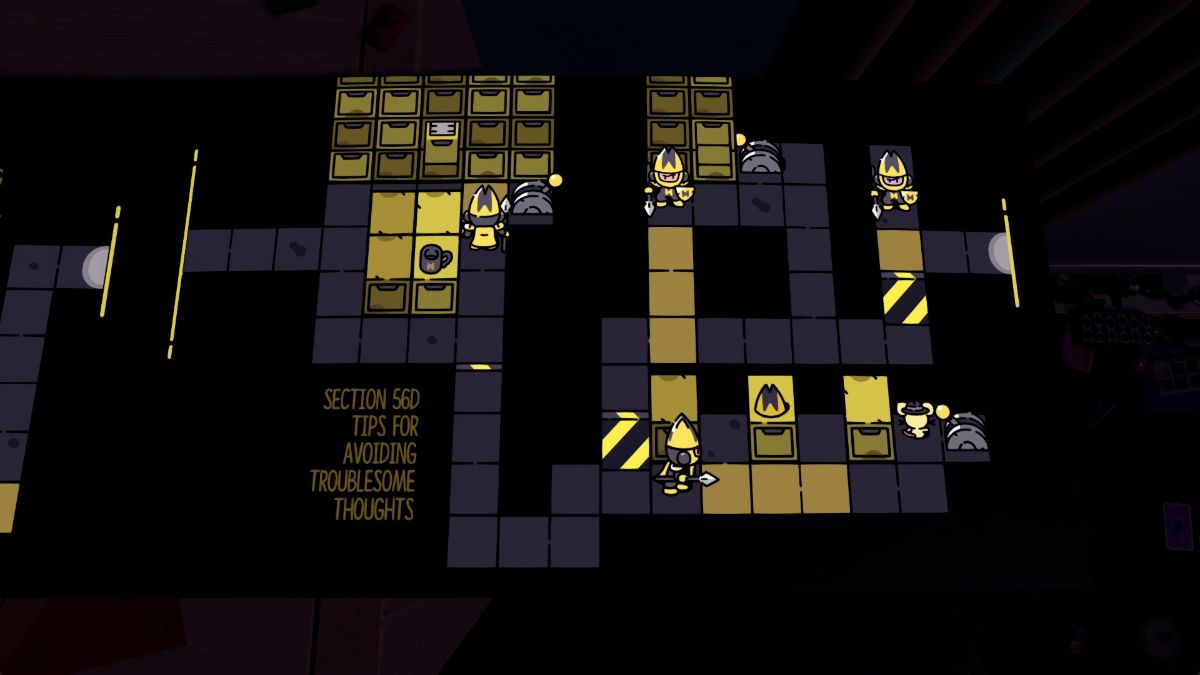
To beat this puzzle in Chapter 9 of The Plucky Squire, you need to go from the left side of the room to the right side of the room. The exit is marked by a white light on the other end. Guards only spot you if you walk under their radar, which is marked by yellow tiles.
Pip Puzzle 1
| Visual Reference | Instructions |
|---|---|
 | When the first guard is looking to the left, walk past him. |
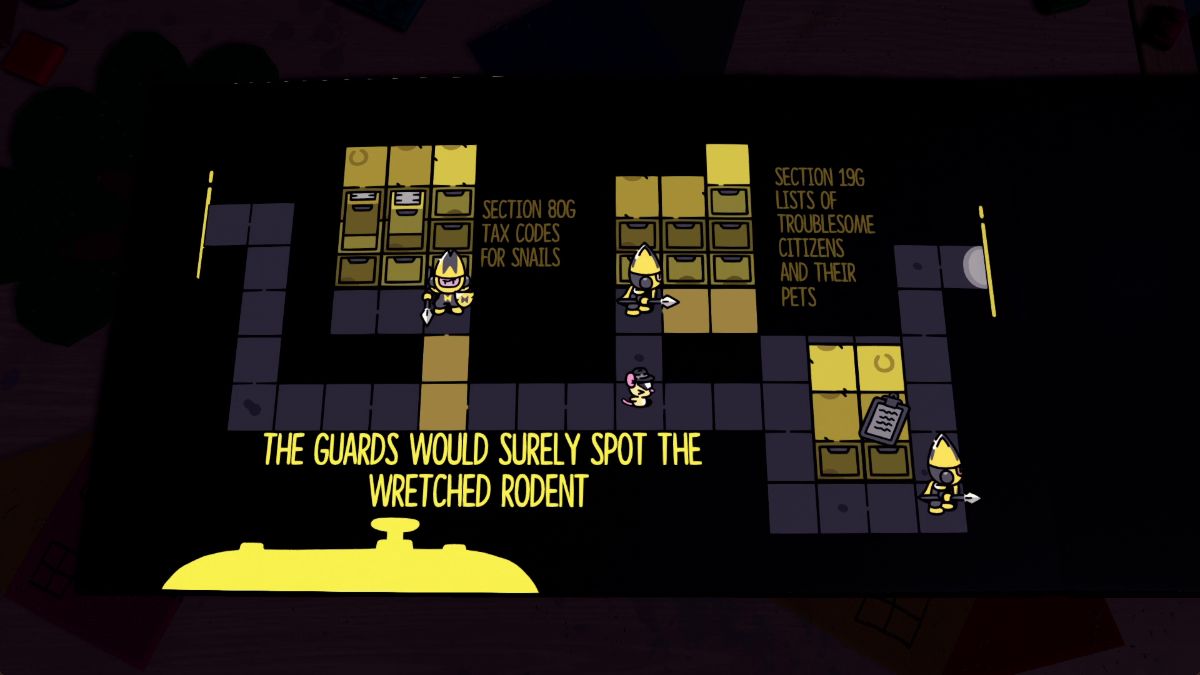 | When the second guard is looking to the right, walk past him. |
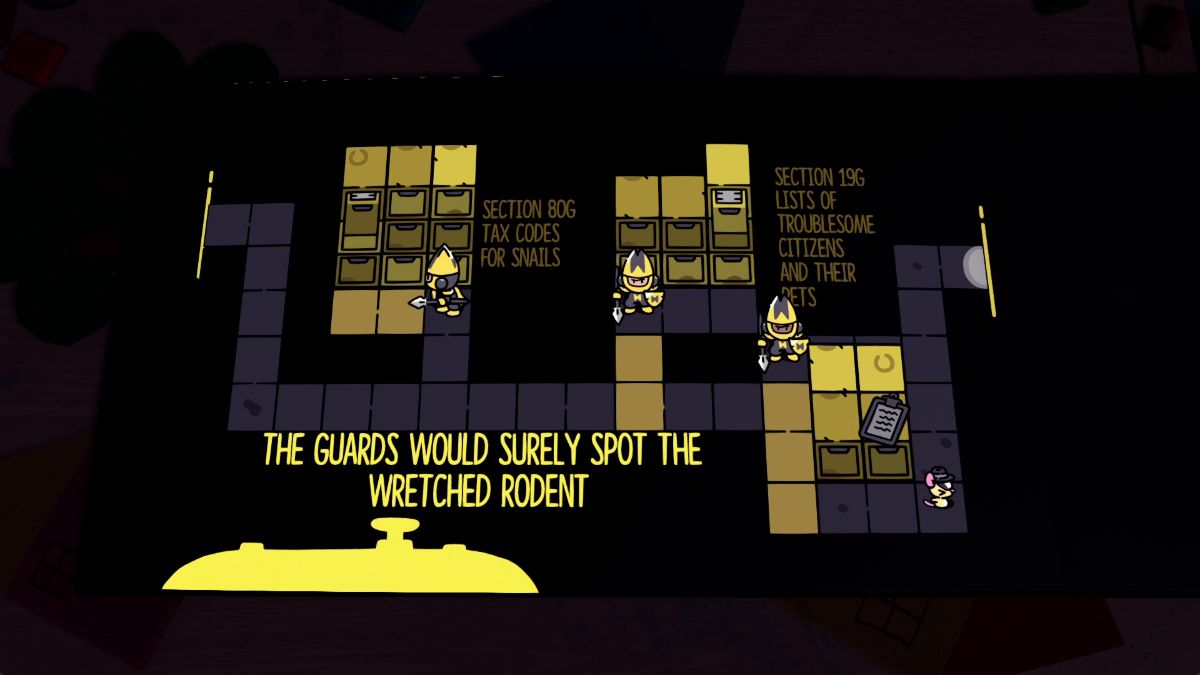 | Either go around the desk before or after the guard, but make sure you have enough space to go by unnoticed before you exit. |
Pip Puzzle 2
| Visual Reference | Instructions |
|---|---|
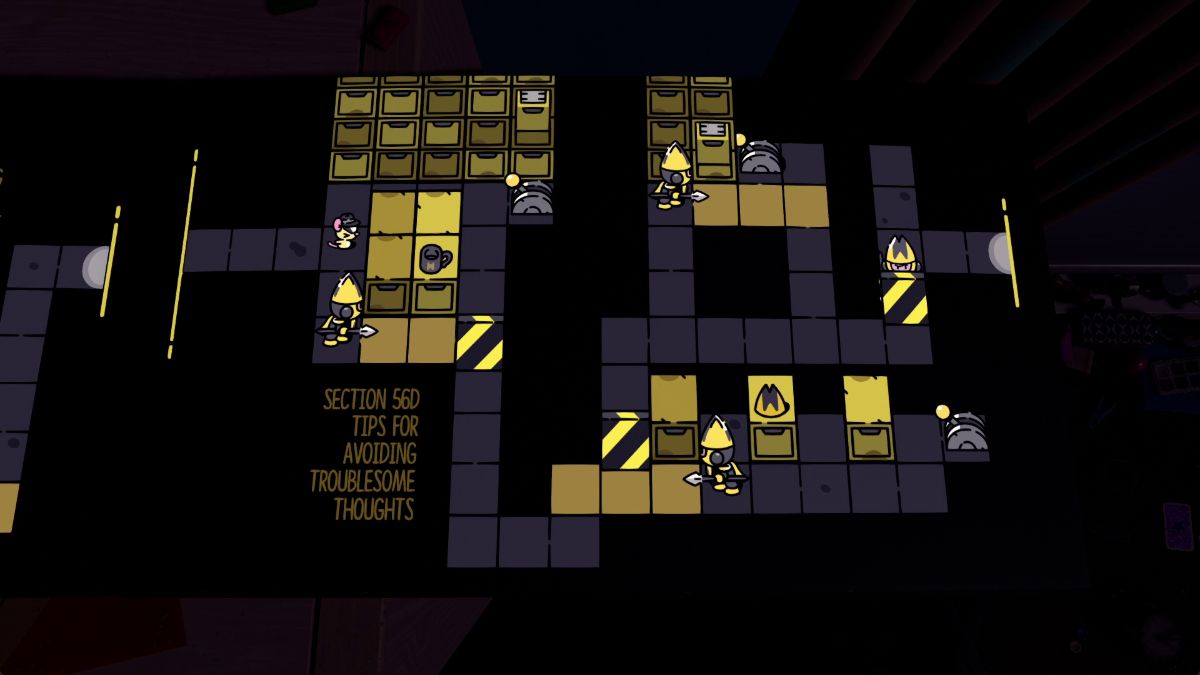 | Hop right behind the first guard and circle the yellow desk behind him. |
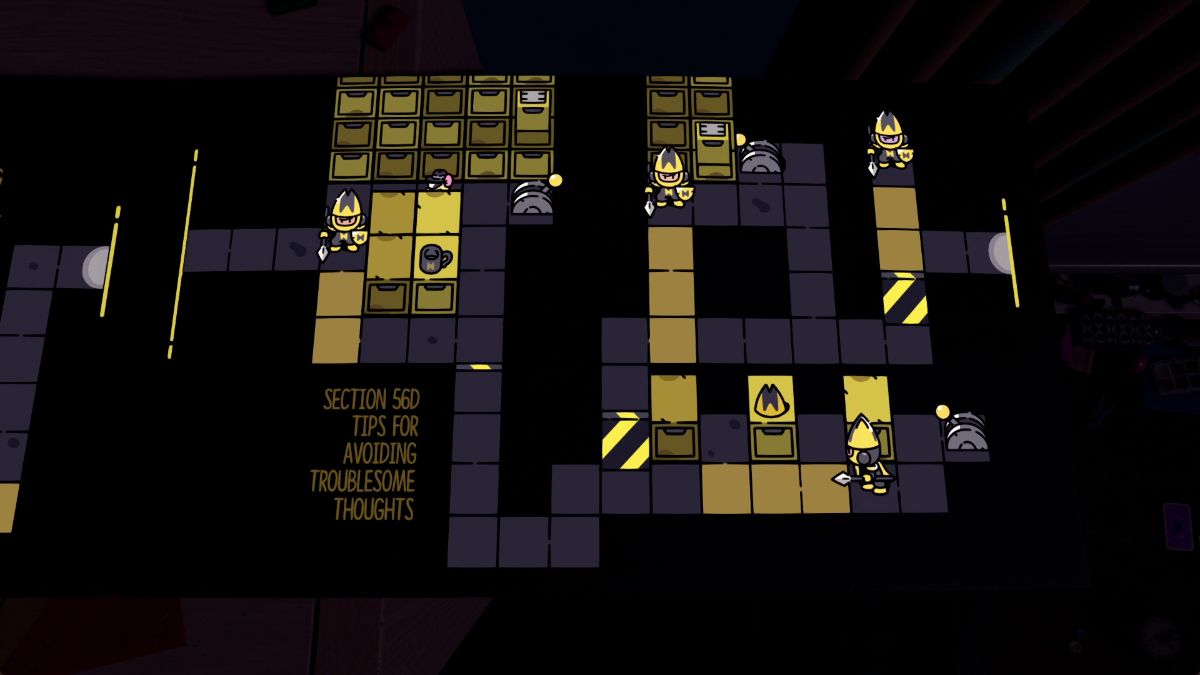 | Activate the lever on the upper right and follow him once again until you reach this room’s exit. |
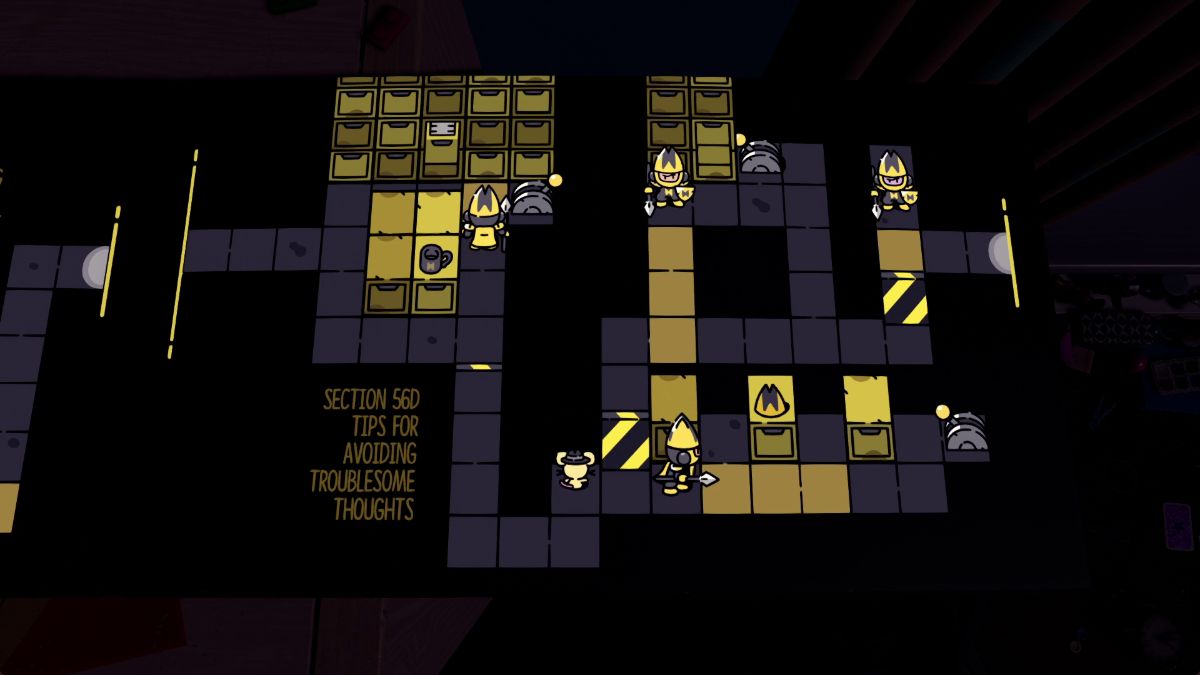 | Wait for the second guard to start heading to the right to jump into this row and make your way to the right. |
 | As soon as he makes his way back, hide on the top row. |
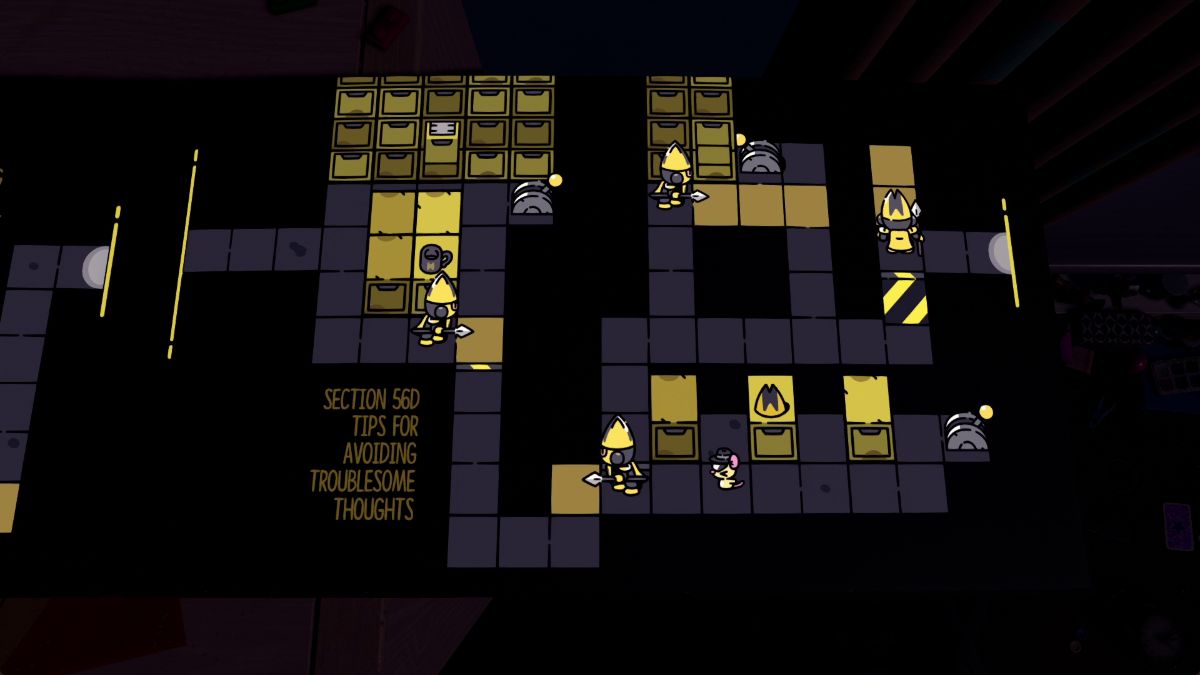
 | Jump ahead of him and run for the switch on the right. Activate it to lower the door to the left. |
 | Follow the guard to the left now, and hide when he’s about to look to the right. |
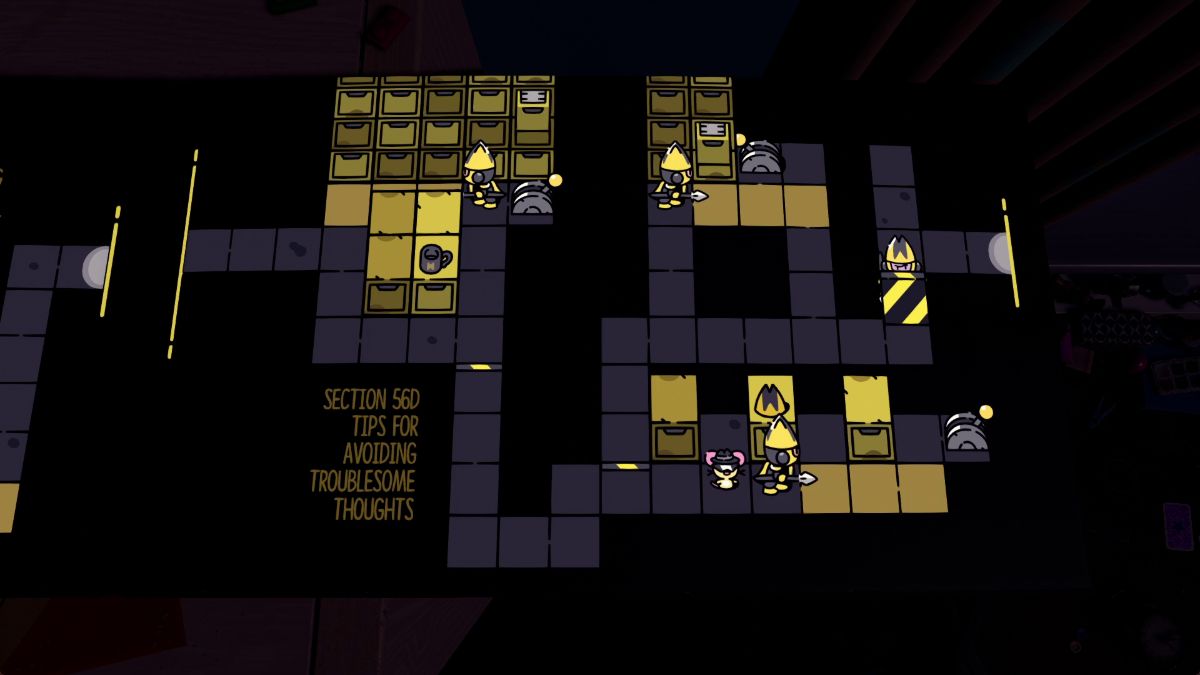 | Then, as he passes by you, exit this room. |
 | Wait for the third guard to face to the right to jump on this row. Head toward the switch and activate it. |
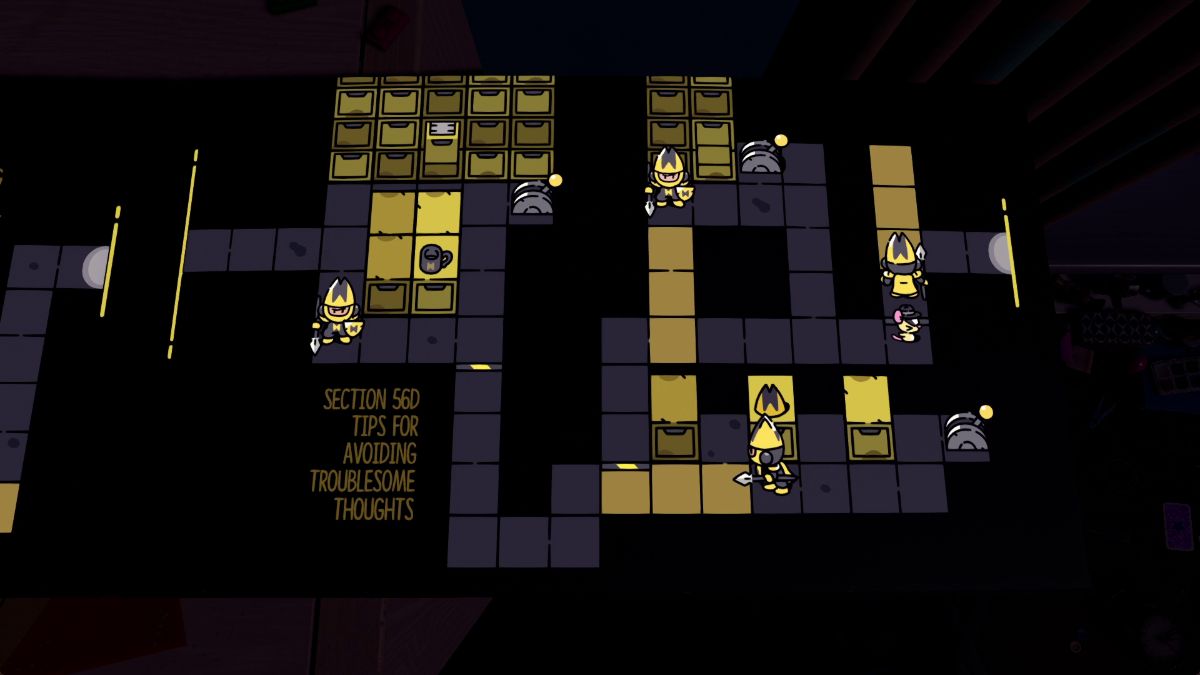 | When this guard is looking down, head back down and past the door guarded by the fourth guard. Remember, always stay behind him. |
Pip Puzzle 3
| Visual Reference | Instructions |
|---|---|
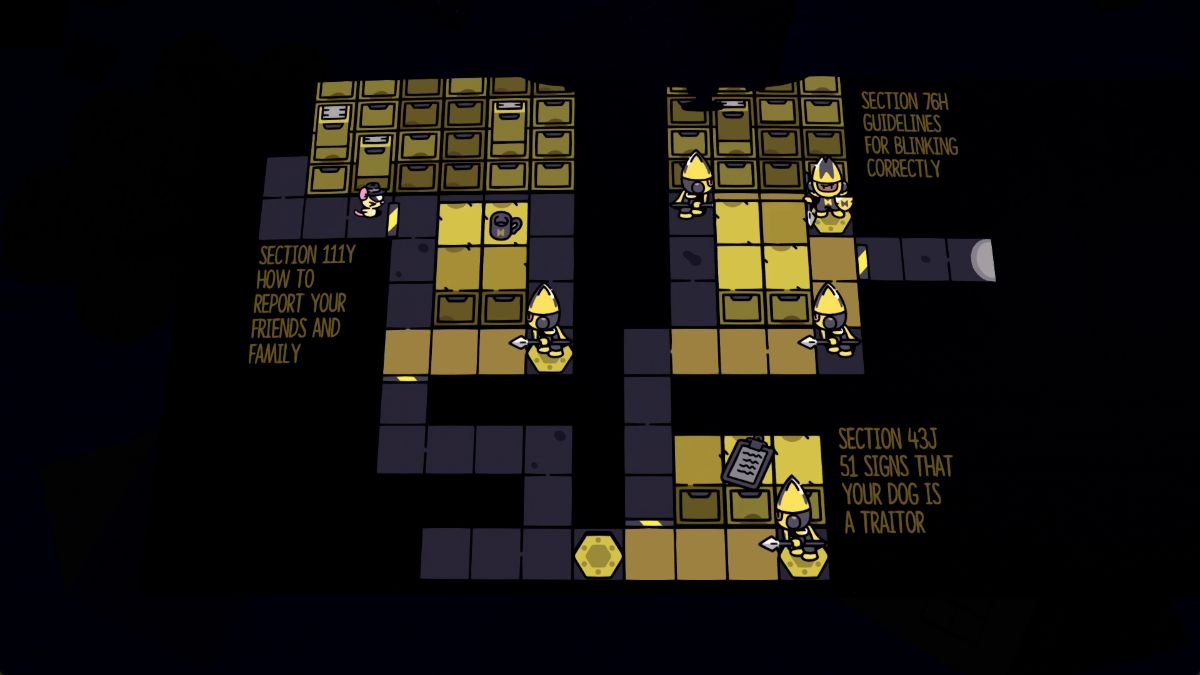 | As the first guard steps on the yellow trigger on the bottom right, step in and follow the circle behind him, then stand on the door. |
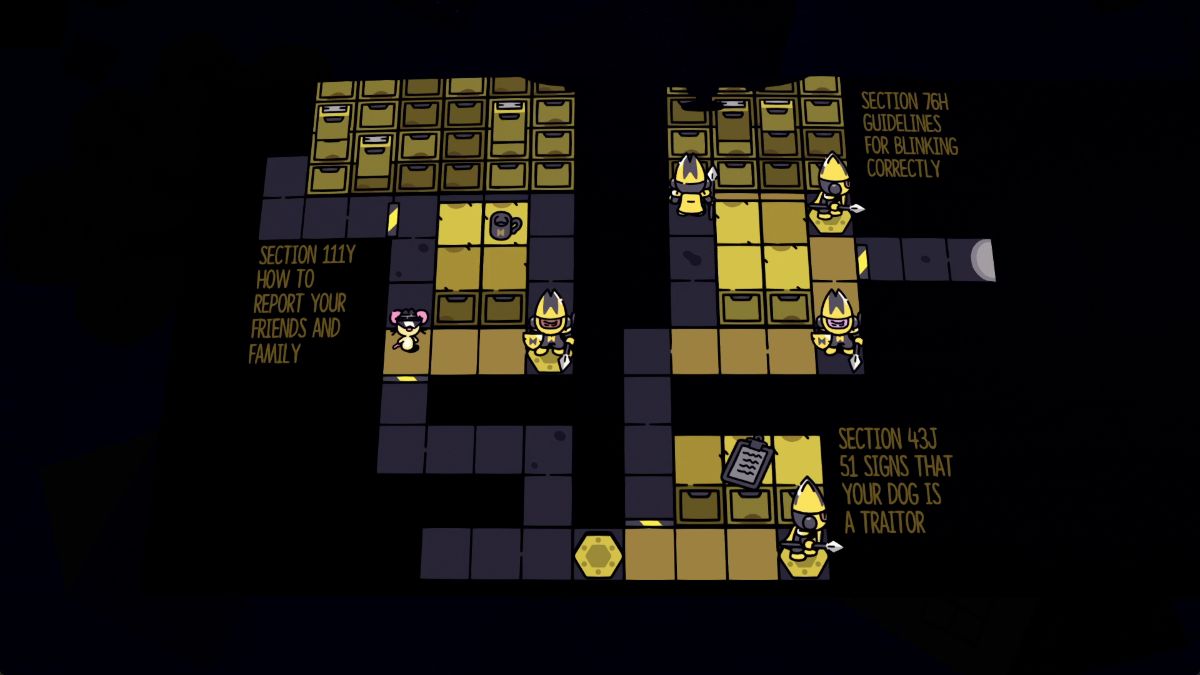 | As he stands on the yellow switch, go over the door. Don’t worry, you’re safe as long as you’re quick. |
 | Stand right in front of the door as the second guard walks to the right. The minute he steps on the yellow switch, go through the door. |
 | When you get to the spot with the three guards doing rounds, notice how there are two extra free tiles behind the last one. Aim to get in line there. |
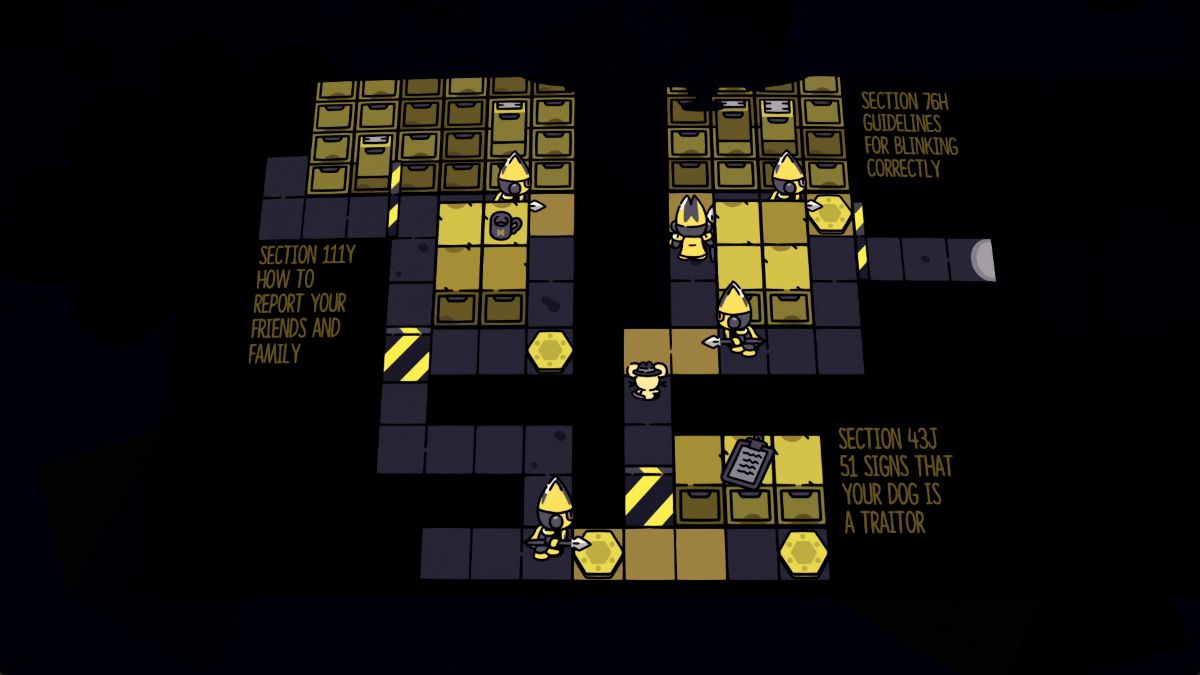 | When the third guard goes by, jump behind him follow the circle, and stand before the door to the right. |
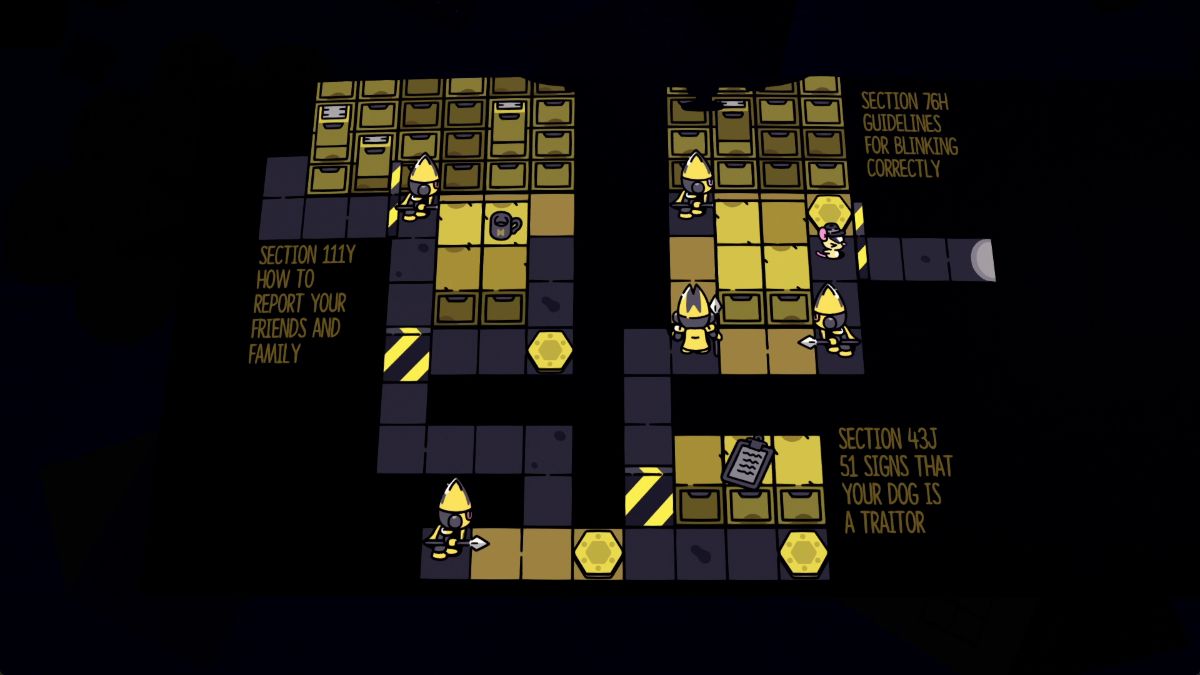 | The minute the first guard steps on the switch, head out. |
Pip Puzzle 4
| Visual Reference | Instructions |
|---|---|
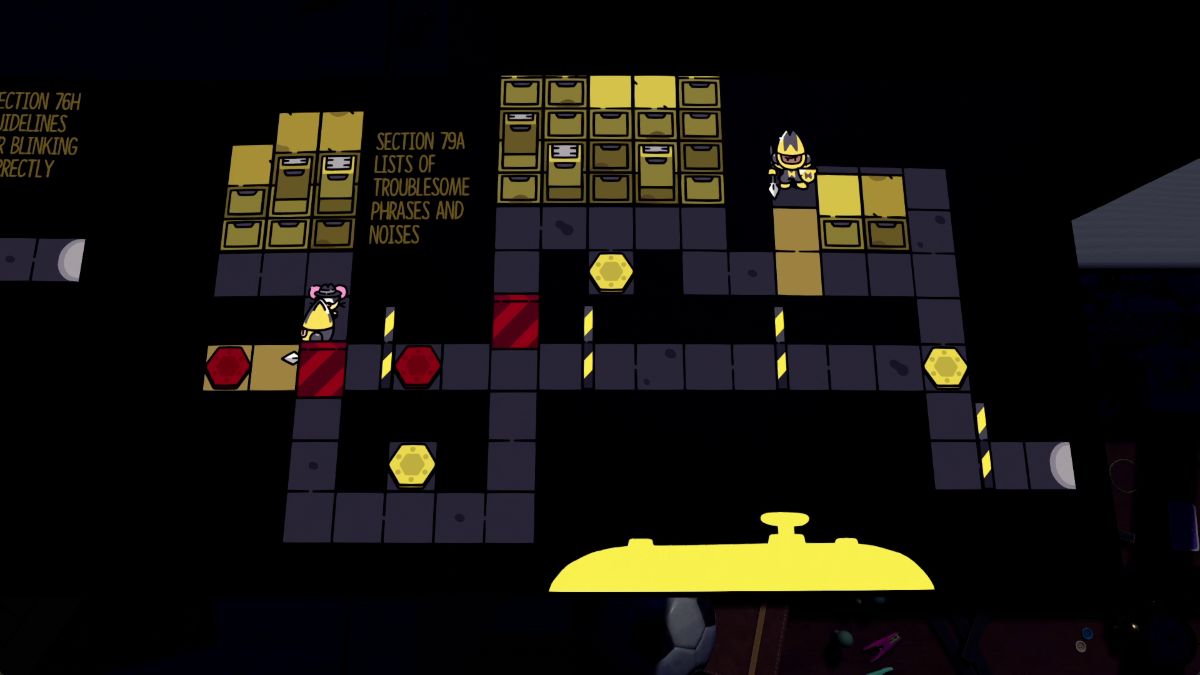 | When the first guard goes over the path south and starts heading toward the red switch to the left, head down. |
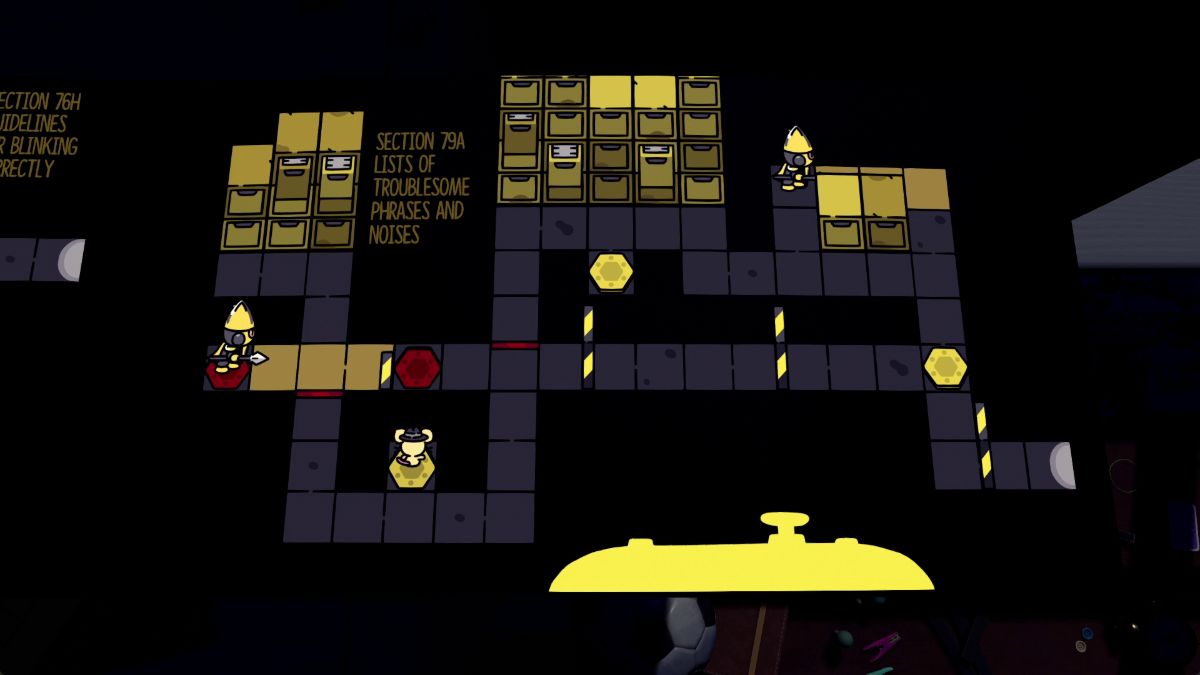 | Stand on the yellow switch to let the first guard pass through. We’ll use him to get out in a bit. |
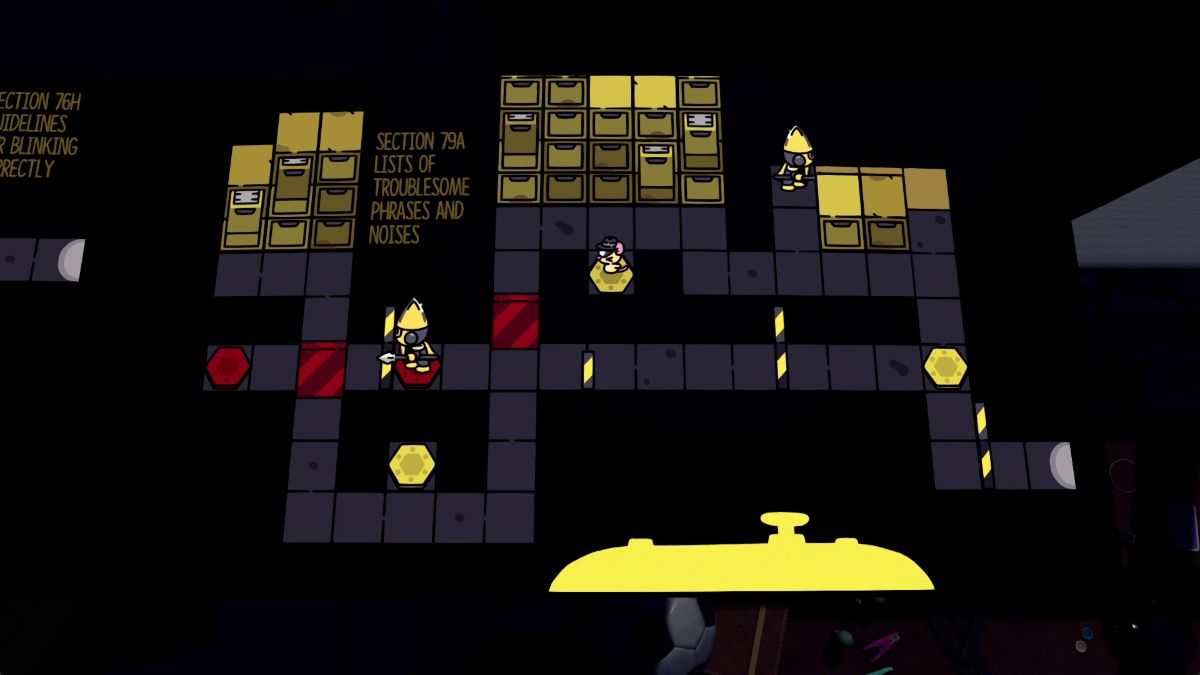 | Stand on the second yellow switch so he can continue his way to the right. |
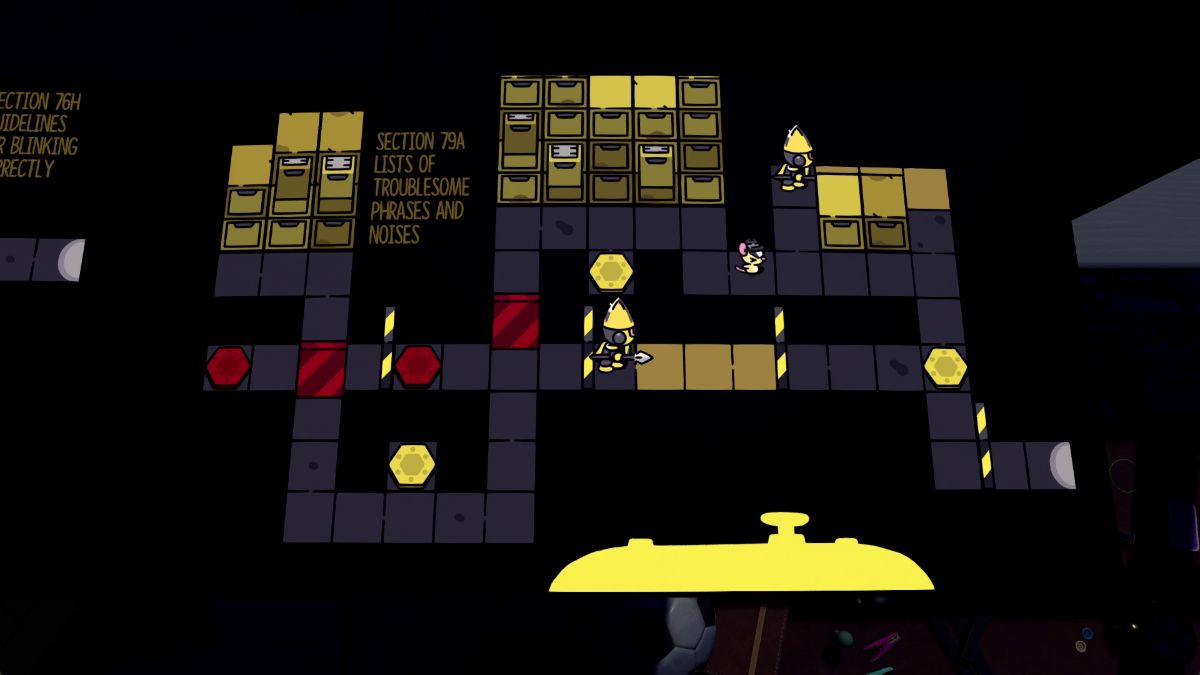 | Go past the second guard when it’s safe. |
 | Stand on the third switch to let the first guard through, but as soon as he’s standing on the lowered door, move south. Then, use him to get out of this room. Thanks, guard! |
How to beat the laser puzzles
Speak with the bookworm Page on the sticky note to the book’s left. Then, hop inside the 2D world and head south to look for your tools in The Plucky Squire. Here, run past the goblins on the right and look for another portal to the 2D world on the wall.
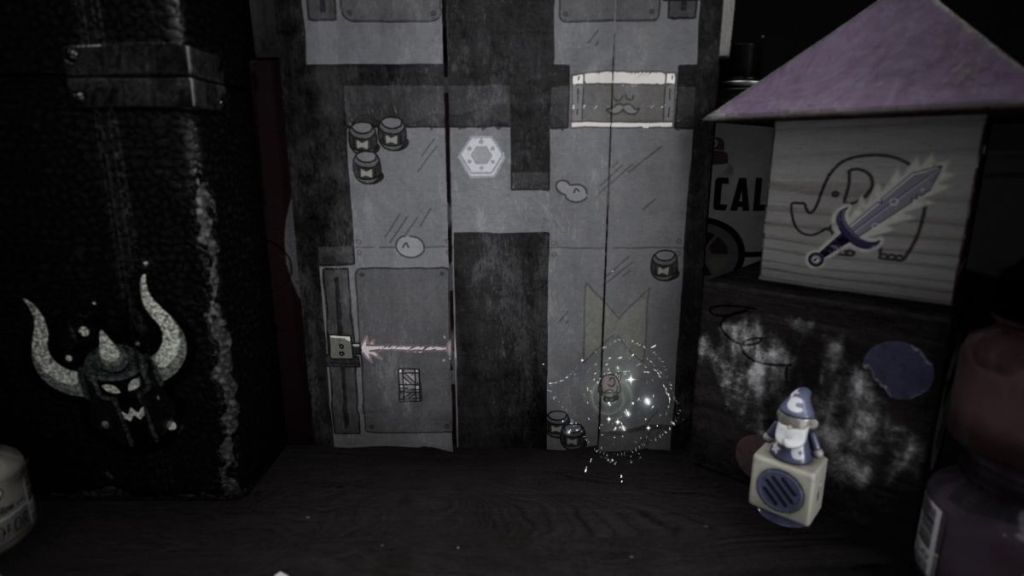
To beat the laser puzzle here, grab the block and place it on top of the trigger. Then, head through the gate.
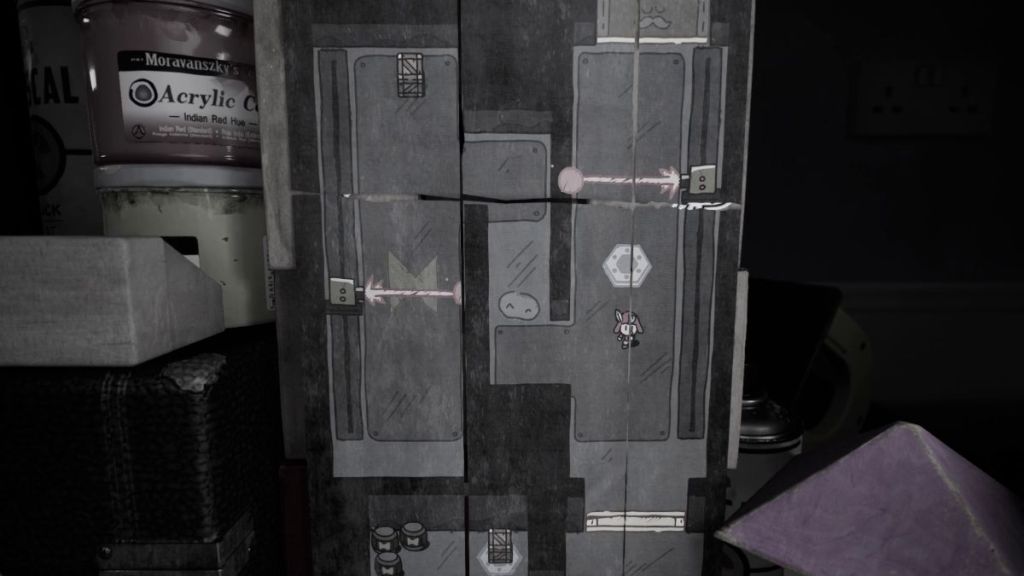
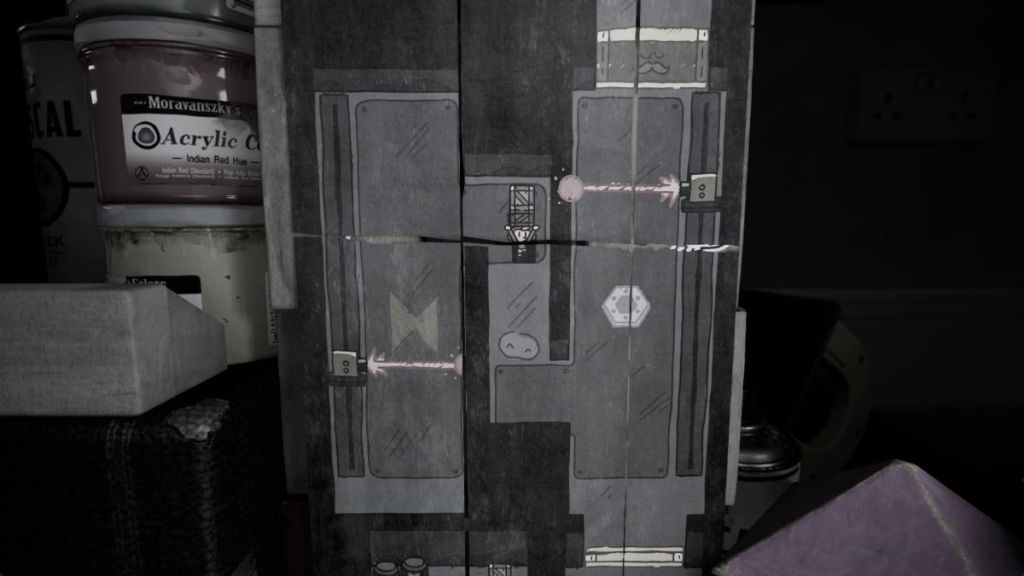
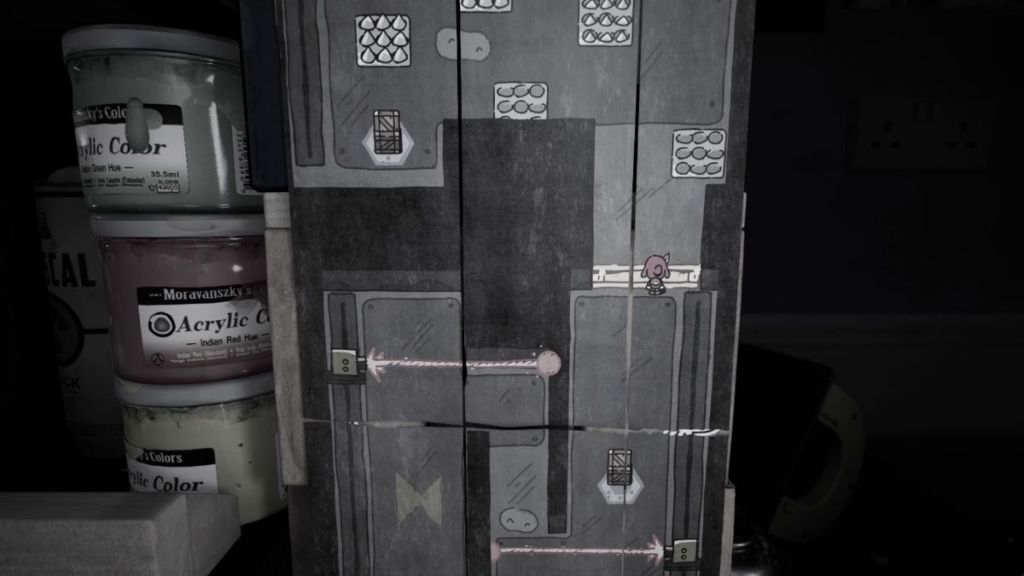
To beat this second laser puzzle head through the passage on the center, grab the block, and, when it’s safe, place it on the trigger on the right side.
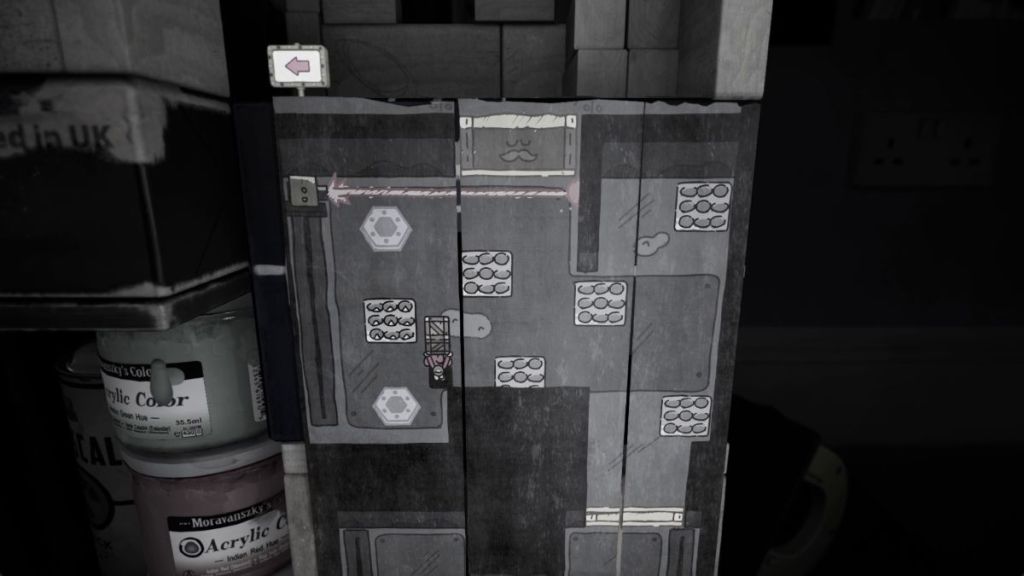
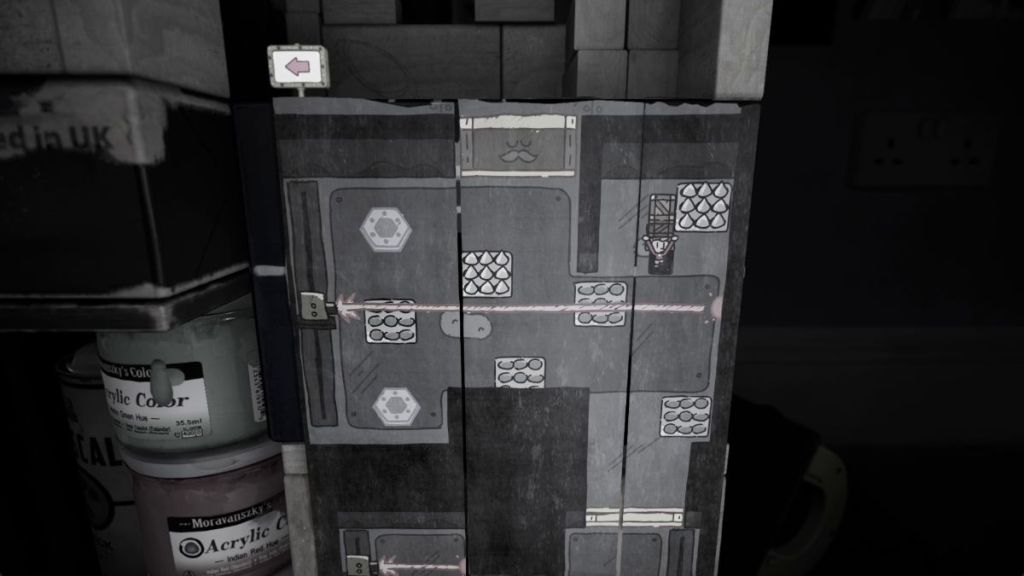

To beat the third laser puzzle, grab the block on the lower left and stand behind the wall on the right. When the laser is below you, place the block on the trigger on the top left and exit through the gate.
How to sneak past the guards

Sneak past the soldiers in the training grounds. Keep in mind the direction they are facing toward to determine whether it’s safe to walk forward or not.
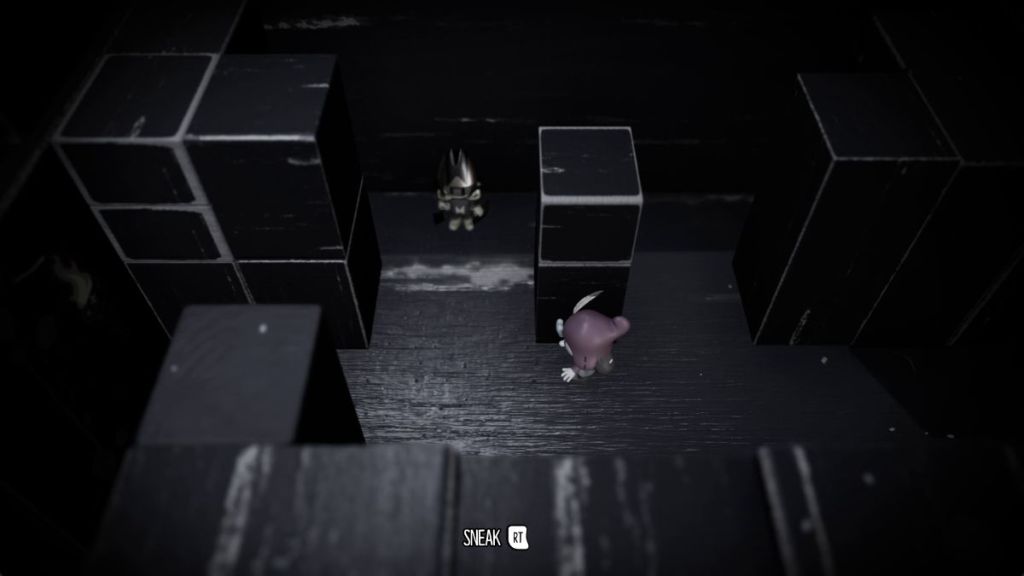
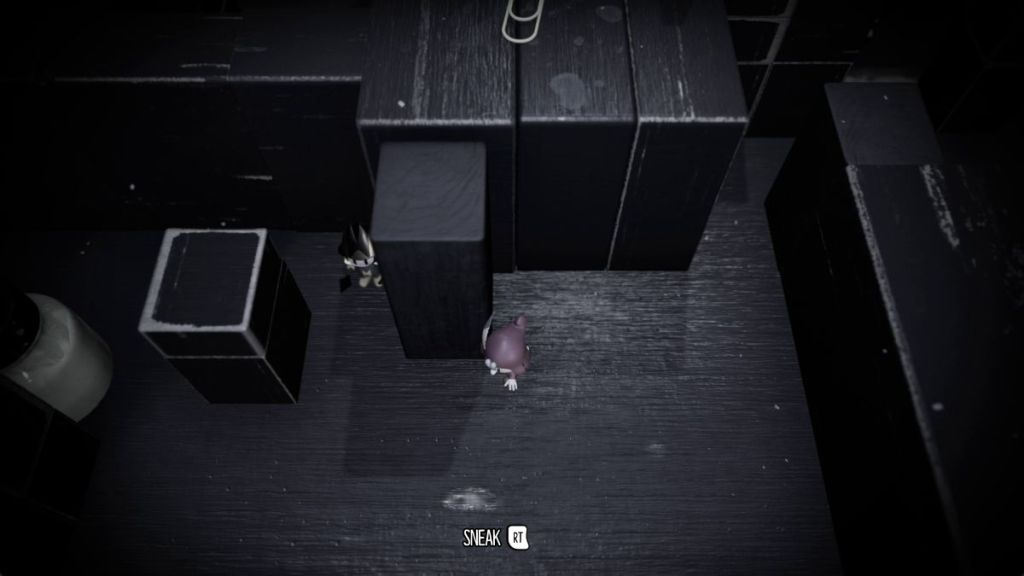
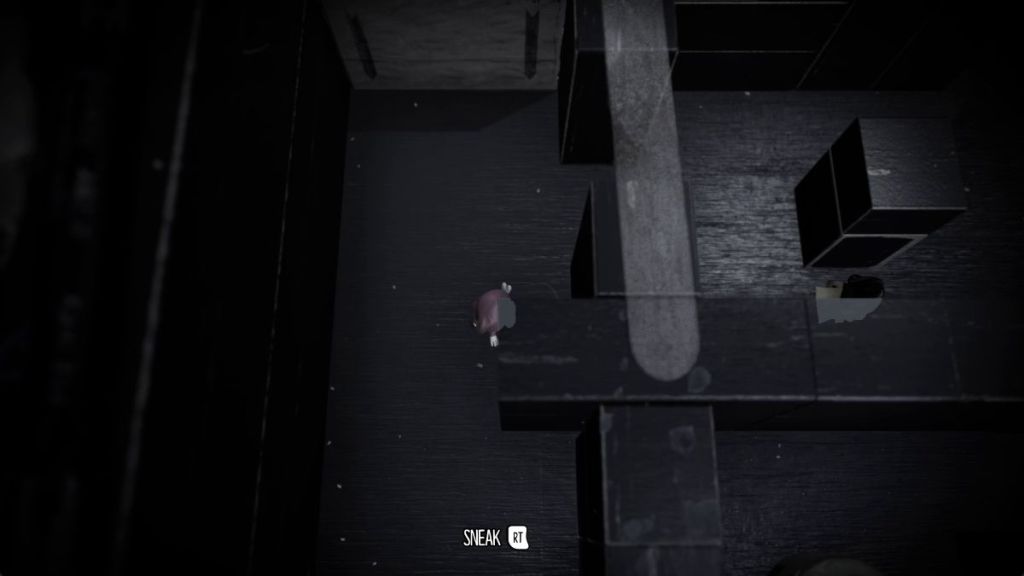
Here, stand behind the solitary pillar until the guard walks to the right. Then, make your way to the left. There’s a second guard behind the corner, so make sure he faces to the left before walking past him. At last, the last guard is walking in circles, so simply jump behind him and exit through the northeast passage.
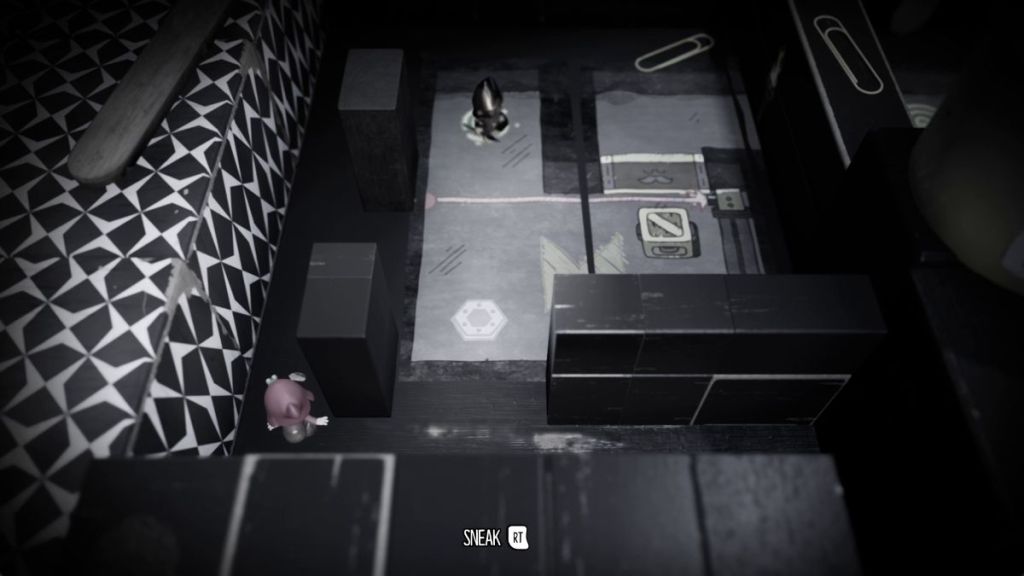


To beat the section with a block, a laser, and a guard, walk behind the pillars to the left side and head through the portal. As you stand to the left side of the block, push it toward the trigger in the lower left corner. Then, run toward the exit and out of the portal.

At the end of this sneaking section, you get your Bomb Stamp back. You should then head through the portal south to face two sneaking levels against beetles and recover your sword. Then, head back up.

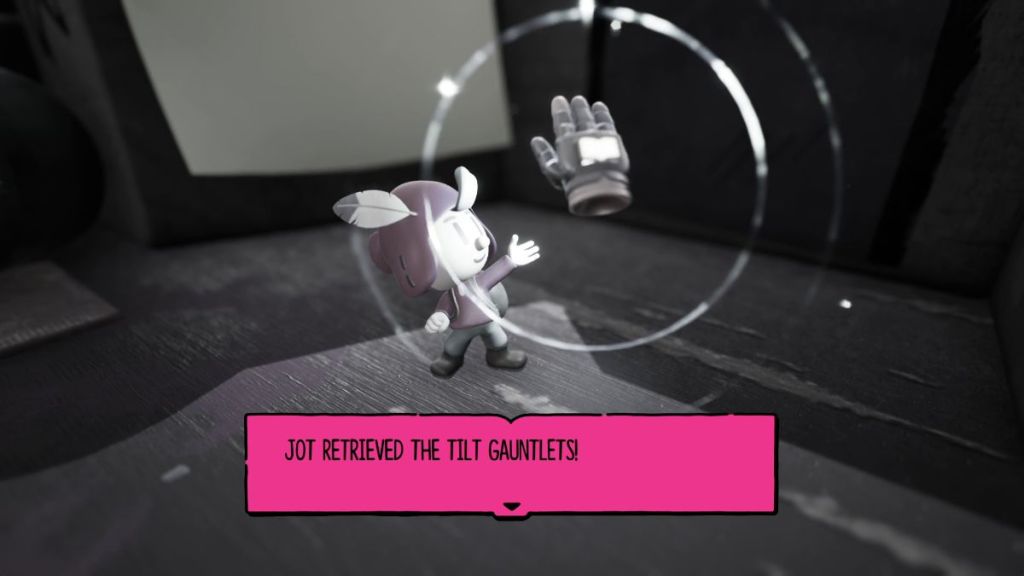
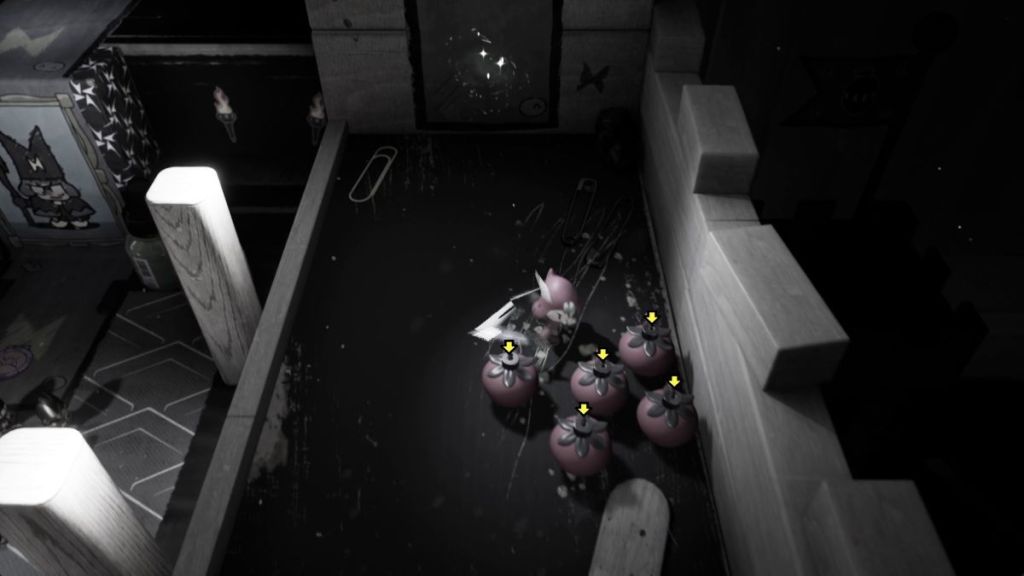
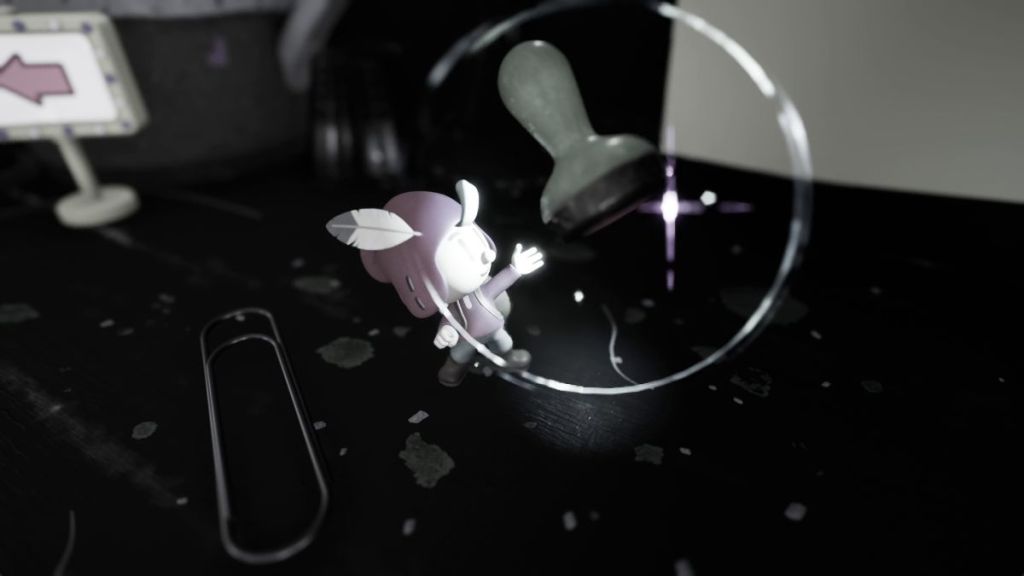
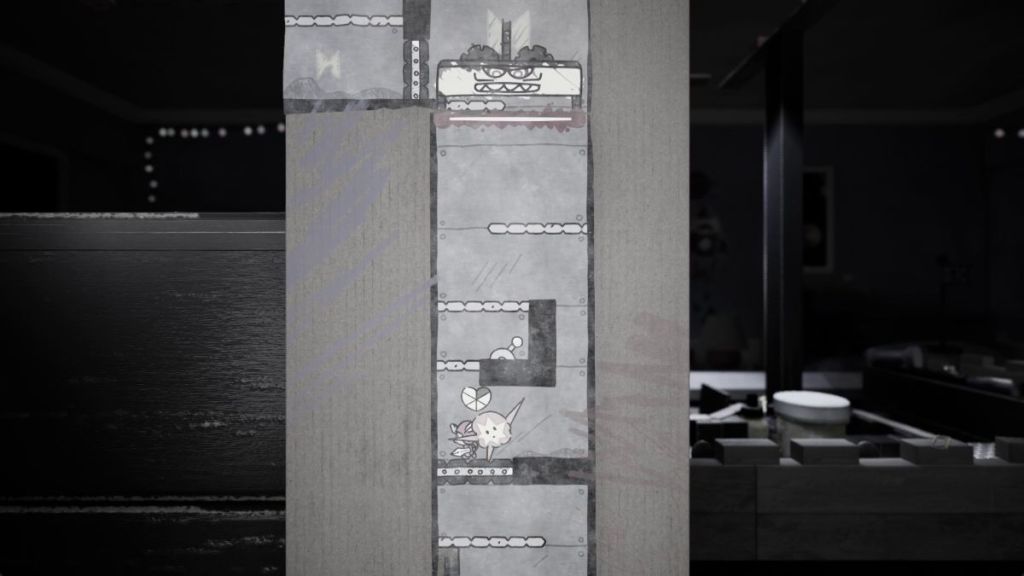
Back in the 2D world next to Mini Moonbeard, throw your sword at the crystal ball to deactivate the laser. After clearing a few rooms with guards, you’ll have to make your way through a platforming section in 3D to get your Tilt Gauntlets back. Then, pick up all the tomato bombs to make all the guards in training go ka-boom and grab the Stop Stamp above.
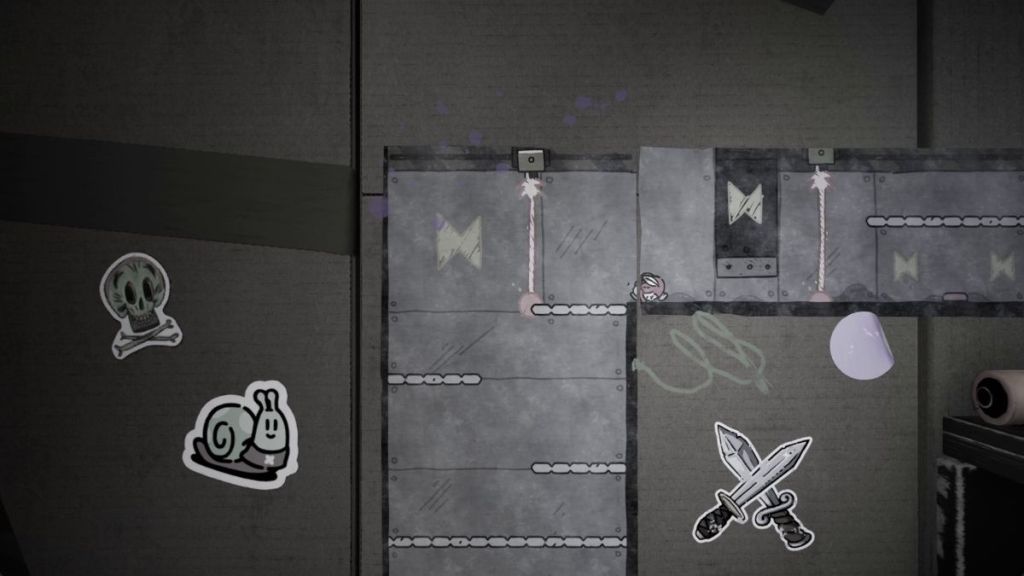

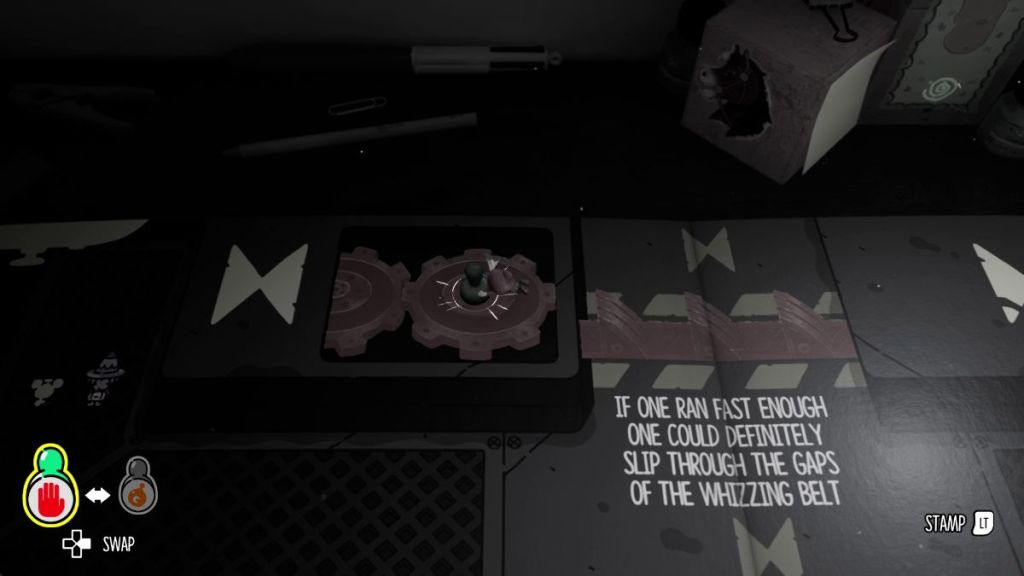
After completing three 2D platforming challenges, defeat all the beetles in the 3D world and head to the left to reunite with Page. Then, tilt your book to the right to drop it on the desk. Place a Stop Stamp on the cogs and hop back into your storybook.
How to solve the Metal Crates puzzle
To solve this puzzle, you must use the yellow crates to reach the broken pipe on the upper left. Follow these steps:
| Visual Reference | Instructions |
|---|---|
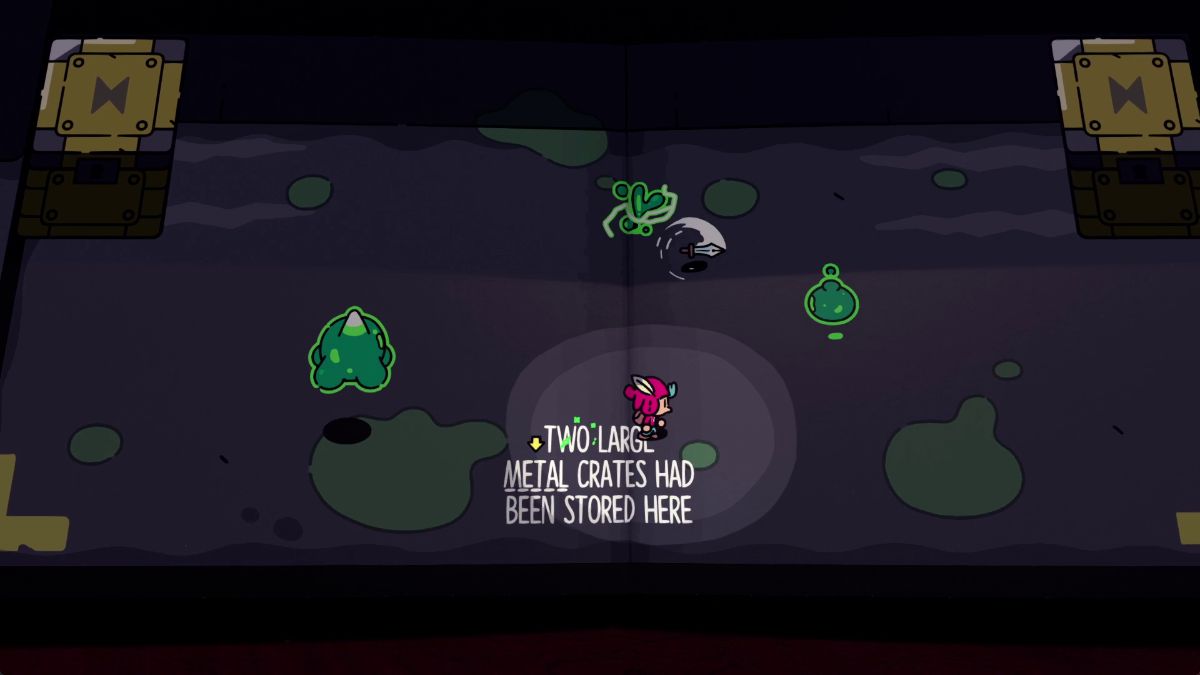 | Clear the room of enemies and head through the pink gate. Then, climb the stairs and the yellow crate to find a narrow passage above it. |
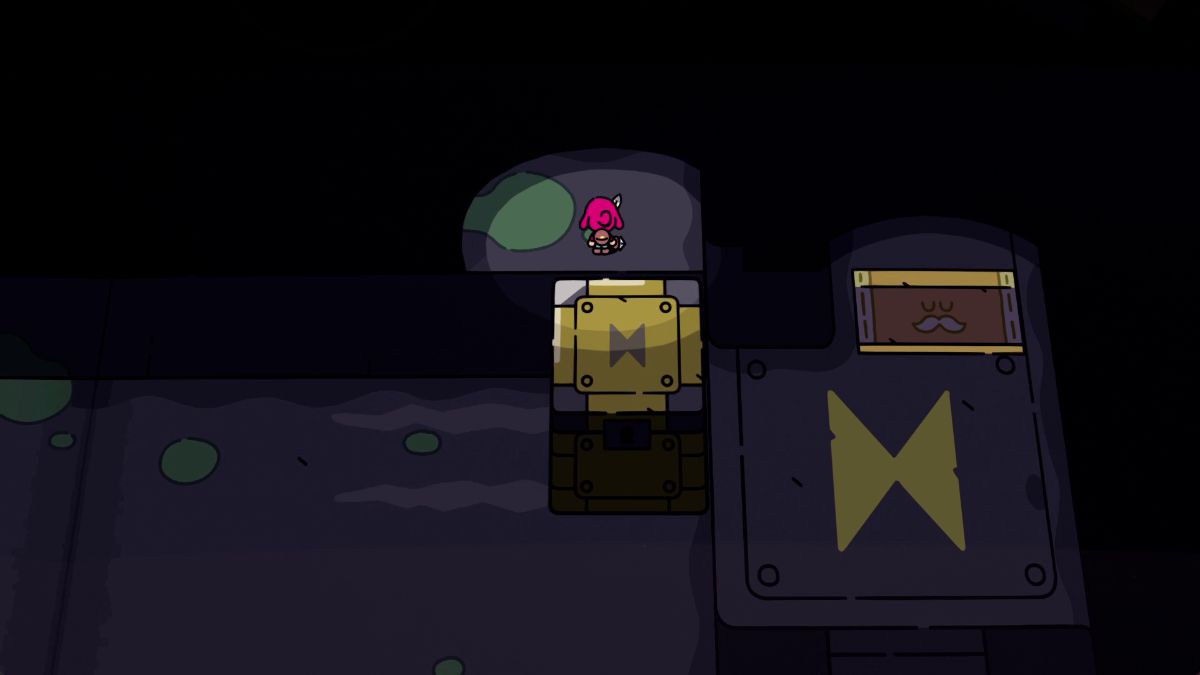 | Here, defeat all enemies and push the yellow button. Also, grab the word “THREE” from the sentence here. |
 | Hit the word TWO in the main sentence and replace it with THREE. Then, use the portal beyond the yellow gate to exit into the 3D world. |
 | Place a Stop Stamp on the crate on the left. Then, tilt the book to the right. (You might have to turn them into Diamond crates to move them.) |
 | Place a Stop Stmap on the crate on the upper right. Then, tilt the book to the left. |
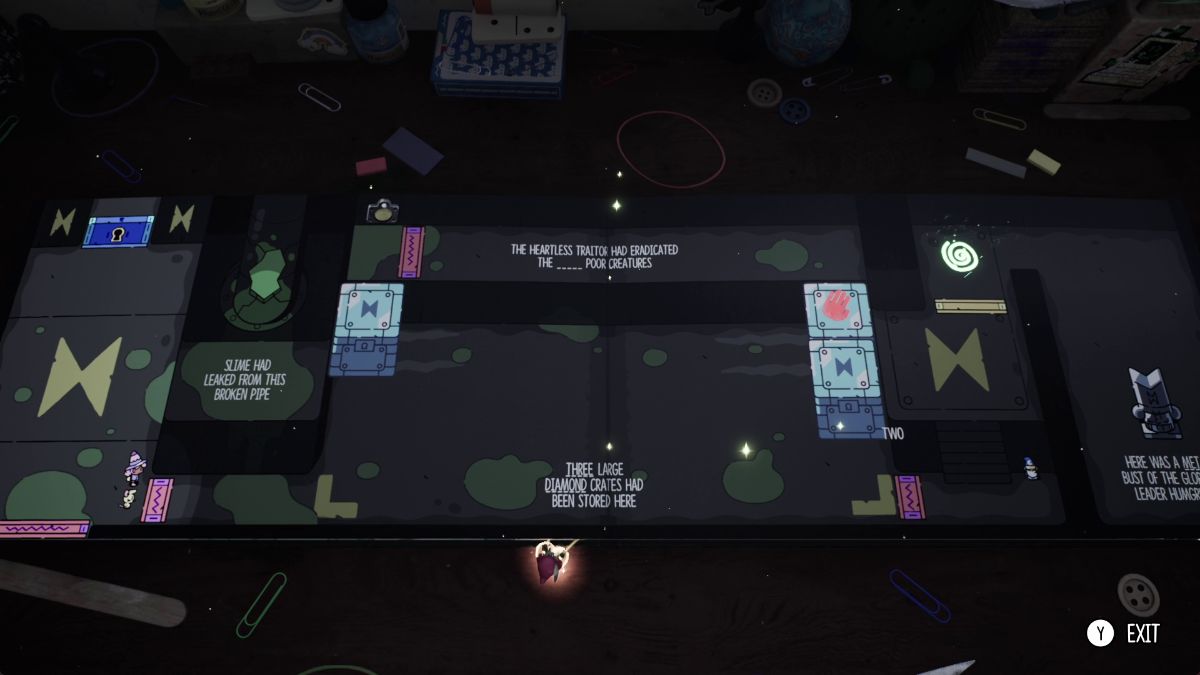 | Step back into 2D and use the crates to approach the BROKEN pipe. Here, steal the word broken. |
| Use the word BROKEN to describe the crates. Then, use your Bomb Stamp while in 3D to break them open. |
| Use the key inside the broken crates to open the blue gate on the left. |
How to solve the Metamagic Pipes puzzle
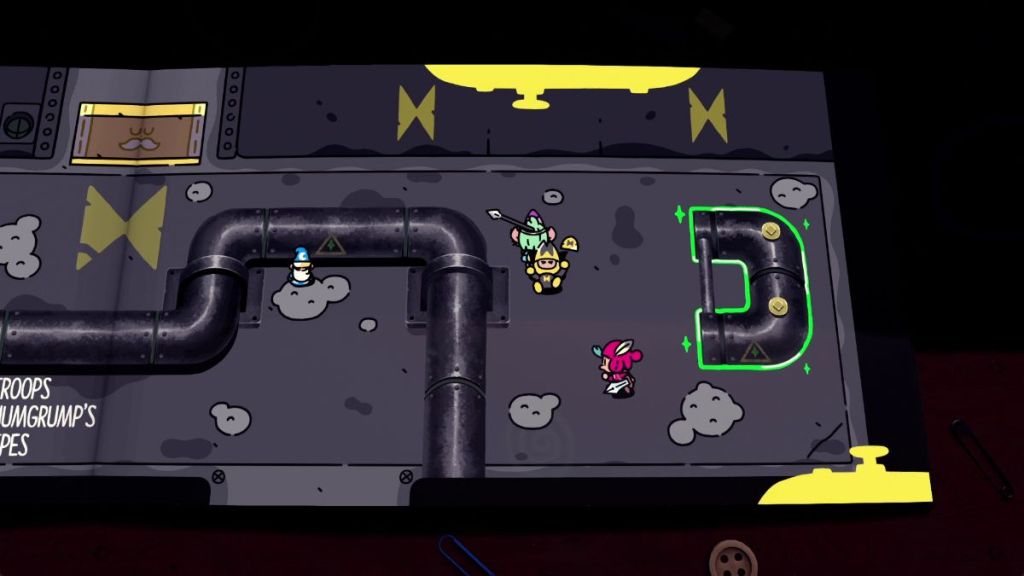
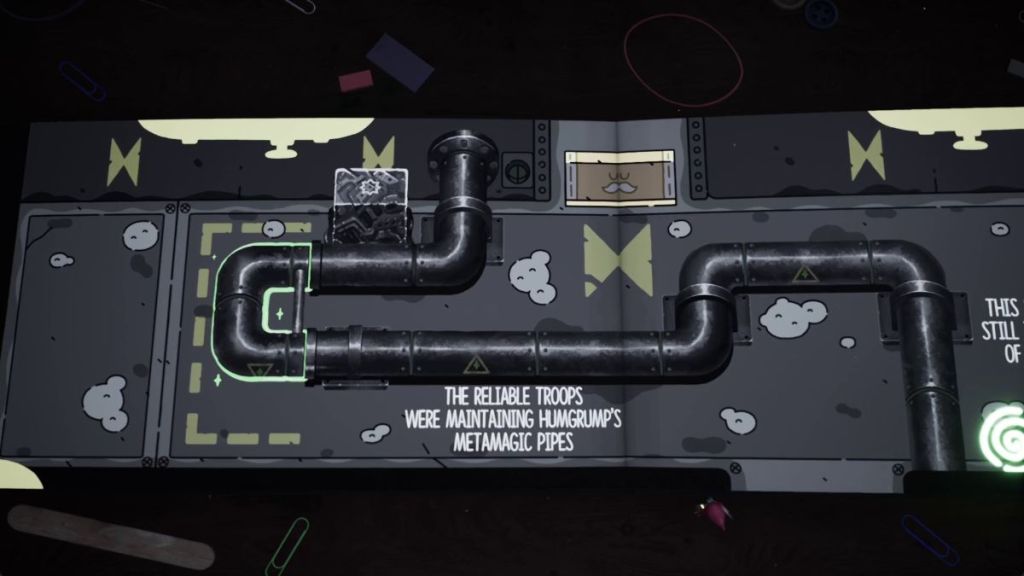
To solve this puzzle, hop into the 3D world and tilt the book slightly to the left to move the pipe. Then, tilt it fully until the book slams shut.
How to trigger the big switch
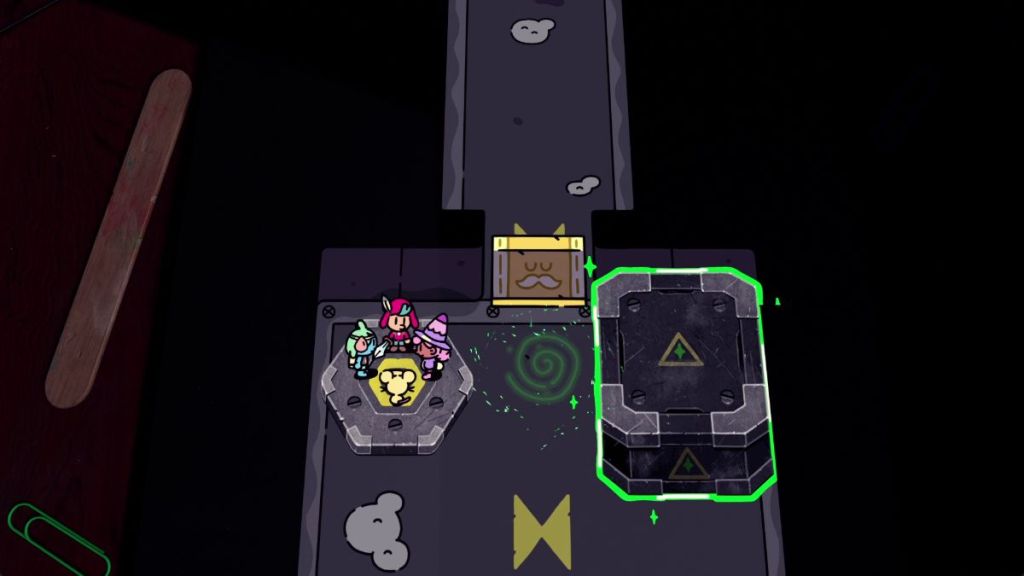
| Visual Reference | Instructions |
|---|---|
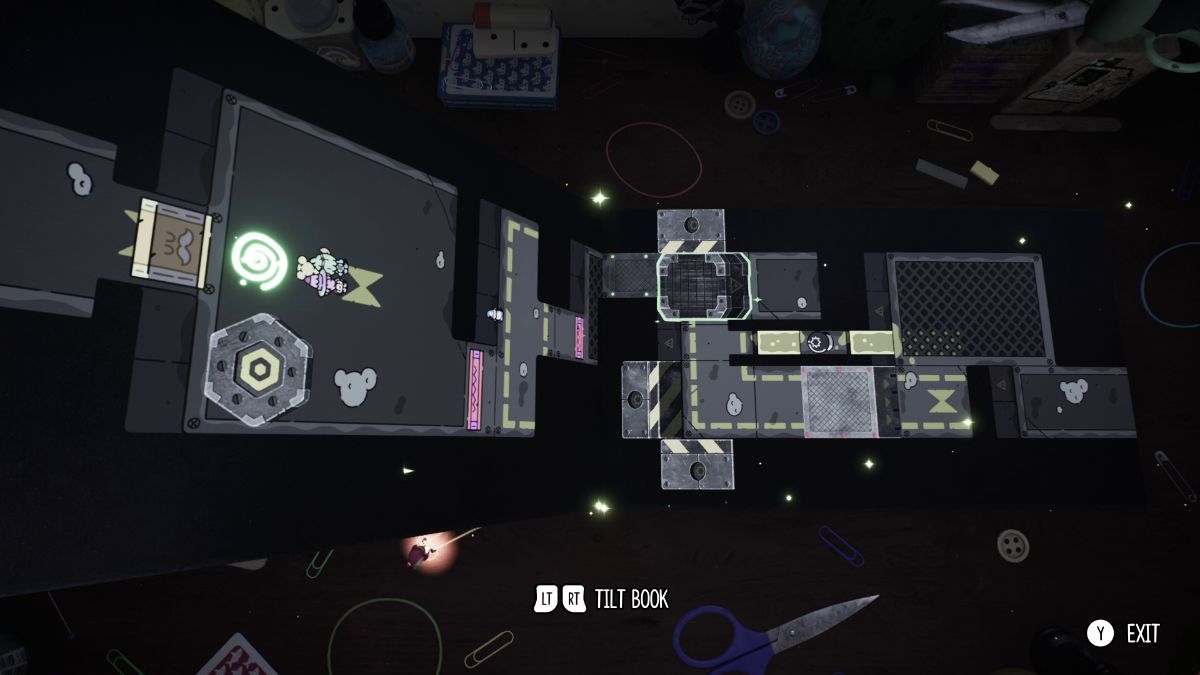
 | In the 3D world, slam the book to the right to transfer the battery. Then, tilt left to move it. |
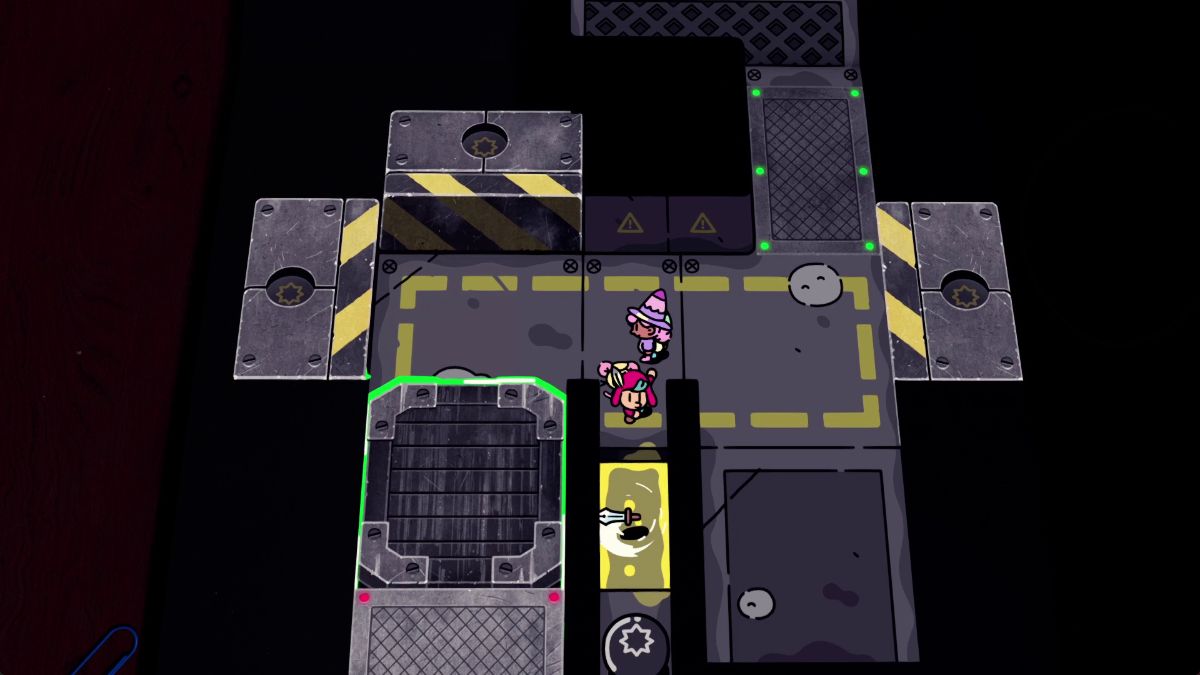
 | Place a bomb on the socket north to push it south. |
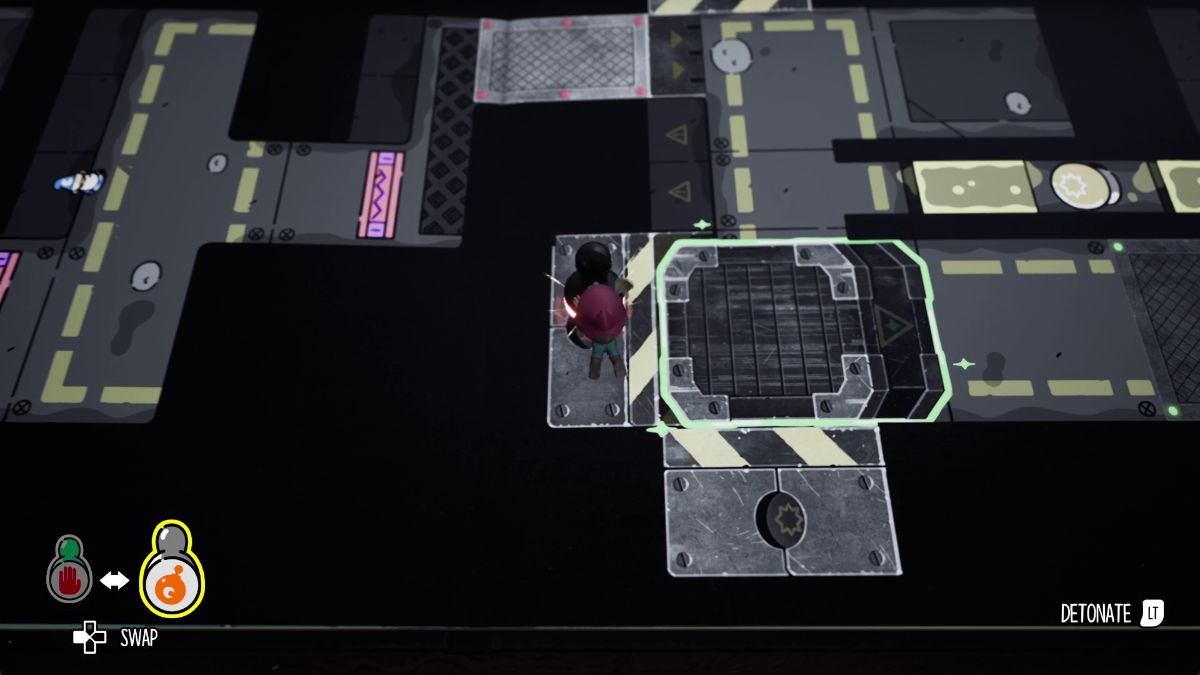
 | Hop back into 2D and lower the bridge by throwing your sword. |
 | Place a bomb to push the battery to the right. |
 | Place a Stop Stamp and tilt the book fully to the left to transfer the battery on top of the switch. |
How to get past the third data center
Pip Puzzle 5
| Visual Reference | Instructions |
|---|---|
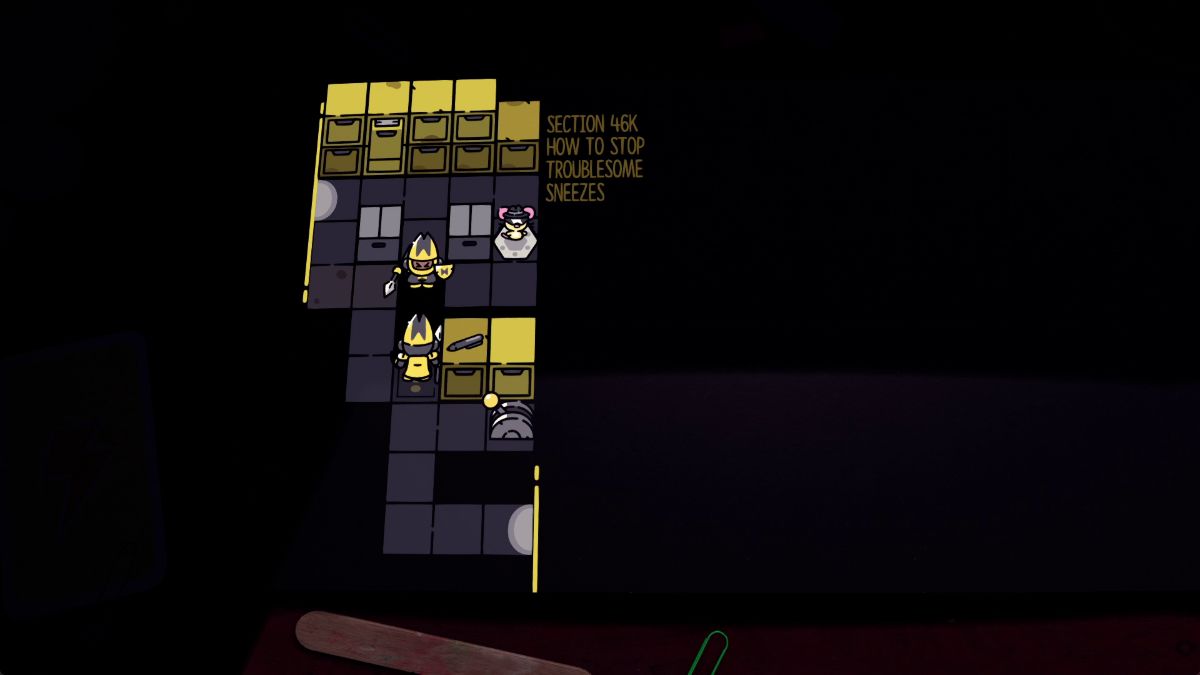 | When the guard’s looking to the left, move Pip to the trigger on the right side. |
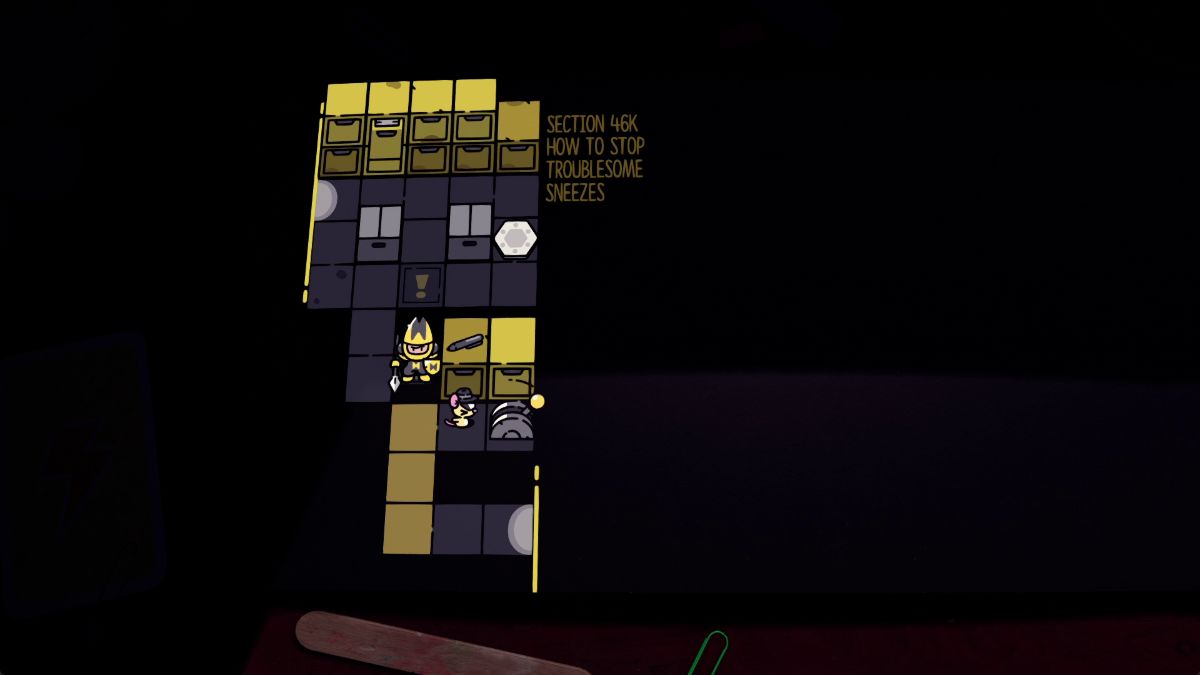 | While the second guard is away, activate the switch on the right to drop him off. Head outside! |
Pip Puzzle 6
| Visual Reference | Instructions |
|---|---|
 | Stand on the trigger to drop the first guard and the second one. |
 | Then, as you near the end, wait for both guards to face away to stand on the third trigger and drop all remaining ones. |
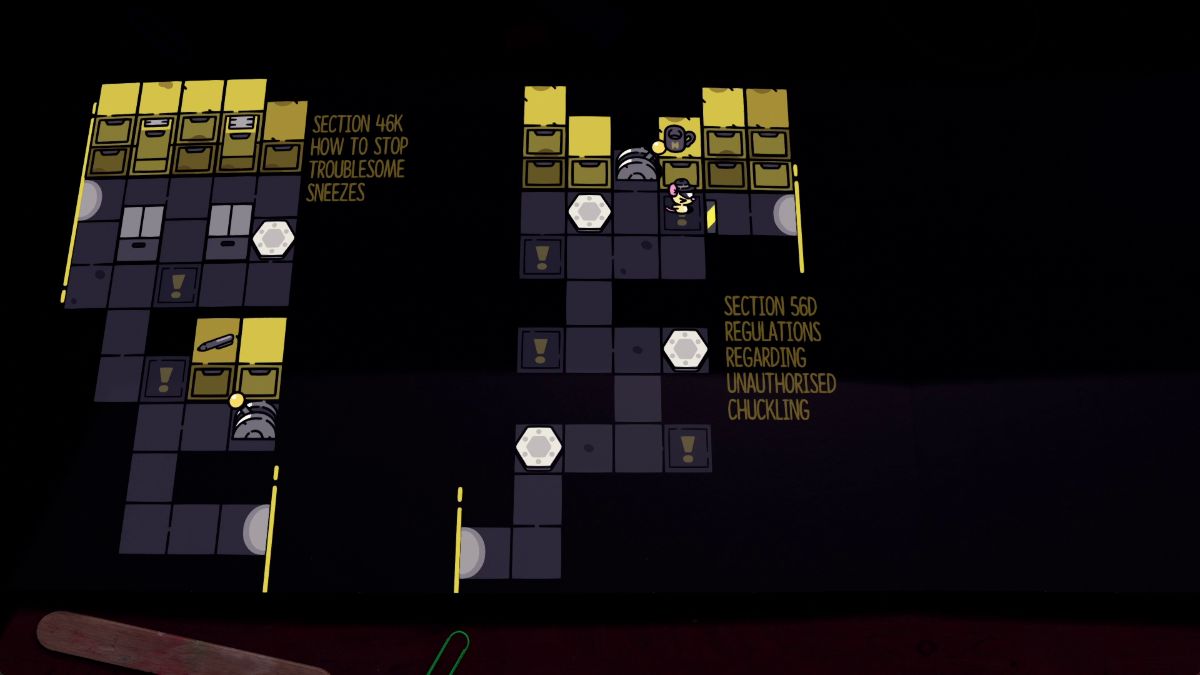 | Then, hit the switch to lower the door and head out. |
Pip Puzzle 7
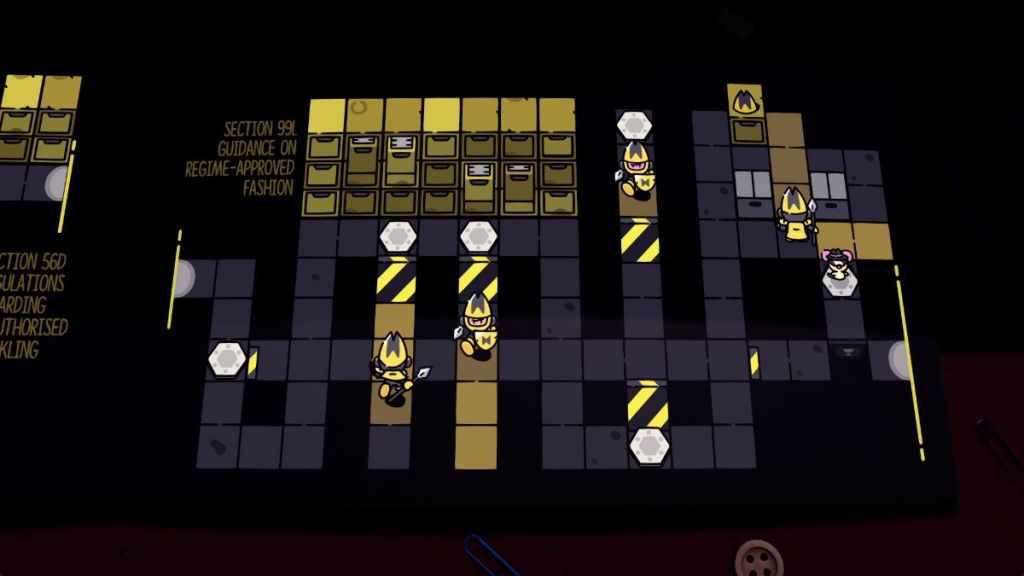
Wait for the right time to go over the yellow and red tiles. When you reach the trigger on the upper right, the guard in charge of the red tiles will drop, making your exit much easier.
How to open Humgrump’s door
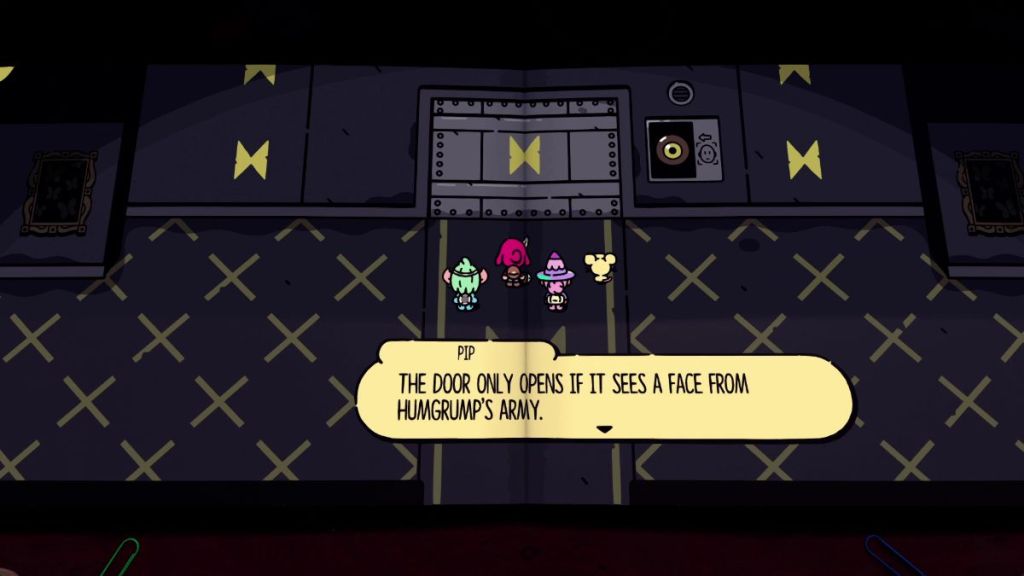

To open Humgrump’s door, exit through the portal. Then, tilt the book until it’s fully closed to transfer Humgrump’s portrait to the face scan.
No collectibles or puzzles in Chapter 10, so I guess this is where we part ways, Plucky Squire. Hopefully, I’ll see you in the next game!
Want to know something else great about Plucky Squire? It’s Steam Deck Verified.
About the Author

Discover more from Bonus Action
Subscribe to get the latest posts sent to your email.








The pip portret art is not inside the cave in chapter 2, please revise as it made me miss a scroll
Hey! Thanks for pointing that out. I’ve fixed the Scrolls section in Chapter 2 with the right location. Sorry to hear you missed a scroll, but hopefully I’m not too late – you can replay Chapter 2 up to this point to grab the Pip Portrait Art Scroll.
Hey, there is a second Glitchbird in Chapter 9 in the Castle Hall. On the right side behind a vessel 🙂
Hey, thanks a ton for the heads up! I never would’ve guessed there were two Glitchbirds in the same chapter. I’ve updated the walkthrough and gave you credit for the assist. Cheers!