In Silver Pines, a crowbar is a key, a shotgun is a key, and a sledgehammer is the most useful key of all. Half the town stays locked until you’re carrying the right thing, and the other half wants to eat you while you look for it.
This guide covers every weapon, upgrade, and tool in the game, and exactly how to get each one, including the three weapons you only unlock by finishing it. If you are looking for more help, check out our full walkthrough or our guide for each of the Memento and Vessel shard locations.
Table of Contents
- All Silver Pines Weapons
- Where to find the Box Cutter
- Where to find the Snub .38 Revolver
- Where to find the 1911 Service Pistol
- Where to find the W-500 Shotgun
- Where to find the Double Barrel Shotgun
- Where to find The North Star
- Where to find the Model 7 Rifle
- Where to find the S-1 Carbine
- Where to find the Swedish K SMG
- Where to find the Nailgun
- Where to find the .44 Magnum
- Where to find the Blade
- Where to find the Baseball Bat
- Where to find the Pipe Bomb
- How to unlock the Switchblade and the Omega Rifle
- Where to find the car trunk weapons
- All Silver Pines Weapon Upgrades
- All Silver Pines Tools
All Silver Pines Weapons
Click a weapon’s name to jump straight to its section. Damage numbers are per hit on Survival Horror difficulty.
Where to find the Box Cutter
It’s lying outside Rodney’s General Store, right after you raid the freezer.

- Open the freezer with 2311 and take the Check-in Key.
- Pick up the Box Cutter outside the store. It’s a flimsy melee weapon, but it also cuts cloth and plastic tarps.
Where to find the Snub .38 Revolver
It’s in Eddie’s Grizzly Suite at the Crimson Bear Motel.
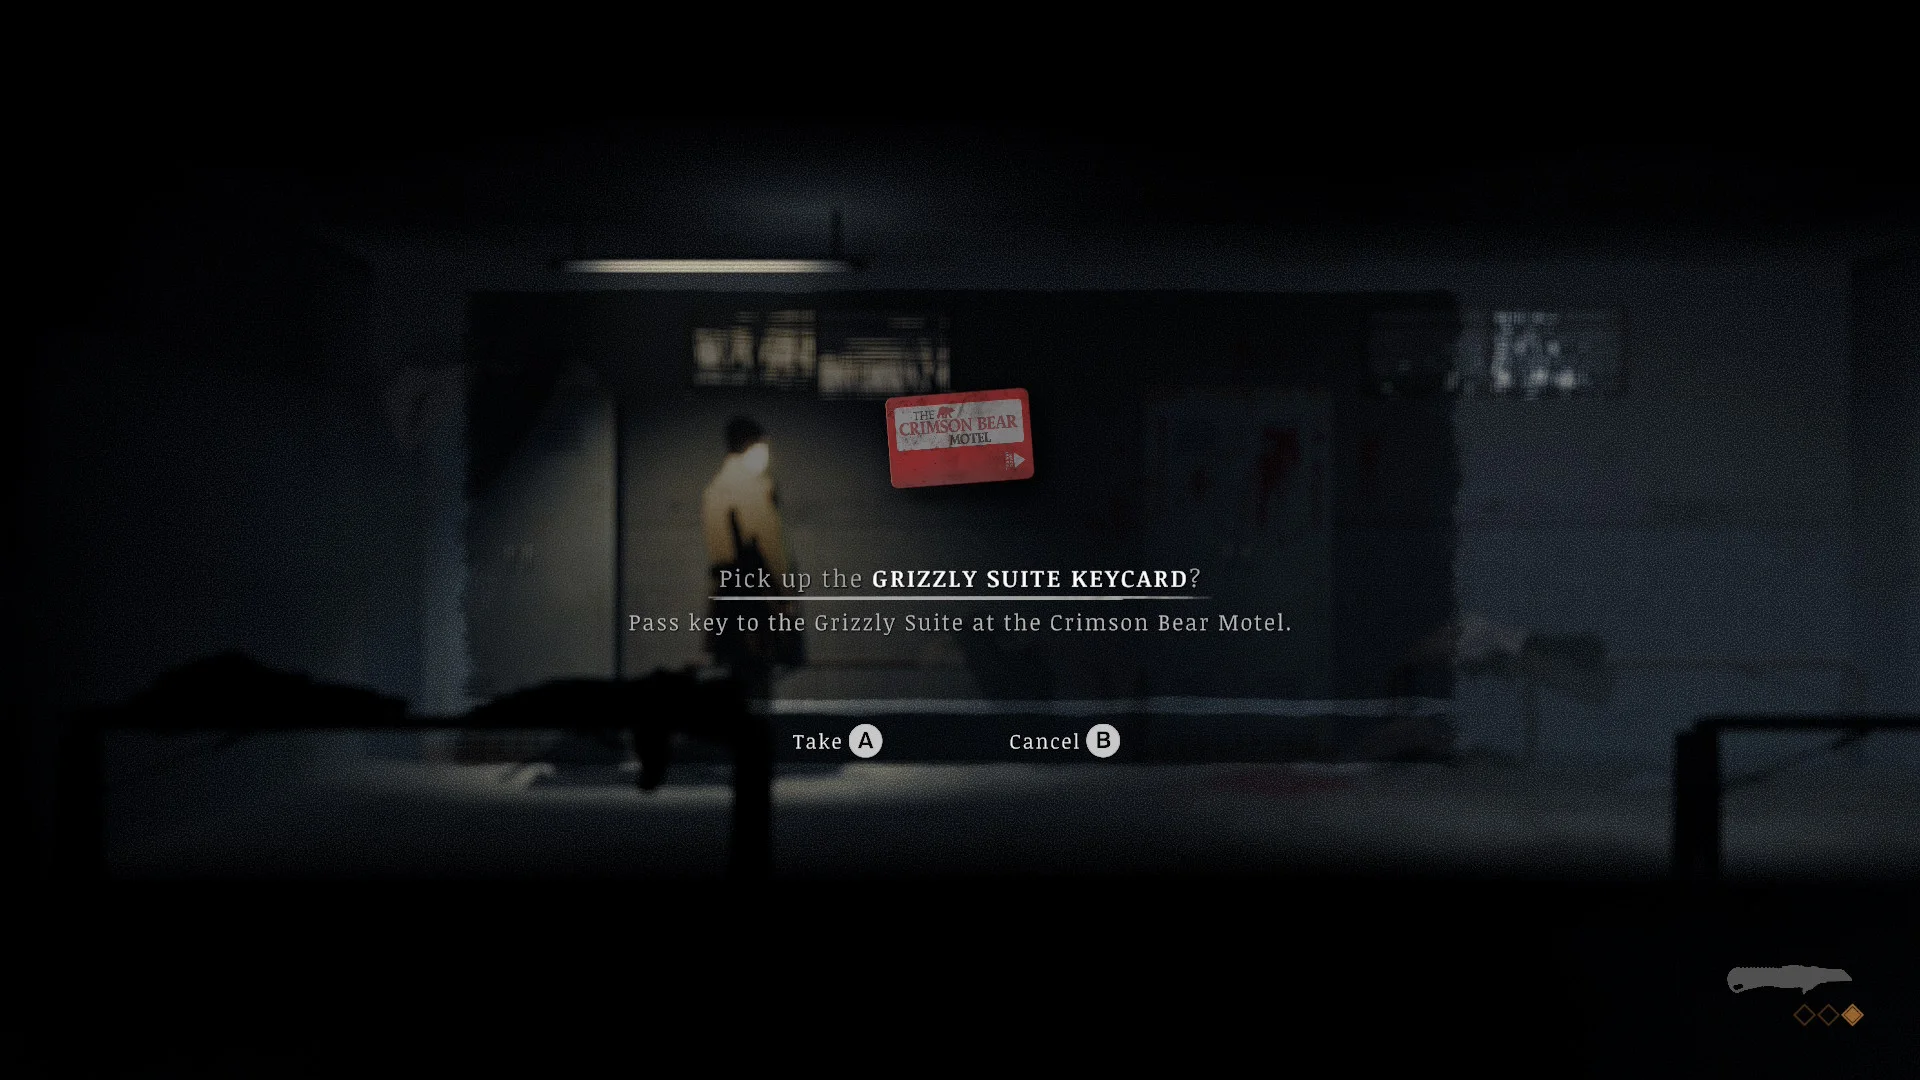
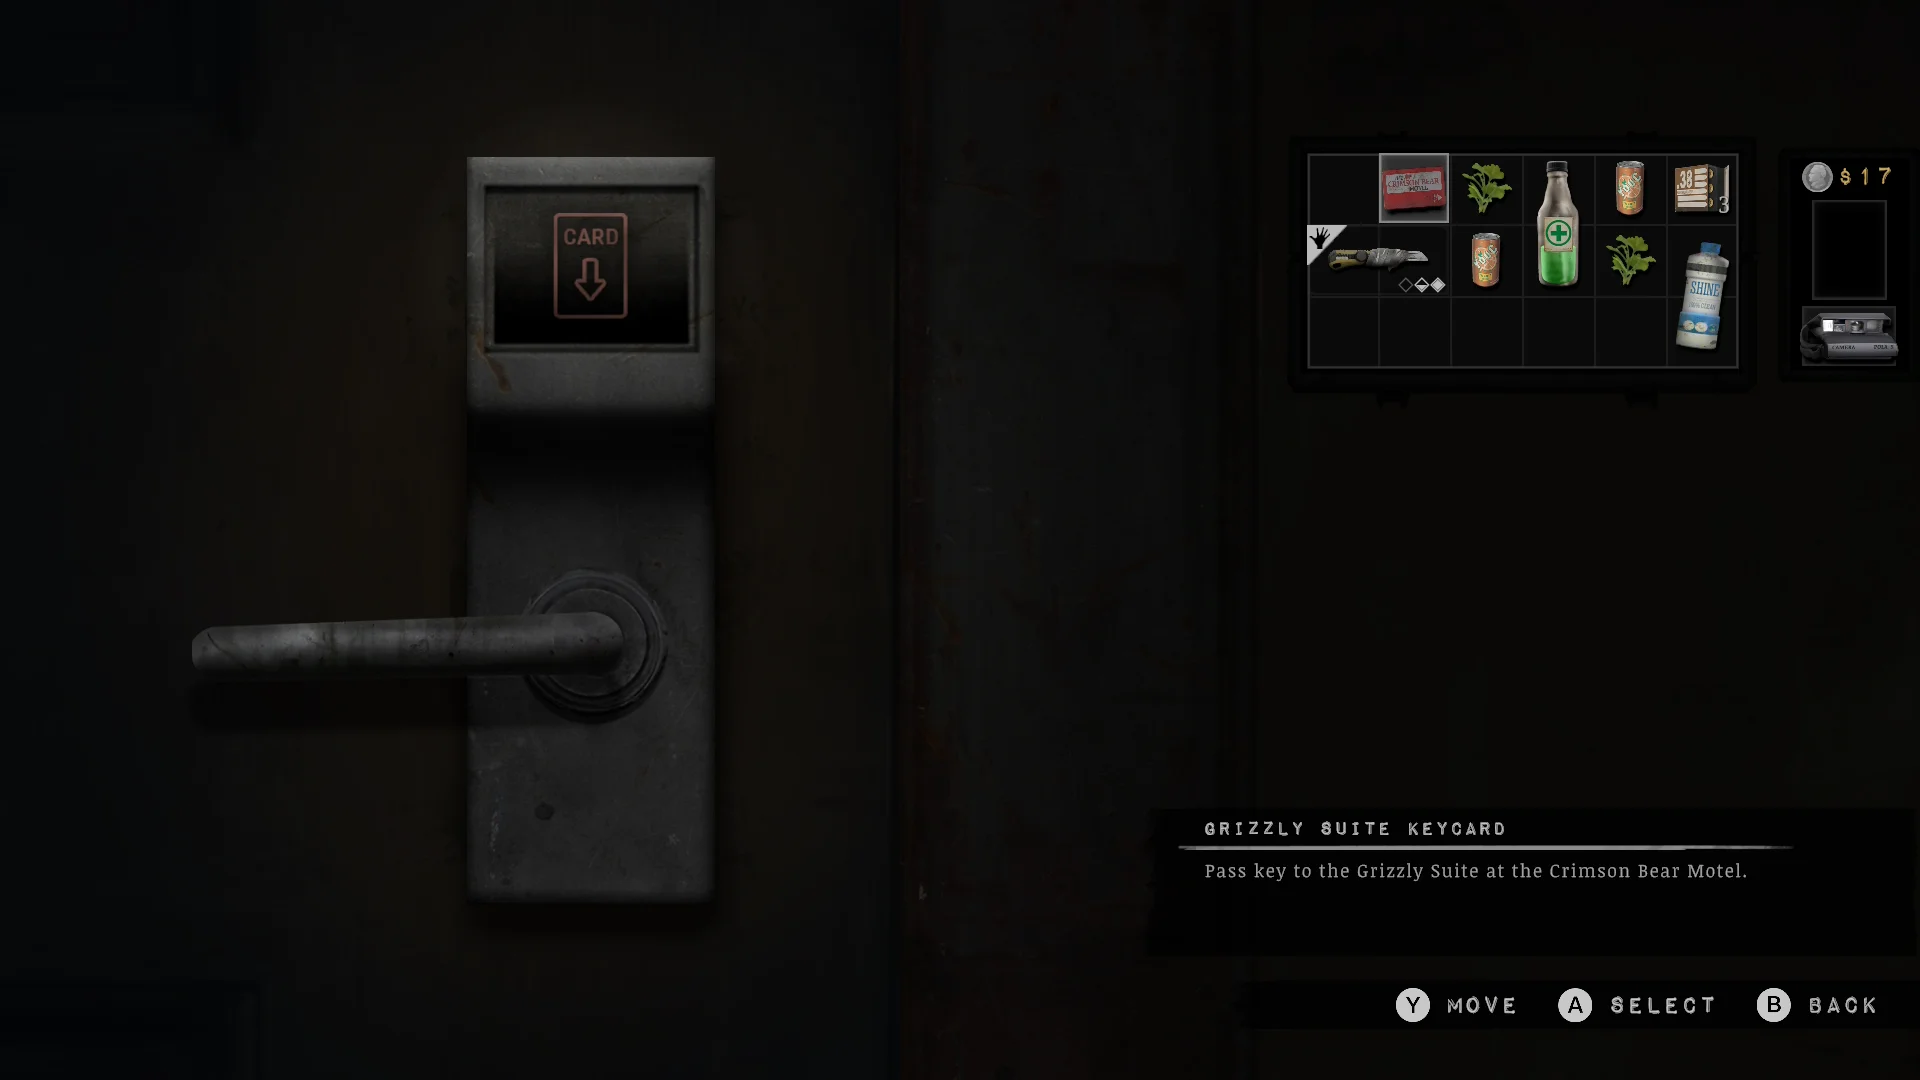

- Take the Grizzly Suite Keycard from the pool changing rooms.
- Open the suite and take the Snub .38 Revolver and the ammo next to it.
Where to find the 1911 Service Pistol
It’s in the Union Apartments supervisor’s lockbox, next to the Floor 4 Button.

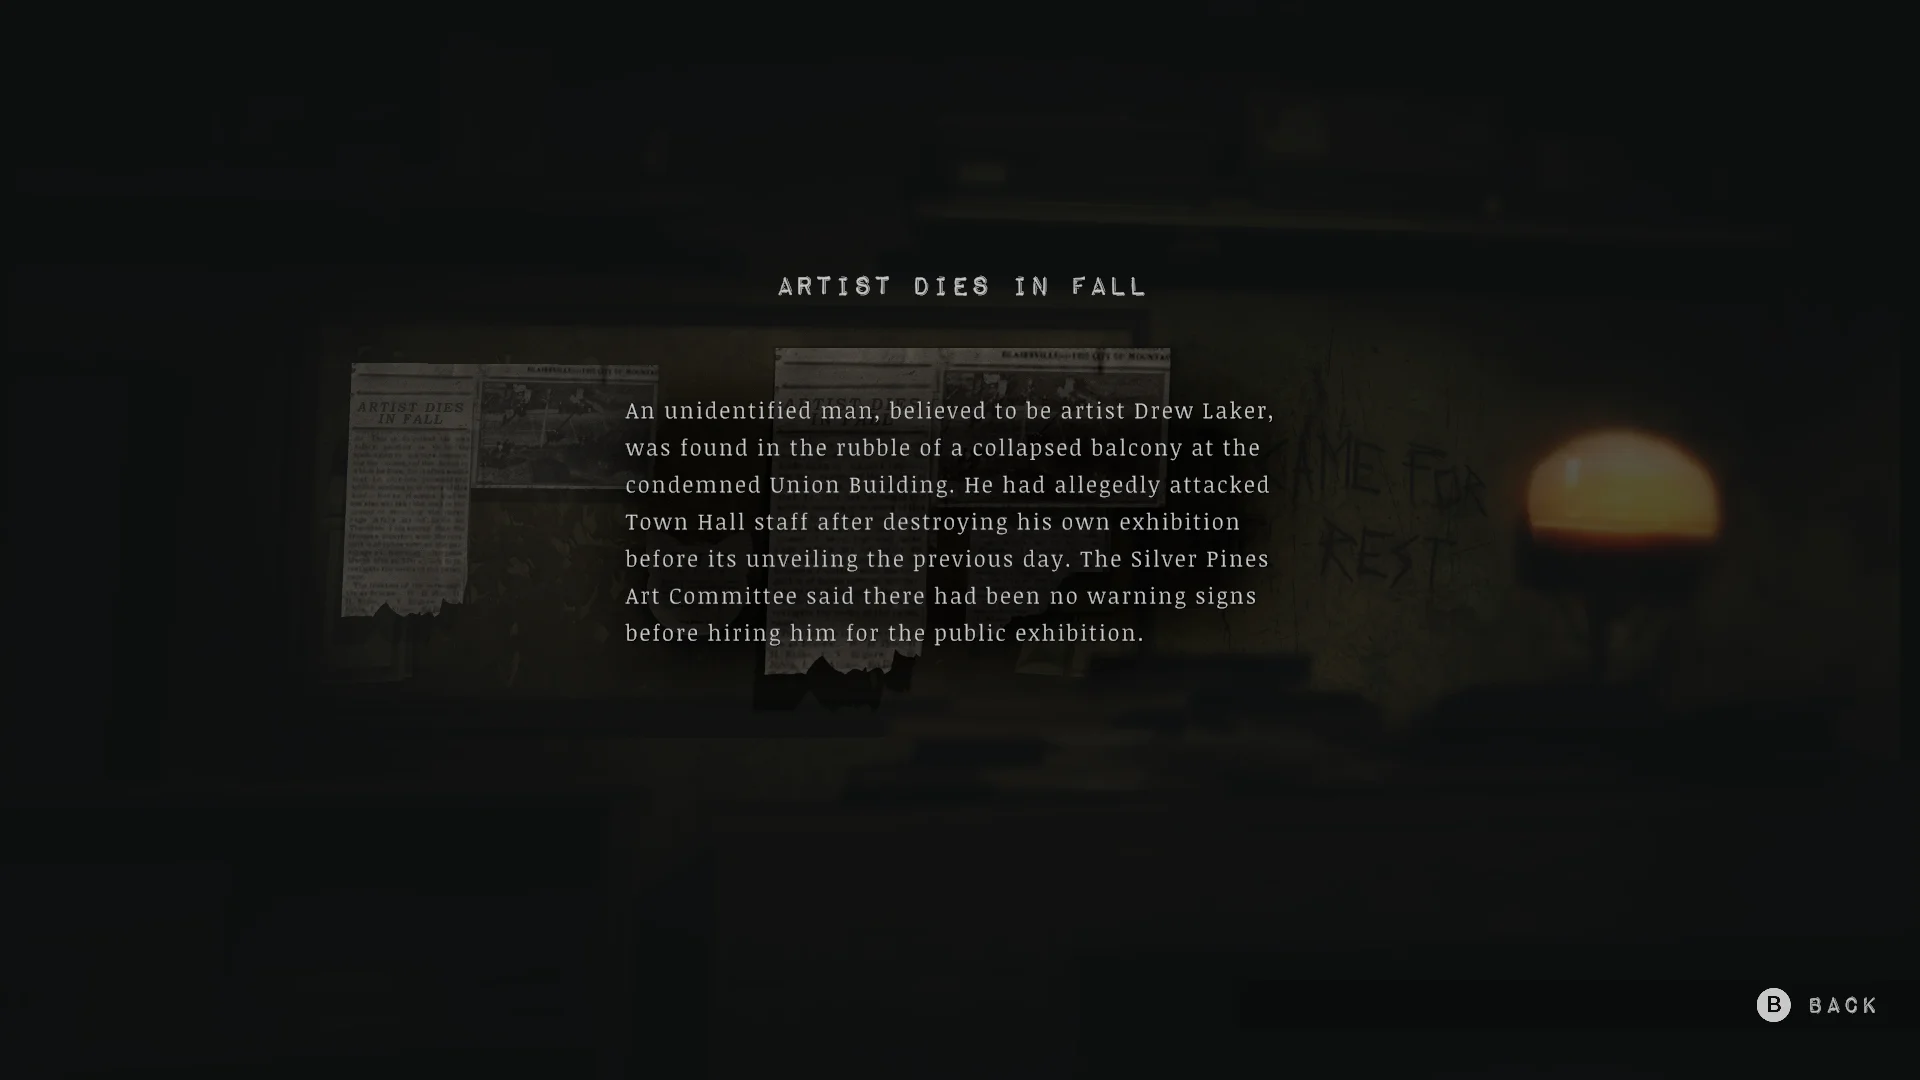
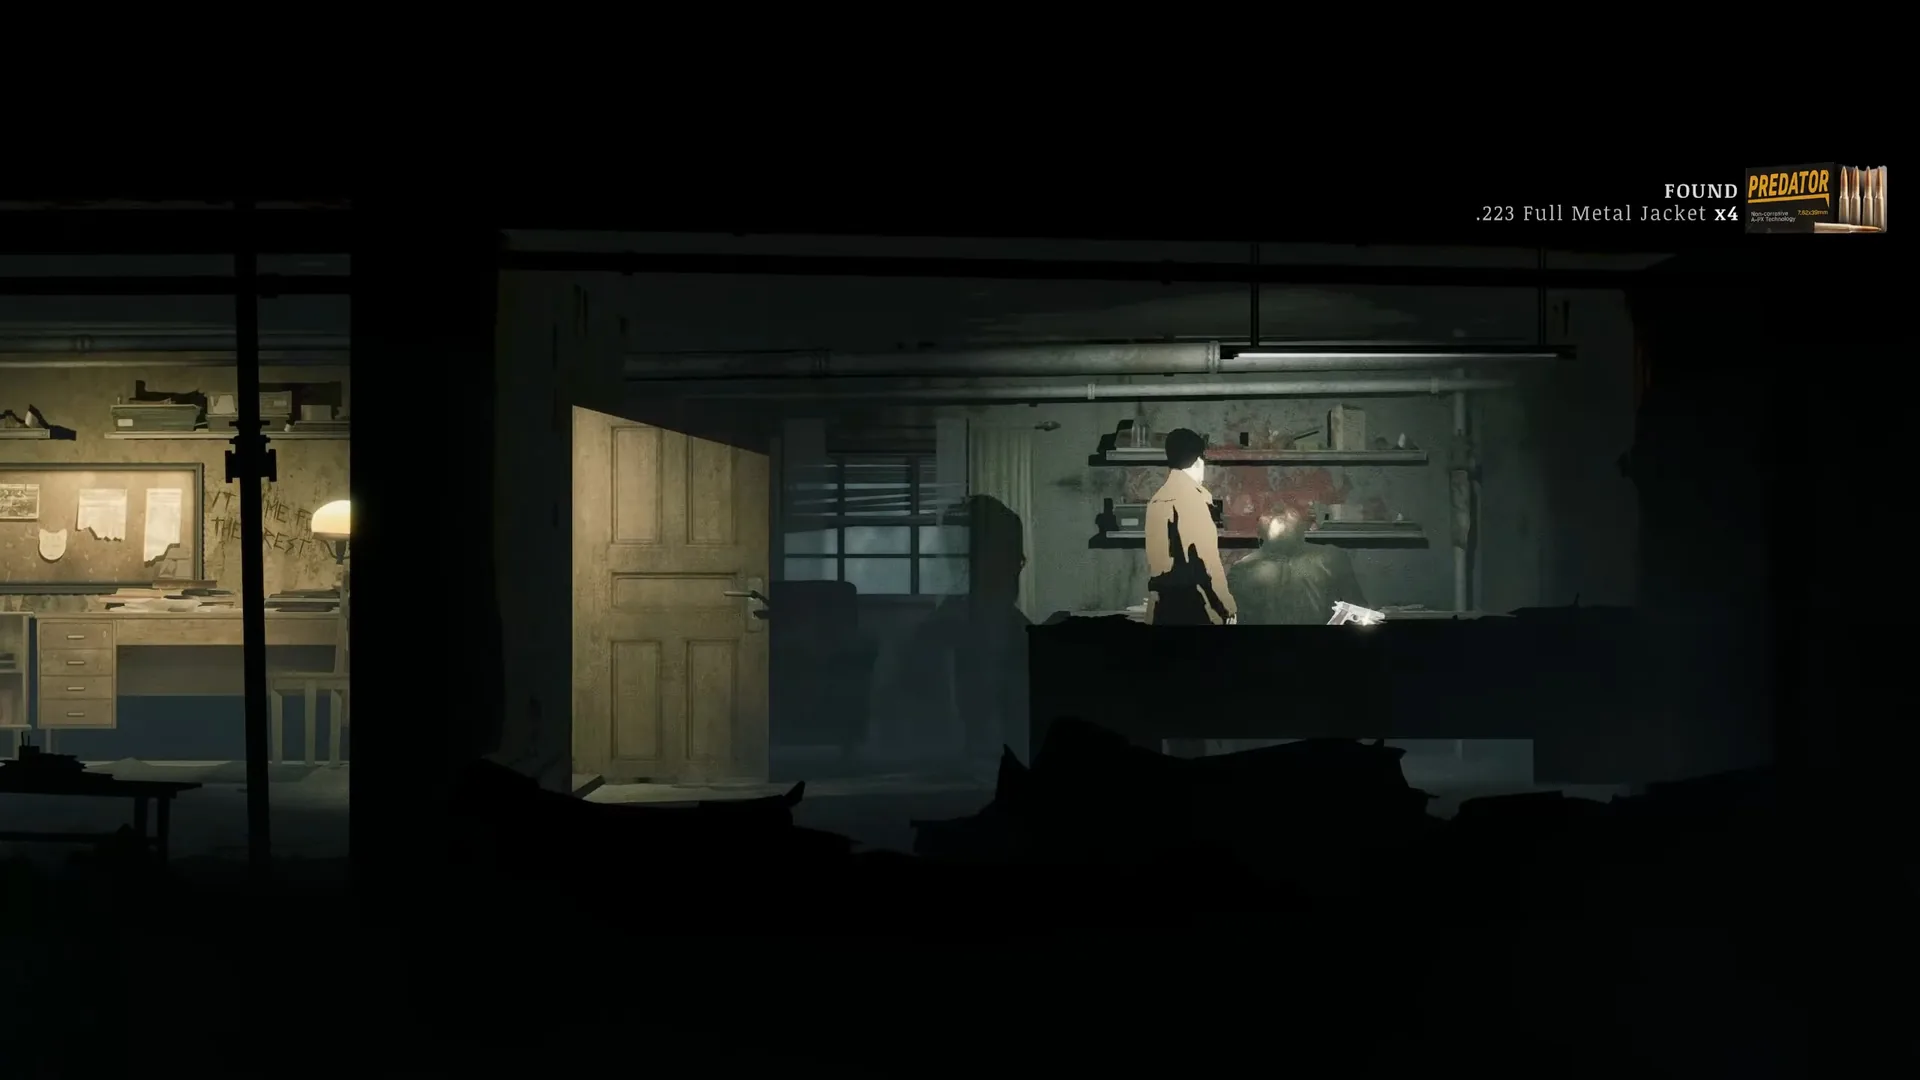
- Read the four newspaper cutouts in the supervisor’s office and match each tenant to a room: the artist in 1C, the cat lady in 3A, the writer in 2A, and the paranoid tenant in 3C.
- Enter 1C, 3A, 2A, 3C on the lockbox and take the 1911 Service Pistol. It reloads a full clip at once, which makes it my favorite gun for the 4B boss.
Where to find the W-500 Shotgun
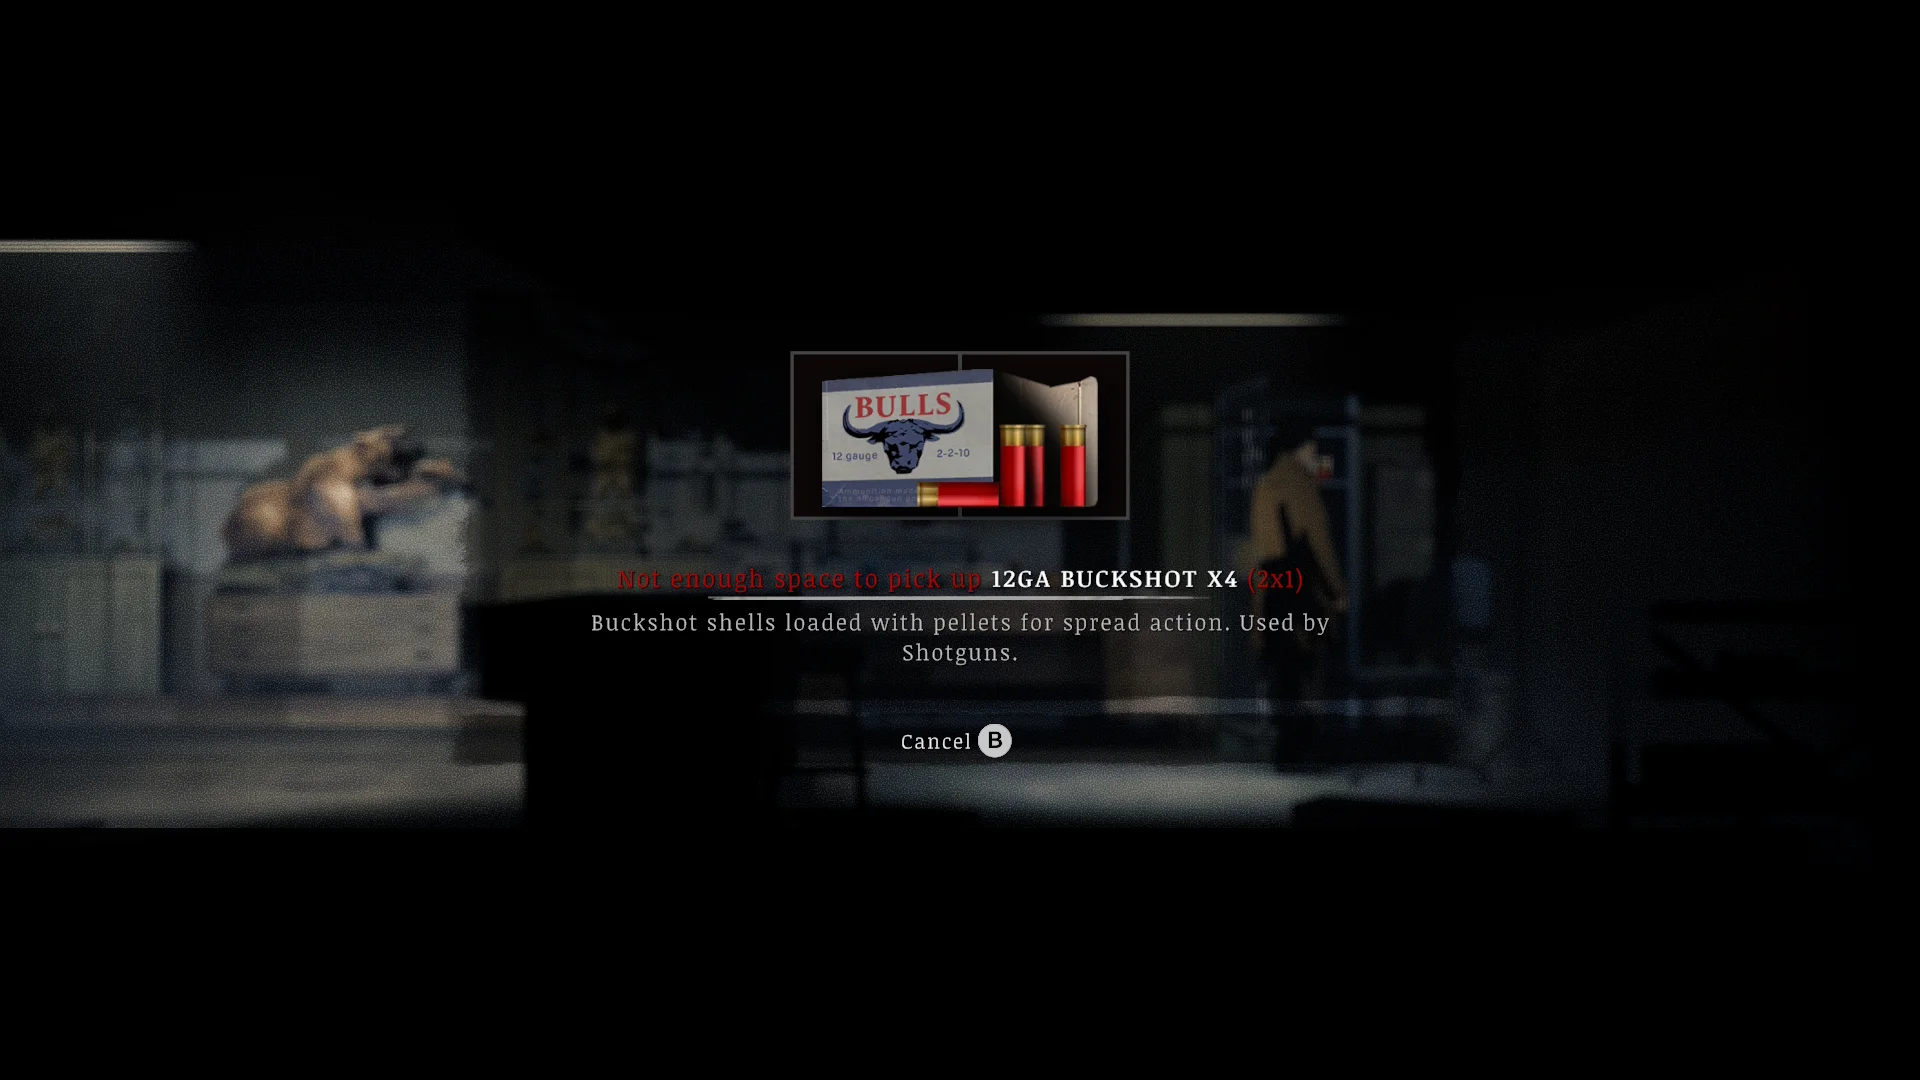
It’s in the gift shop weapon locker at the Crimson Bear Motel, and the code is 6671.
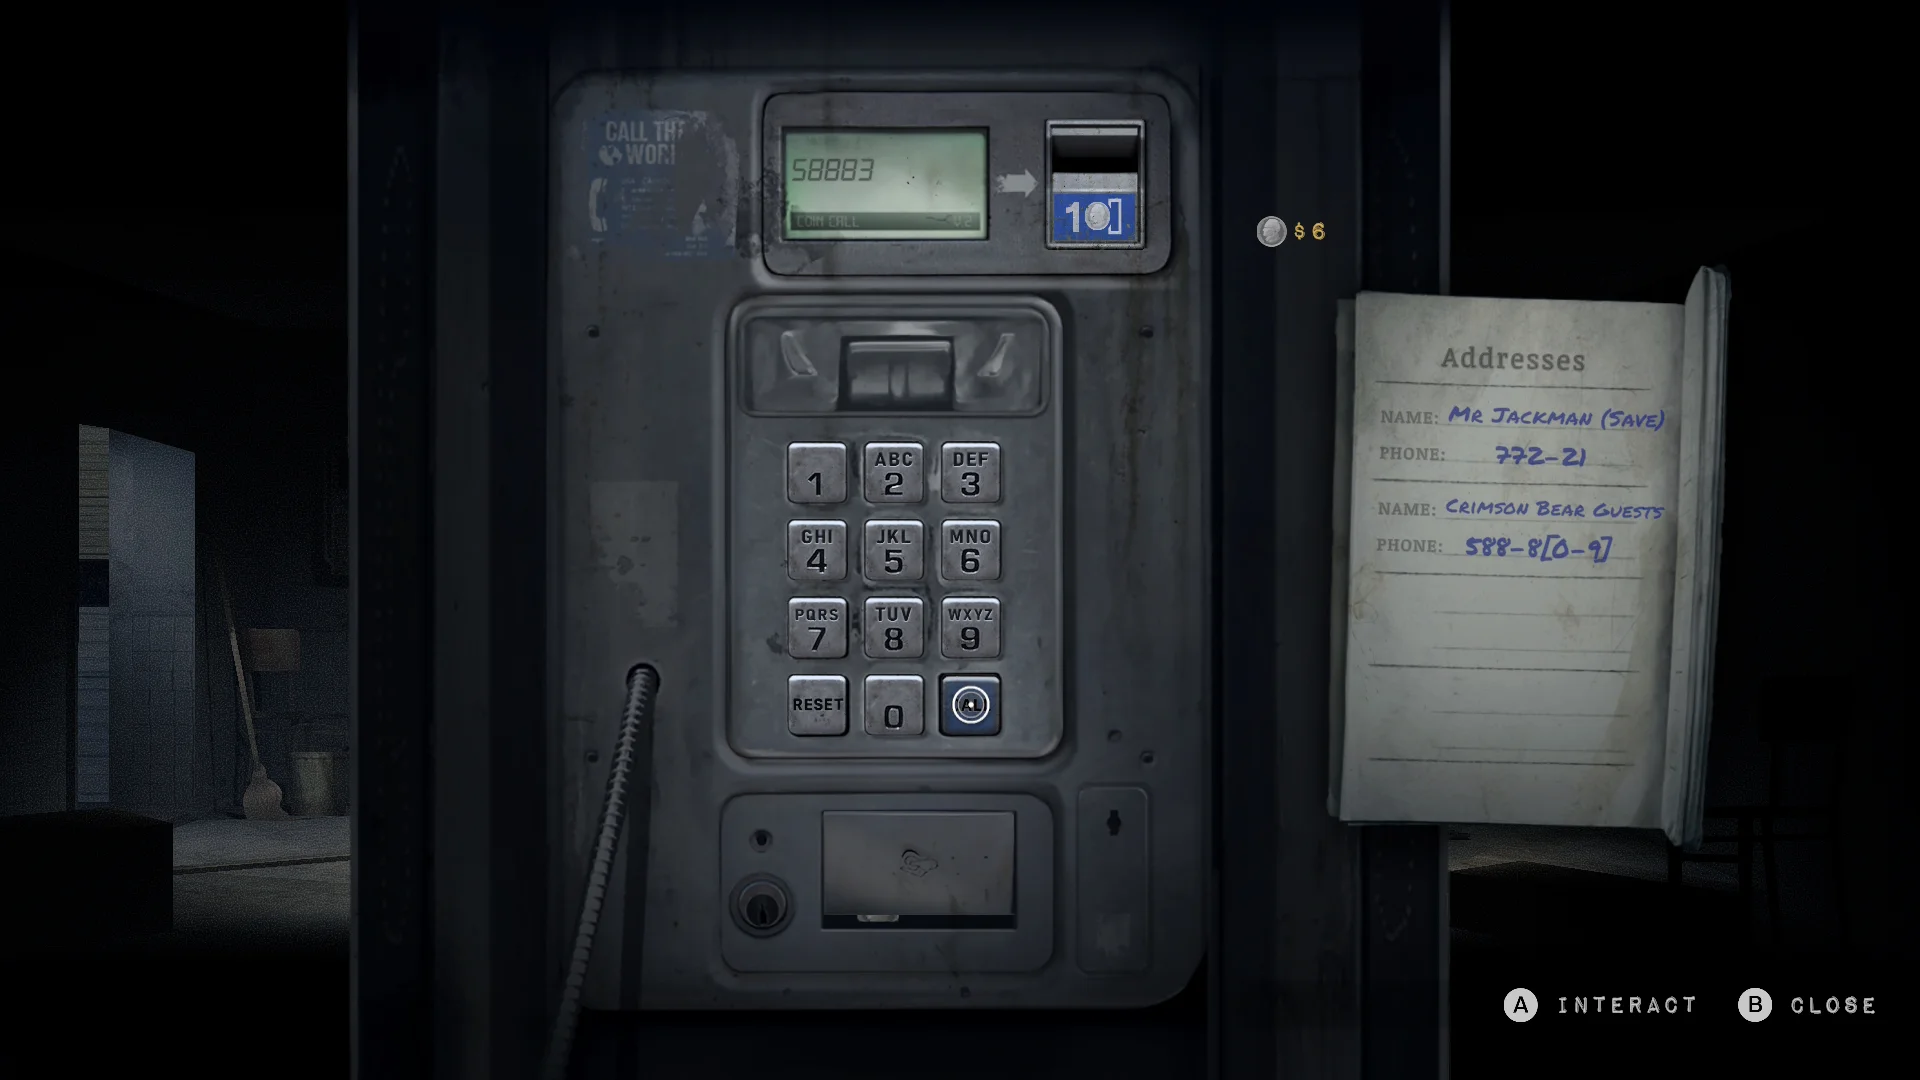

- Dial 58883 from a payphone to reach the crying woman in room 3. She gives you the code.
- Enter 6671 on the locker upstairs in the main building and take the W-500 Shotgun and the buckshot.
Where to find the Double Barrel Shotgun
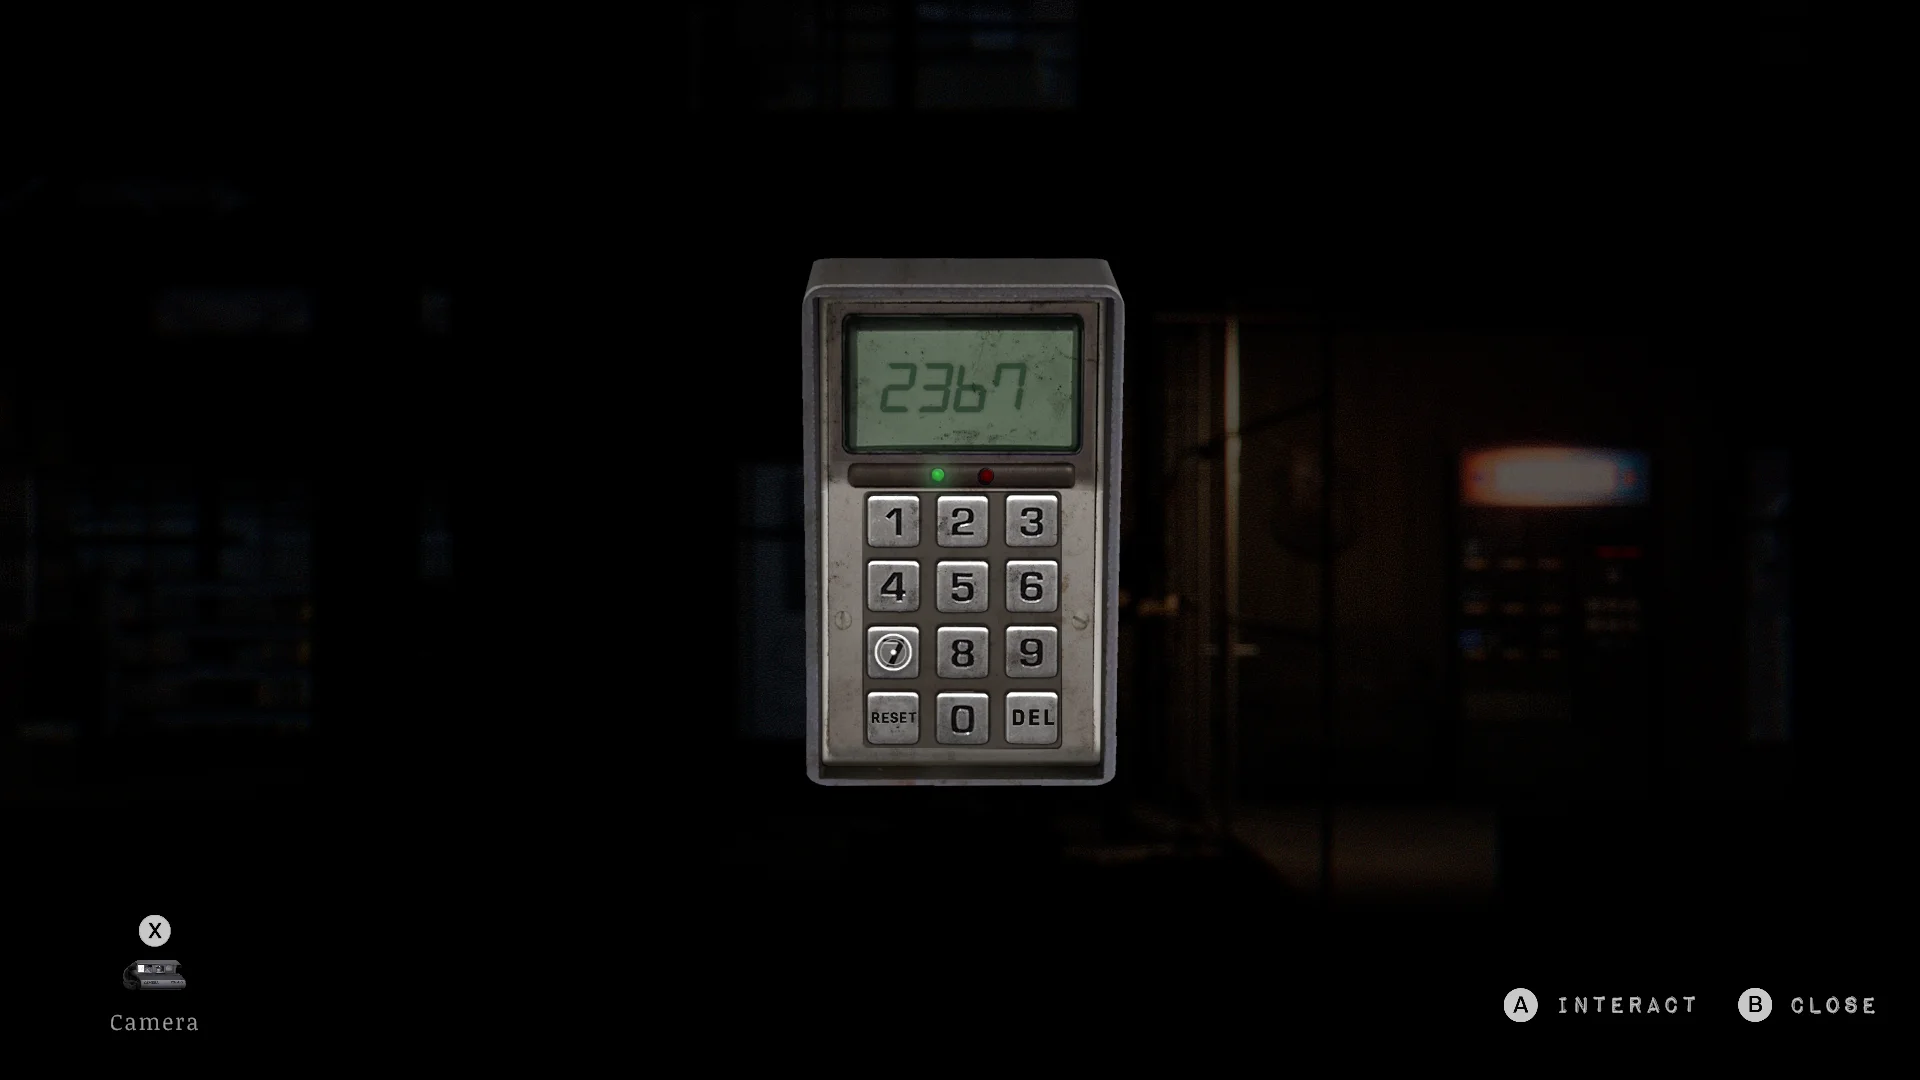
It’s behind the chain-link cage in Ammo Zone, and the code is 2367.
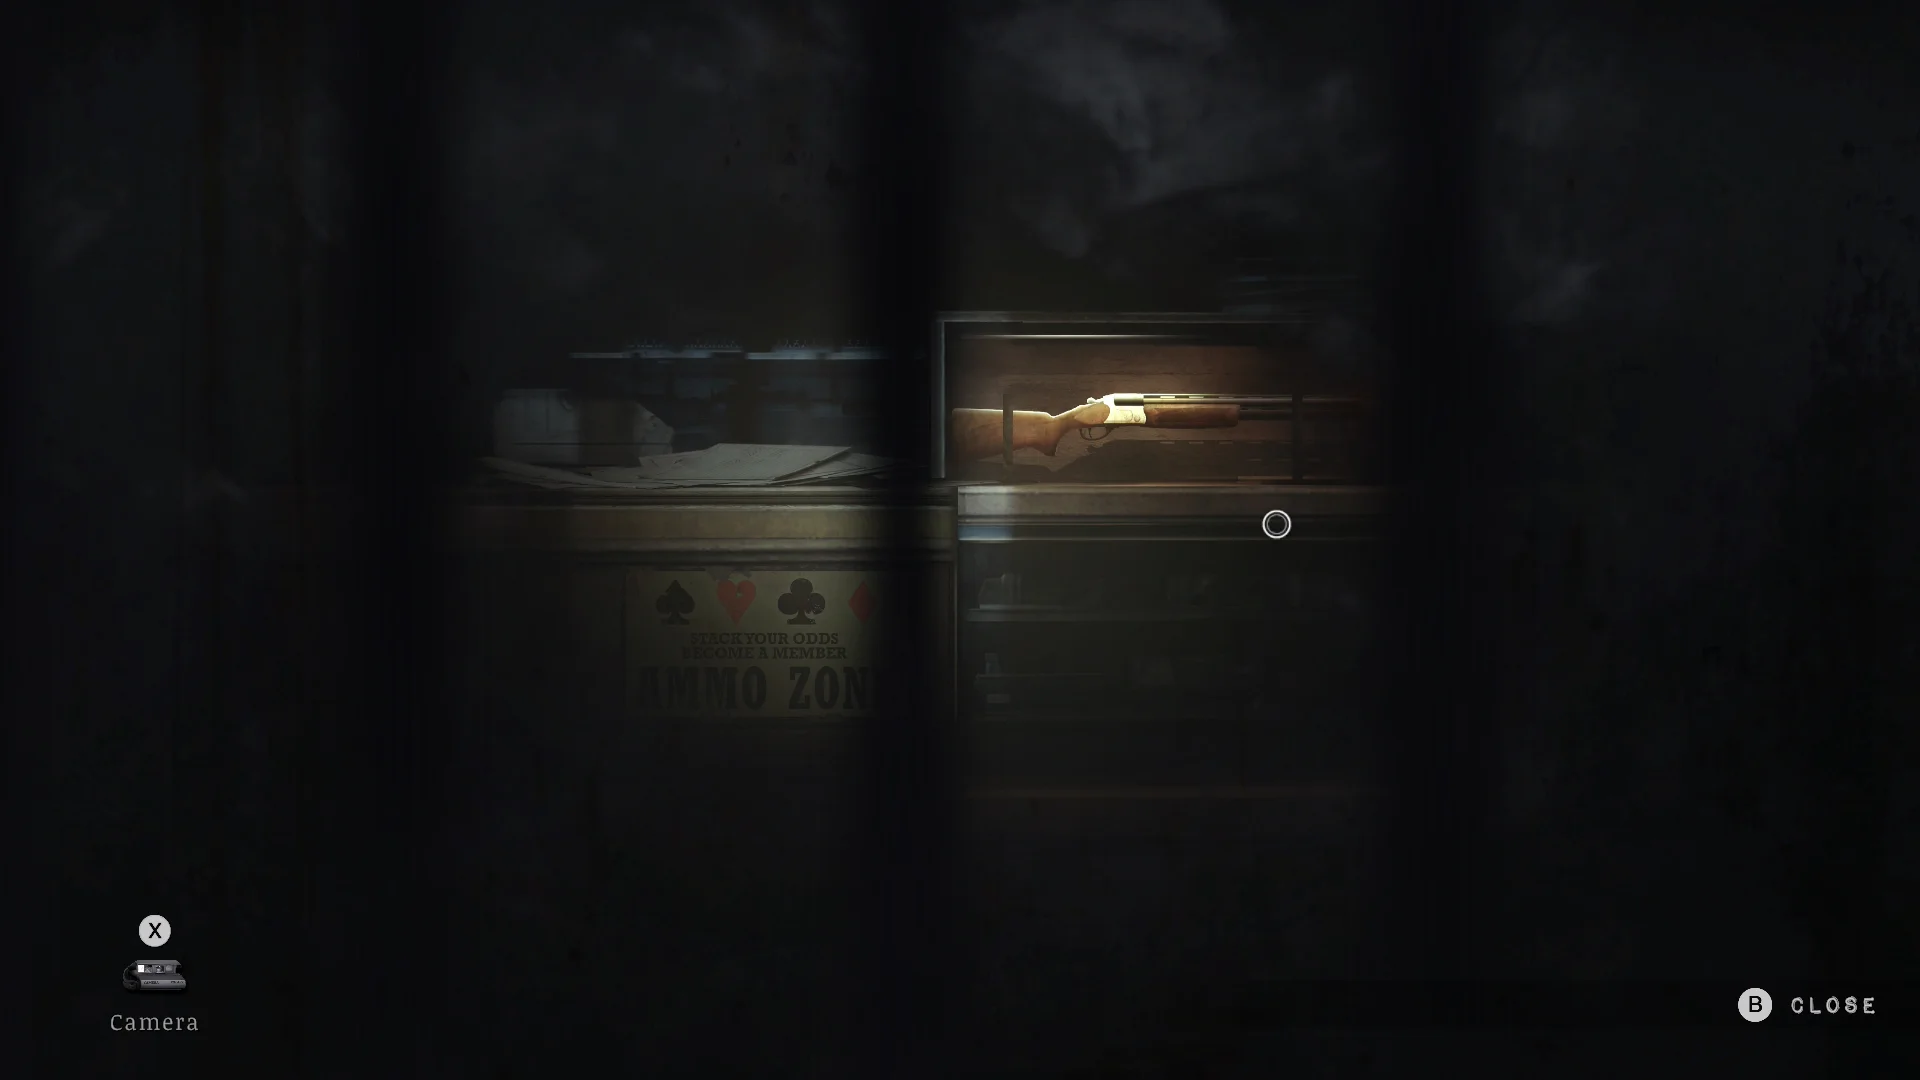
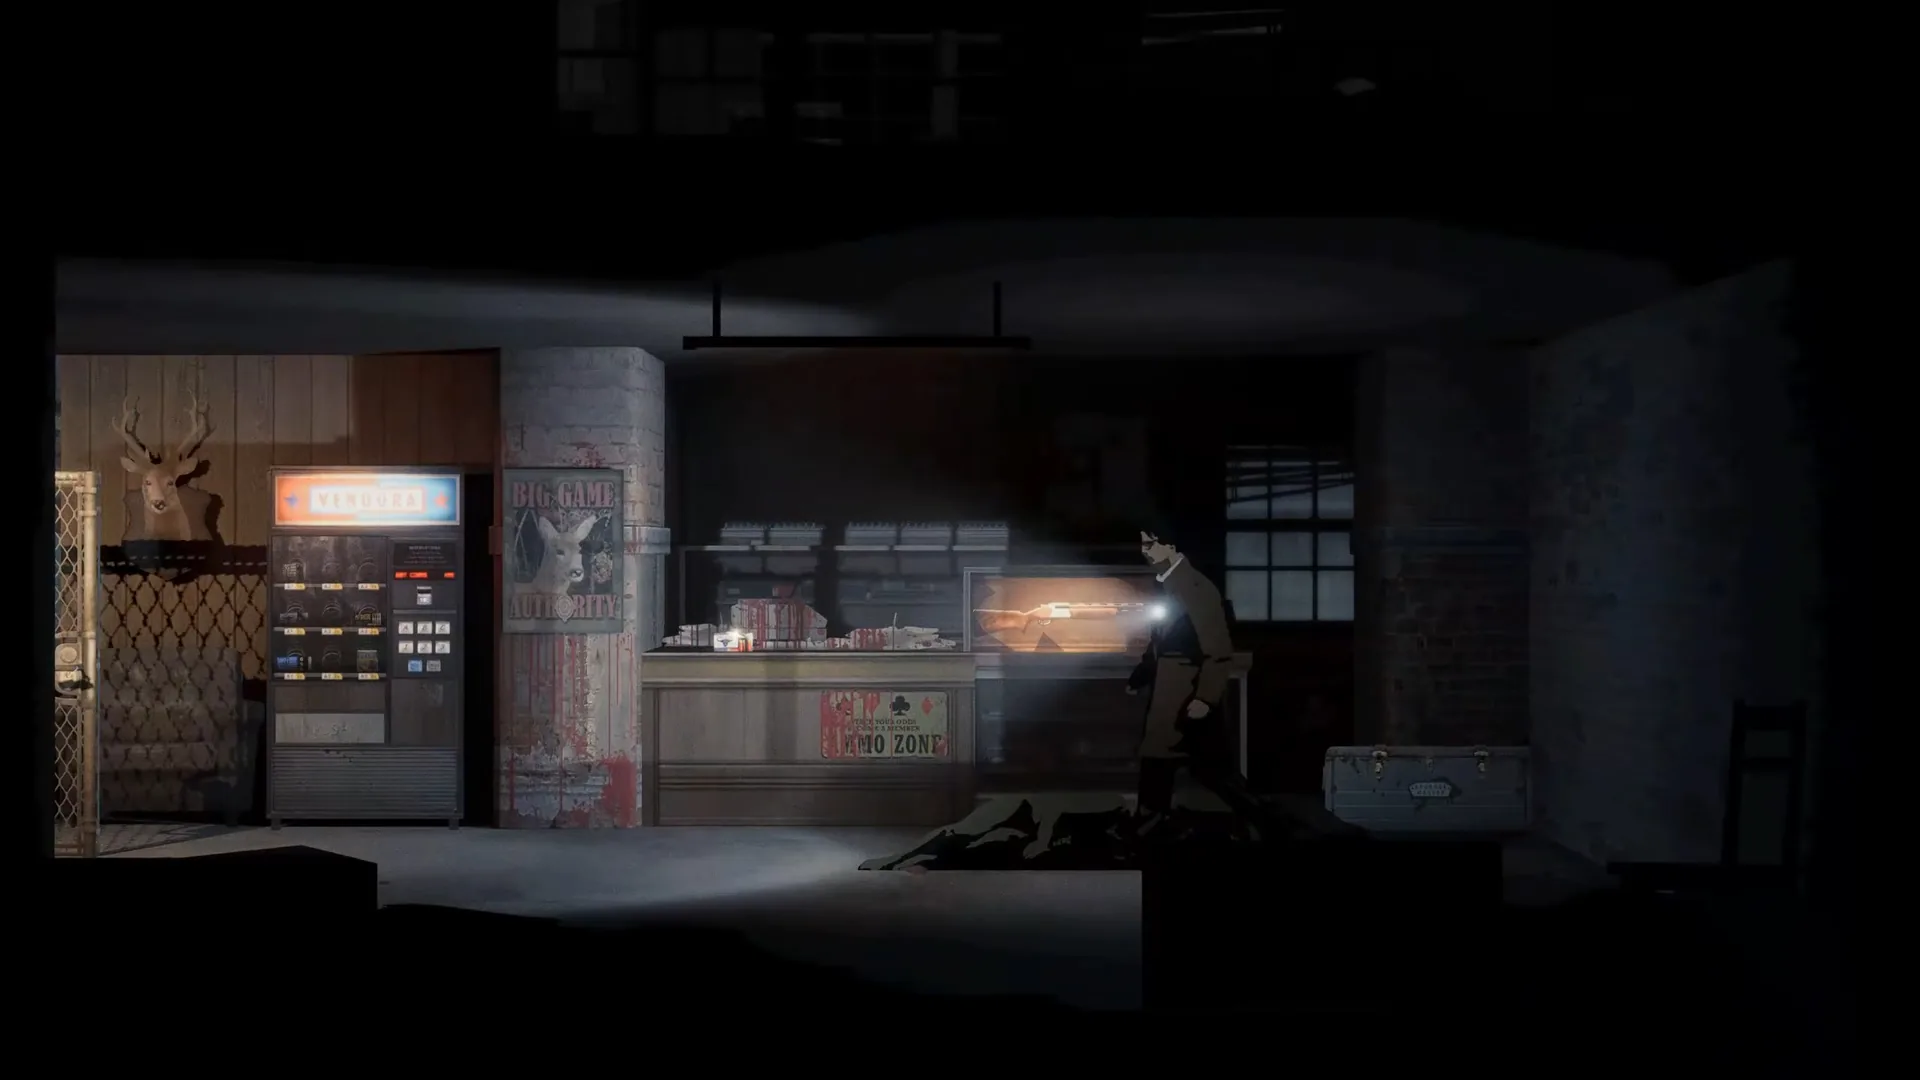
- Get into Ammo Zone through the back door with ♠ ♥ ♣ ♦, then come back with the flashlight.
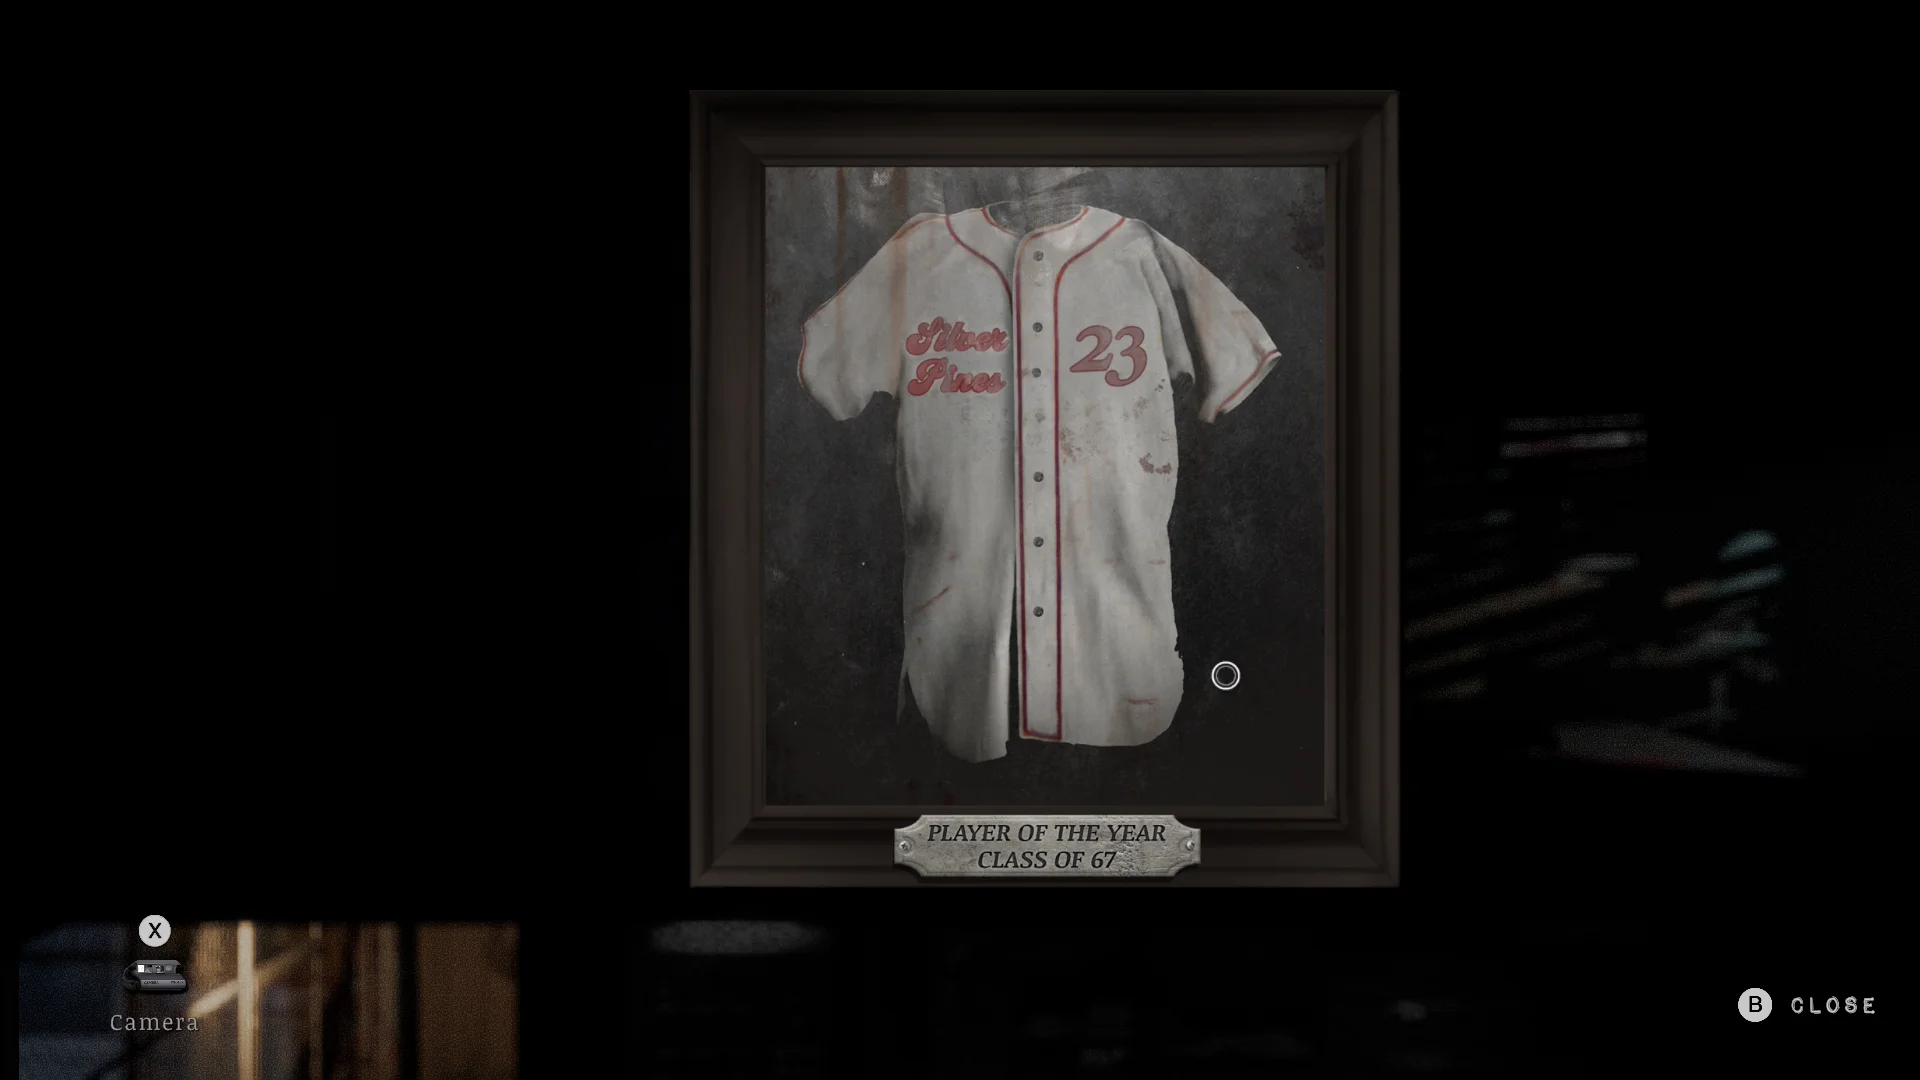
- Read the jersey upstairs (“23” and “Class of 67”) and enter 2367 on the cage. Fight off the two enemies and take the Double Barrel Shotgun.
Where to find The North Star
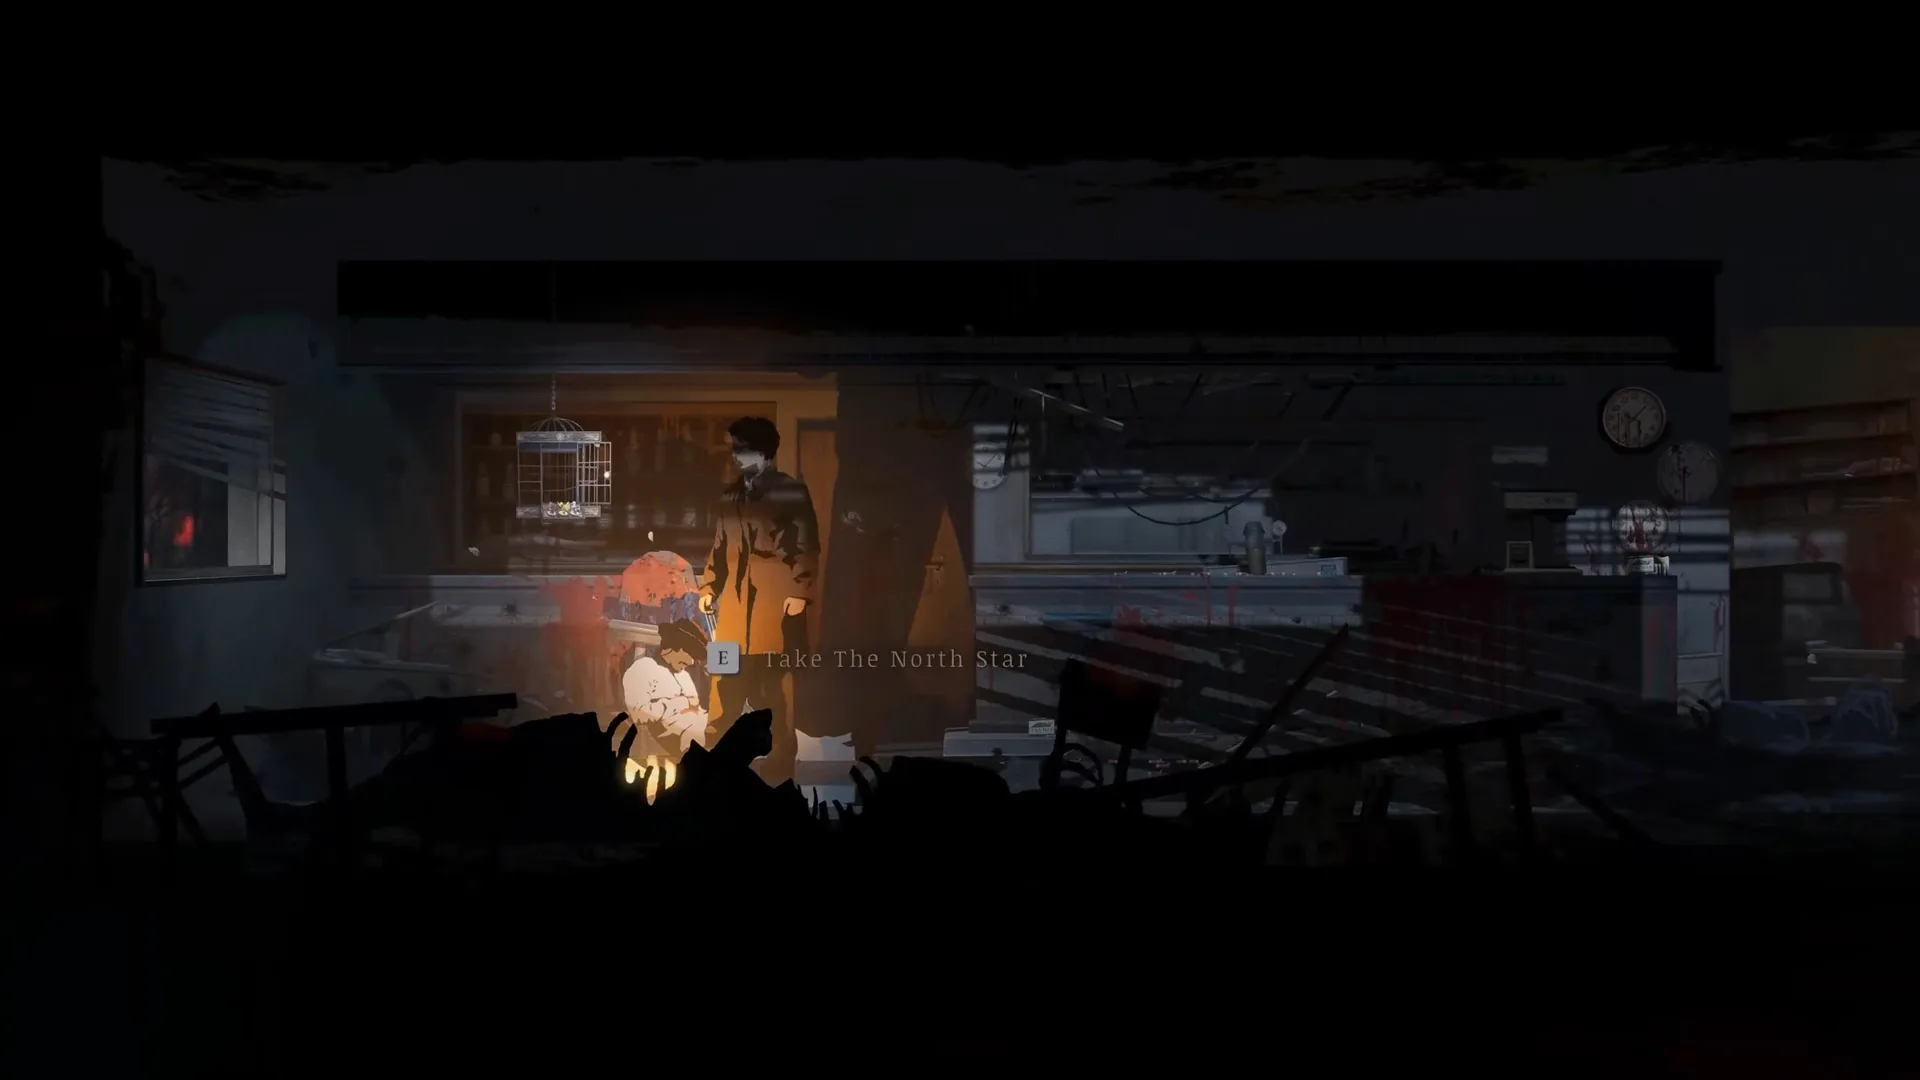
The cowboy in the Quiet Hour Cafe leaves it to you.
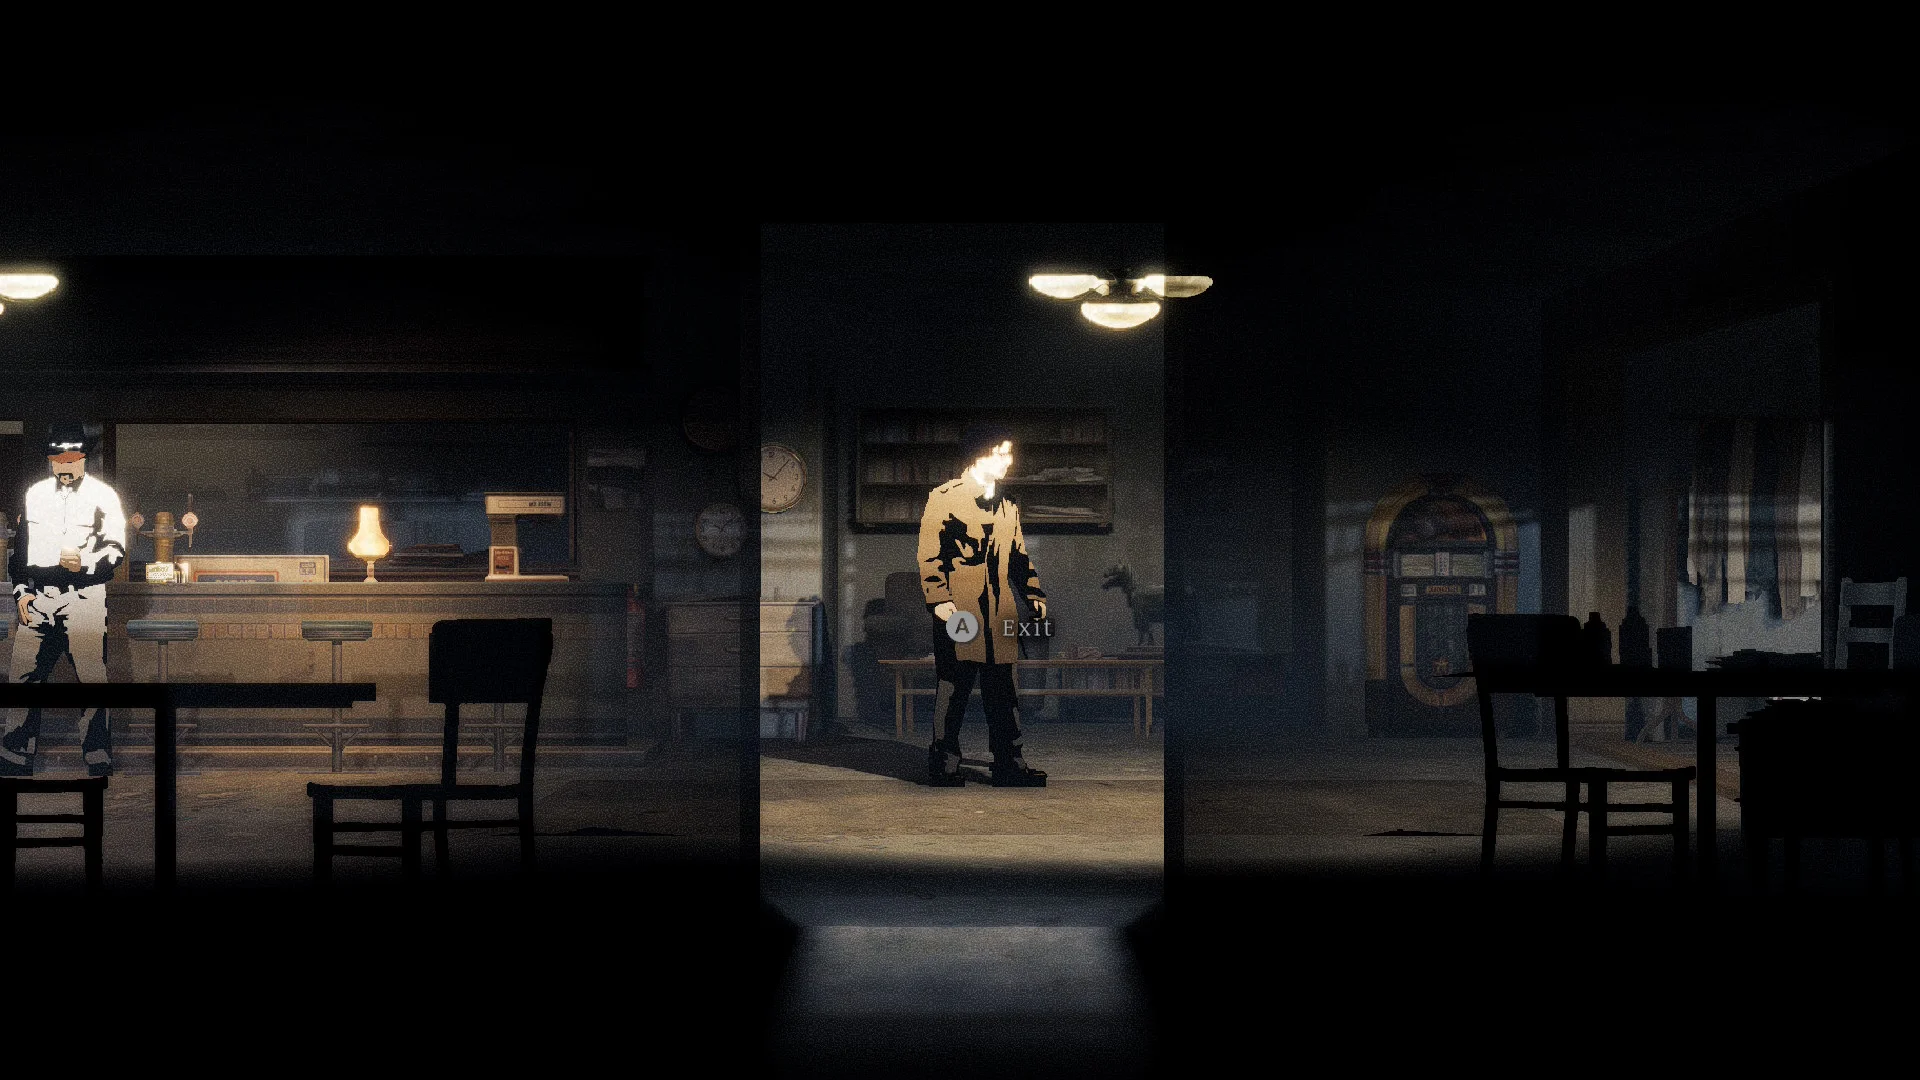
- Talk to the man in the cafe once. He gives you free 12ga Slugs.
- Come back to the cafe after the cemetery. He’s been shot, and The North Star, a lever-action shotgun, is waiting at his table with three boxes of slugs.
Where to find the Model 7 Rifle
It’s in the Sheriff’s Office armory, and the Armory Key is on the bed in Cell B.
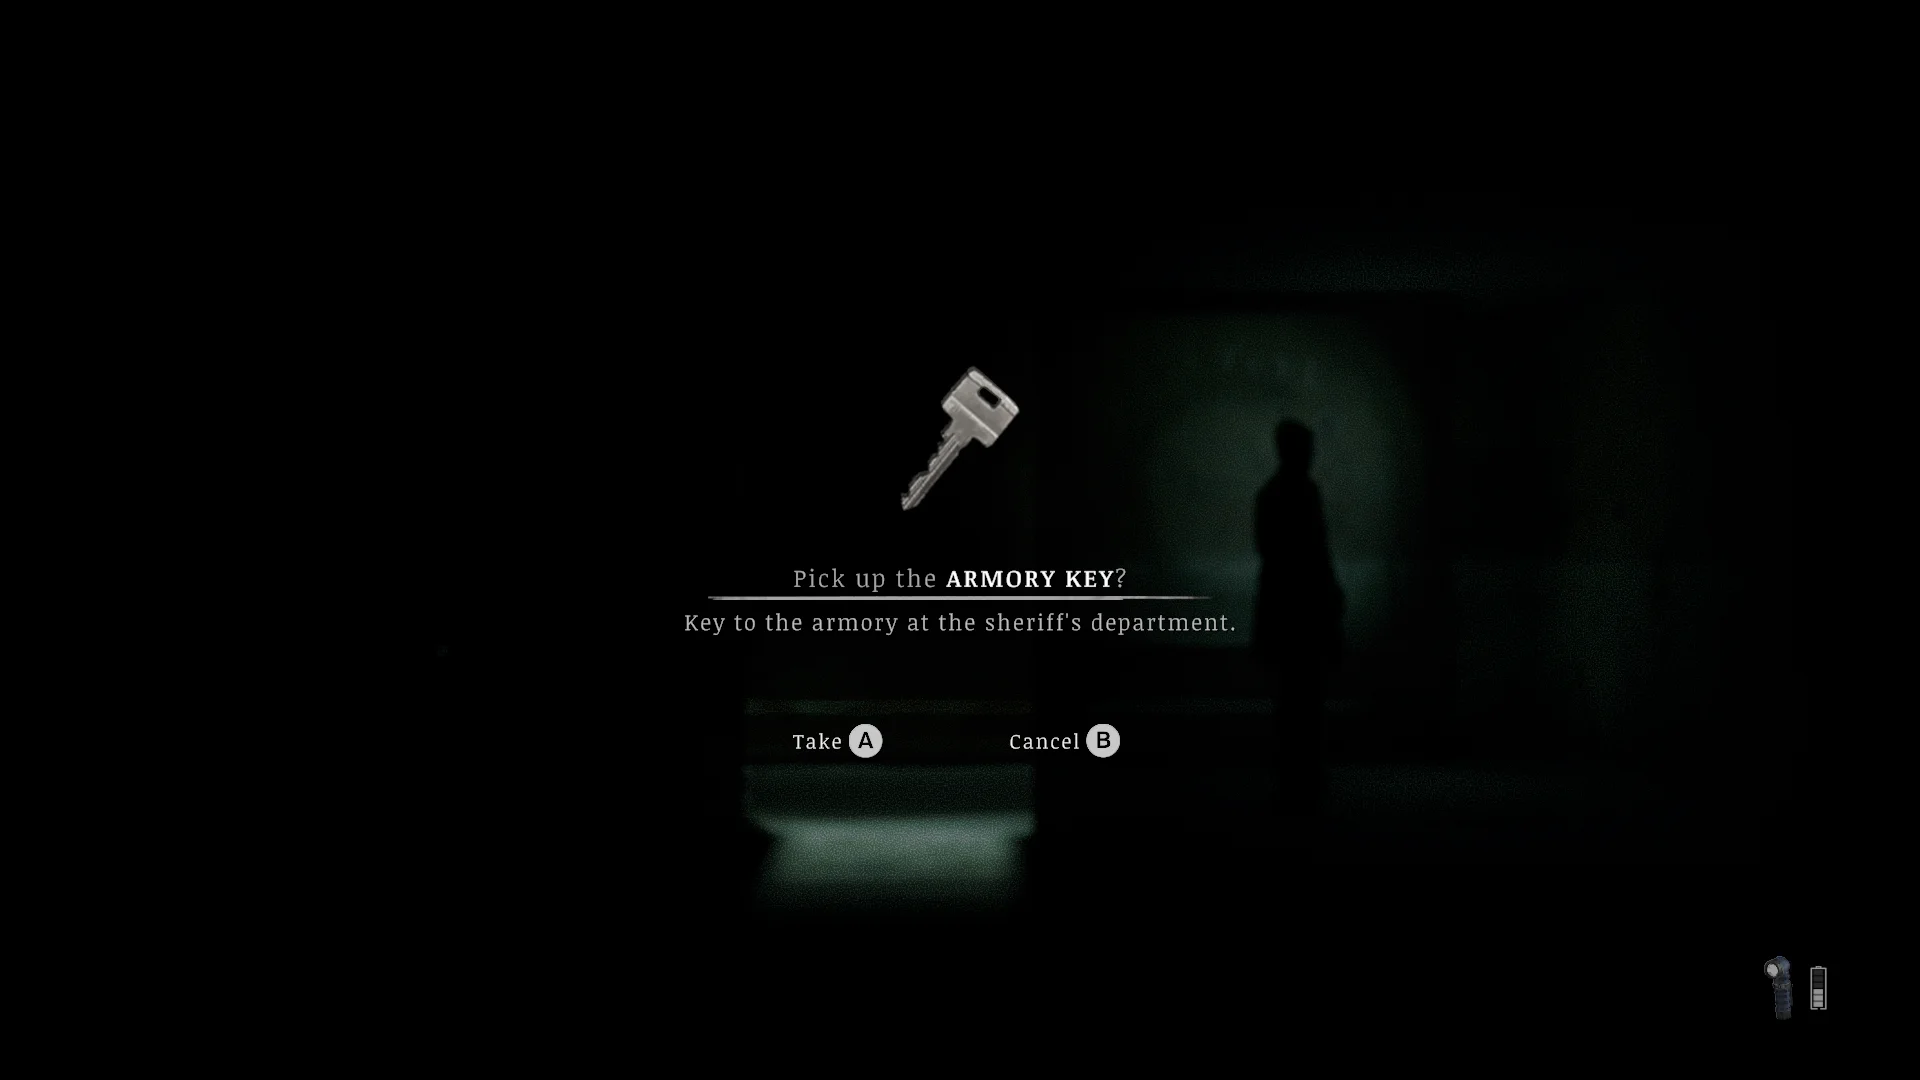


- Head down the basement corridor to the holding cells and take the Armory Key from the bed in Cell B.
- Open the armory and take the Model 7 Rifle. Its ammo sits in a locker nearby.
Where to find the S-1 Carbine
It’s in a padlocked crate in the fishing shack on the Church Hill docks, and the combination is 4514.
- Head down to the Church Hill docks and find the fishing shack.
- Enter 4514 on the crate and take the S-1 Carbine. It uses the same .223 rounds as the Model 7 and fires twice as fast.
Where to find the Swedish K SMG
It’s in the Church Hill funeral home attic.
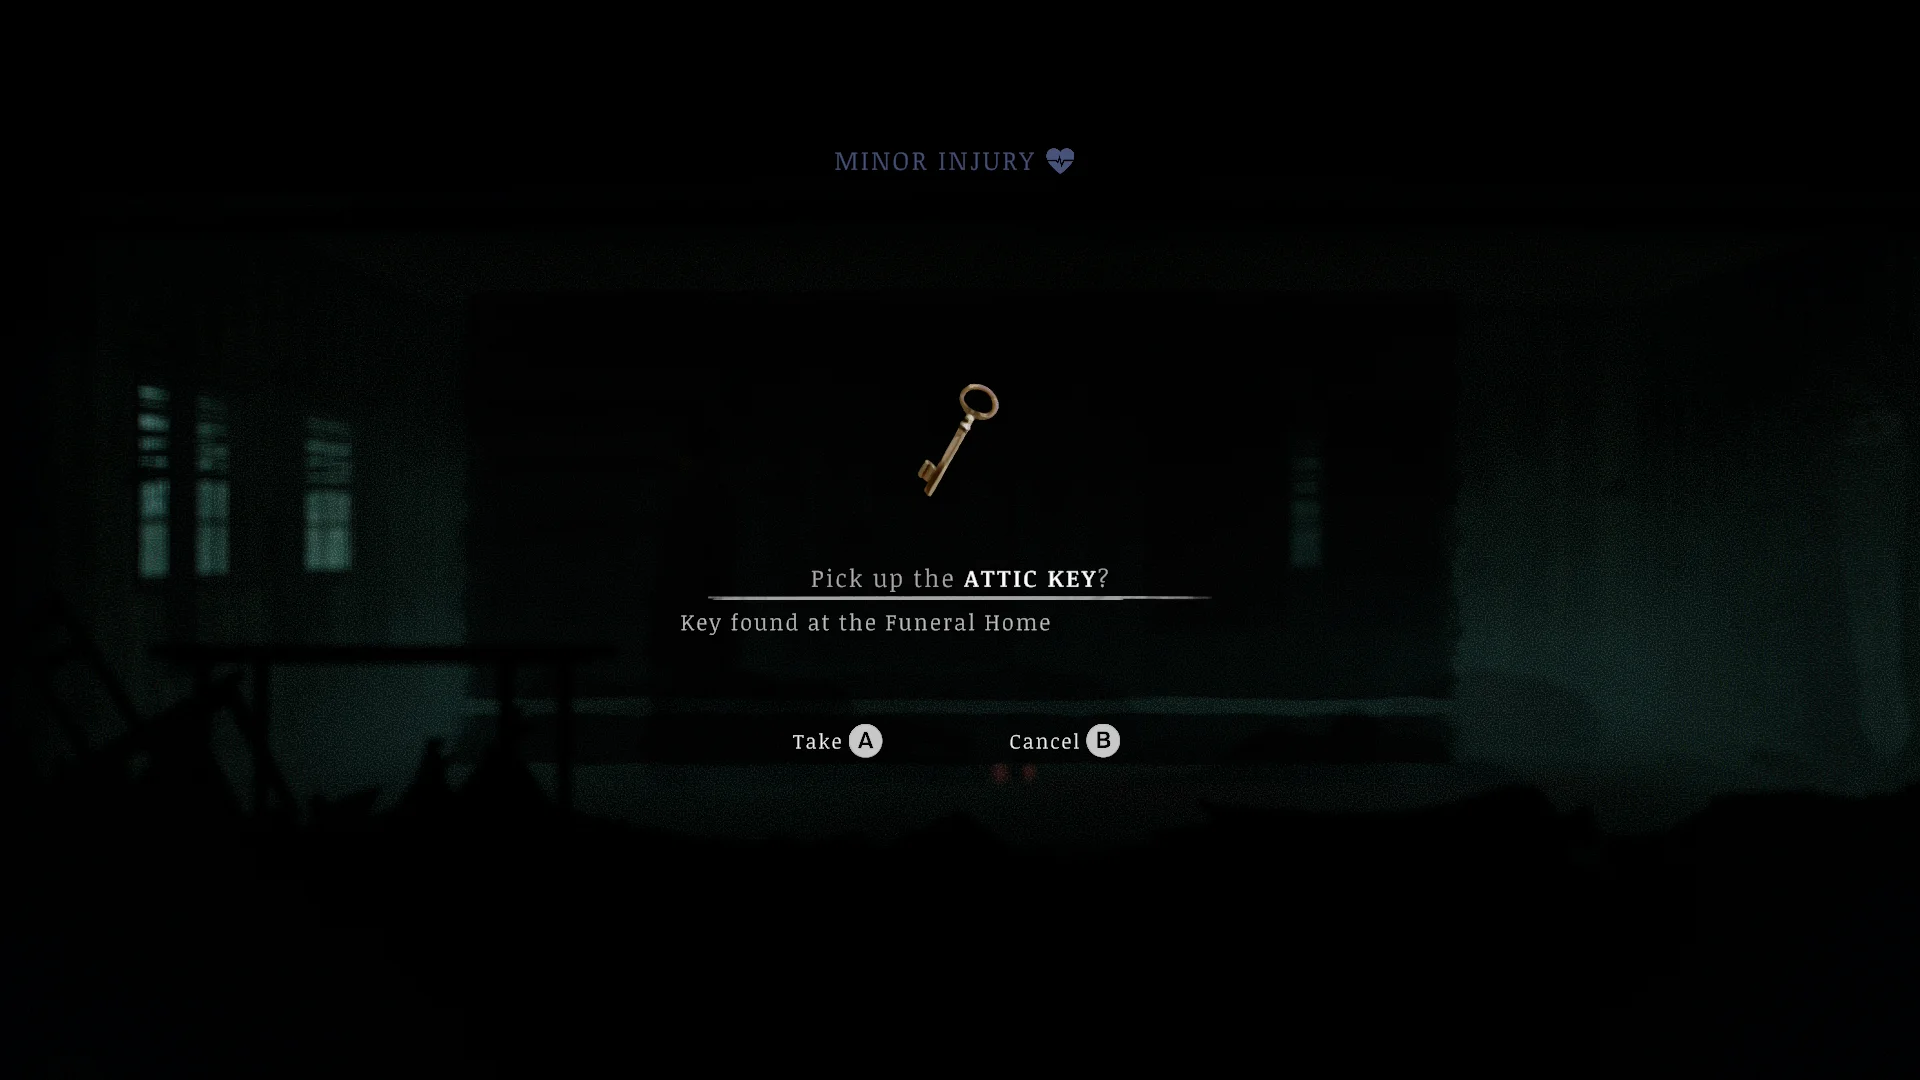
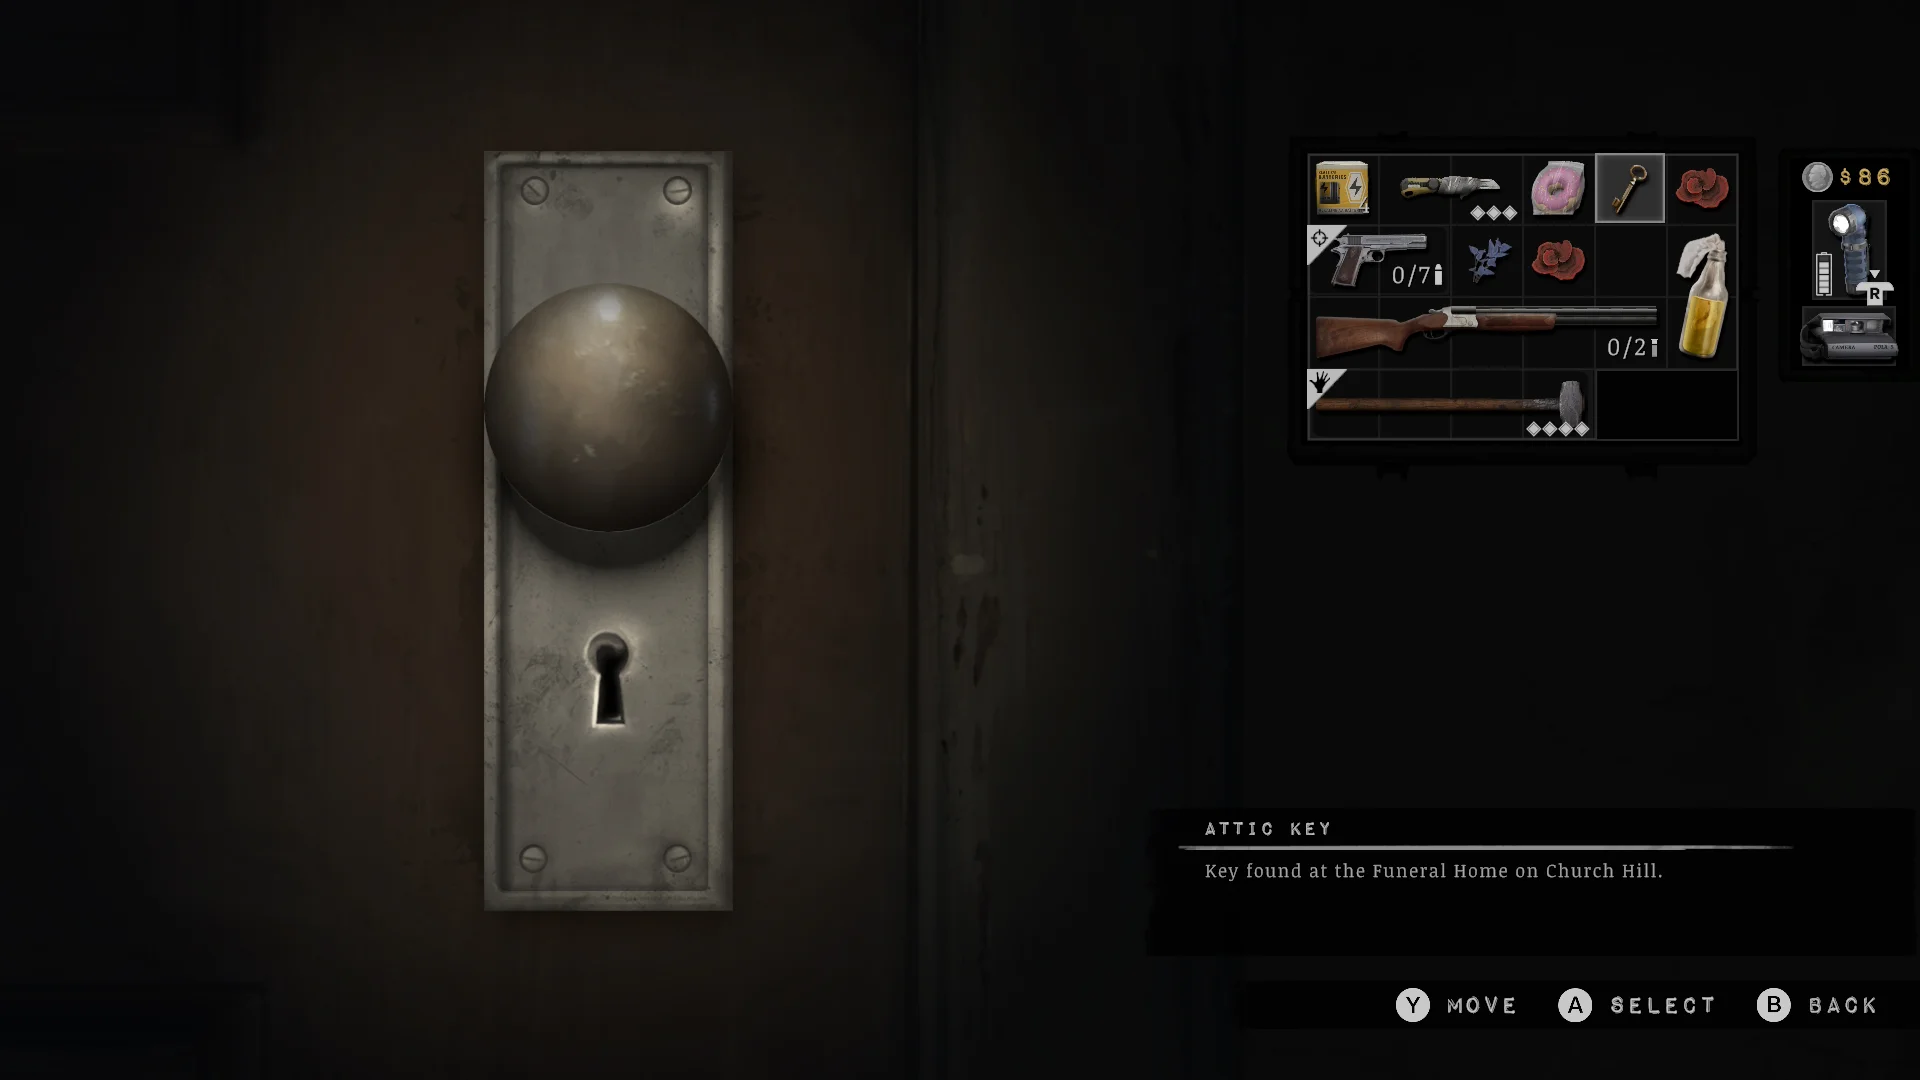
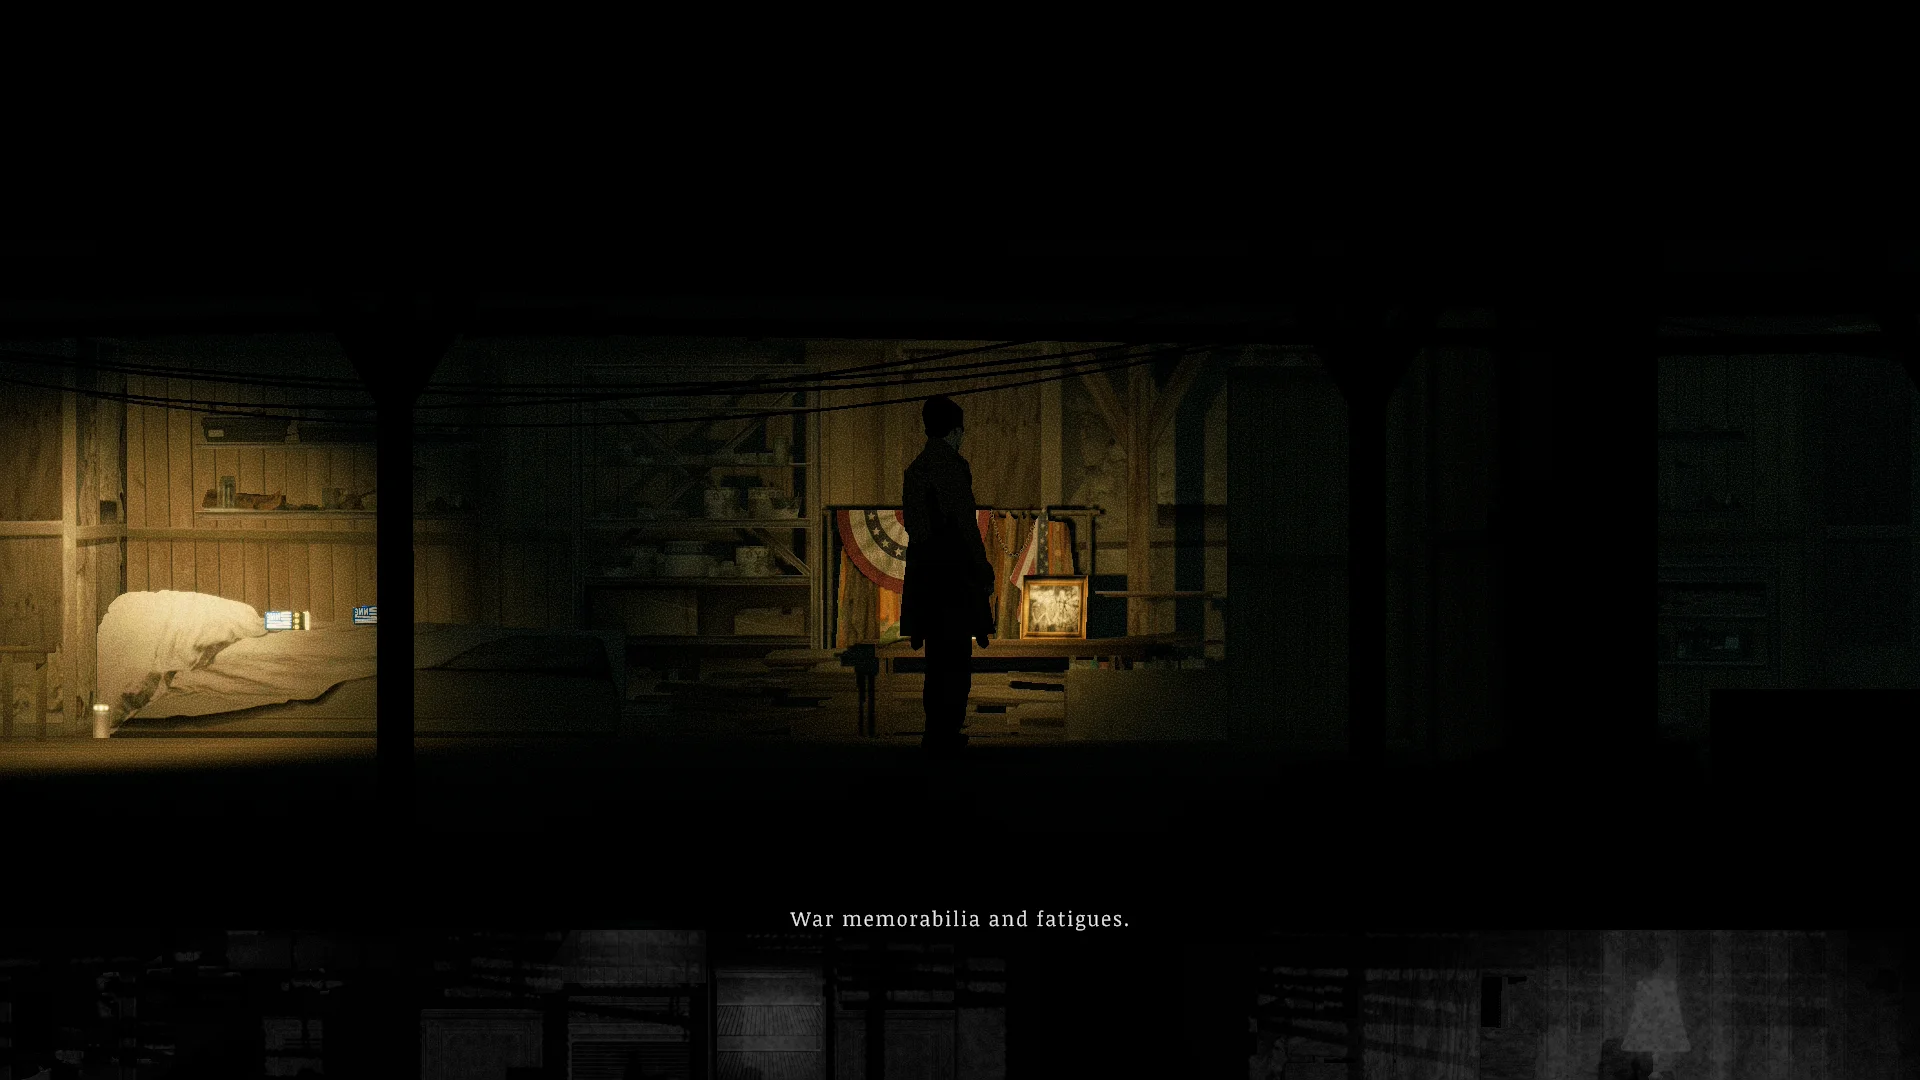
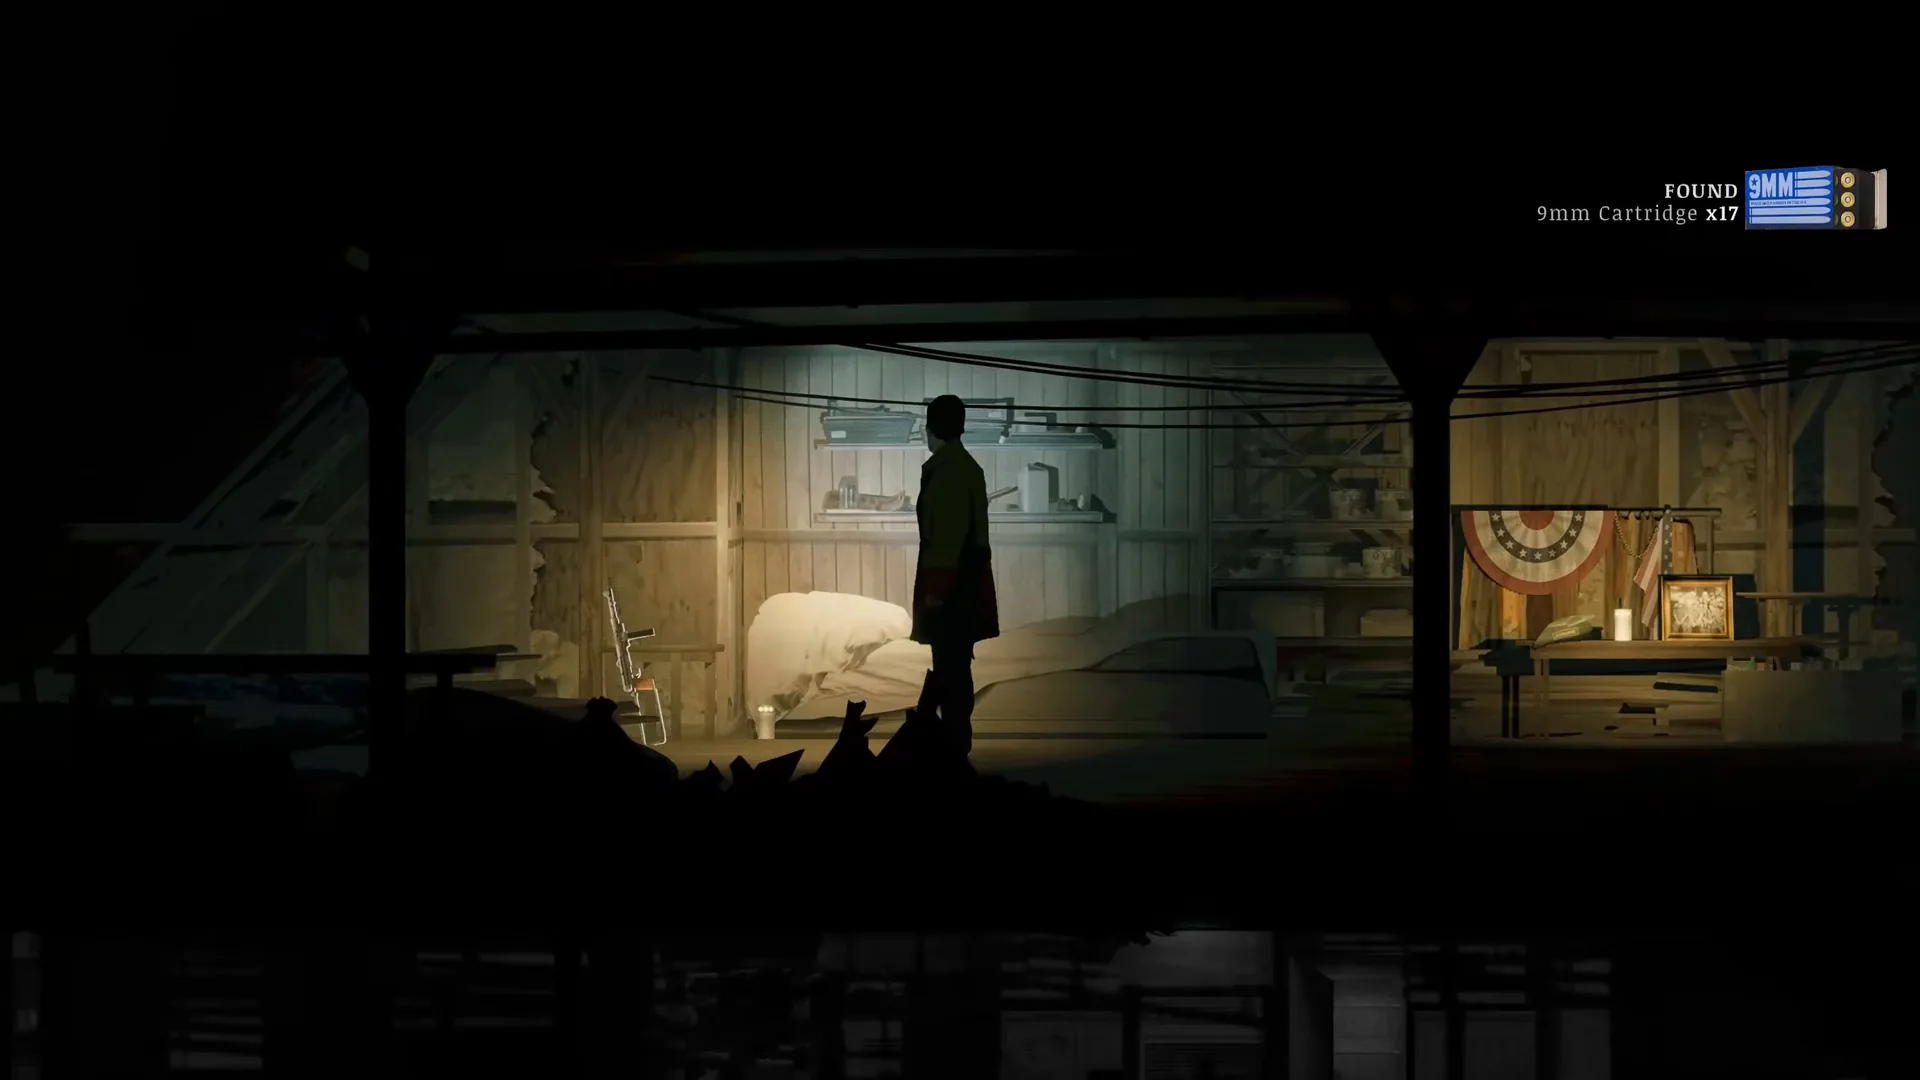
- Take the Attic Key upstairs in the funeral home and open the attic.
- Grab the Swedish K SMG and the ammo. The priest’s war memorabilia is up there too. The Ammo Zone and Thelend vending machines sell 9mm rounds for it.
Where to find the Nailgun
It’s in the Downtown cinema projector room, and you buy the key.
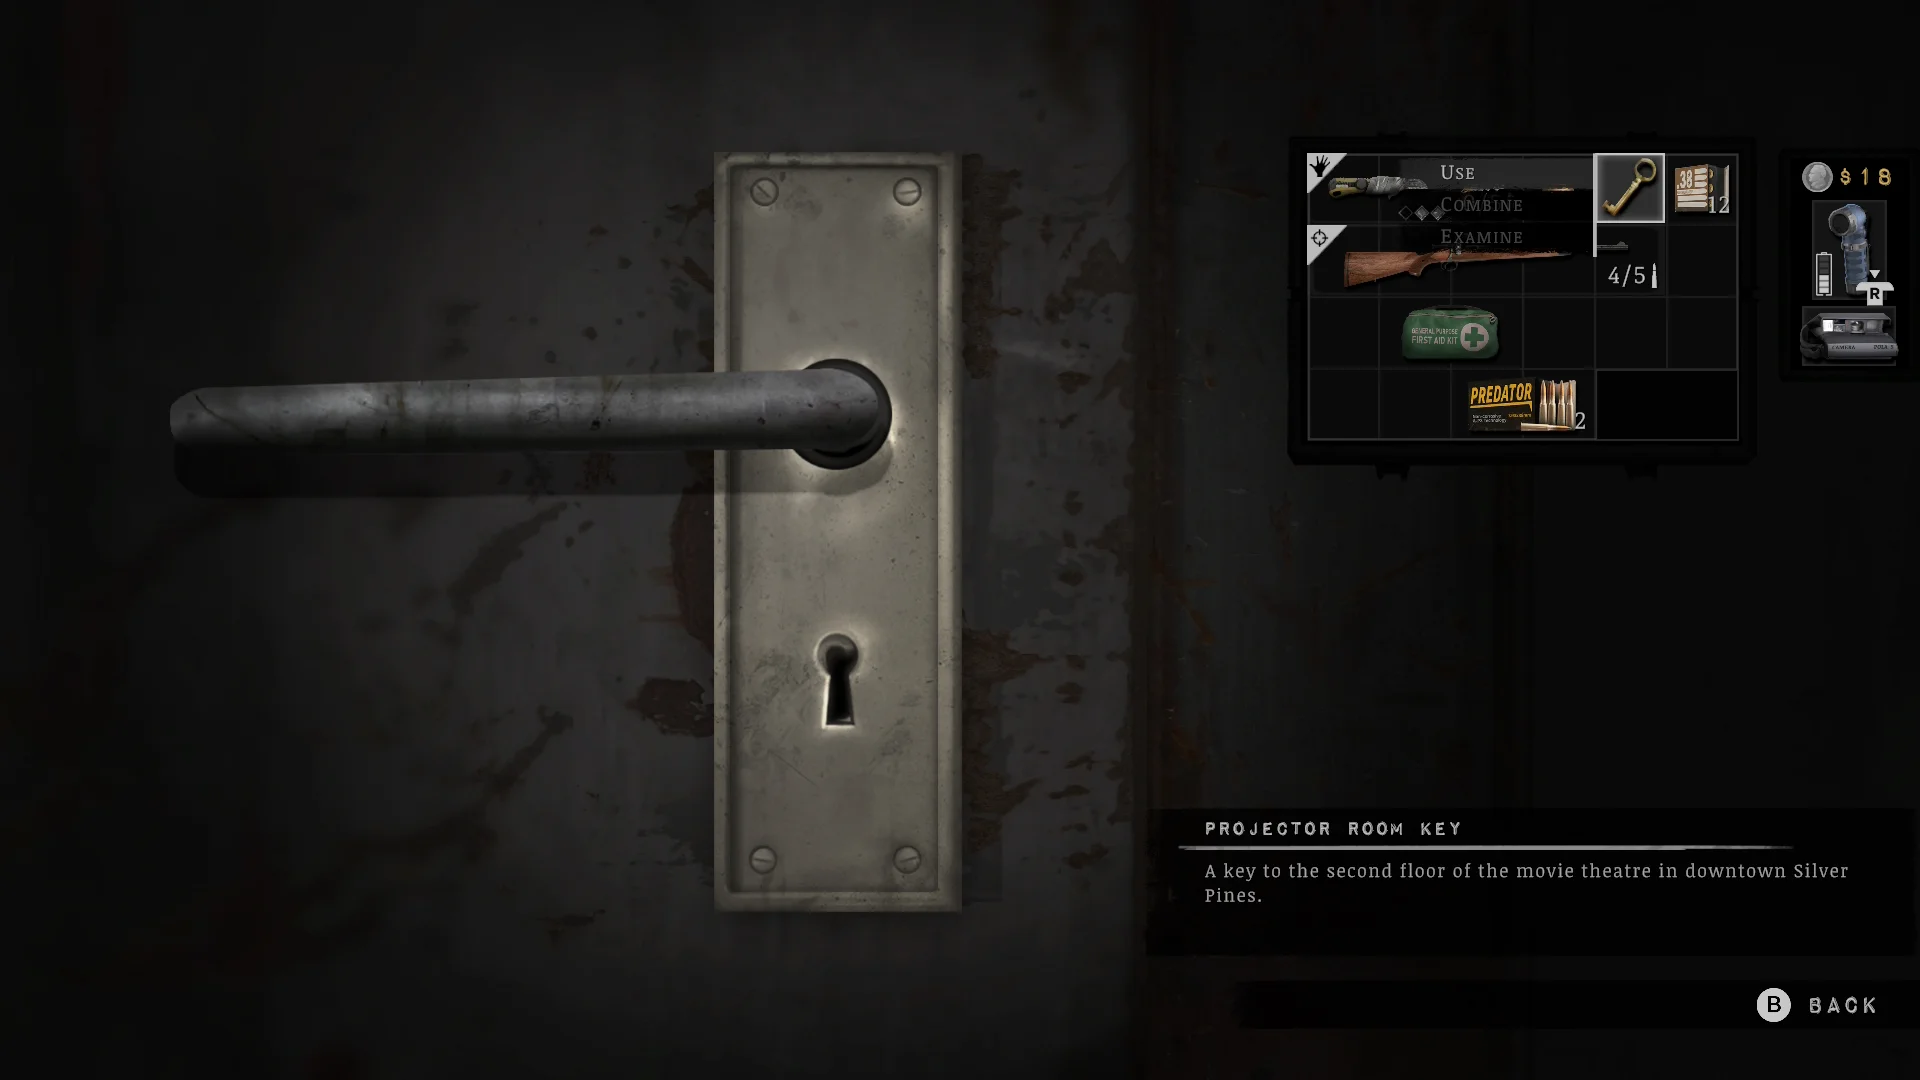
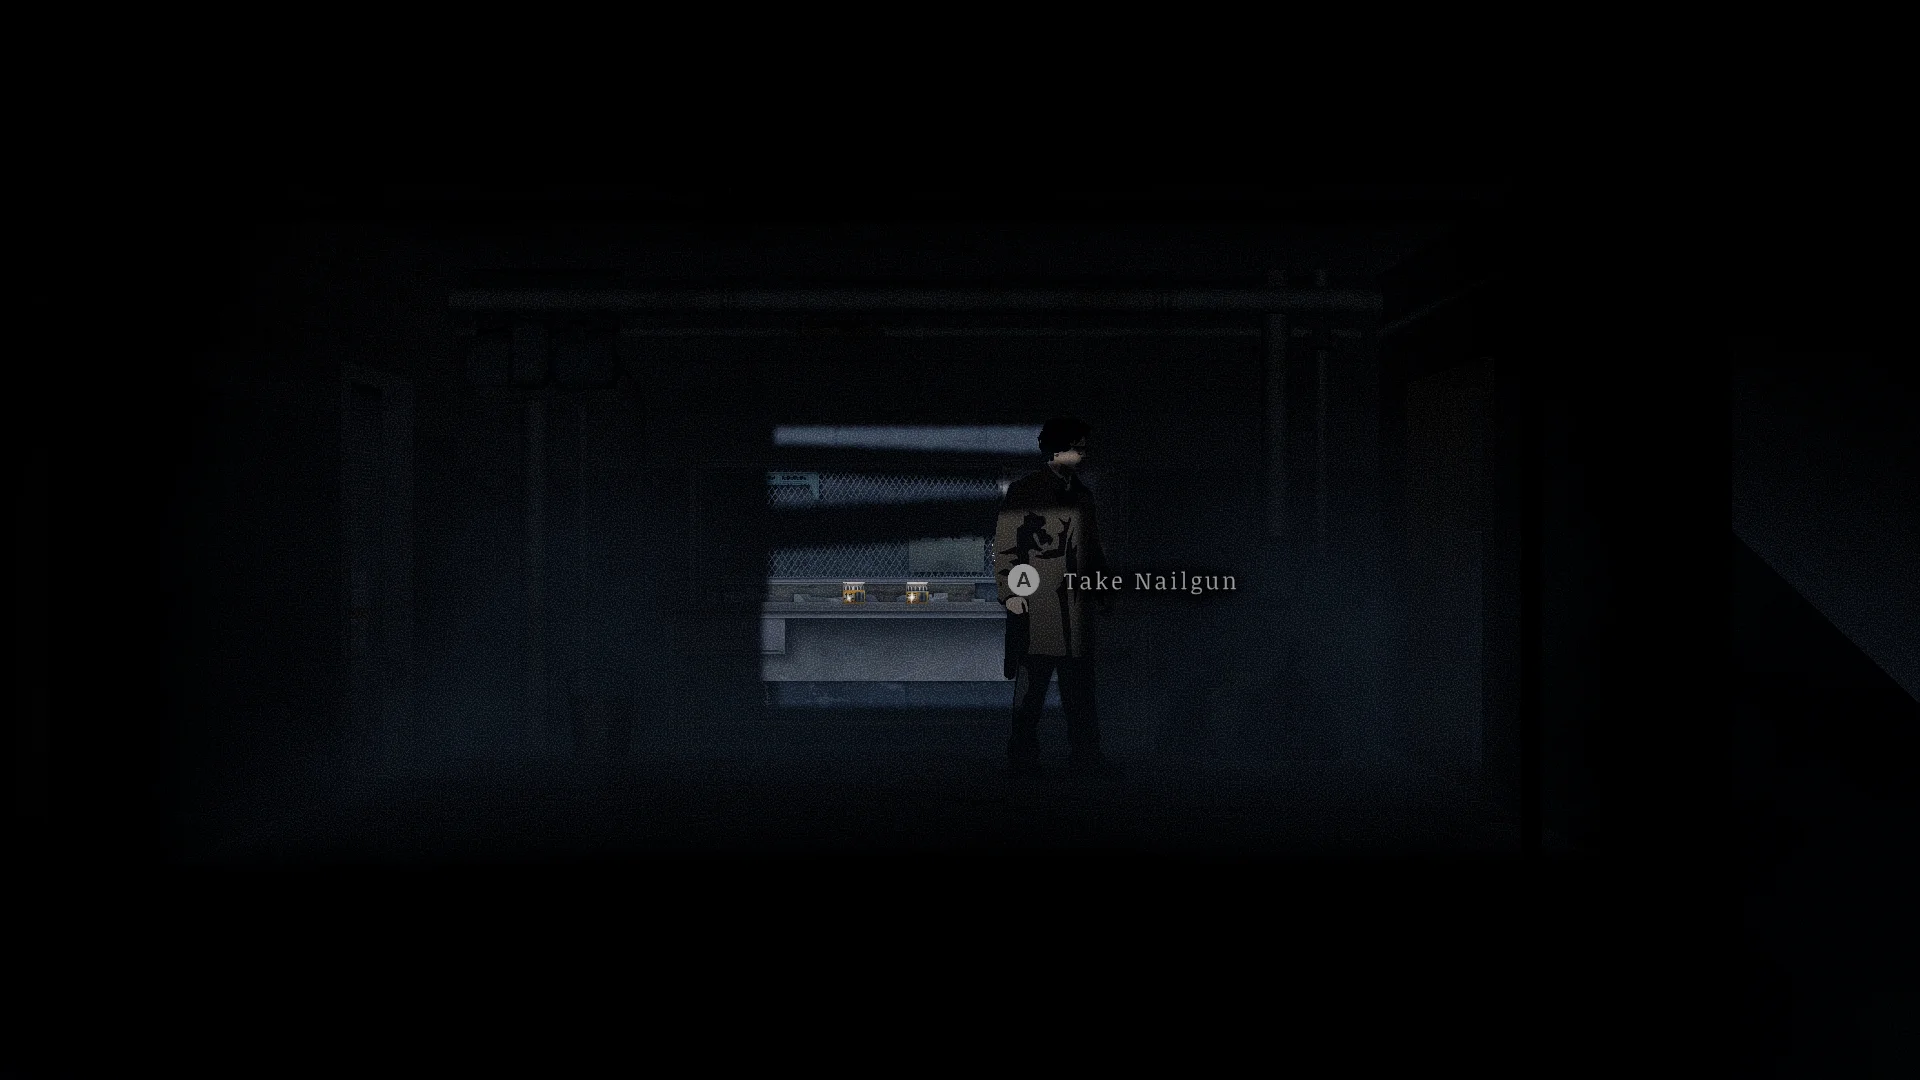
- Buy the Projector Room Key from the vending machine at the cinema entrance for $20.
- Open the projector room and take the Nailgun.
Where to find the .44 Magnum
It’s the Sheriff’s, and you take it off him in the sewers, right before Cable Station Bell E.
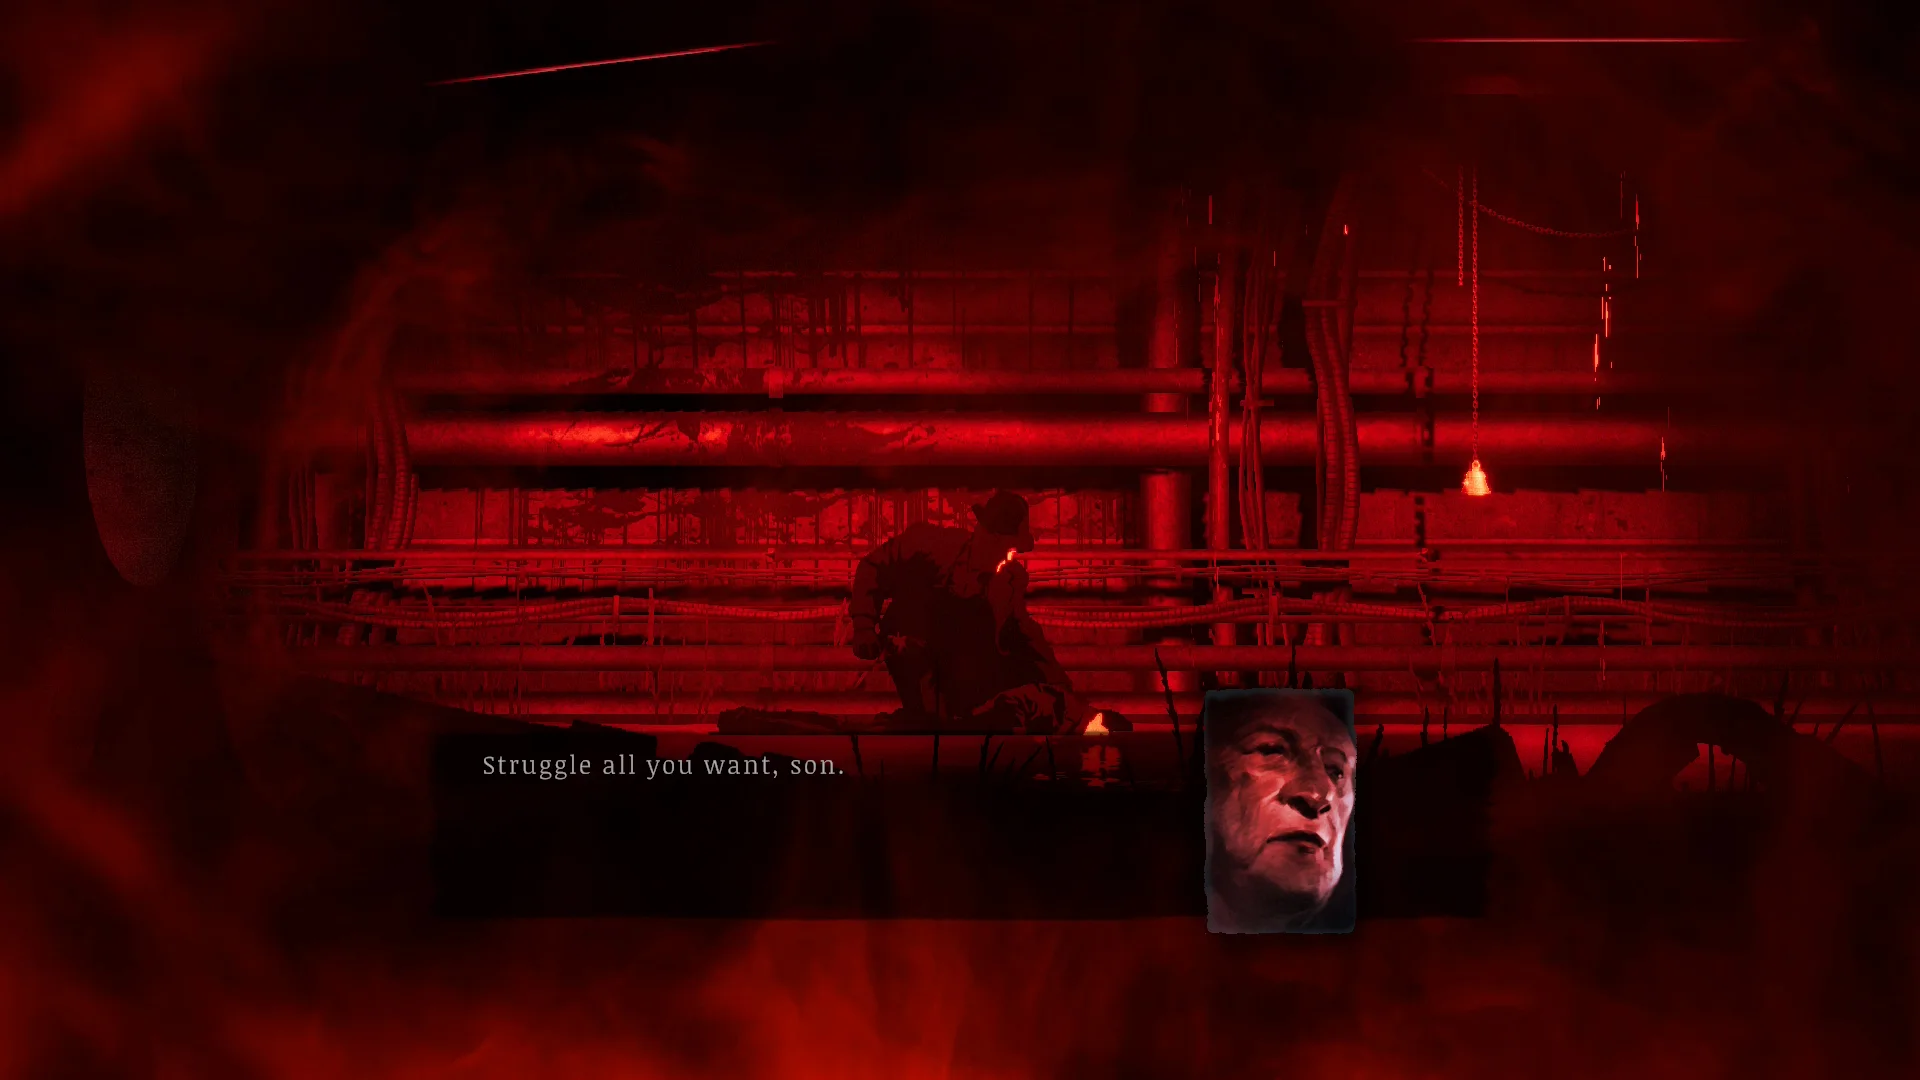
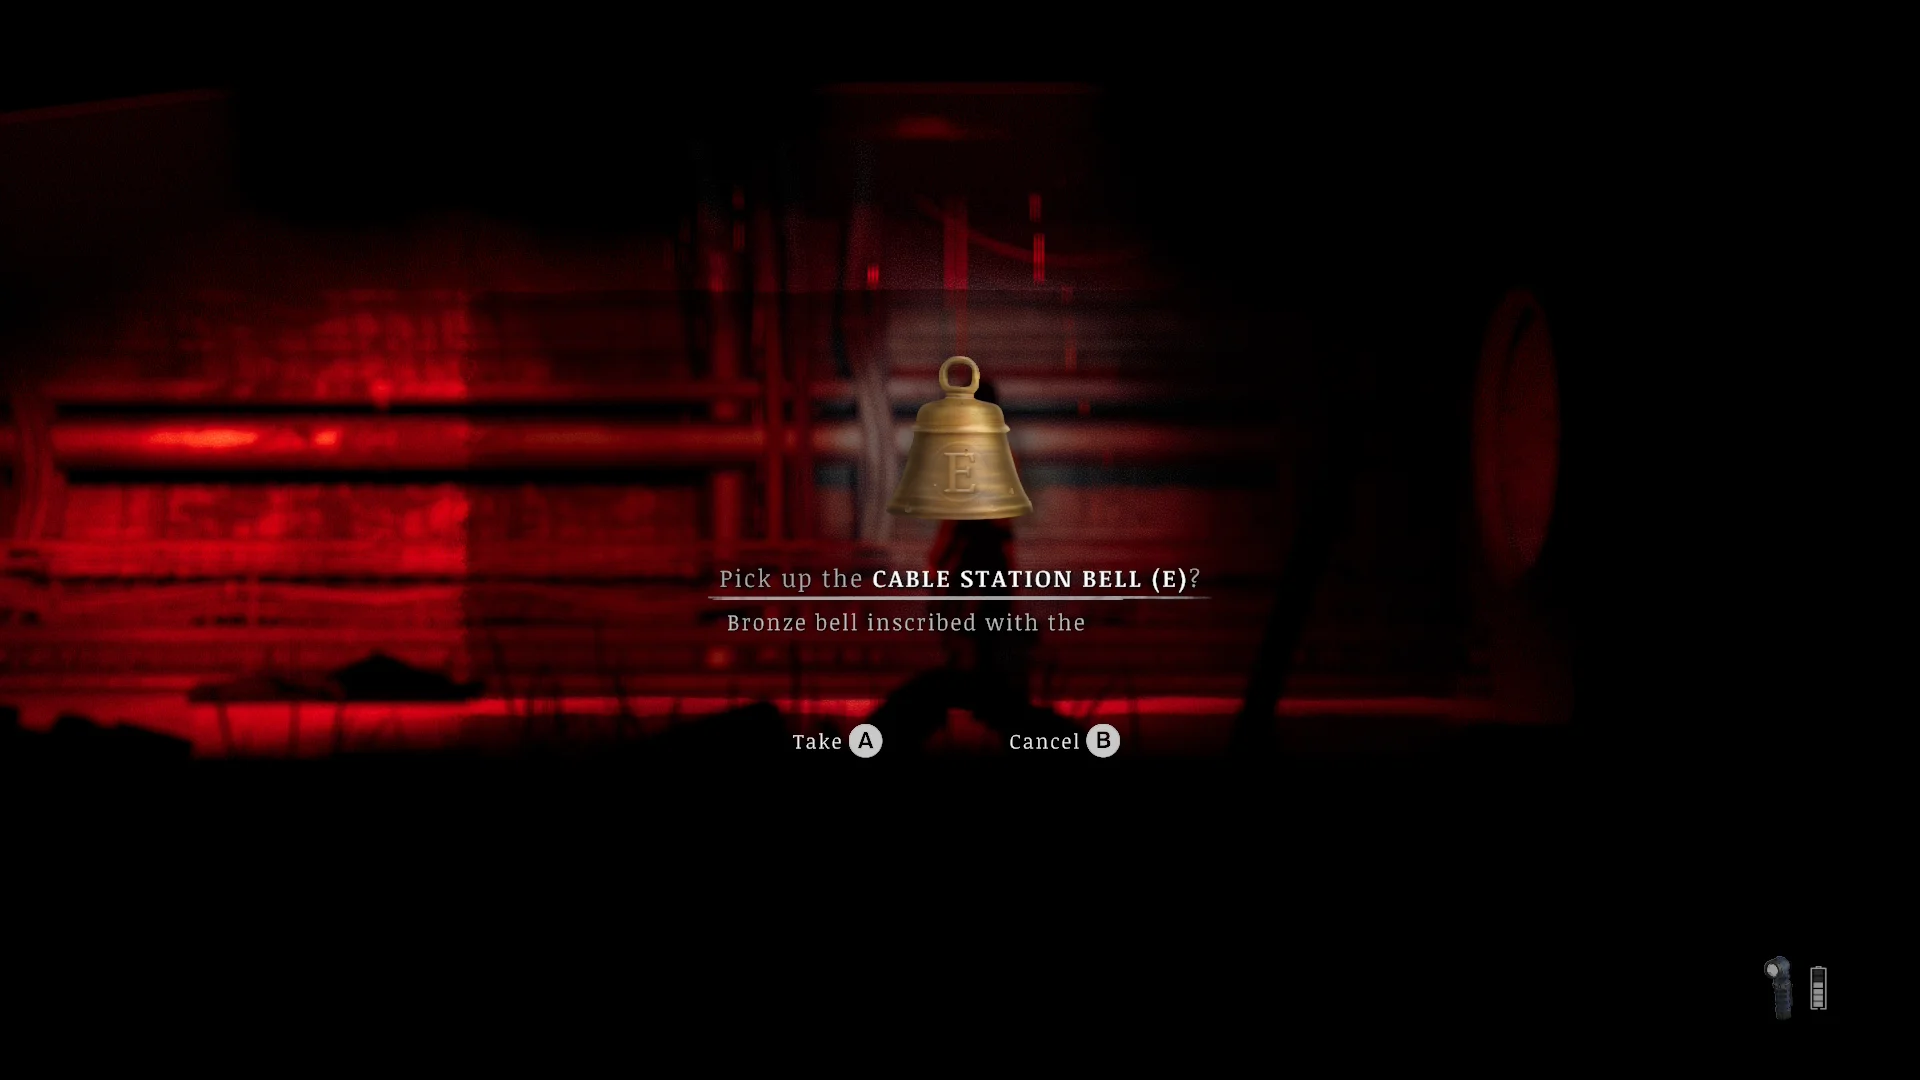
- Turn on all three flow controls and crank the pressure wheels to maximum to open the main gate.
- The Sheriff pins you down and tries to choke you. Follow the button prompts to throw him off.
- Beat him and take the .44 Magnum, the strongest handgun in the game.
Where to find the Blade
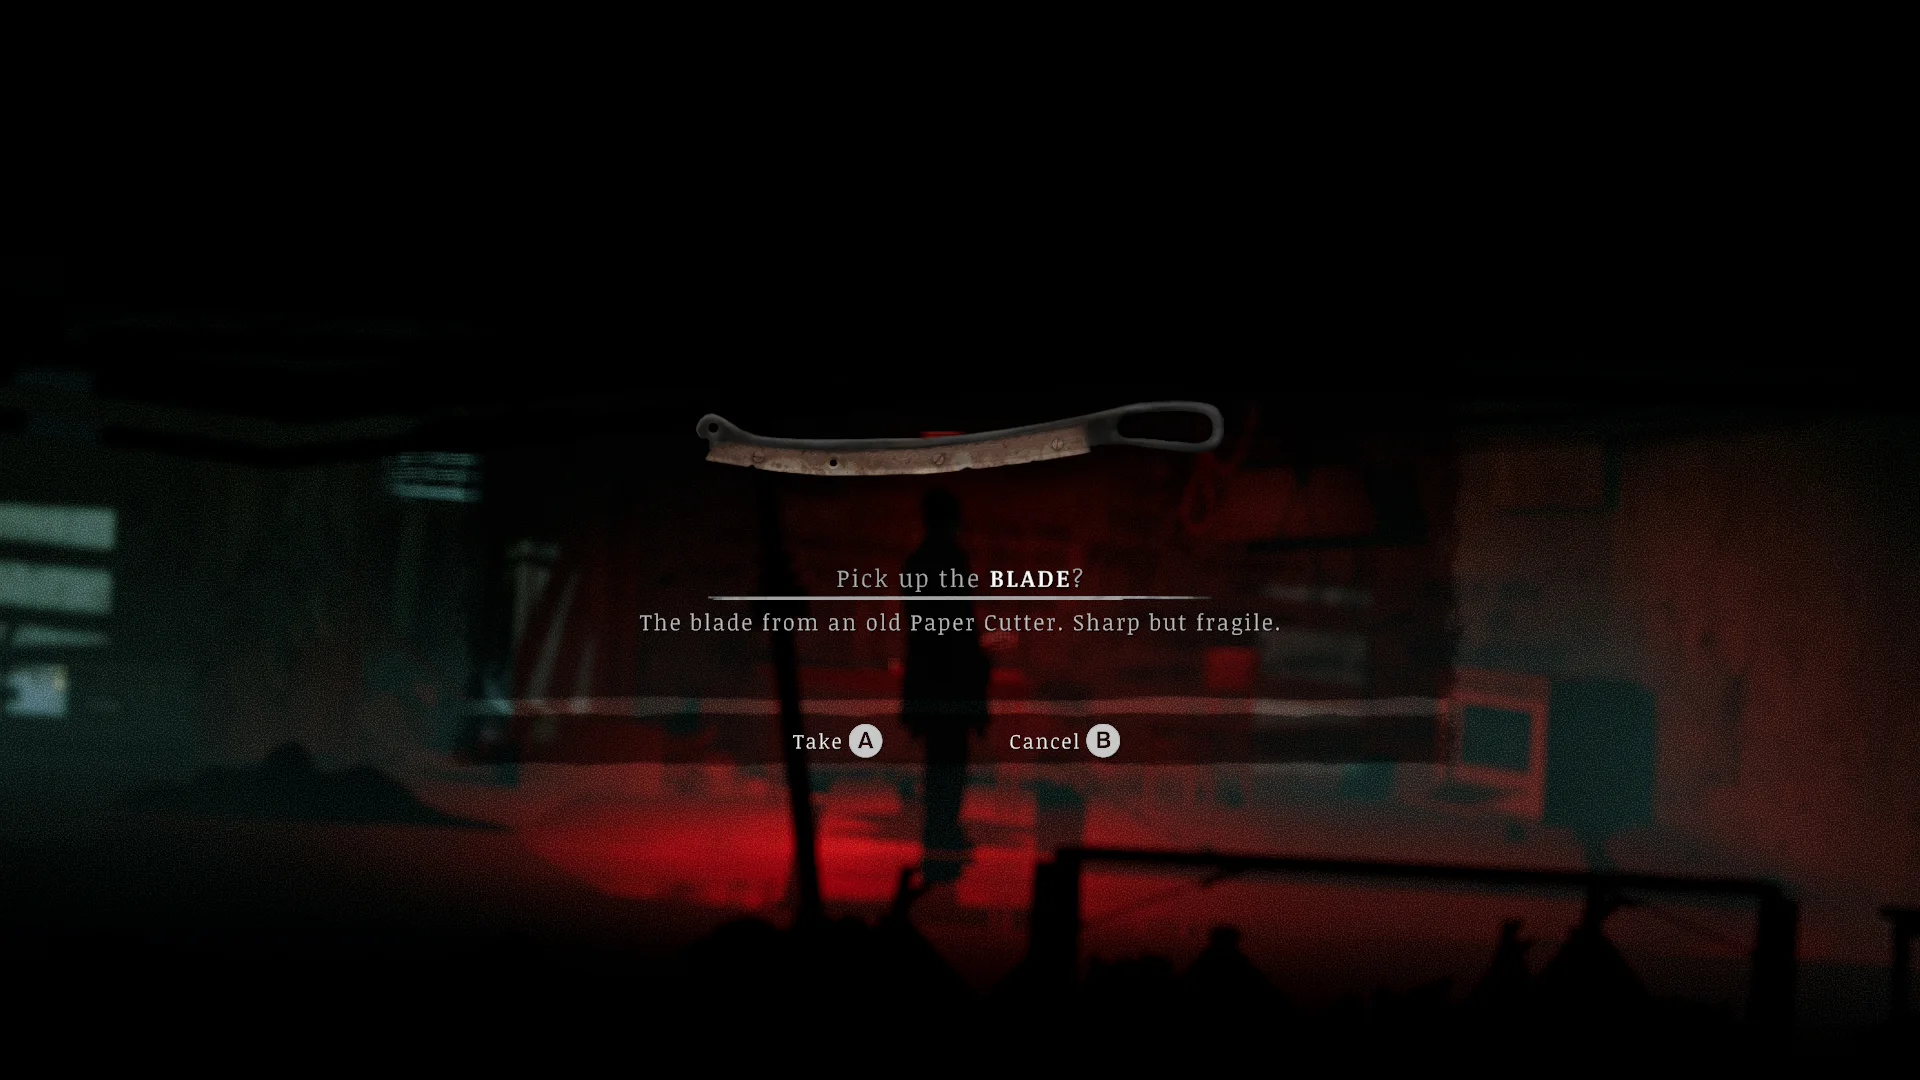
The Blade hides in a red graffiti room behind the cracked wall at the Riverside entrance, and it’s my favorite melee weapon in the game.

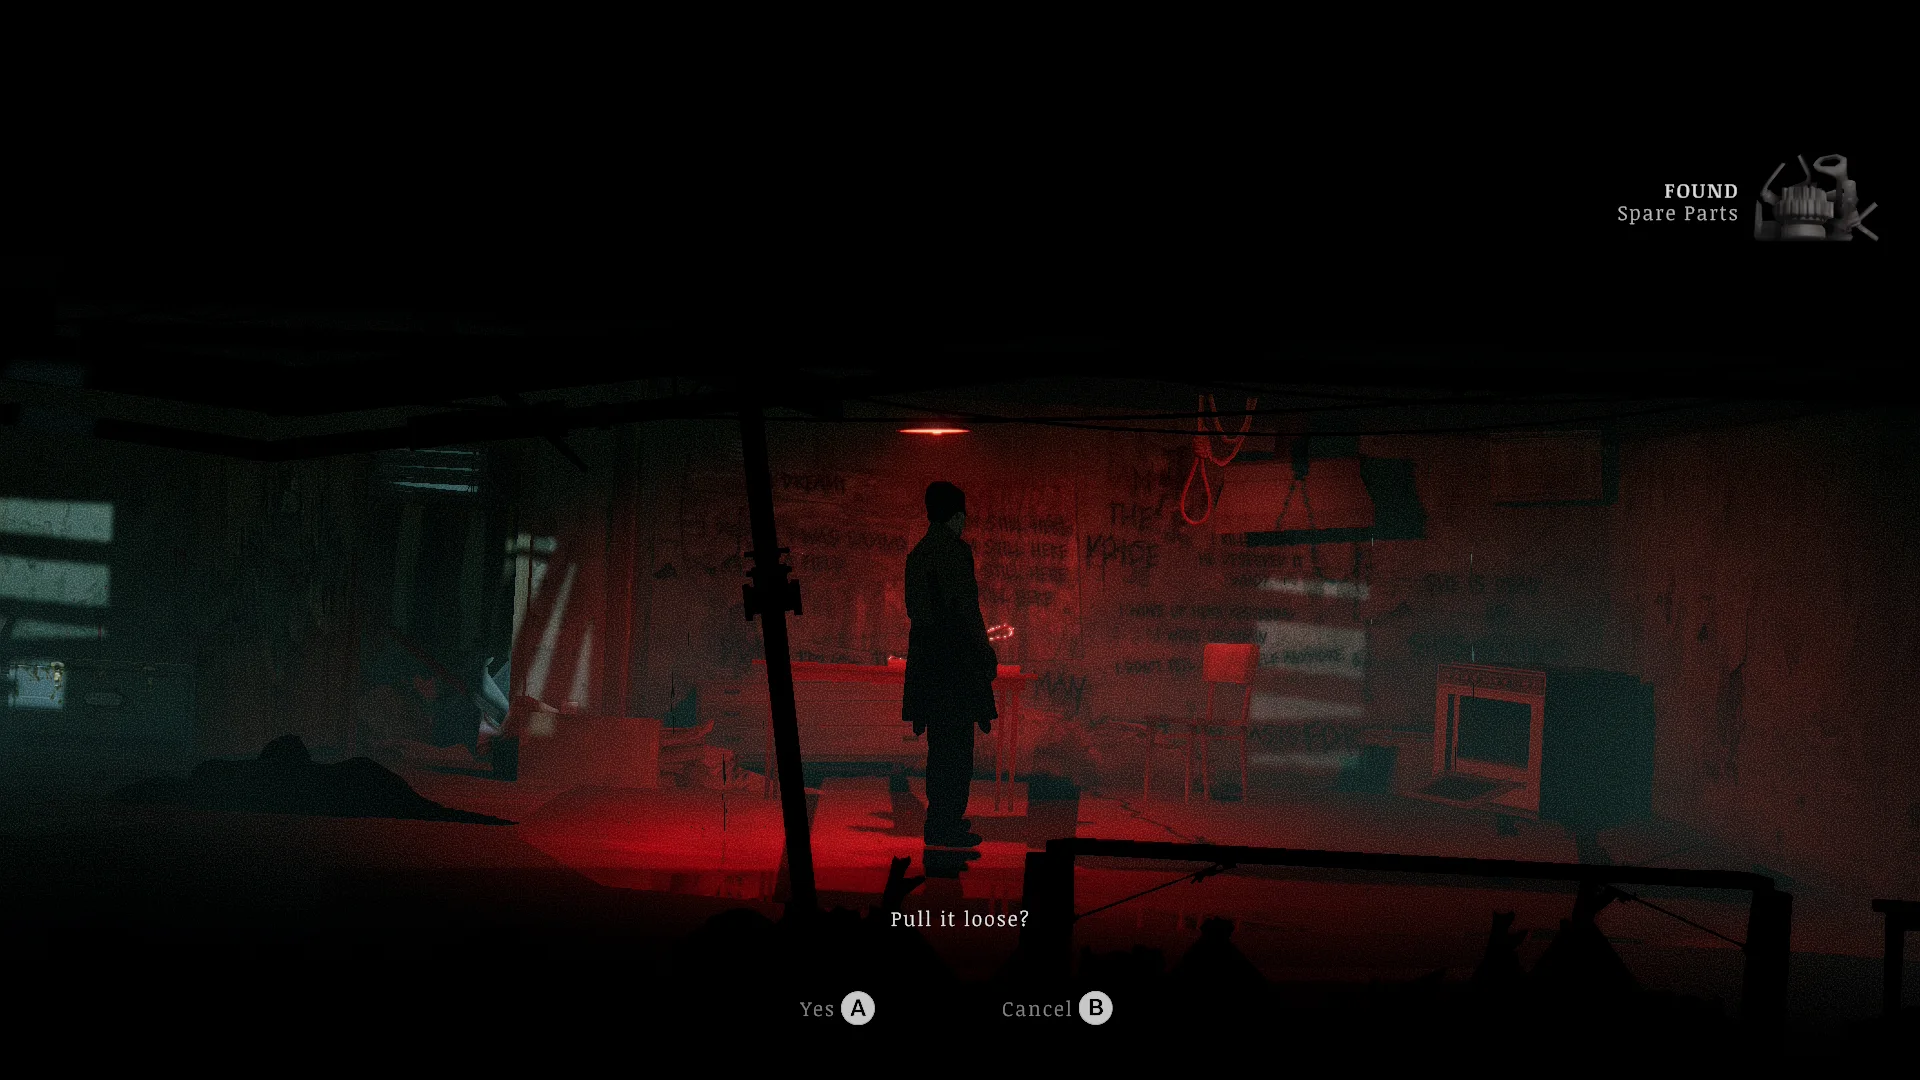
- Smash the cracked wall on the far right of the “Welcome to Riverside” sign with the sledgehammer, then fight your way right.
- Pull the old paper cutter loose in the red graffiti room. Its blade comes away in your hand, sharp but fragile.
Where to find the Baseball Bat
It’s lying in the Market Street backlot, behind the Ammo Zone padlock.
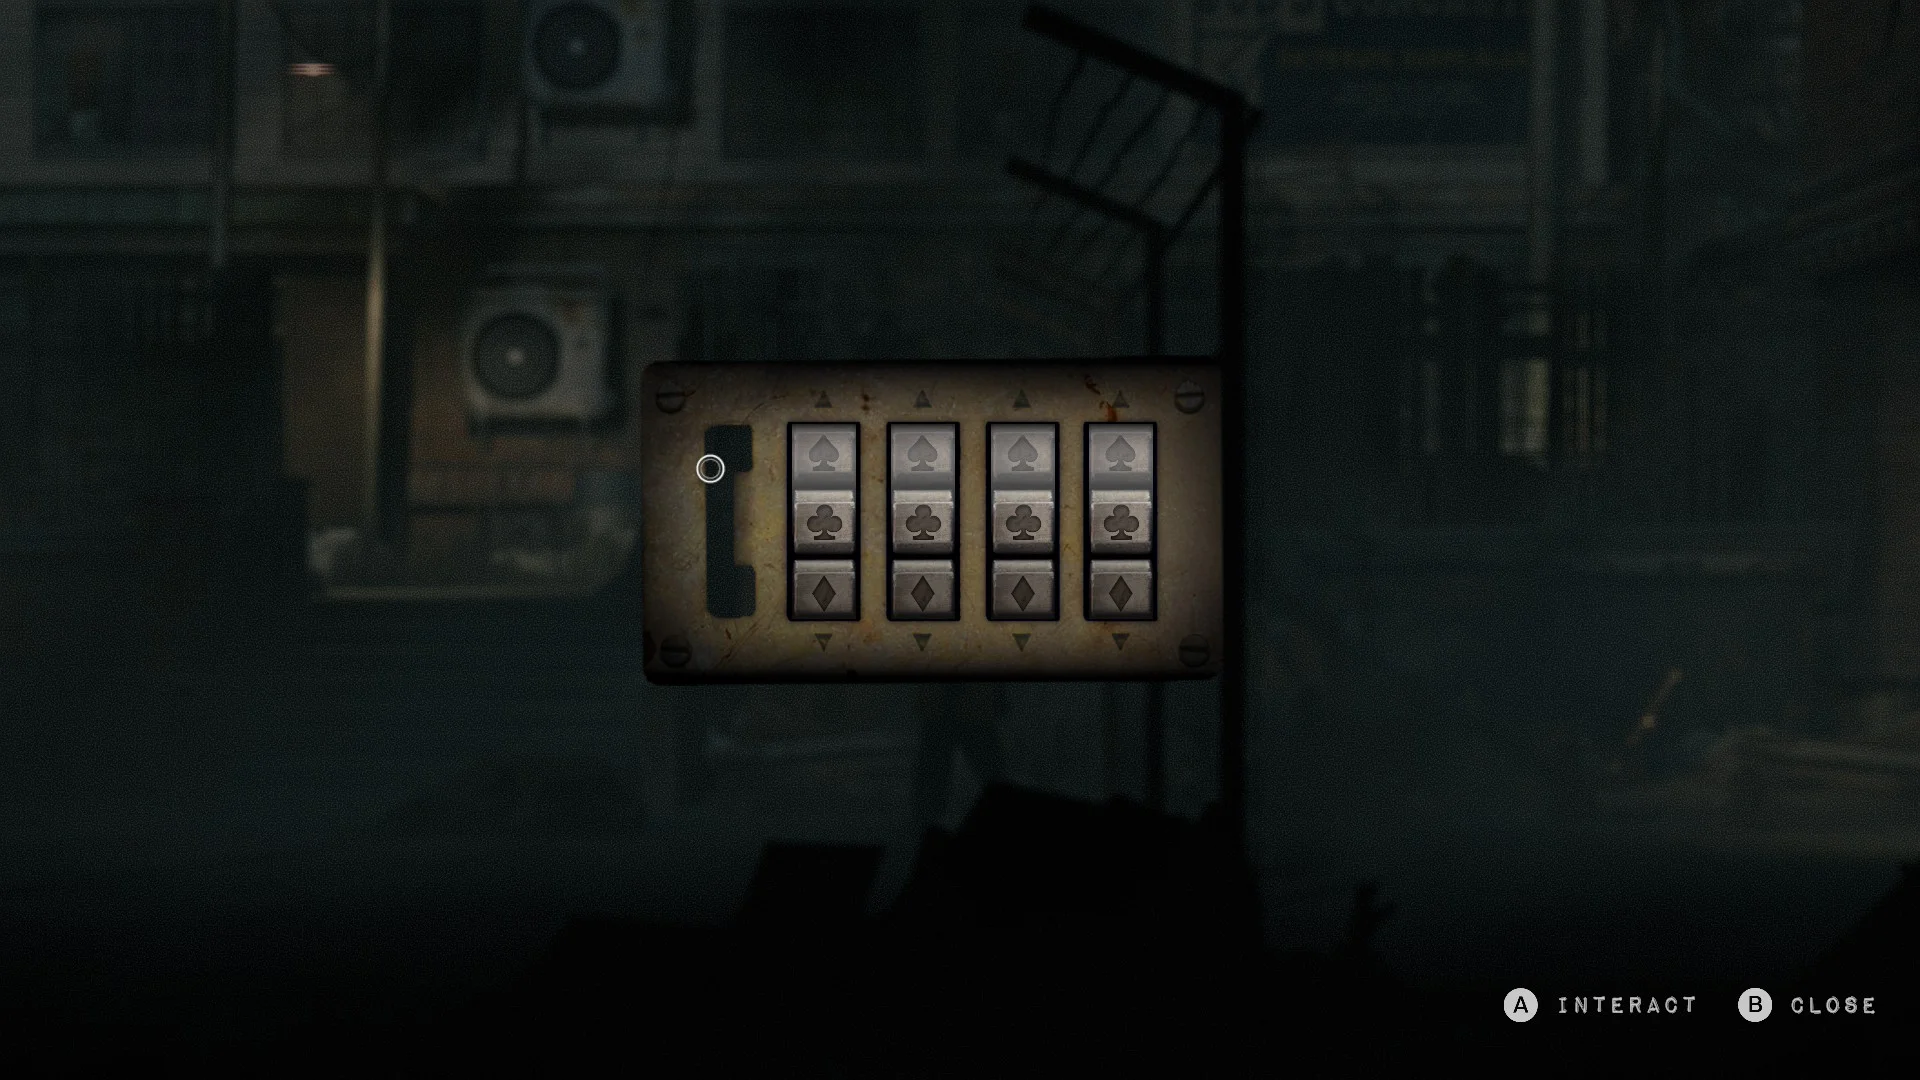
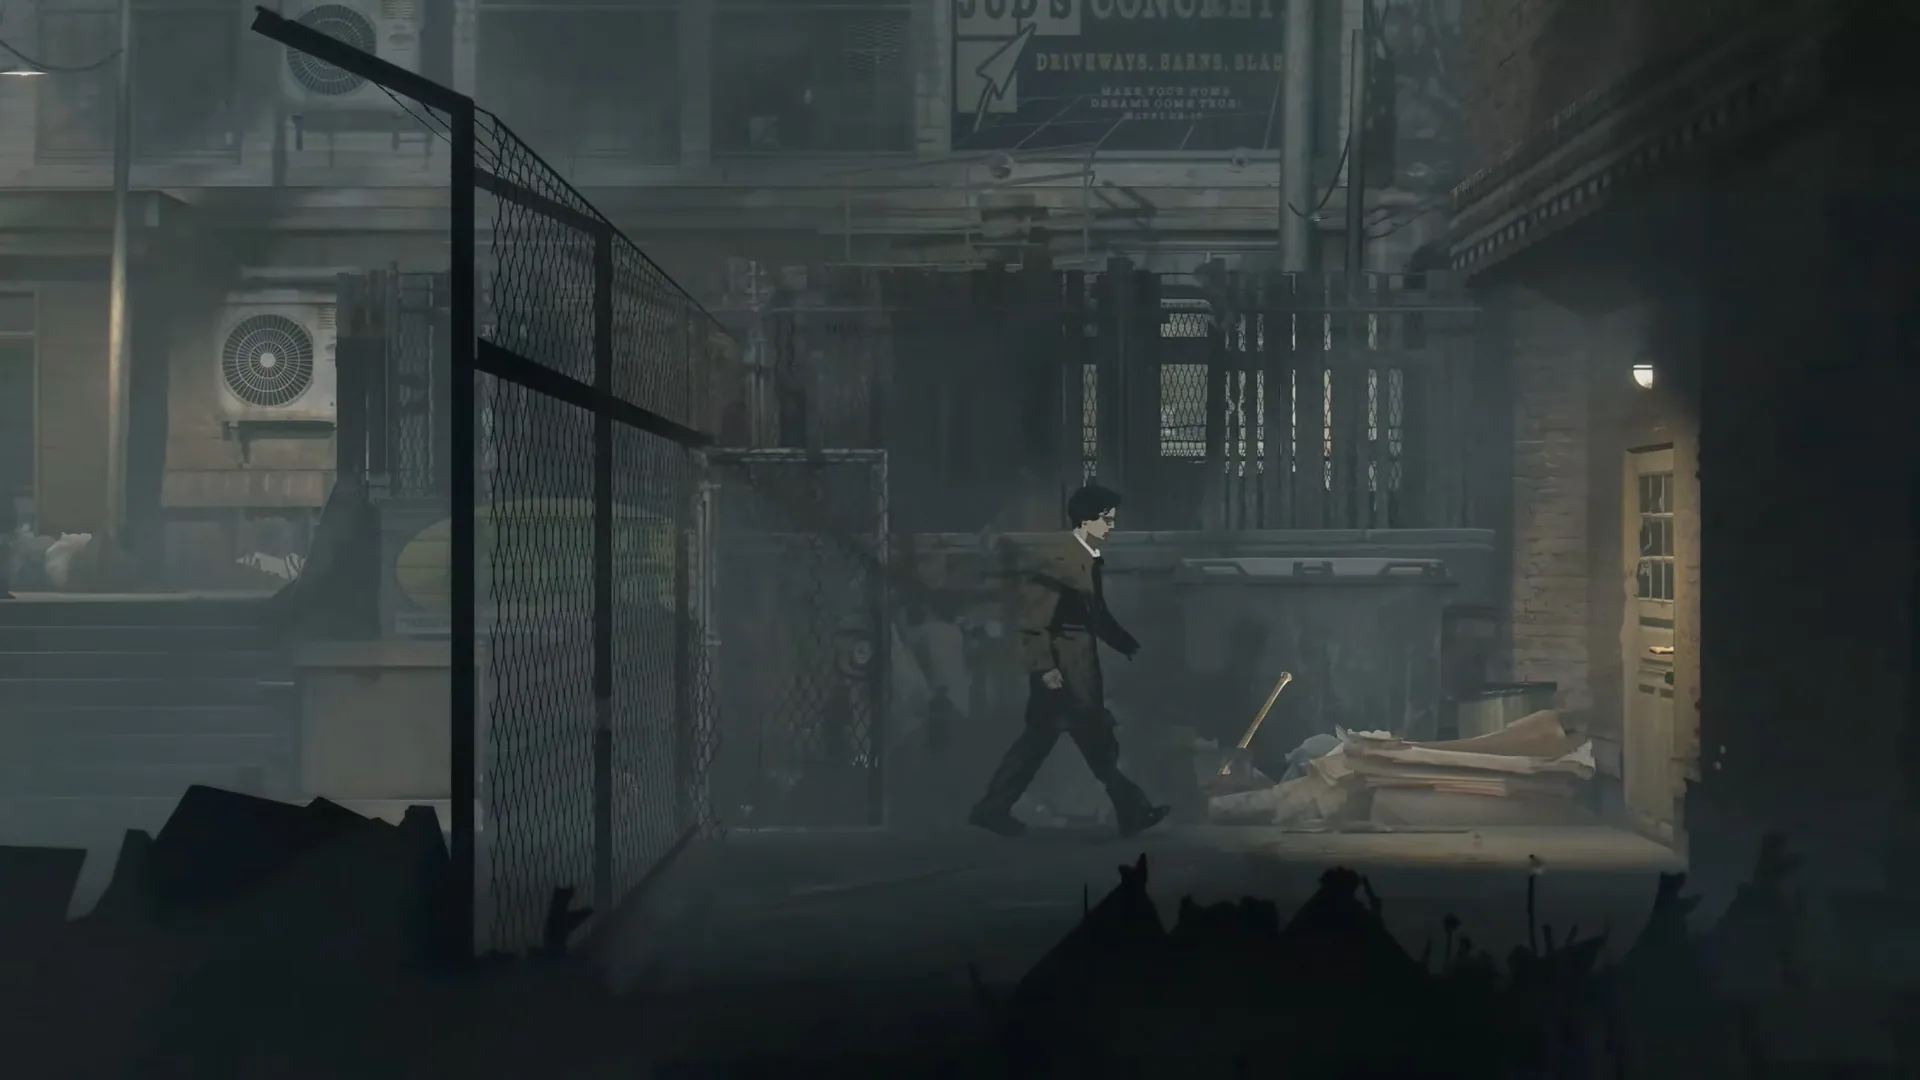
- Read the “Stack your odds, become a member” sign through the Ammo Zone front window. It shows ♠ ♥ ♣ ♦.
- Set the backlot padlock to the same four symbols and pick up the Baseball Bat.
Where to find the Pipe Bomb
It’s in the Ammo Zone stairwell, behind a door that only the Crank Handle opens.
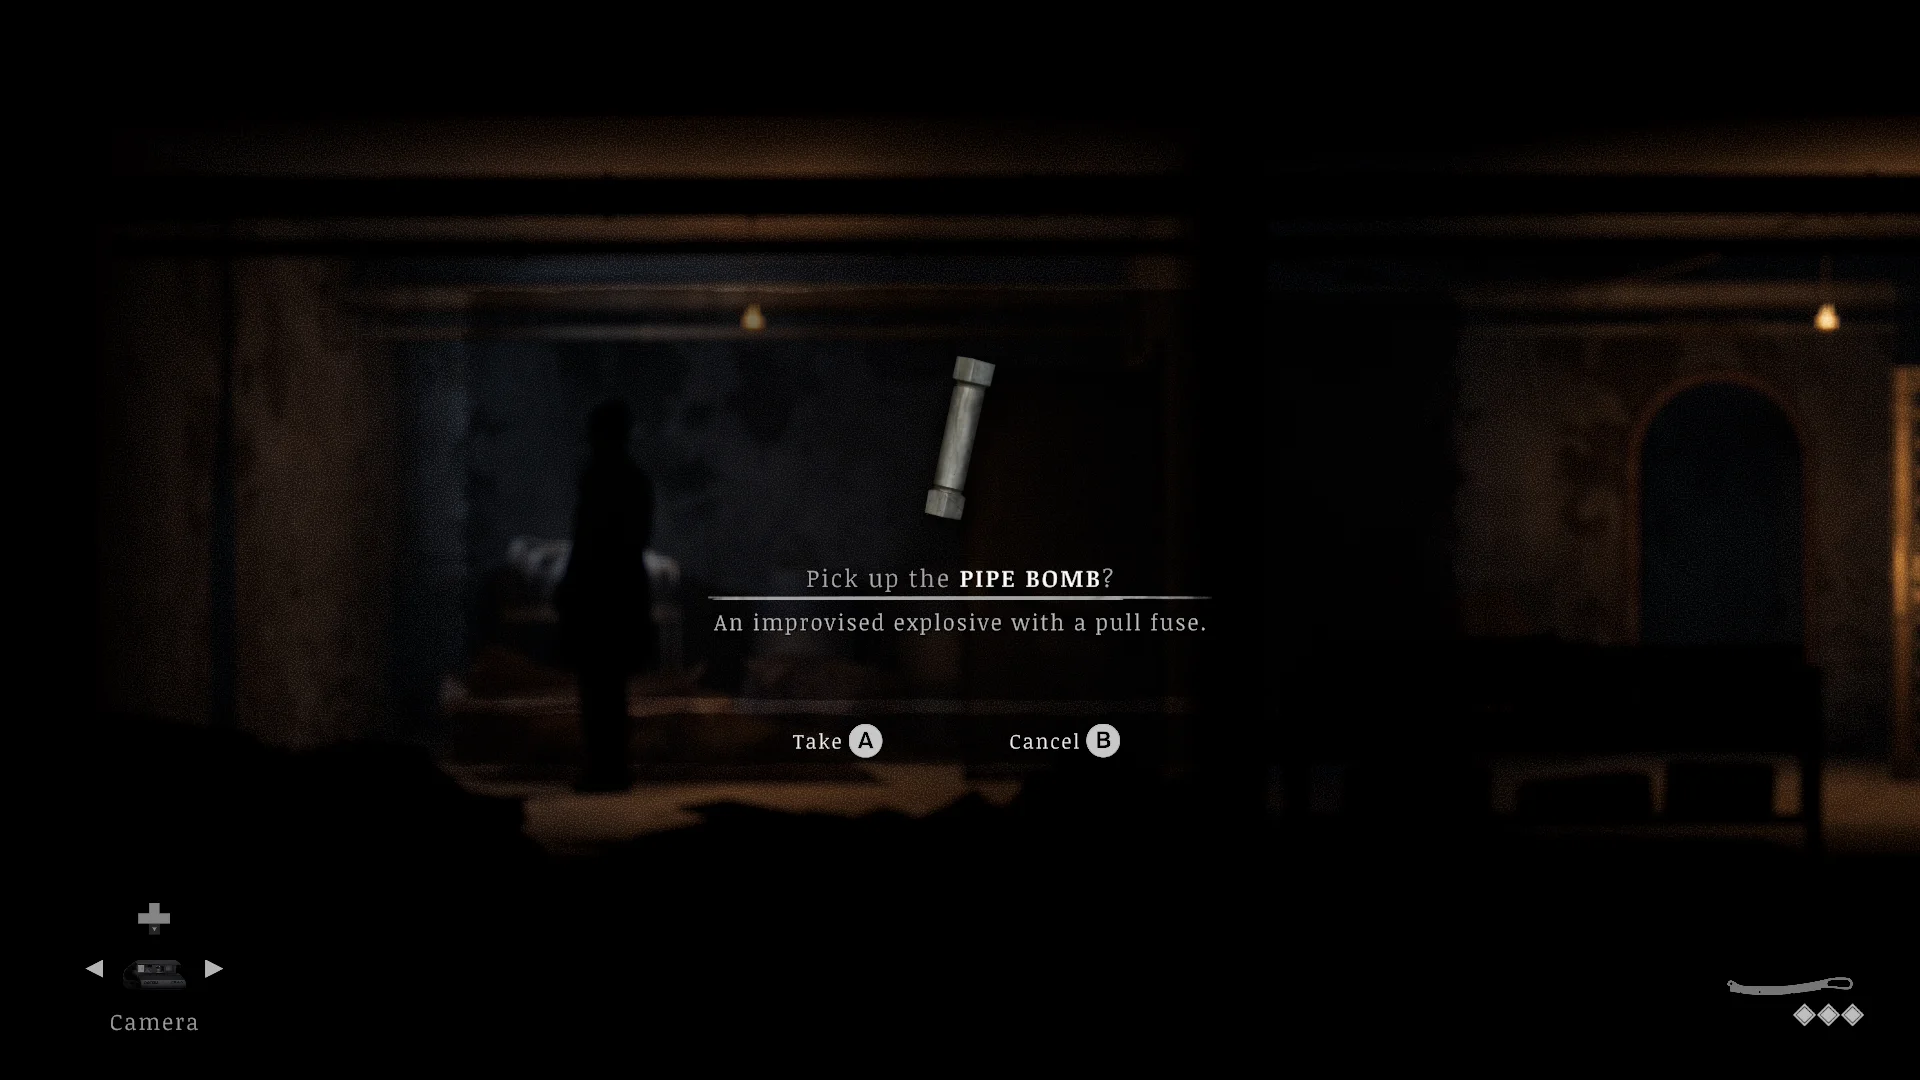
- Come back to Ammo Zone once you have the Crank Handle from Church Hill.
- Use it on the crank box in the stairwell and take the Pipe Bomb, a throwable explosive. I also found one in the basement near the fuse box on Mt. Siah Kopa.
How to unlock the Switchblade and the Omega Rifle
Finish the game. The Leave ending unlocks the Switchblade, and the Live ending unlocks the Omega Rifle, fully loaded, with 30 Magnetic Slugs. Both wait for you at the start of your next game.

- Kill Eddie at the end for the Leave ending and the Switchblade.
- Collect all 25 mementos, spare Eddie, and let Drew burn them for the Live ending and the Omega Rifle.
Where to find the car trunk weapons
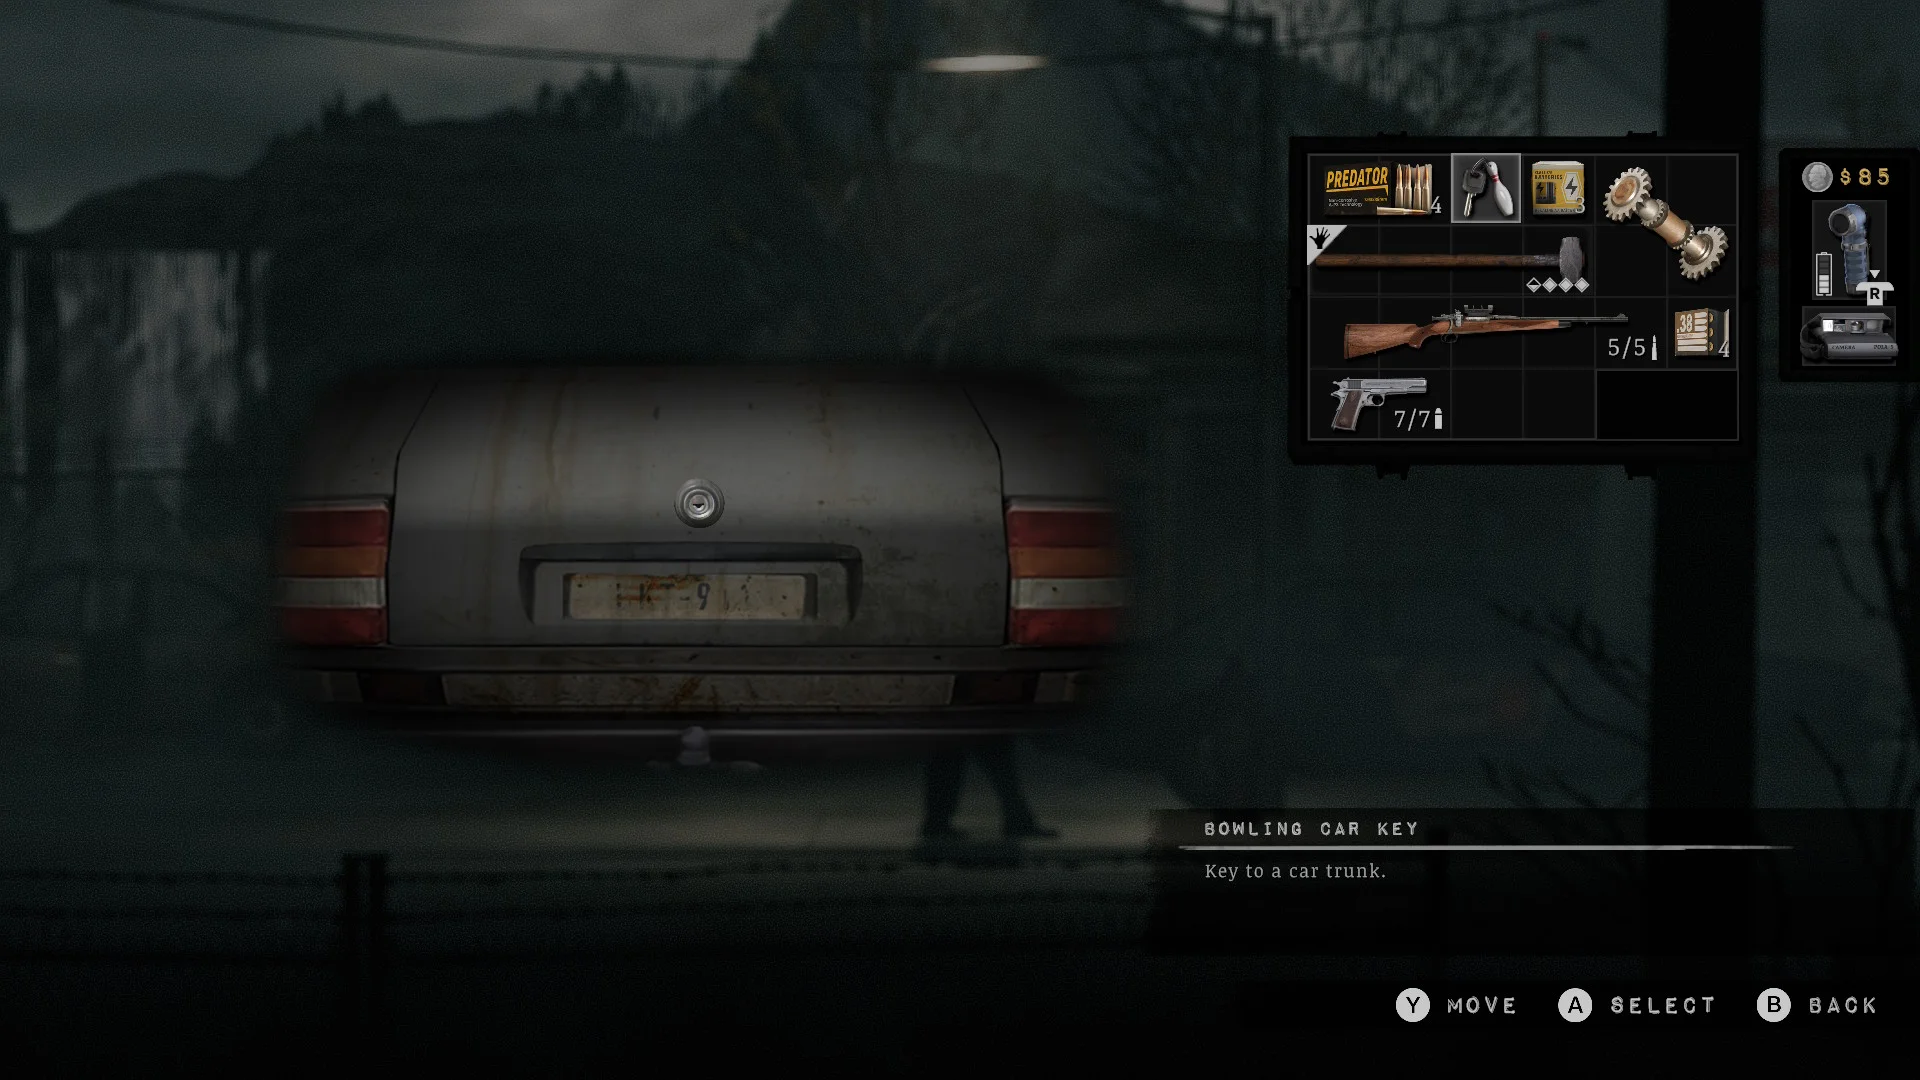
Two car trunks hold extra gear: the motel courtyard car and the bowling car on Silver Road.

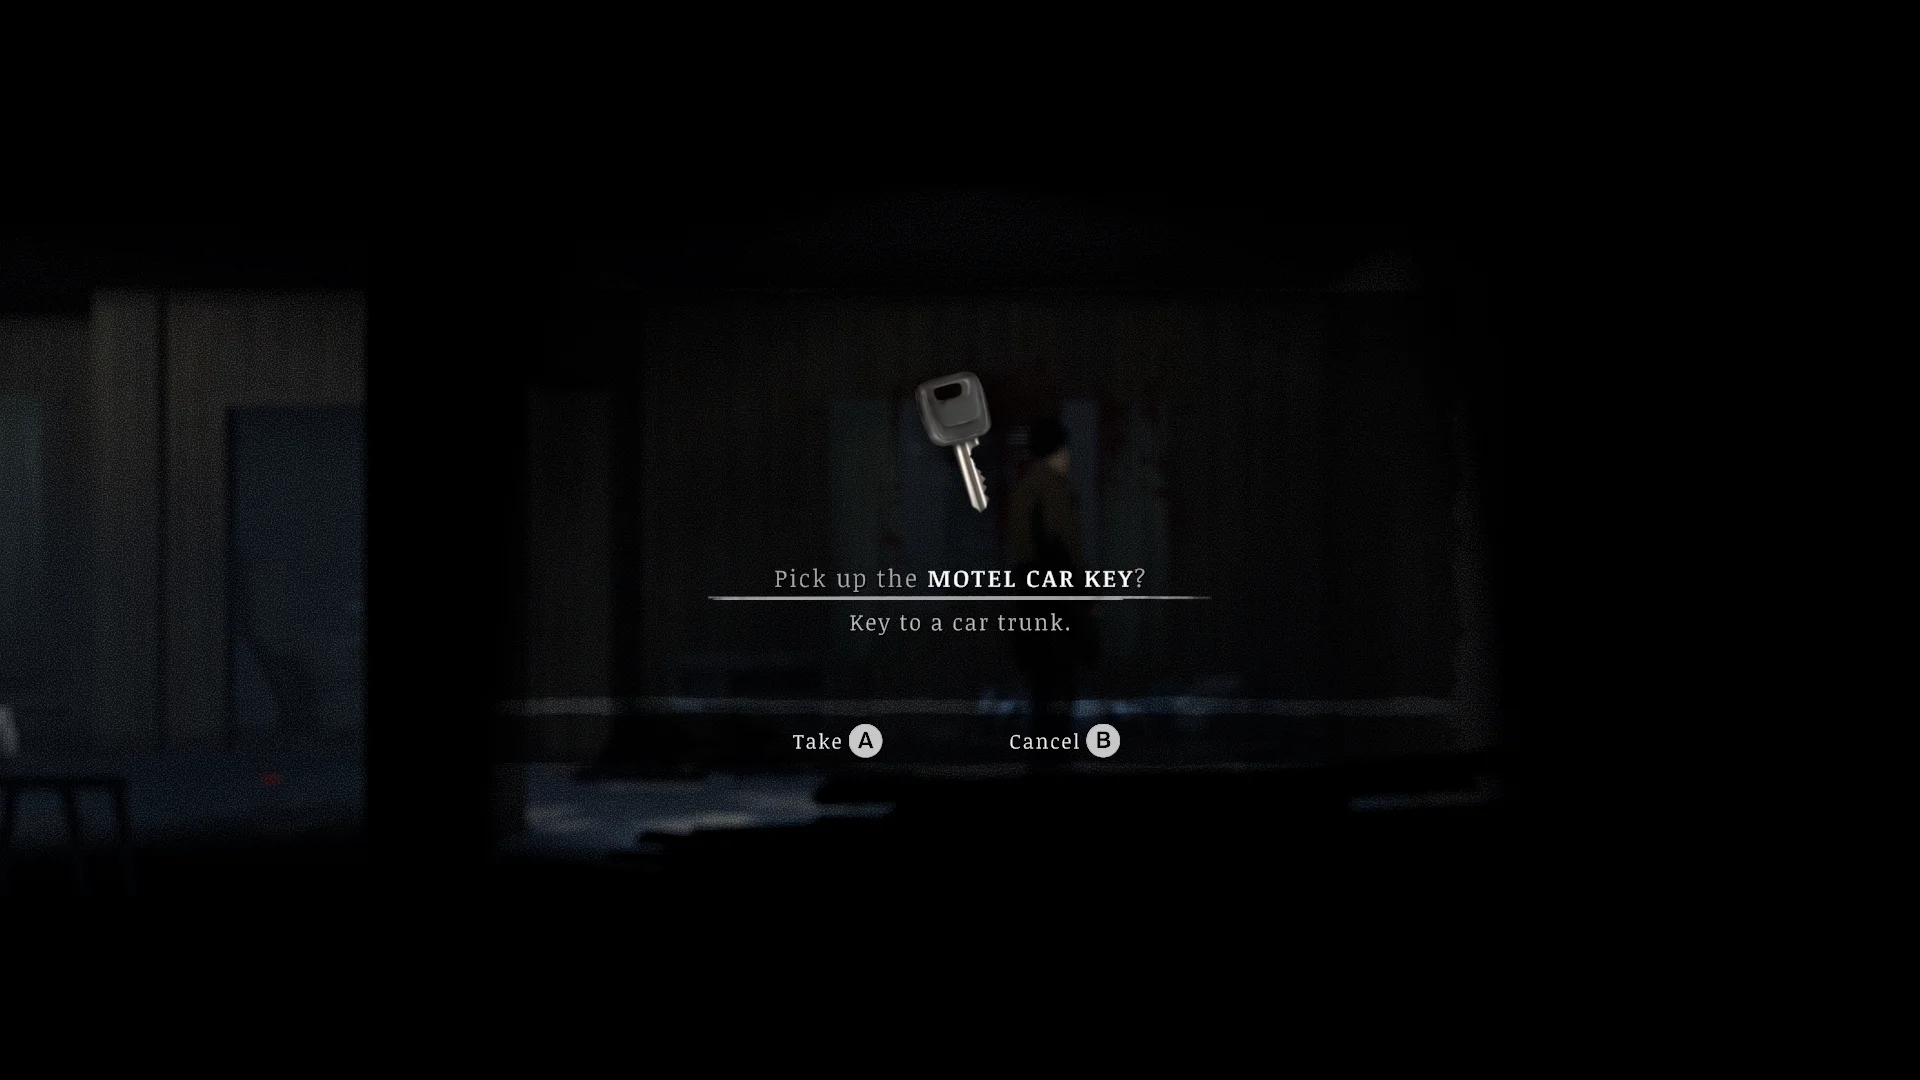
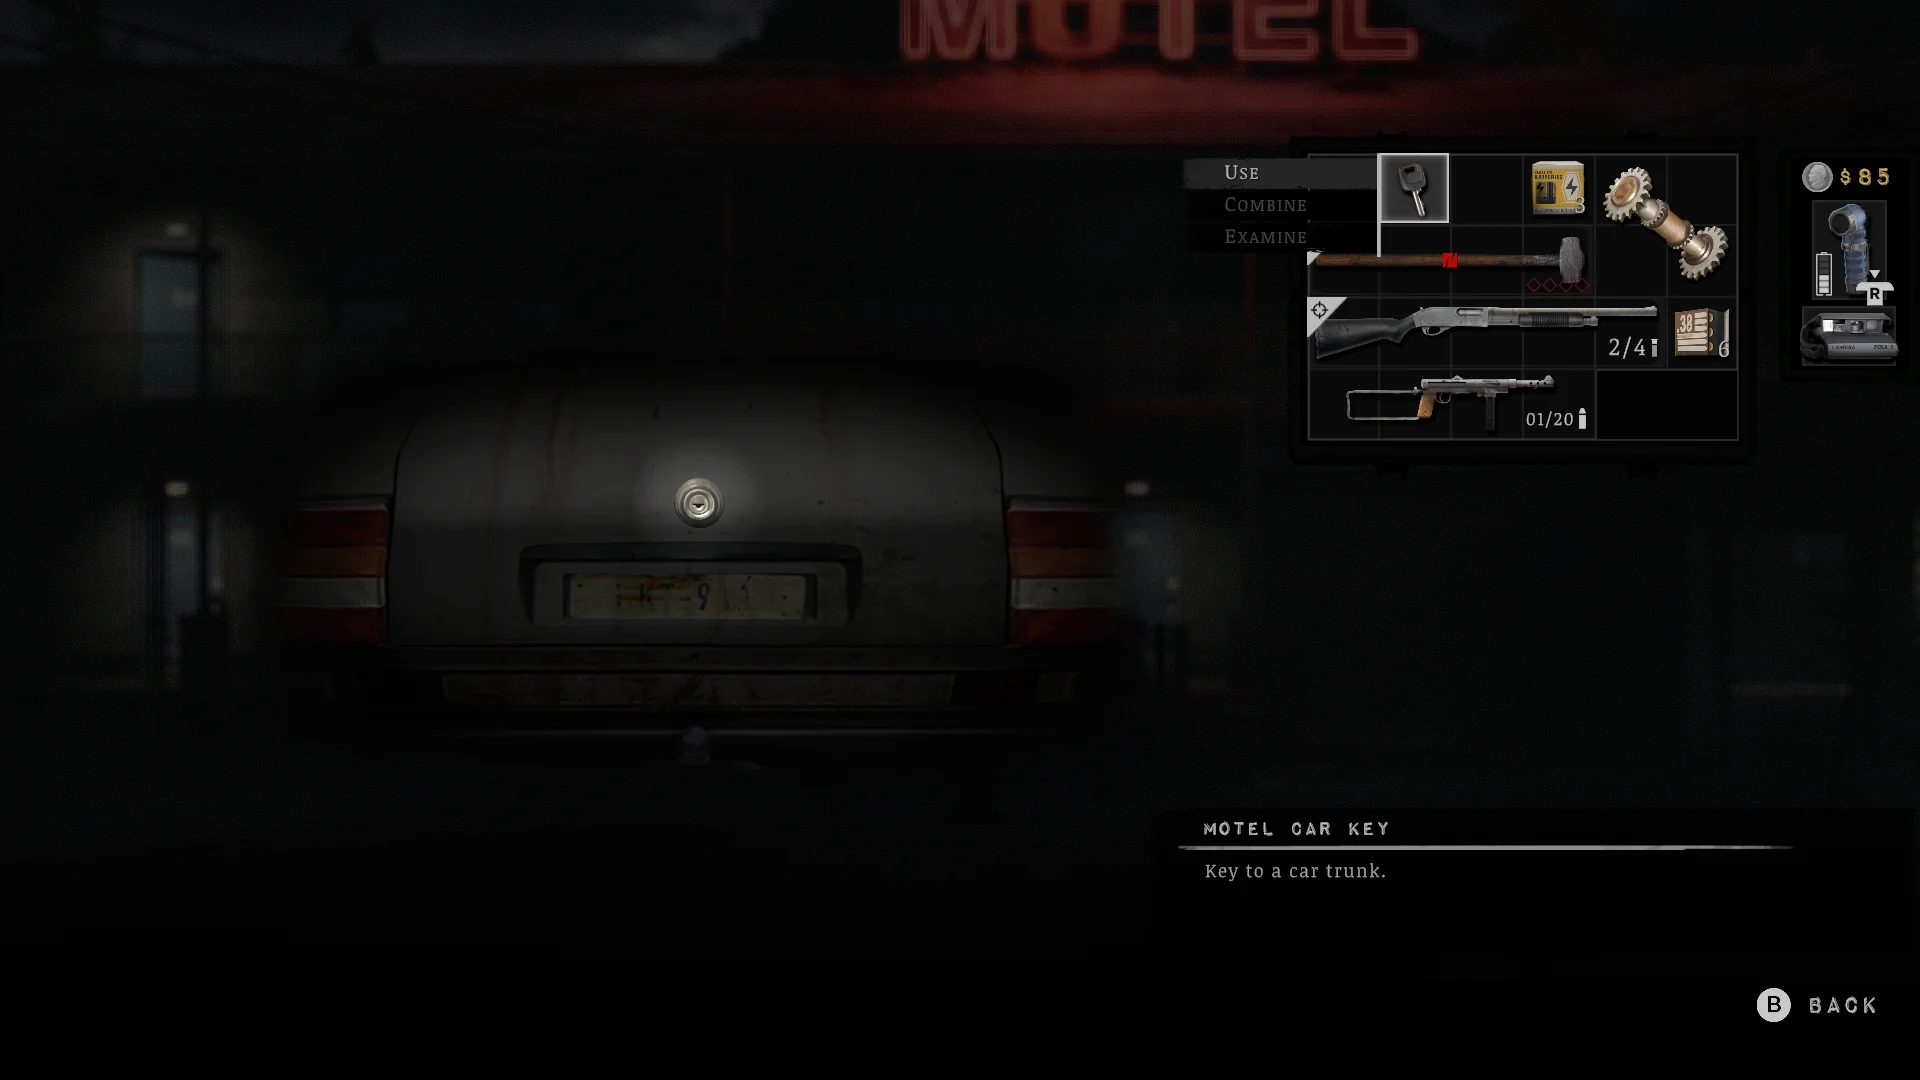

- Shoot the vent high on the wall in Crimson Bear Room 3 and crawl in for the Motel Car Key. It opens the courtyard car trunk, which holds ammo and a weapon.
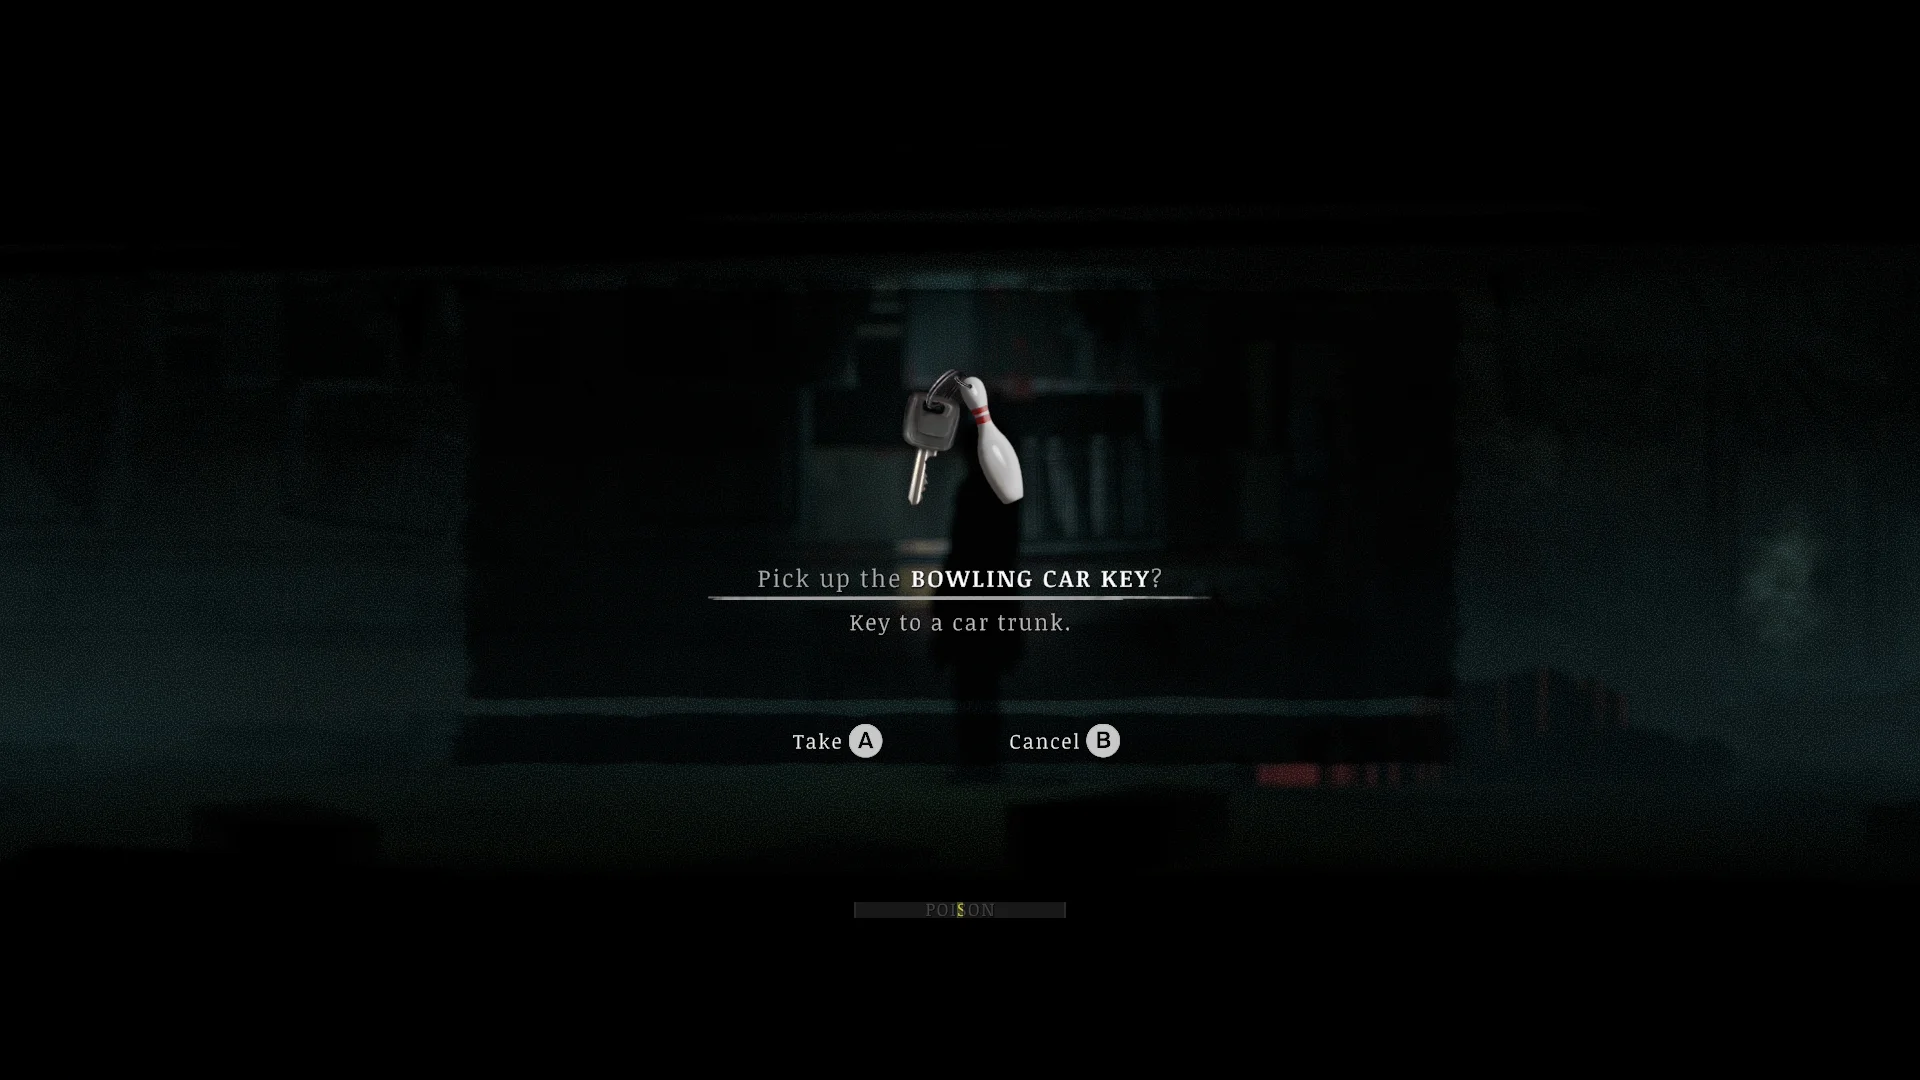
- Pick up the Bowling Car Key near the flooded basement by the Union Apartments. It opens the trunk of the car outside the bowling alley, and the Extended Magazine Tube for the W-500 is inside.
All Silver Pines Weapon Upgrades
There are seven weapon upgrades. Spare Parts aren’t one of them: combine them with Duct Tape for a Makeshift Repair Kit.
Click an upgrade’s name to jump straight to its section.
How to get the Six-Shot Cylinder
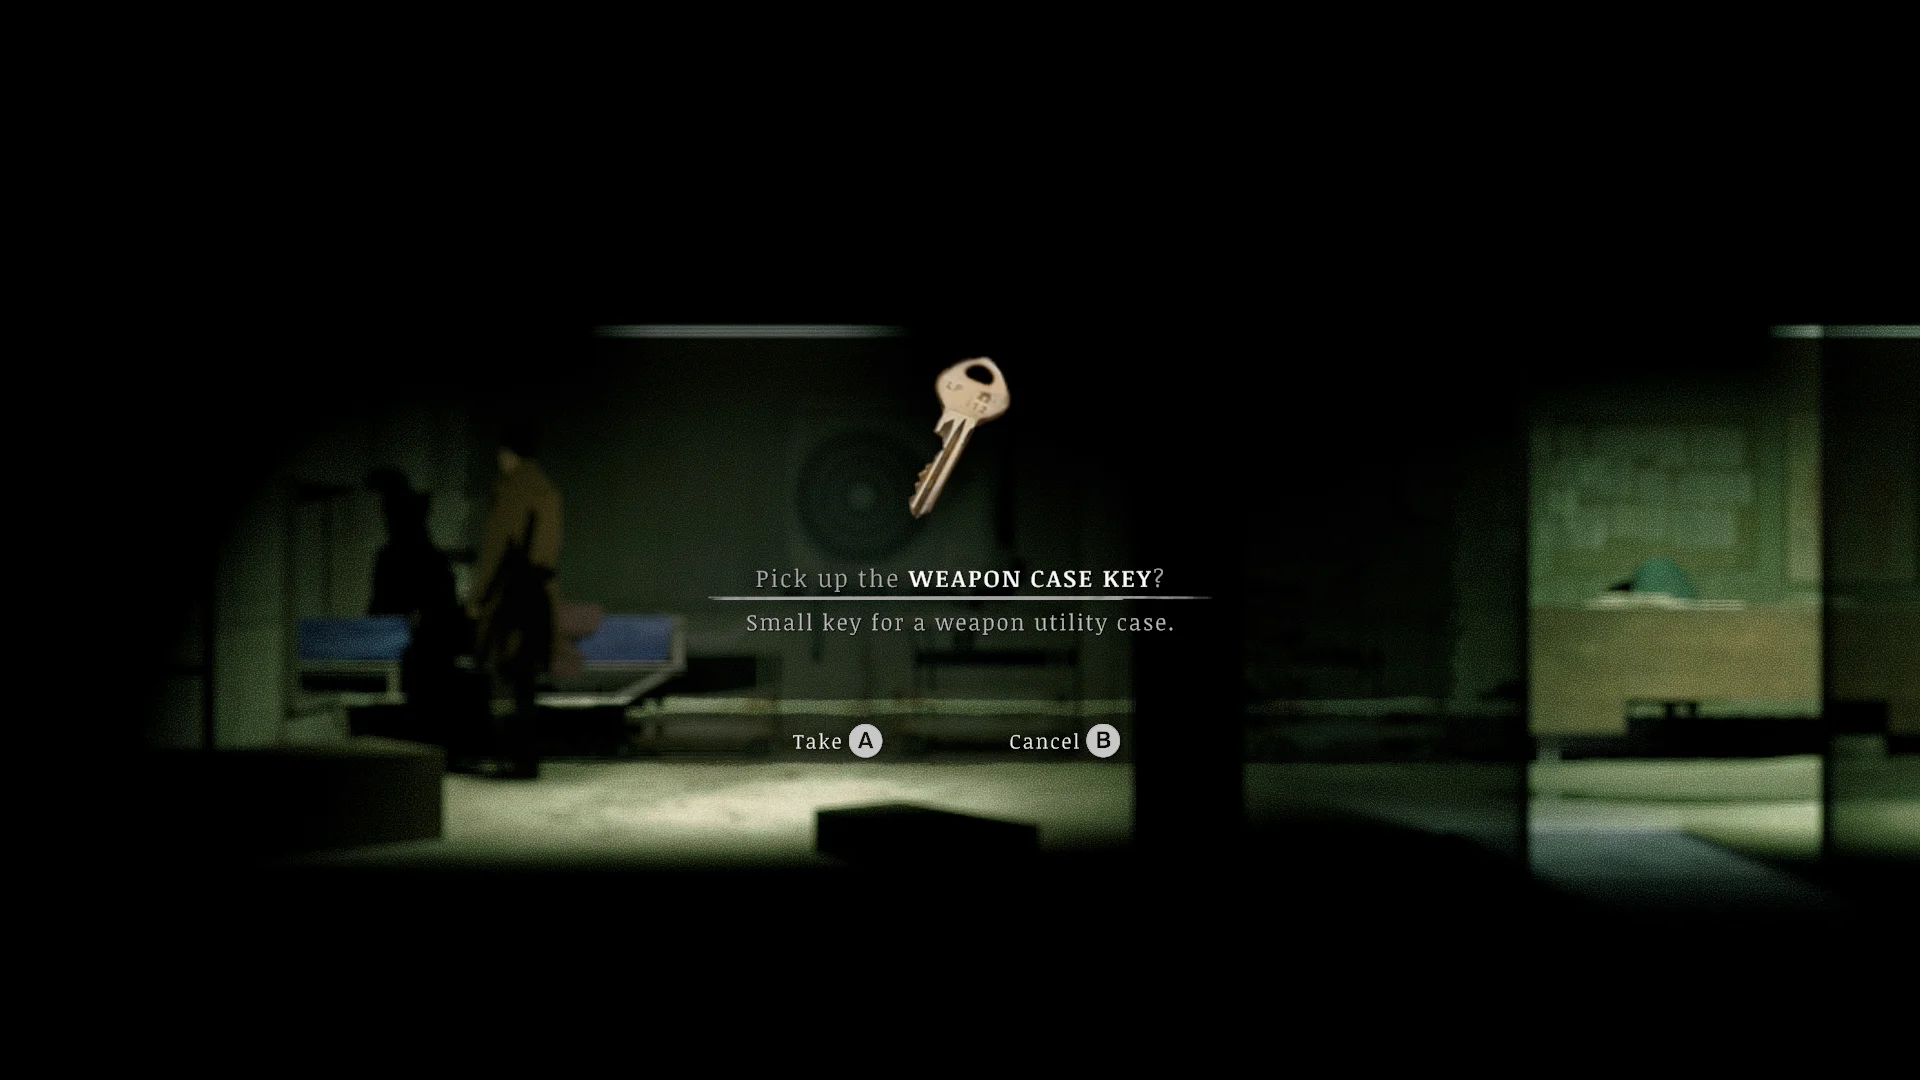
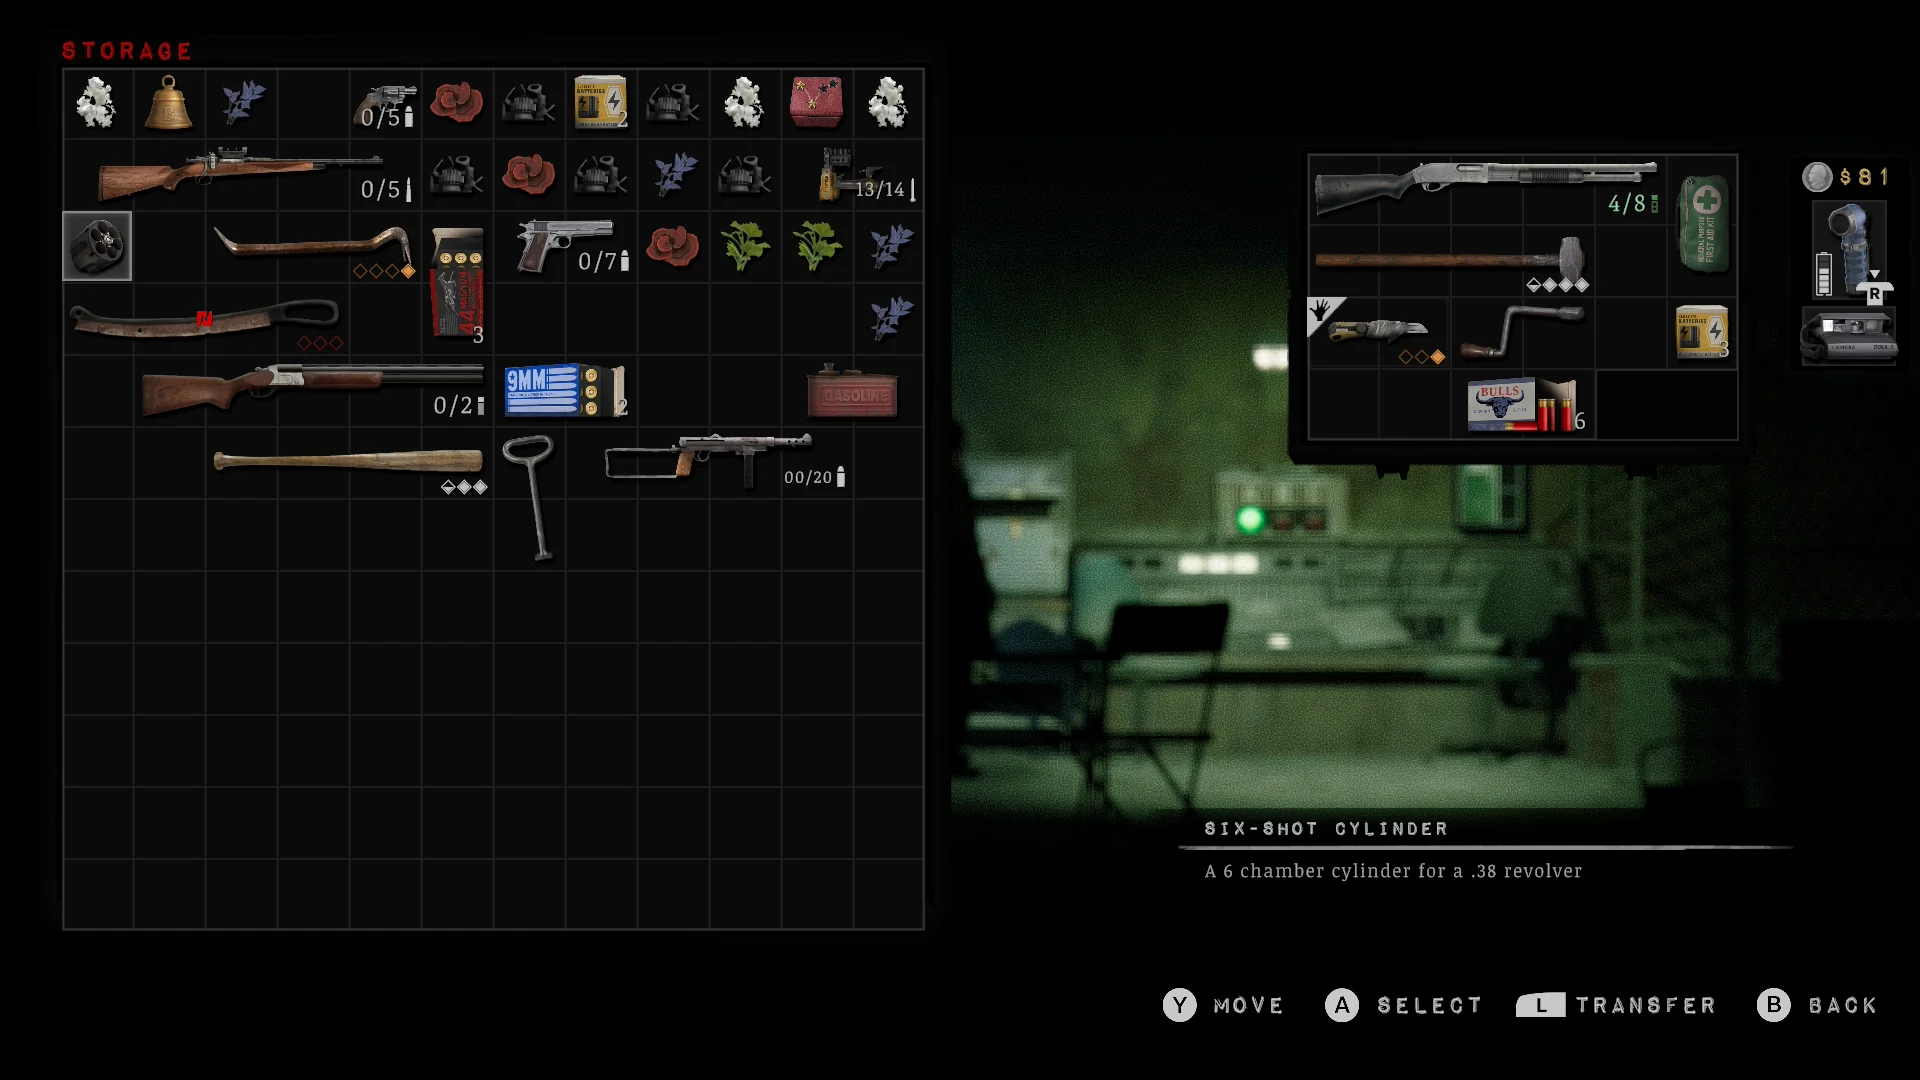
Combine the Weapon Utility Case from the Sheriff’s armory with the Weapon Case Key from the morgue.

- Take the locked Weapon Utility Case from the armory.
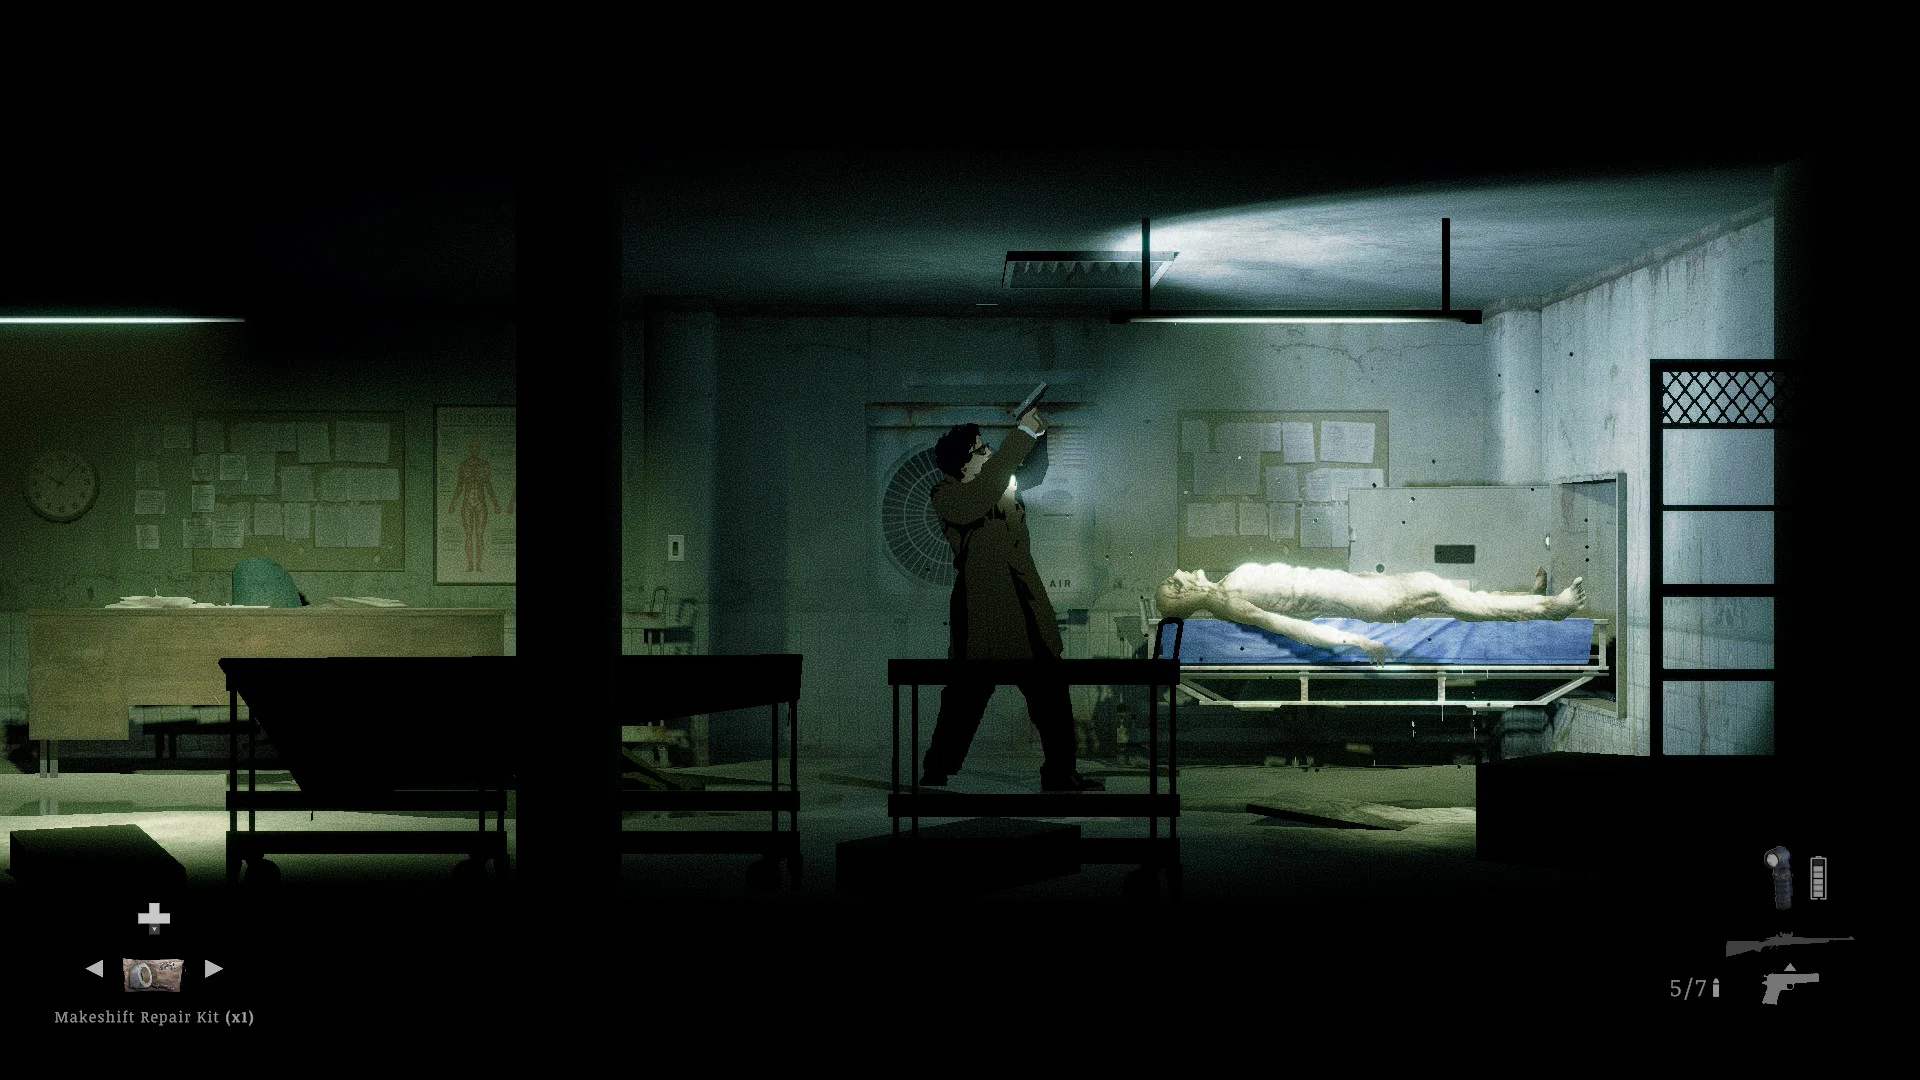
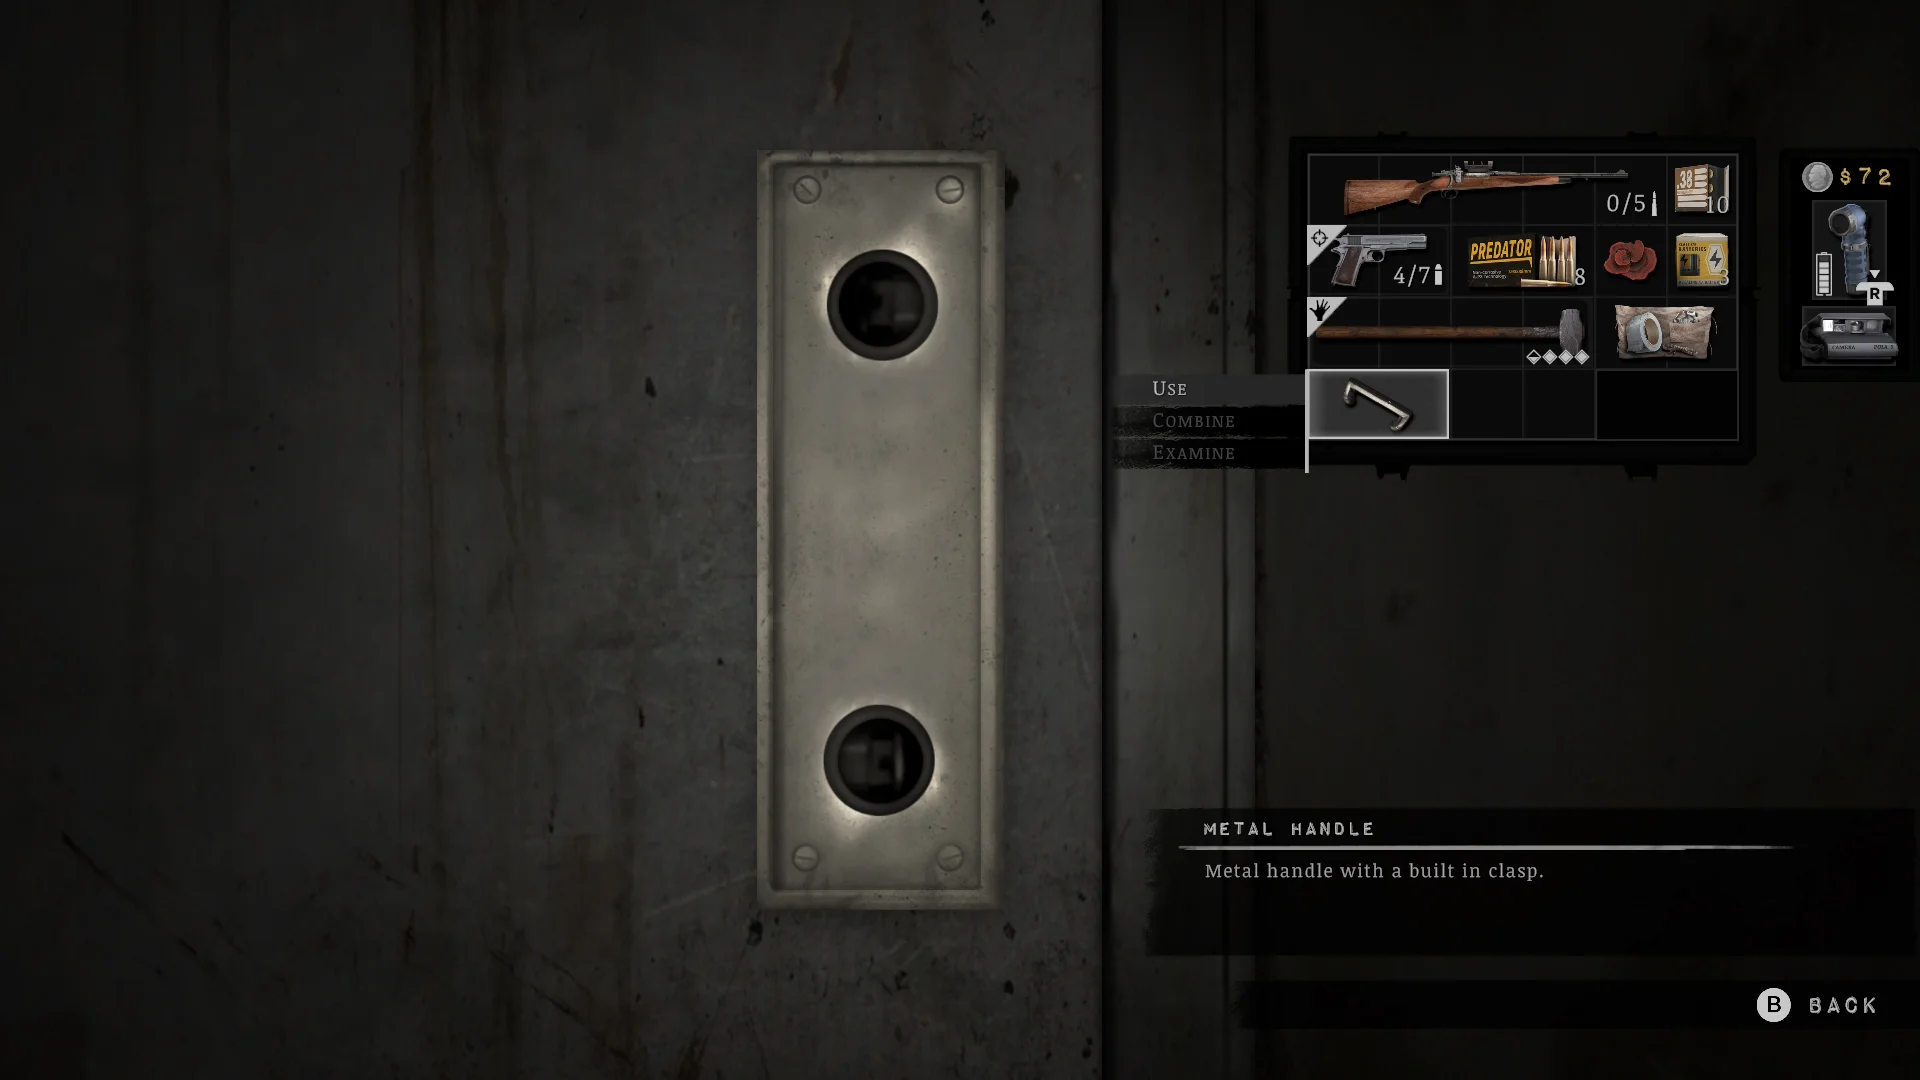
- Shoot the ceiling vent in the morgue, crawl through to Cell A, and take the Metal Handle you could see from the holding cells.
- Fit the handle on the cold storage door opposite the corpse and take the Weapon Case Key from the jacket.
- Combine the key with the case for the Six-Shot Cylinder. Your Snub .38 gets a sixth round.
How to get the Double Action Mechanism
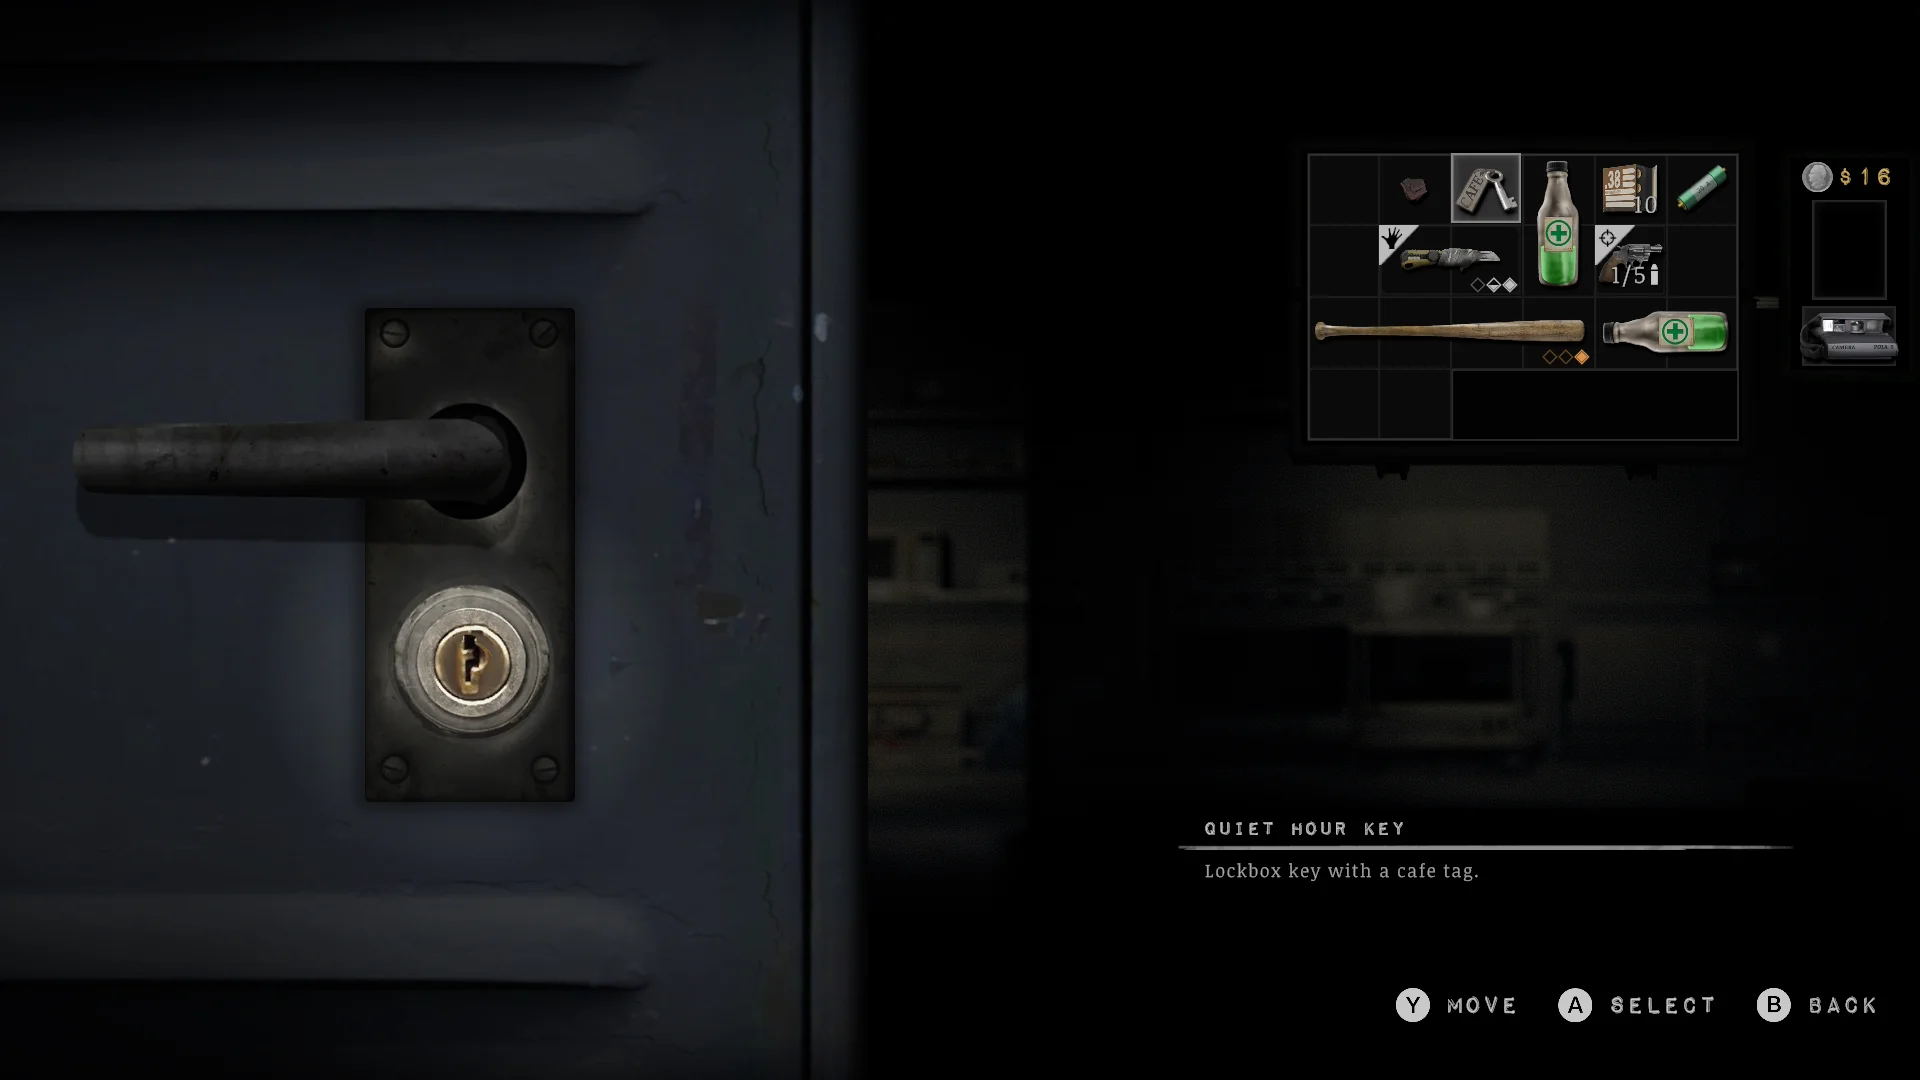
It’s in the lockbox at the back of the Quiet Hour Cafe, and the Quiet Hour Key opens it.
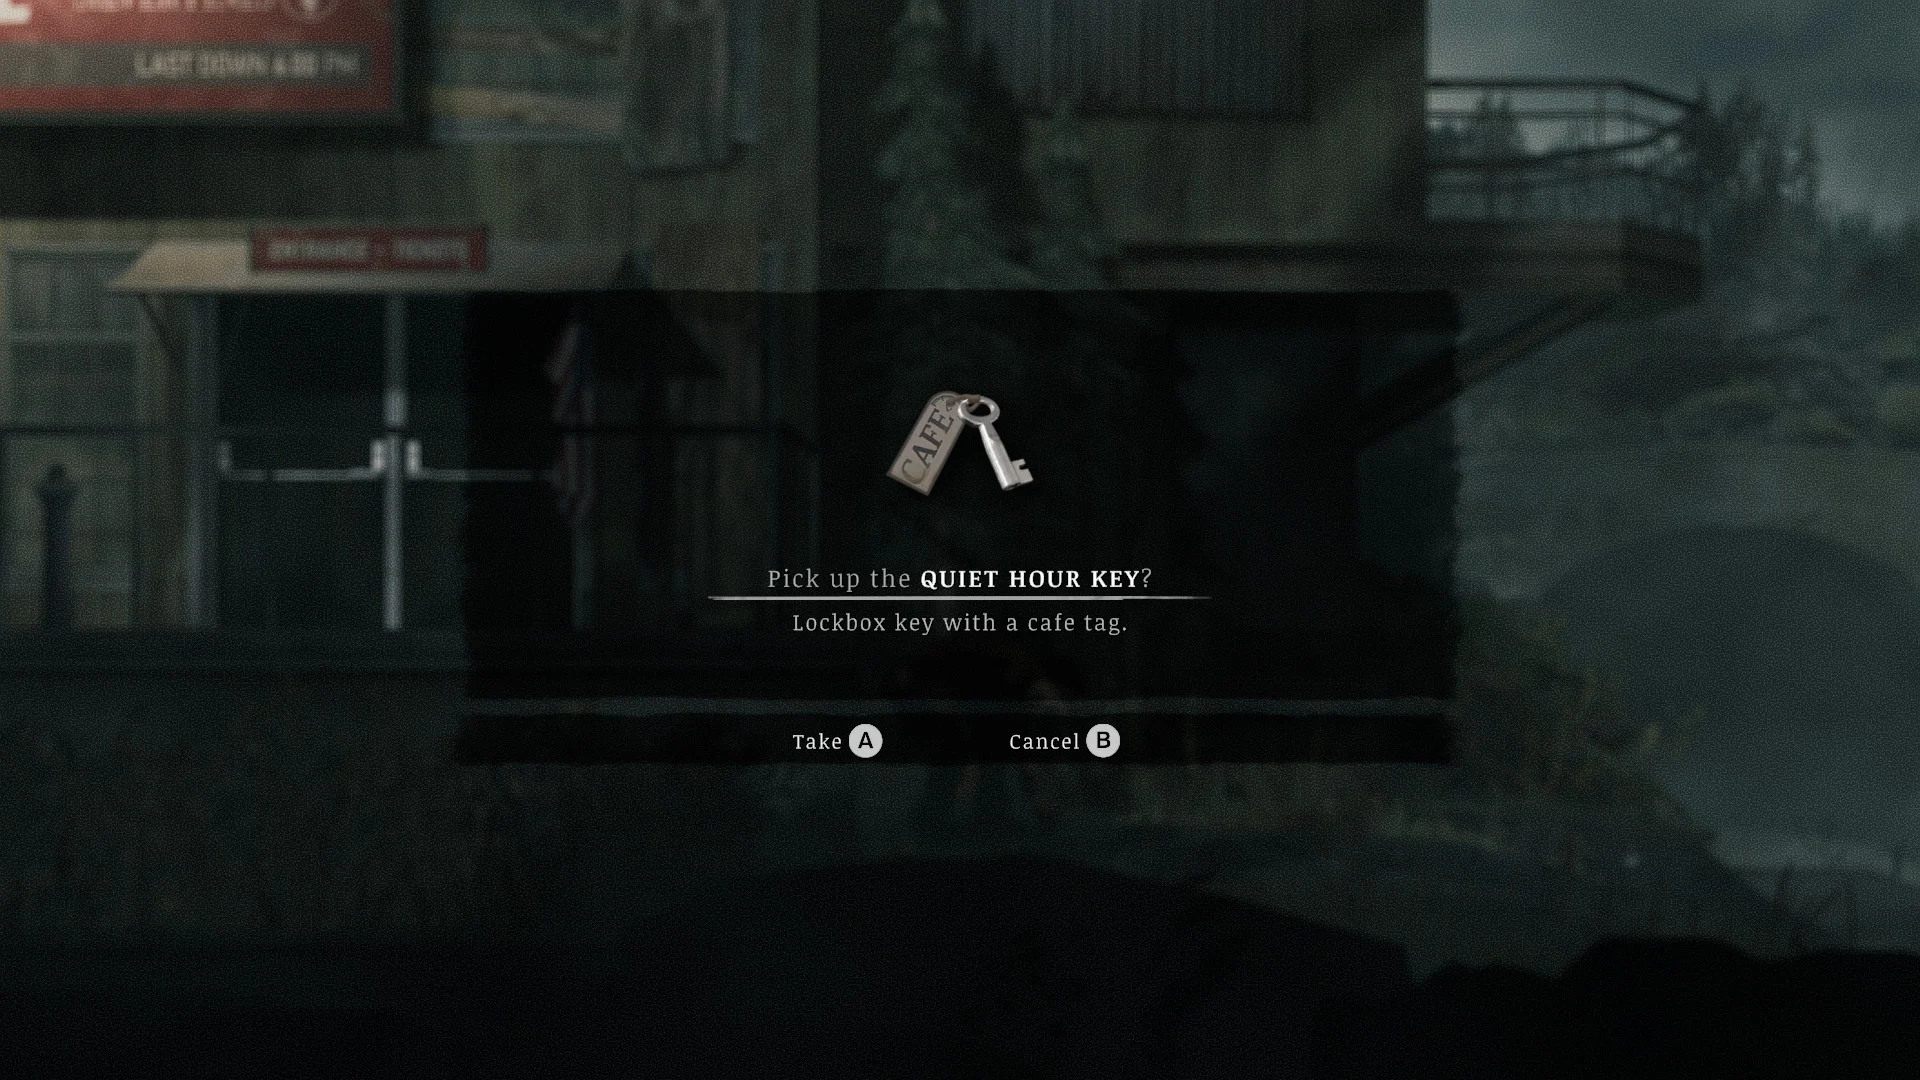

- Hop the fence to the right of the cable car building and take the Quiet Hour Key.
- Open the lockbox at the back of the cafe for the Double Action Mechanism. It nearly halves the time between shots on the Snub .38.
Where to find the Extended Magazine
It’s under the manhole in the Thelend Broadcasting flooded basement, and there’s another in the sewer under the Crimson Bear courtyard manhole.
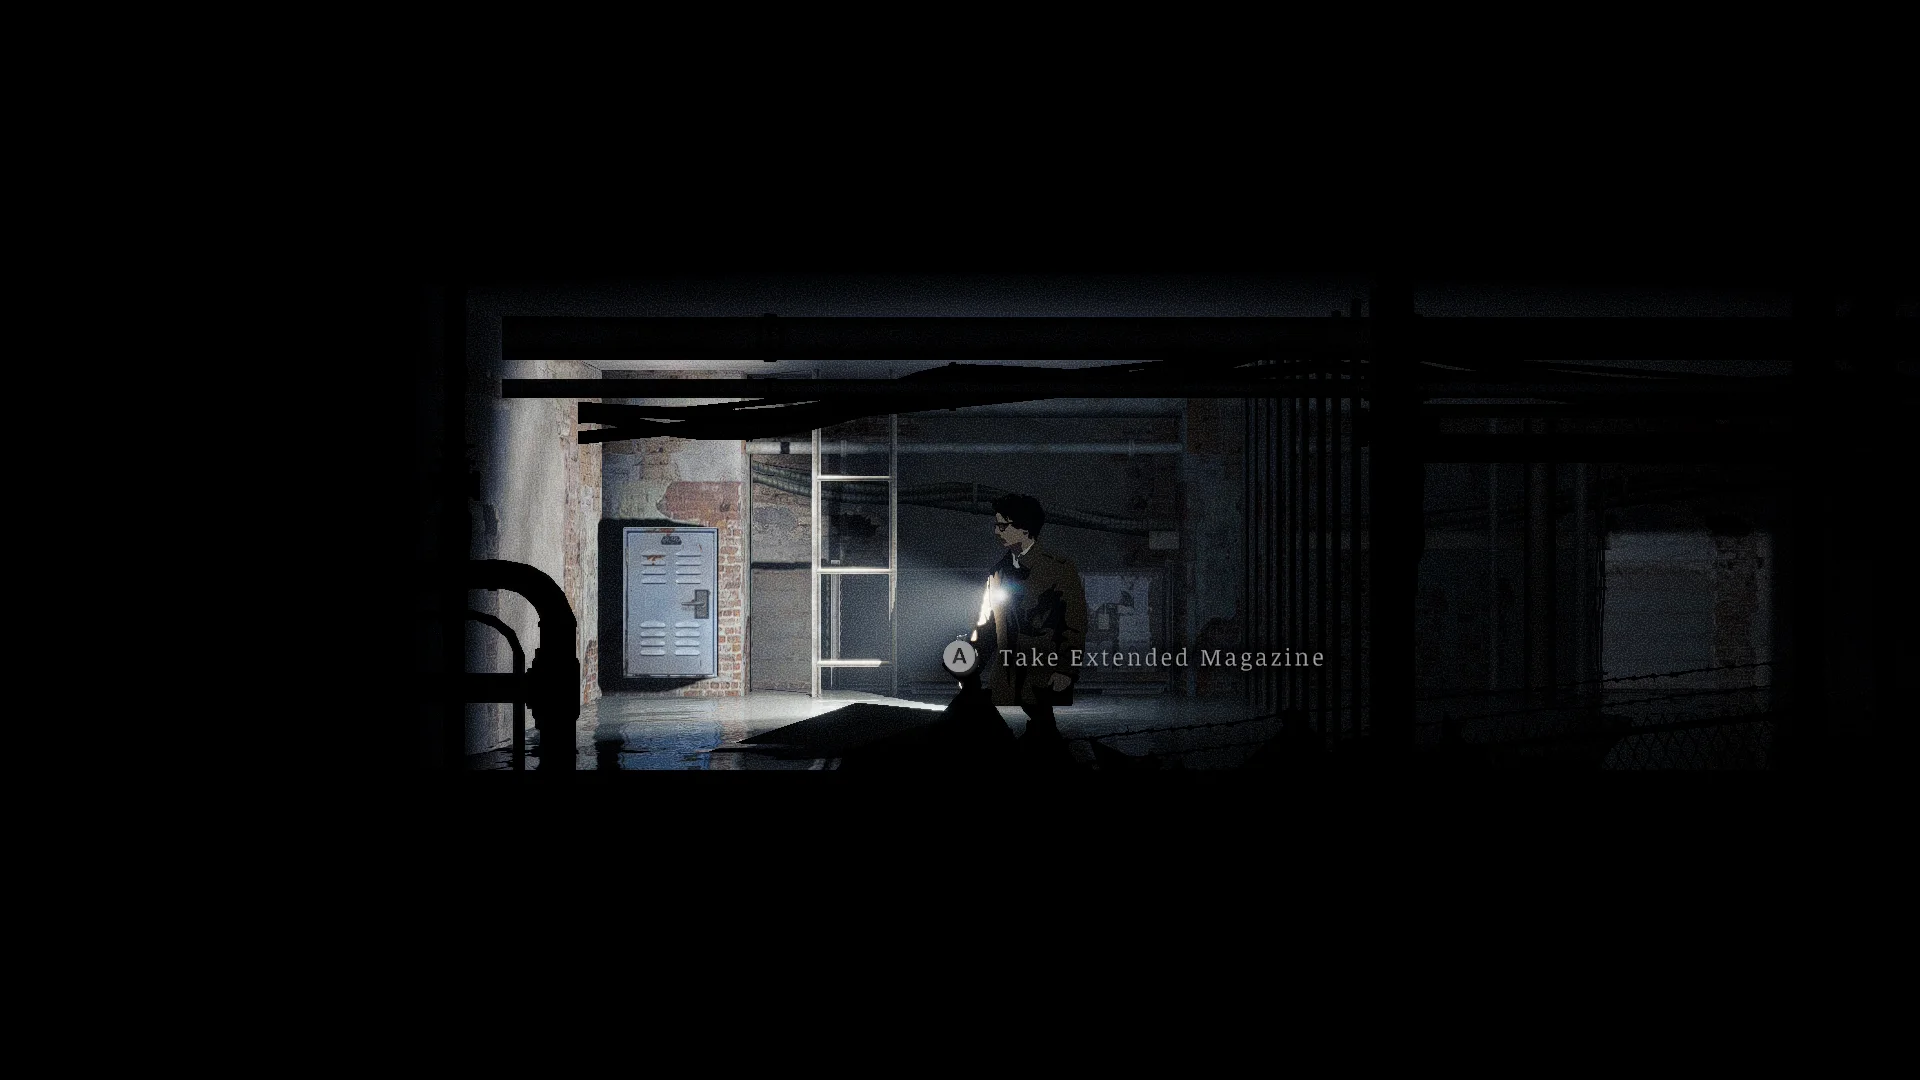
- Go down to the flooded basement and open the manhole with the Manhole Cover Key from the Town Hall.
- Take the Extended Magazine inside. Your 1911 holds 10 rounds instead of 7.
Where to find the Attachable Laser Sight
It’s in the Ammo Zone stairwell, behind the crank box.
- Come back to Ammo Zone with the Crank Handle from Church Hill.
- Turn the crank box in the stairwell and take the Attachable Laser Sight for the 1911.
Where to find the Extended Magazine Tube
It’s in the trunk of the bowling car on Silver Road.
- Pick up the Bowling Car Key.
- Open the trunk of the car outside the bowling alley and liquor store and take the Extended Magazine Tube. Your W-500 holds 8 shells instead of 4.
Where to find the Rifle Scope
It’s tucked in a purse at the cable car station.


- Search the cable car station for the purse.
- Take the Rifle Scope and fit it to your Model 7. It gives you a 2.1x zoom for long shots.
Where to find the Compact Weapon Kit
There are two: one in the Downtown liquor store, and one under the staircase by the Workshop sign at Thelend Broadcasting.

- Grab the first kit in the Downtown liquor store.
- Crawl under the stairs at Thelend Broadcasting, just past the back door, for the second. Each kit shortens the Model 7 or the Double Barrel so it takes 3 inventory slots instead of 5.
All Silver Pines Tools
Tools are the reusable items that open new paths, and most of those paths run through places you’ve already cleared.
Click a tool’s name to jump straight to its section.
Where to find the Pool Net
It’s in Eddie’s Grizzly Suite, next to the Welcome Booklet.
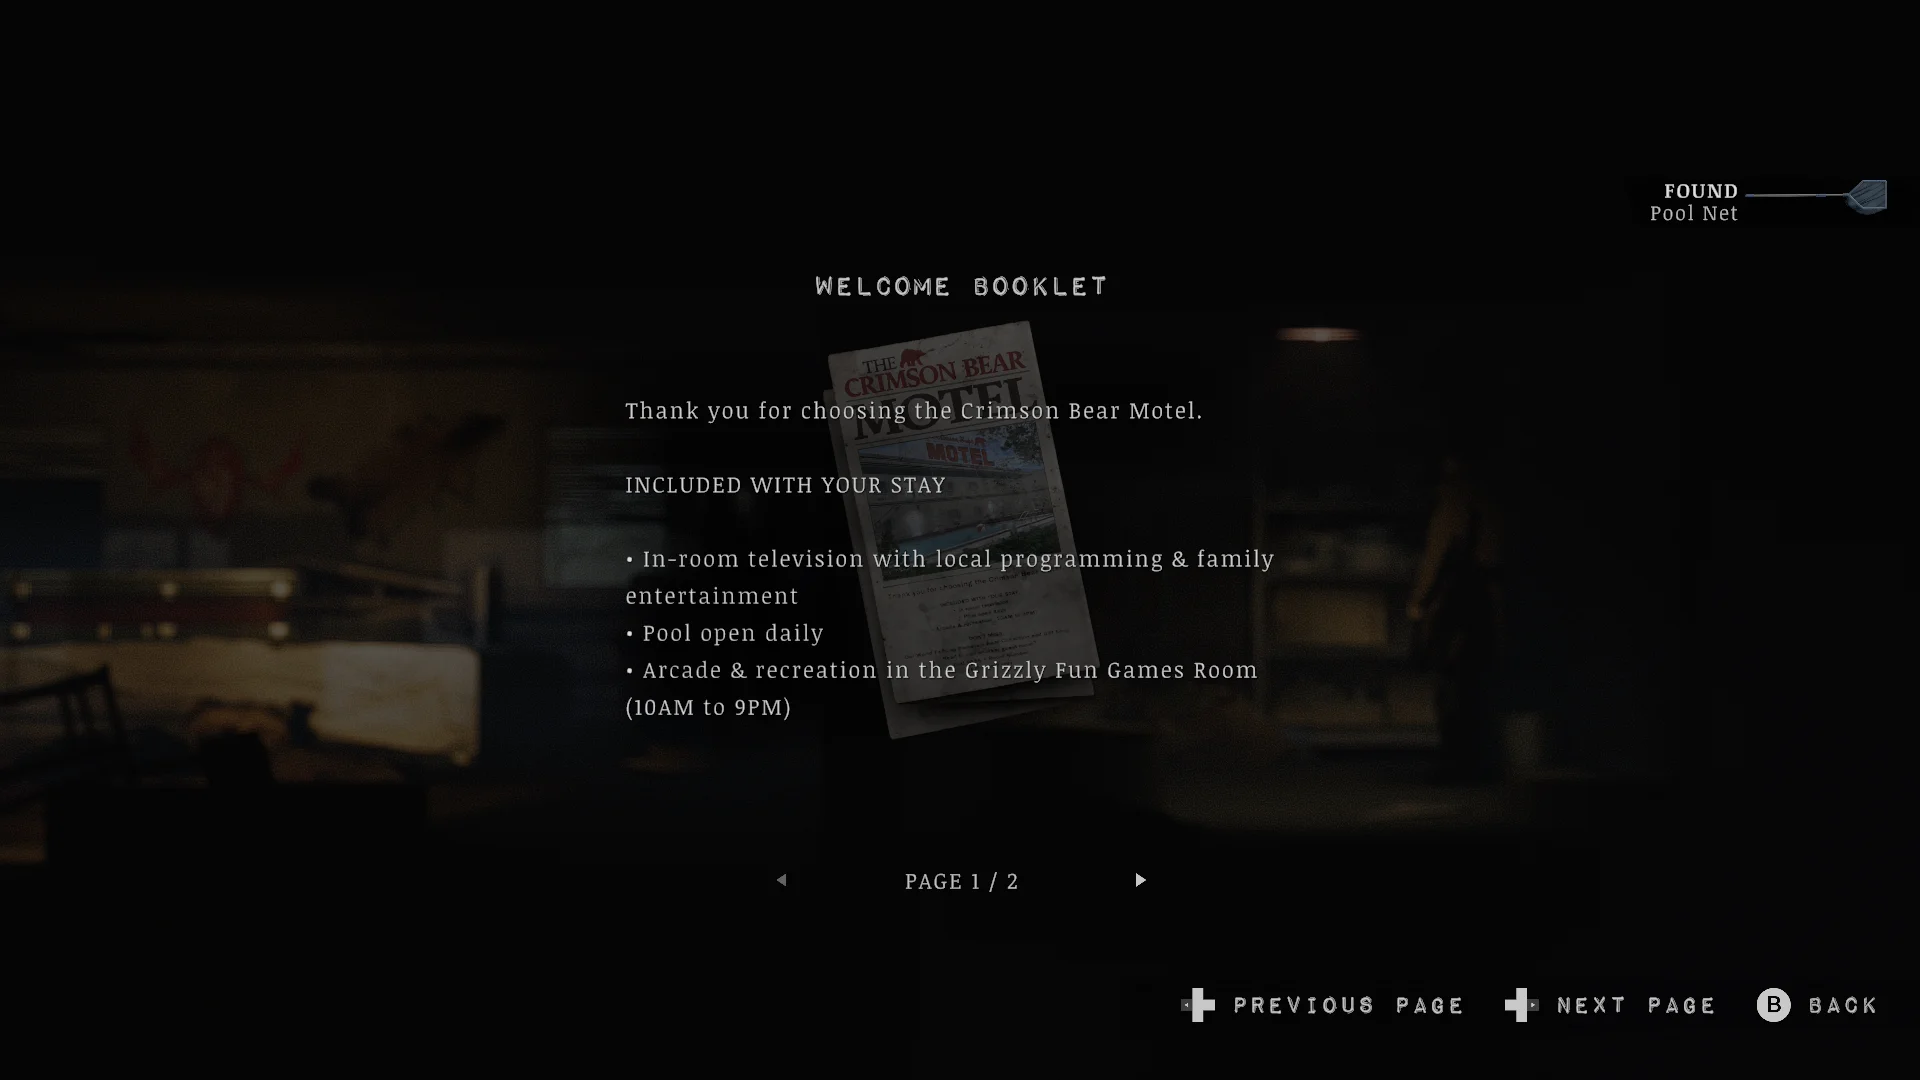
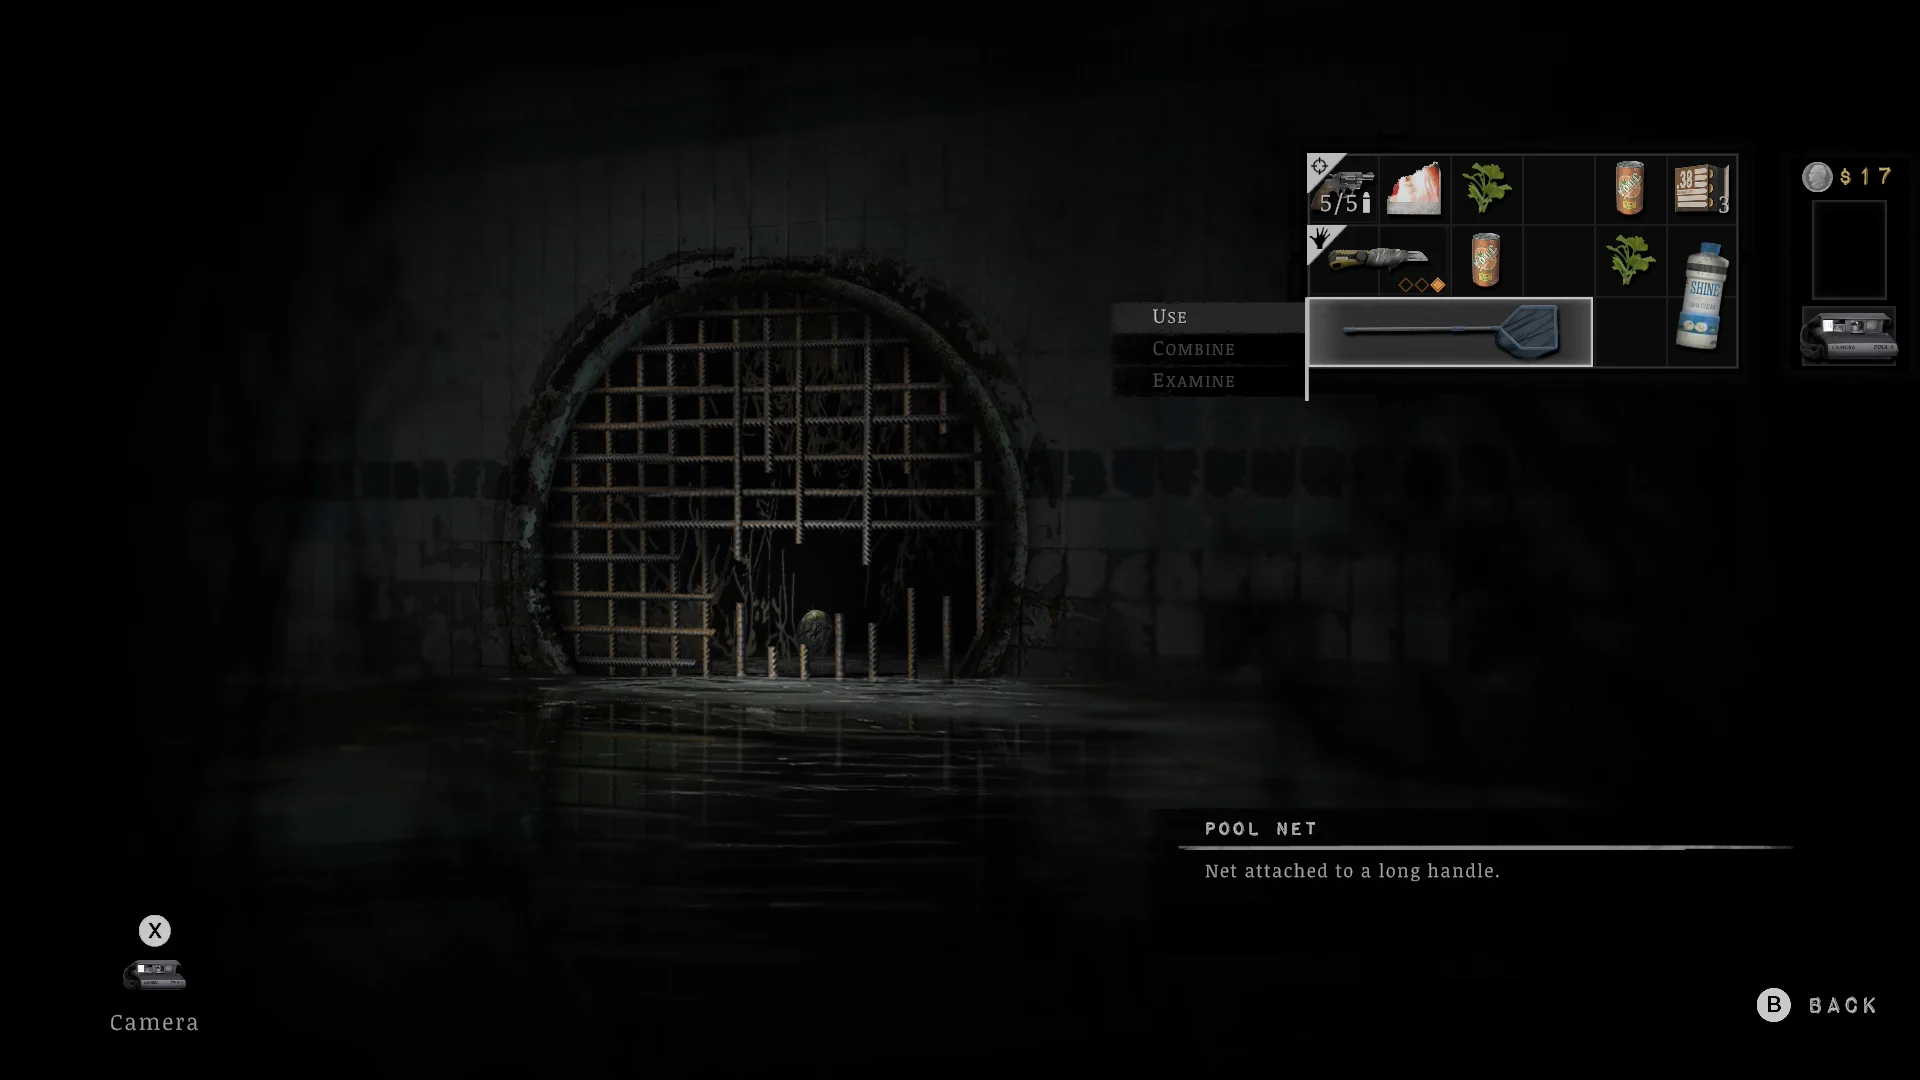
- Open the Grizzly Suite with the keycard from the pool changing rooms and take the Pool Net.
- Use it on the pool grate to fish out the Grime Covered Object.
Where to find the flashlight
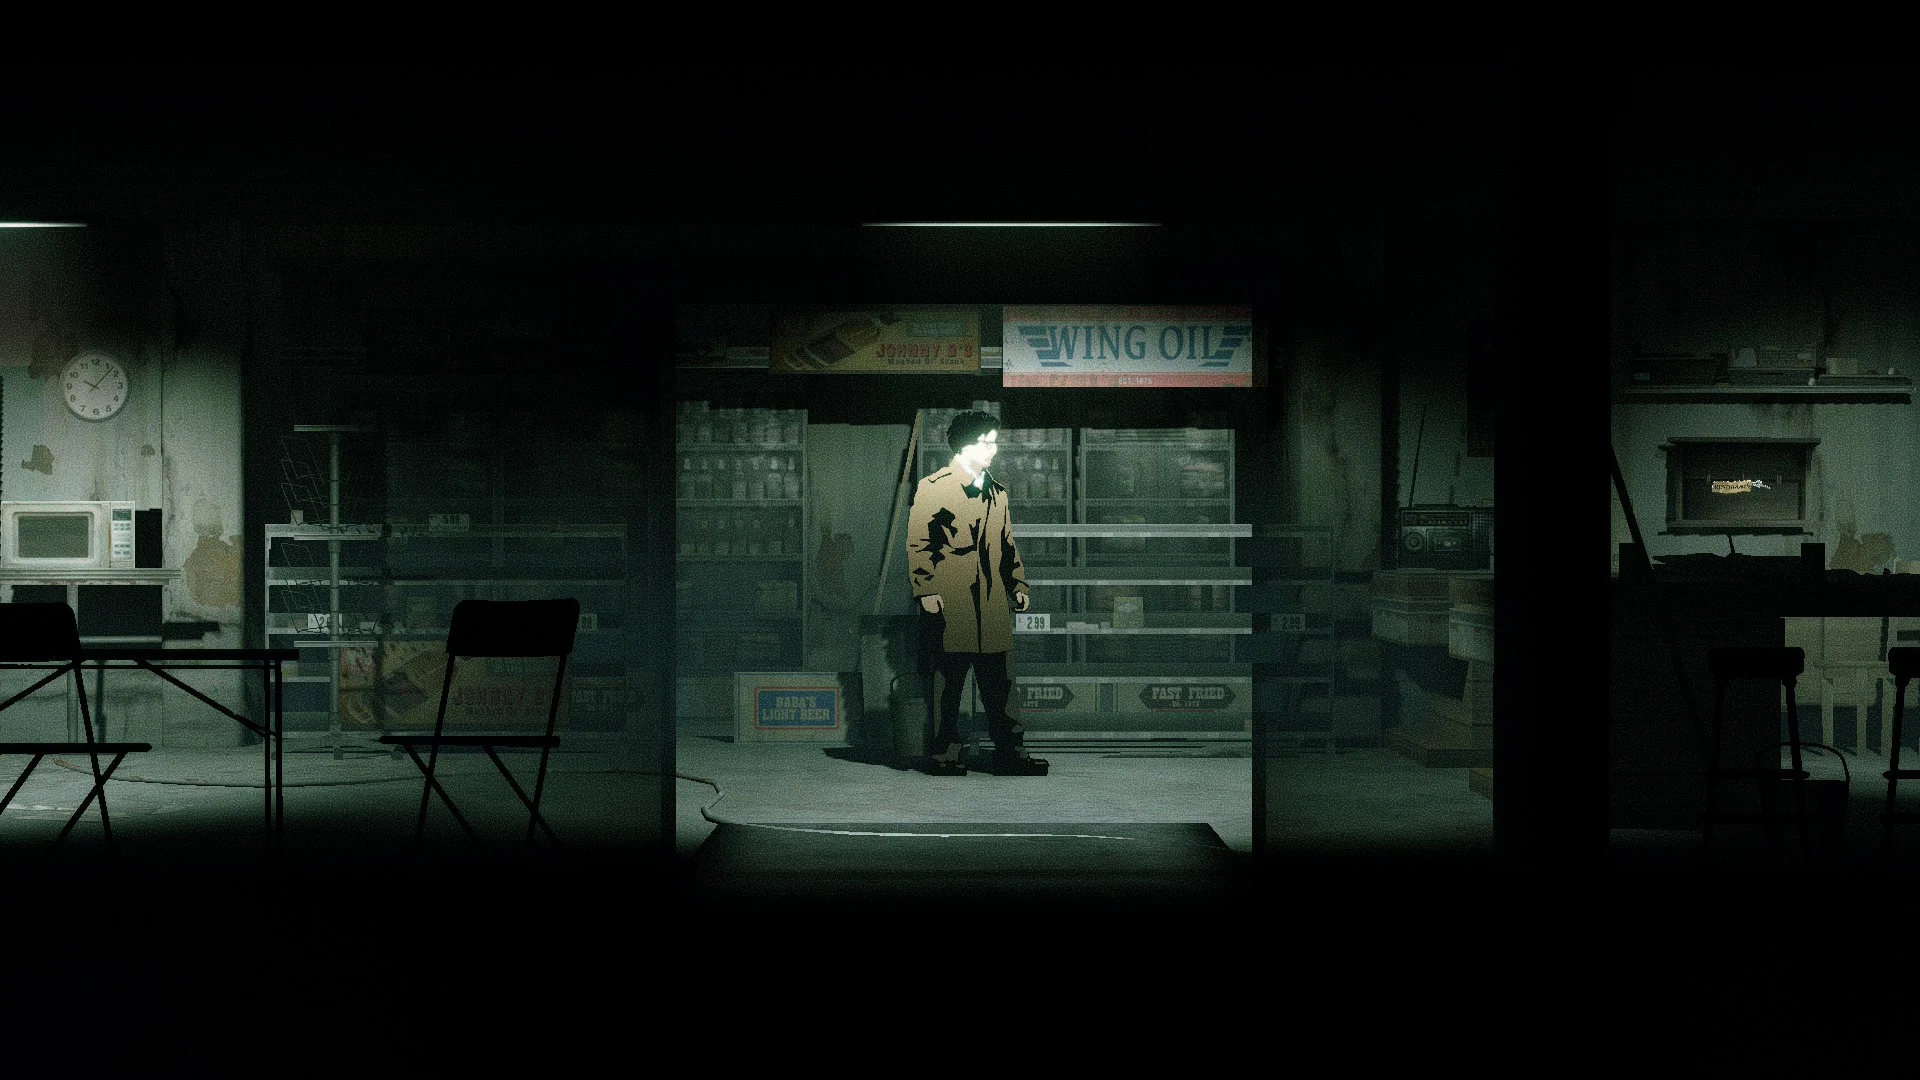
The flashlight lies on the far side of the Wing Oil gas station in Riverside.
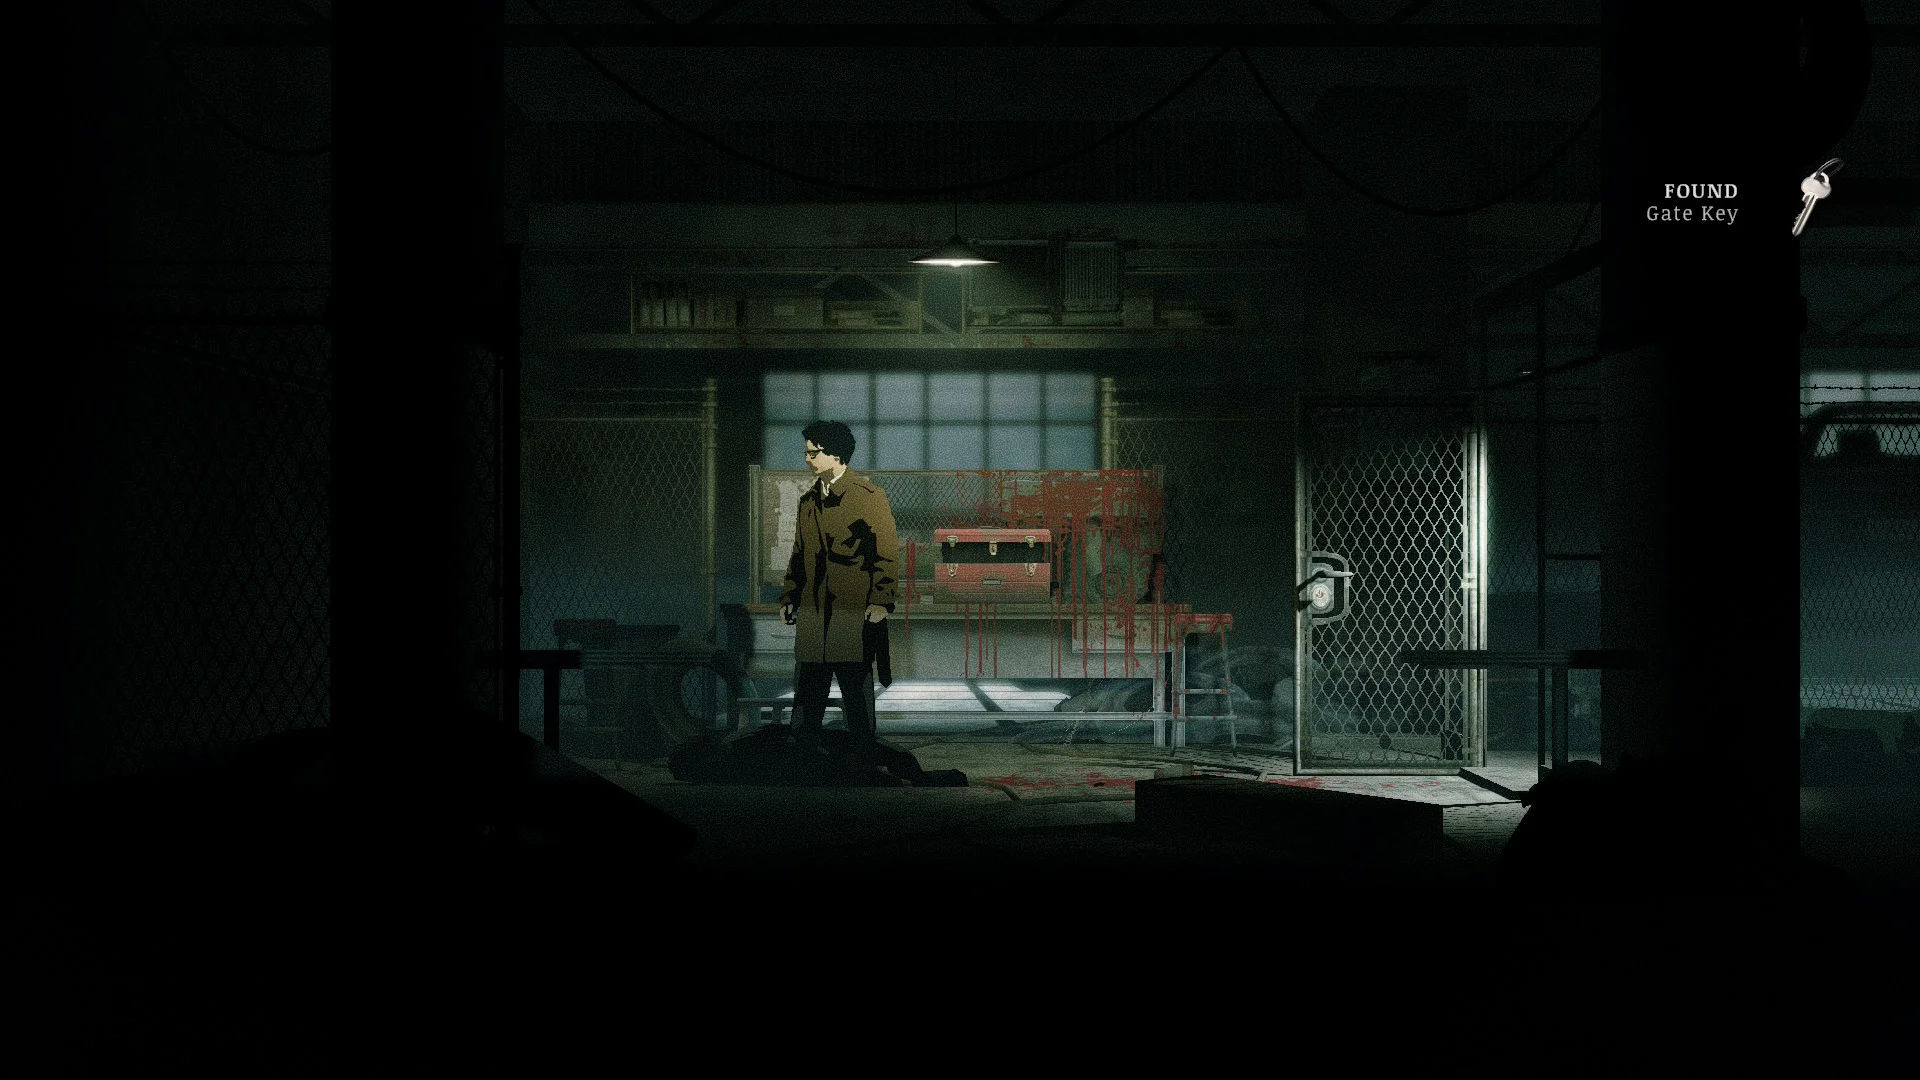
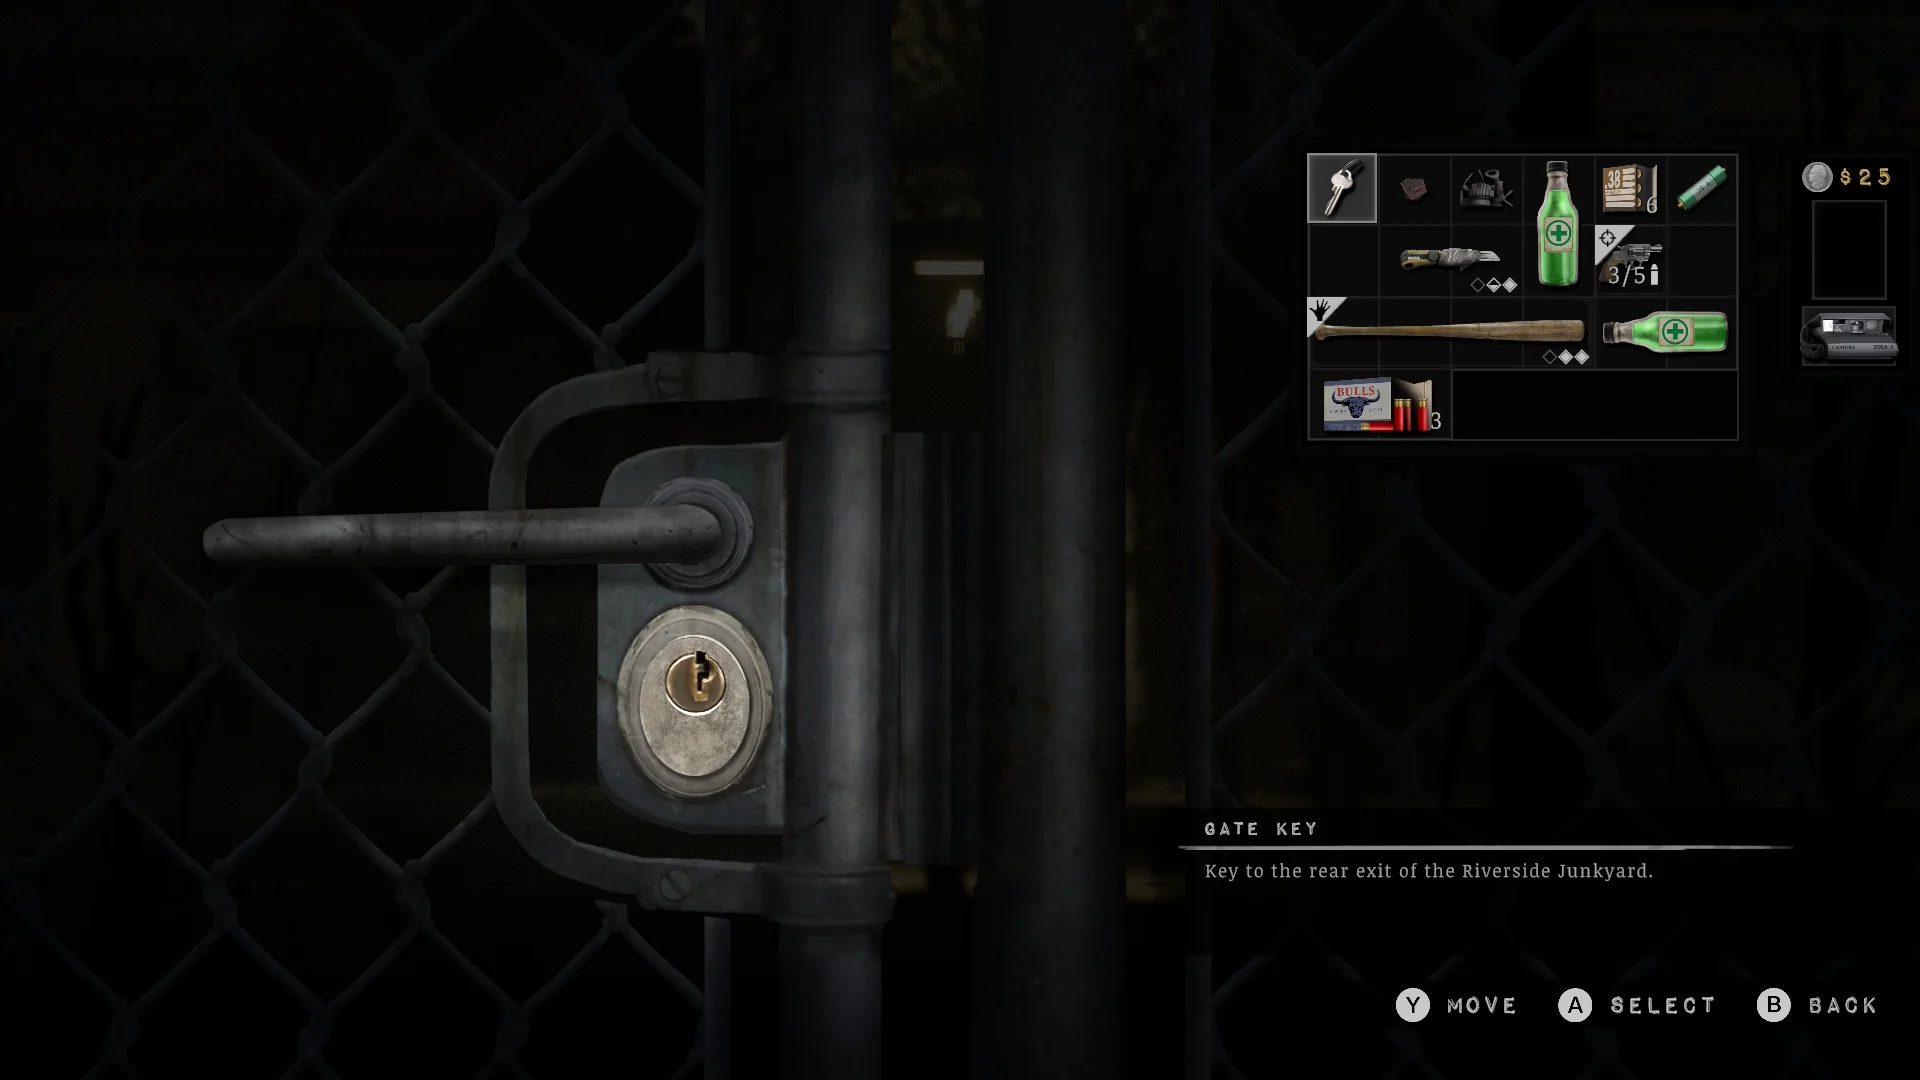
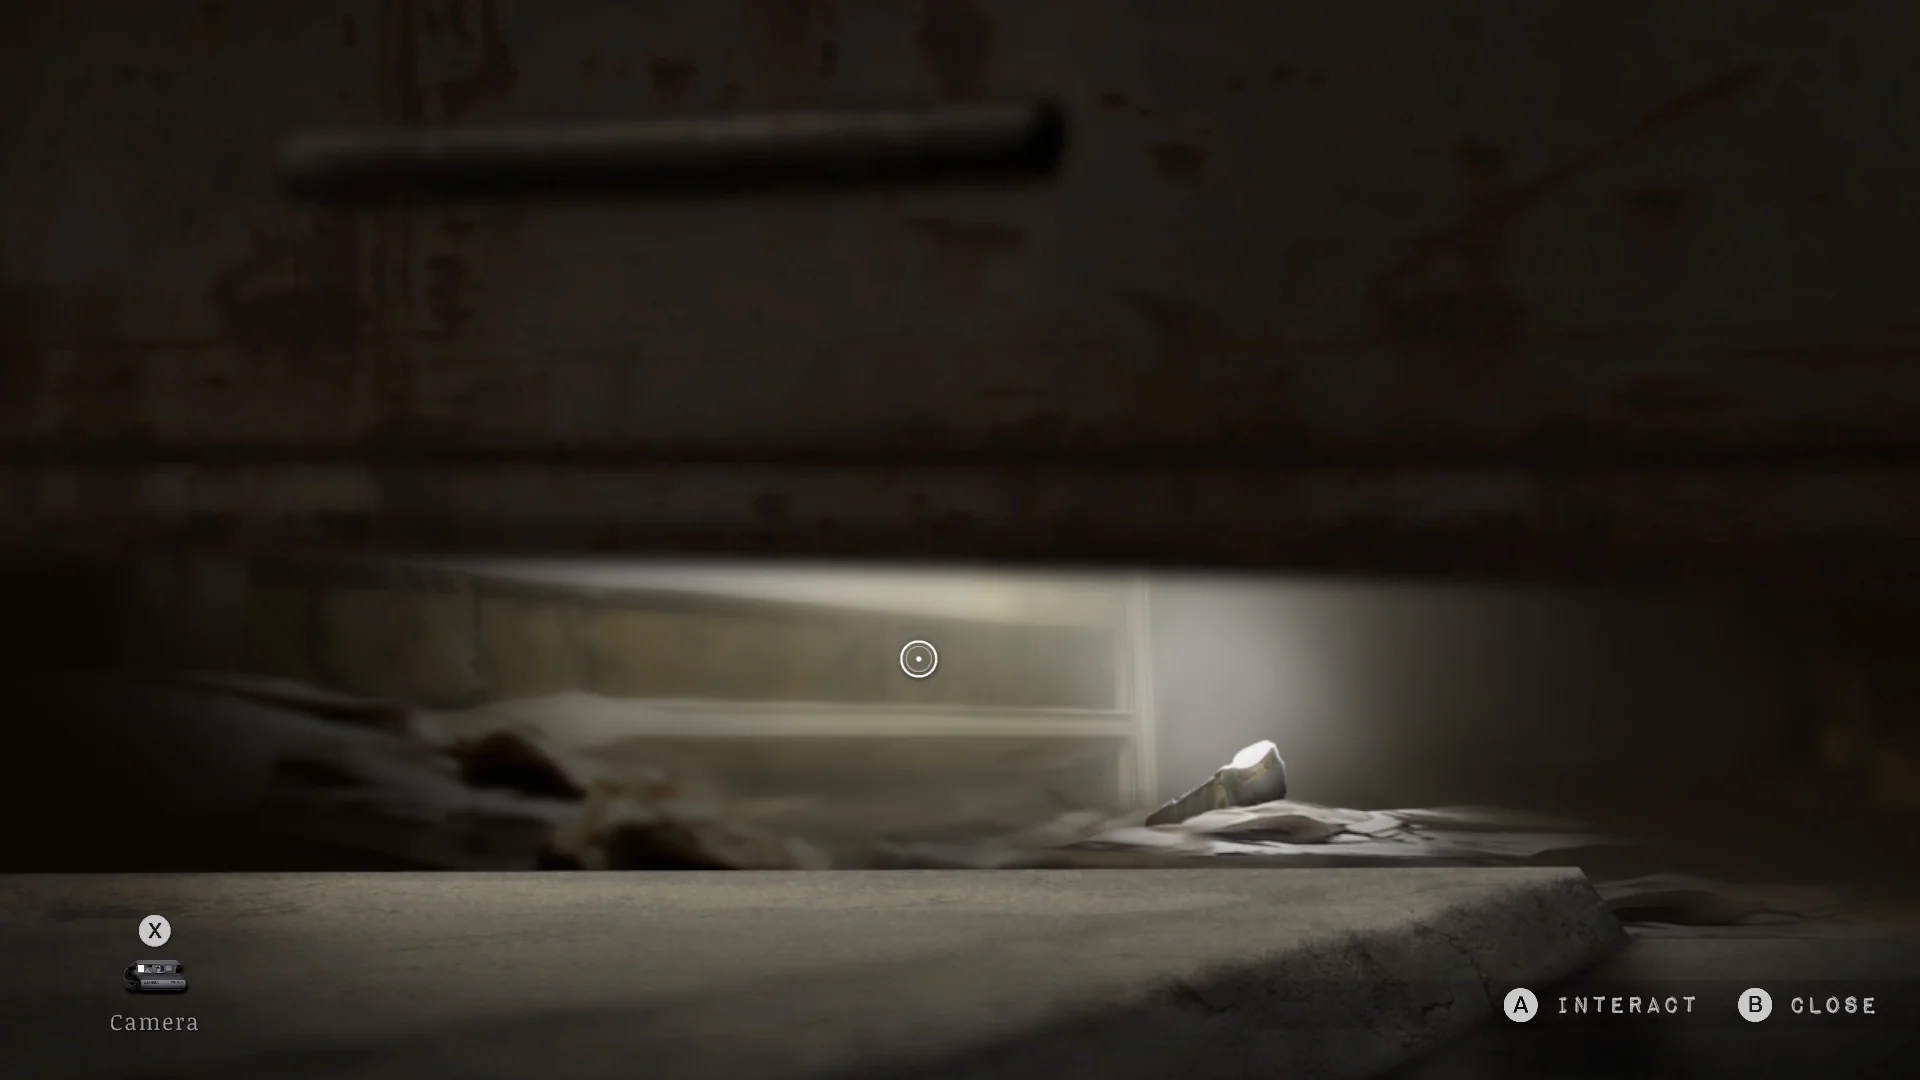
- Take the Gate Key from the Riverside Junkyard workshop and open the rear gate.
- Cross the riverbank to the gas station and pick up the flashlight on the far side.
Where to find the Crowbar
It’s in the Sheriff’s Office evidence lockup, and the key is in the painting safe.

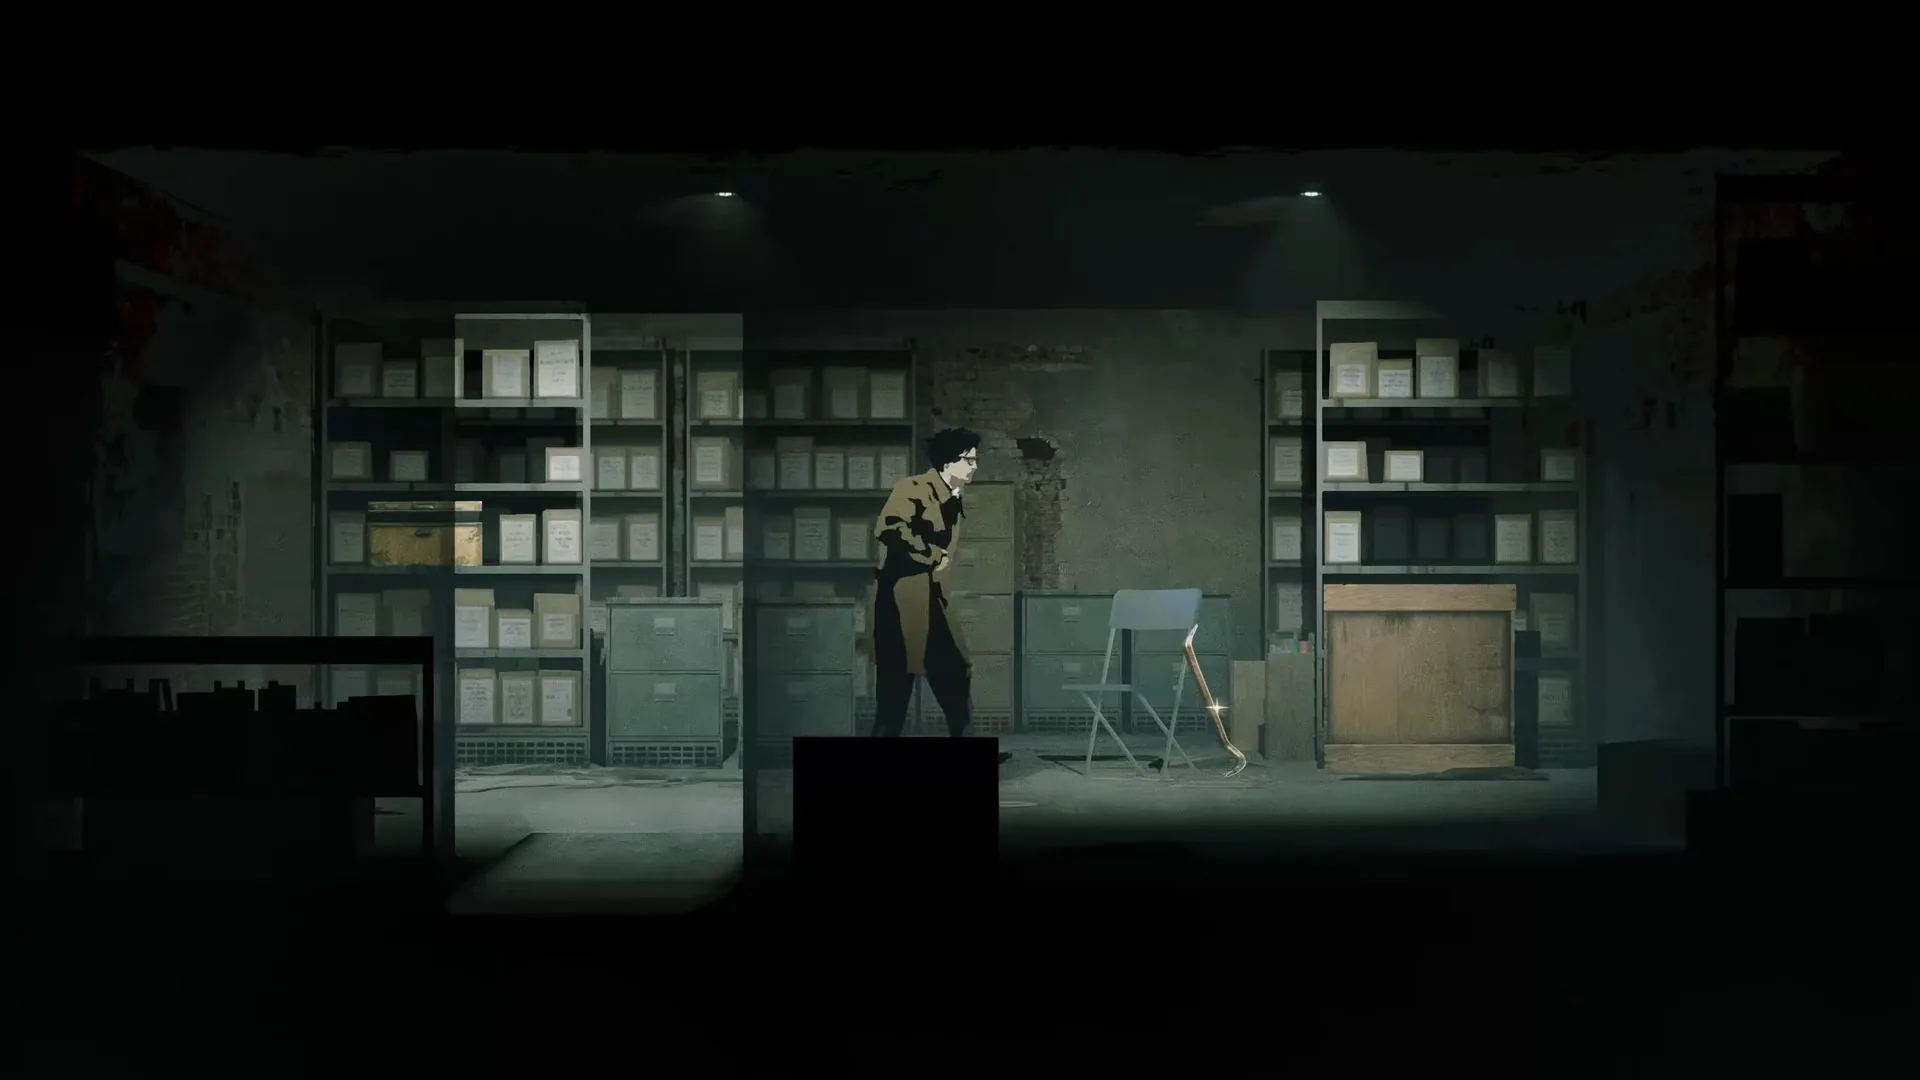
- Solve the painting safe with 15, 7, 3, 10 for the Evidence Lockup Key.
- Open the evidence lockup by the garden and take the Crowbar. The dogs get loose as you leave, so keep a gun in your hand.
Where to find the Fireplace Tongs
They’re in the Town Hall fireplace room.
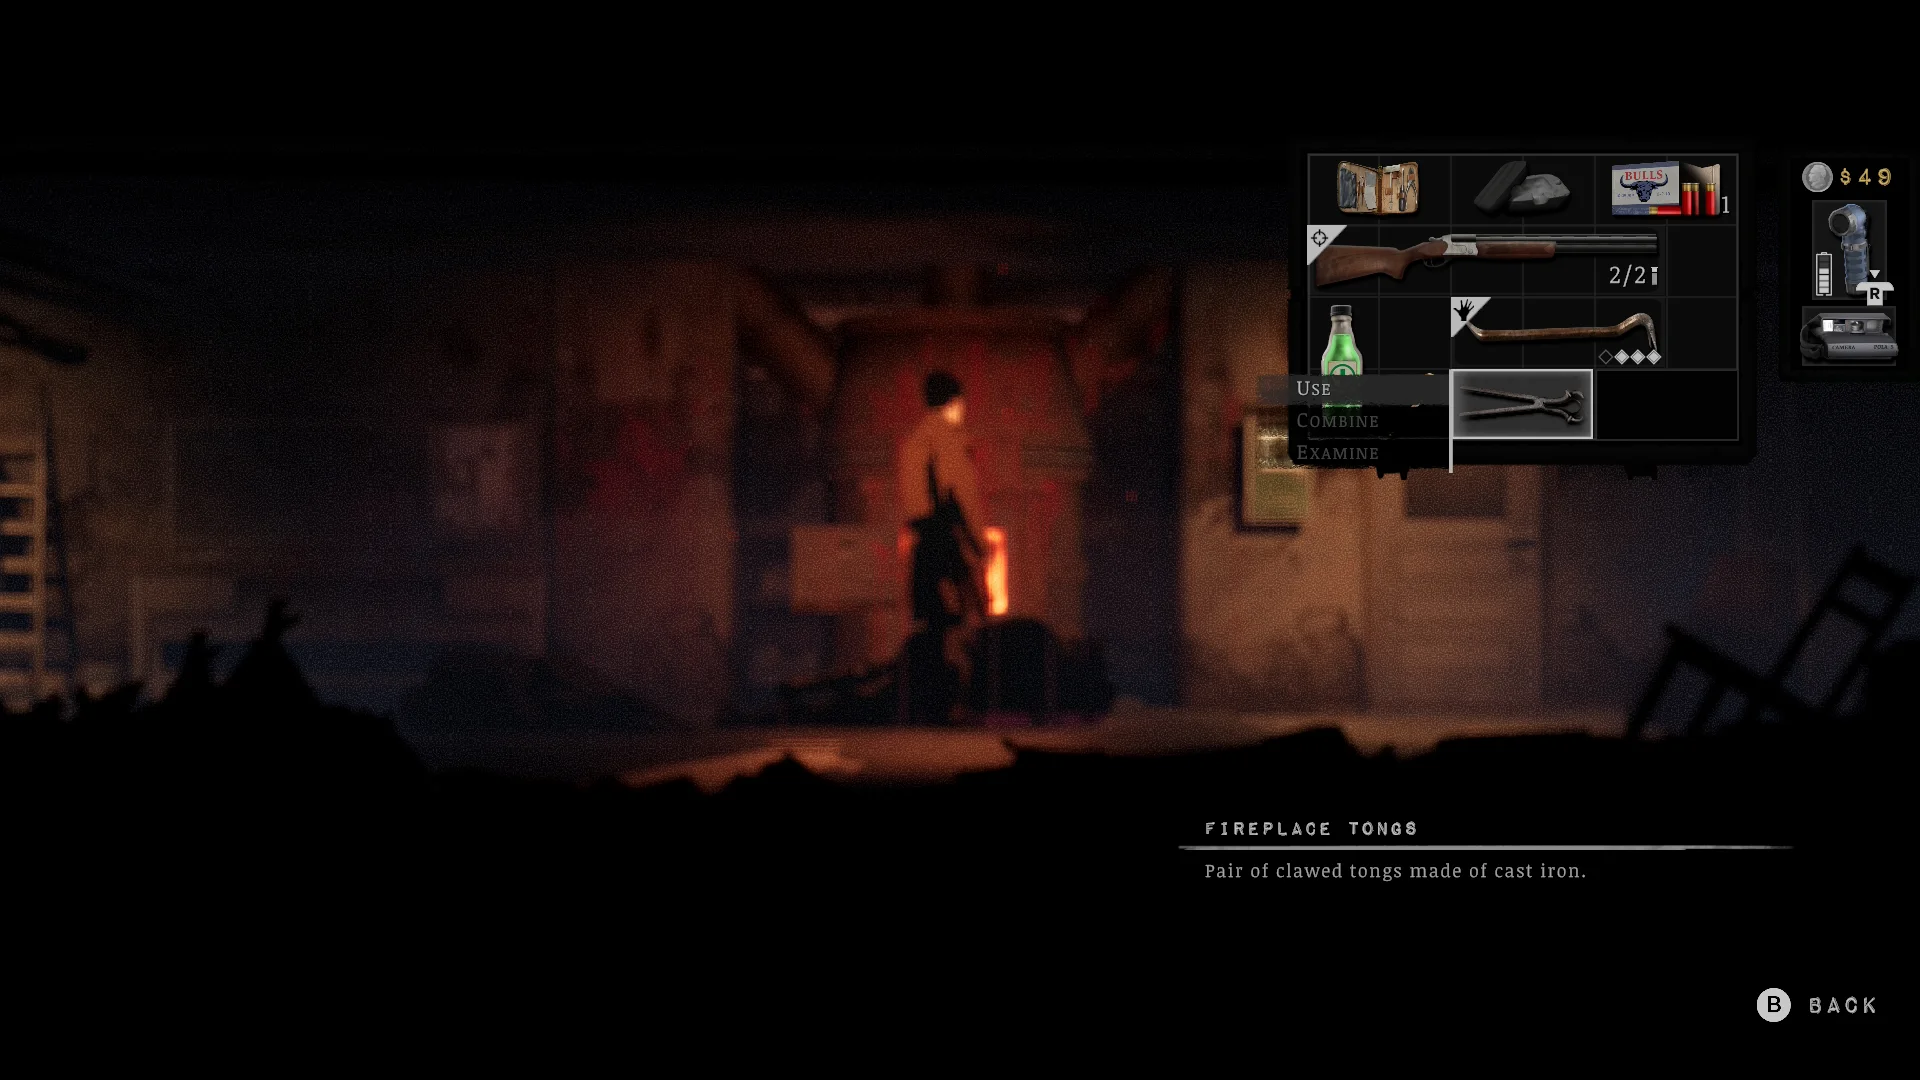
- Take the Fireplace Tongs from the fireplace room. You need them to pull the mask mold out of the fire.
Where to find the Manhole Cover Key
It’s in the Town Hall Operations Office on the third floor.
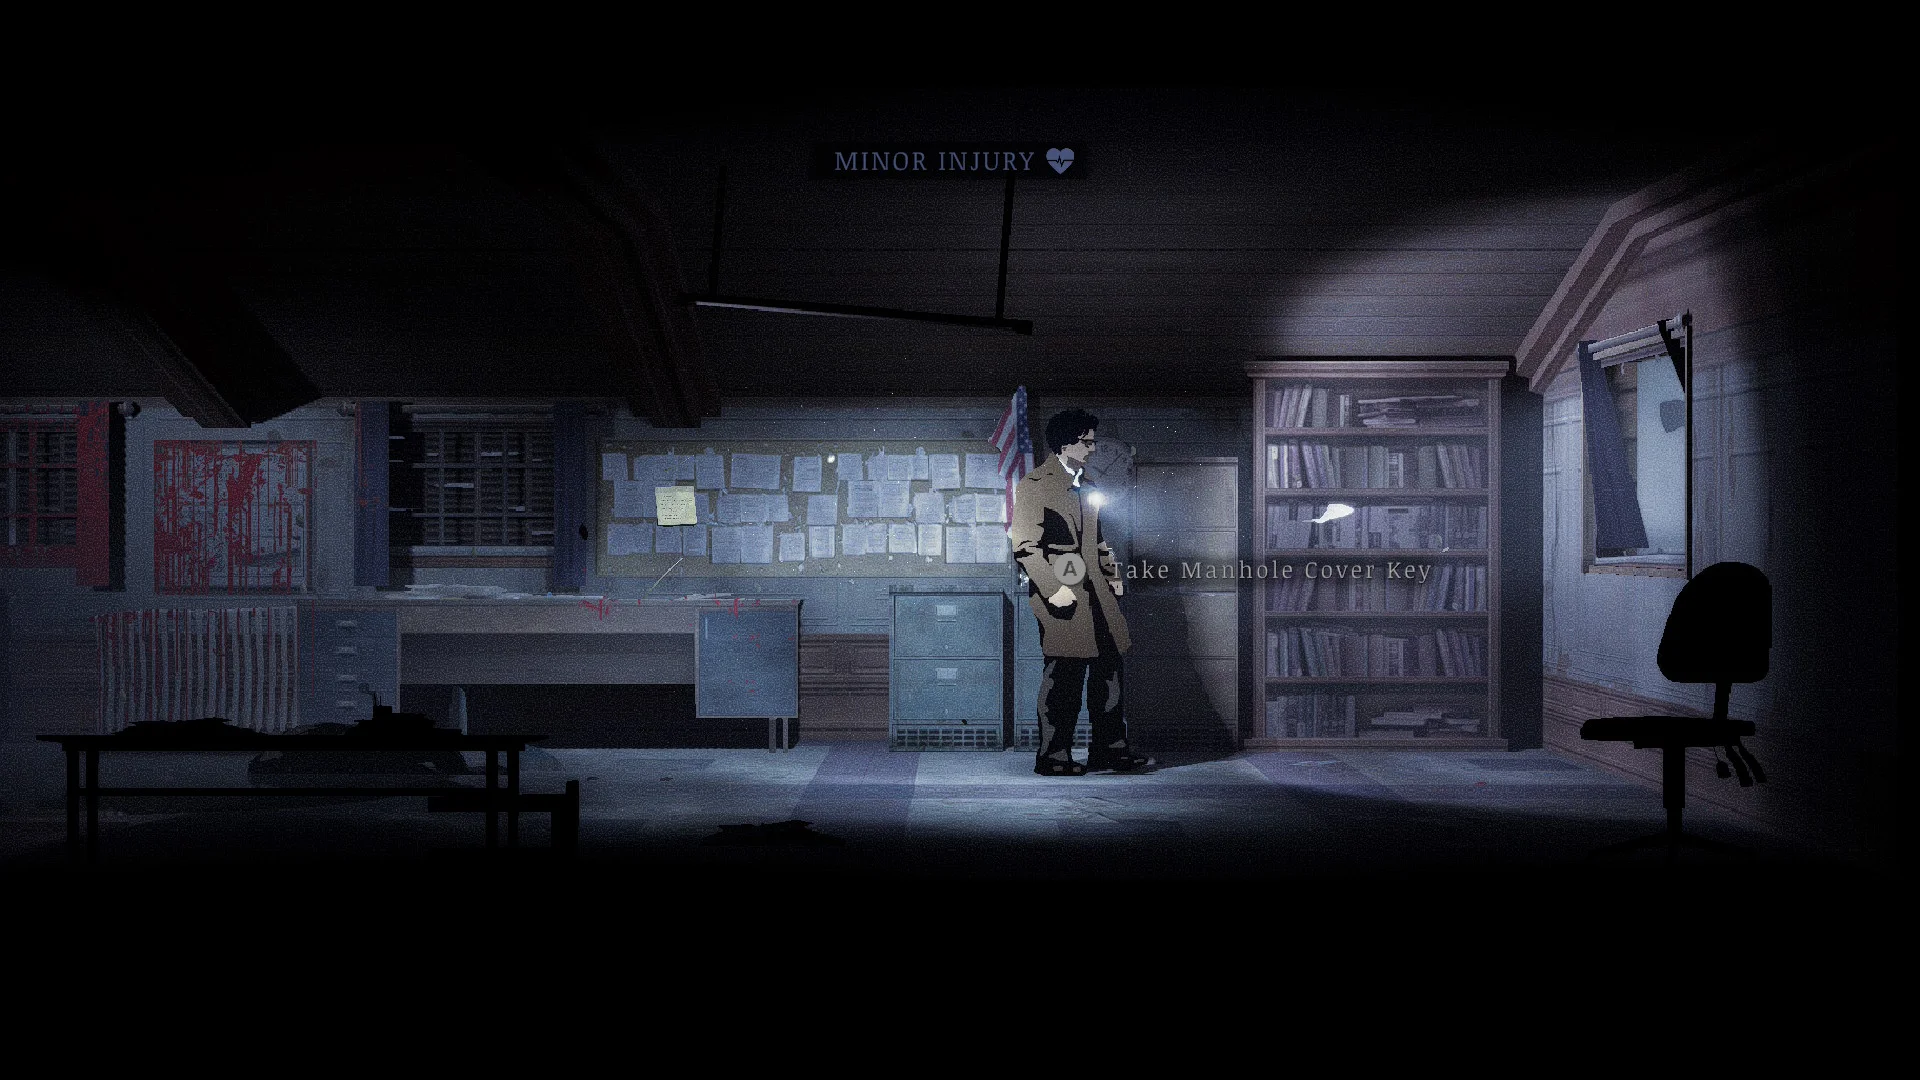
- Open the third-floor office with the Town Hall Office Key and take the Manhole Cover Key from above the filing cabinet.
- Use it on every manhole in town: the Crimson Bear courtyard, Apartment Street, the cable car station, outside the Pet Clinic, Loomis Park, the Riverside tunnel, and the Thelend storage room.
Where to find the Sledgehammer
It’s on the upper street by the Church Hill cemetery.
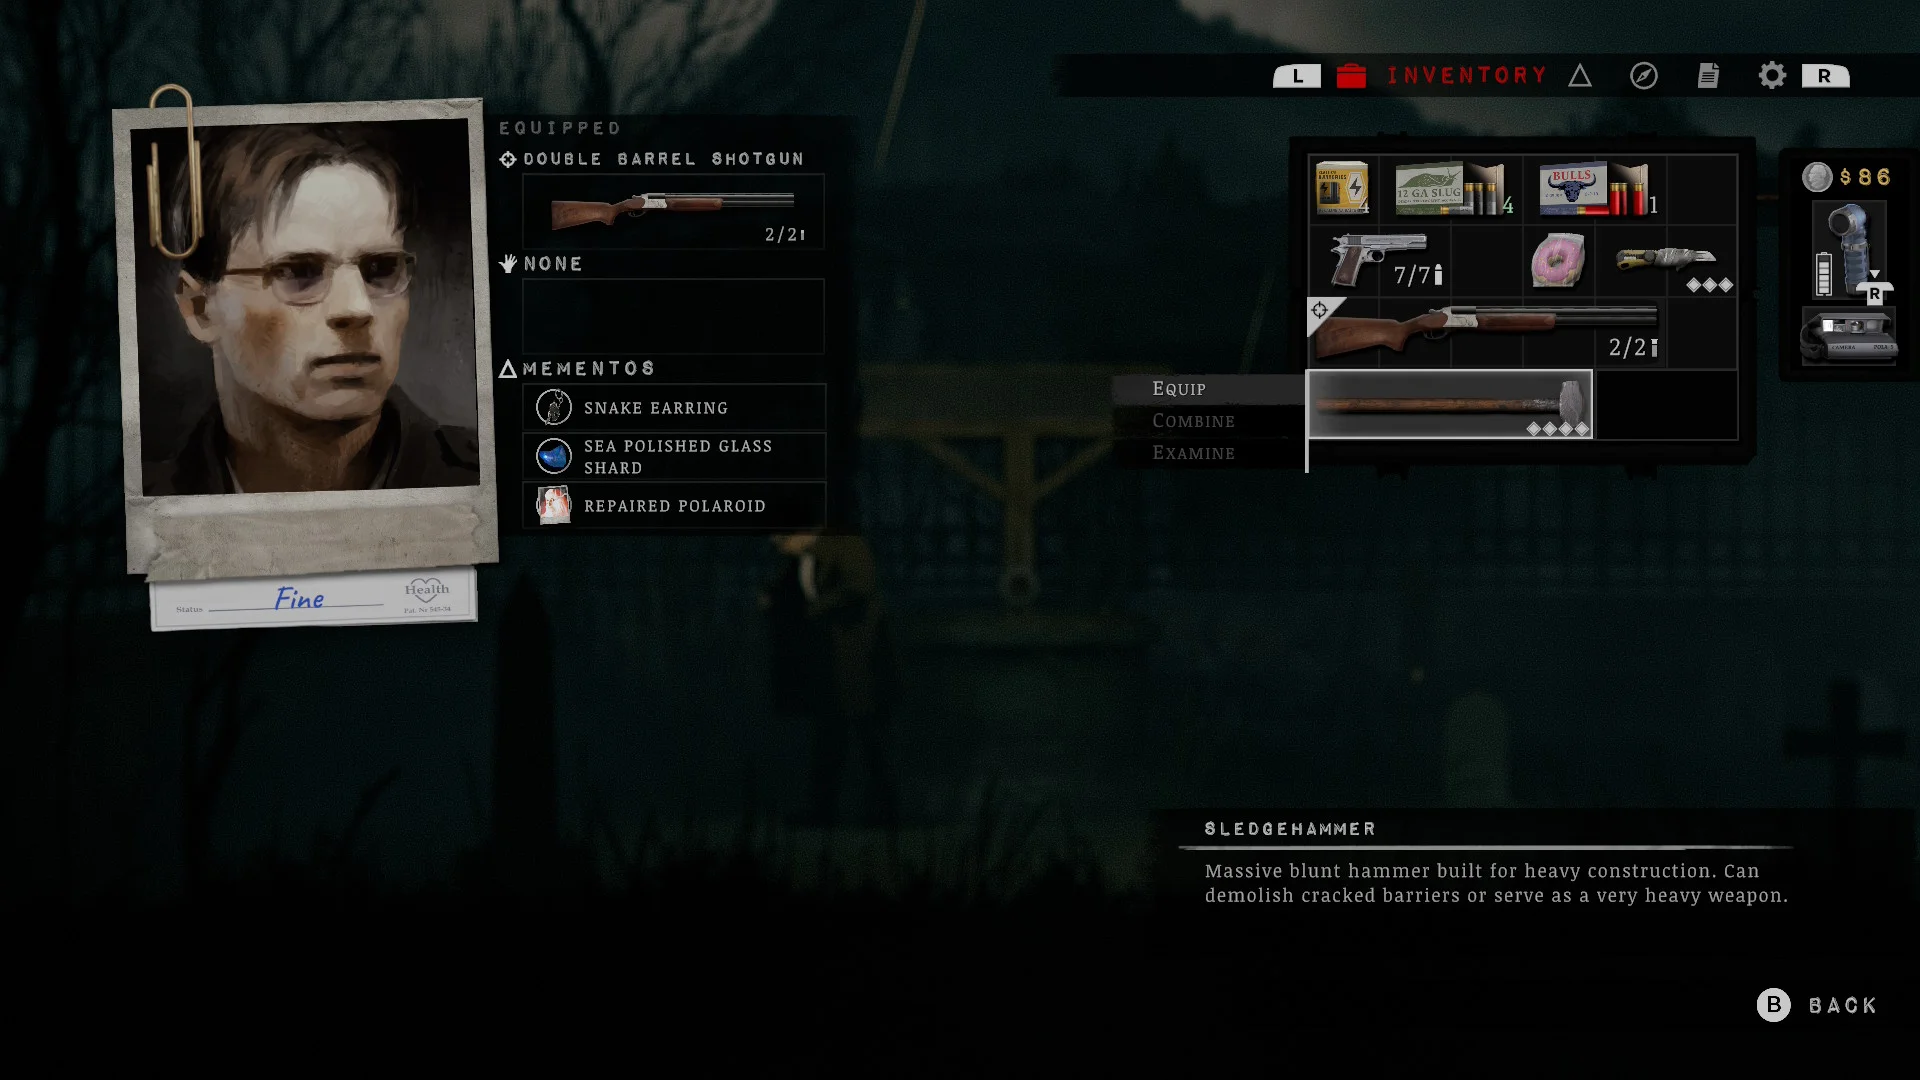
- Head up the street toward the cemetery and pick up the Sledgehammer.
- It smashes the cracked walls you’ve been walking past all game, and it doubles as a very heavy weapon.
Where to find the Crank Handle
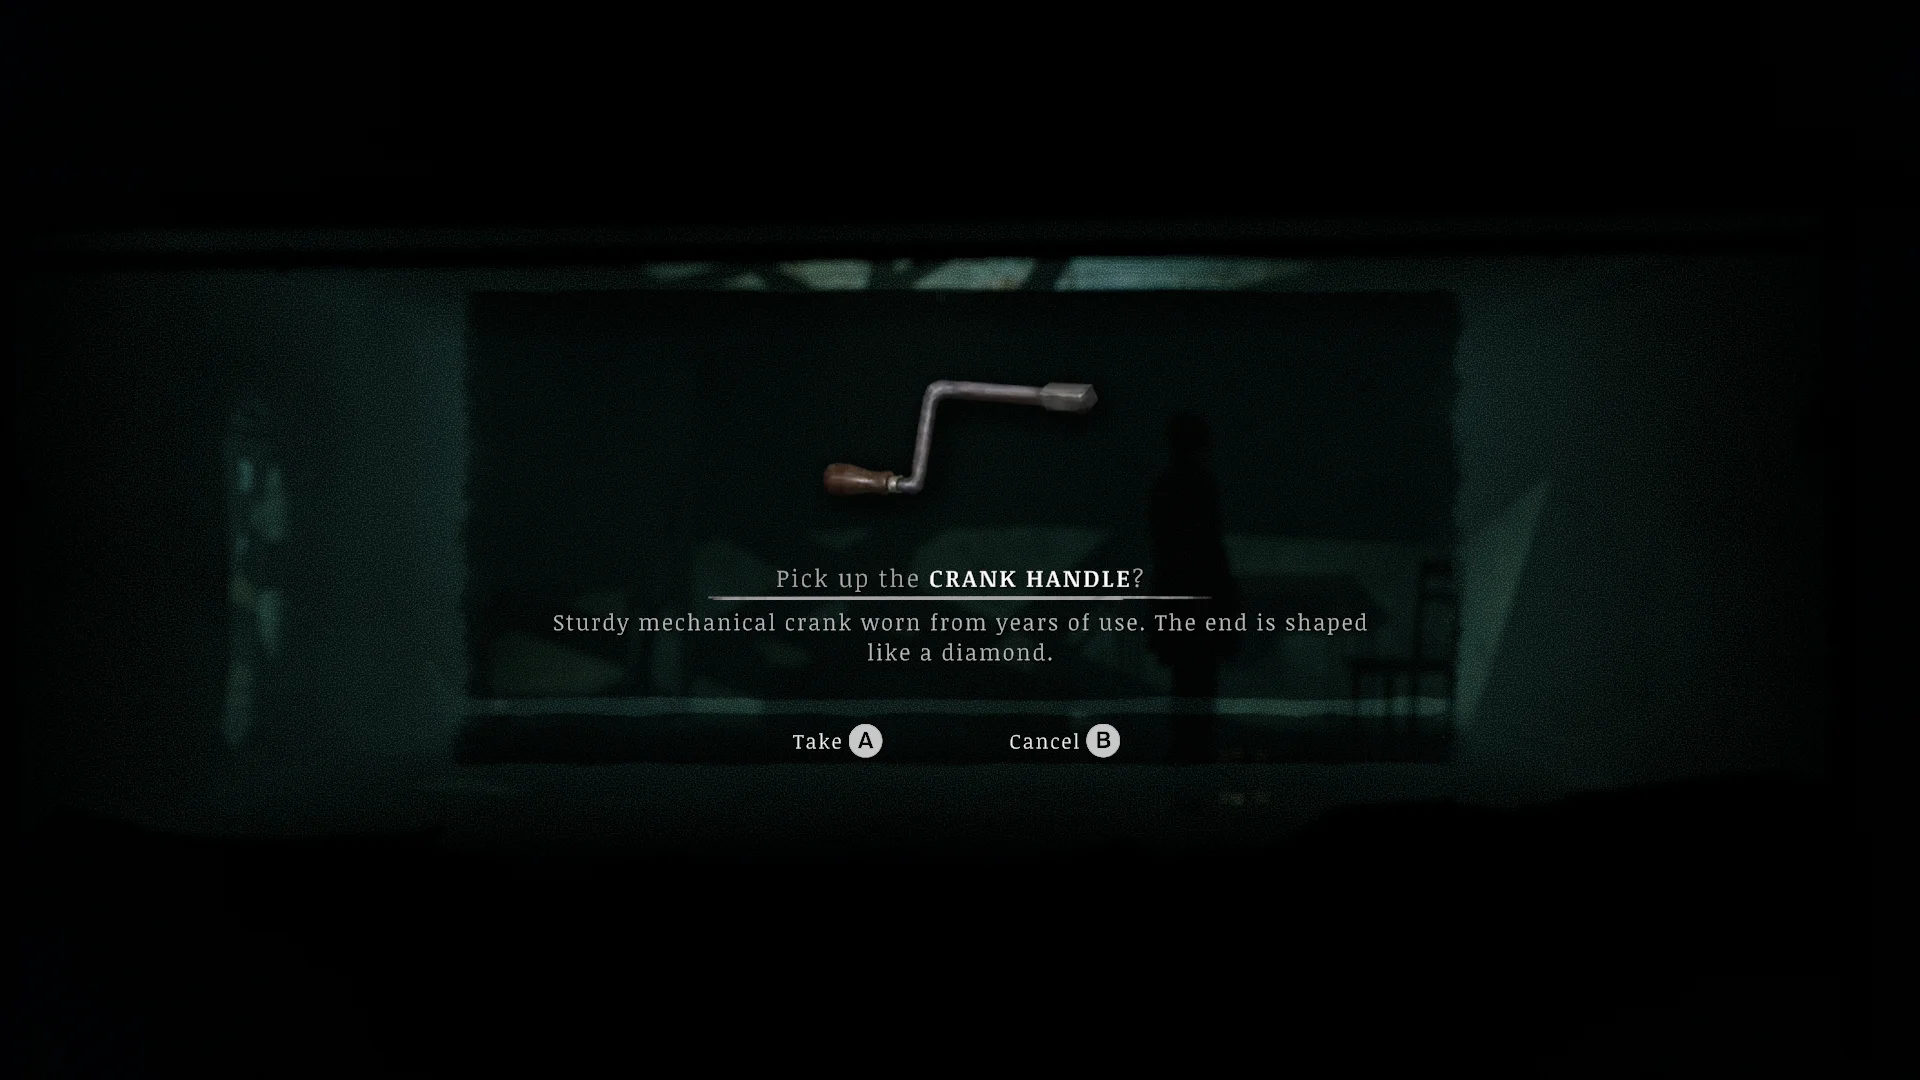
It’s in Church Hill, in a rundown house past the ledge at the left end of the first street, behind a cracked wall.
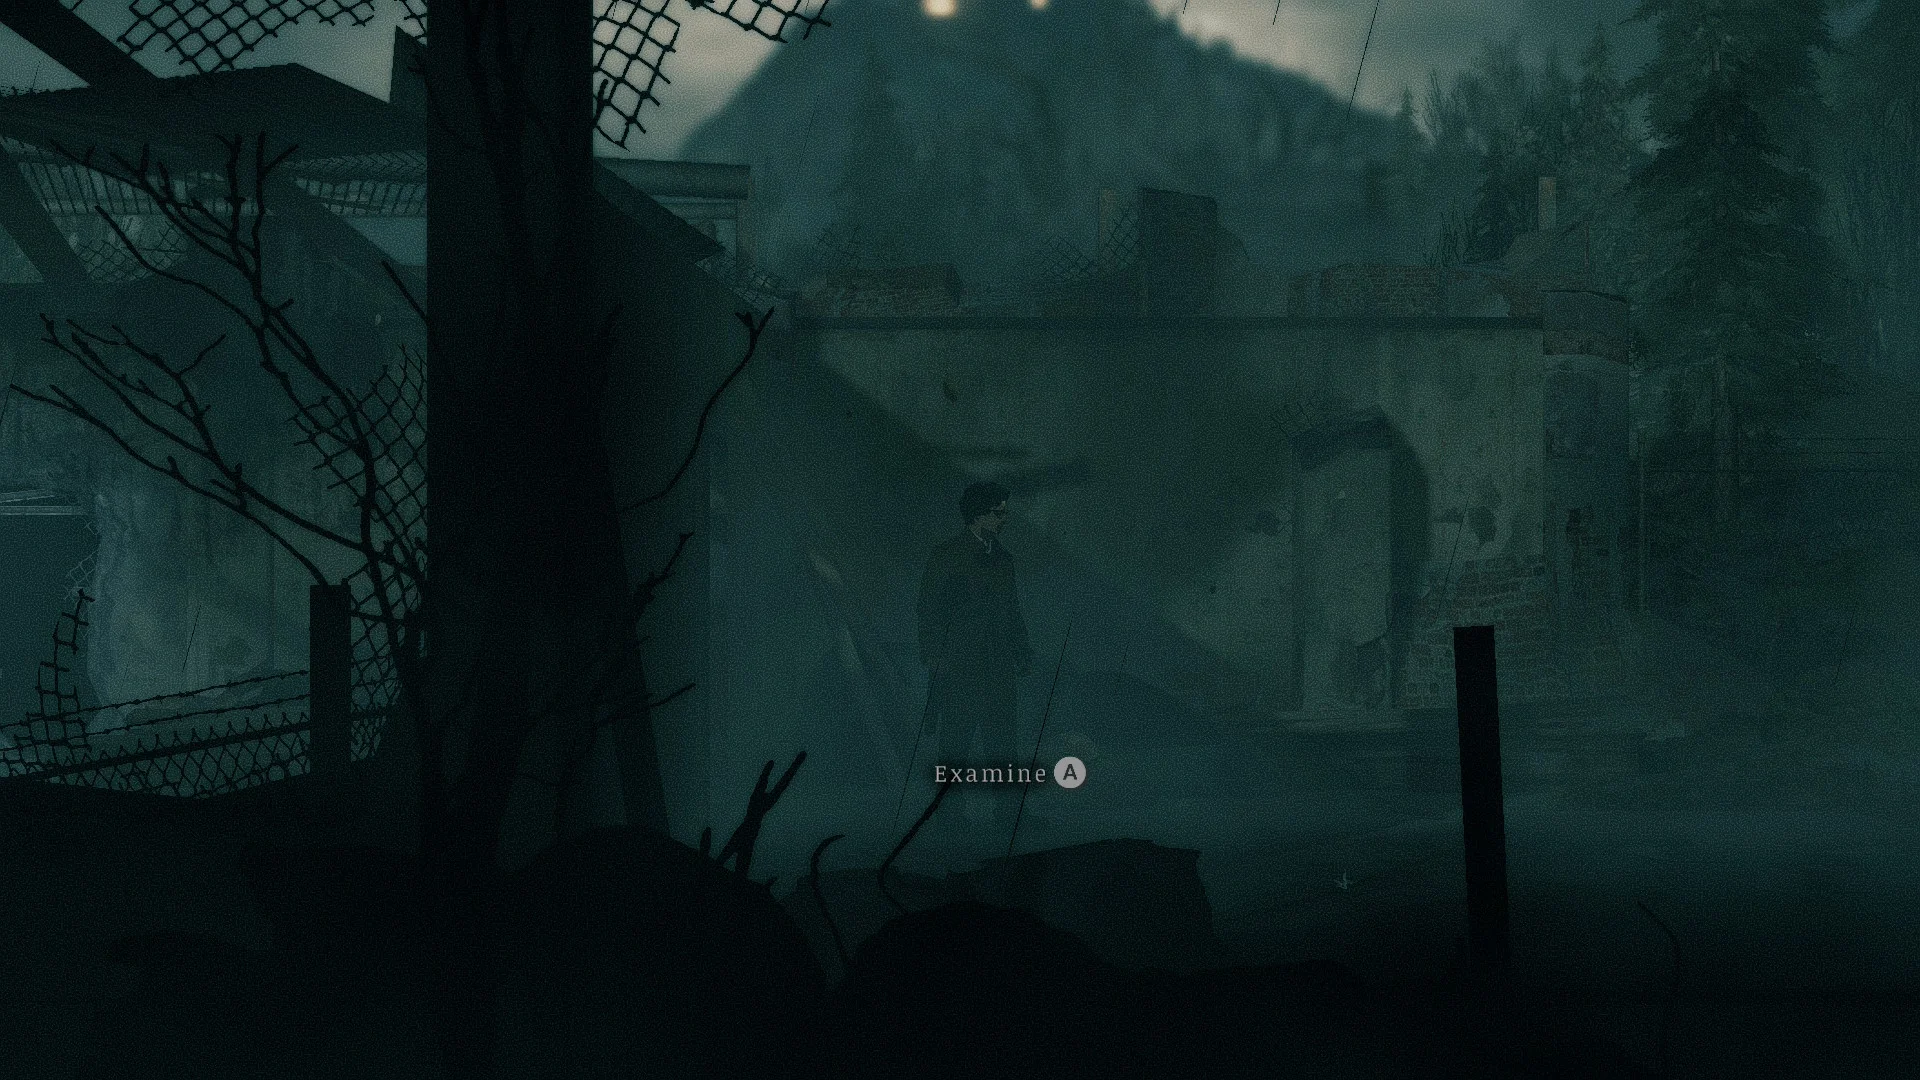
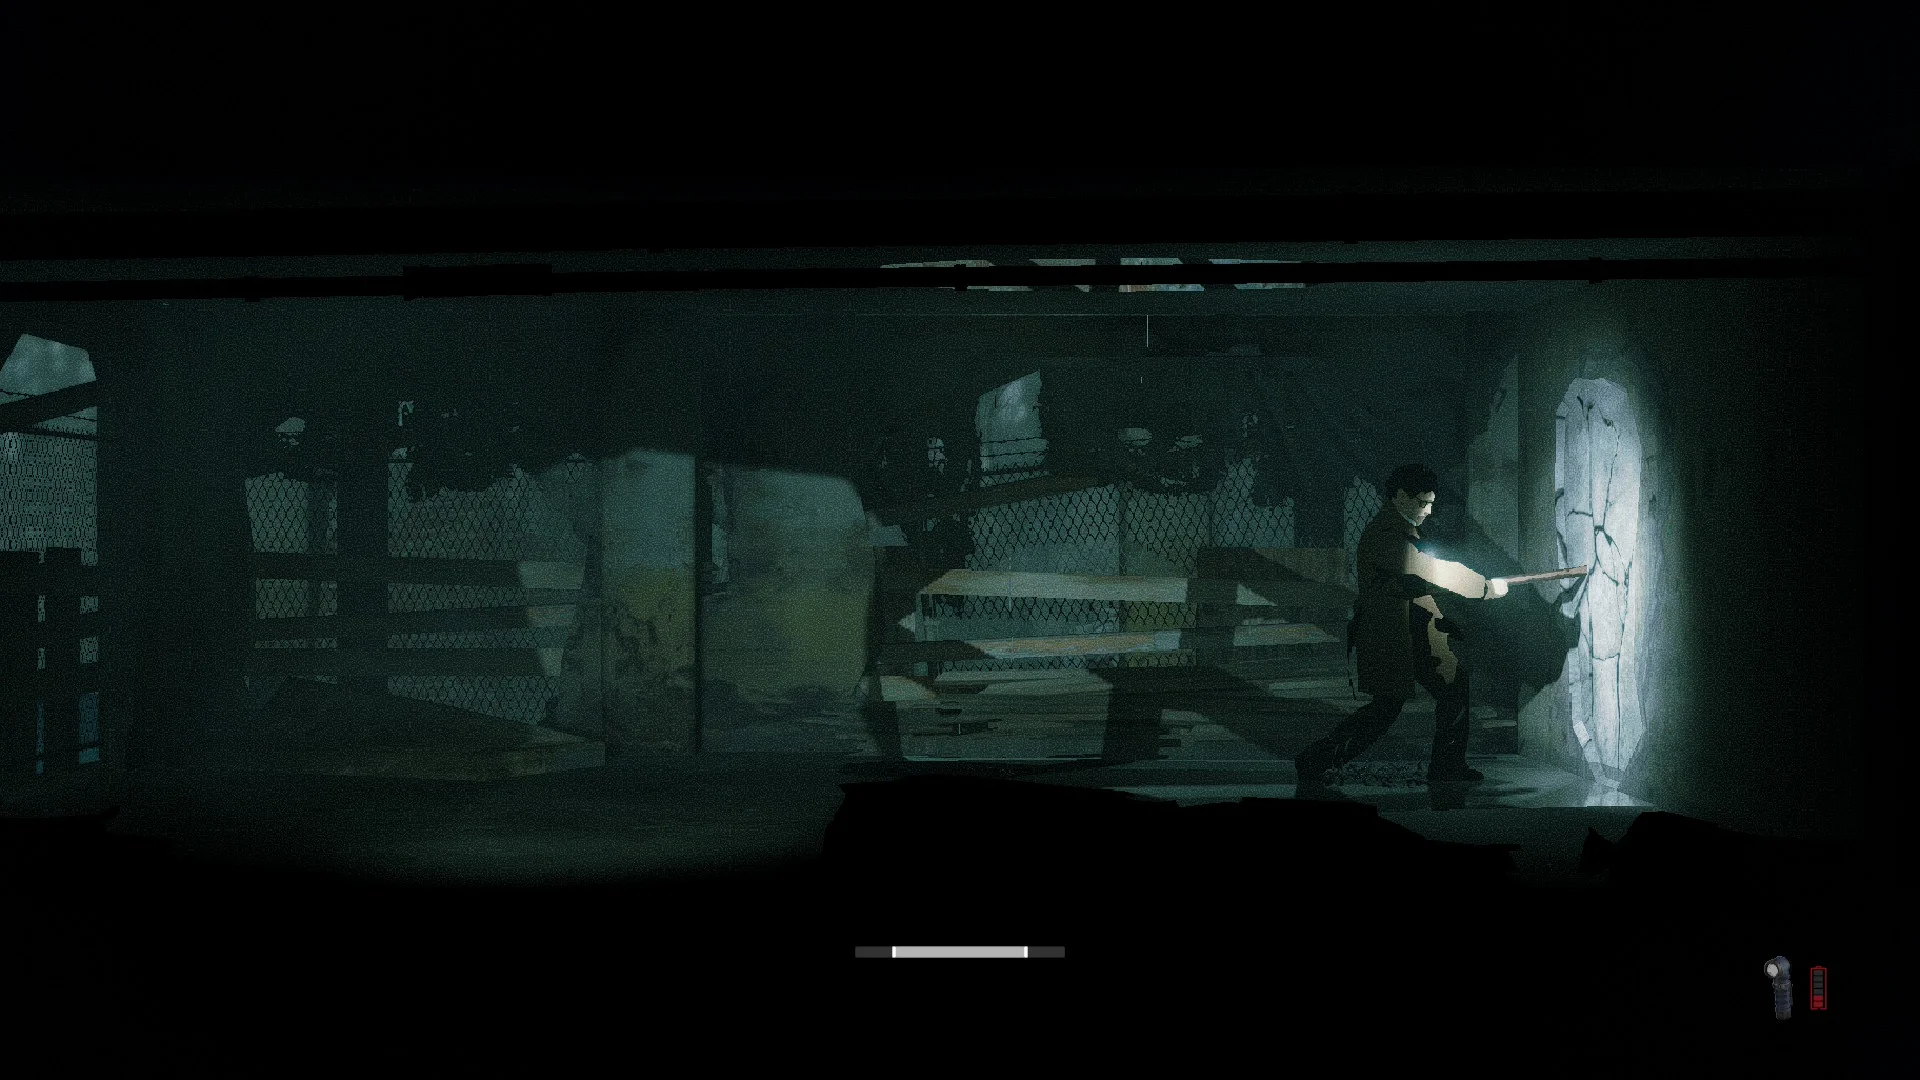
- Run all the way left along the first street and vault the ledge.
- Smash the cracked wall in one of the rundown houses with the sledgehammer and take the Crank Handle. It turns the cemetery well, the sluice gate, the Pet Clinic storage unit, the Town Hall clock, and the crank boxes in Ammo Zone and the Riverside warehouse.
Where to find the Shovel
It’s in the digging man’s caravan Downtown, once the cable car is running.

- Come back to the digging man’s hole after you ride the cable car up Mt. Siah Kopa.
- Go into his caravan and take the Shovel from beside the bed. Dig up the Star in his hole, the Confession Key on the church grounds, and your corsage in the Church Hill cemetery.
Where to find the Wire Cutter
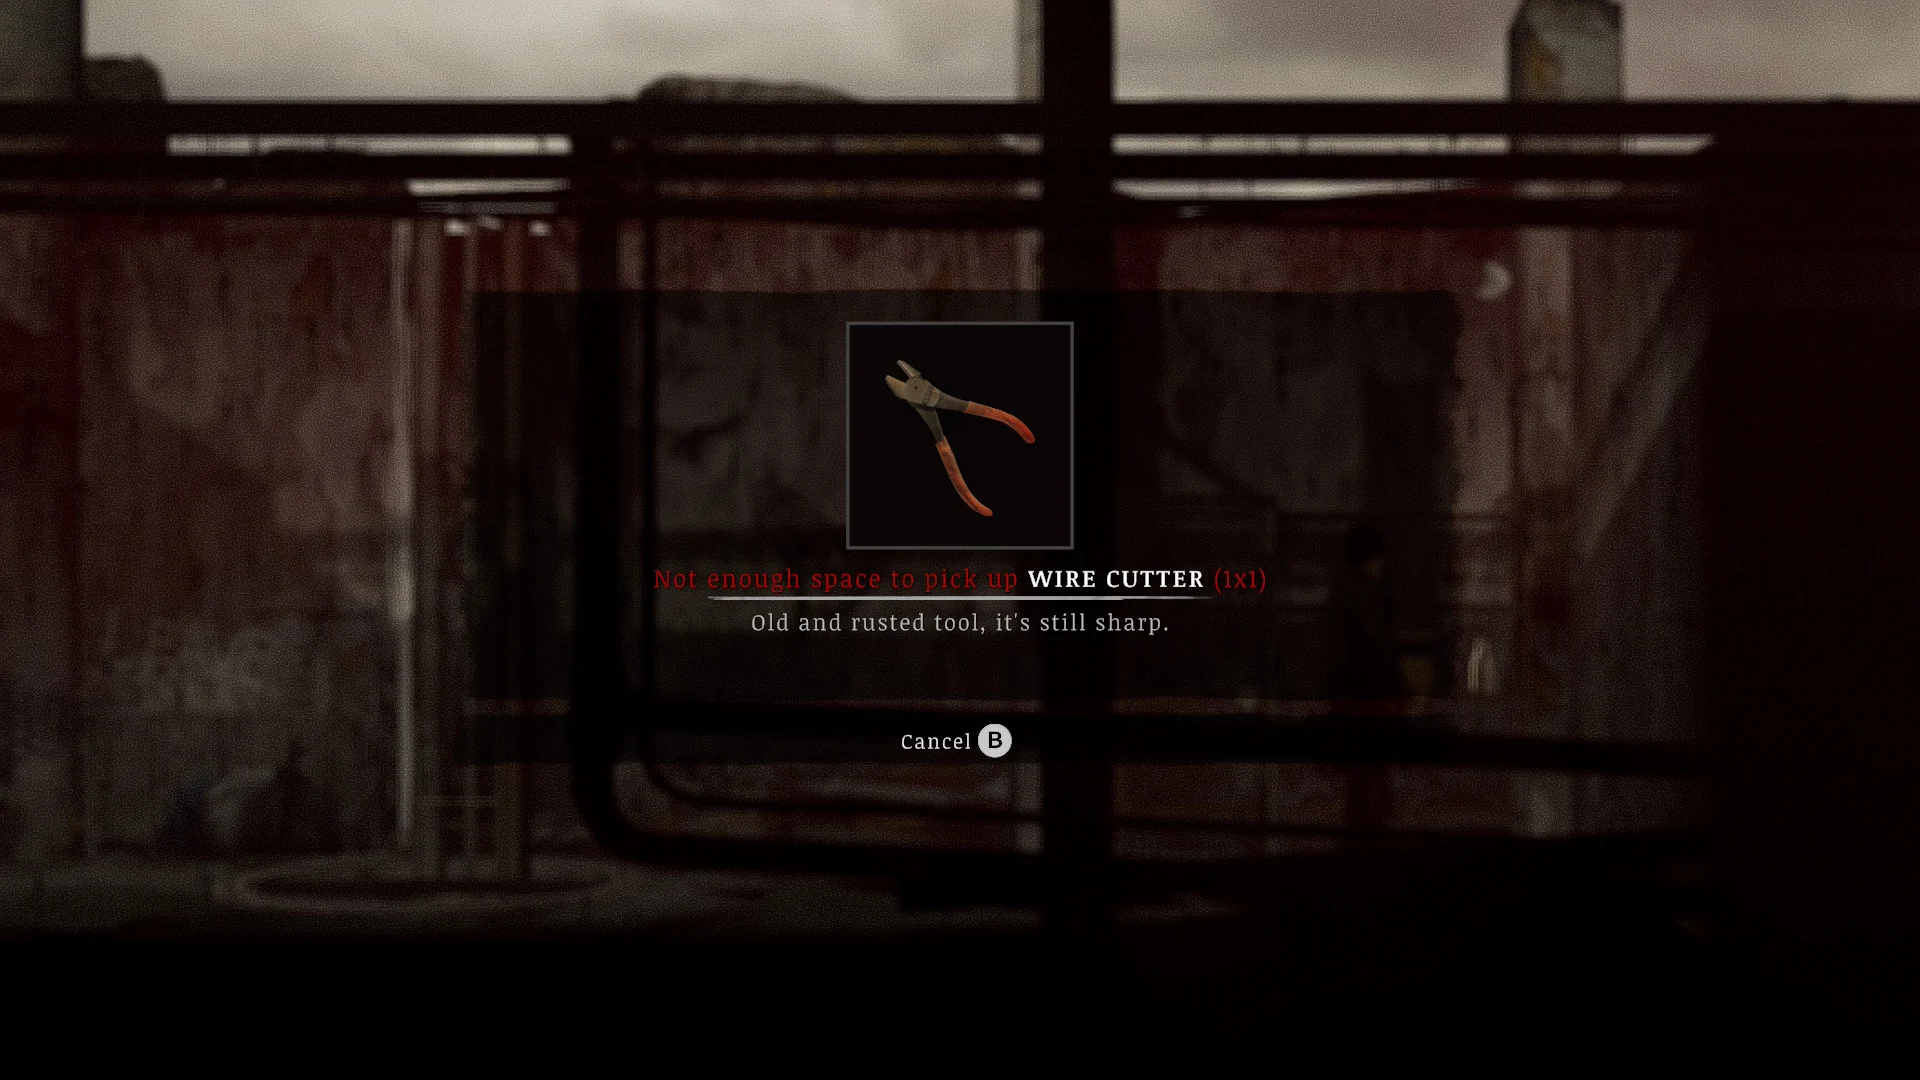
It’s in the red door nightmare, up the ladder past the Eddie Velvet posters.
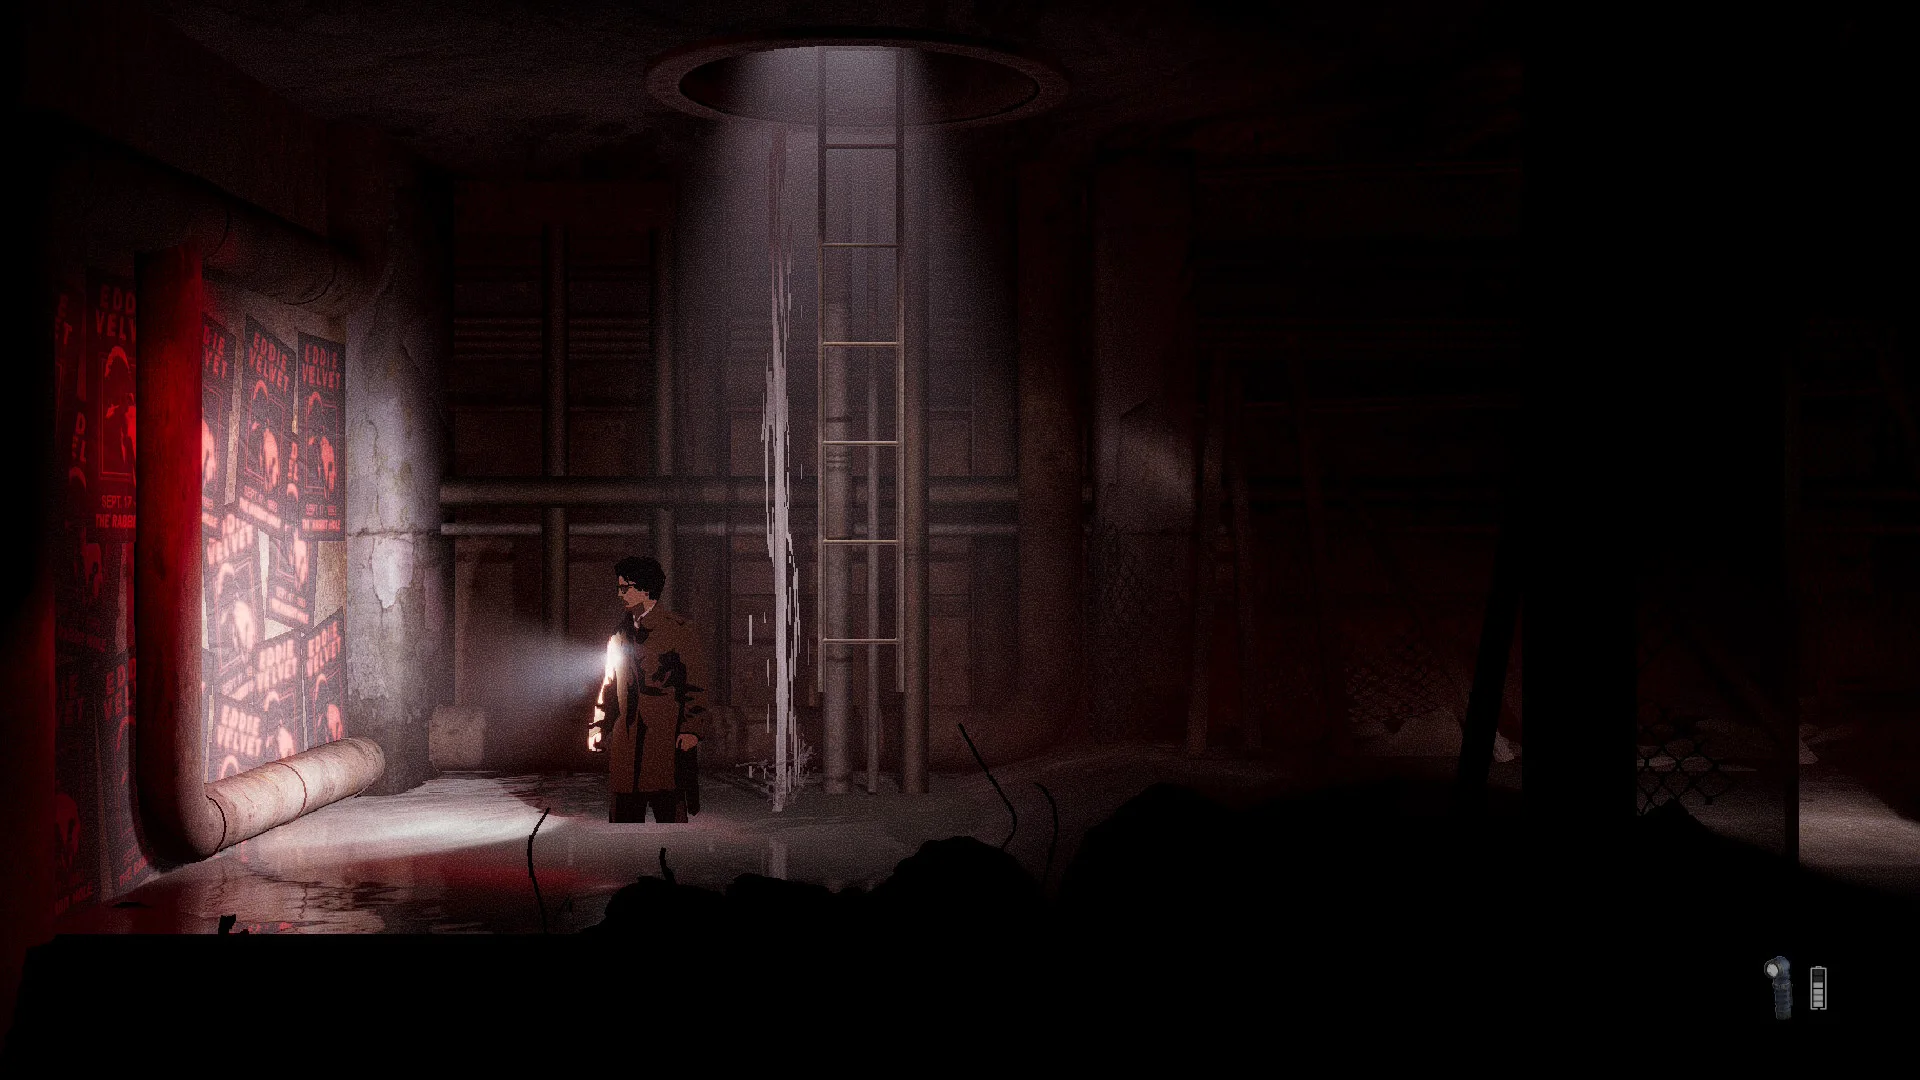
- Climb the ledge to the rightmost room and go up the ladder past the posters for the Wire Cutter.
- Use it on the electrical box on your way down and cut the two cables to open the path to the third Metal Spike.
Still here? Good.
That means the article did its job! If you’d like to see more of them (and get first crack at what’s next) our Patreon’s the place.
About the Author

Discover more from Bonus Action
Subscribe to get the latest posts sent to your email.