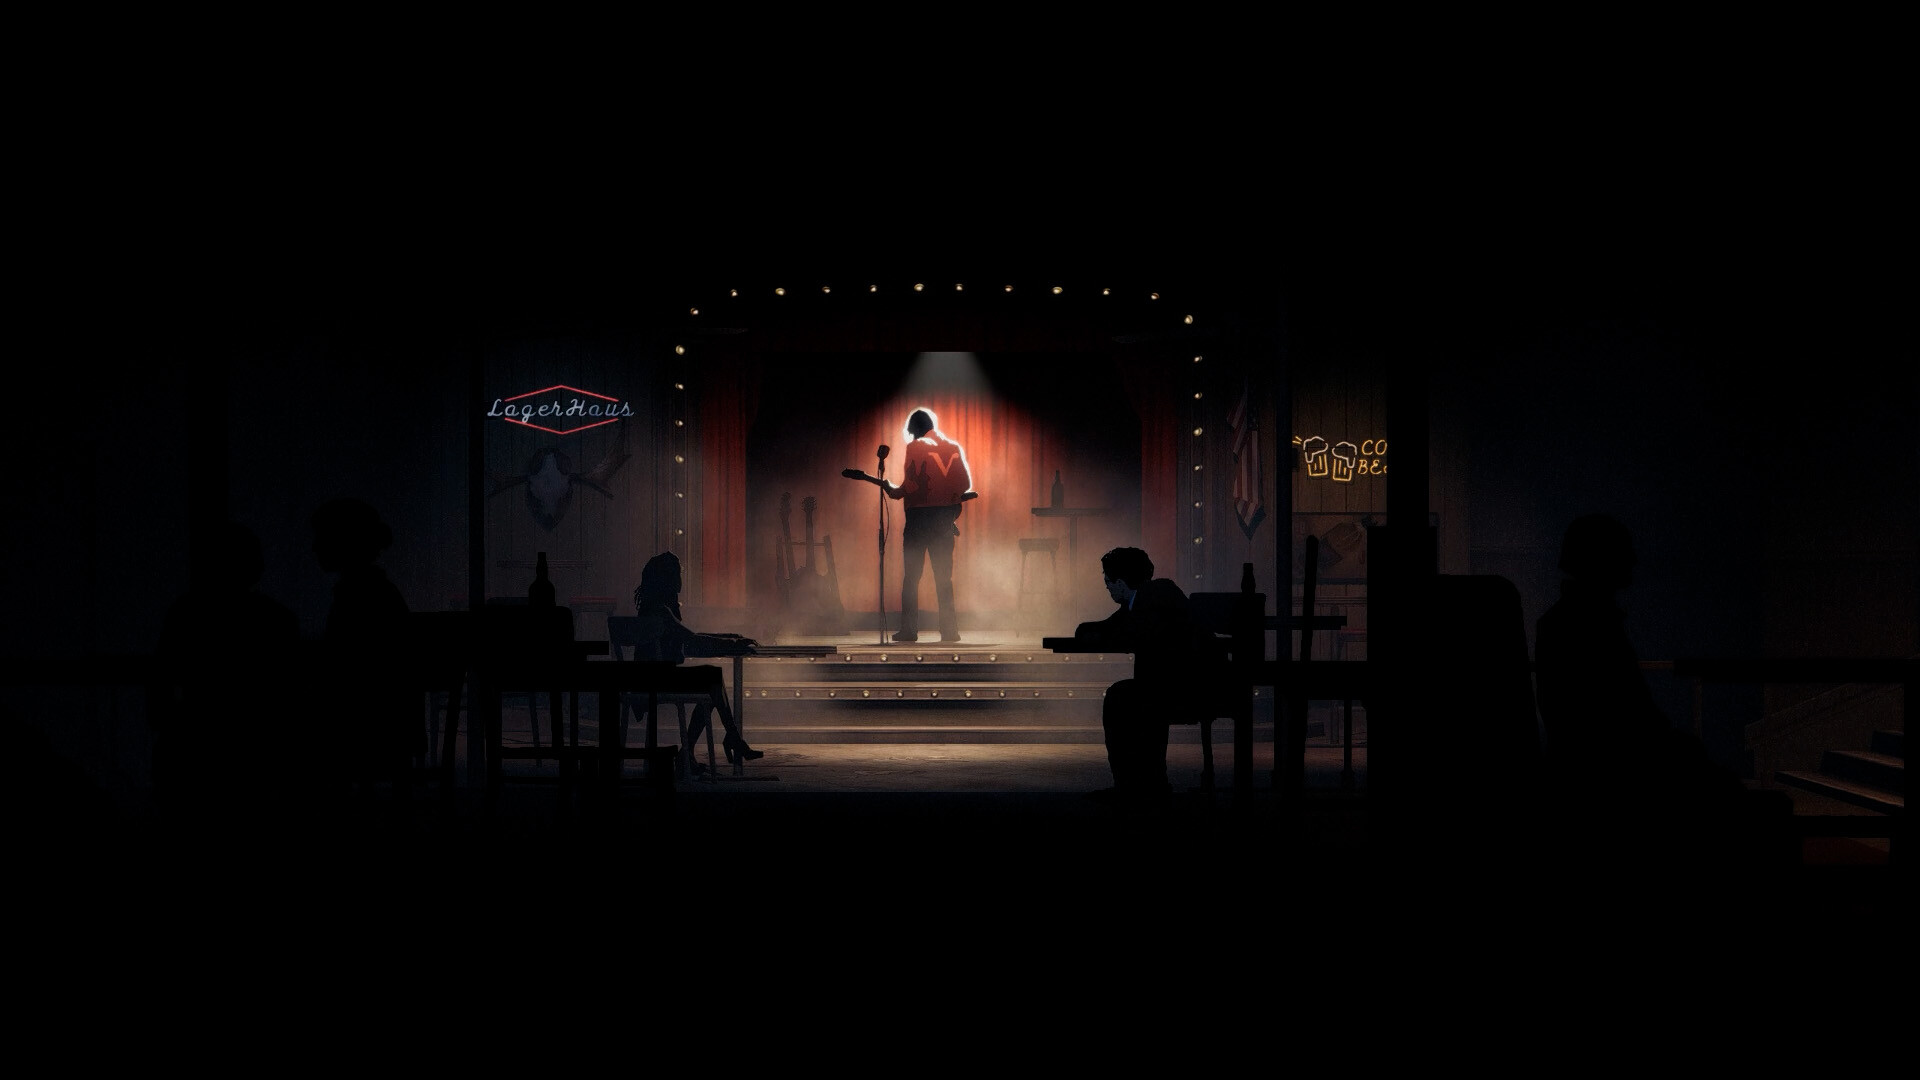
I spent my first hour in Silver Pines doing what I can only hope is a shared experience: standing in an empty diner, holding a key to nothing, wondering why a game would hand me a ring box with no rings in it.
That’s the trouble with this town. Every door is locked, every code is hiding in a painting or a baseball jersey or a dead man’s pocket, and nobody tells you which of the forty things in your bag actually matters.
This Silver Pines walkthrough takes you through every puzzle, code, and key in the order you’ll meet them, so you can get on with being frightened.
Table of Contents
- Tips and tricks
- The Miner Diner
- Rodney’s General Store and the Underpass
- Crimson Bear Motel
- The tunnel and the ferry
- Downtown
- Riverside
- Sheriff’s Office
- Union Apartments
- Loomis Park and the Town Hall
- Church Hill
- The sluice gate and the sewers
- Side quests
- The cable station and Mt. Siah Kopa
- Thelend Broadcasting
- The red door
Tips and tricks
- Save at any payphone. Drop in a coin and call Mr Jackman (77221) from your address book. Make sure you check the coin-return slot first, because it often holds a free coin.
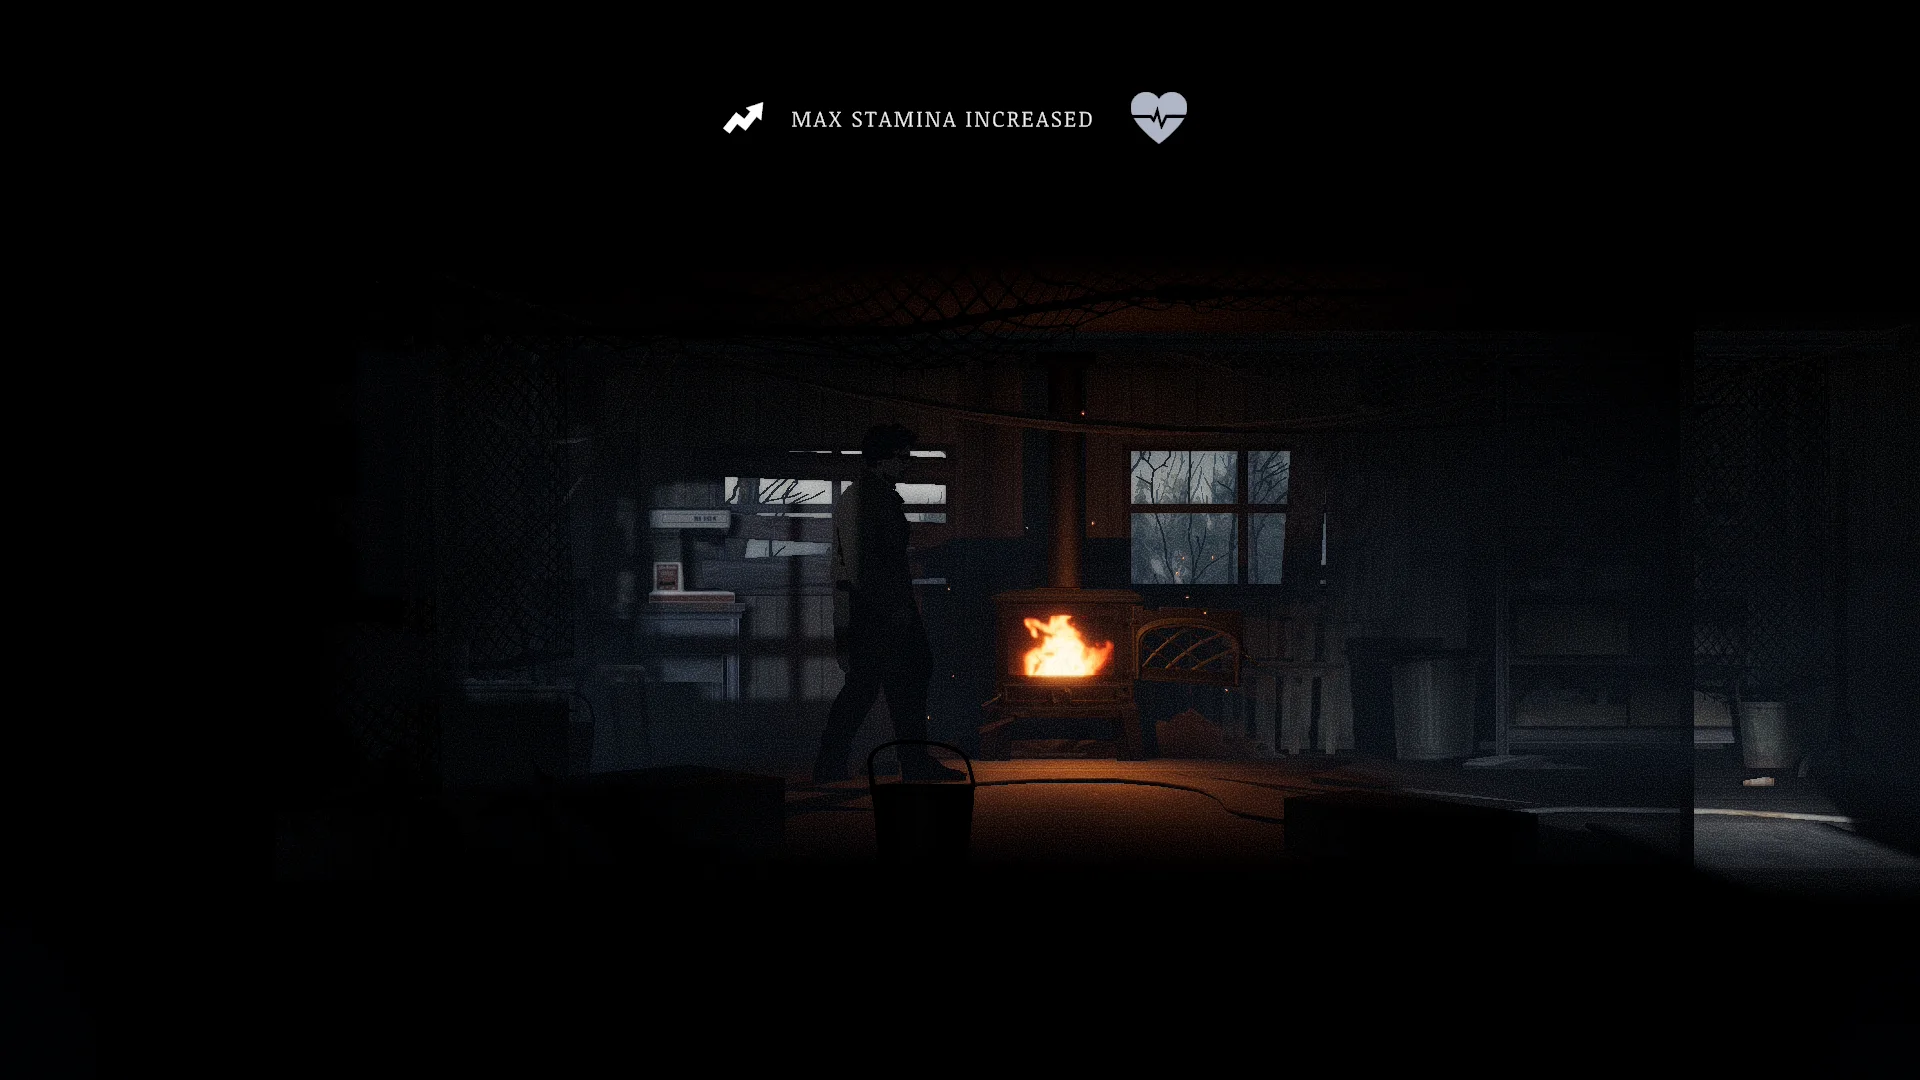
- Drink from every coffee machine you find. Each one raises your max stamina for good.
- Mementos are perks you equip, like faster reloads or extra stamina. You start with one slot, and every four Memento Vessel Shards build a vessel that adds another. Shoot the wooden bird figurines around town to collect the shards and combine them in your inventory.
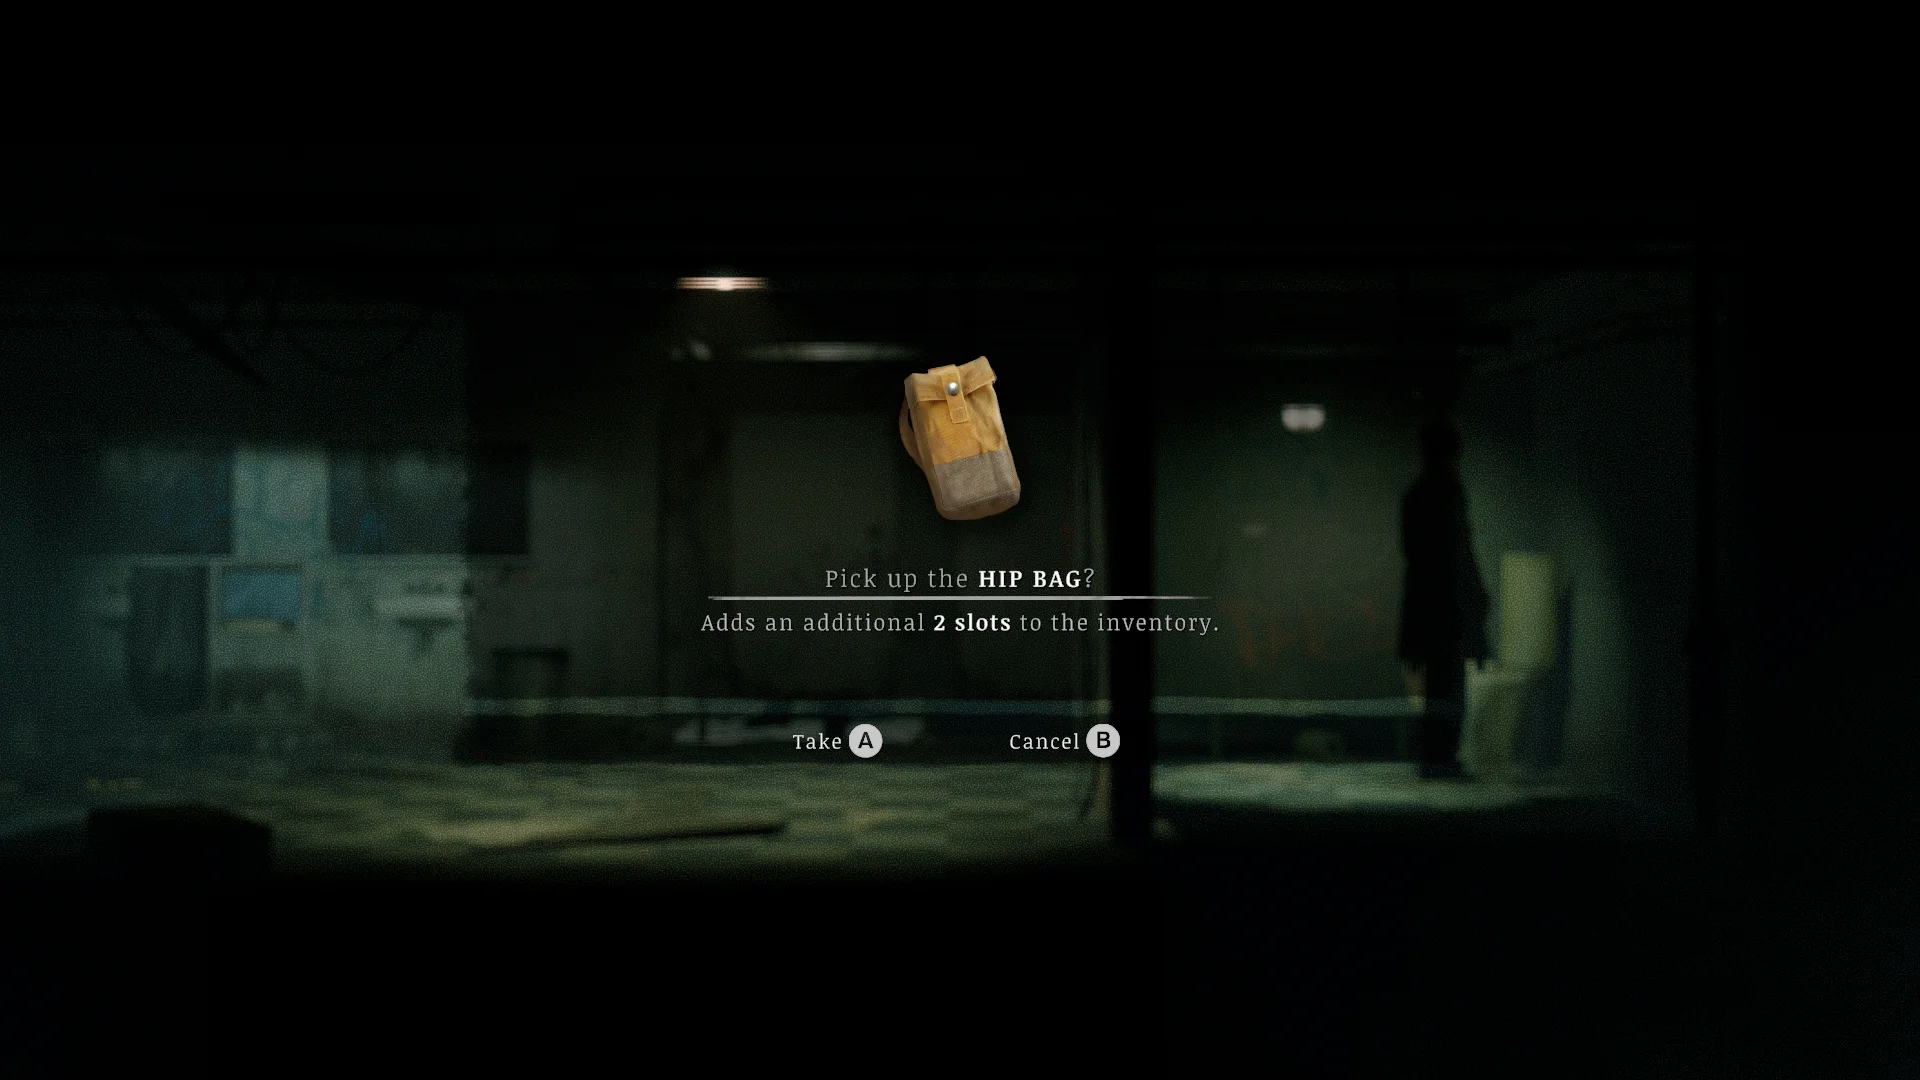
- Grab every Hip Bag you see. Each one adds two inventory slots, and you’ll want every one of them by the second hour.
- Your guns open the map as much as they kill things. Shoot rusted padlocks, wooden boards, and vent grilles. The shotgun blasts wooden barricades, the sledgehammer smashes cracked walls, and the box cutter slices through cloth and plastic tarps.
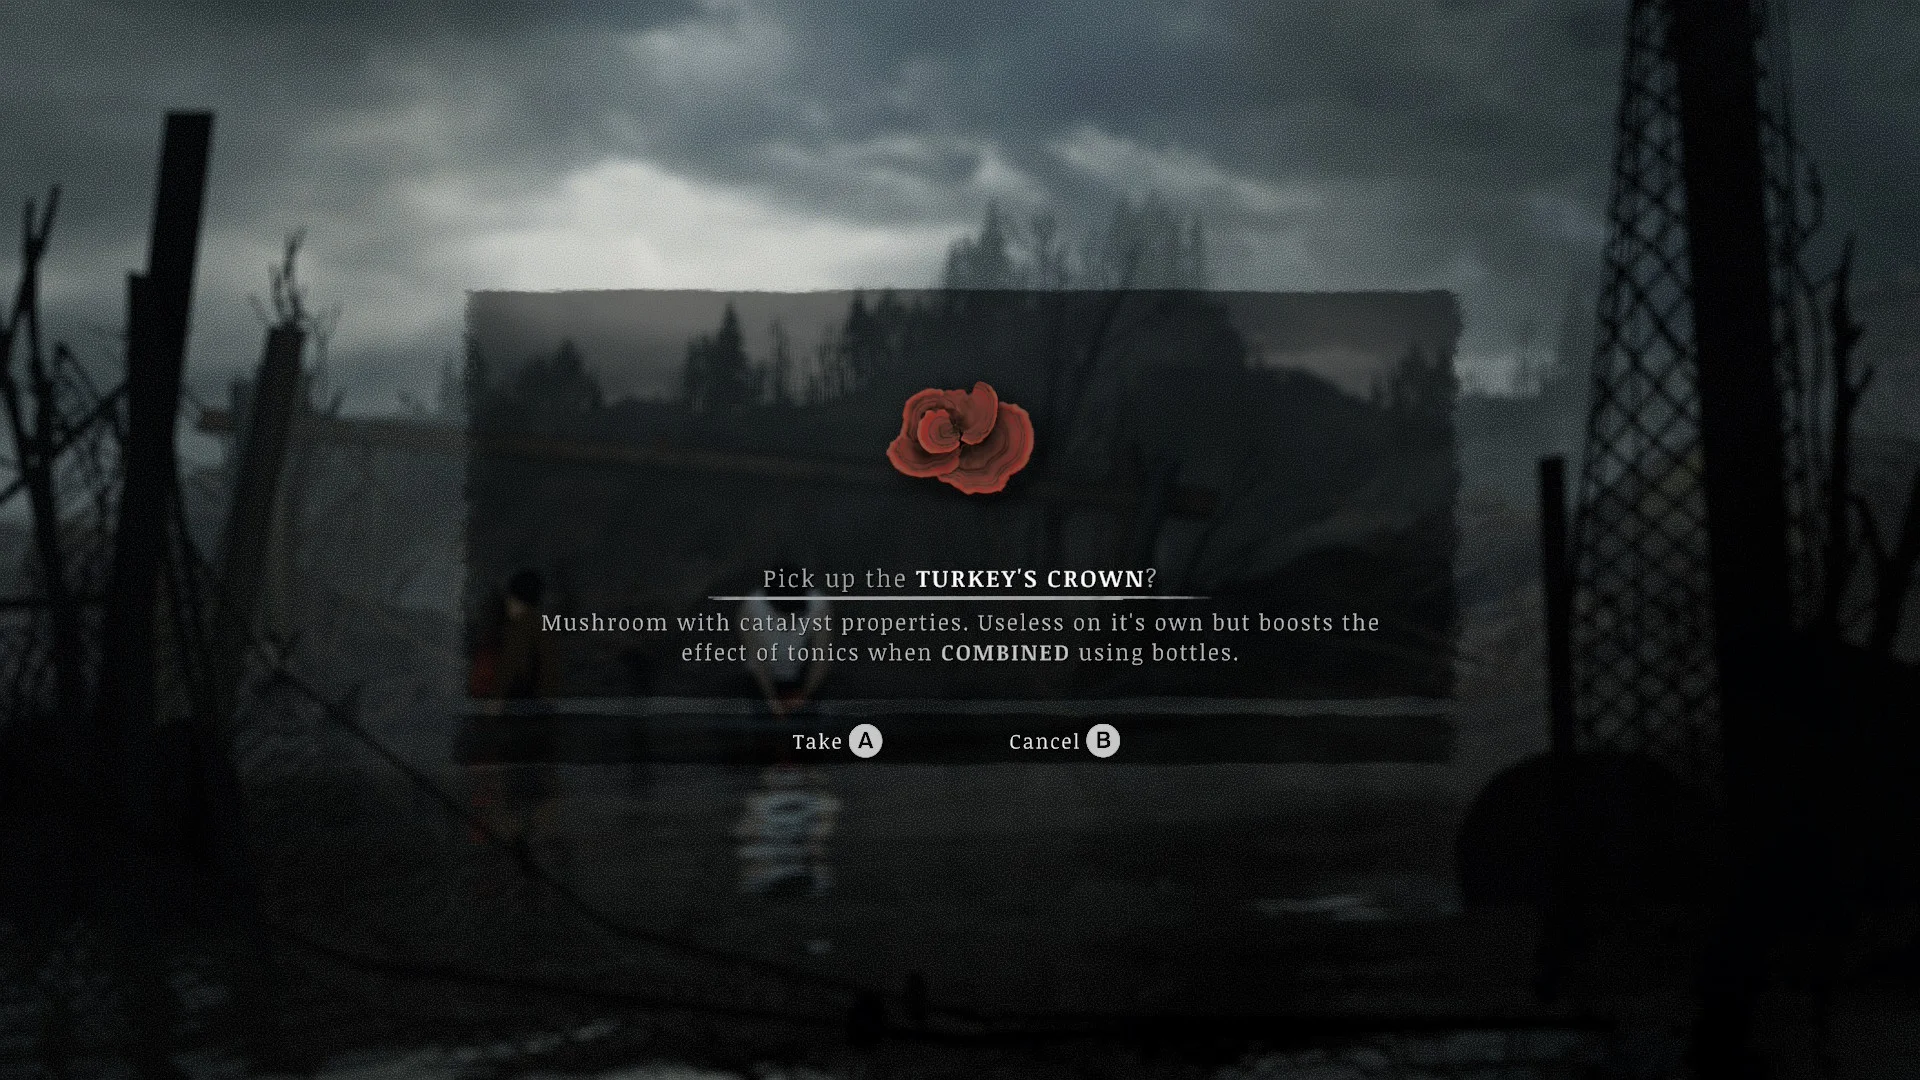
- Mix your herbs! Flatleaf Herb heals, and Turkey’s Crown (red) boosts it. Pale Lichen (white) makes an energizing tonic, and Blackstem Nettle cures poison.
- Photograph locked doors and odd objects with your camera. The game pins every photo to your map, which saves you a lot of squinting later.
- I’m fairly positive the Crimson Bear Motel gate code changes in every save, so read yours from the guest ledger. Every other code in this guide should work for everyone.
The Miner Diner
How to get out of the Miner Diner
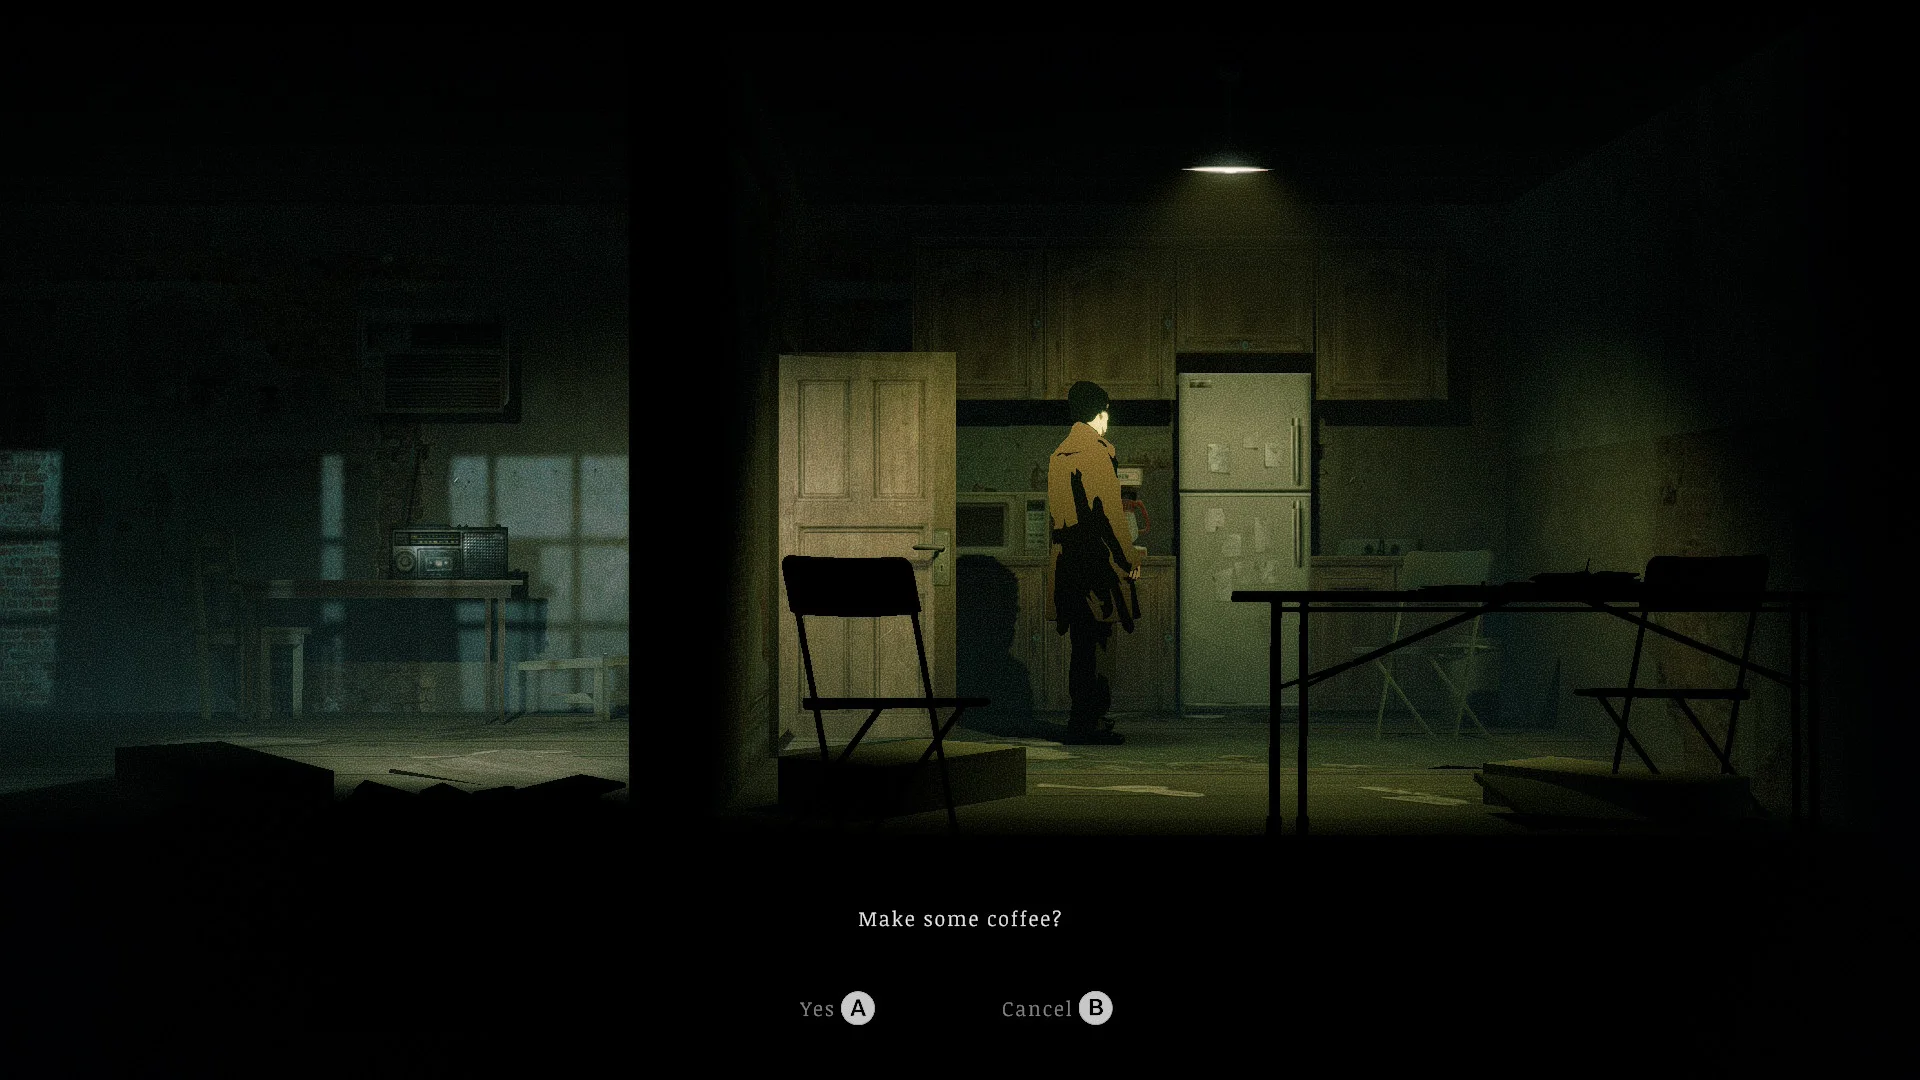
Grab the Diner Key from the hanger in the kitchen to open the front door, but empty the diner first, because three things in here matter hours later.
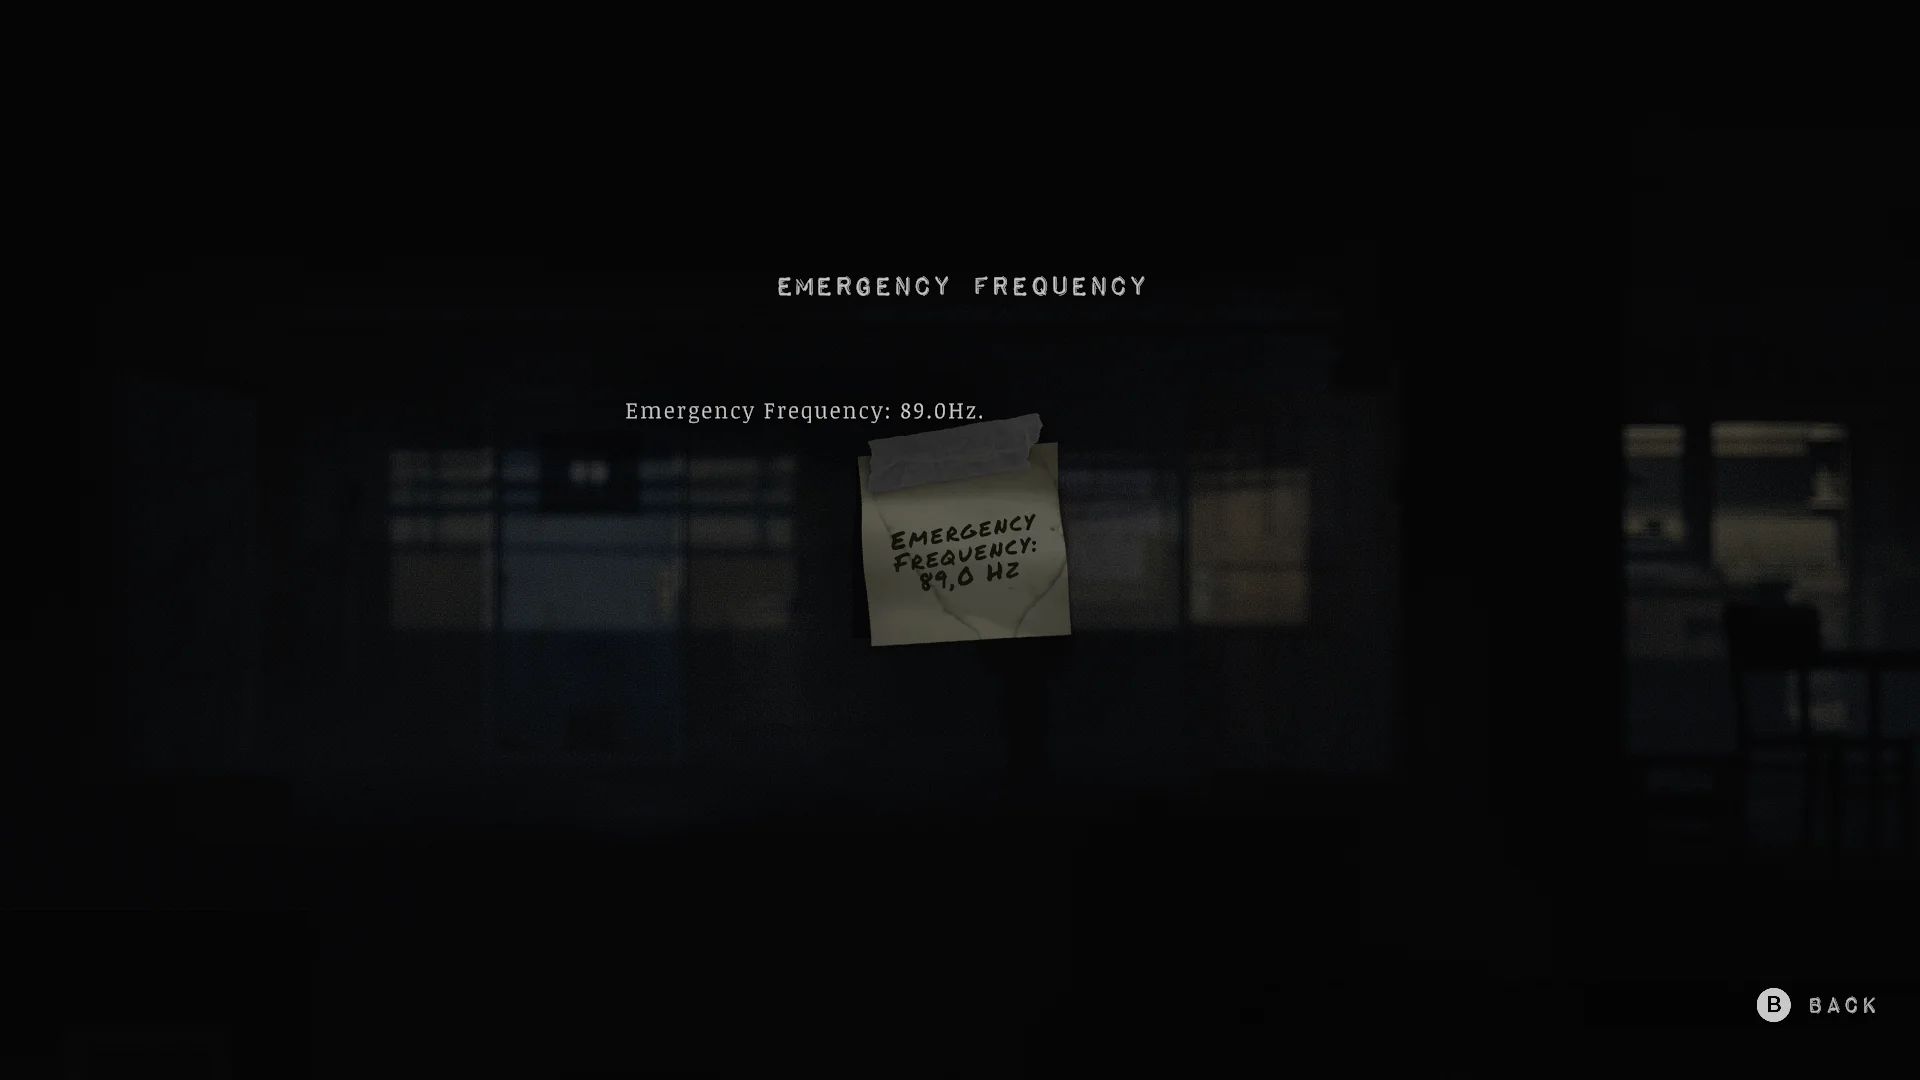


- Start in the back room and read the note that says Emergency Frequency: 89.0. Tune the radio to it, and you’ll hear a broadcast telling every resident to leave town.
- Take the Locked Ring Box from the restroom. Its lid shows a constellation with gaps in it, and you’ll spend the whole game filling those gaps with Stars. The full Ring Box puzzle is further down.
- Read the plaque on the wall. The diner opened in 1861, and the plaque signs off with 1972. Remember that number, because it opens a lockbox much later.
- Take the Diner Key from the kitchen hanger, grab your Car Key, and unlock the front door.
What’s in the car trunk
Your trunk holds your PI badge and the Eddie Velvet dossier, which is the whole reason you came to this town.


- Use the Car Key on the trunk. The dossier describes Eddie as a musician between 25 and 35, with a criminal record and possibly a gun.
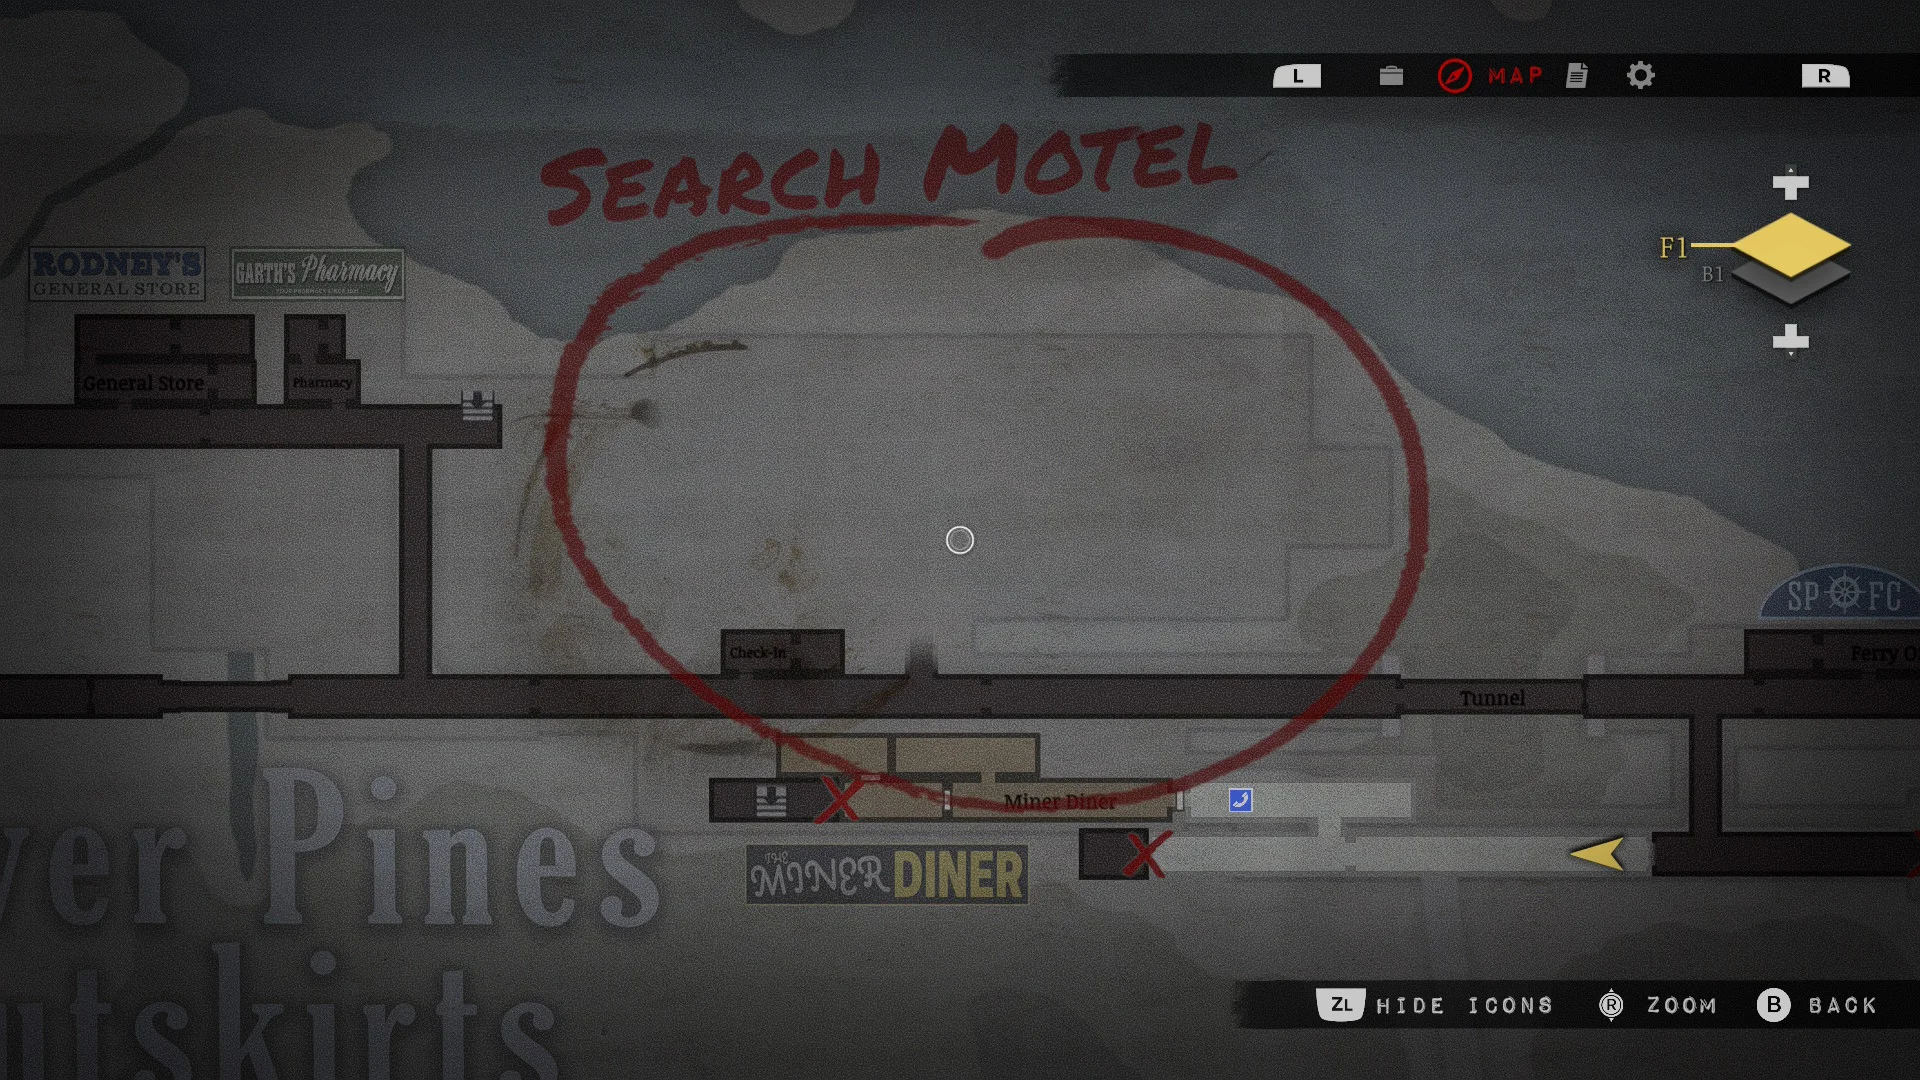
- Pick up the map next to the car, which sends you to the motel.
How to access the Ferry Station
The ferry is closed for the season, and the office stays locked until you find the Ferry Office Key at the Crimson Bear Motel.
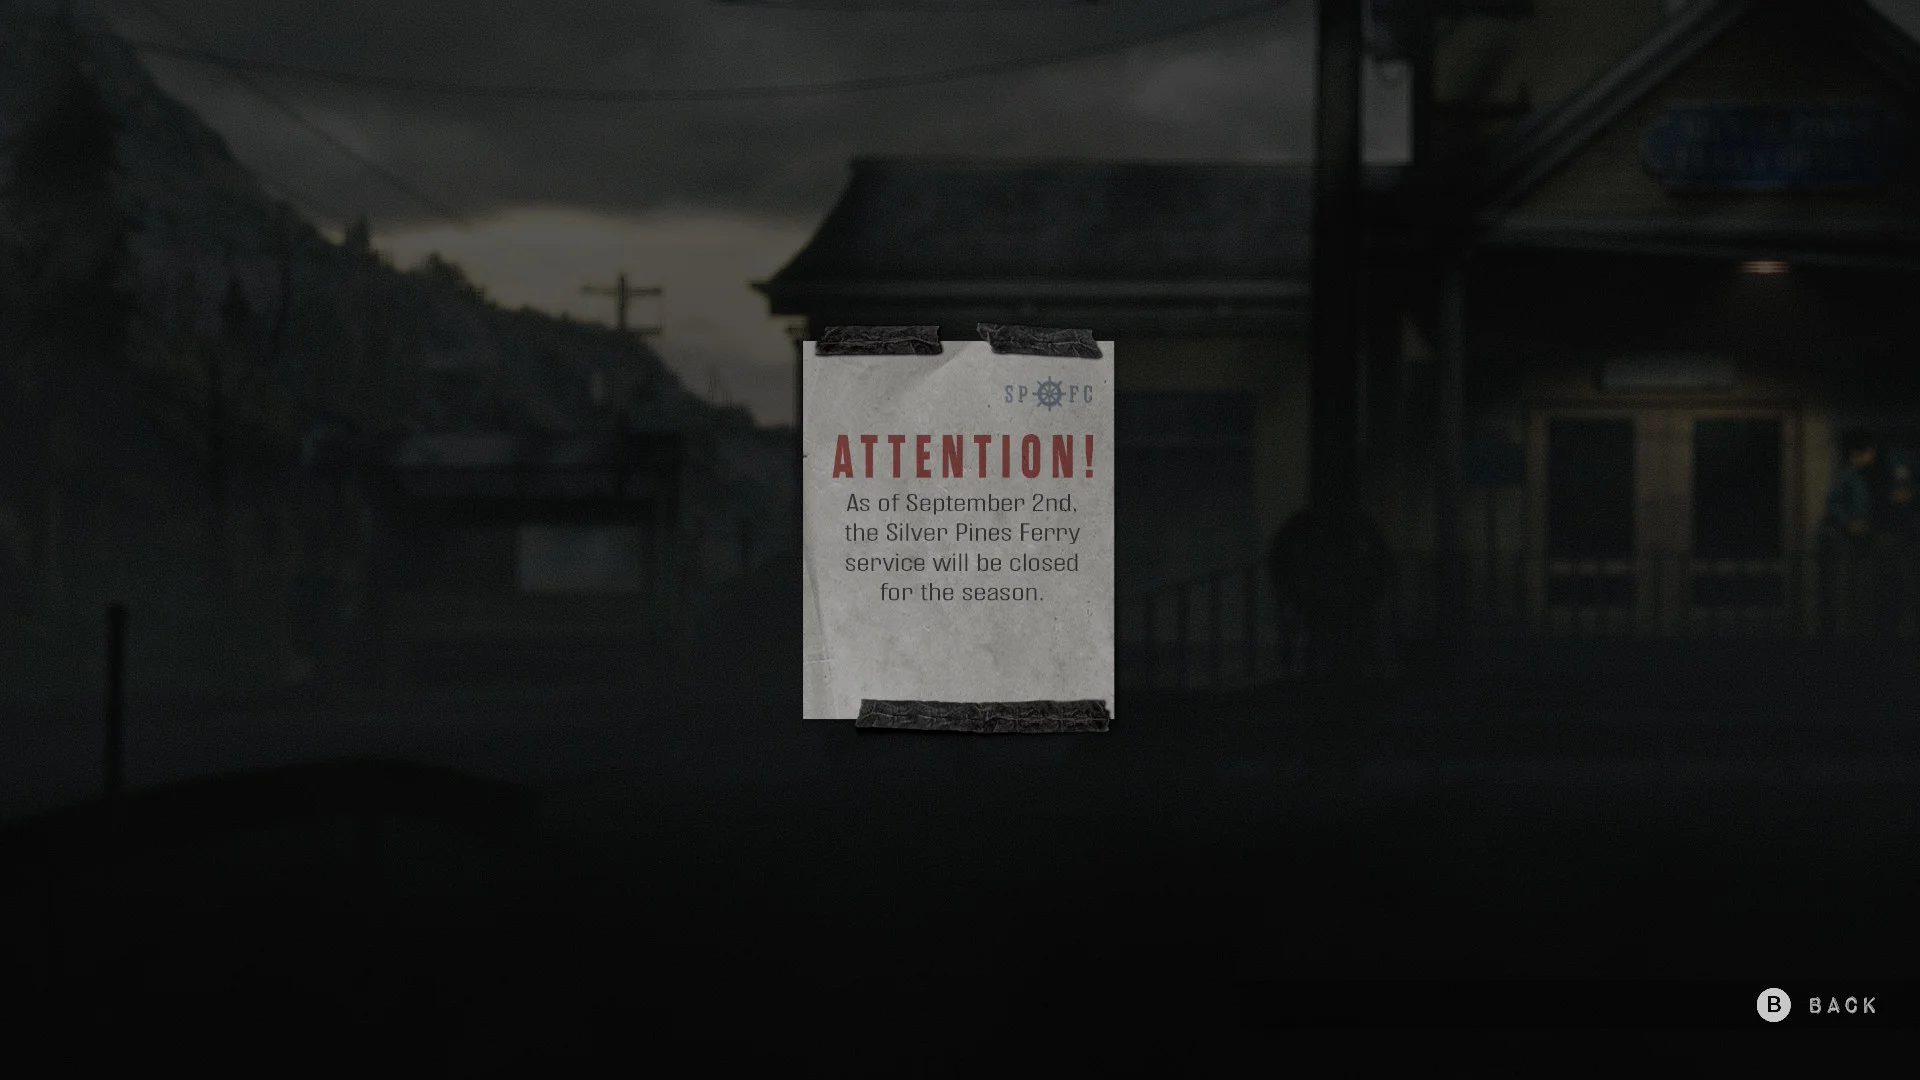
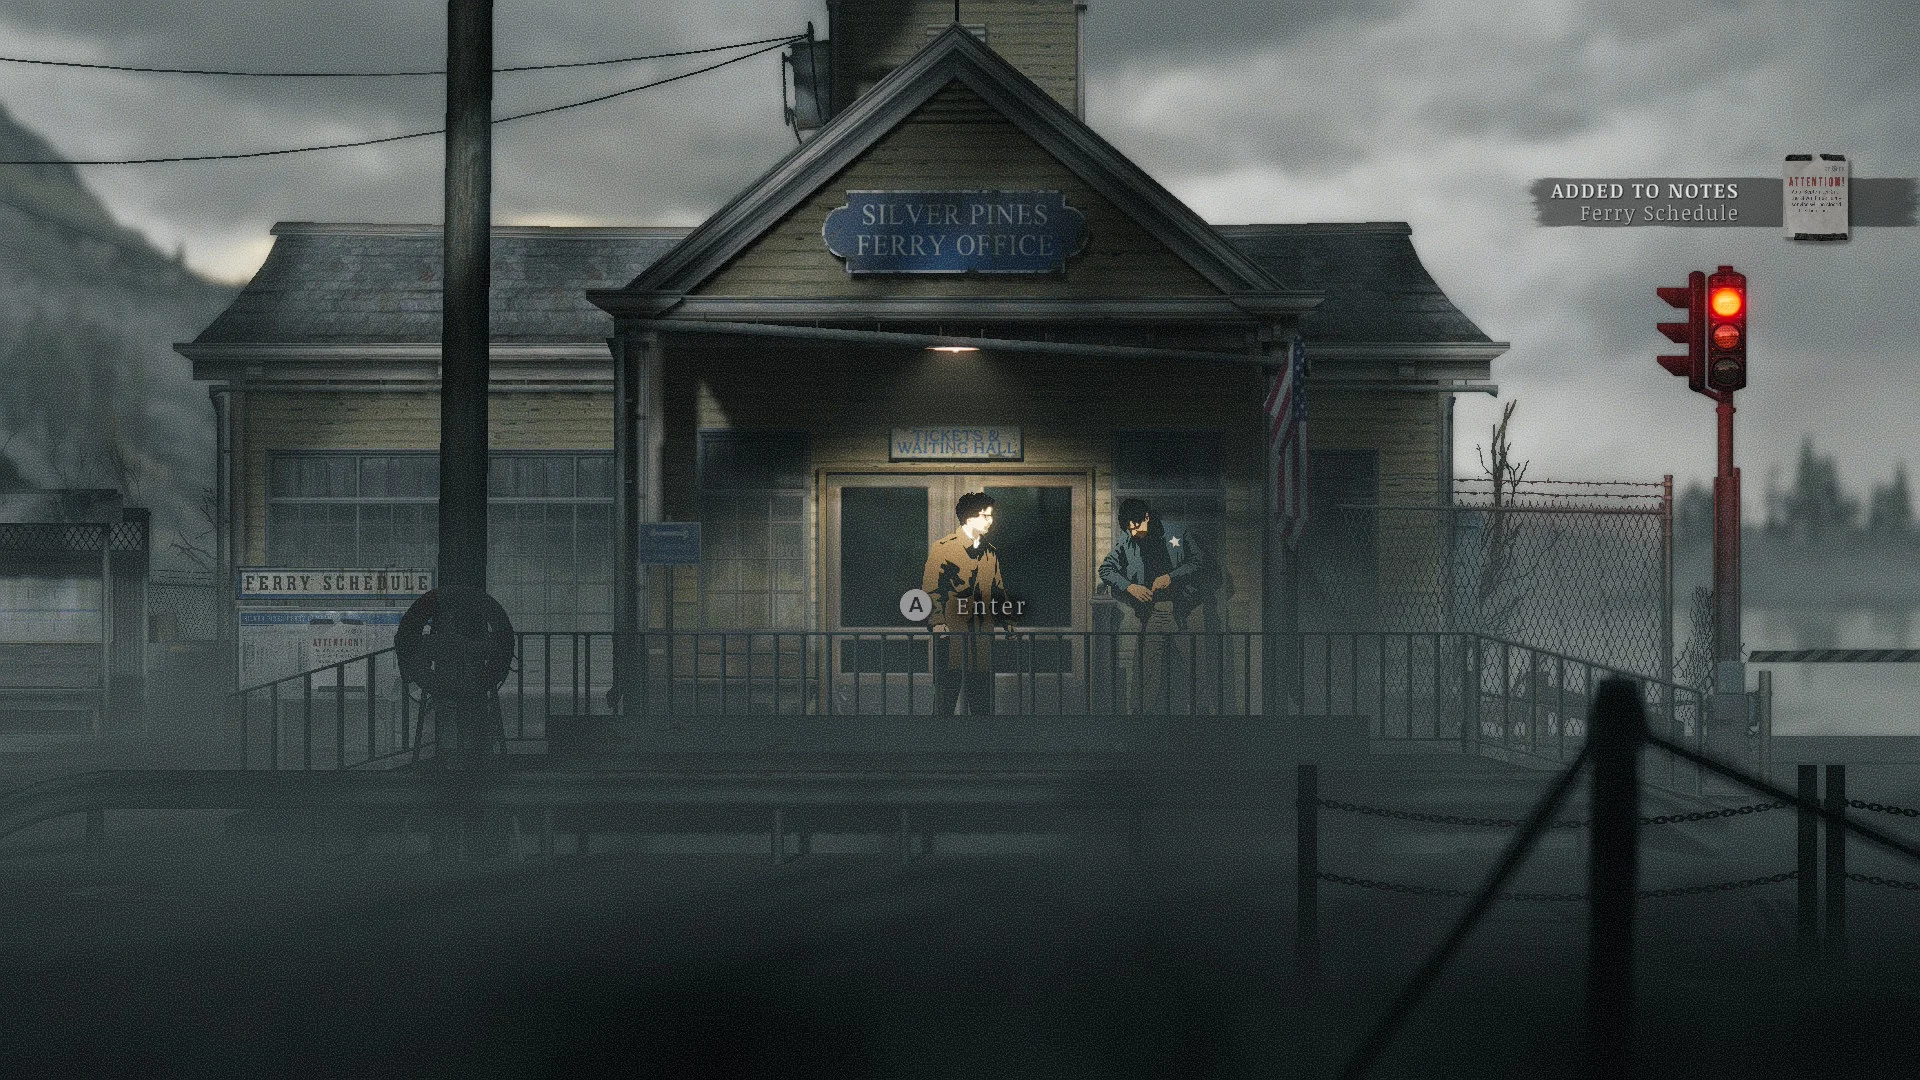
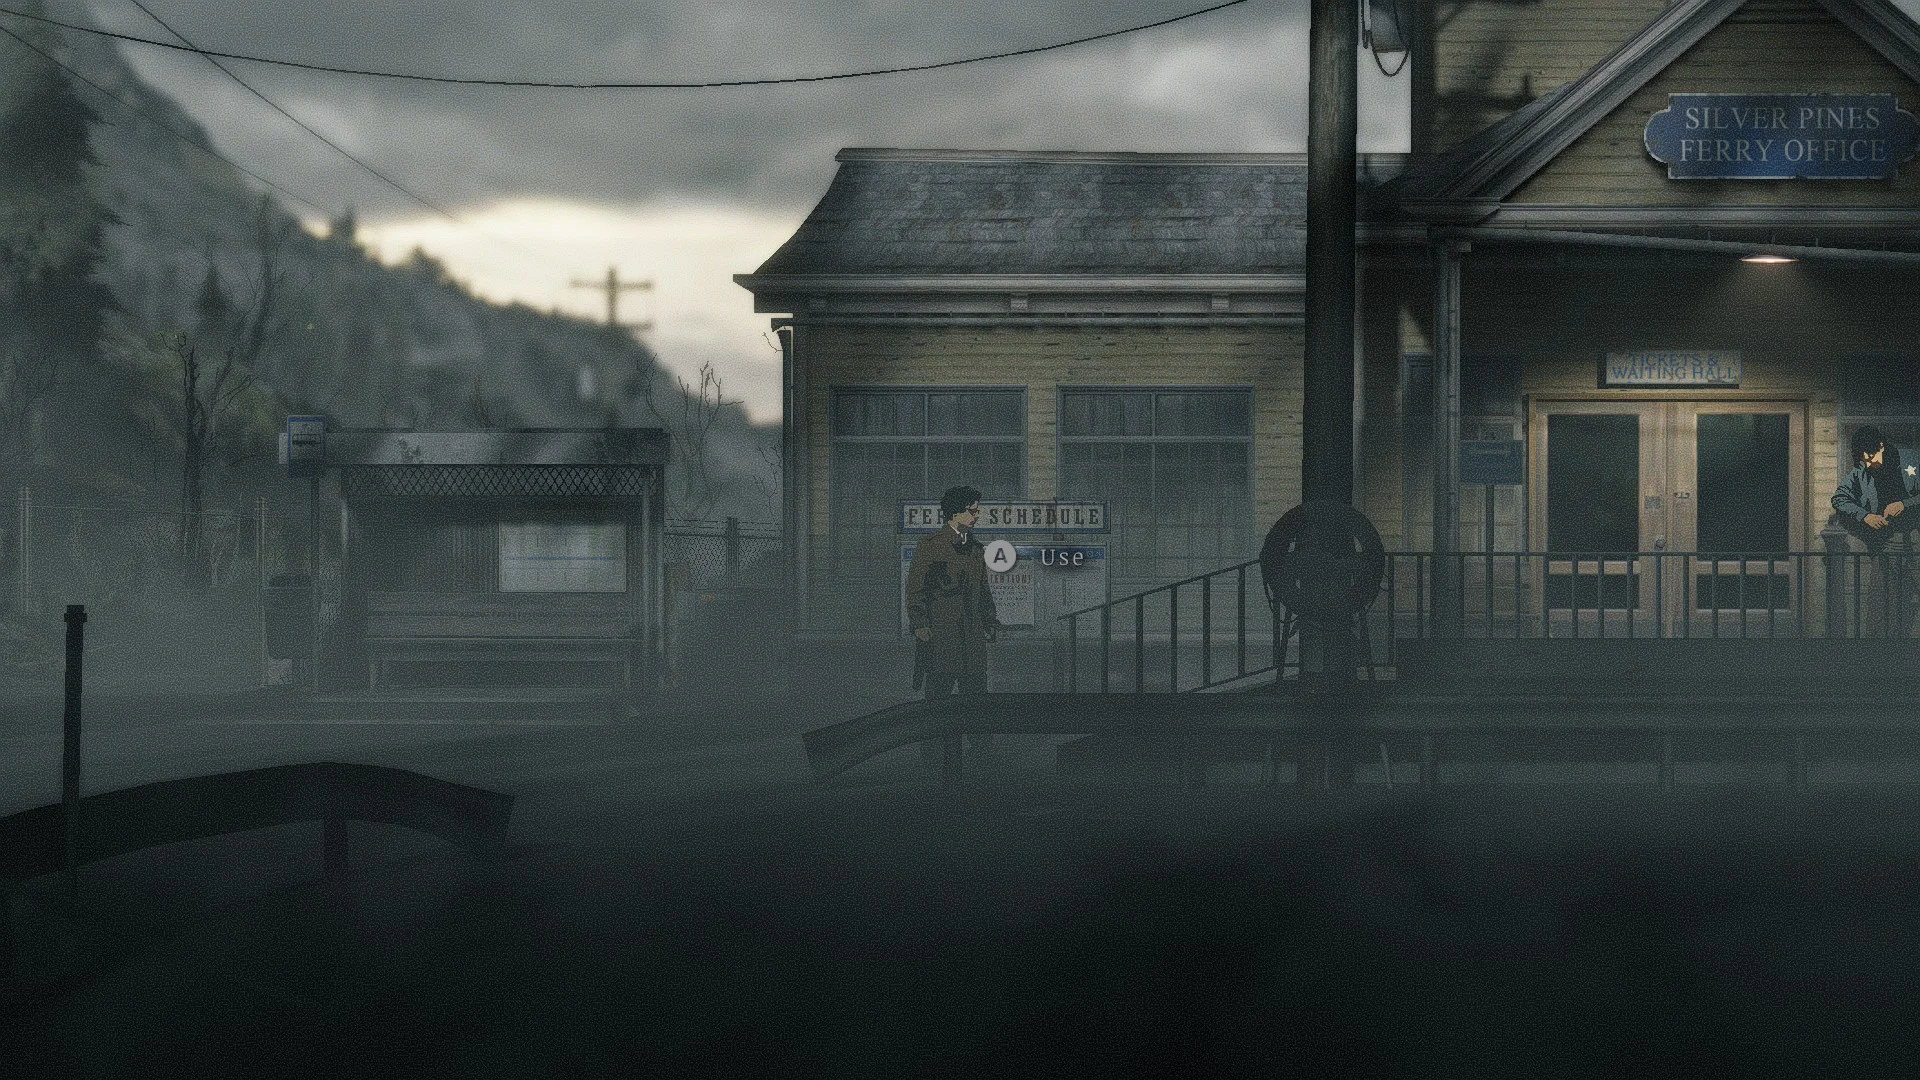
- Read the schedule on the landing and talk to the deputy. Of course, neither of them will let you through.
- Try the office door anyway. It’s locked, and you can’t swim around it either.
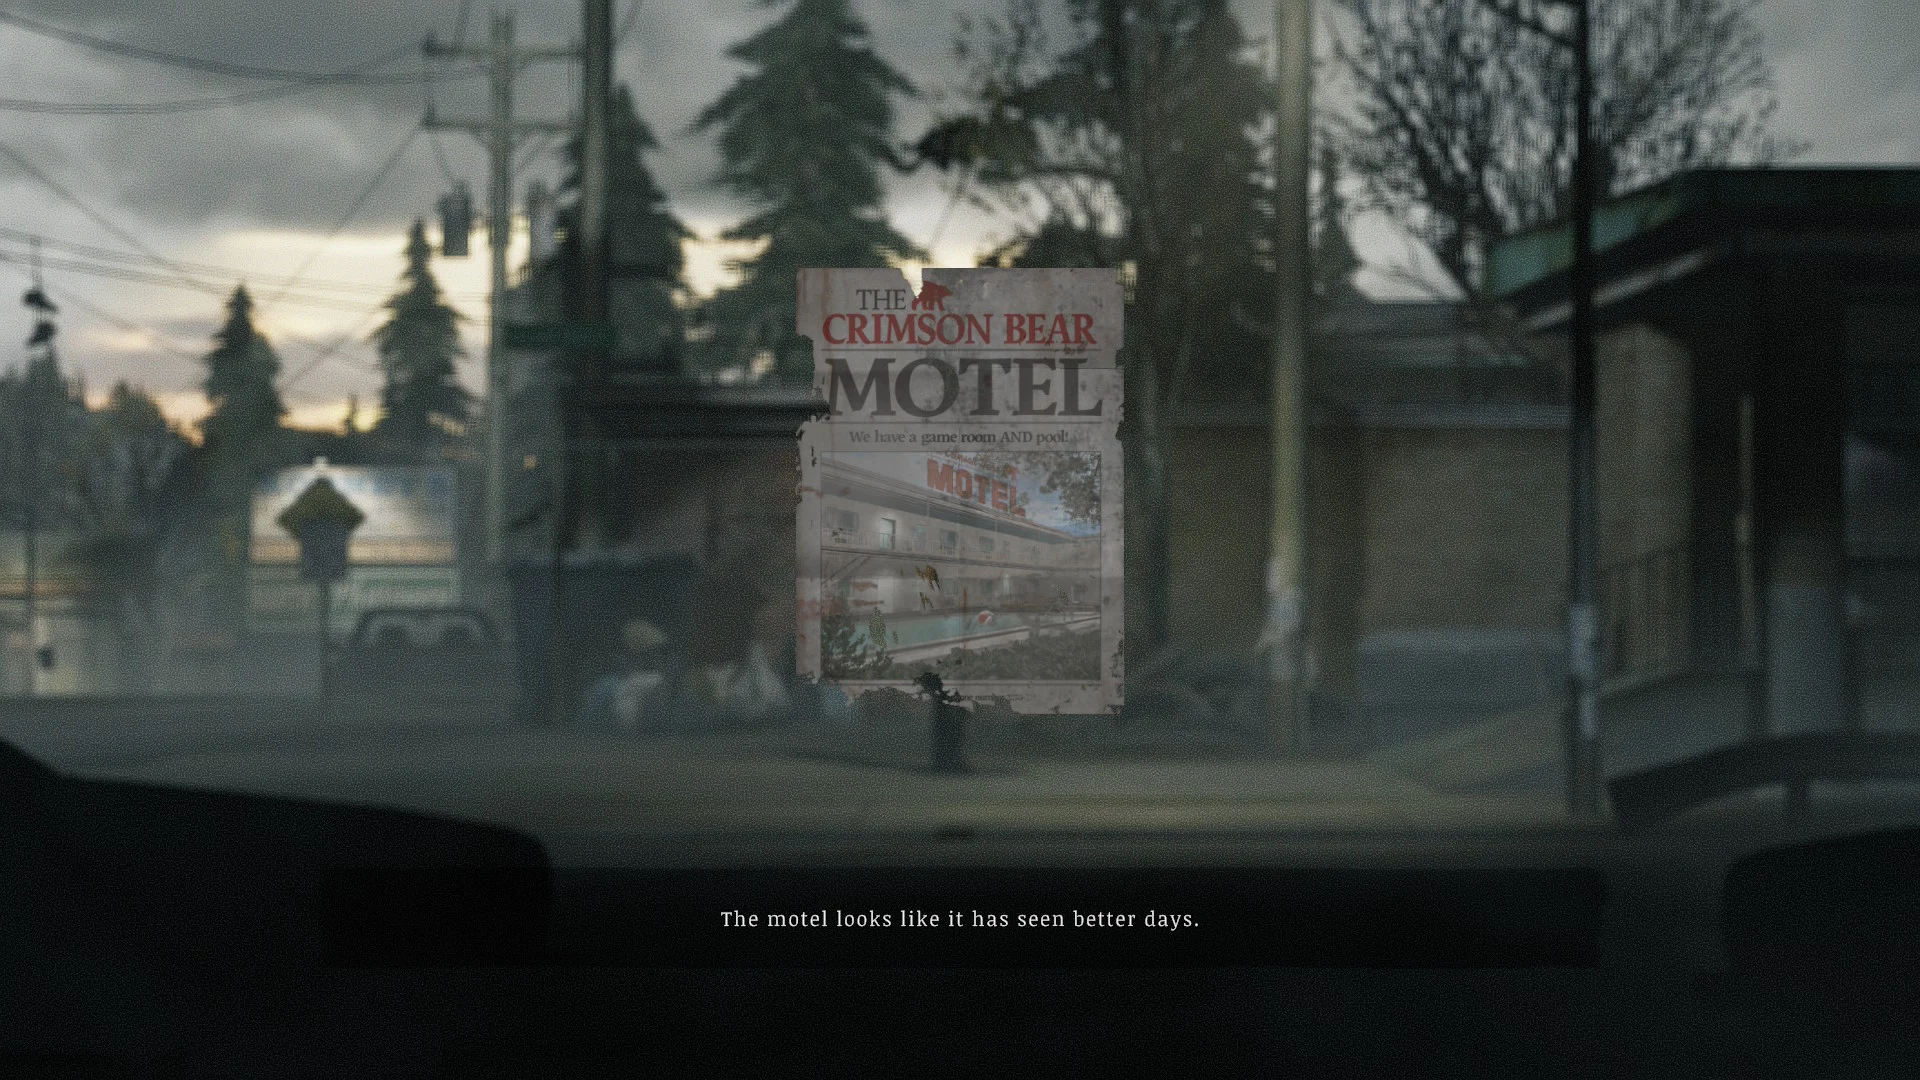
- Pick up the Crimson Bear Motel leaflet on the other side of the landing. That’s your next stop.
Rodney’s General Store and the Underpass
How to open the Crimson Bear check-in
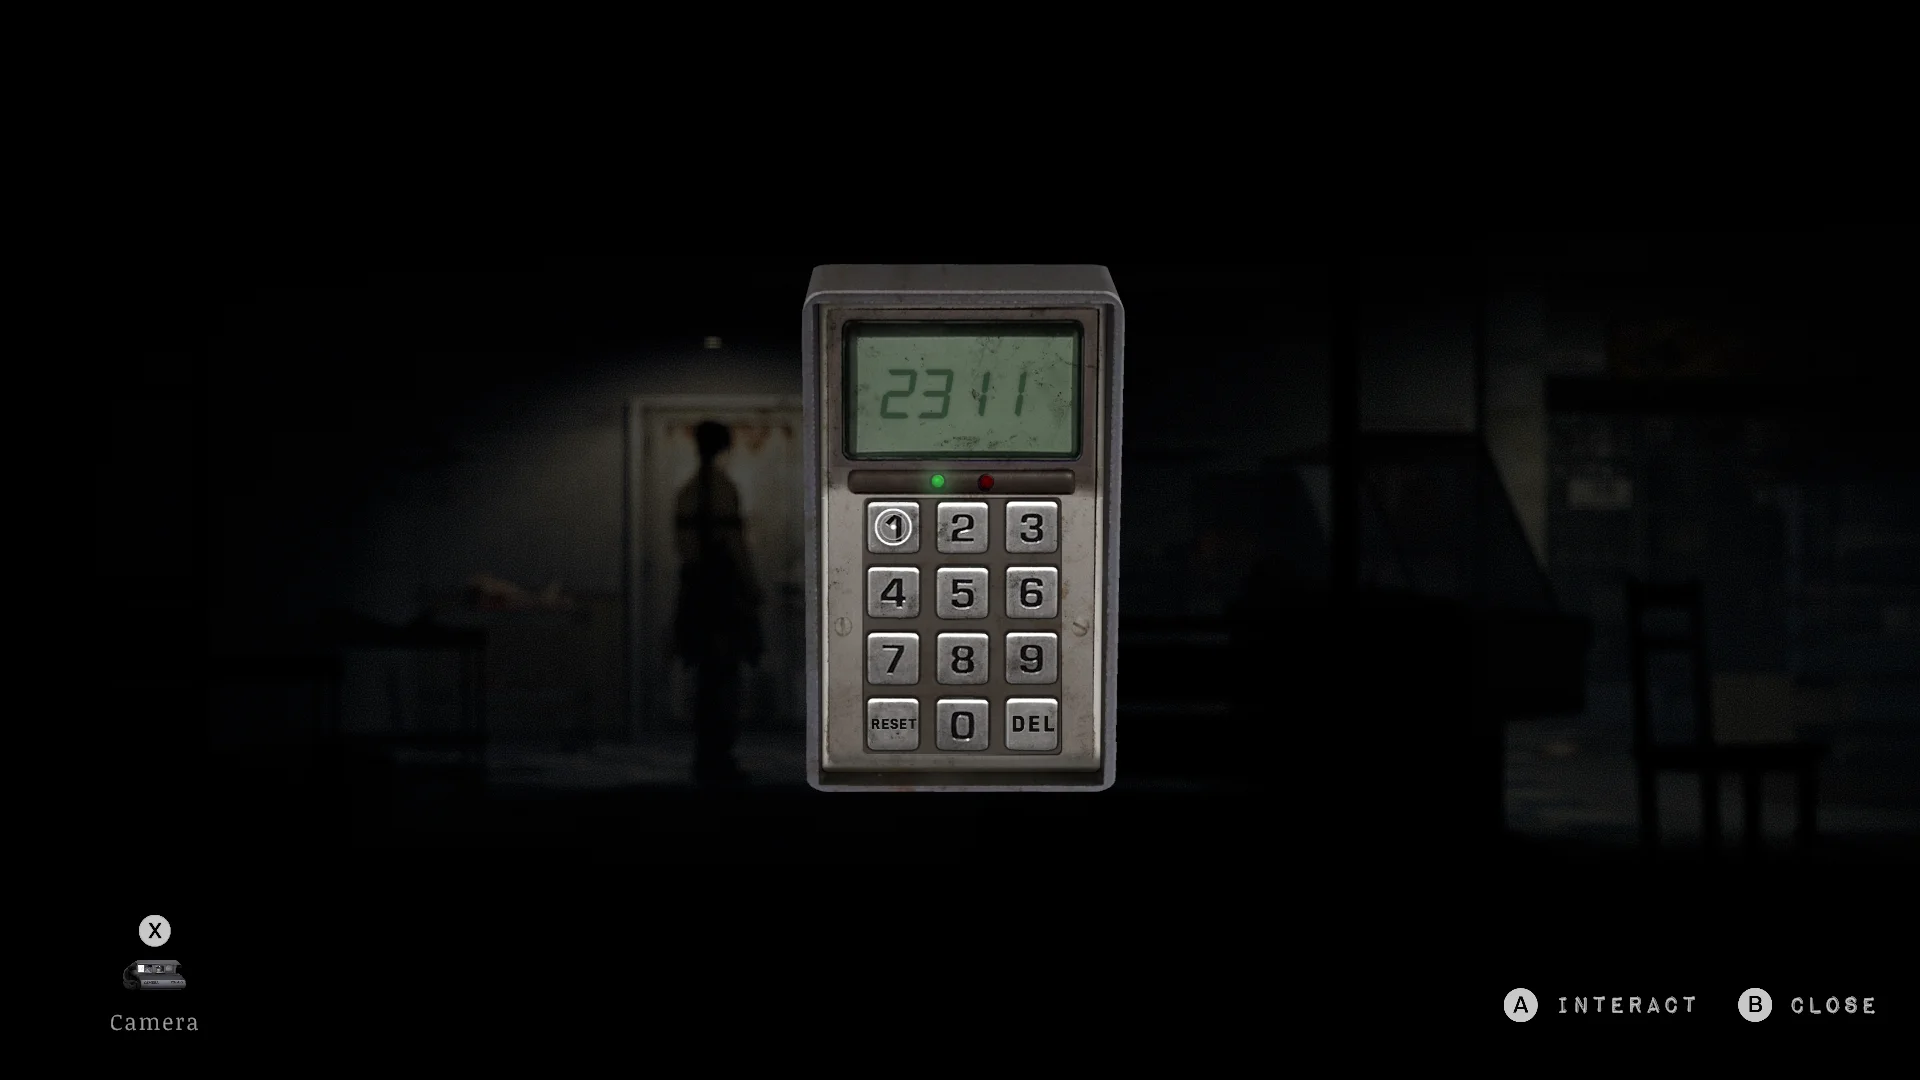
Mr Holloway keeps the Check-in Key in the General Store freezer, and the freezer code is 2311.
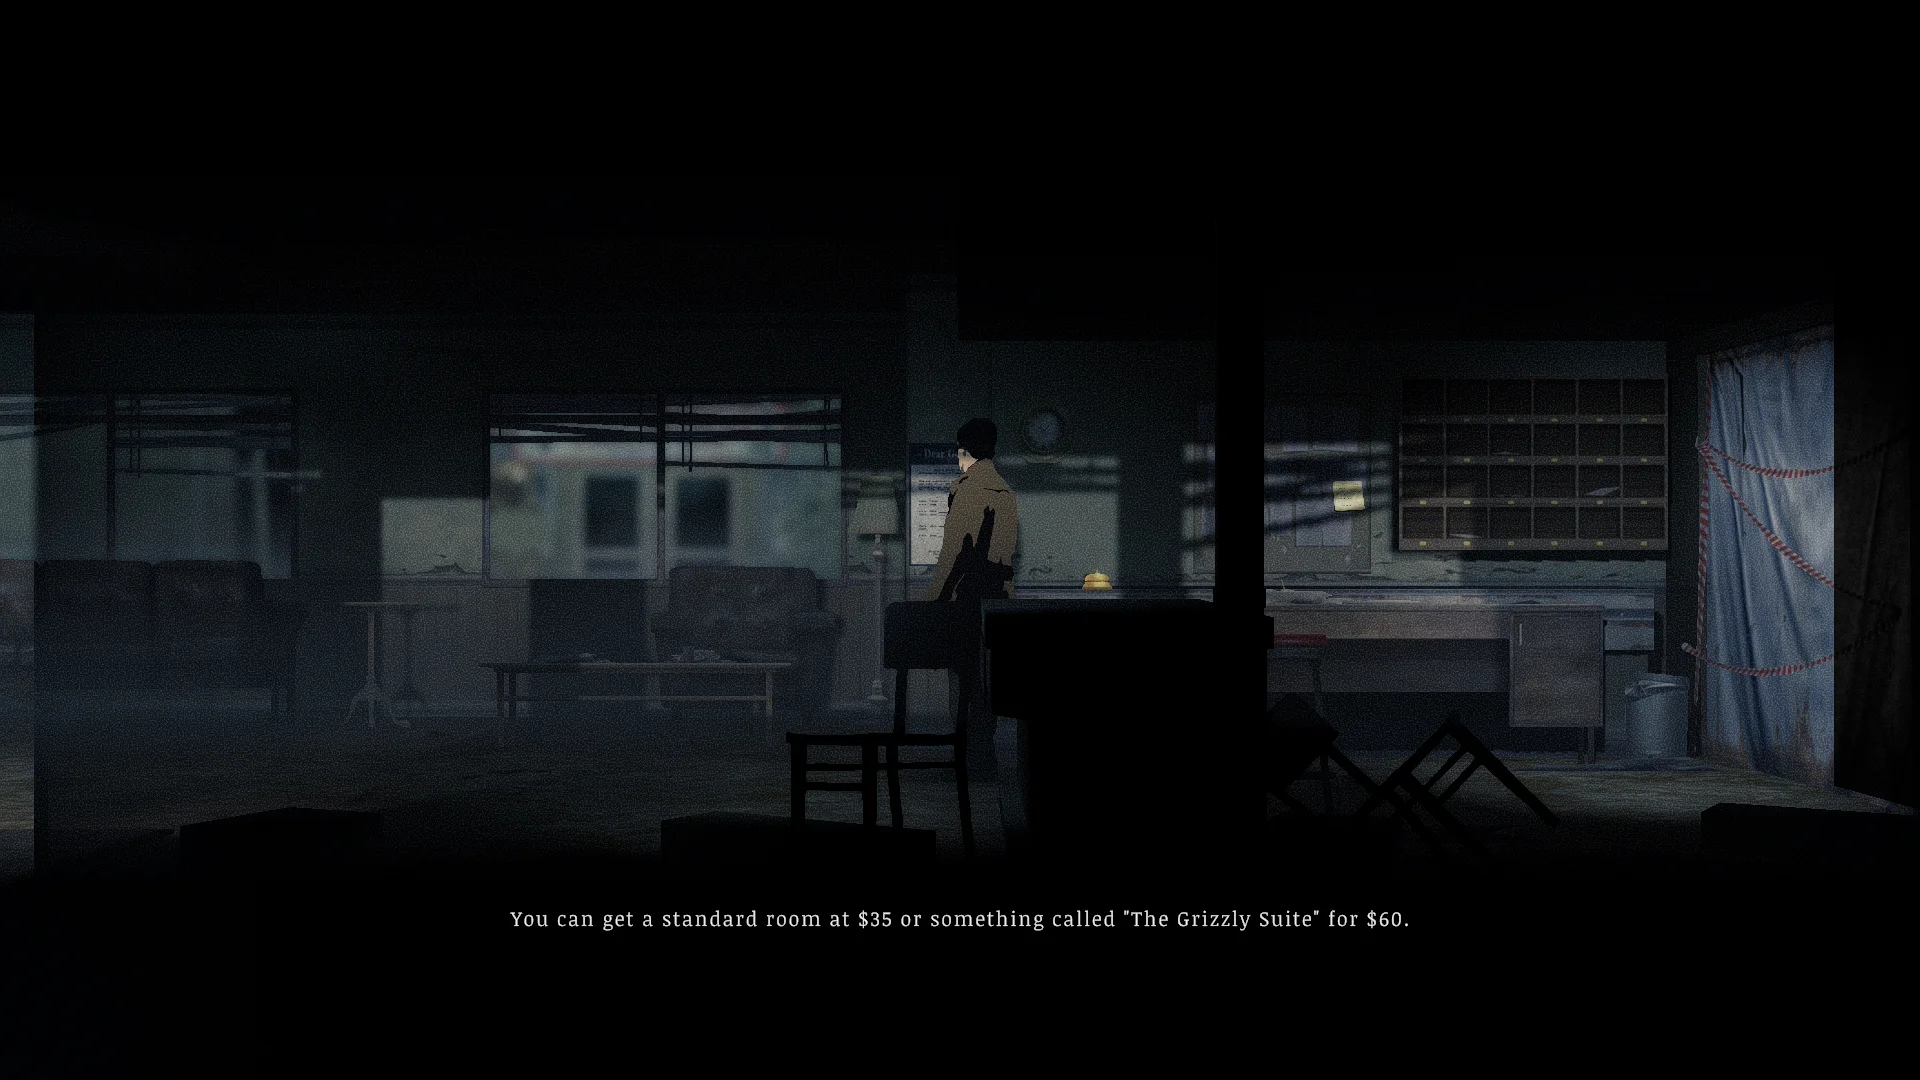


- Visit the motel check-in first. The desk bell does nothing, and the Grizzly Suite costs $60 a night. A note from Mr Holloway says he’s gone to Rodney’s General Store, so follow him.
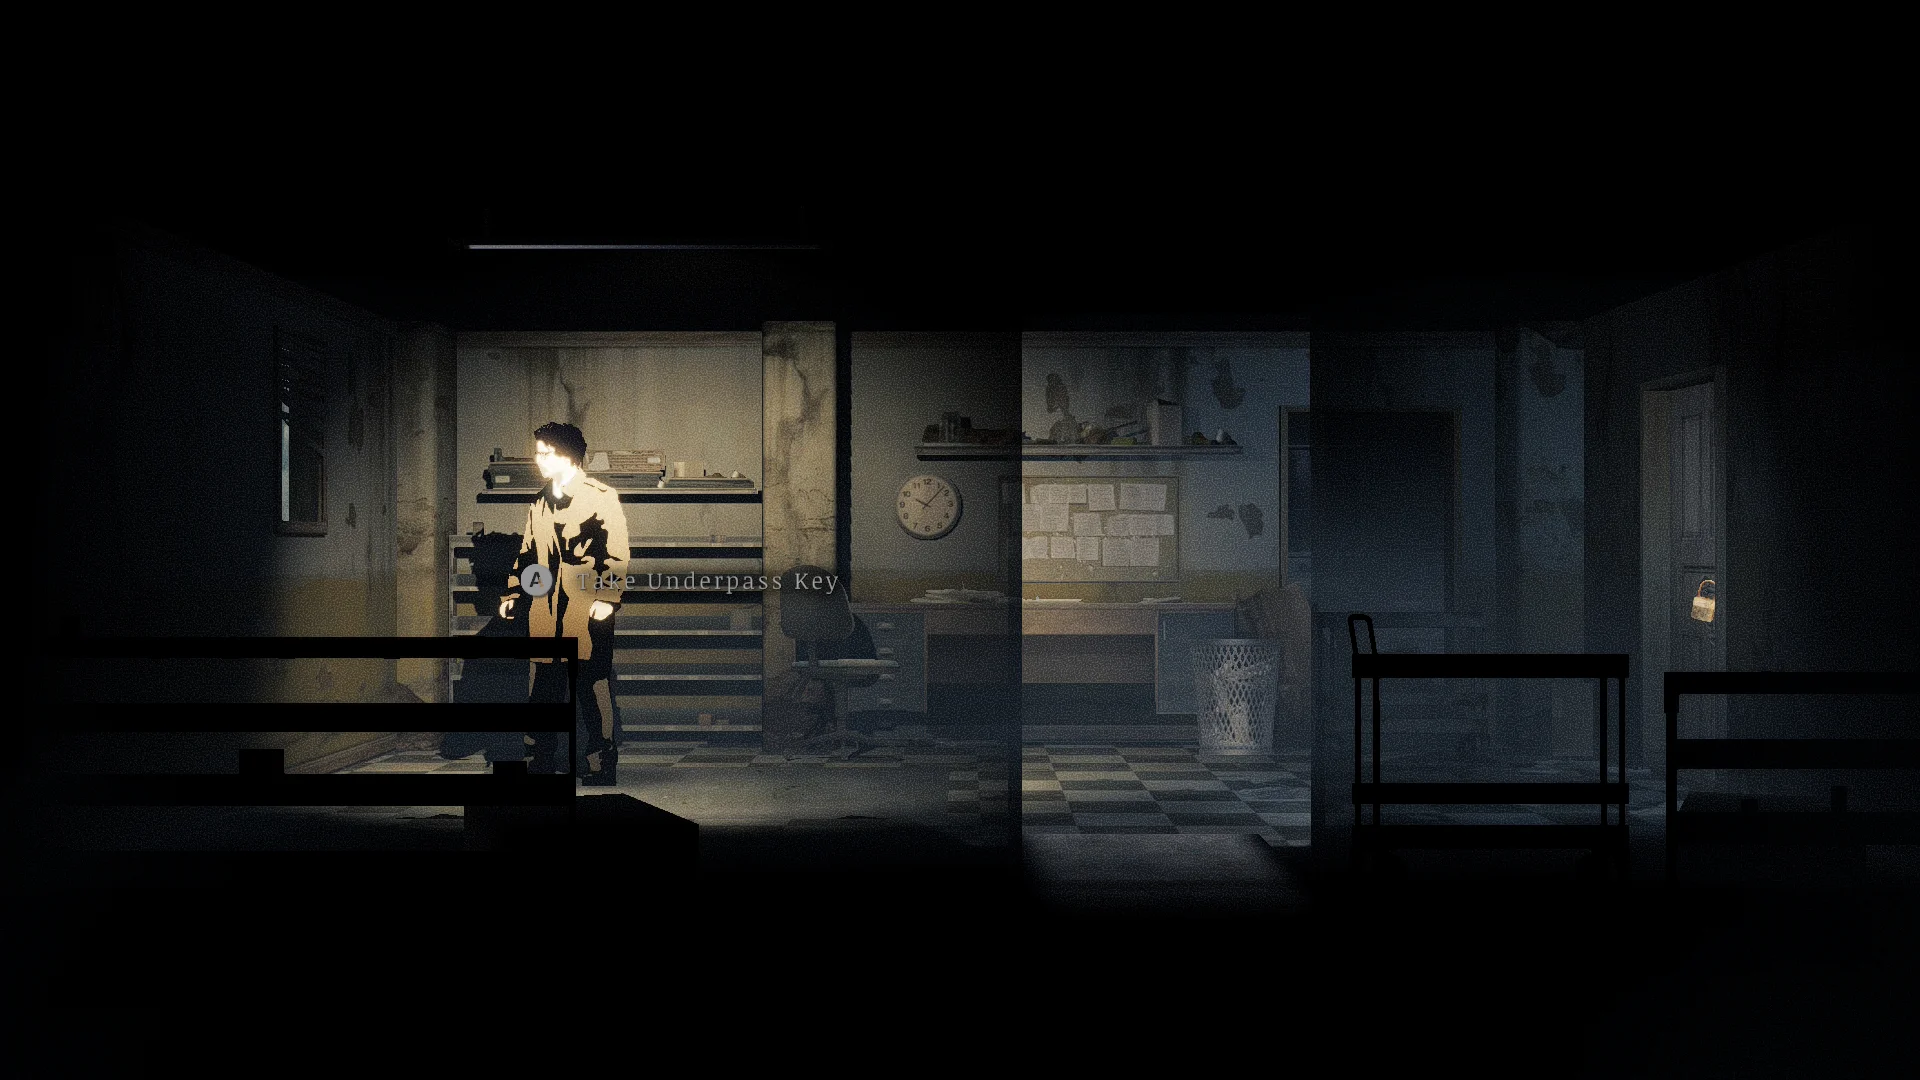
- Check the pharmacy back room at the store. You’ll find the Underpass Key, a Flatleaf Herb, Turkey’s Crown, a bottle, and the pharmacist’s note on mixing herbs.
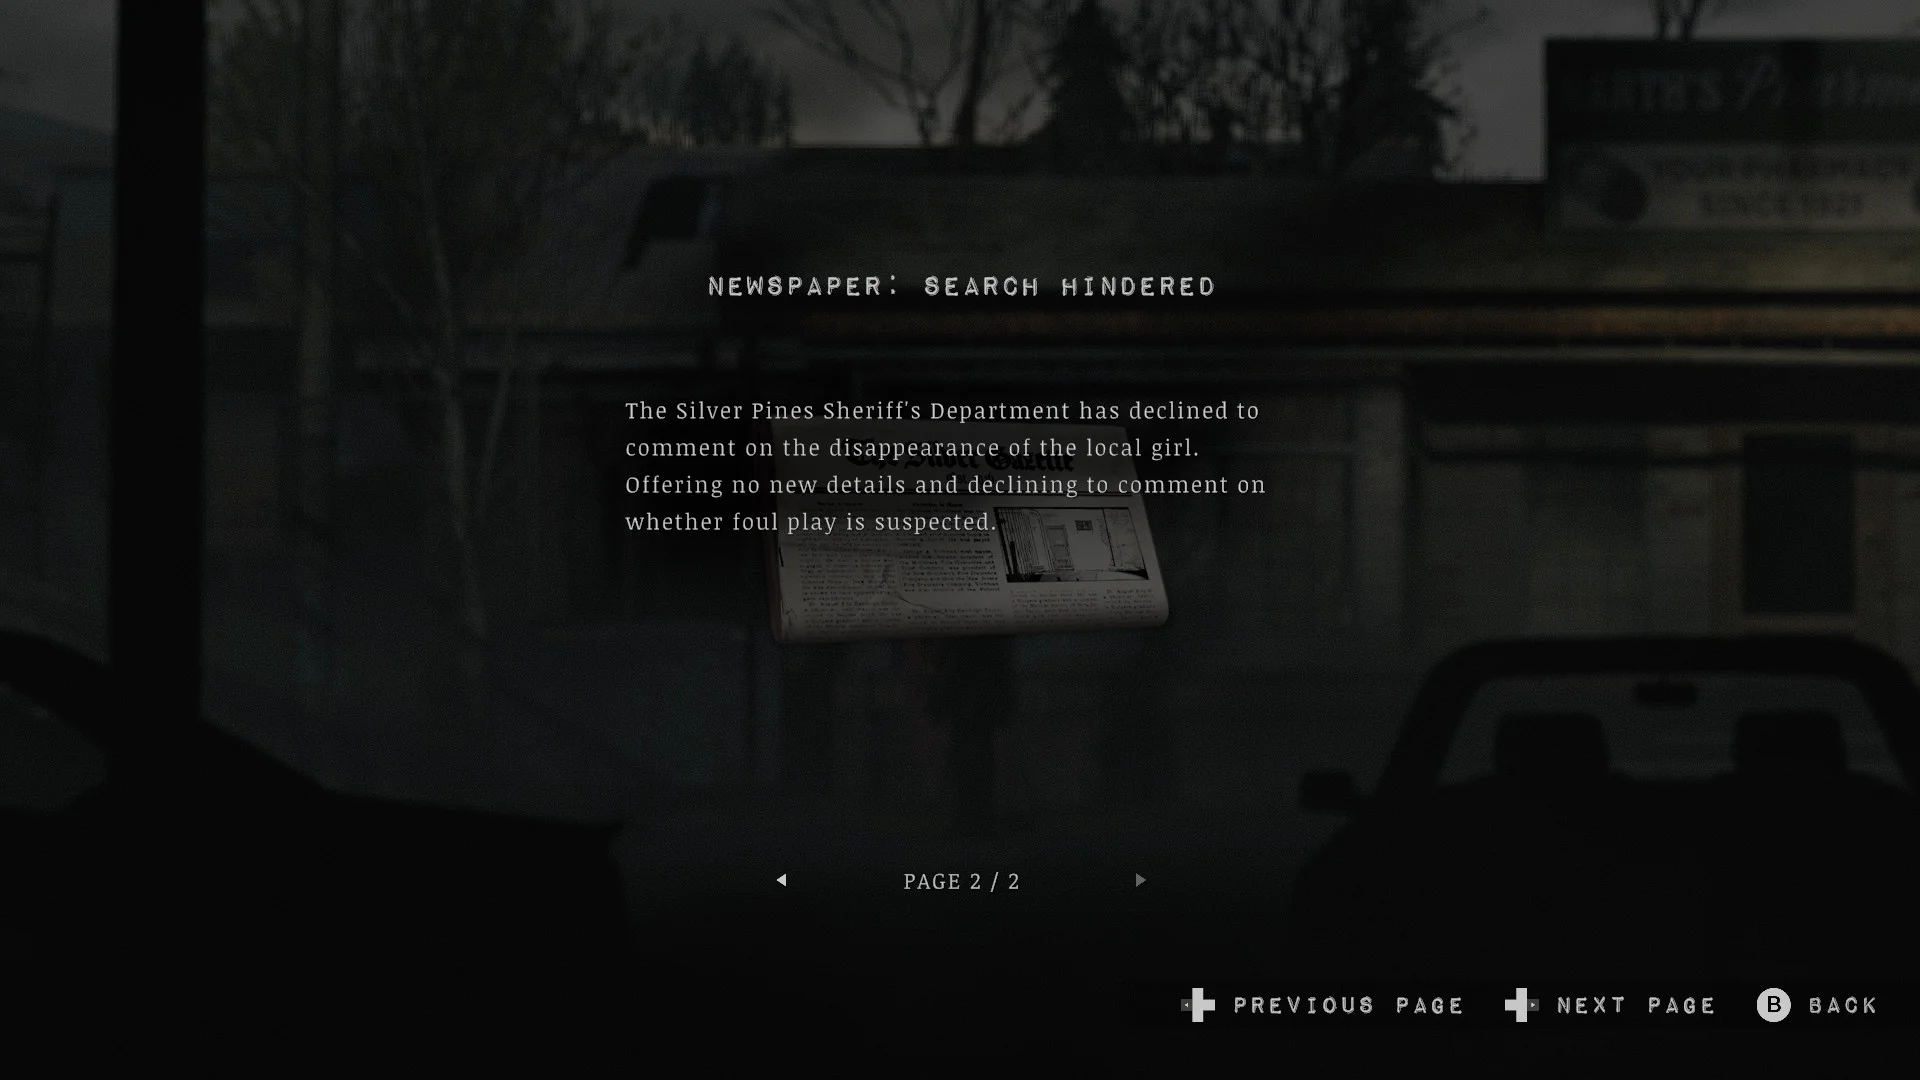
- Pay a dollar for the newspaper outside if you like your lore grim. It covers the Sheriff’s department and a missing girl.
What is the General Store freezer code?
Put 23 in front of the date on the store calendar, and you get 2311.




- Check the calendar on the store wall. It shows 11 November.
- Read the General Store Code note in the room to the right of the store. It says “The code is 23 + the current day of the month”. Ignore the plus sign and write the two numbers side by side.
- Enter 2311 on the freezer and take the Check-in Key from the back. Enemies turn up on your way out, so keep your weapon ready.
- Pick up the Box Cutter and your first Hip Bag outside the store.
Stuck between a locked gate and a high wall? Cut the plastic tarp to the left of the shops with your box cutter.
How to open the Underpass
The Underpass Key from the pharmacy back room opens it, but don’t expect much inside apart from a soda.
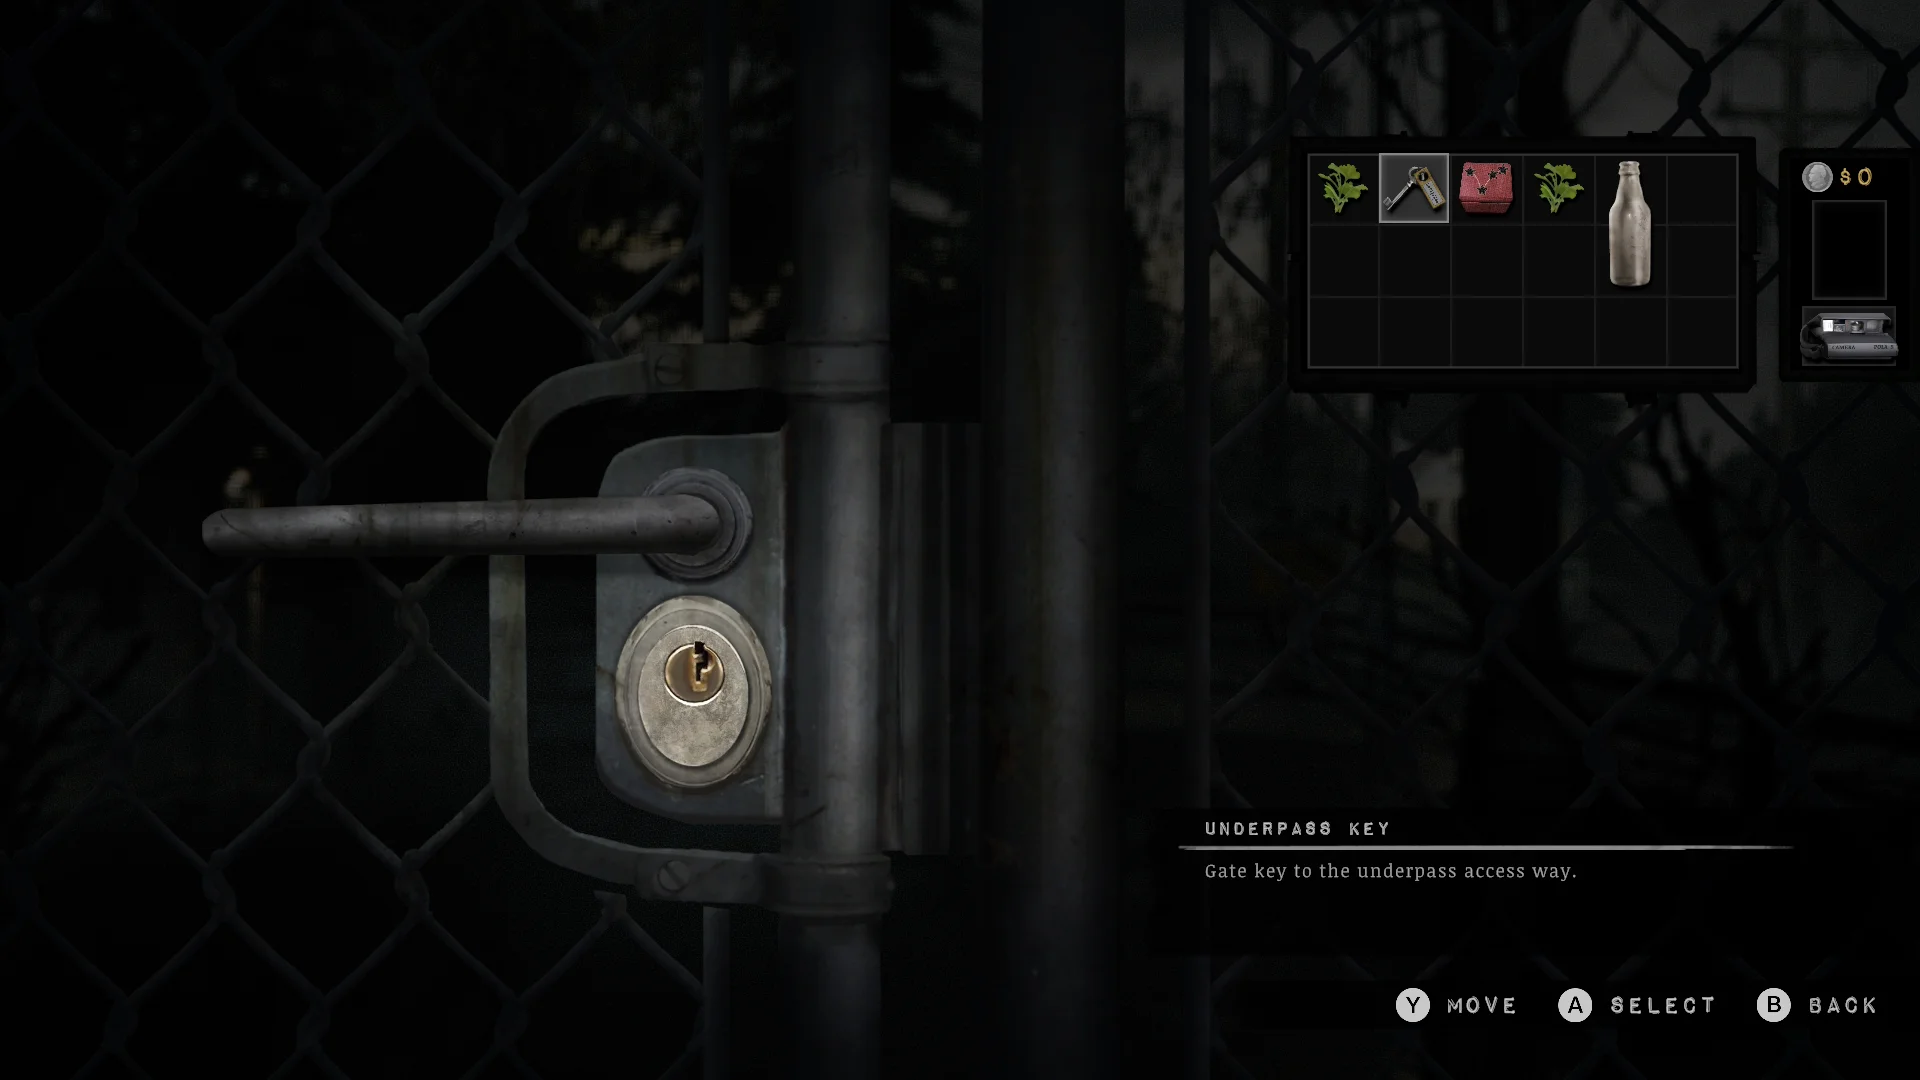
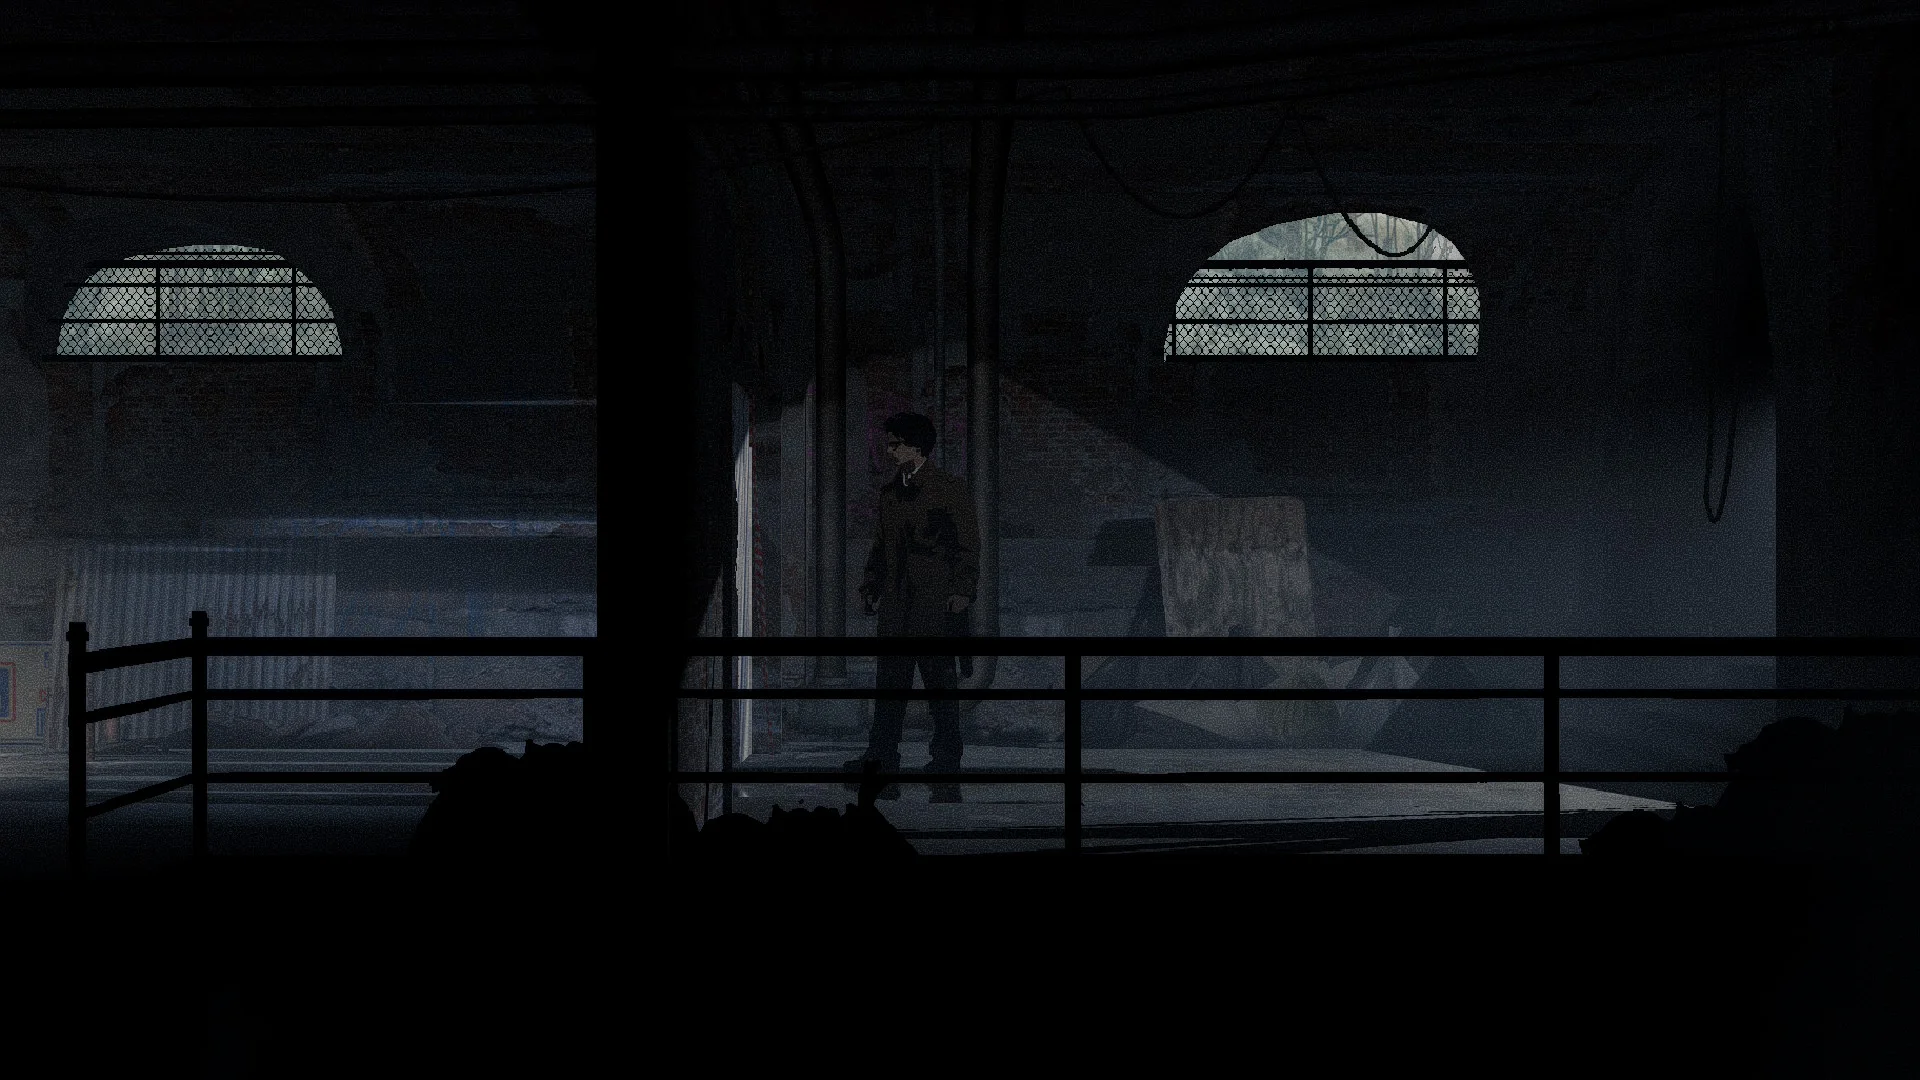
- Unlock the underpass gate and walk through.
Crimson Bear Motel
How to get inside the Crimson Bear Motel
Your gate code sits in Eddie Velvet’s row of the Motel Guest Ledger, but the game rolls a new code for every save.
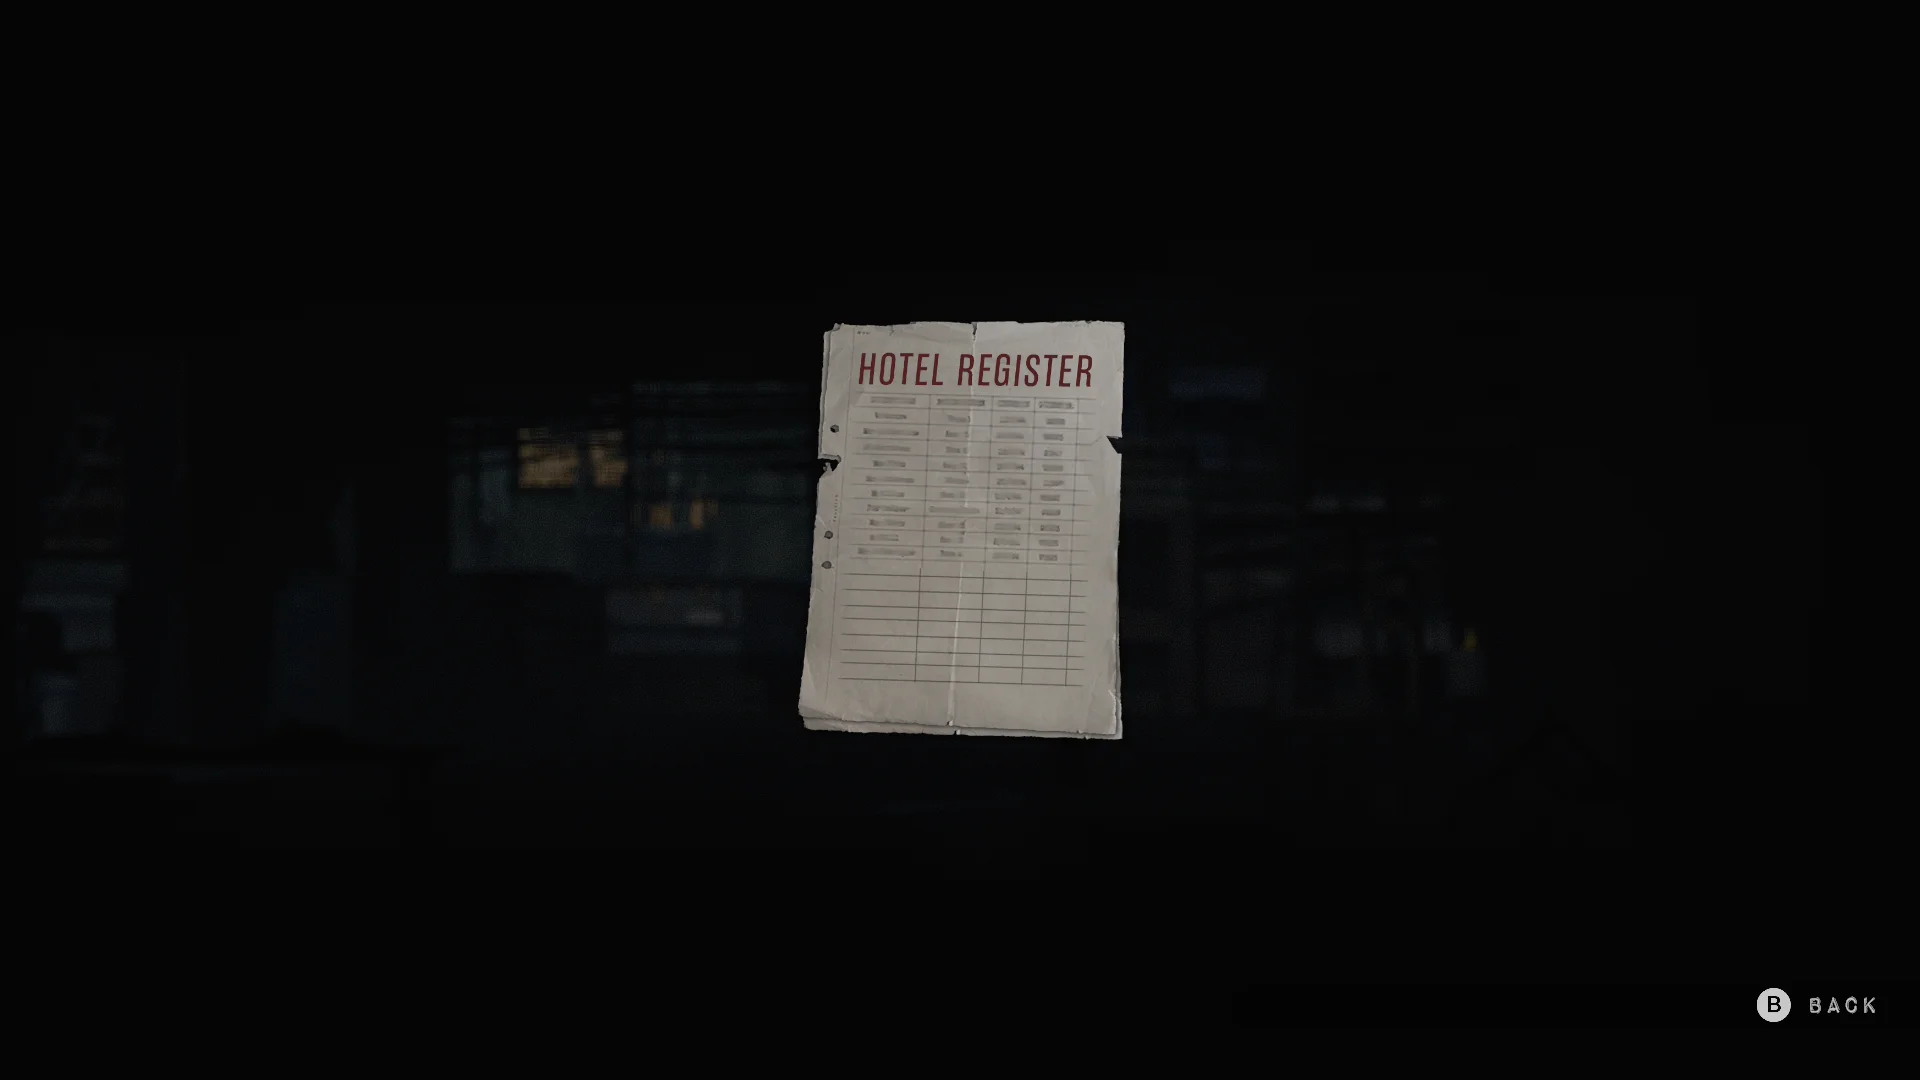
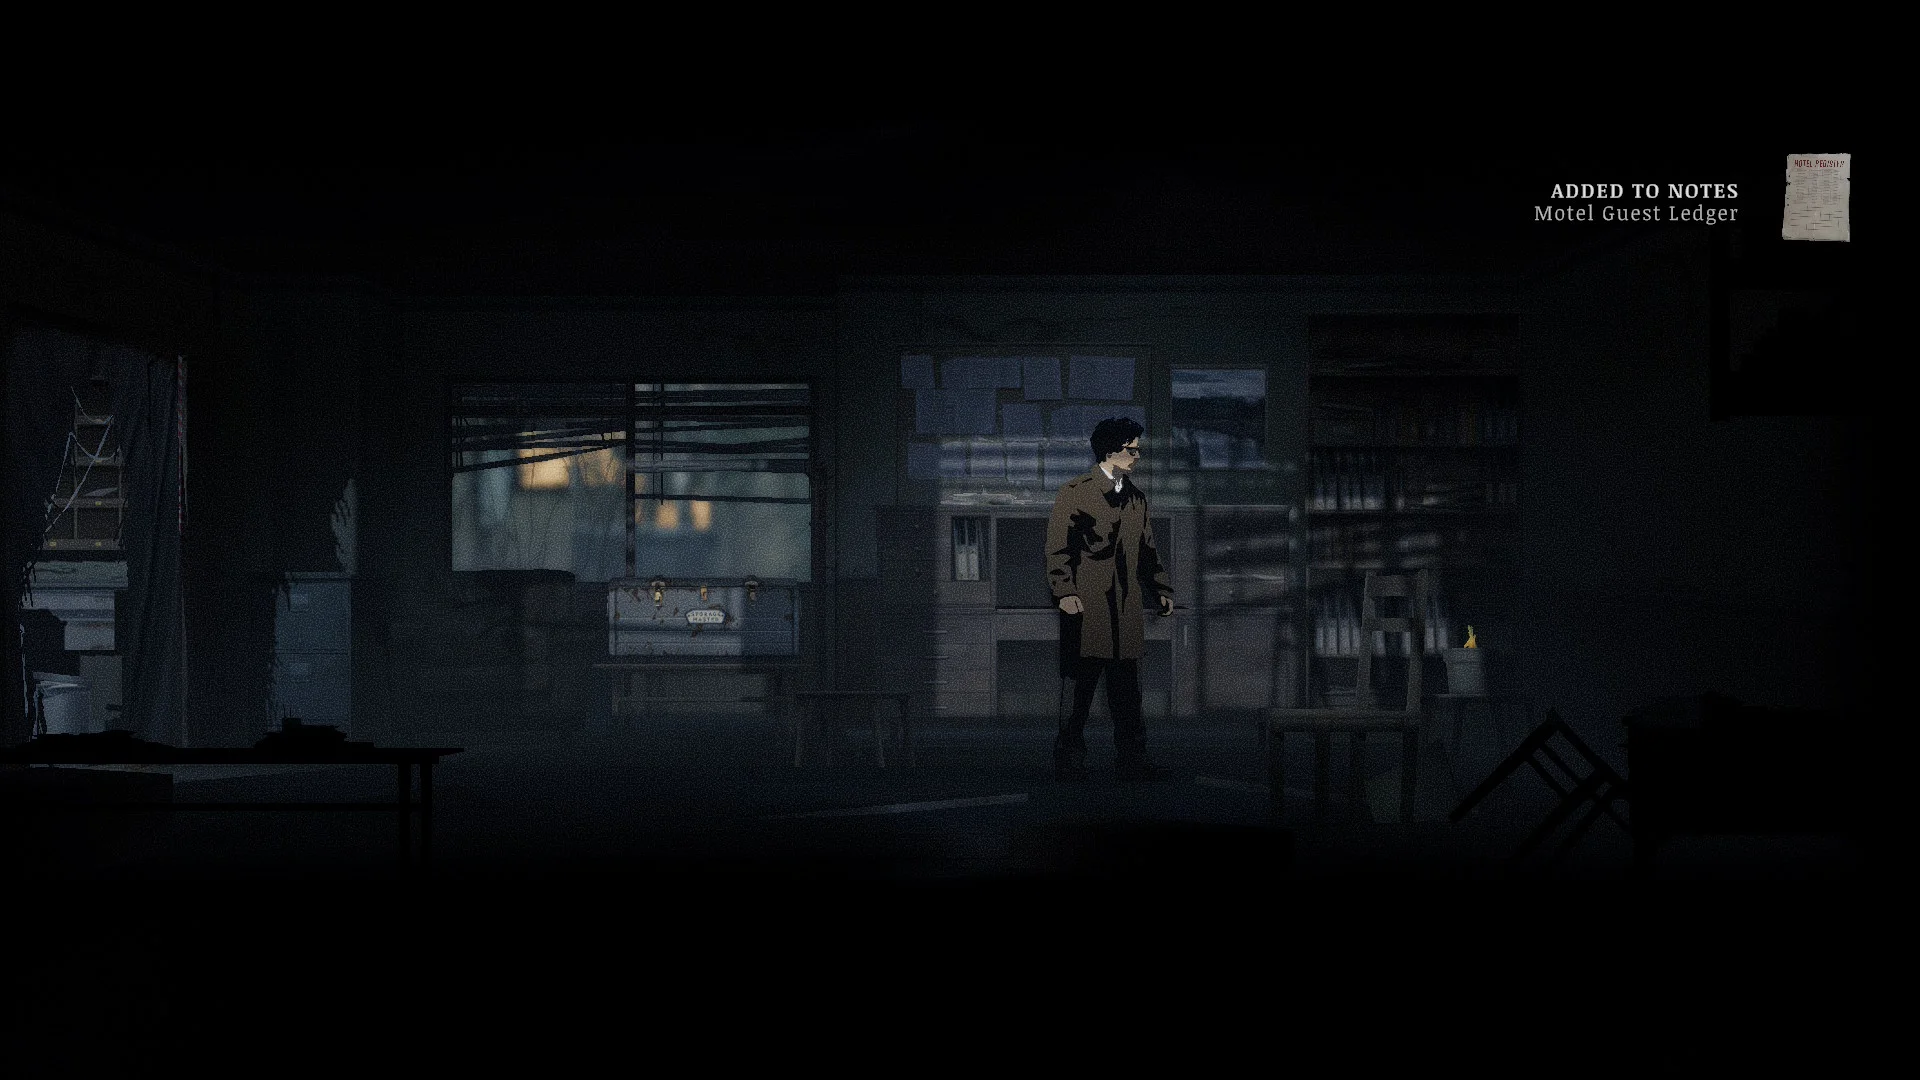

- Open check-in with the Check-in Key and read the Motel Guest Ledger. Eddie stayed in the Grizzly Suite, naturally, and his row holds the gate code.
- Enter that code at the motel gate. Mine was 52432, but yours won’t be, so copy it from your own ledger.
How to get the Poolside Key
To get the poolside key, you need to win the shooting gallery in the game room after you get its lights back on with a fuse.

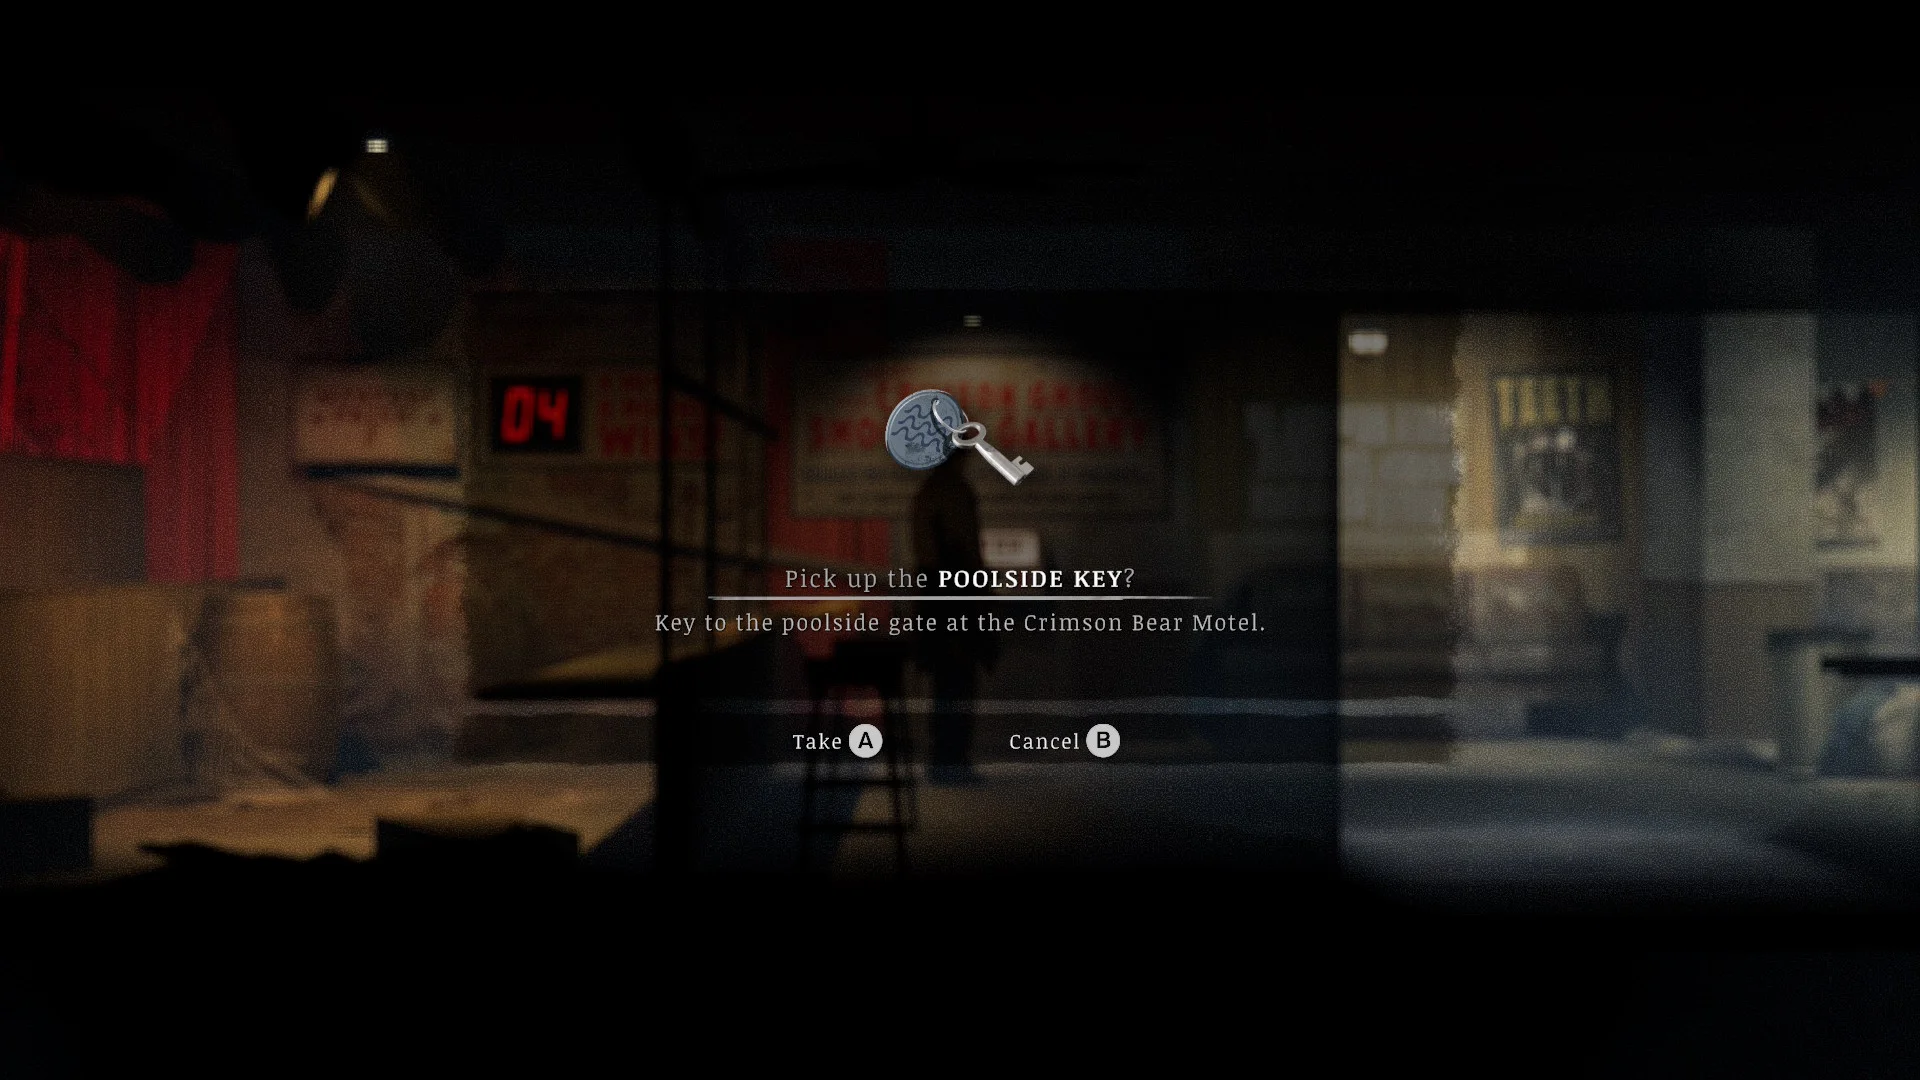
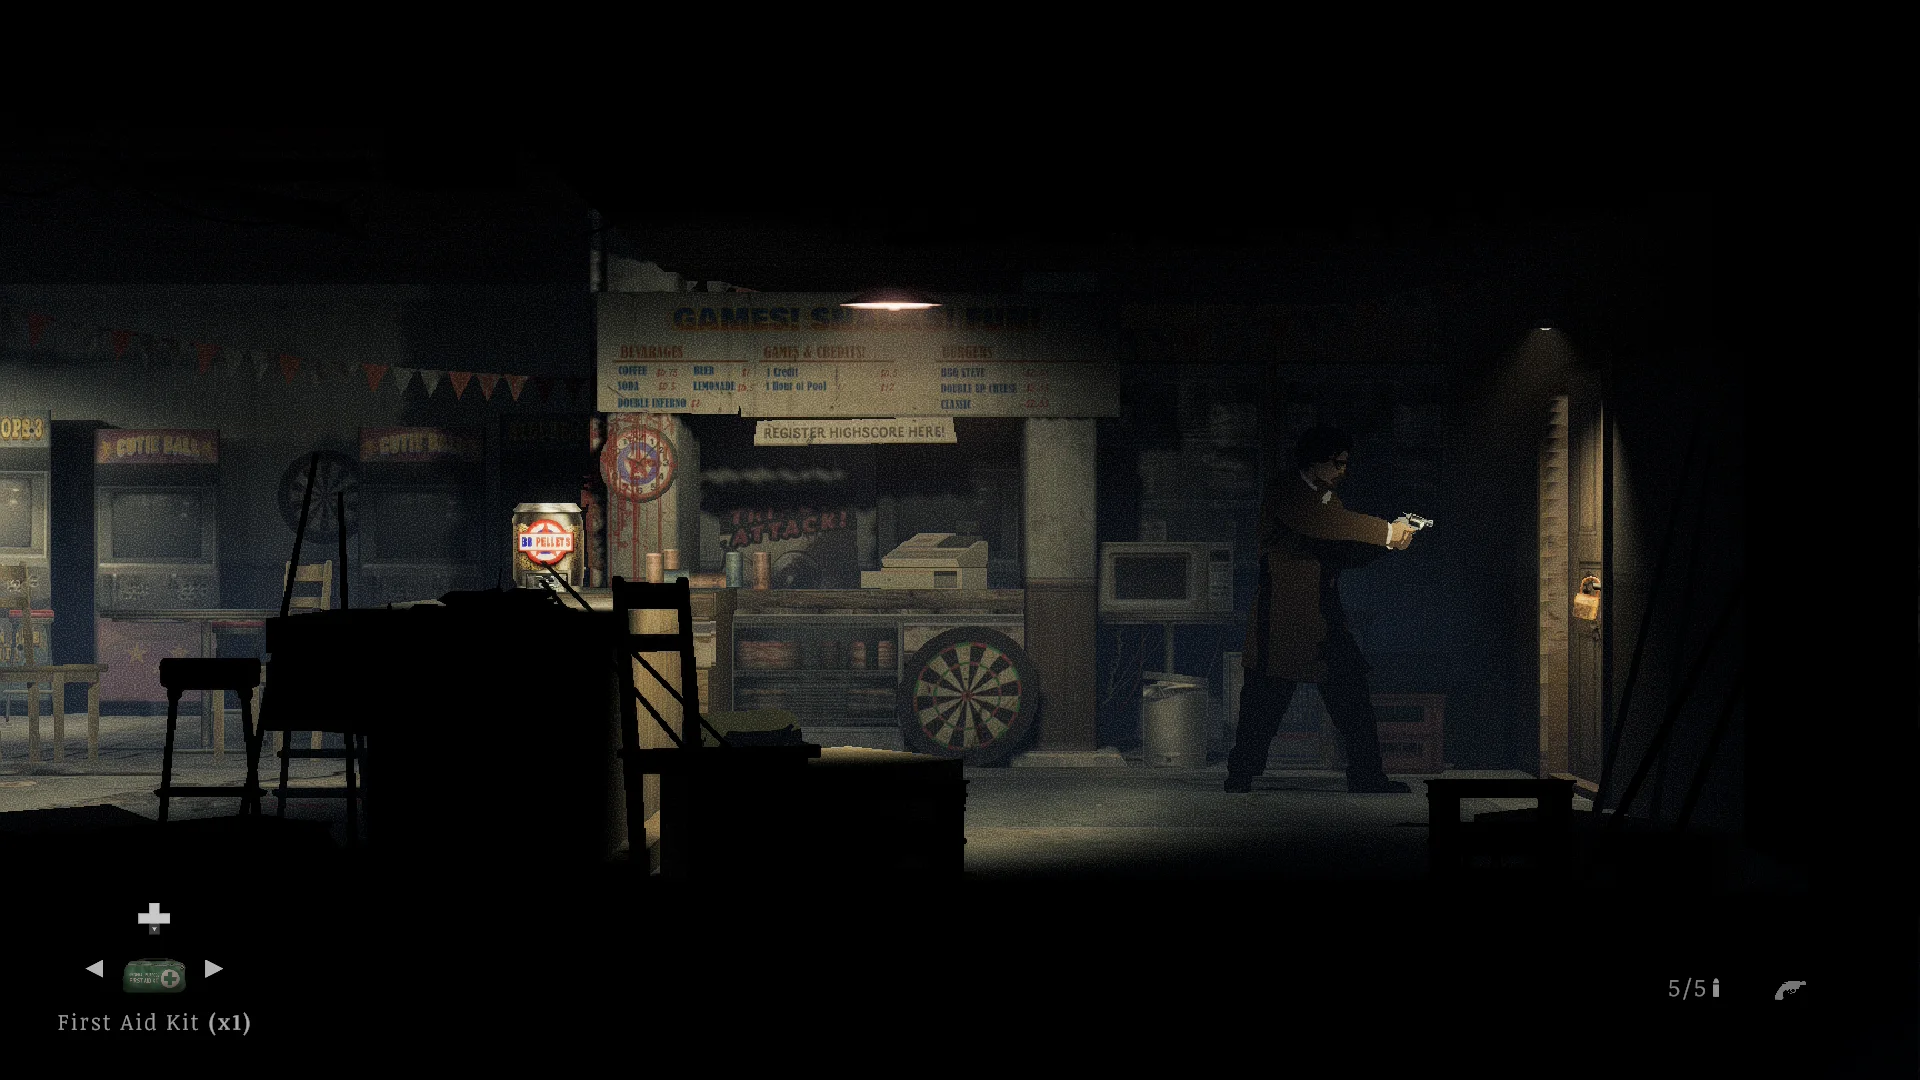

- Take the fuse from the lower floor of the main building, where a few enemies are waiting. Fit it in the fuse box by the game room door.
- Play the shooting gallery with the BB rifle until you win. The prize is the Poolside Key.
- Come back once you have a real gun, shoot the rusted lock at the back of the game room and the locked chest nearby. The padlocked crate holds .38 ammo, and the jacket and cash register give you some cash.
How to get into the Grizzly Suite
The Grizzly Suite Keycard sits in the pool changing rooms, right past the poolside gate.

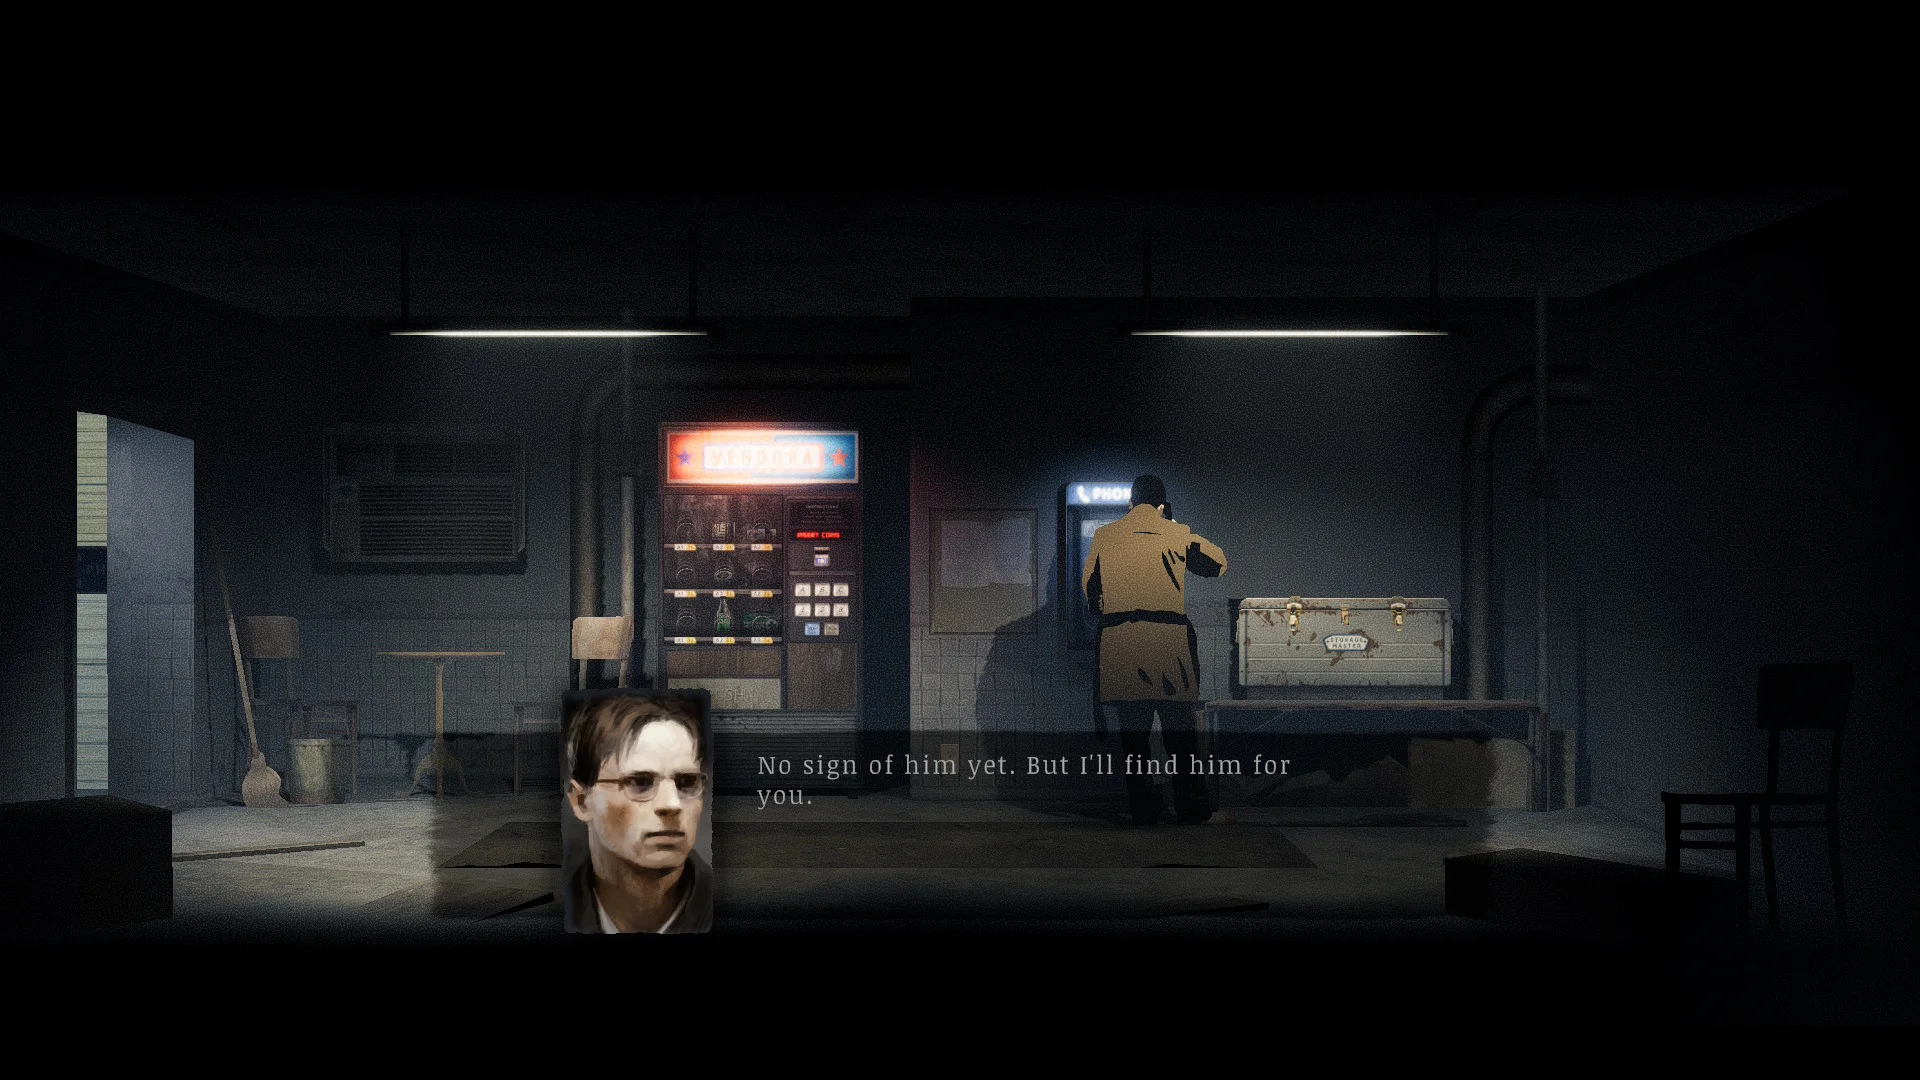

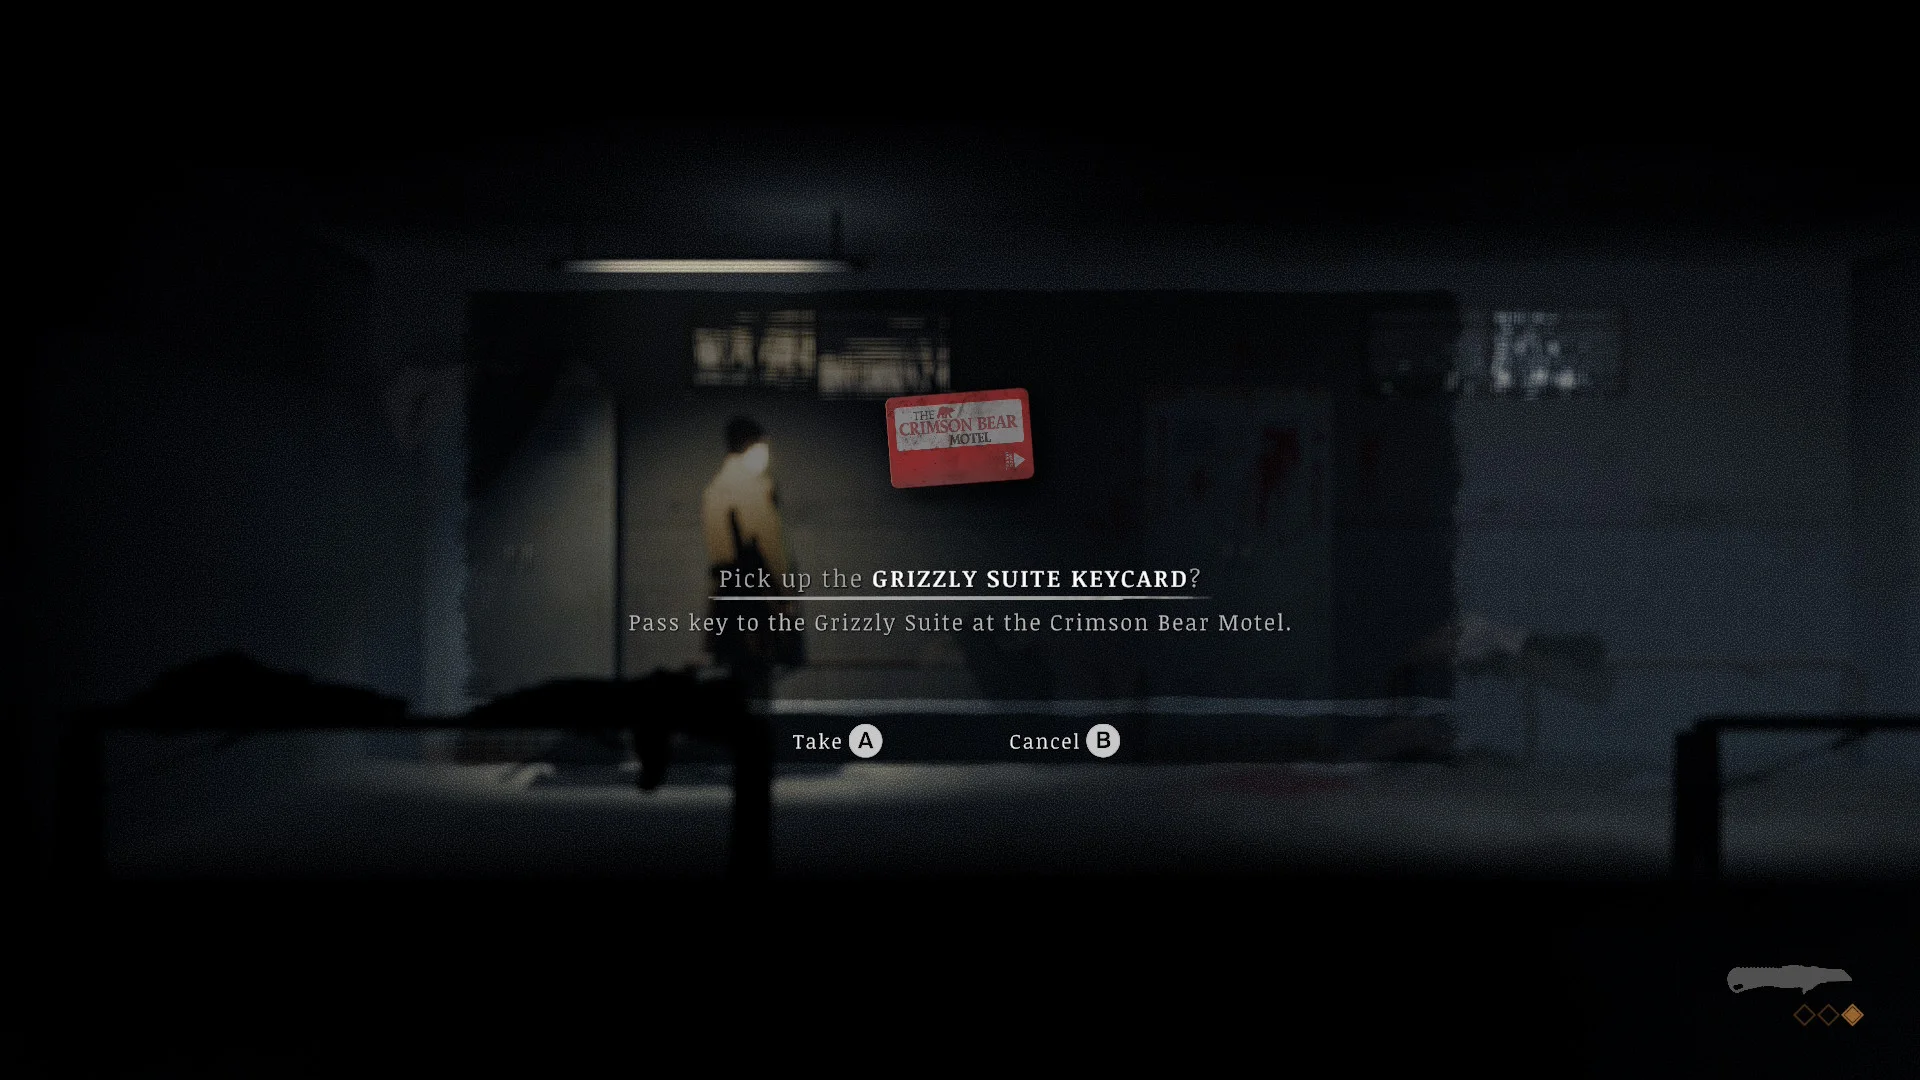
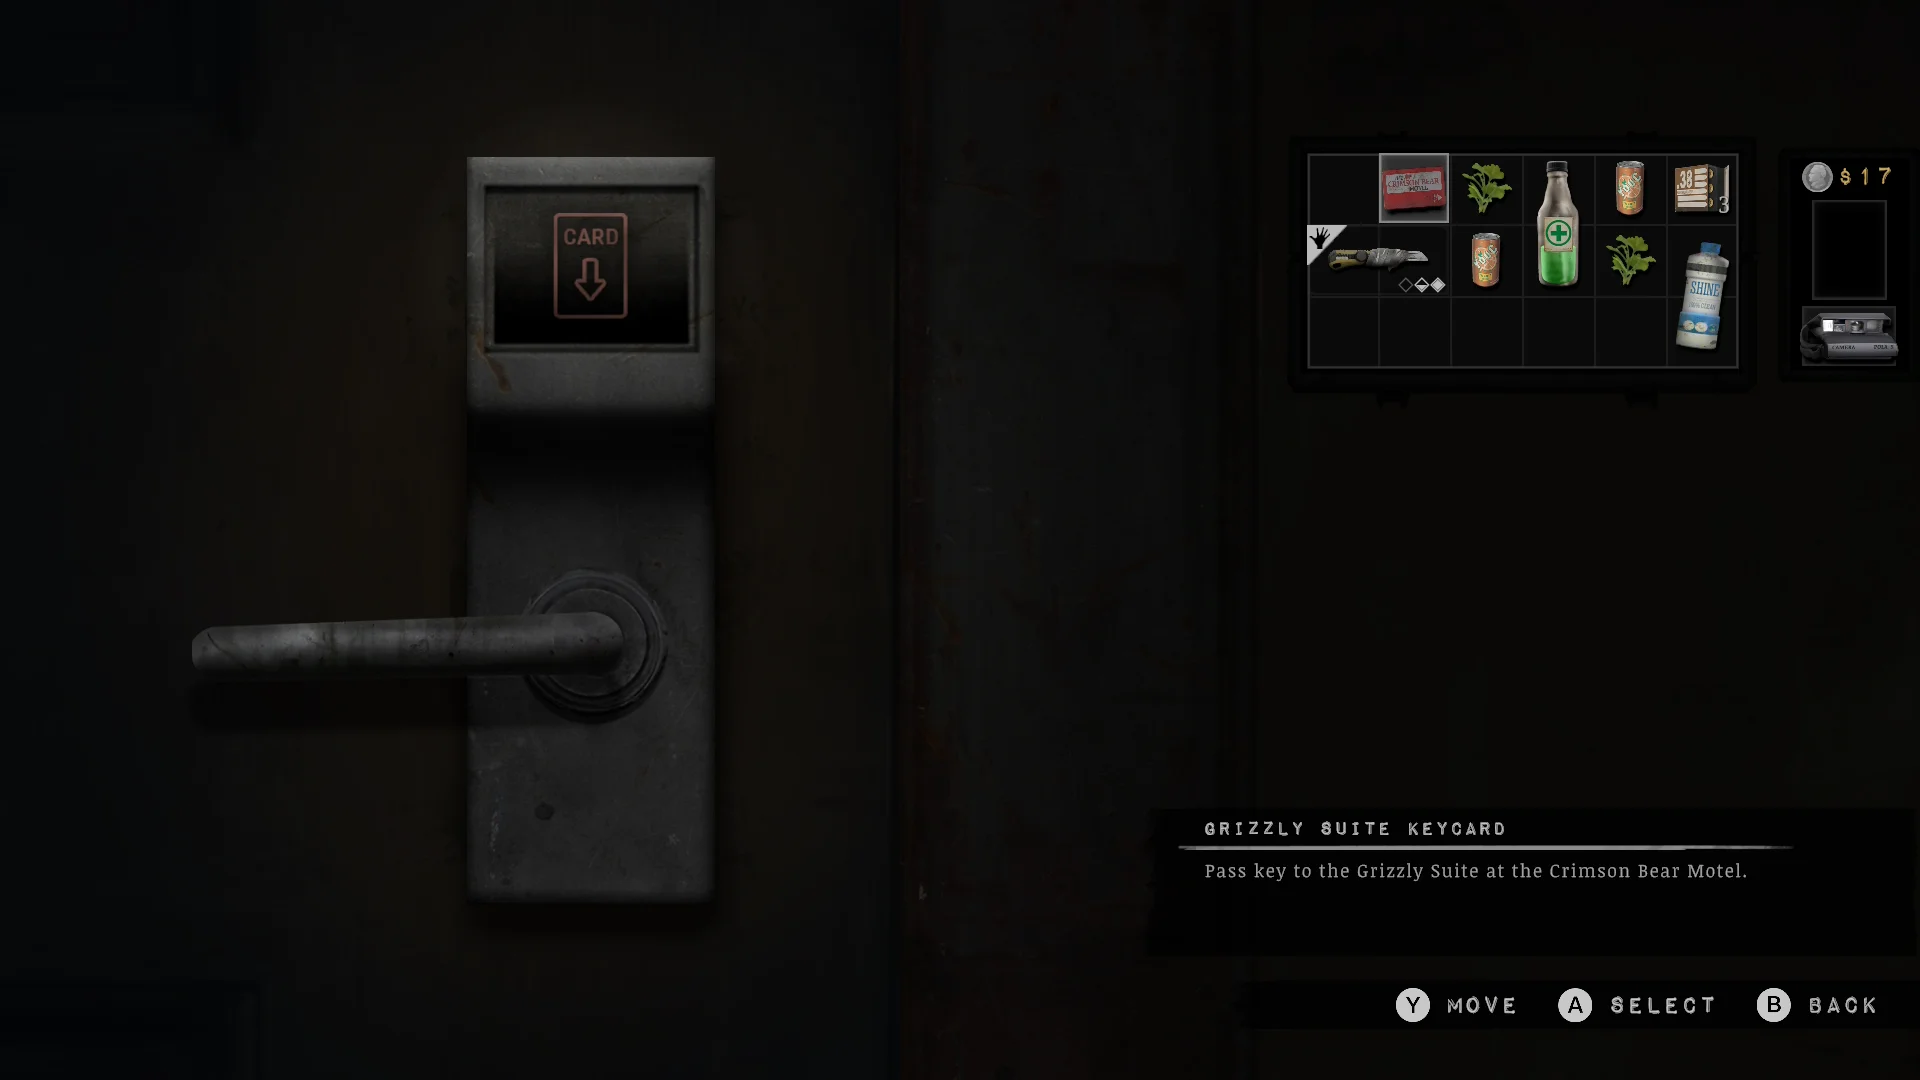
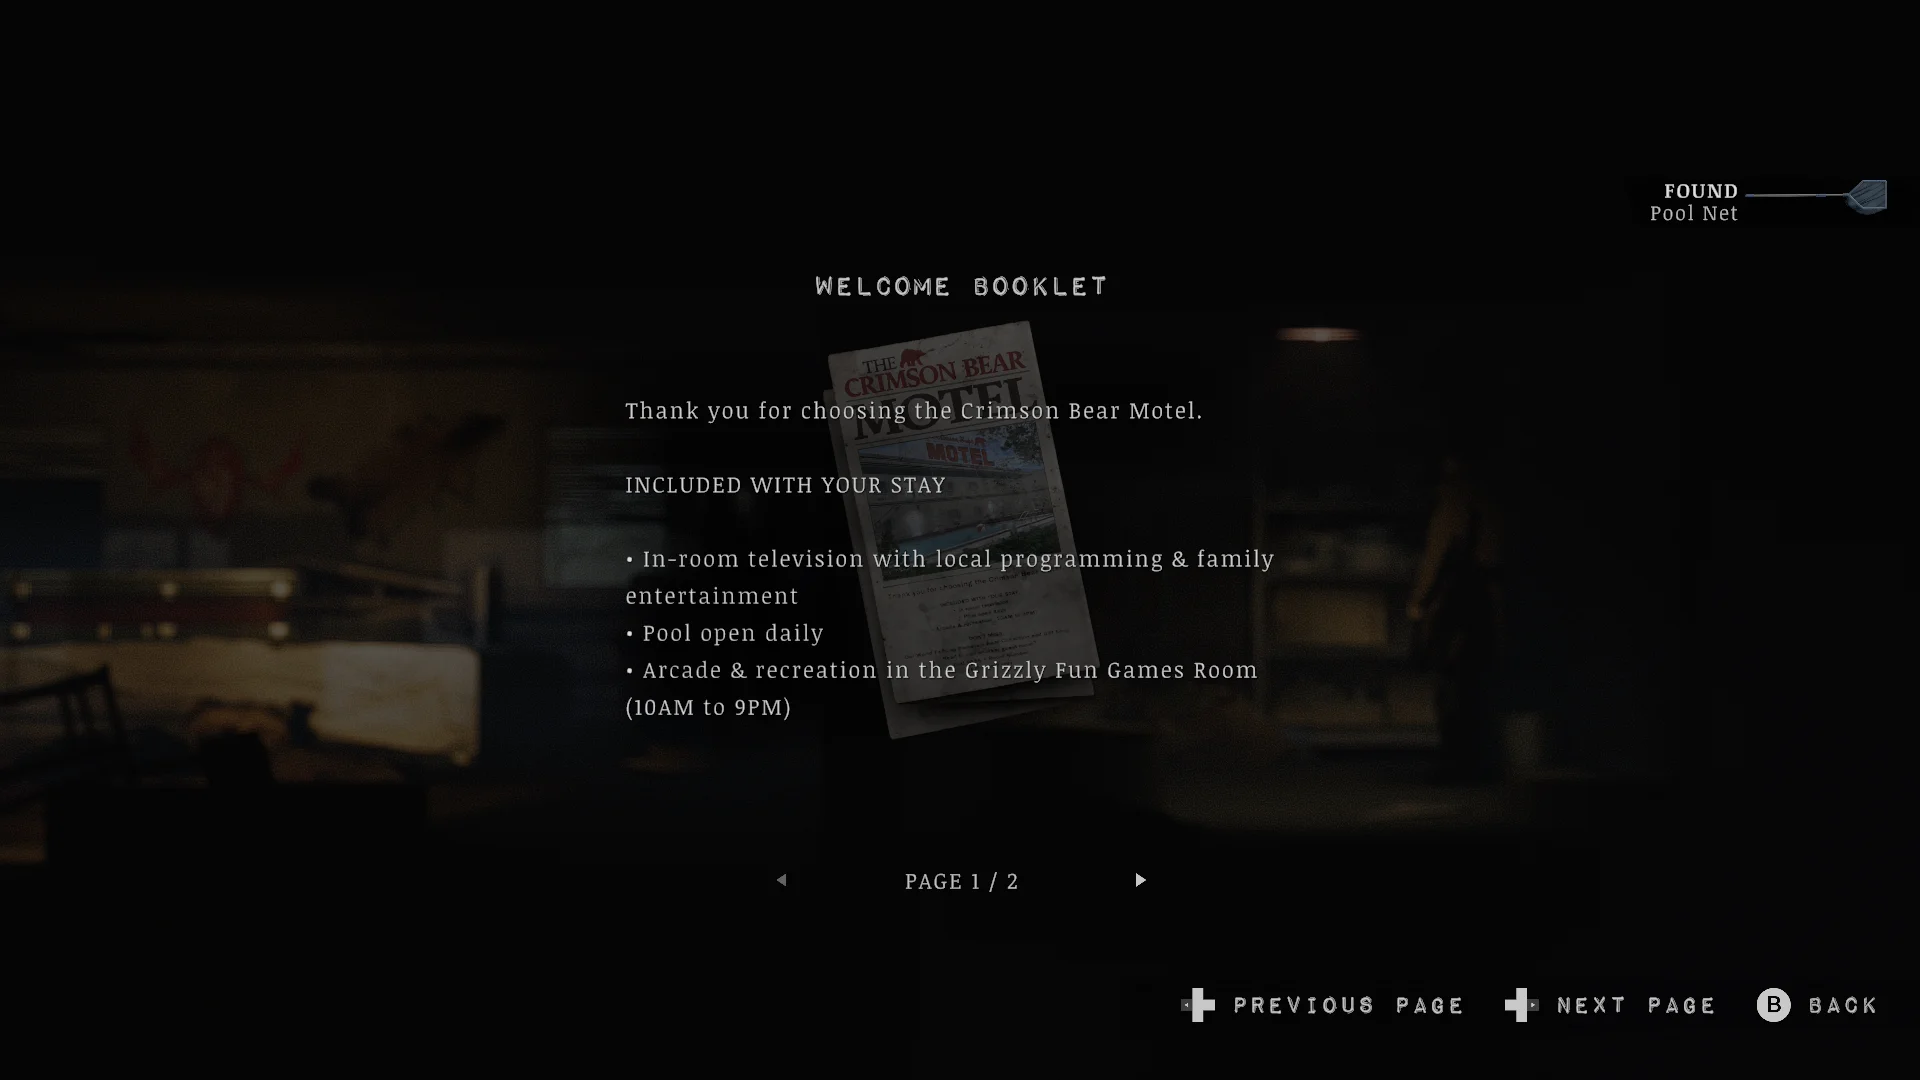

- Open the poolside gate with the Poolside Key. There’s a payphone here, so save.
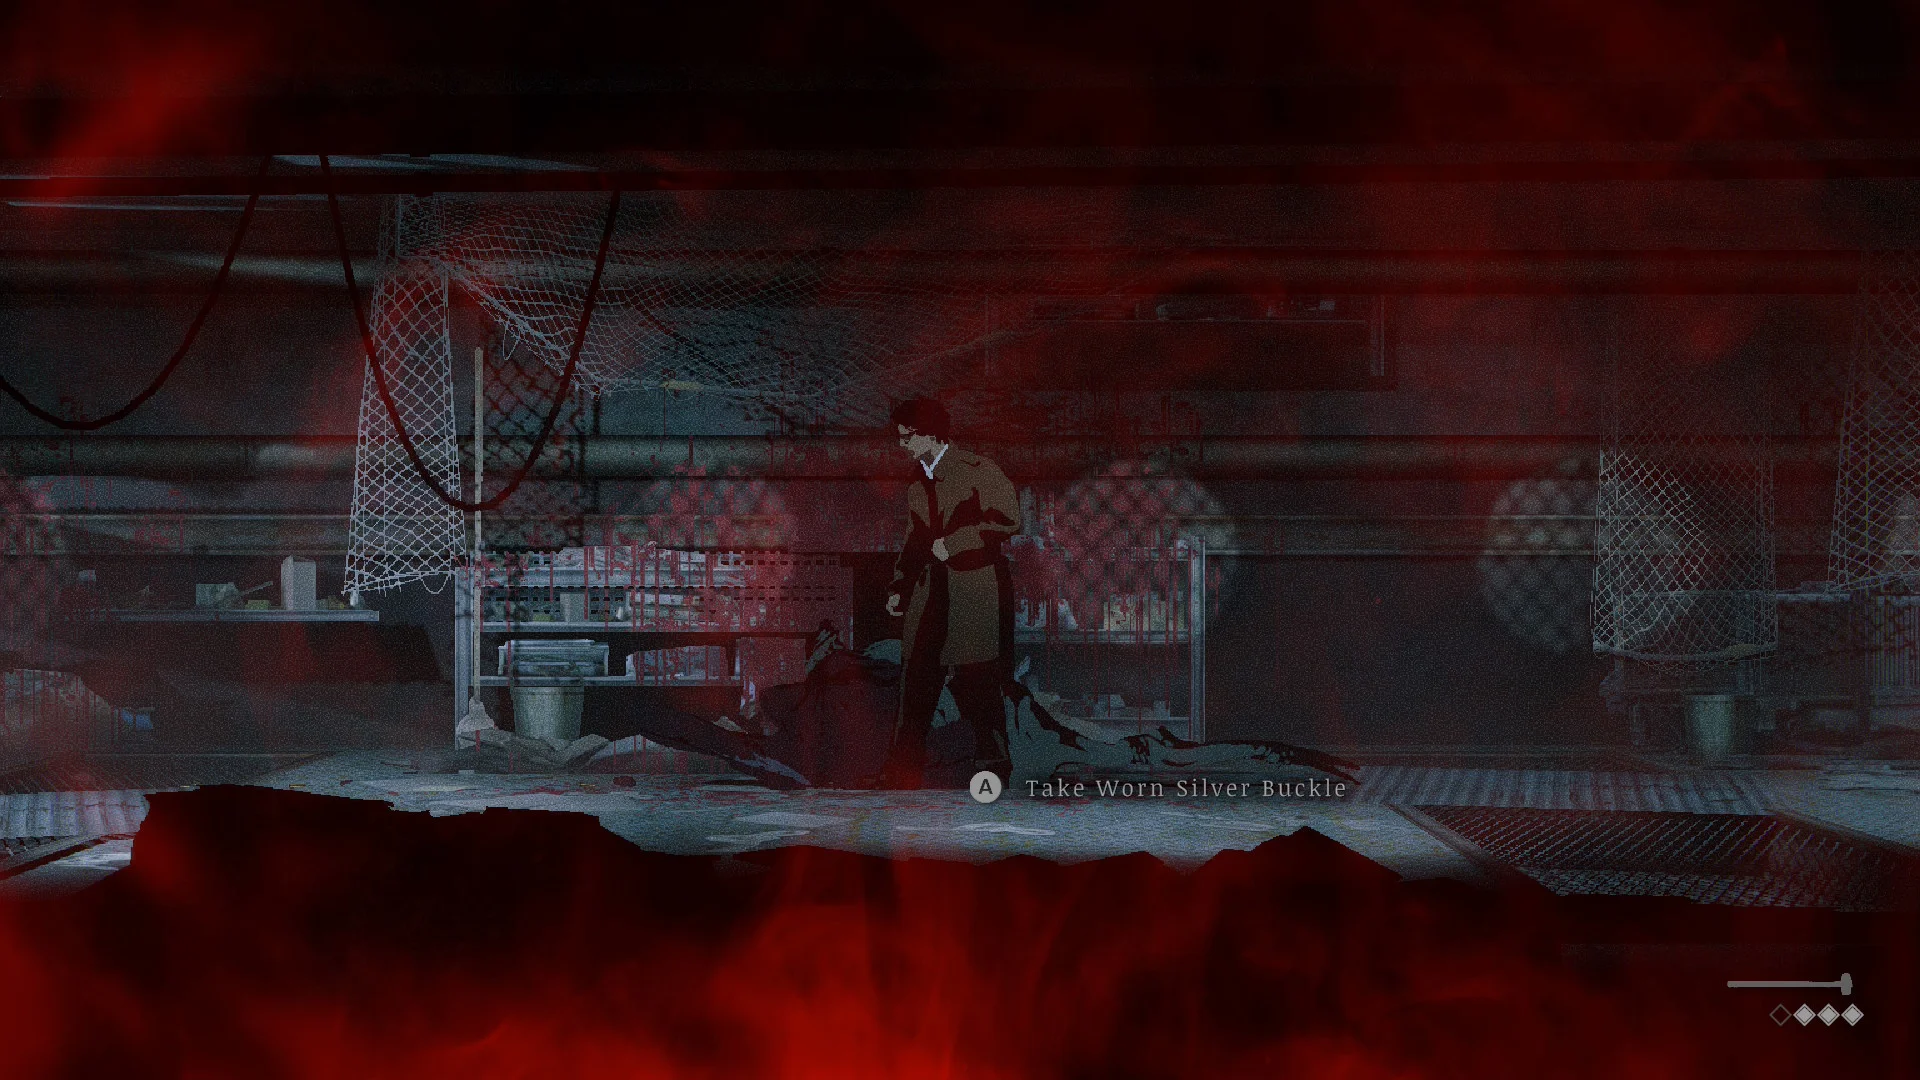
- Ignore the thing stuck in the pool grate for now. You can’t reach it yet.
- Take the keycard from the changing rooms.
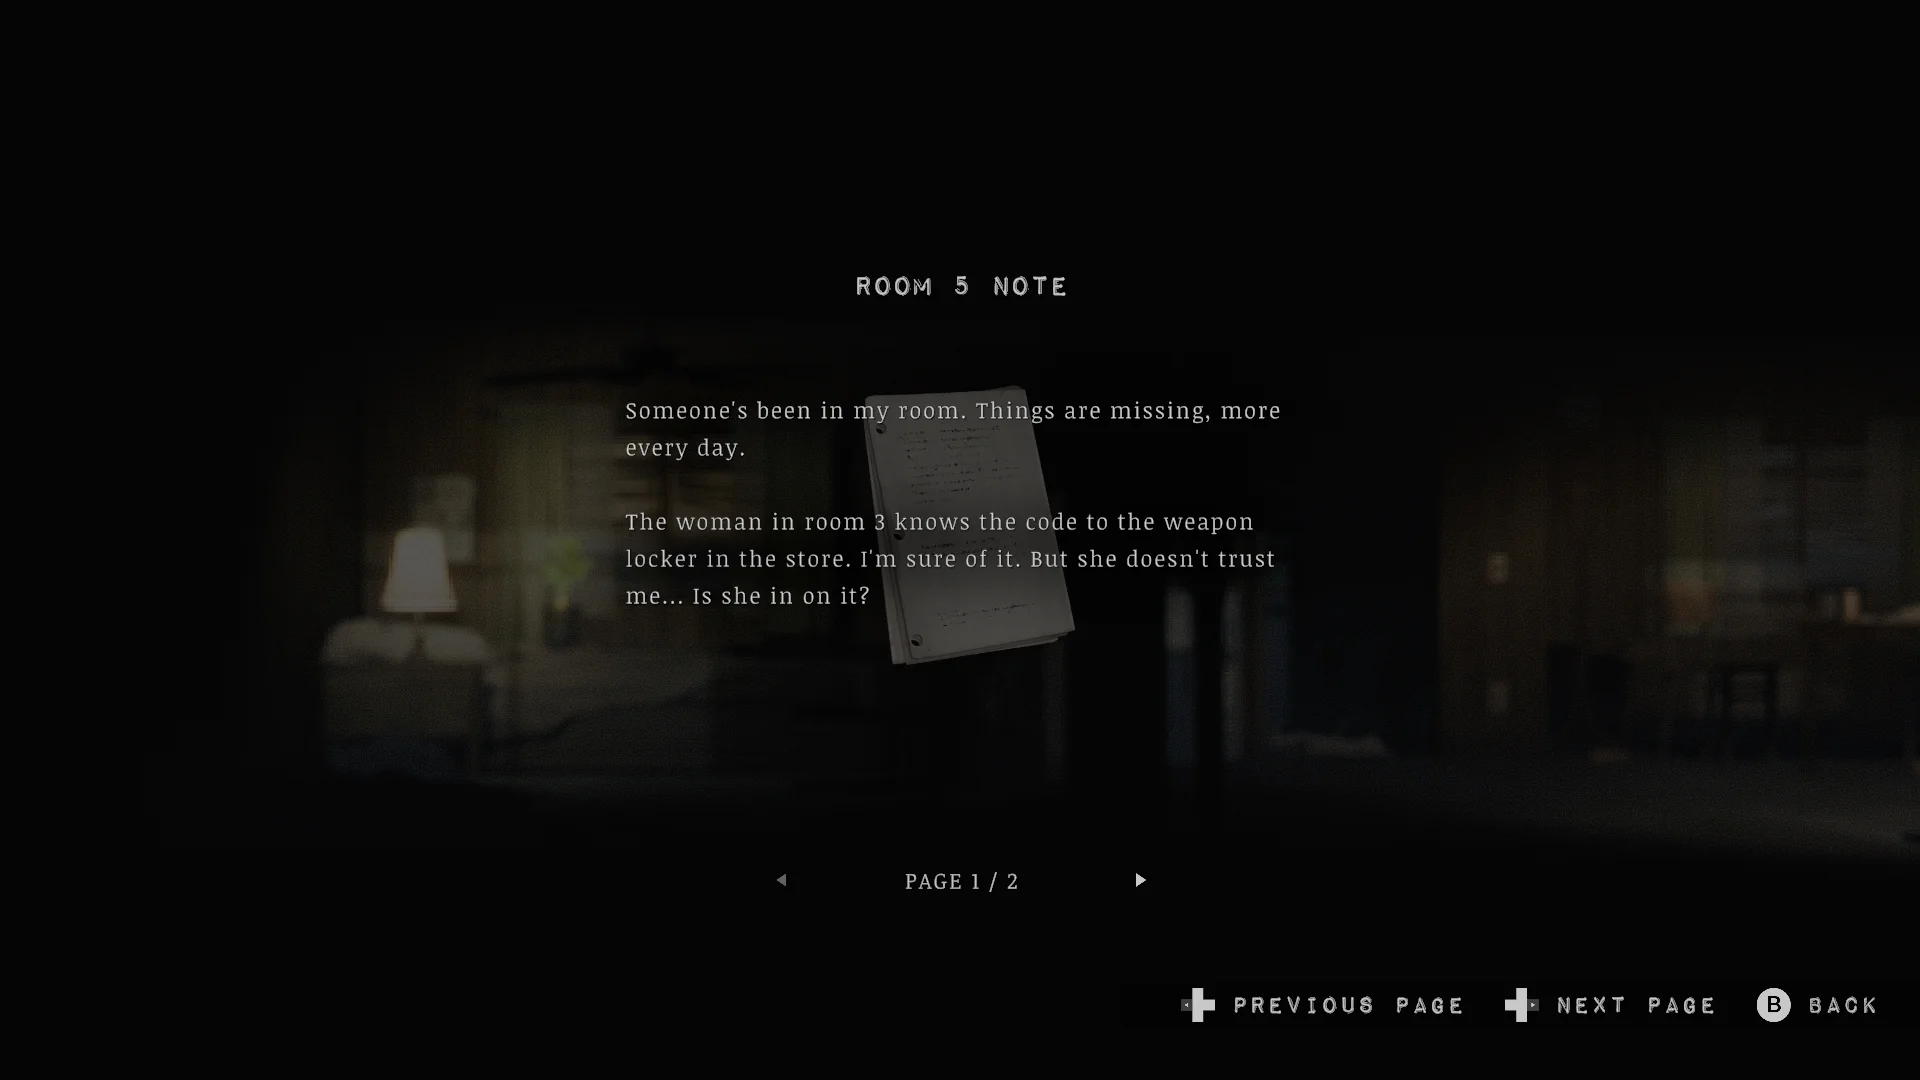
- Stop in room 5 on your way. A note says the crying woman in room 3 knows the weapon locker code, and the Cleaning Solution sits in the same room.
- Open the Grizzly Suite. Eddie left behind the Welcome Booklet, the Pool Net, the Snub .38 Revolver, and some ammo. His padlocked crate has more .38 rounds, which is more than he left at the motel.
How to open the palm tree door
You need a Door Knob, and it’s buried in the gunk stuck in the pool grate.
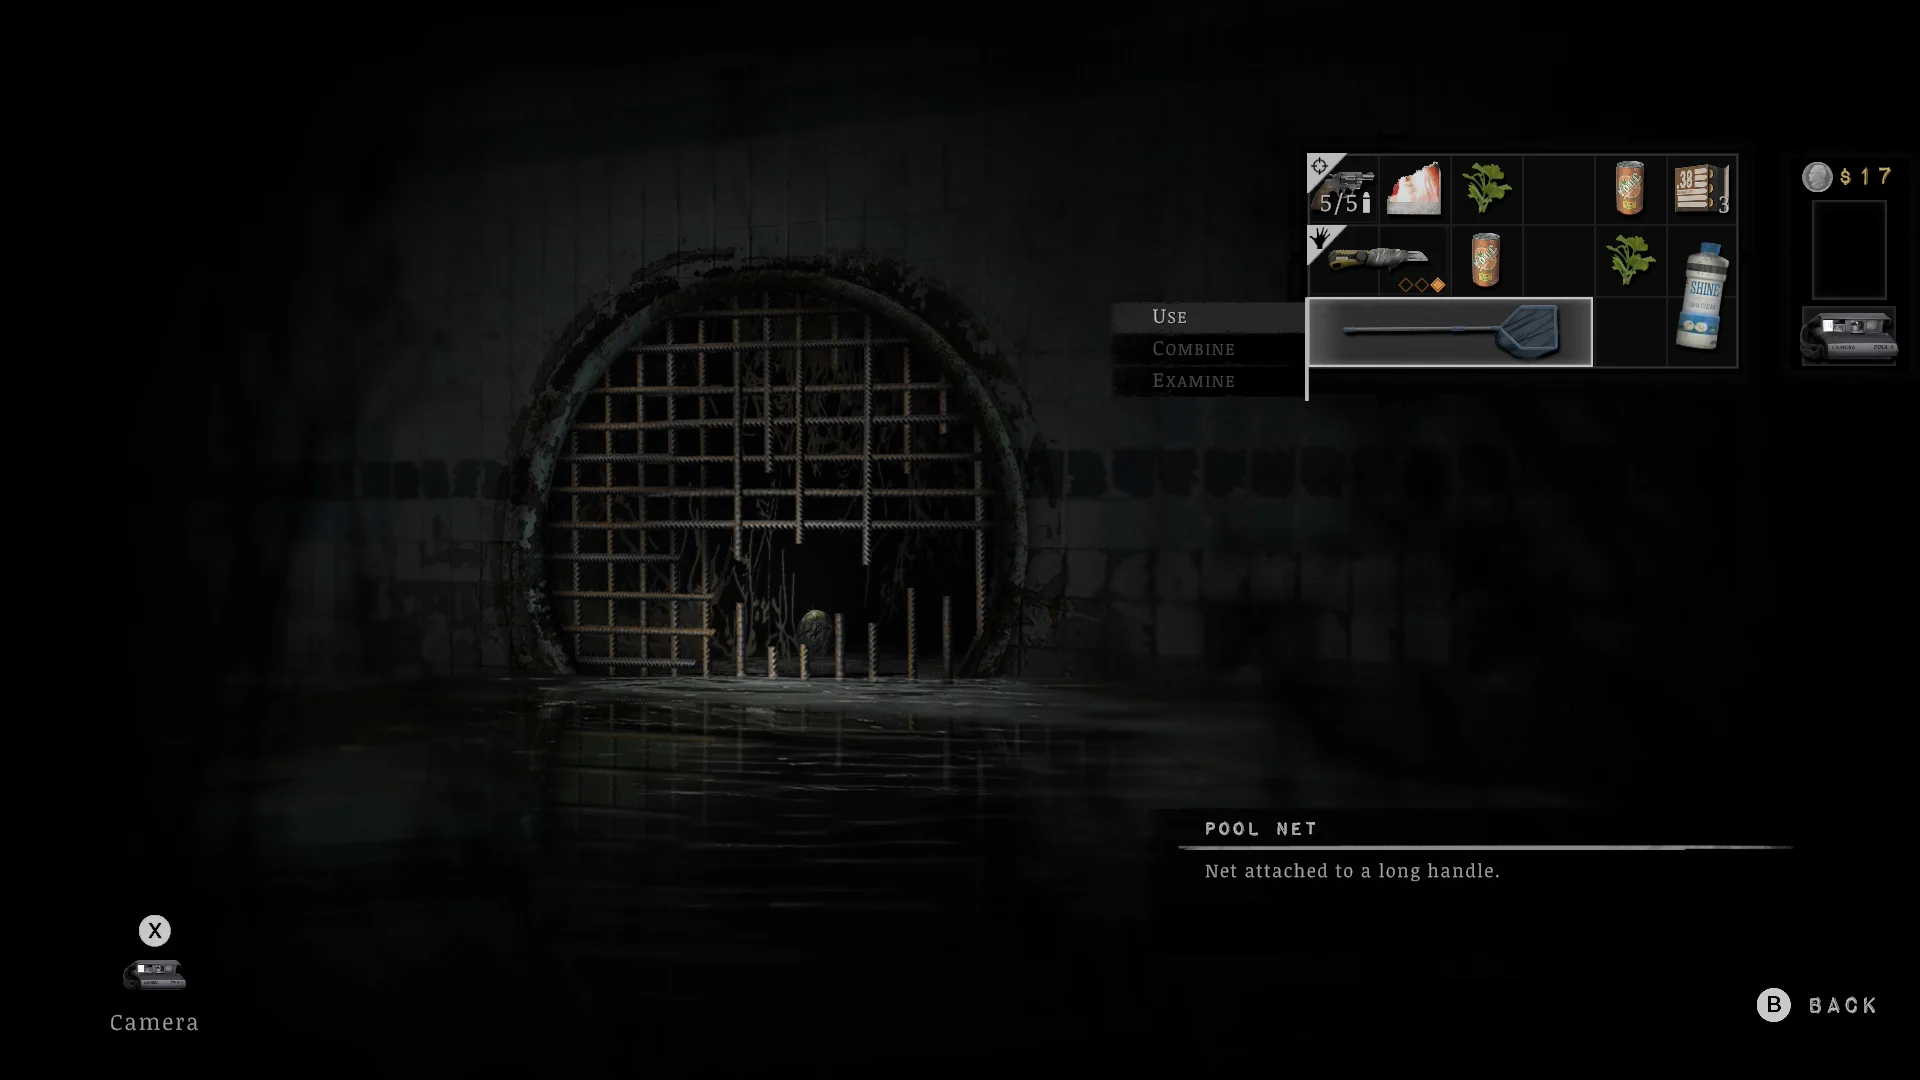

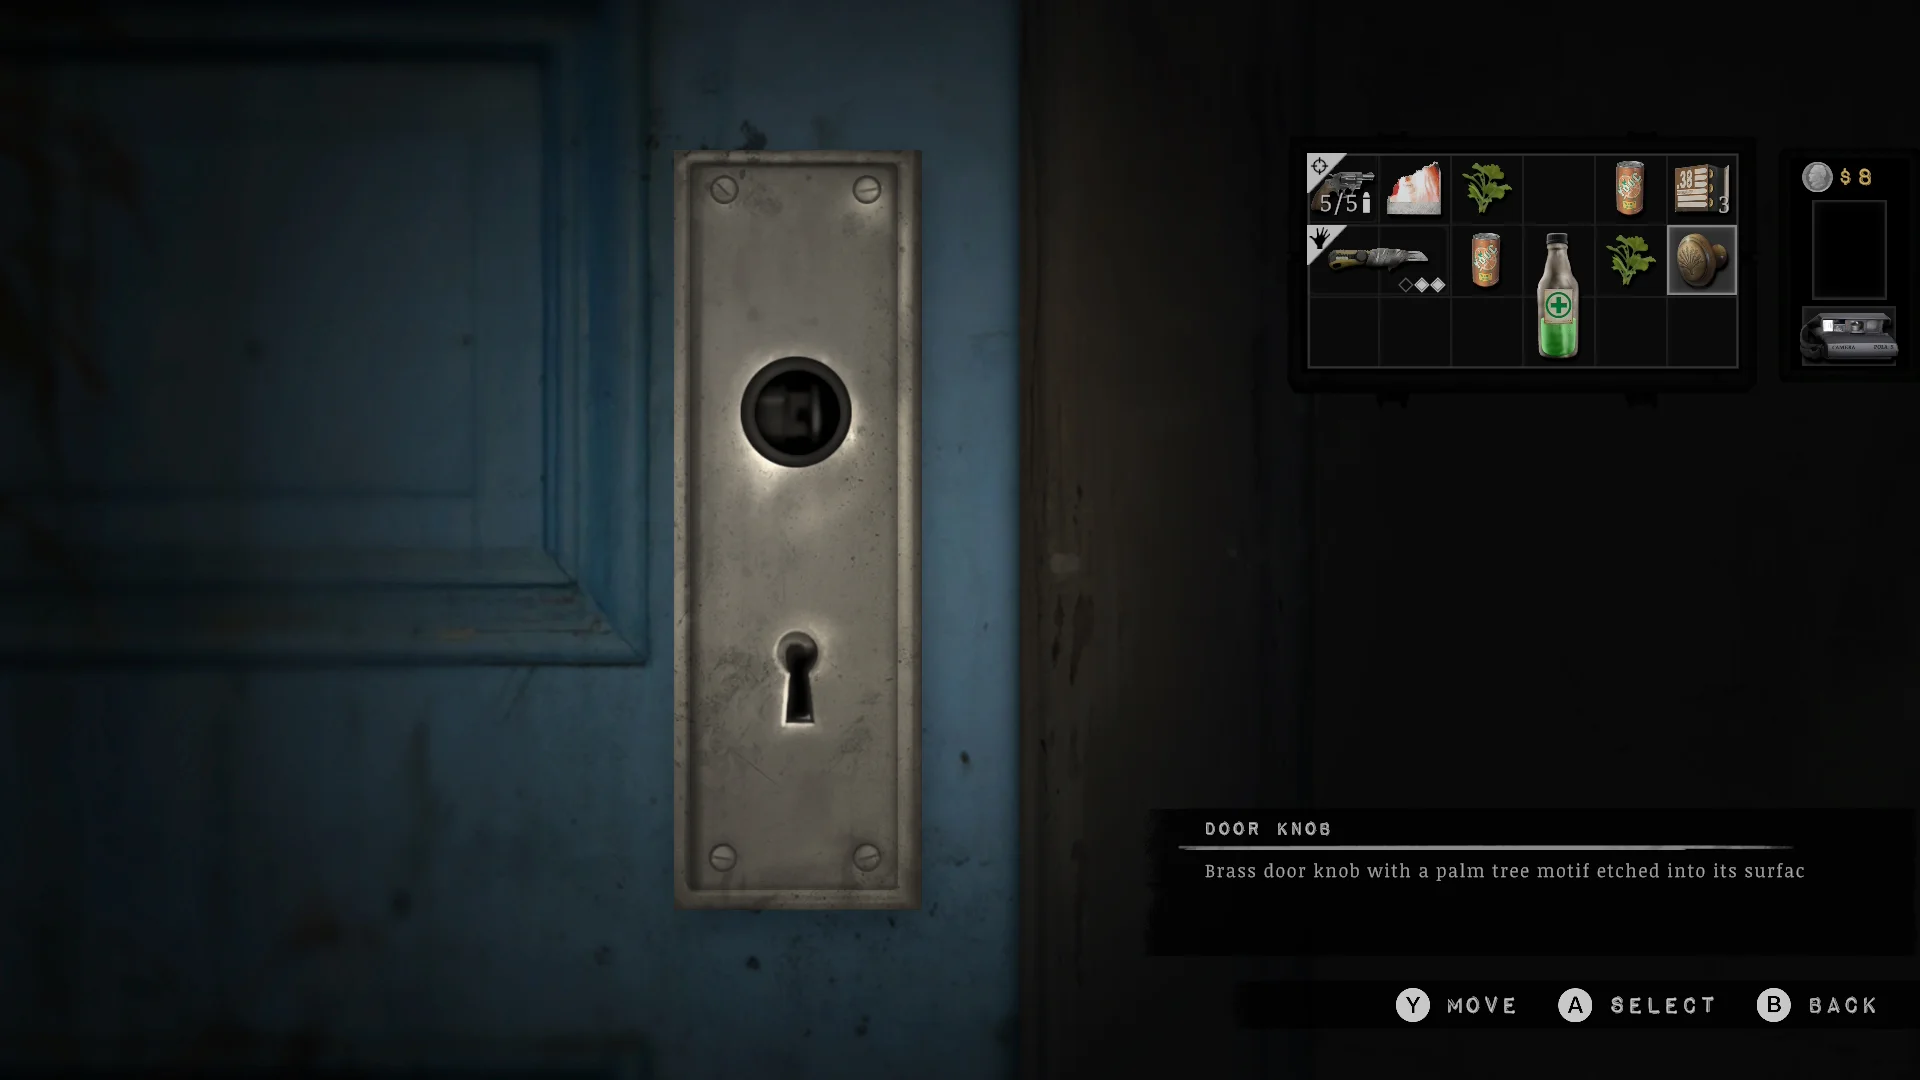
- Fish the Grime Covered Object out of the pool grate with the Pool Net. Clean it with the Cleaning Solution, and a Door Knob appears under all that grime.
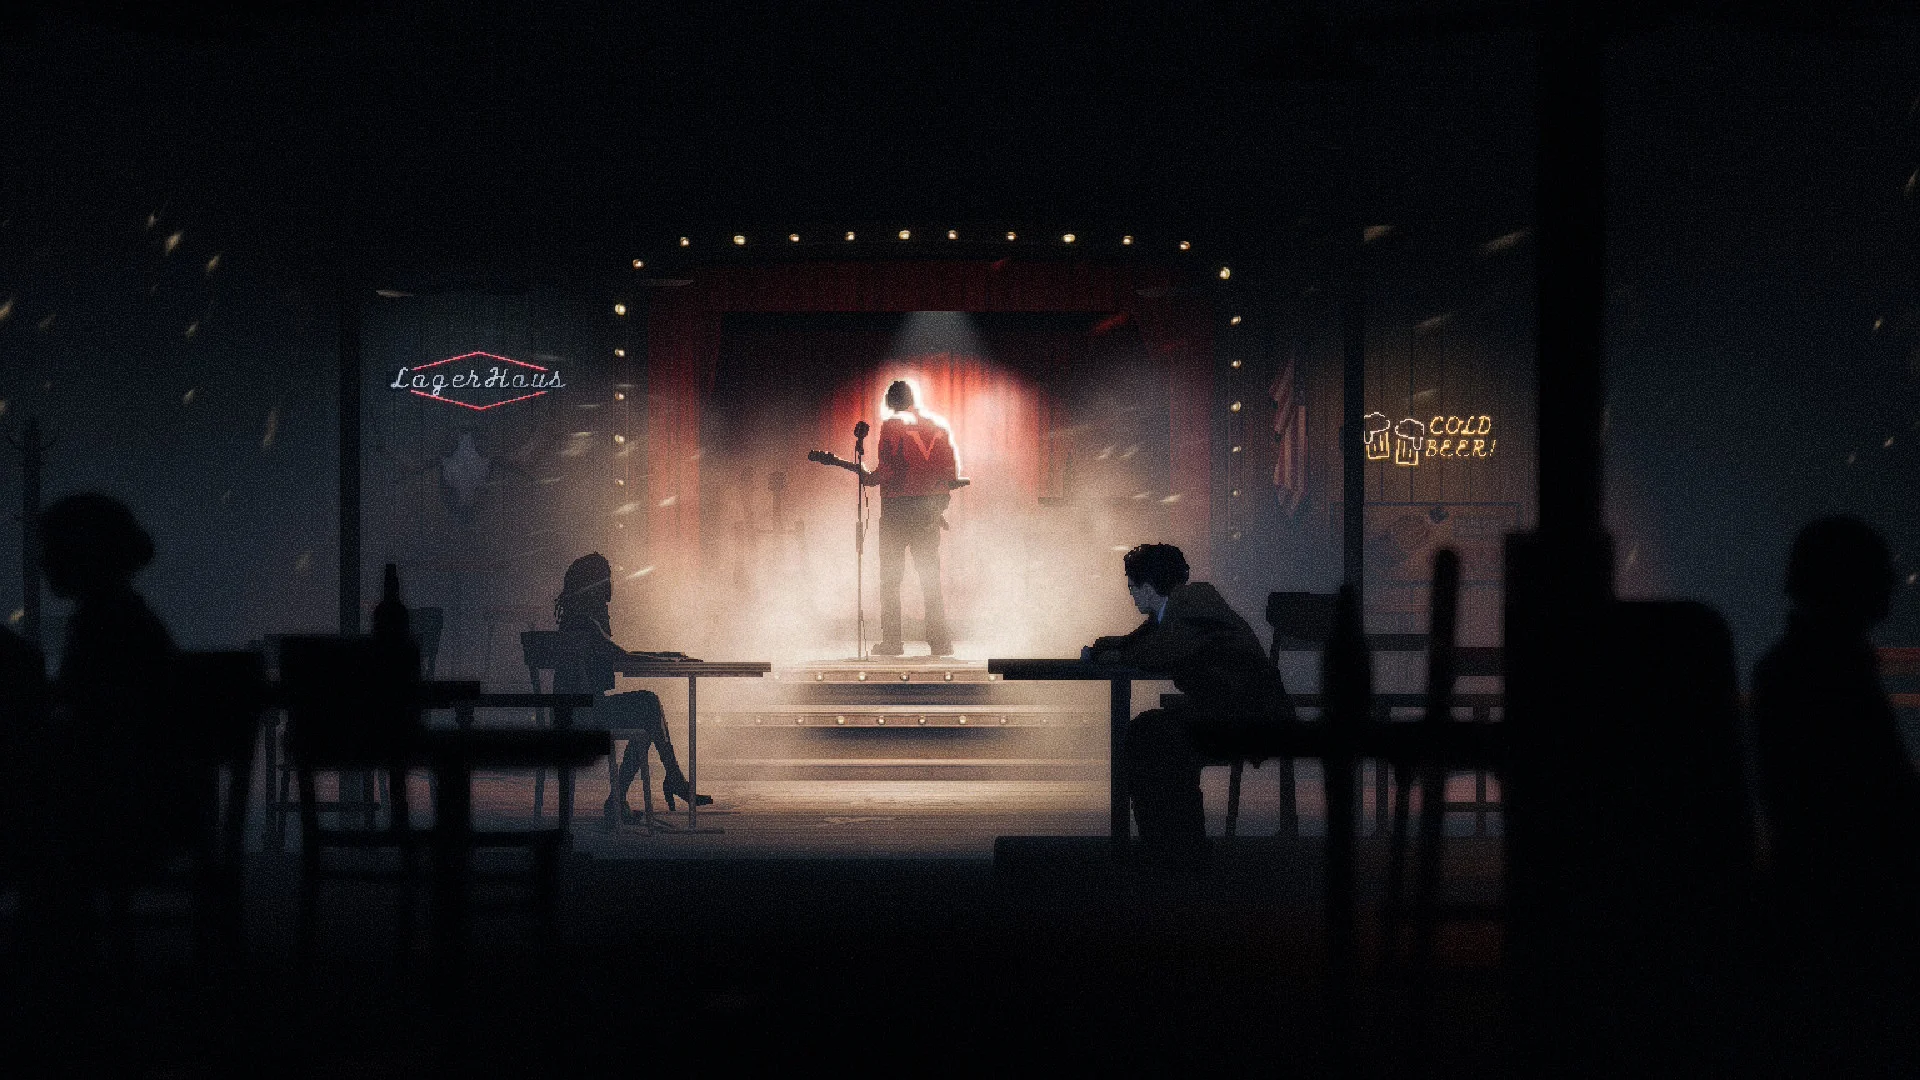
- Go downstairs in the main building and fit the knob on the door covered in palm trees. A vision shows Eddie Velvet on stage at the Rabbit Hole bar.
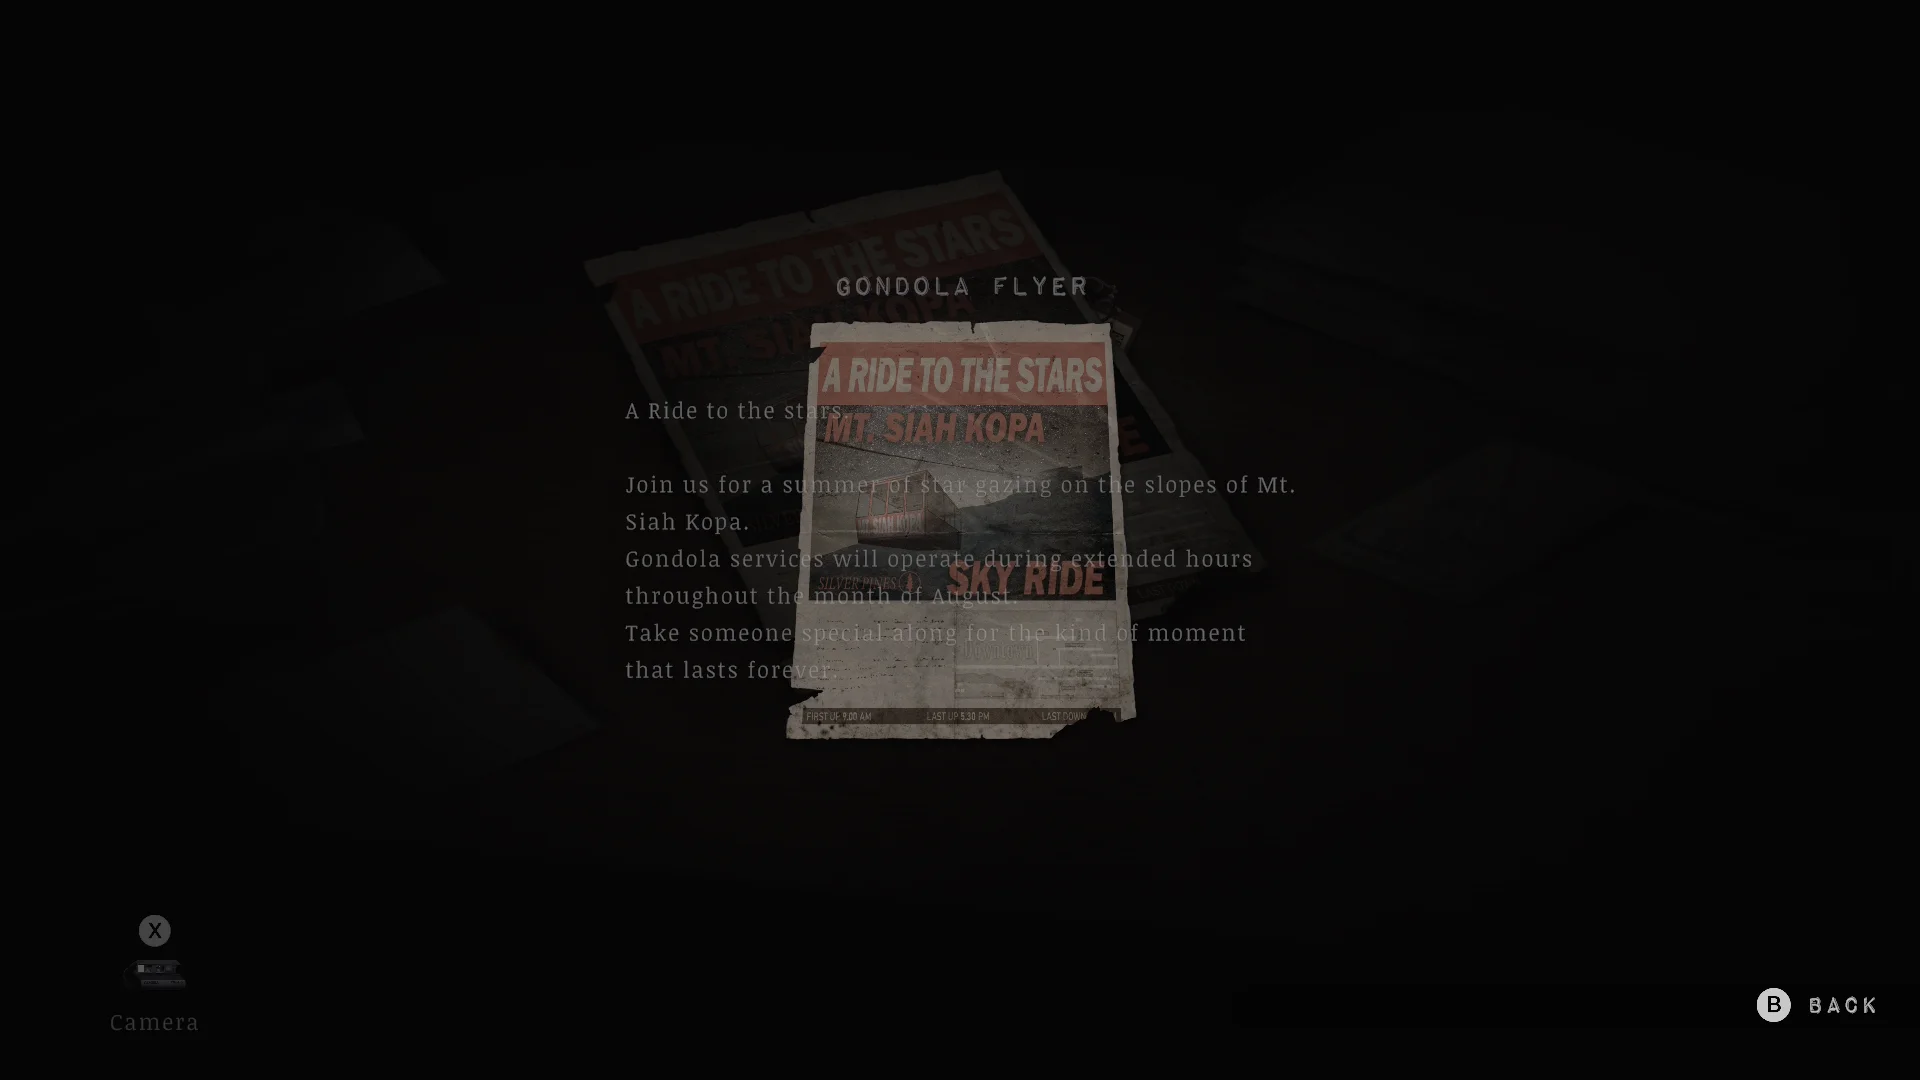
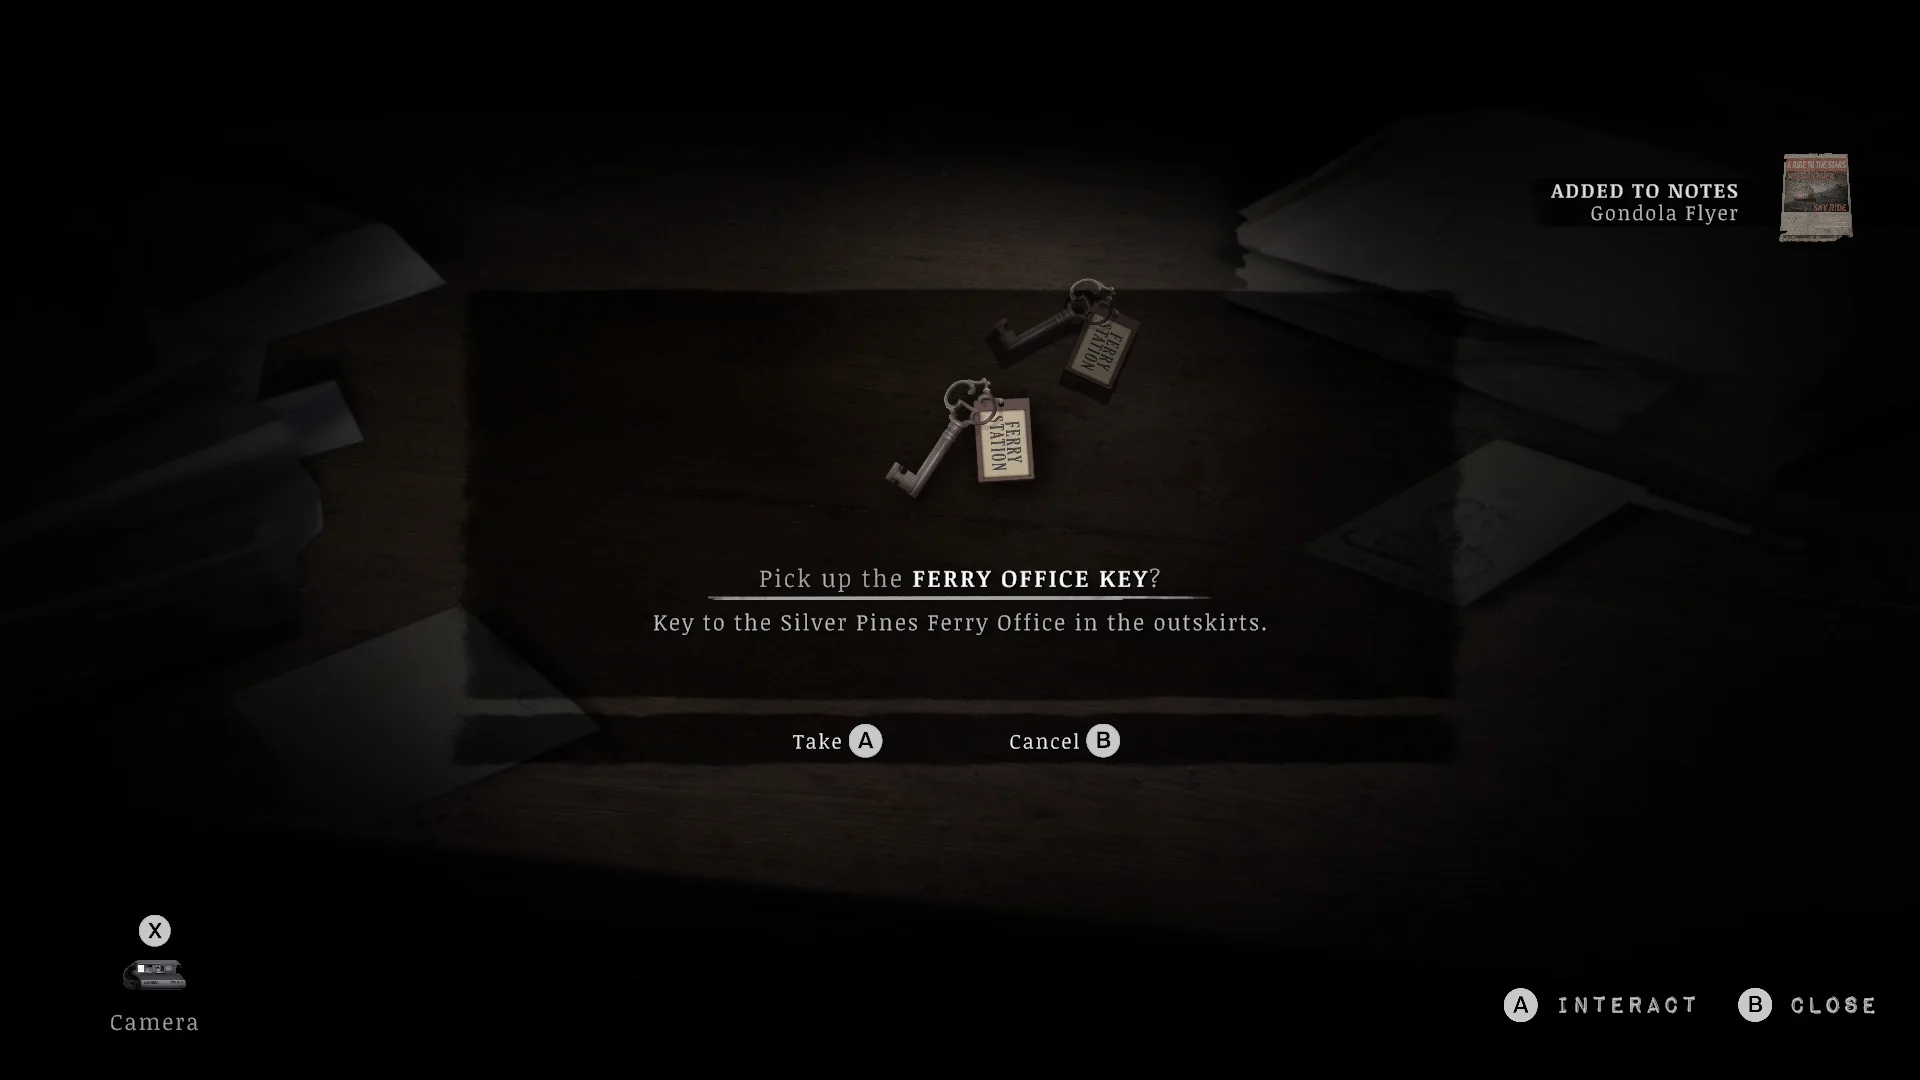
- Take the gondola flyer that reads “A Ride to the Stars” and the Ferry Office Key from the room behind it. There’s a memento in here too.
What is the weapon locker code?
It’s 6671. The crying woman in room 3 gives it to you if you phone her.
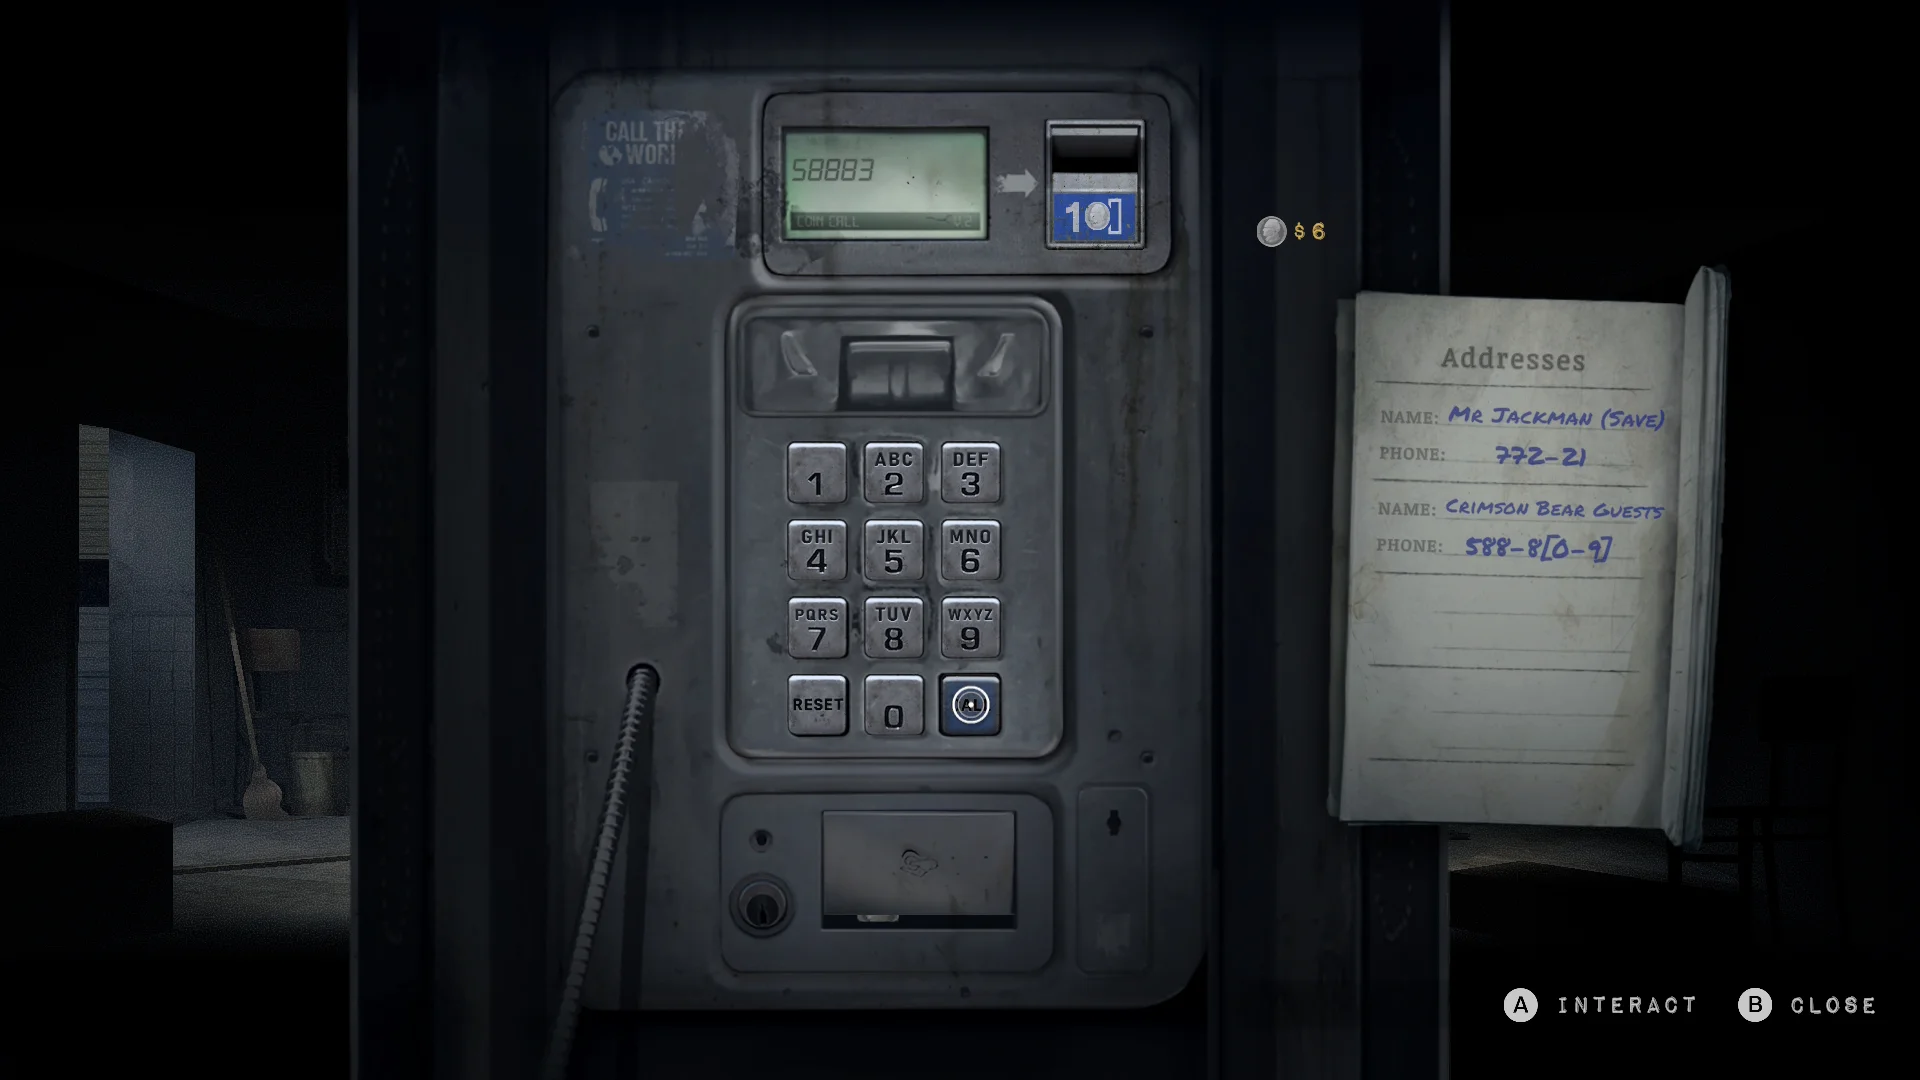


- Dial 58883 from a payphone. The Welcome Booklet says guest rooms are 5888 plus the room number, so room 3 is 58883.
- Go upstairs in the main building to the gift shop and enter 6671 on the locker.
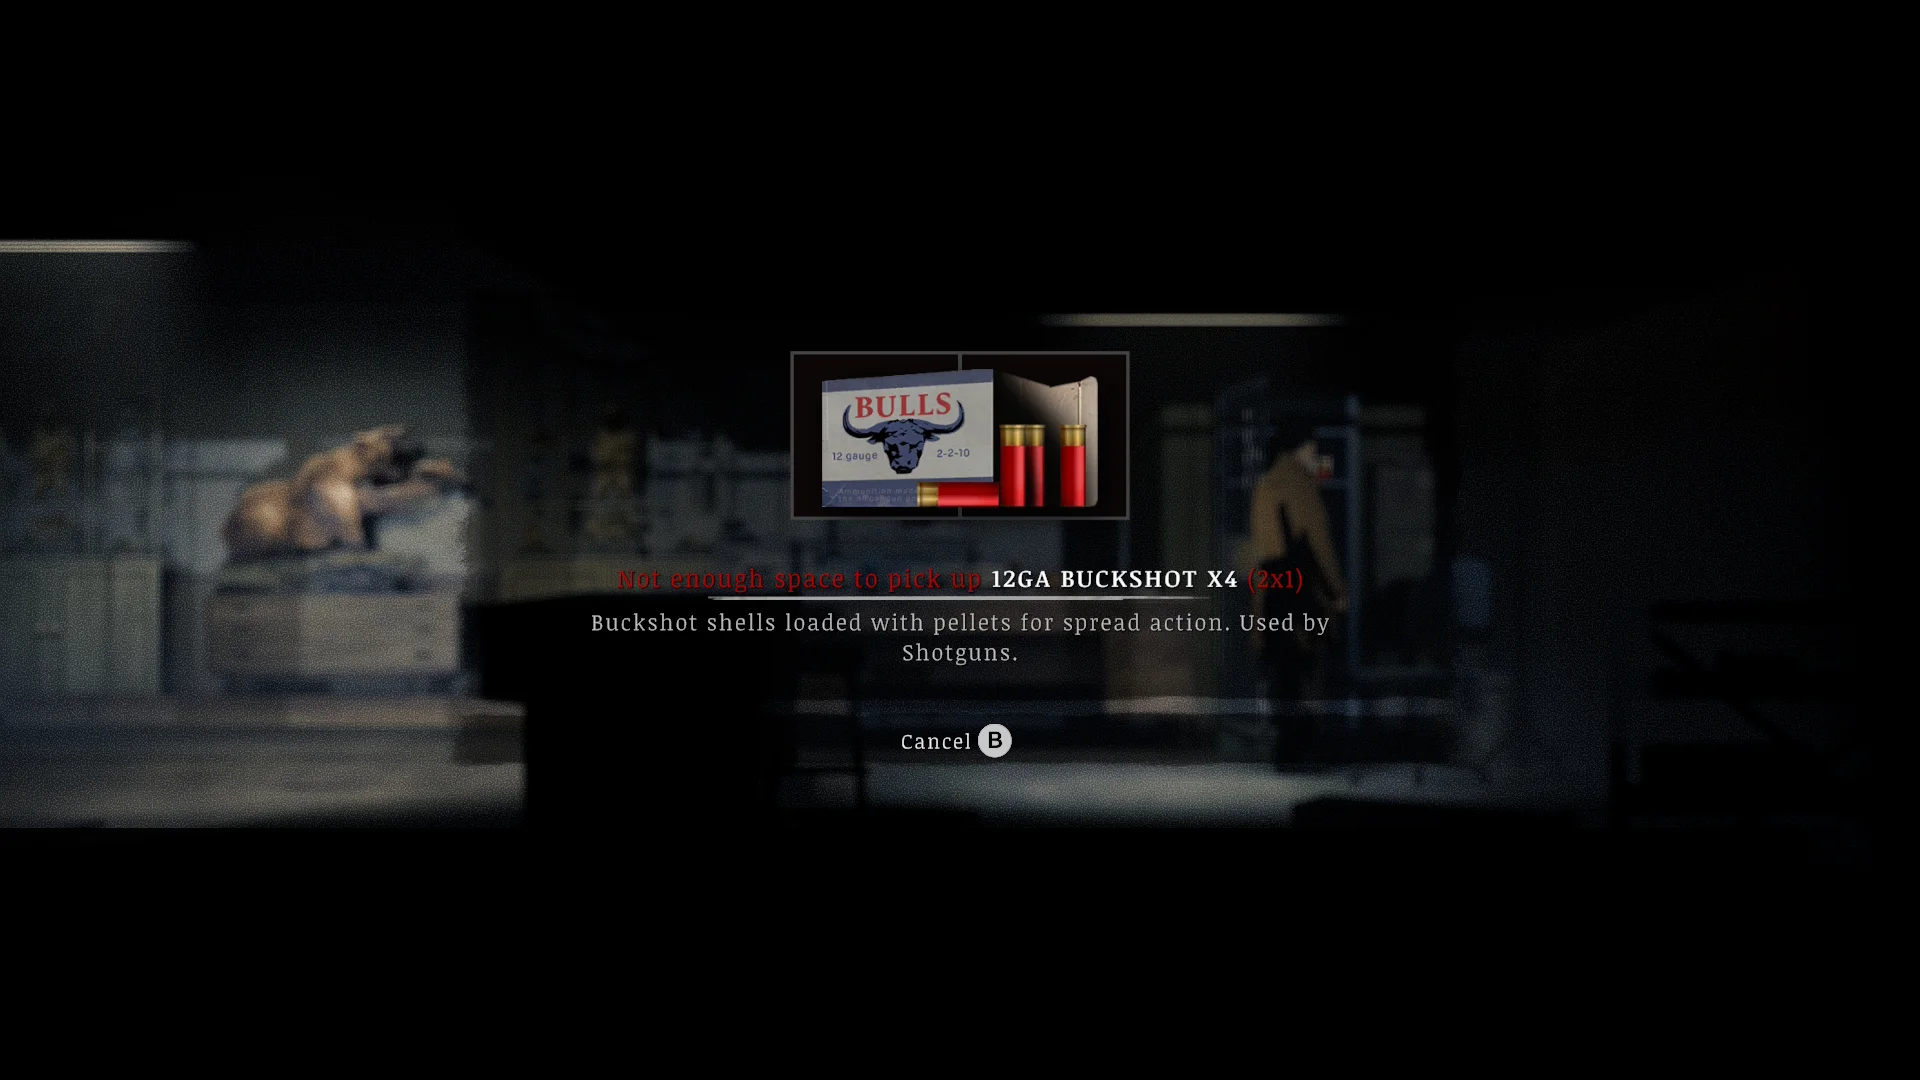
- Take the W-500 Shotgun and the box of buckshot.
Stock up at the motel vending machine before you leave. It sells .38 ammo, buckshot ($4), duct tape ($3), a healing tonic ($5), and a first aid kit ($10).
The tunnel and the ferry
Where to find the burnt-hands man
Walk through the underpass and keep left. His room has a coffee machine, which is reason enough to visit.
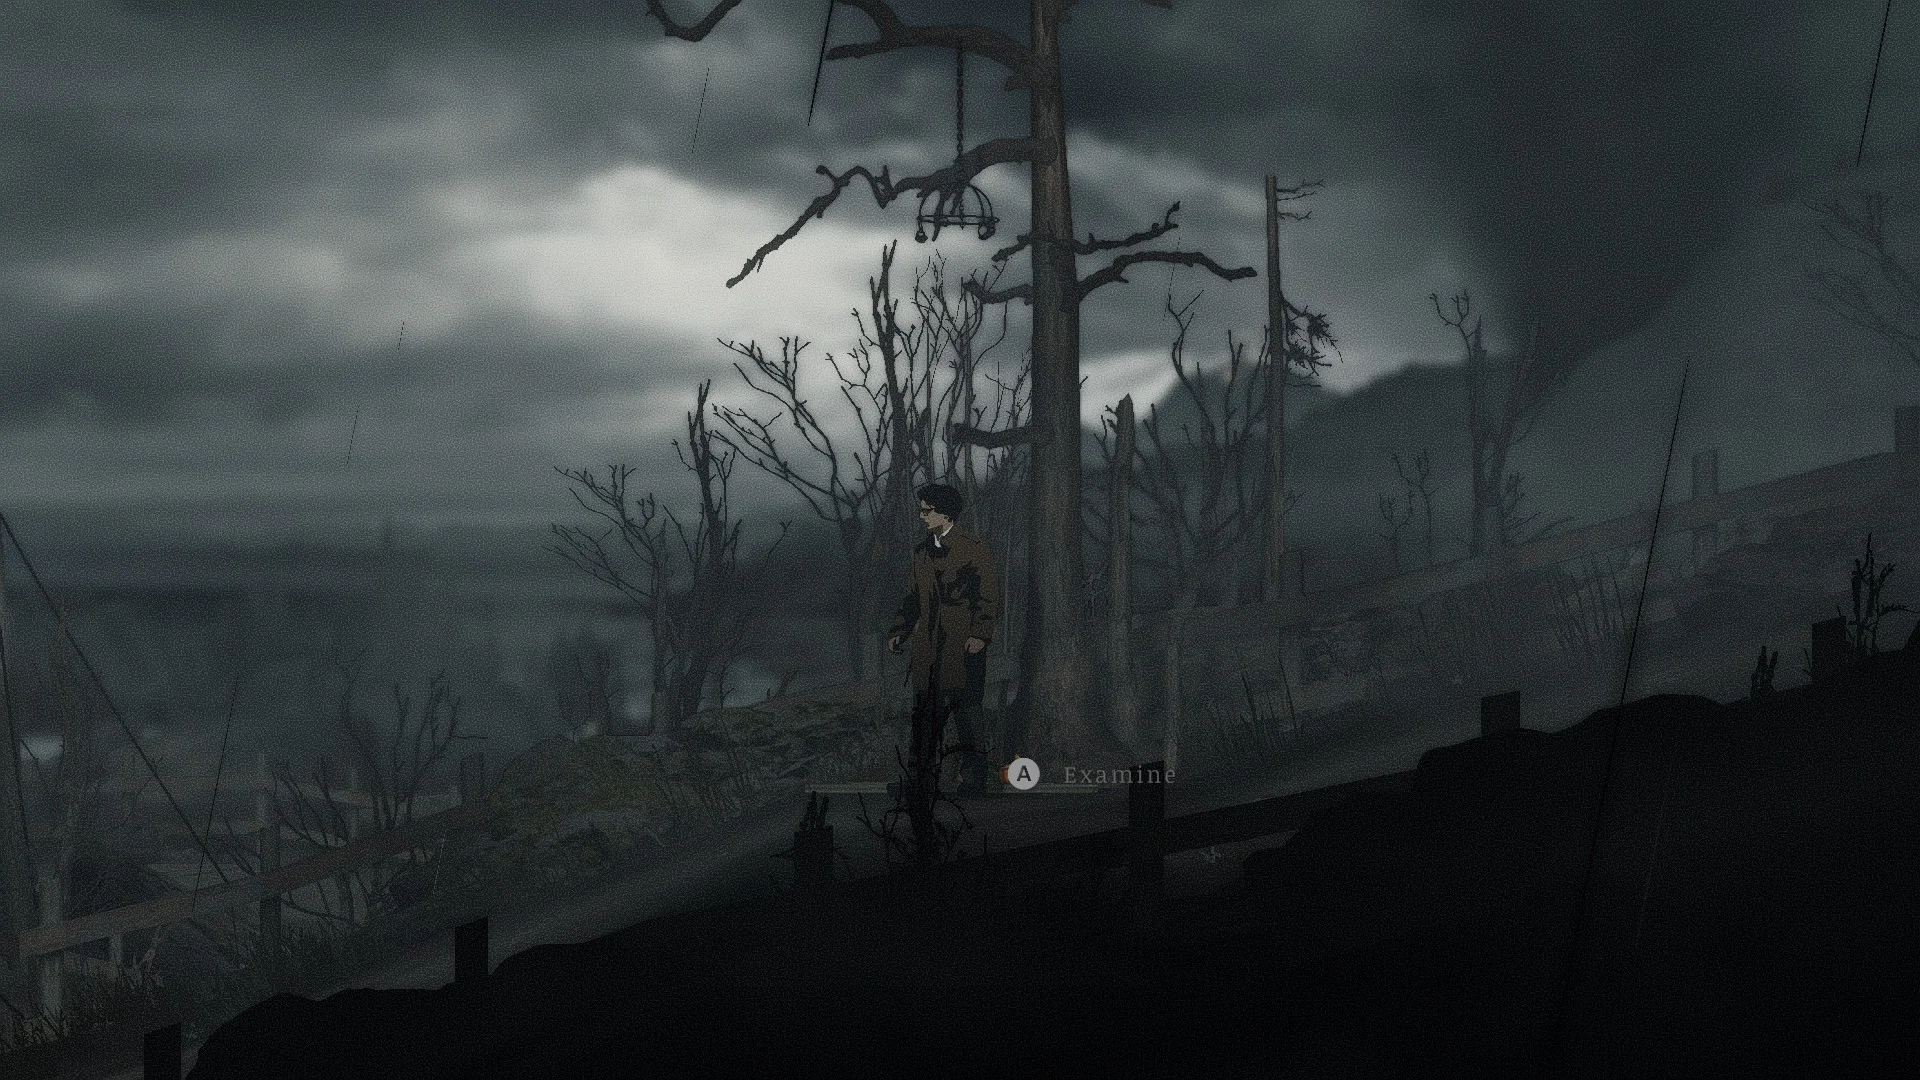
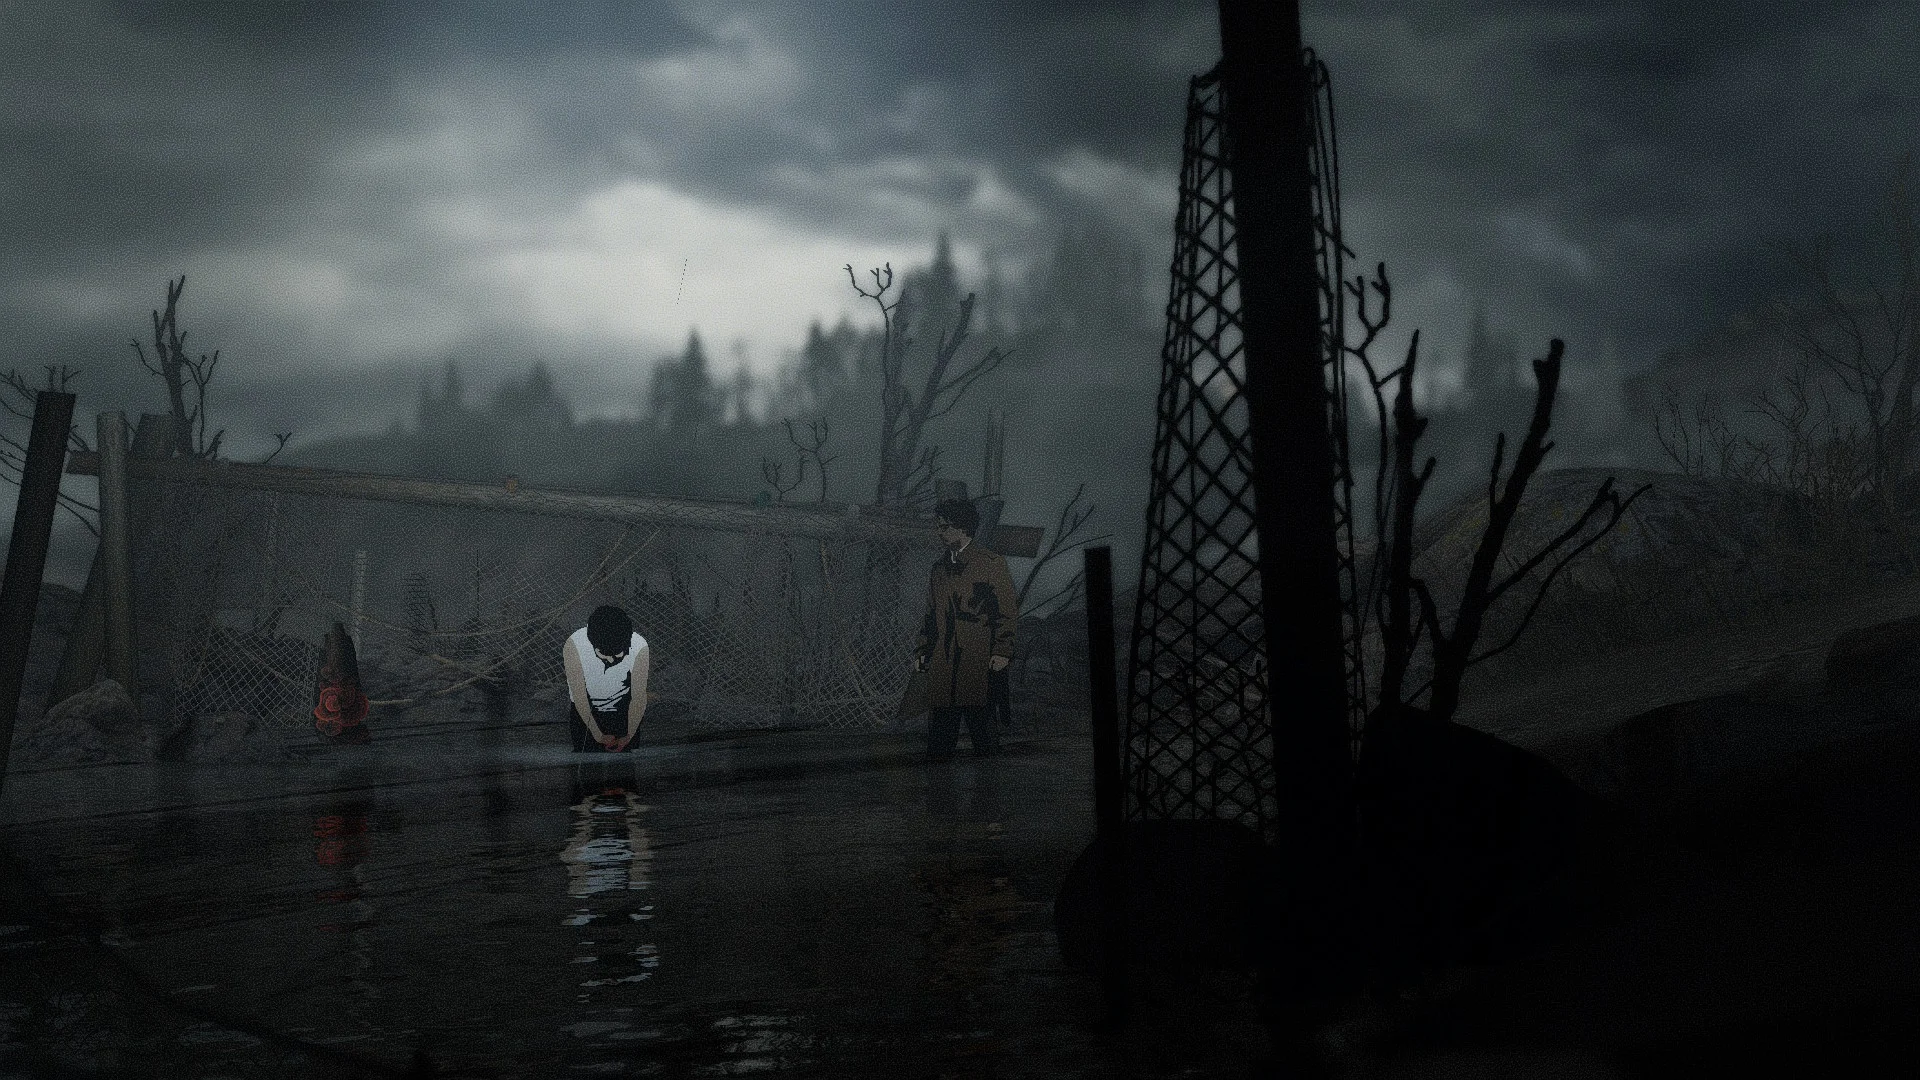
- Go through the underpass and head left until you find a man scrubbing his burnt hands.
- Grab the Turkey’s Crown nearby and drink from the coffee machine in his room.
How to open the Ferry Office
The Ferry Office Key from behind the motel’s palm tree door opens it, and a Hip Bag waits inside.
- Unlock the office at the ferry landing and grab the Hip Bag and the soda.
- Board the ferry to Downtown.
Downtown
How to solve the bird cage puzzle
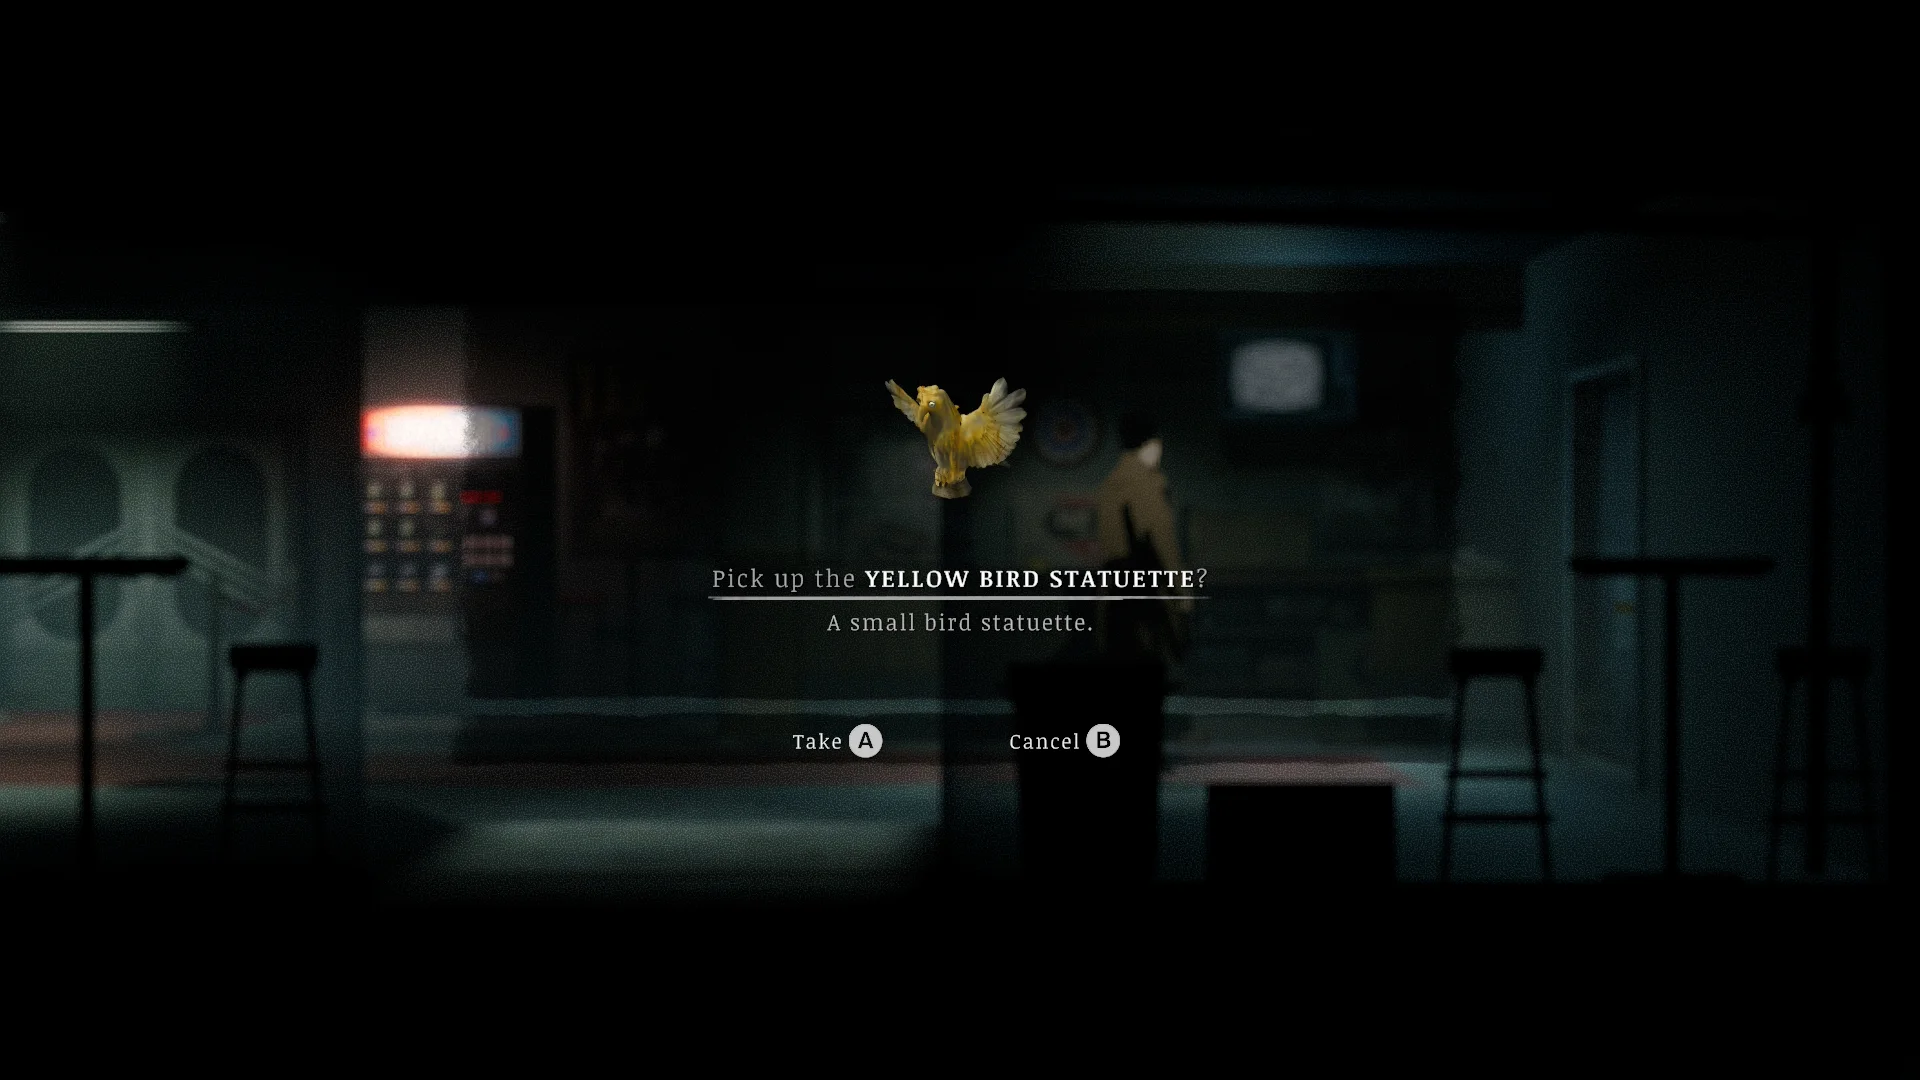
Inside the cafe Downtown, you’ll find a cage that wants three bird statuettes: red from the green building, yellow from the cinema, and silver from the top of a cliff ladder.
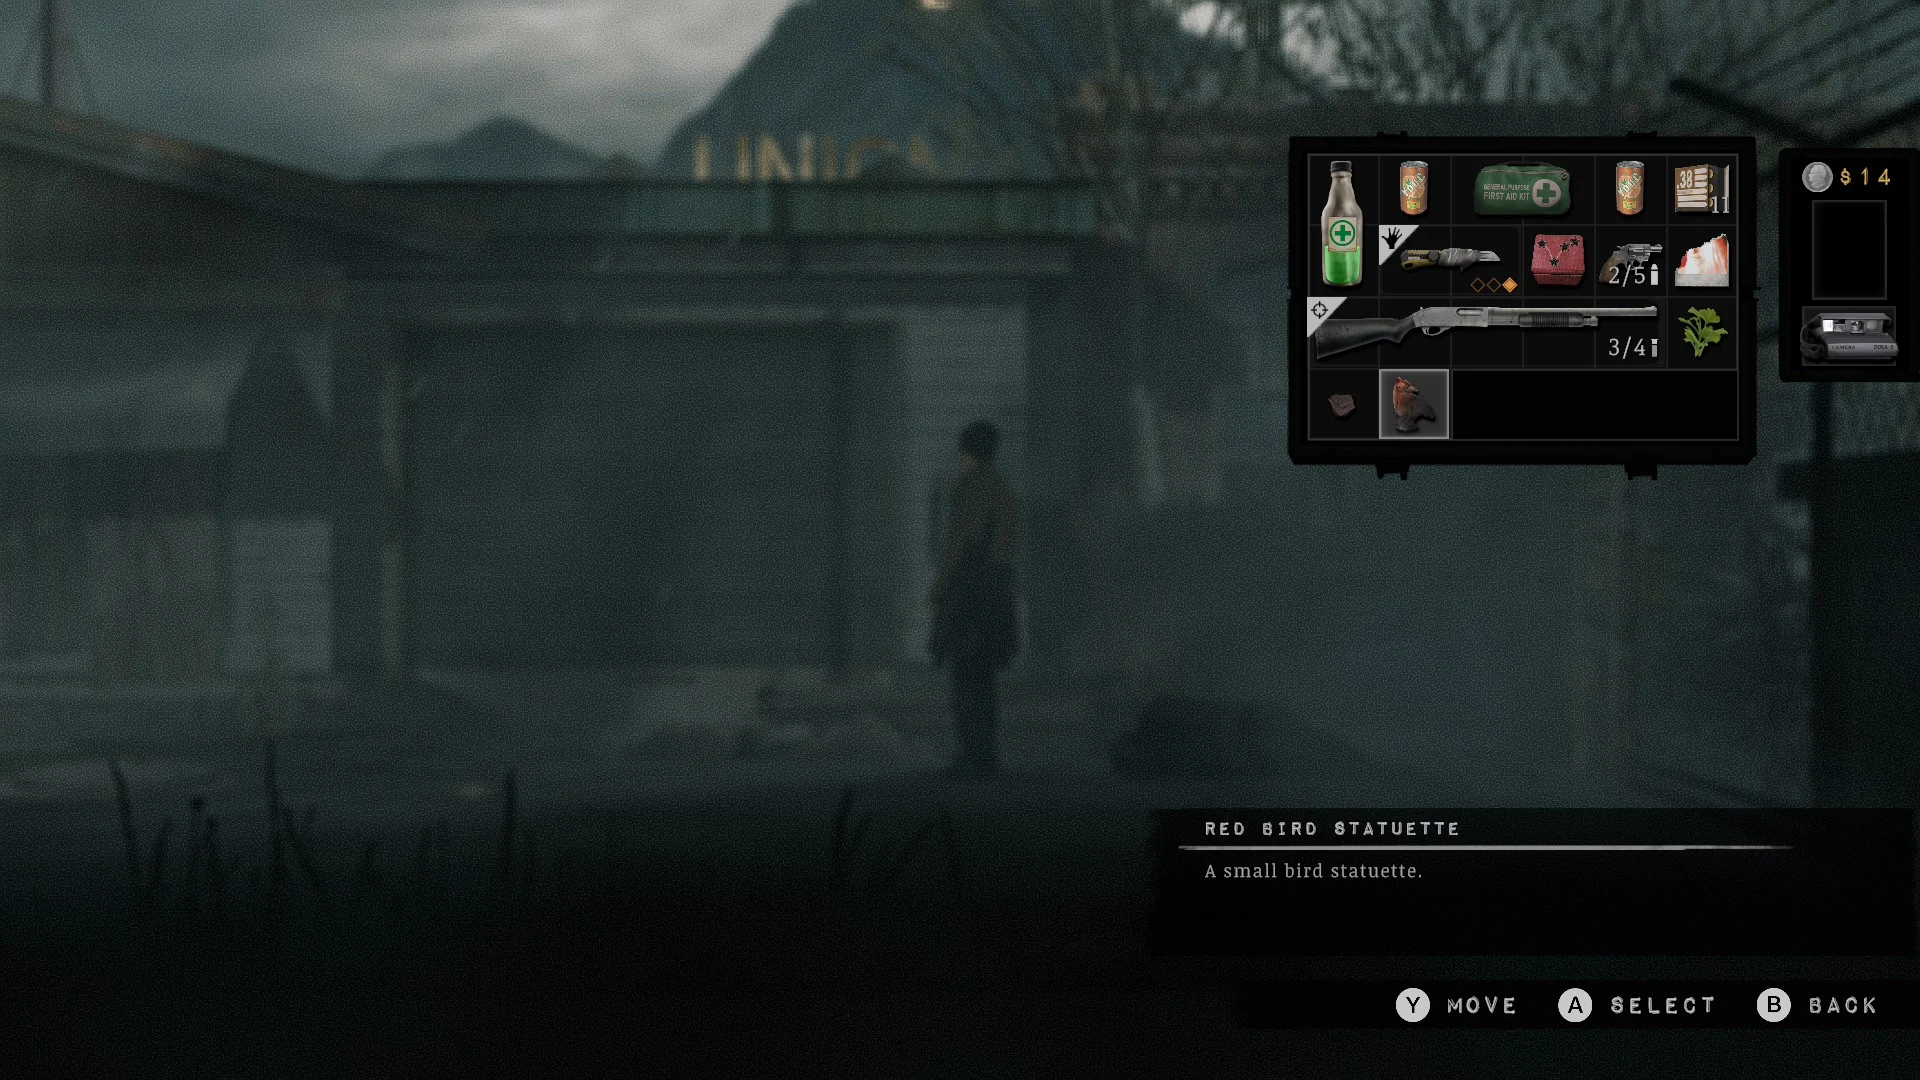


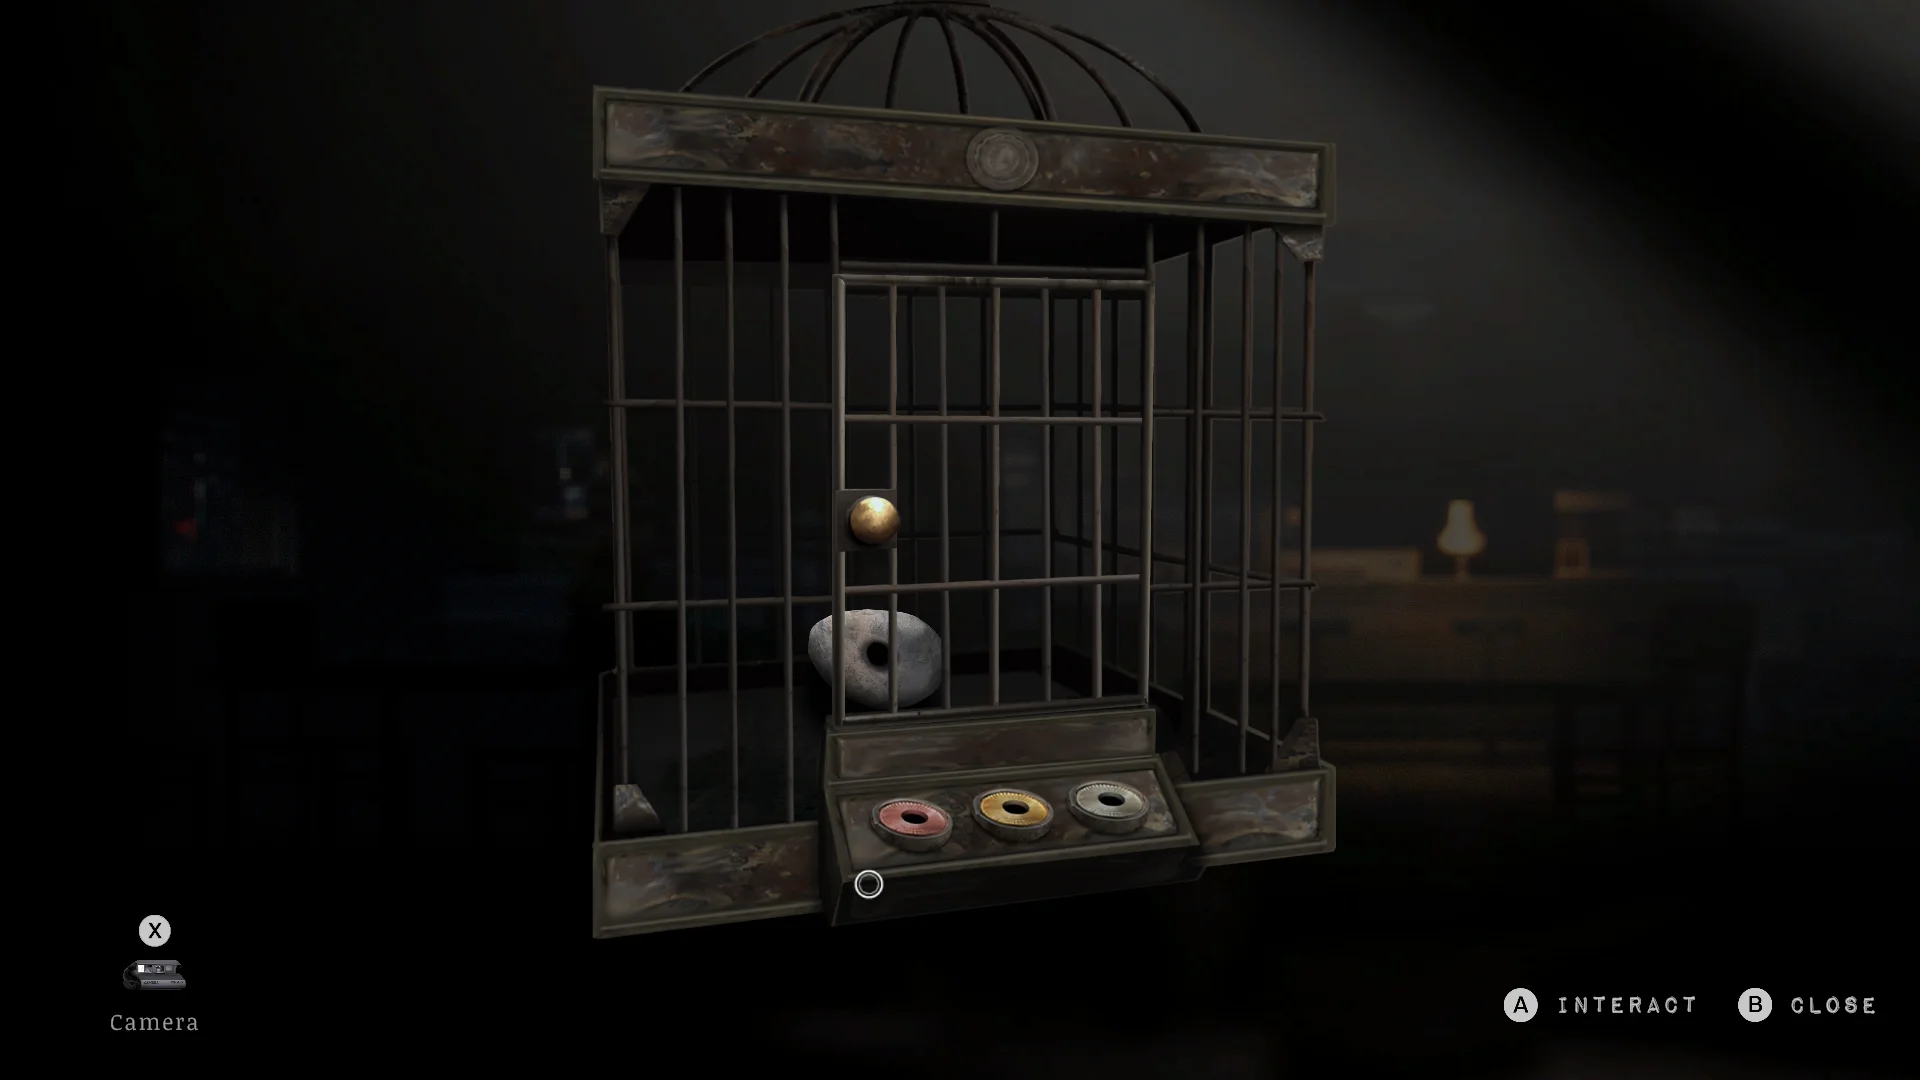

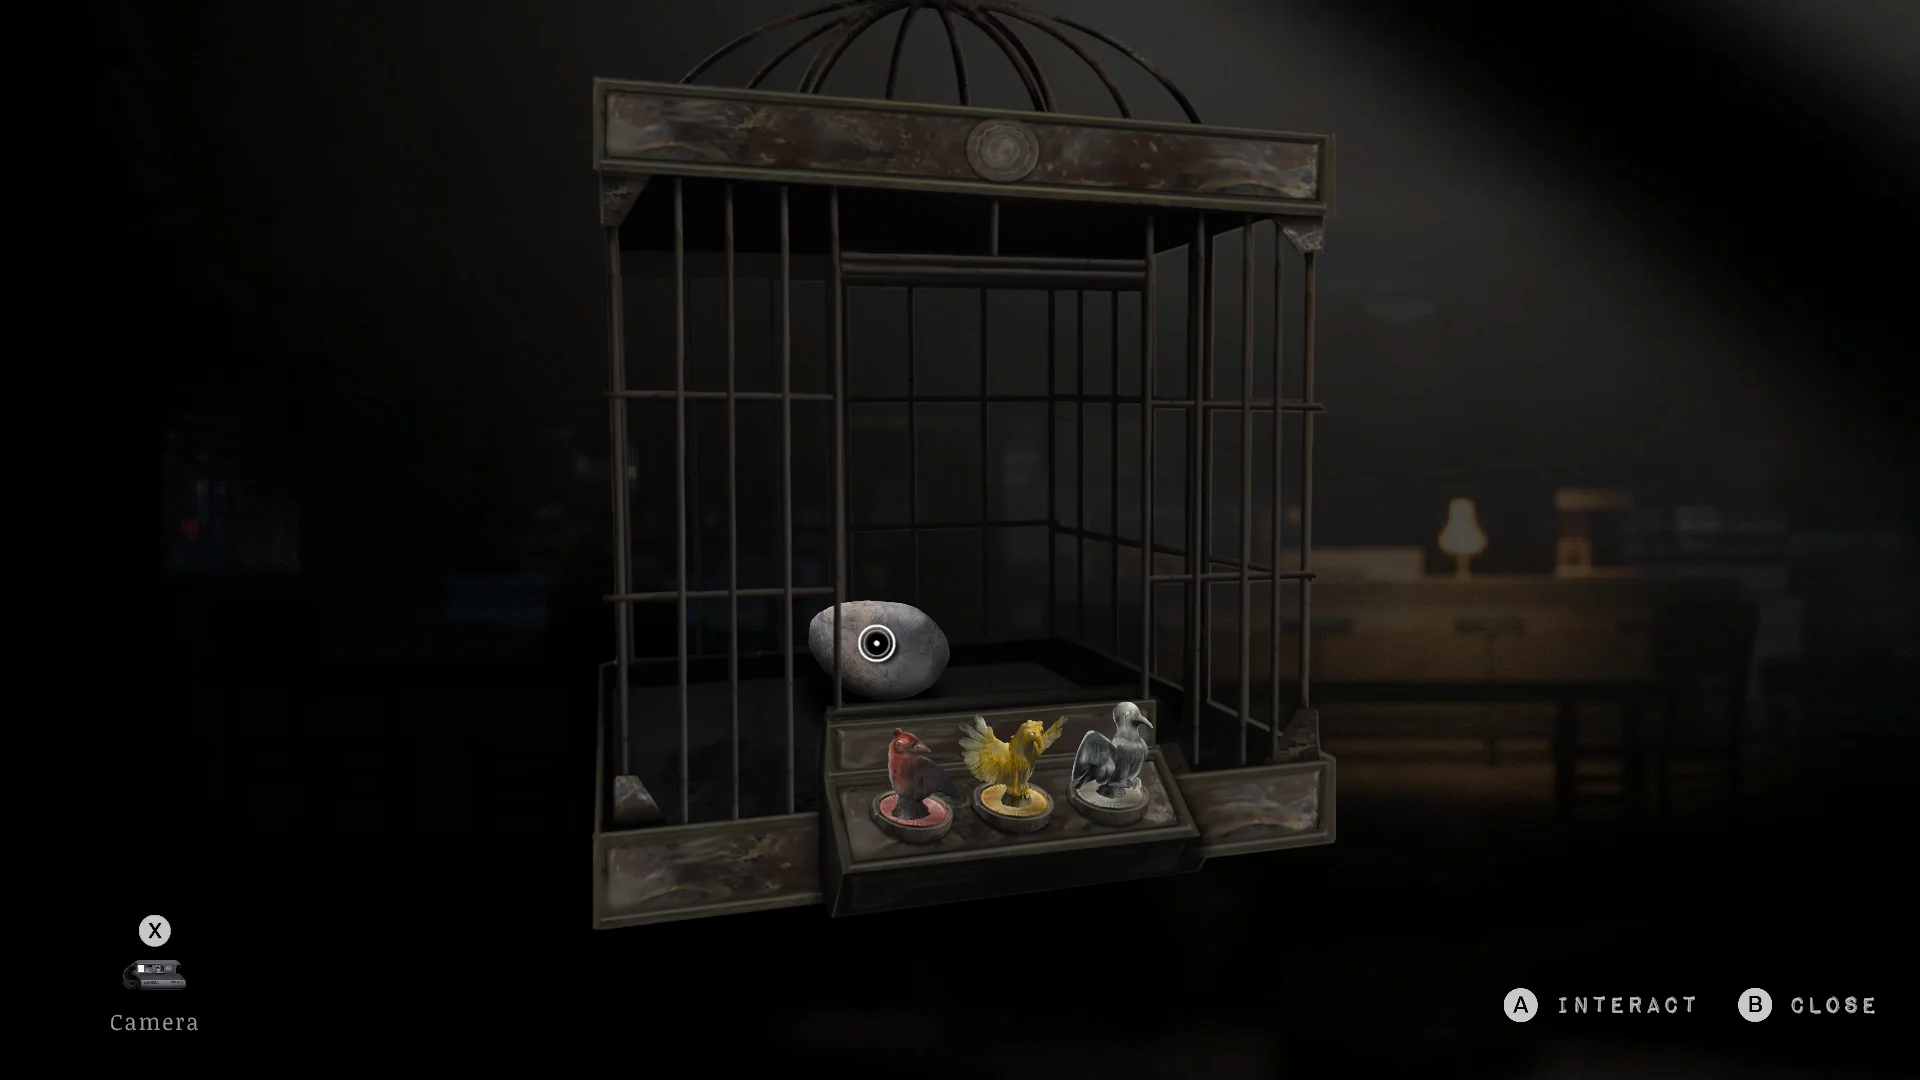
- Go to the green building with the Vet Clinic sign. A woman has barricaded herself inside, and she pushes the Red Bird Statuette out to you on a cart.
- Head into the cinema at the back of town for the Yellow Bird Statuette.
- Swim to the far edge of town and drop off the cliff edge. Shoot the rusted padlock to bring a ladder down, then climb it for the Silver Bird Statuette.
- Put all three statuettes in the cafe cage. Your reward is the Smooth Stone with a hole memento (check).
How to solve the Ammo Zone puzzles
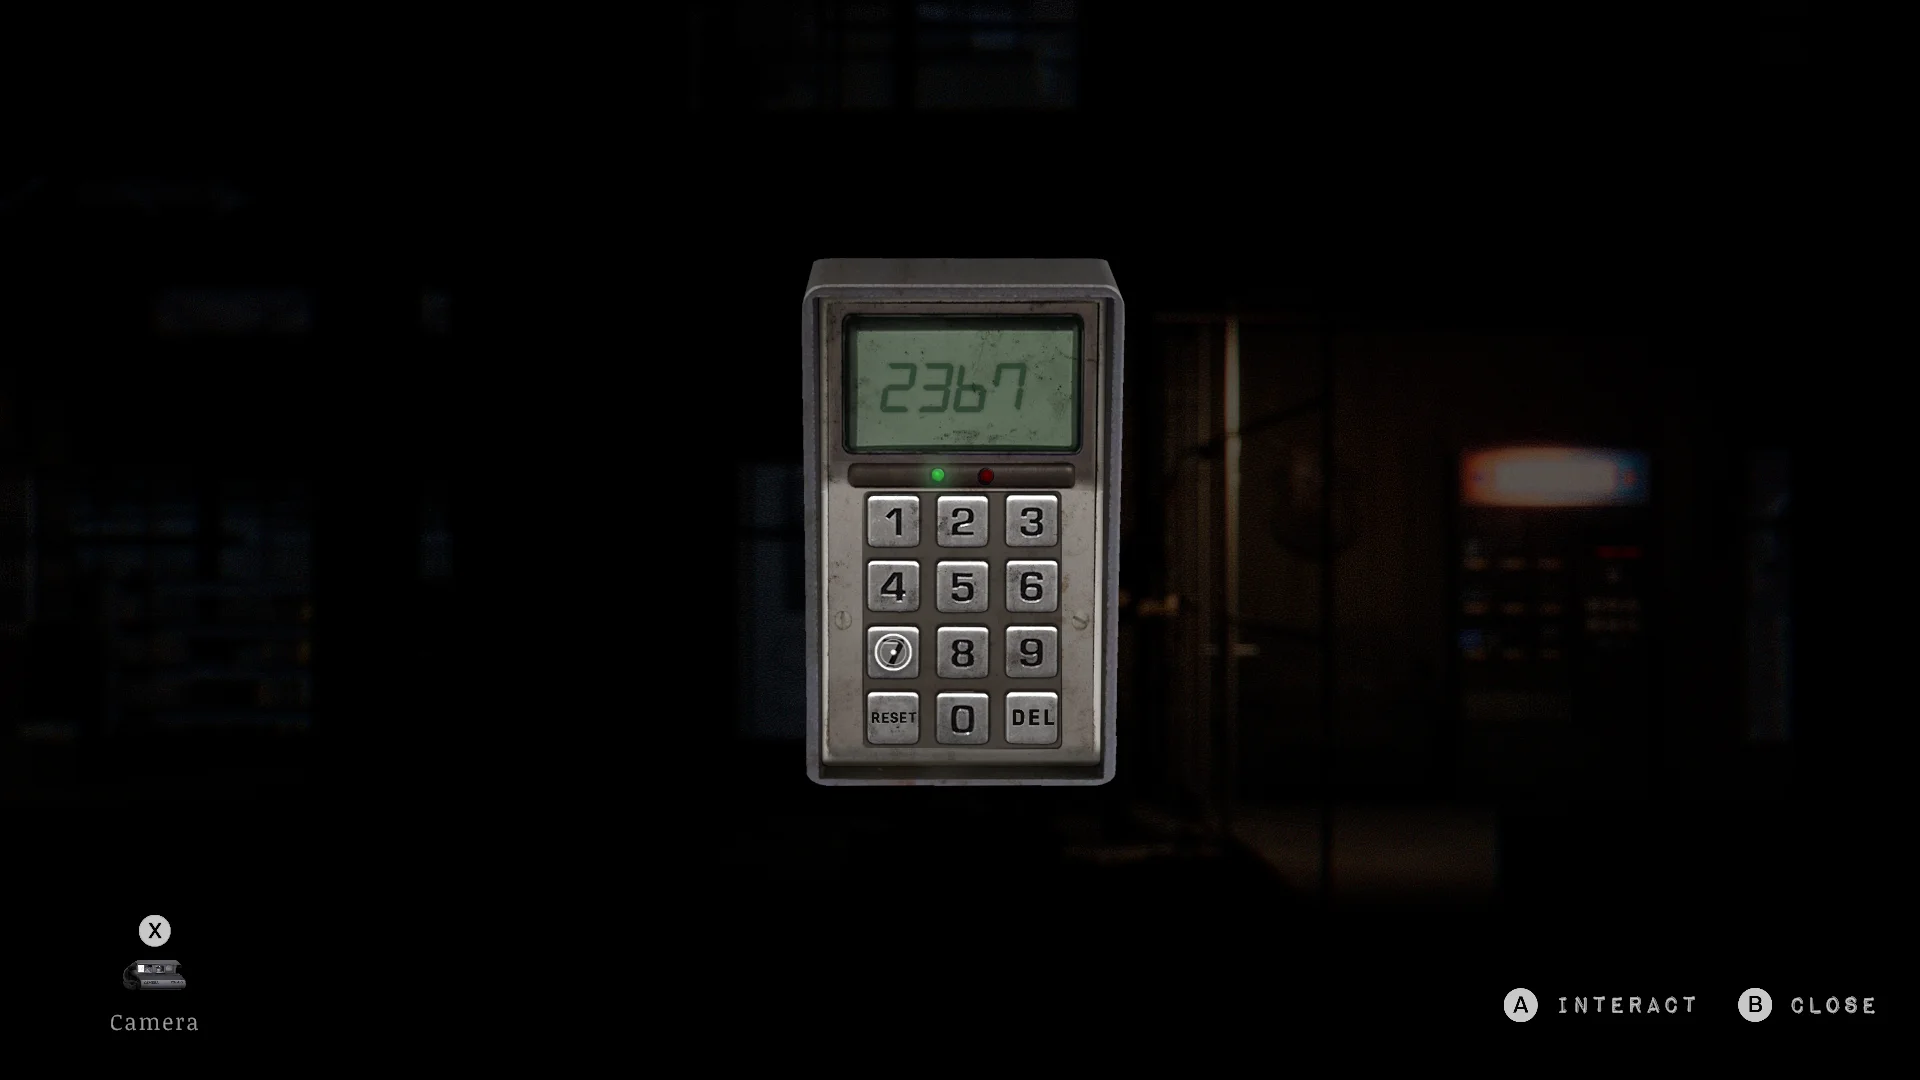
Ammo Zone has two locks. The back door padlock takes ♠ ♥ ♣ ♦, and the lockbox downstairs takes 2367, but you need a flashlight before you can reach the second one.
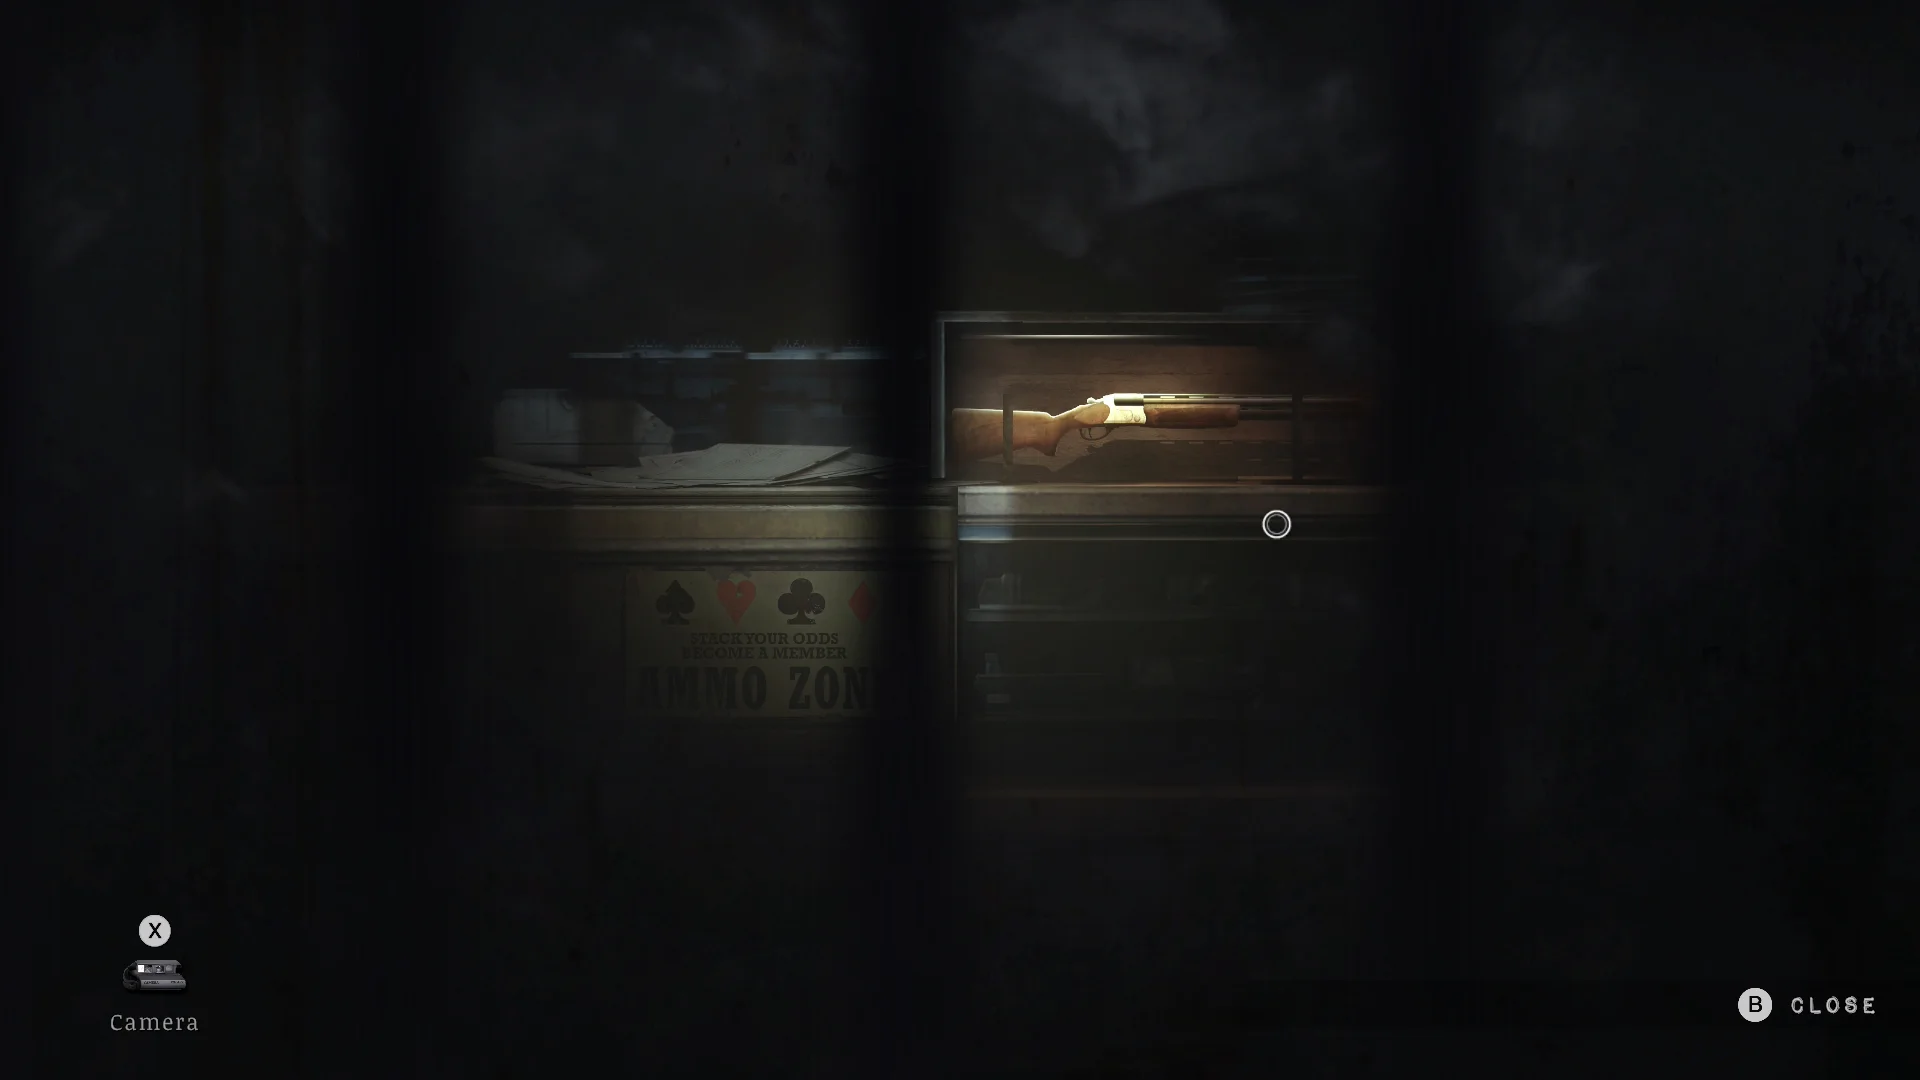
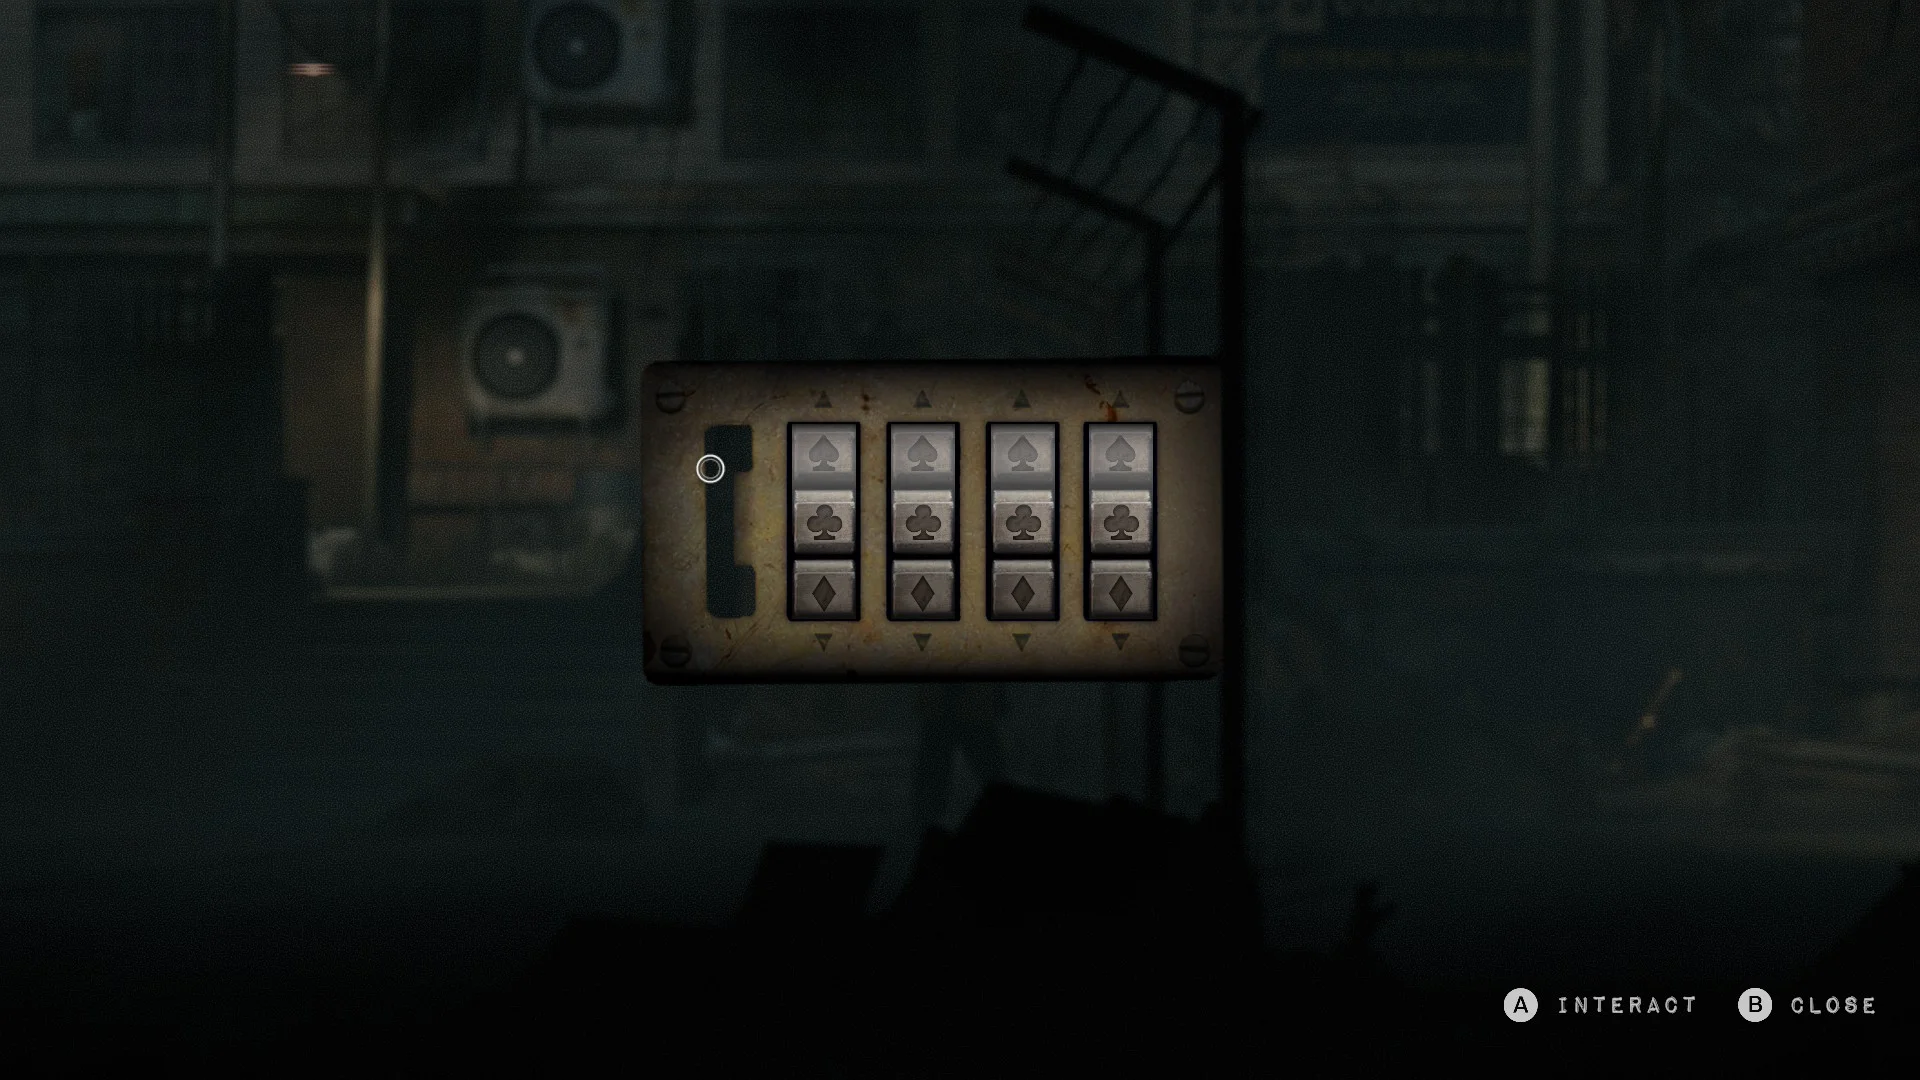
- Look through the front window of Ammo Zone. The “Stack your odds, become a member” sign shows a spade, a heart, a club, and a diamond, in that order.
- Walk round to the back door and set the padlock to the same four symbols. A memento waits just inside, but the rest of the shop stays pitch black for now.
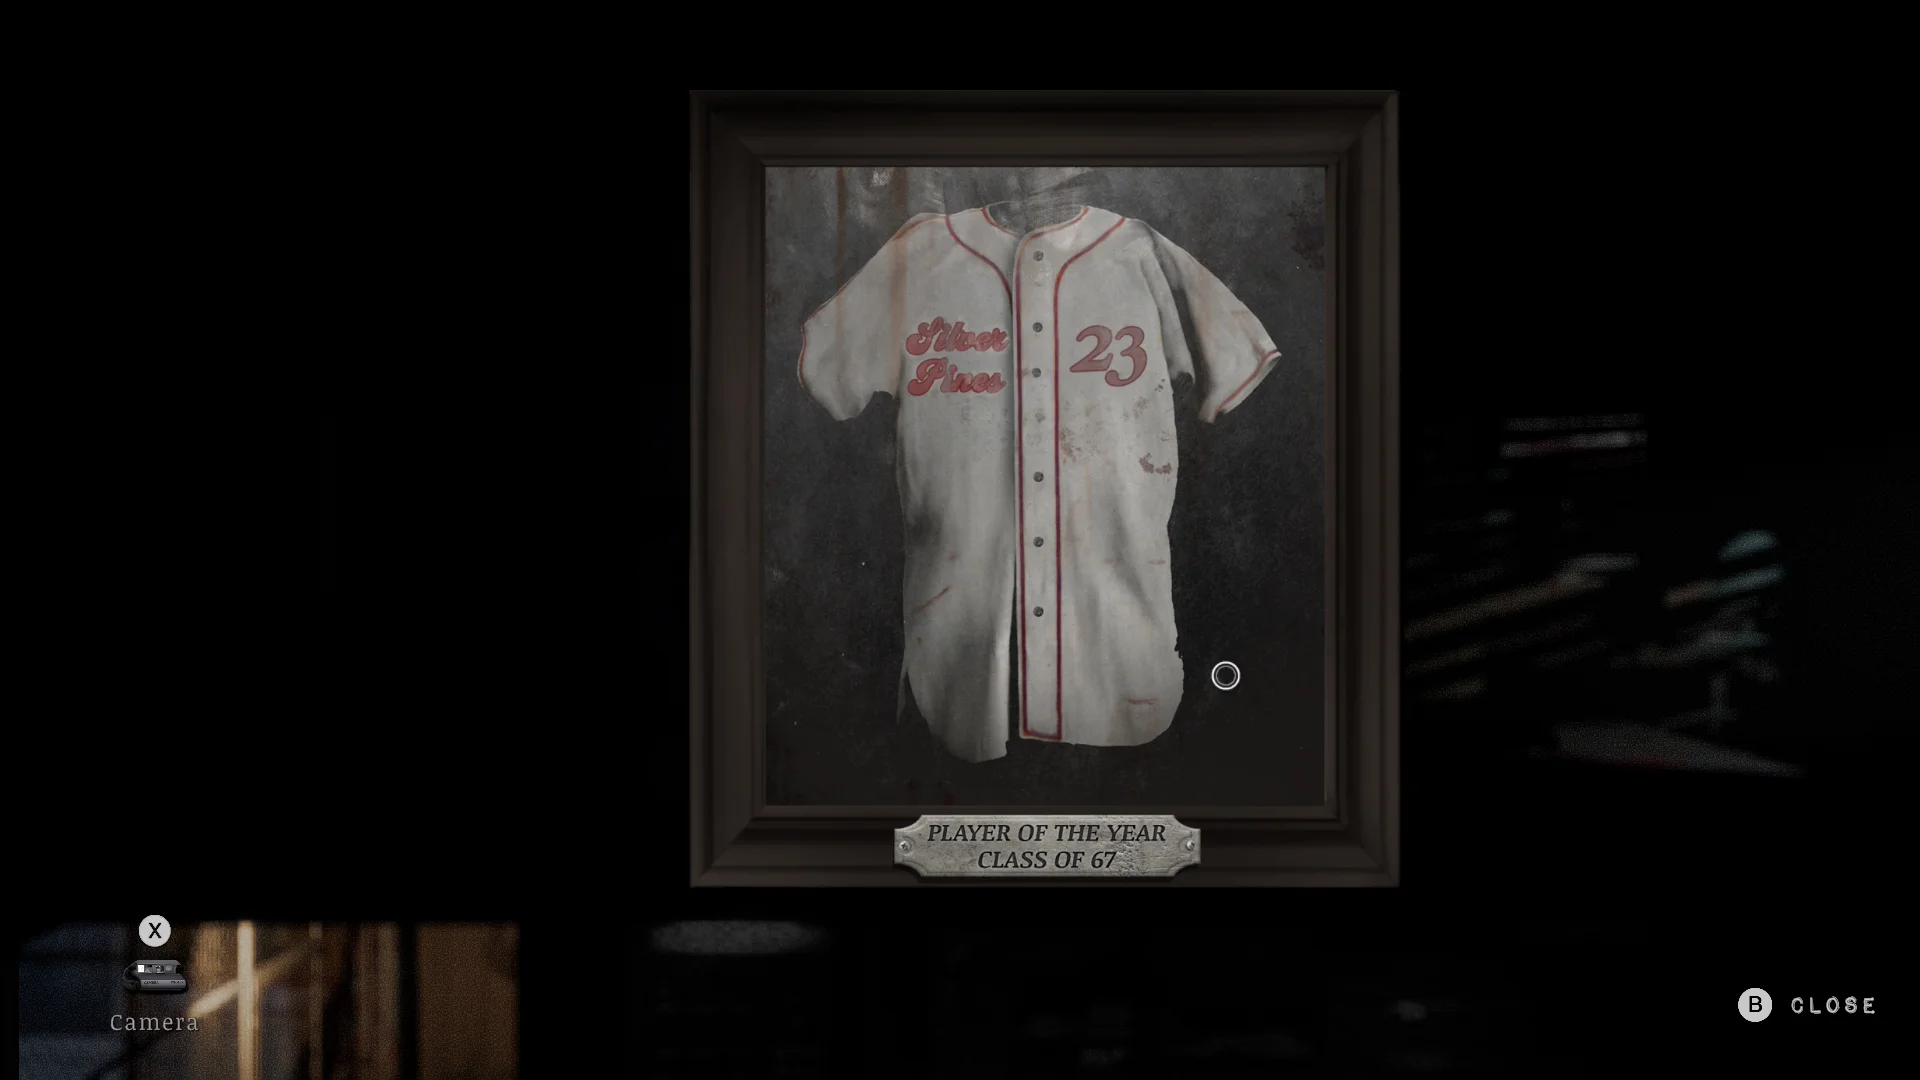
- Come back once you have the flashlight from Riverside and head upstairs. The framed jersey reads “Silver Pines 23, Player of the Year, Class of 67”.
- Enter 2367 on the lockbox downstairs for a rifle and supplies.
What else to do in Downtown
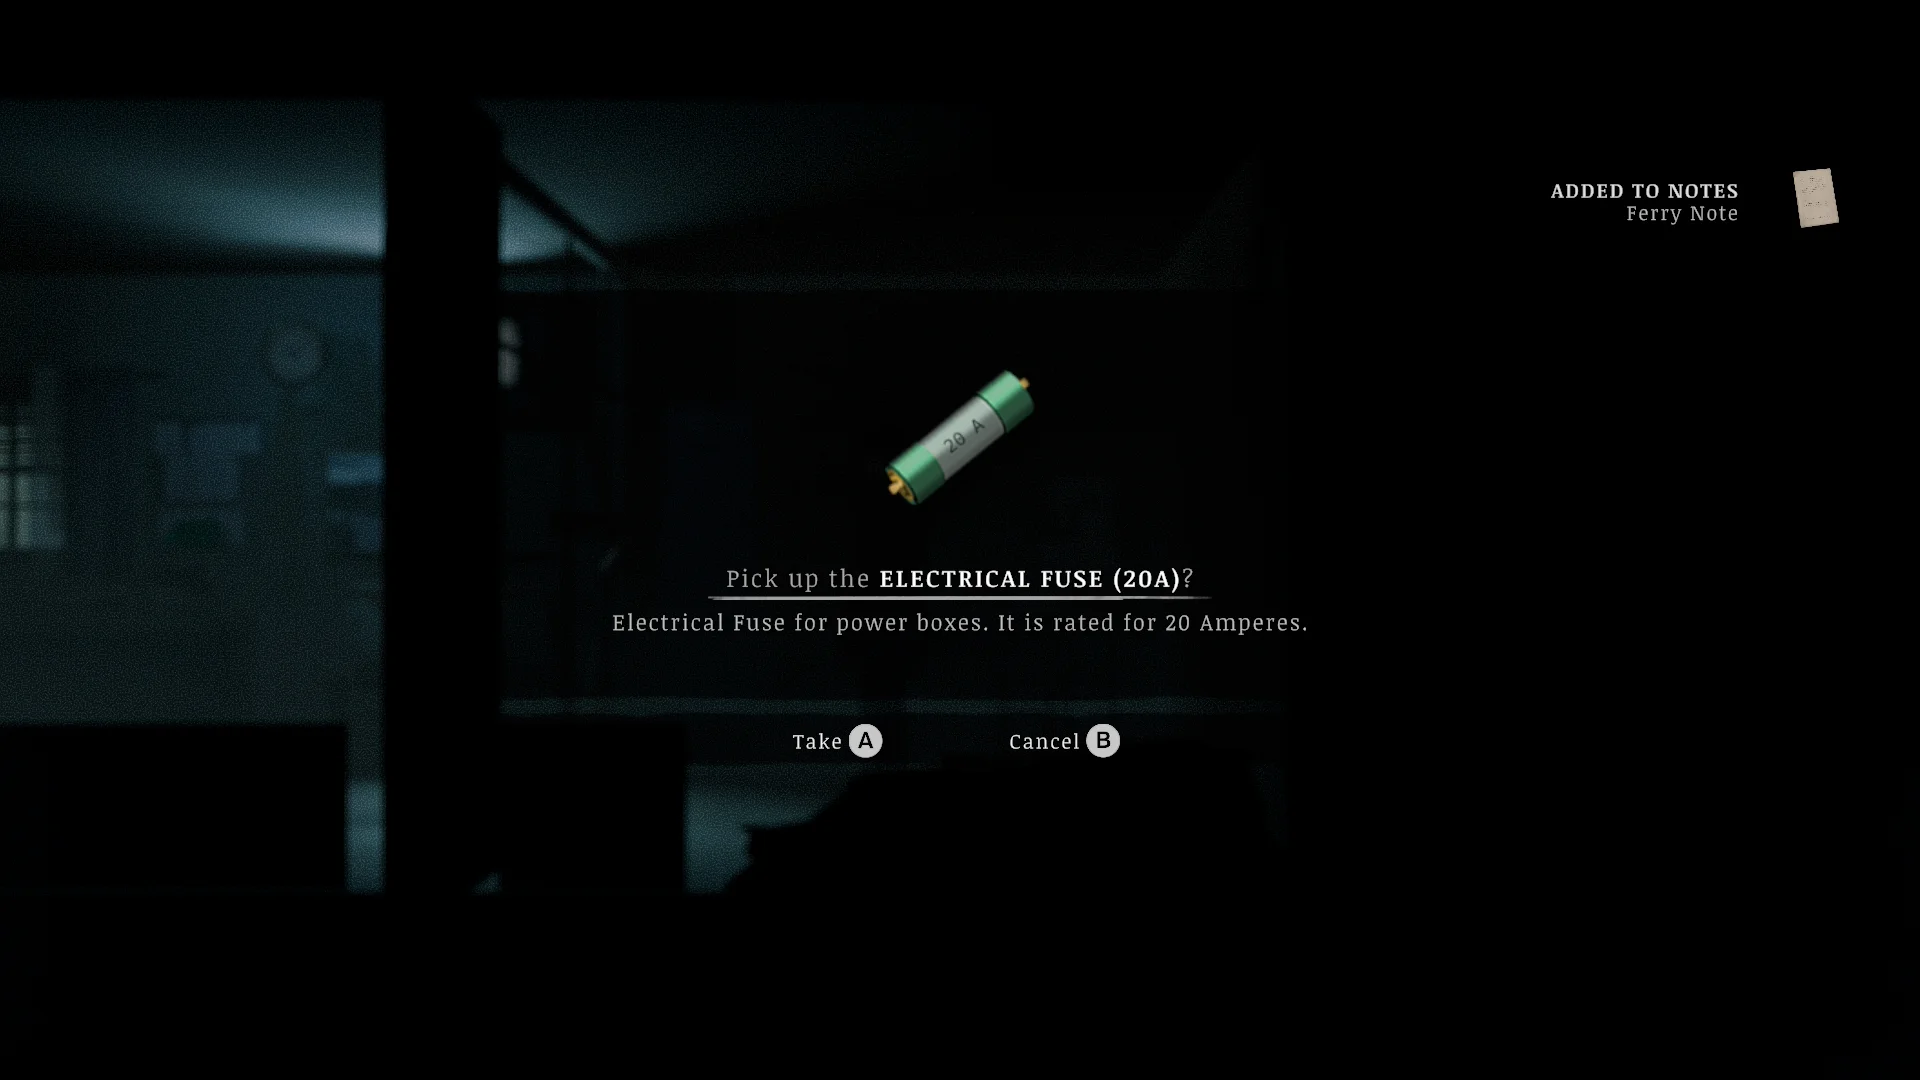
Take your time here. Downtown has a coffee machine, an Electrical Fuse (20A), and several clues you’ll need hours from now.
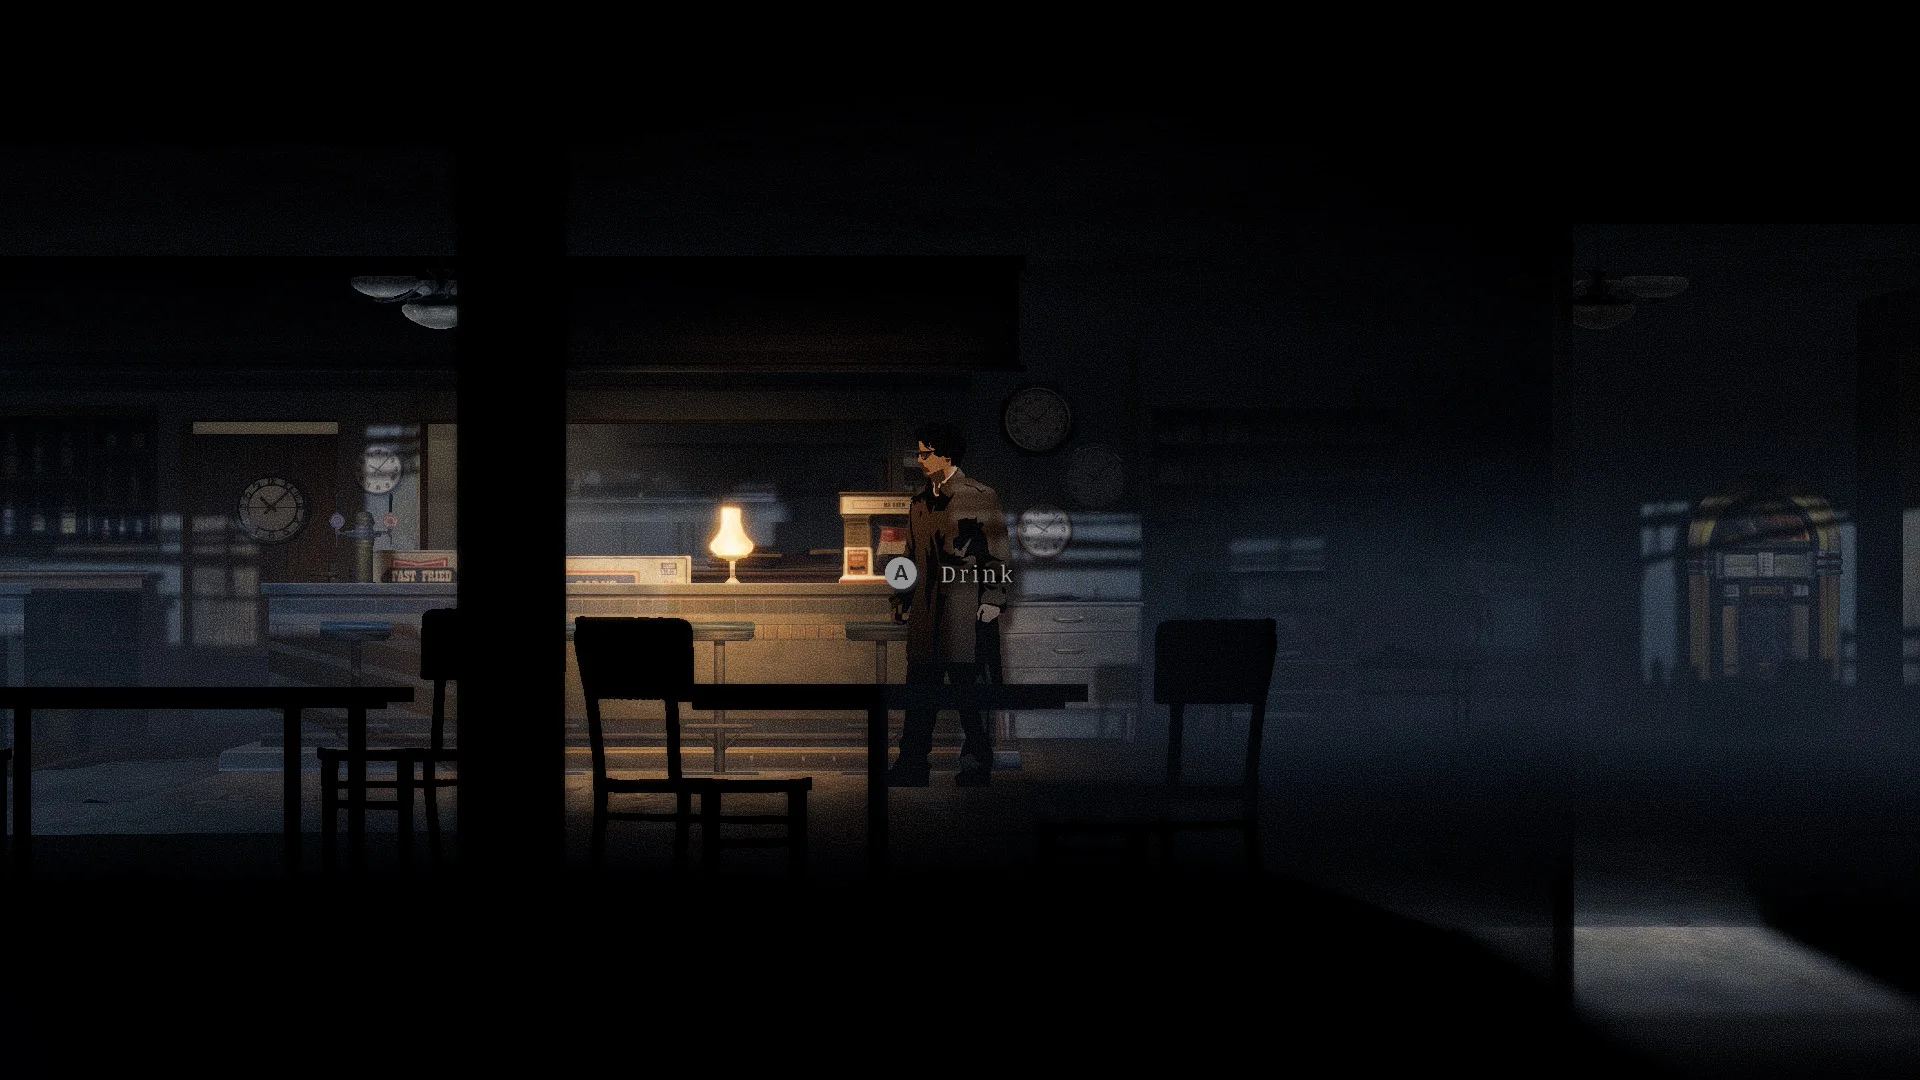



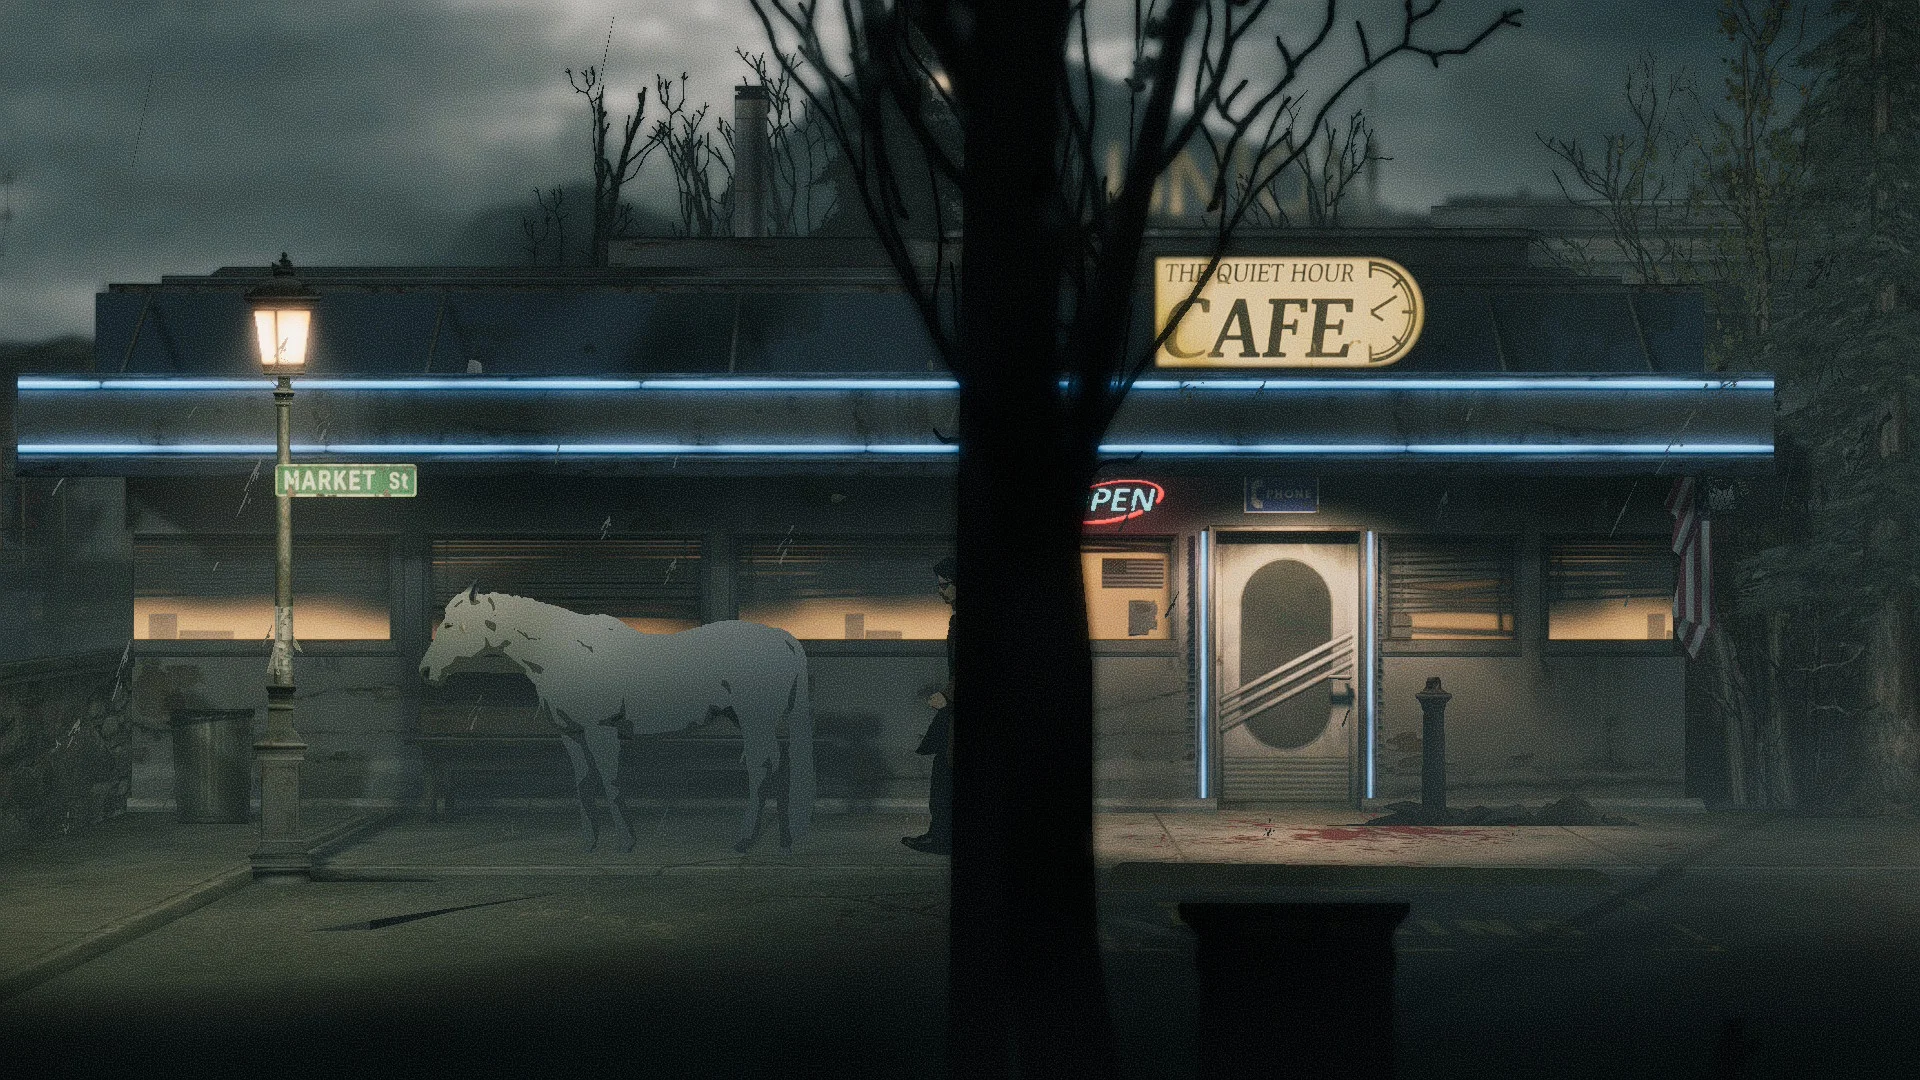
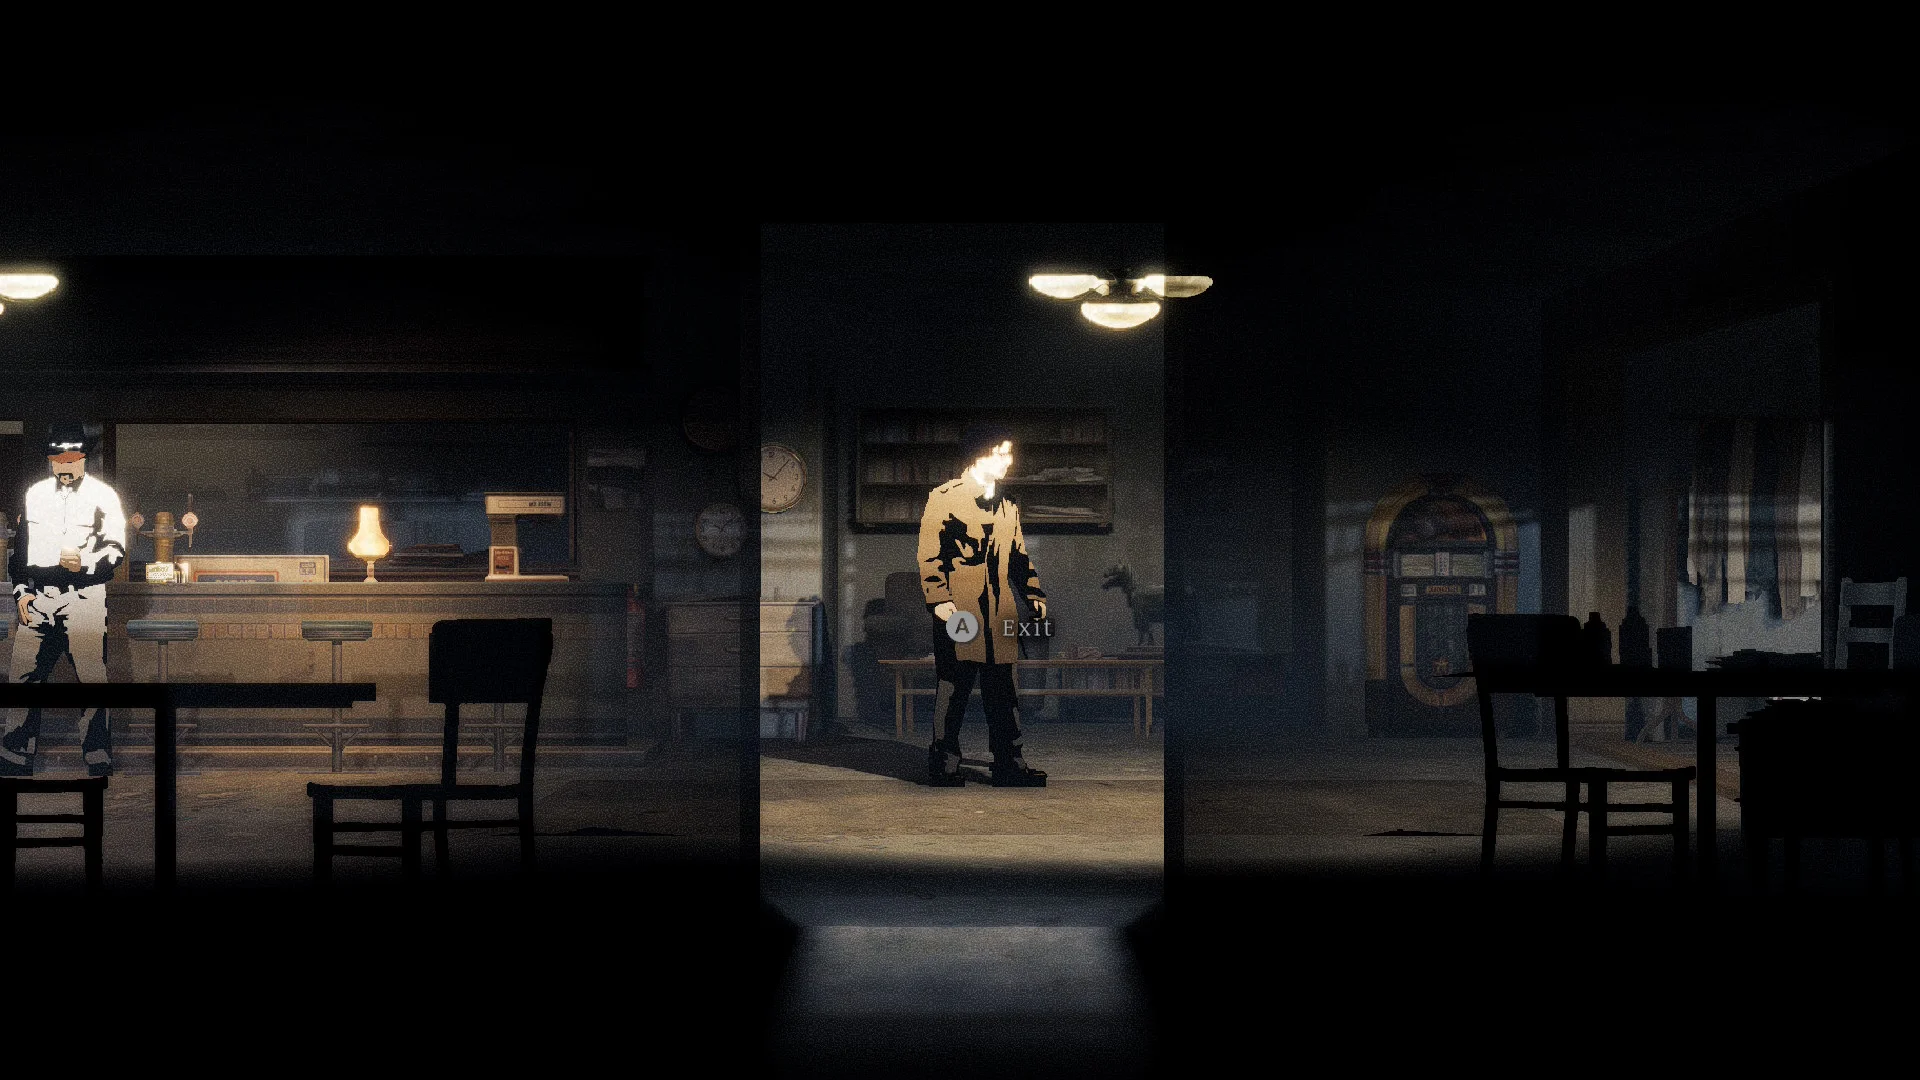
- Drink a coffee at the cafe for more stamina. The newspaper outside covers a ghost ship in the harbor, and you’ll meet that ship later.
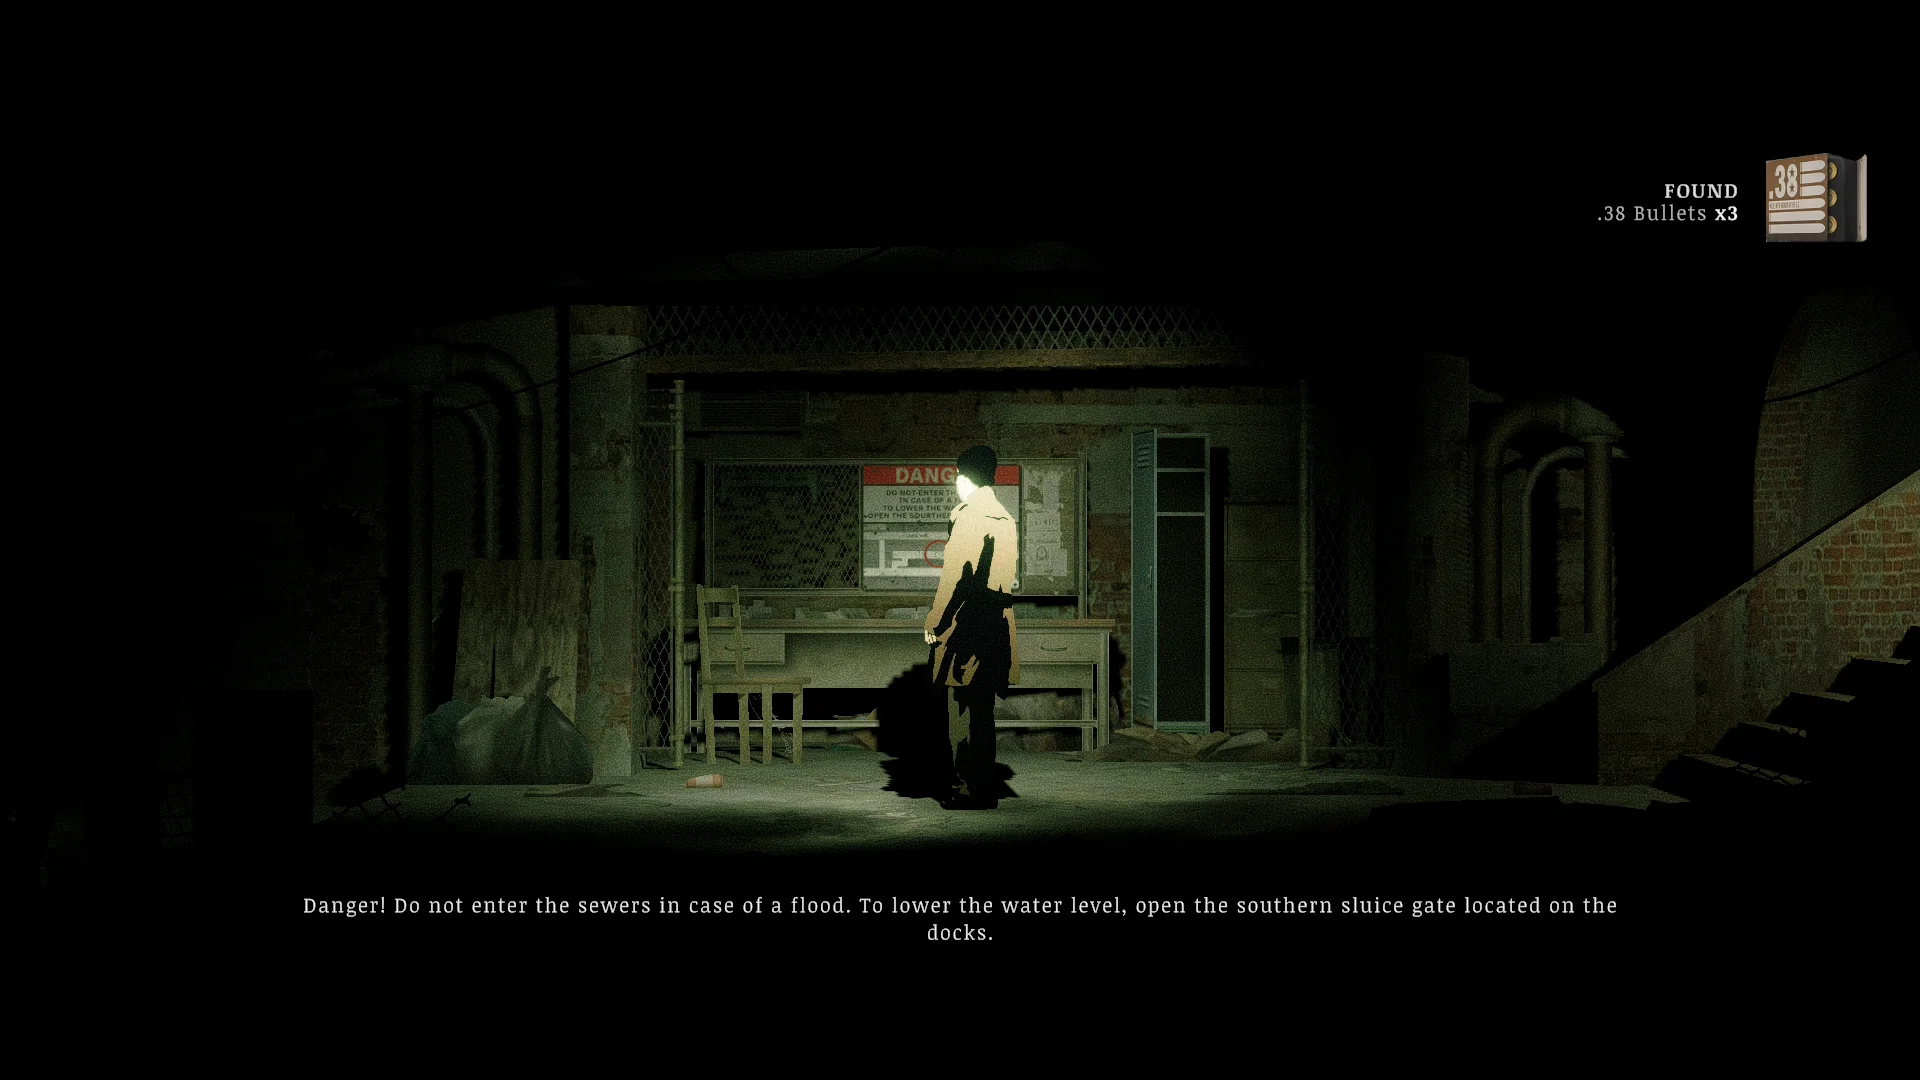
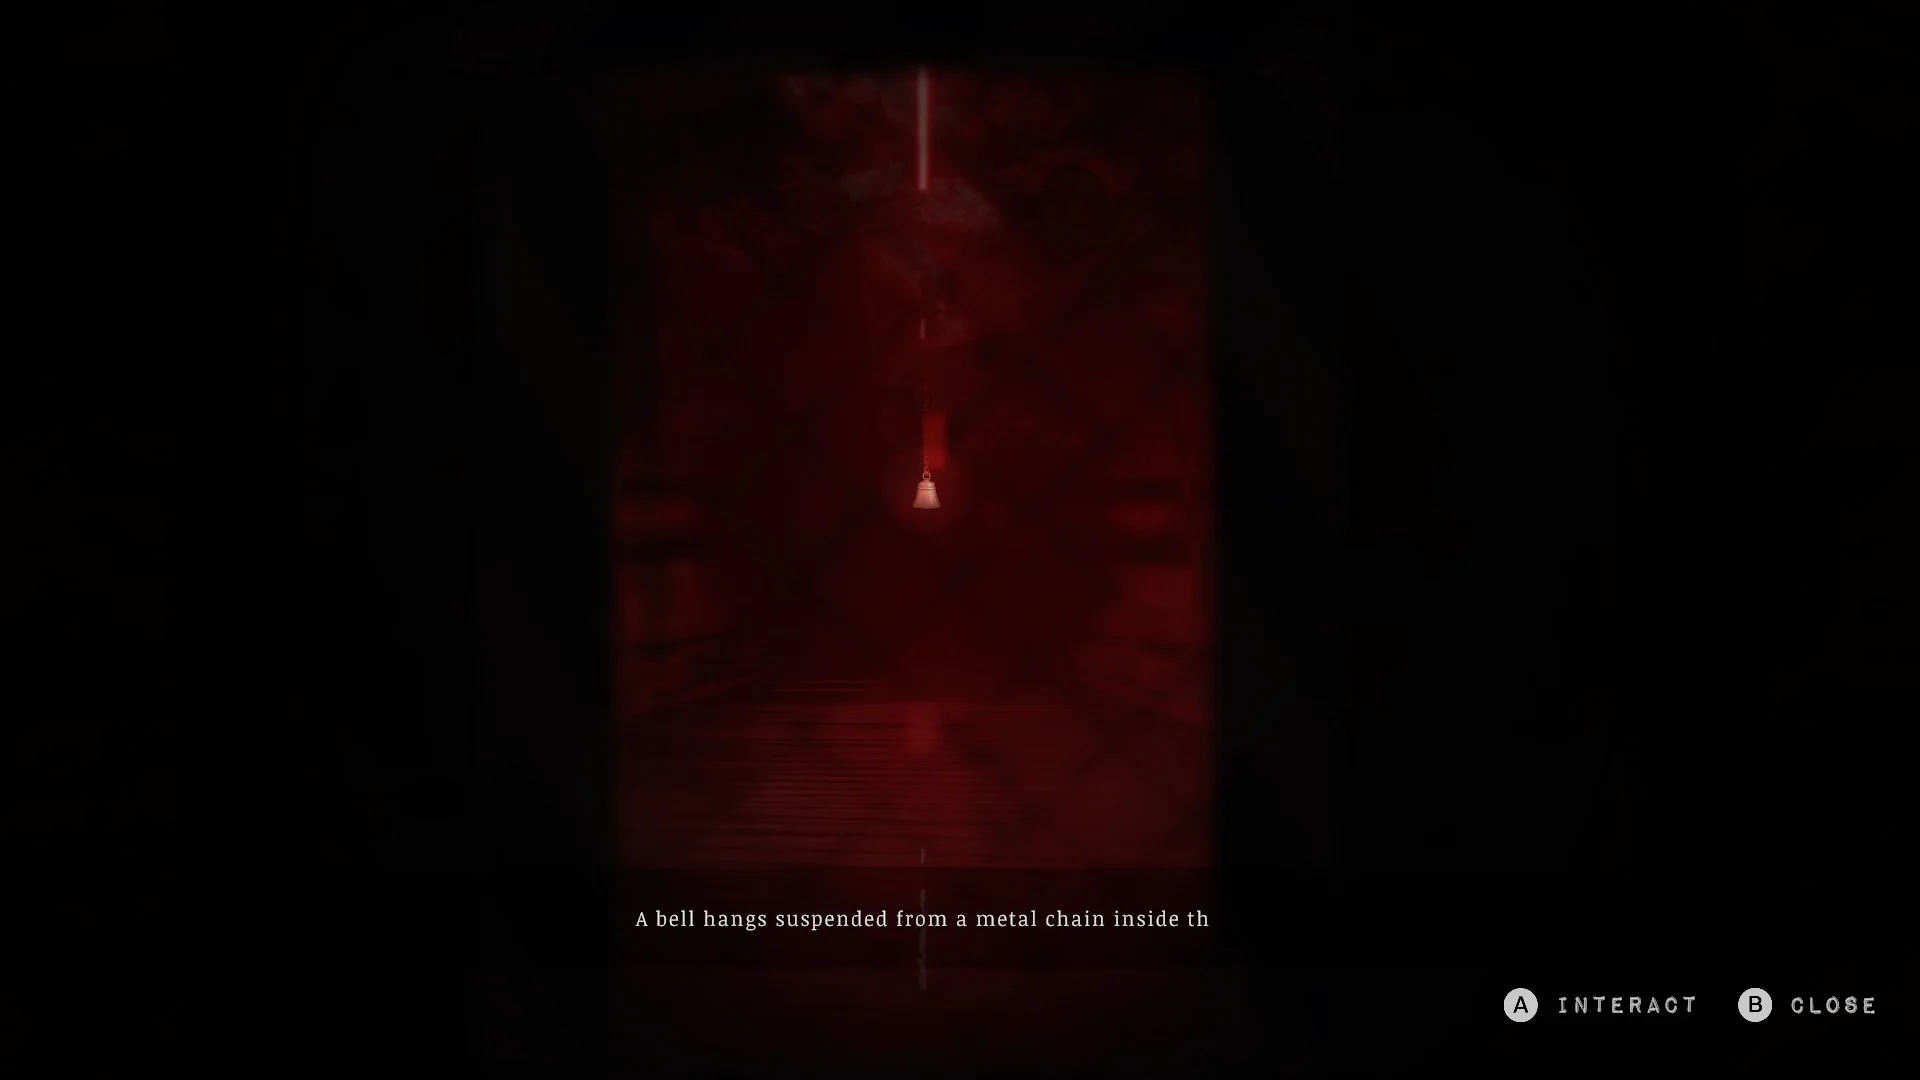
- Blast the barricade to the right of the green building with the shotgun and follow the path down to the sewer entrance. The sign tells you to open the southern sluice gate on the docks to lower the water. Look through the cage, and you’ll spot a bell.
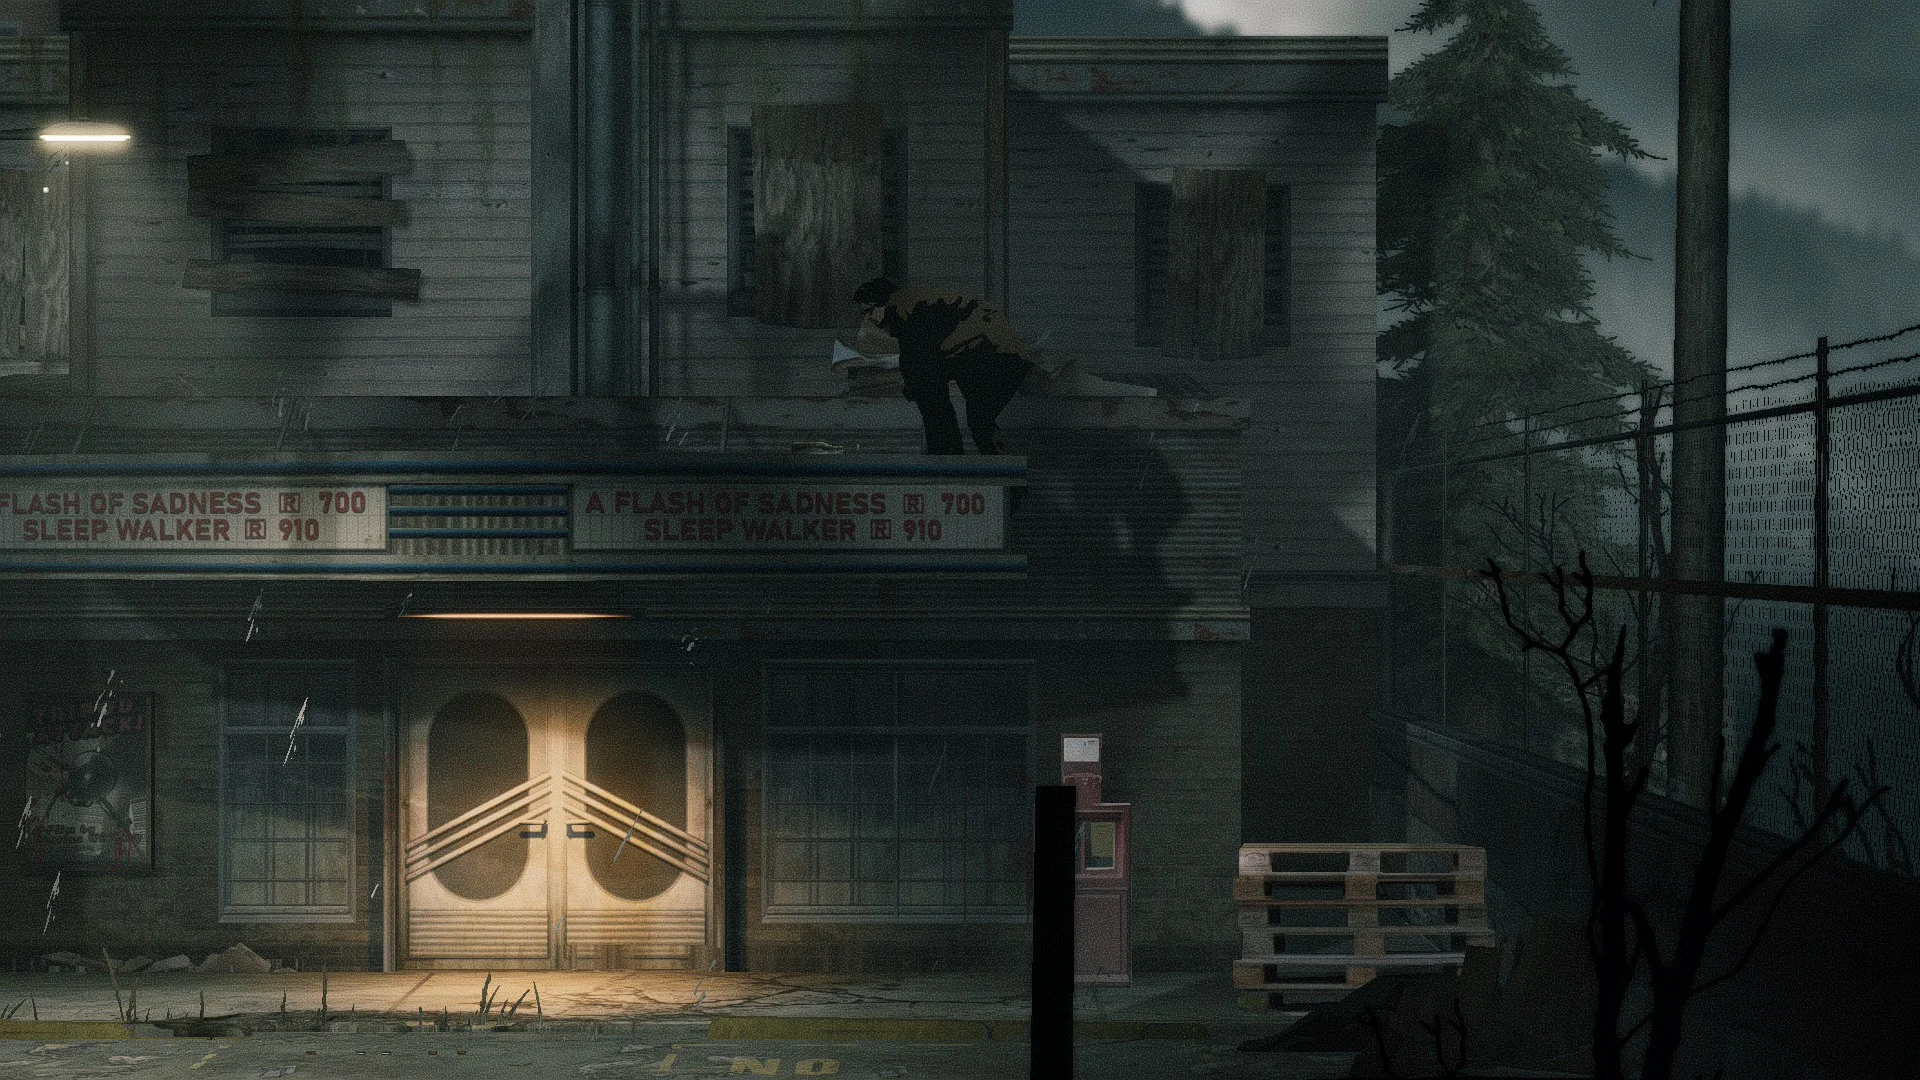
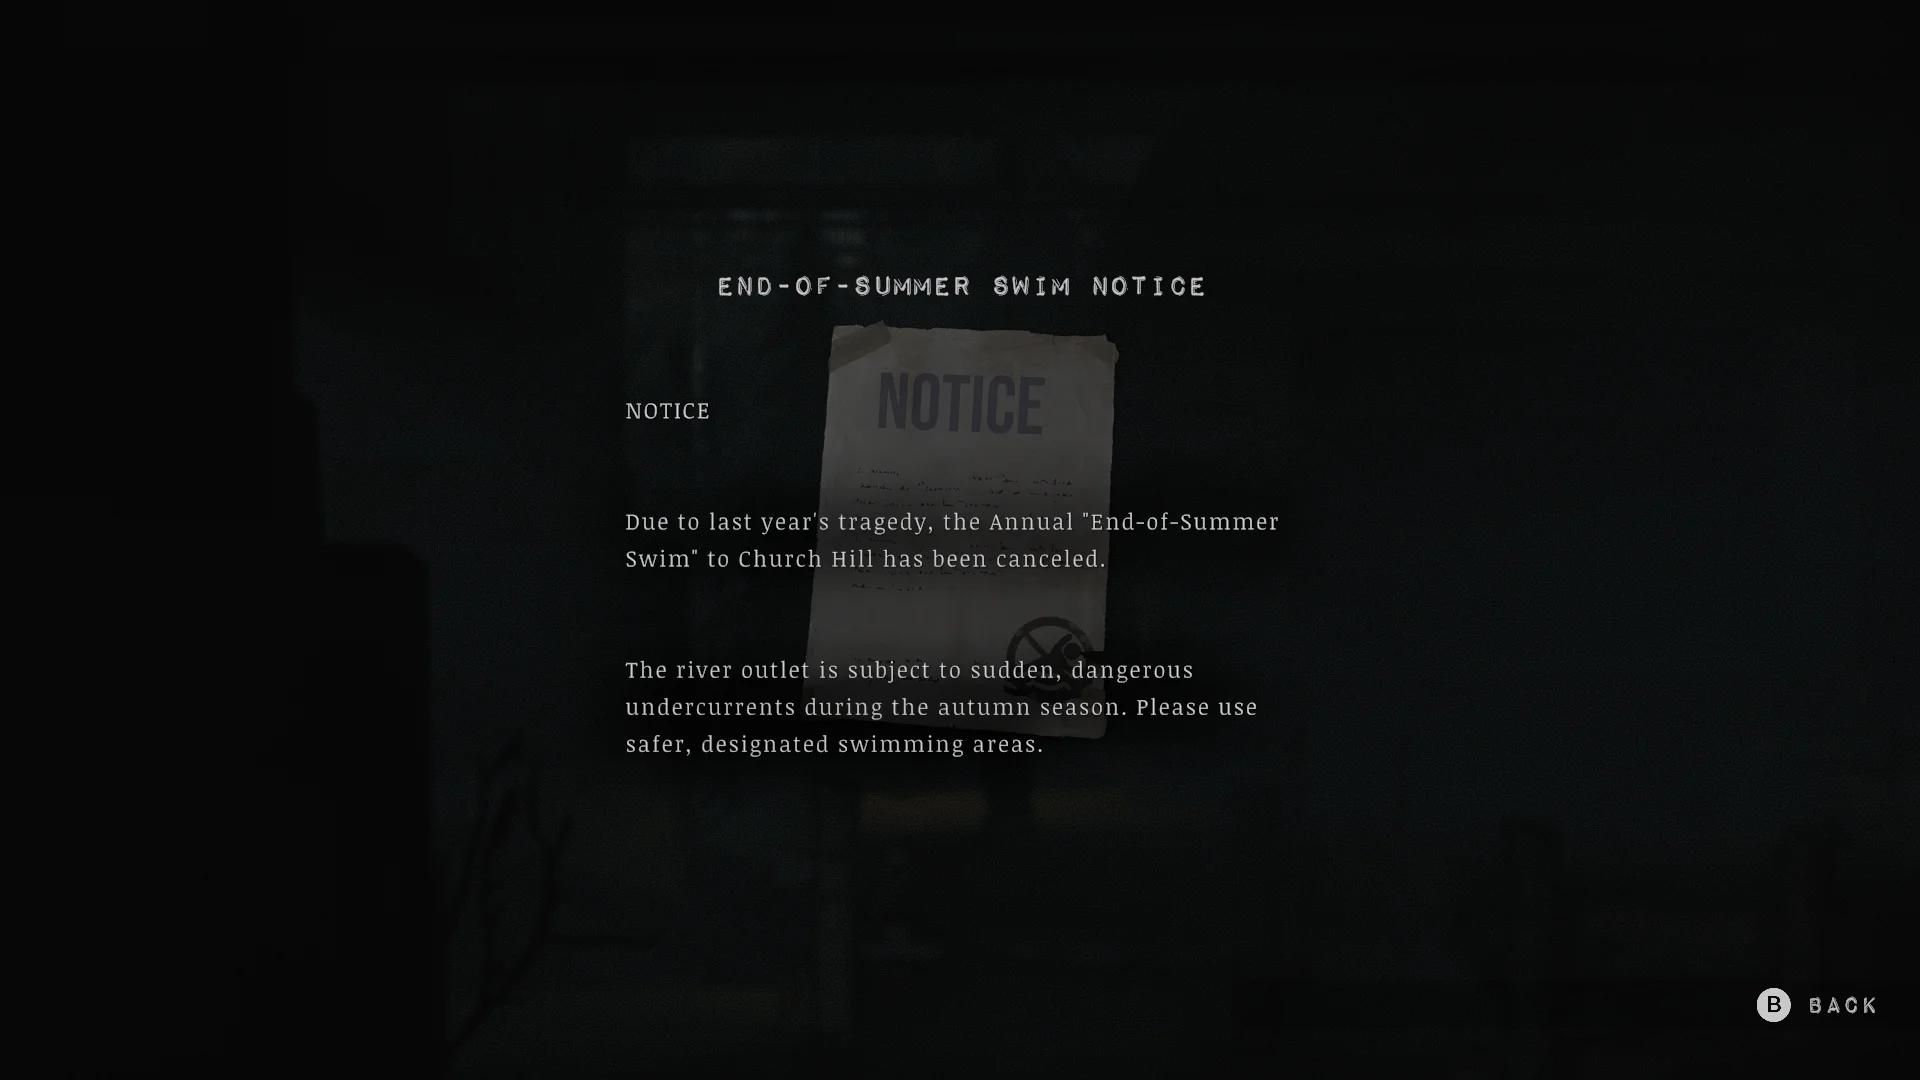
- Find the tree bleeding discolored sap near the cinema. Climb the cinema sign for a bottle and supplies, then blast the blocked area to its left for the End of Summer Swim notice.
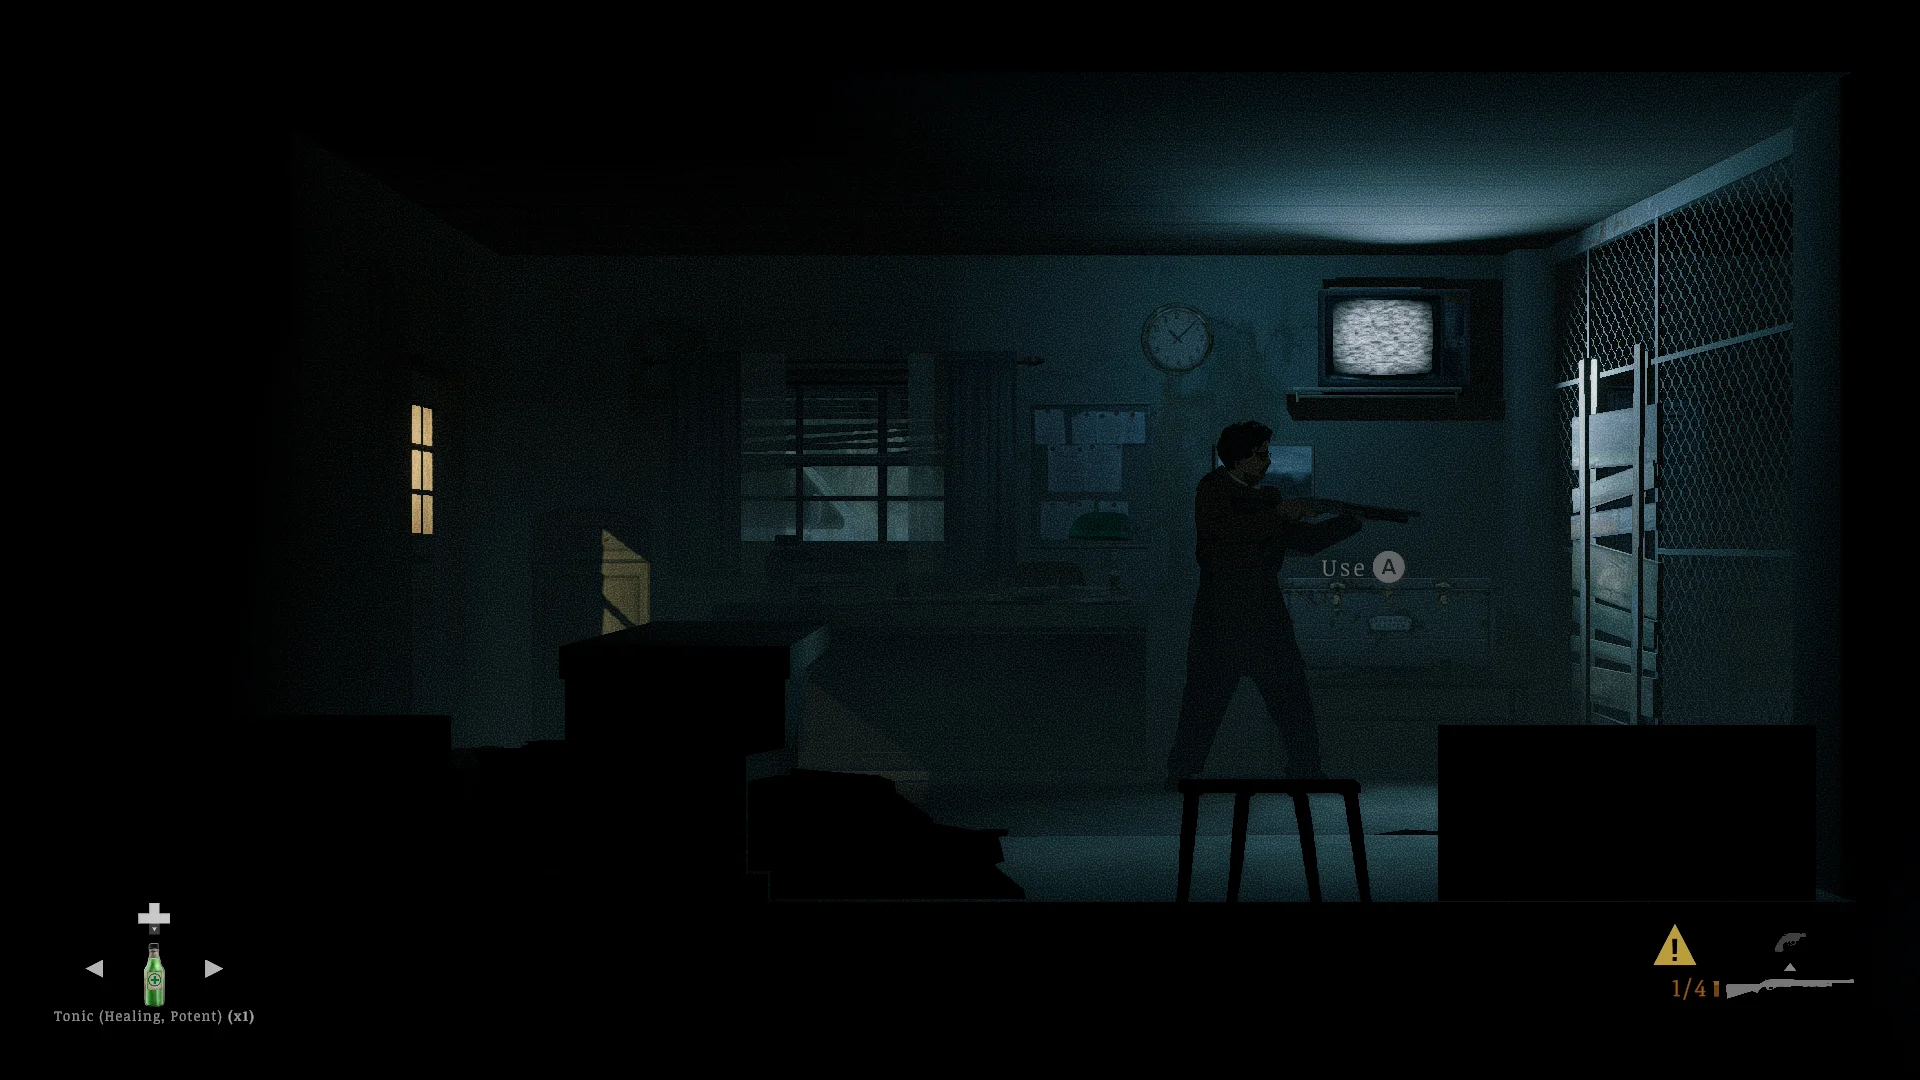
- Shoot the gap under the TV in the building with a TV. Inside you’ll find a ferry note and an Electrical Fuse (20A).
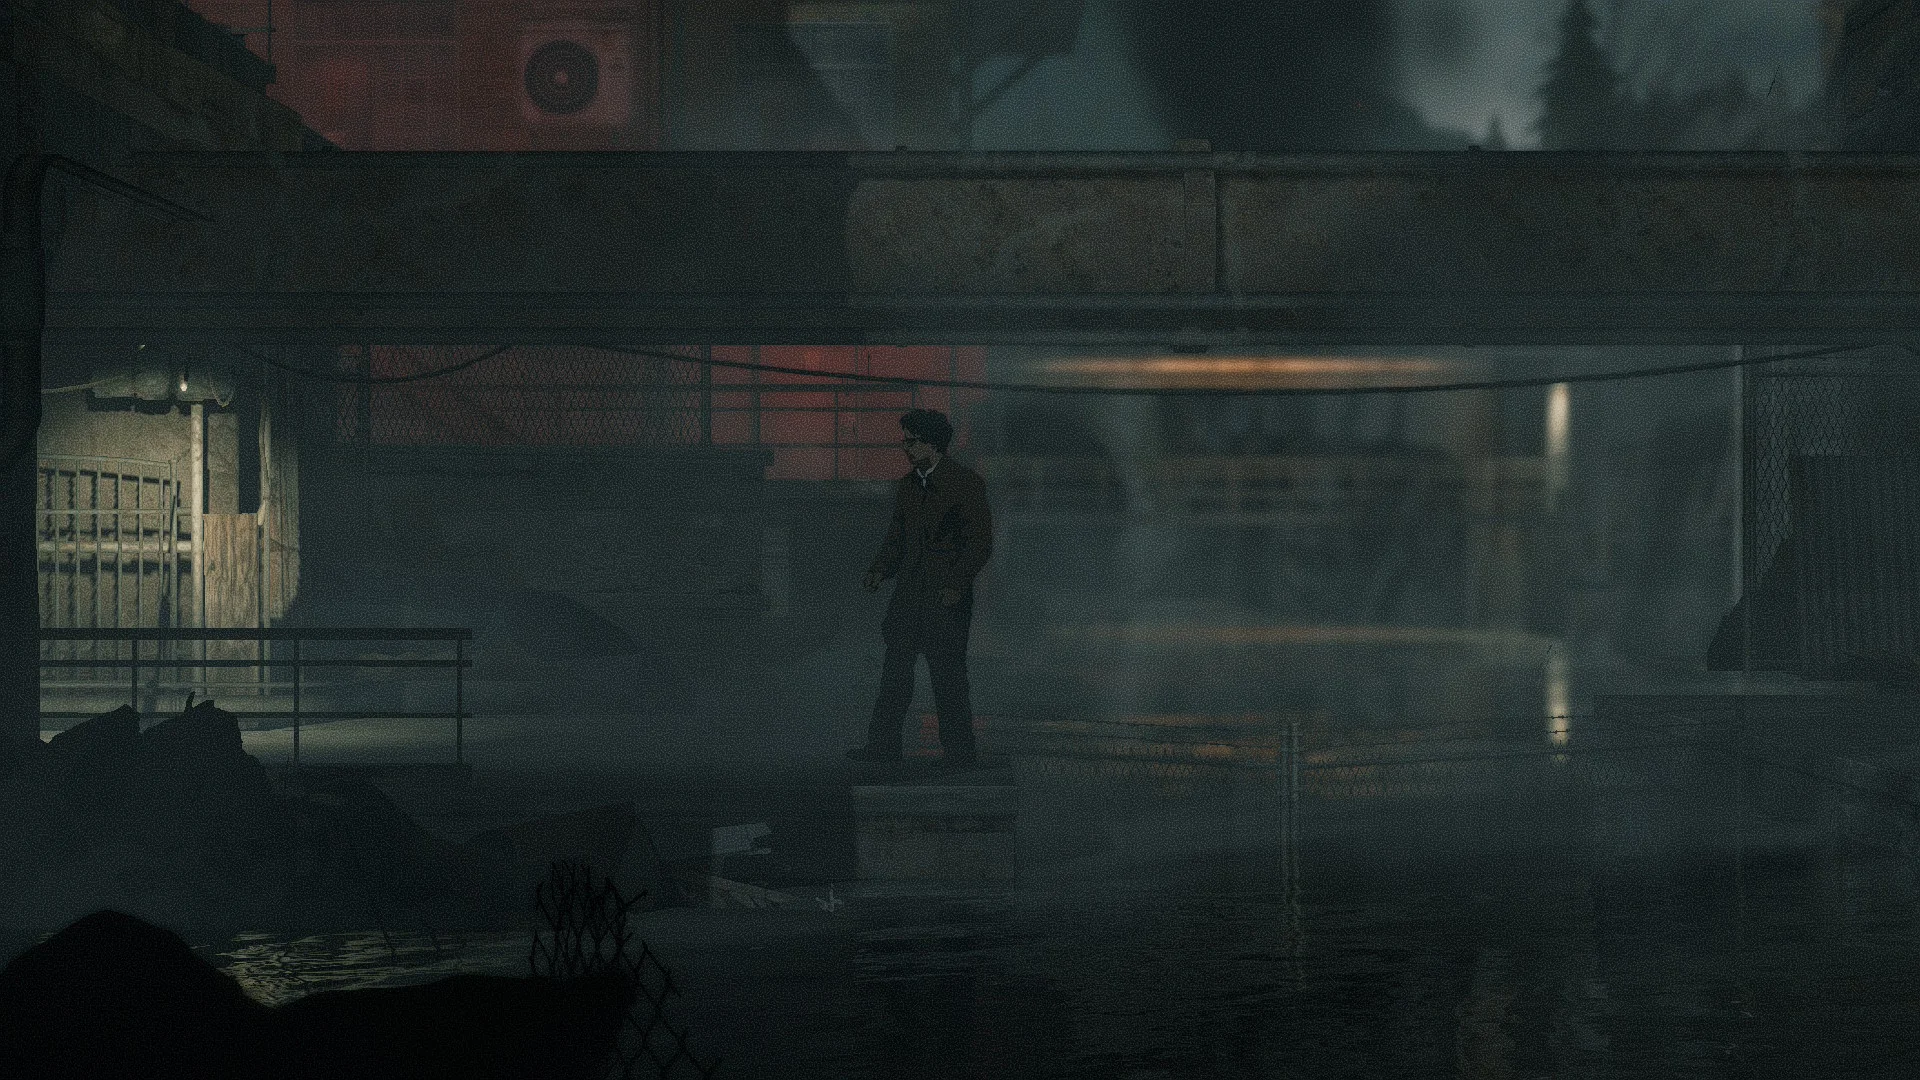
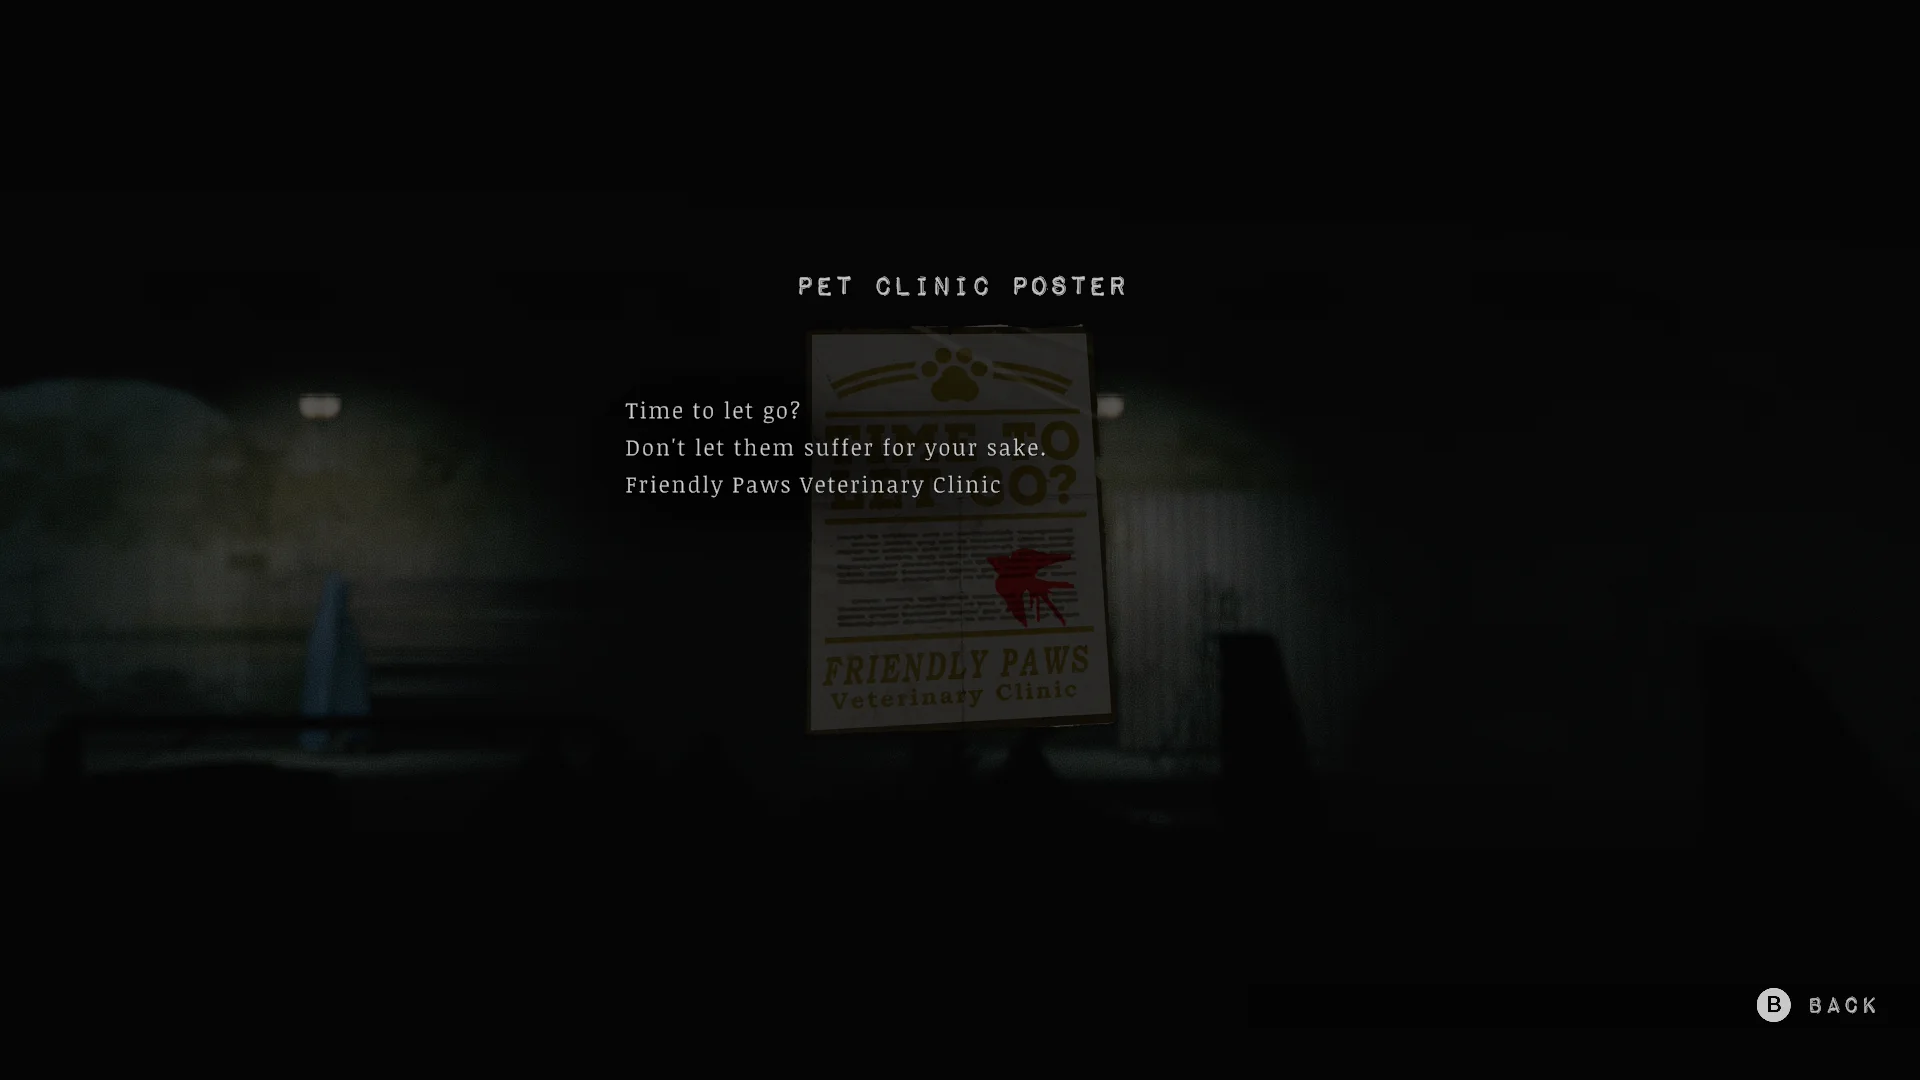
- Vault the ledge to the left past the cafe for Pale Lichen and bottles. Swim between the two edges of town, and you’ll also find a pet clinic poster and a man to talk to.
- Visit the cable car station. It needs seven bells, and you’ll spend most of the game collecting them. The full bell puzzle is in the Mt. Siah Kopa section.
- Later on, talk to the man inside the cafe, and he gives you free ammo. A horse also shows up around then.
Where to find the Quiet Hour Key
Vault the fence on the right side of the cable car building. The key opens the lockbox at the back of the cafe.
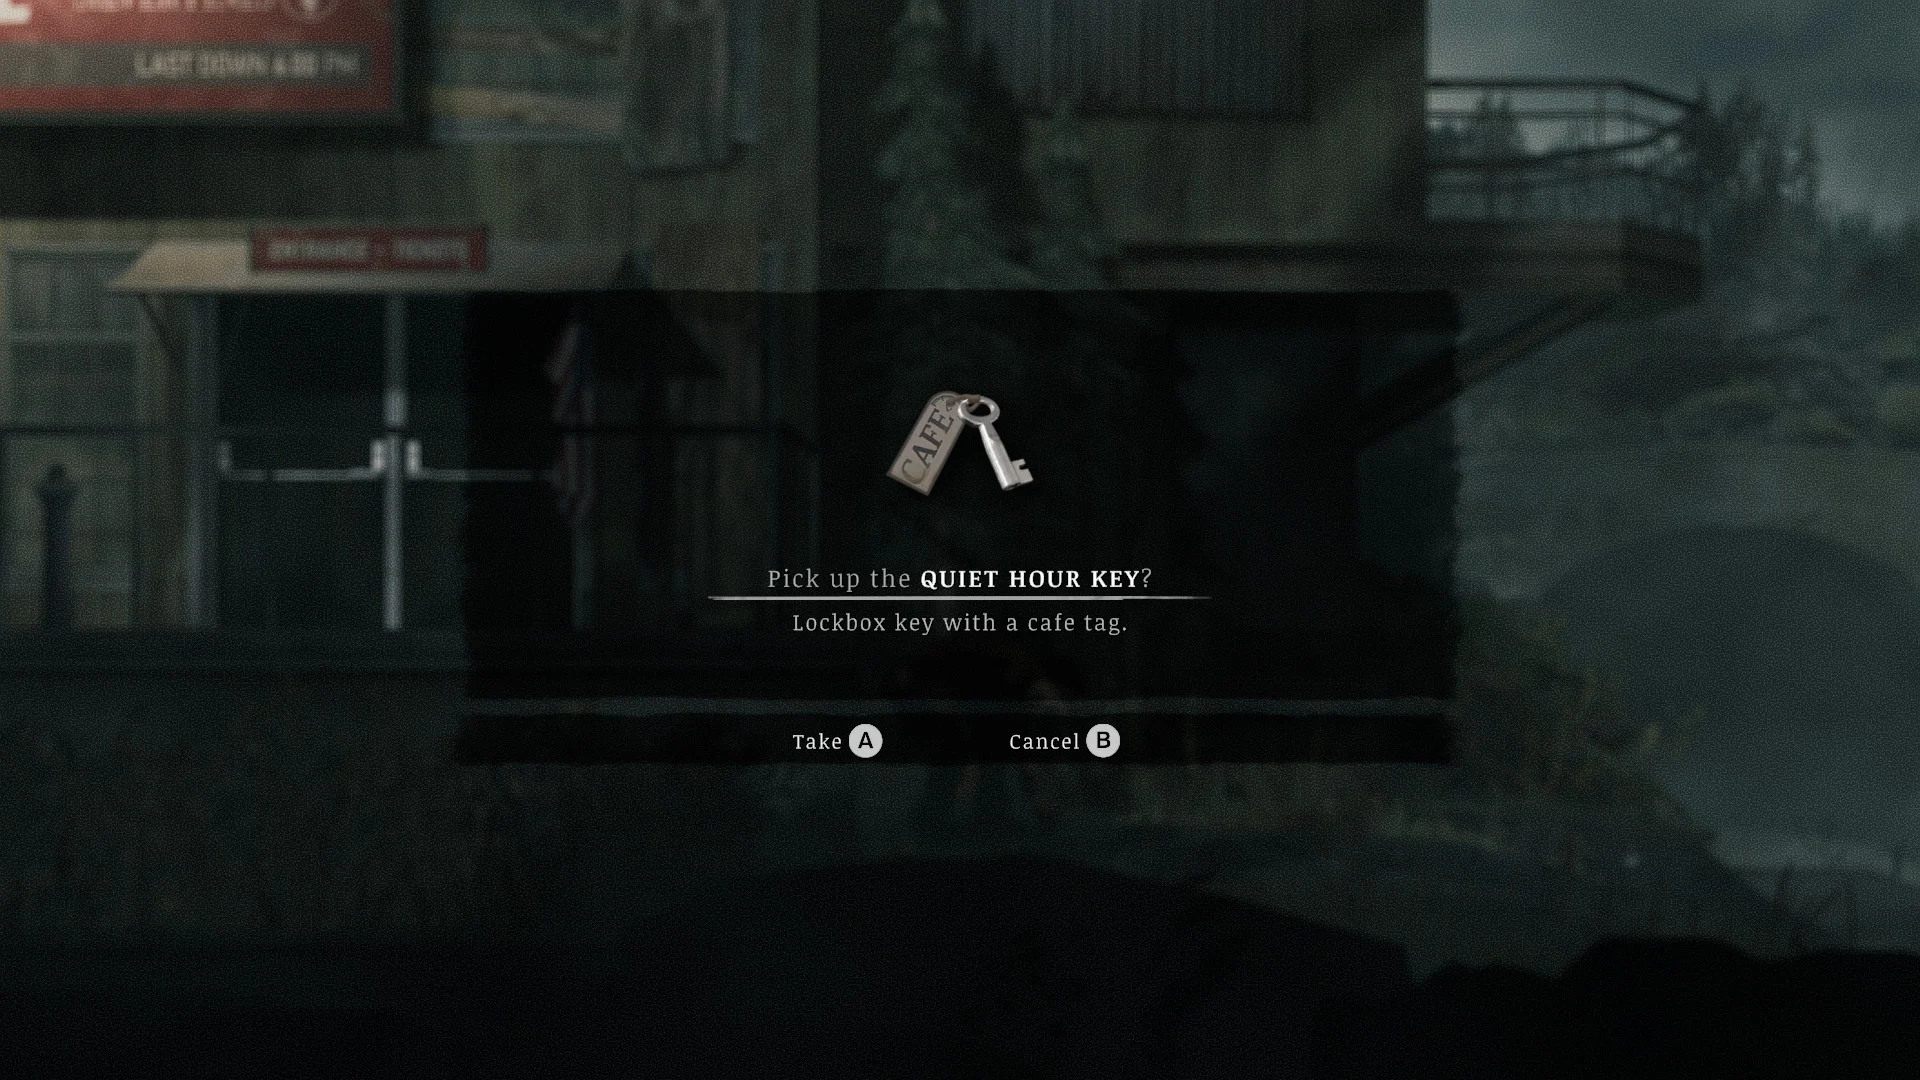
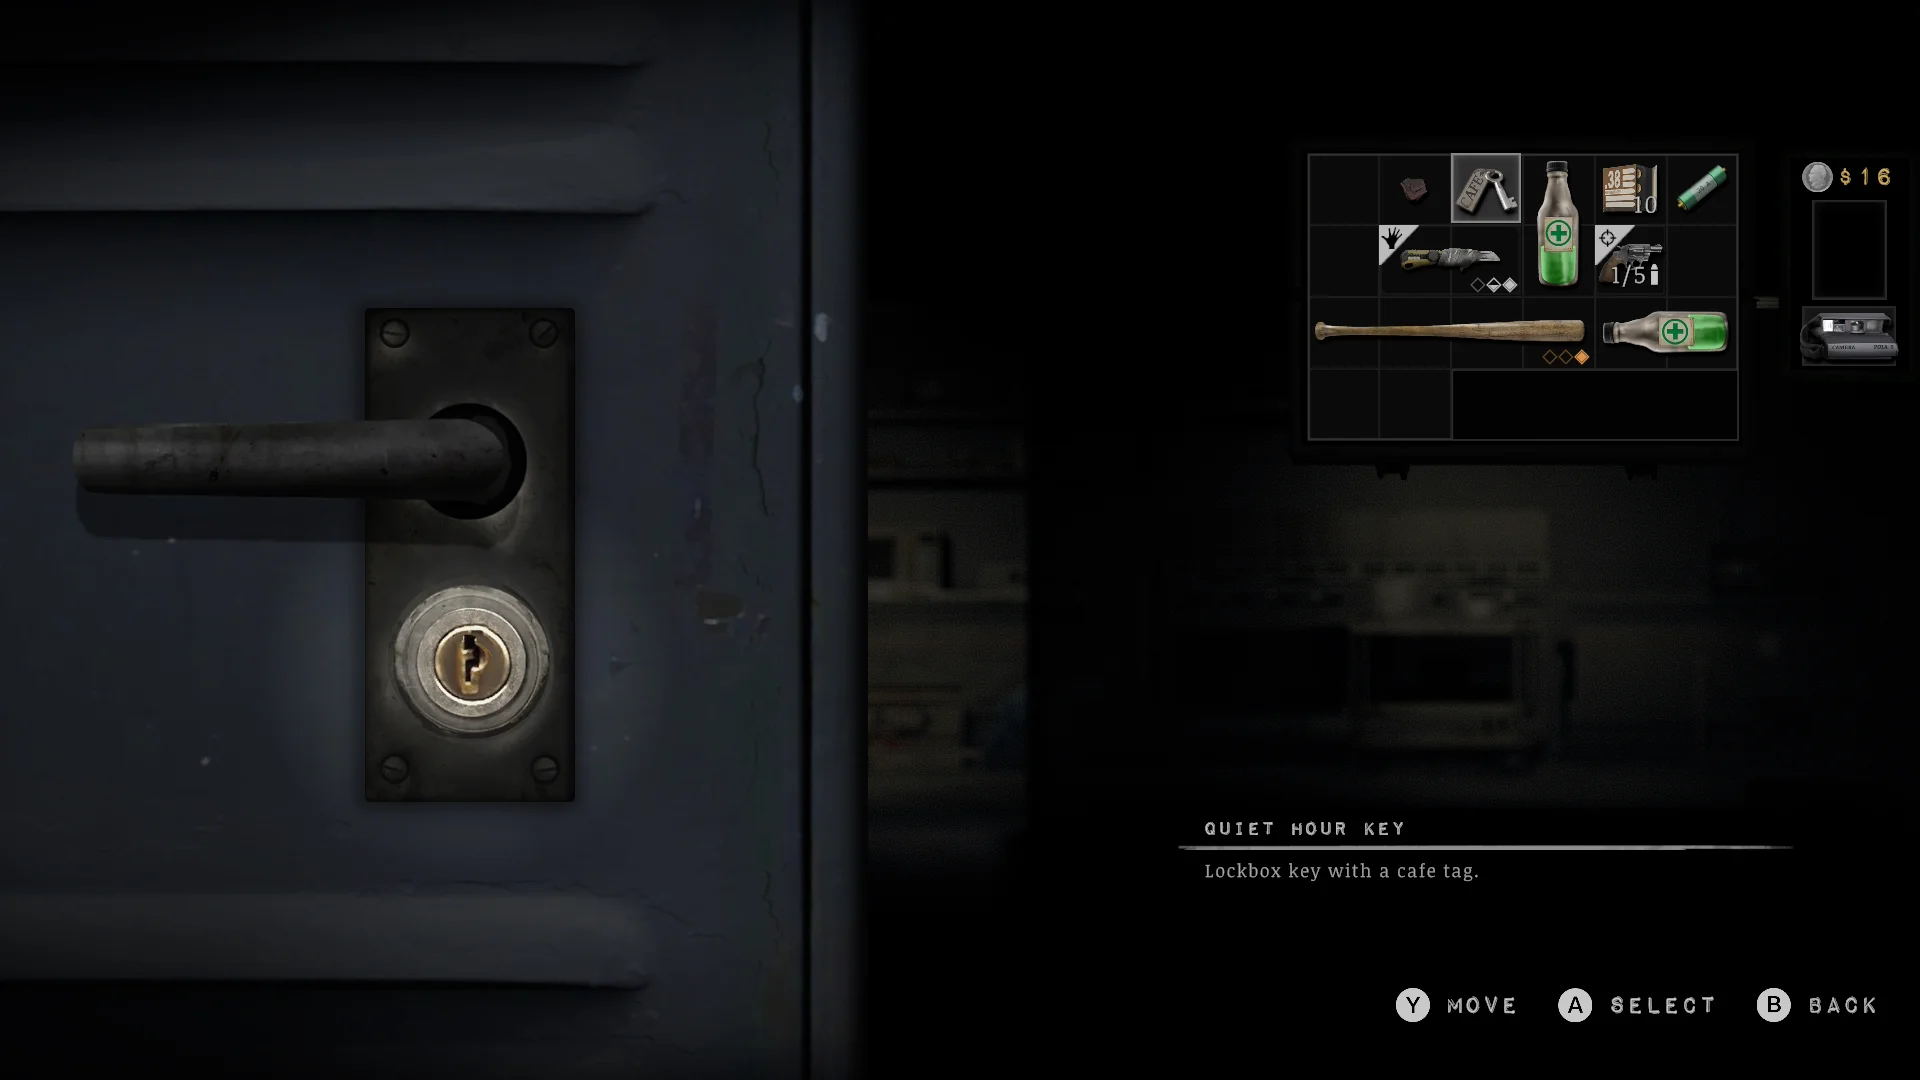
- Hop the fence to the right of the cable car building and take the Quiet Hour Key, a lockbox key with a cafe tag.
- Use it on the lockbox at the back of the cafe.
Riverside
How to get the flashlight
The flashlight lies on the far side of the Wing Oil gas station, and the Gate Key from the Riverside Junkyard opens the way.
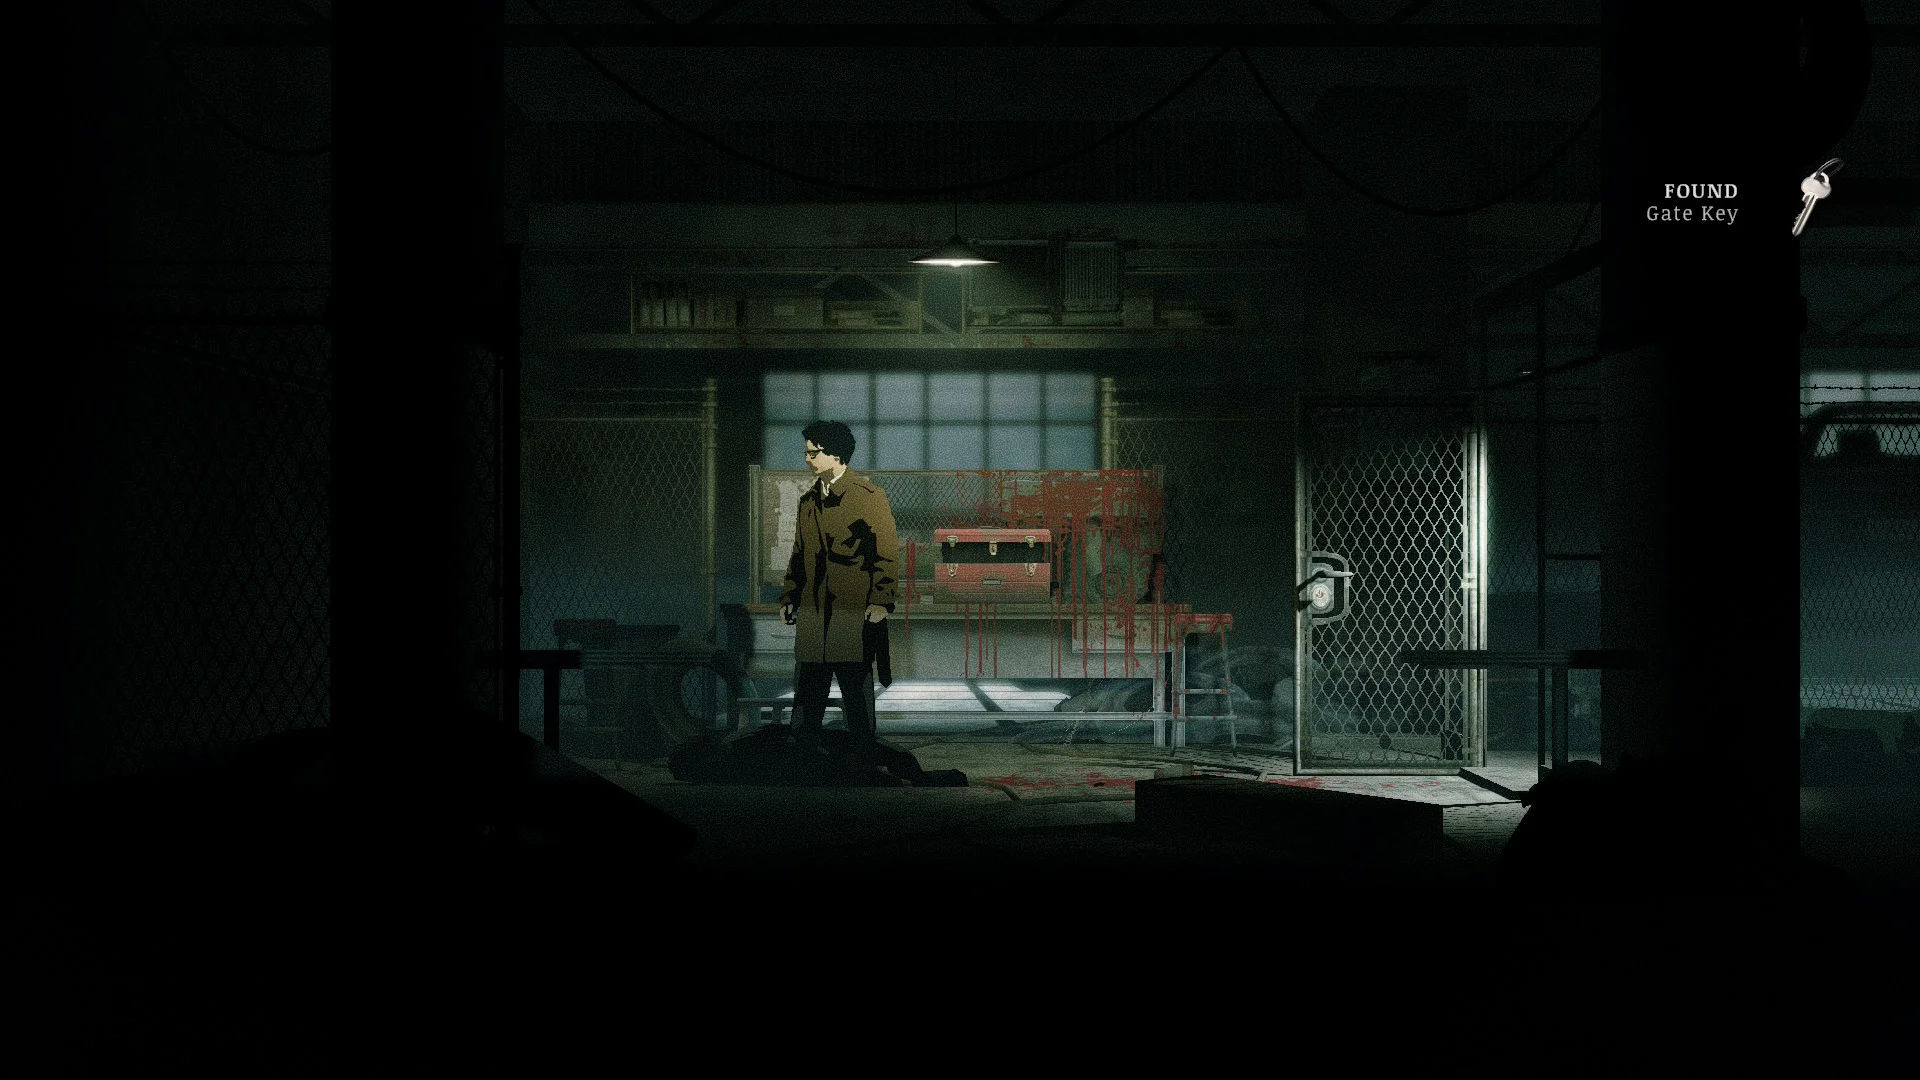
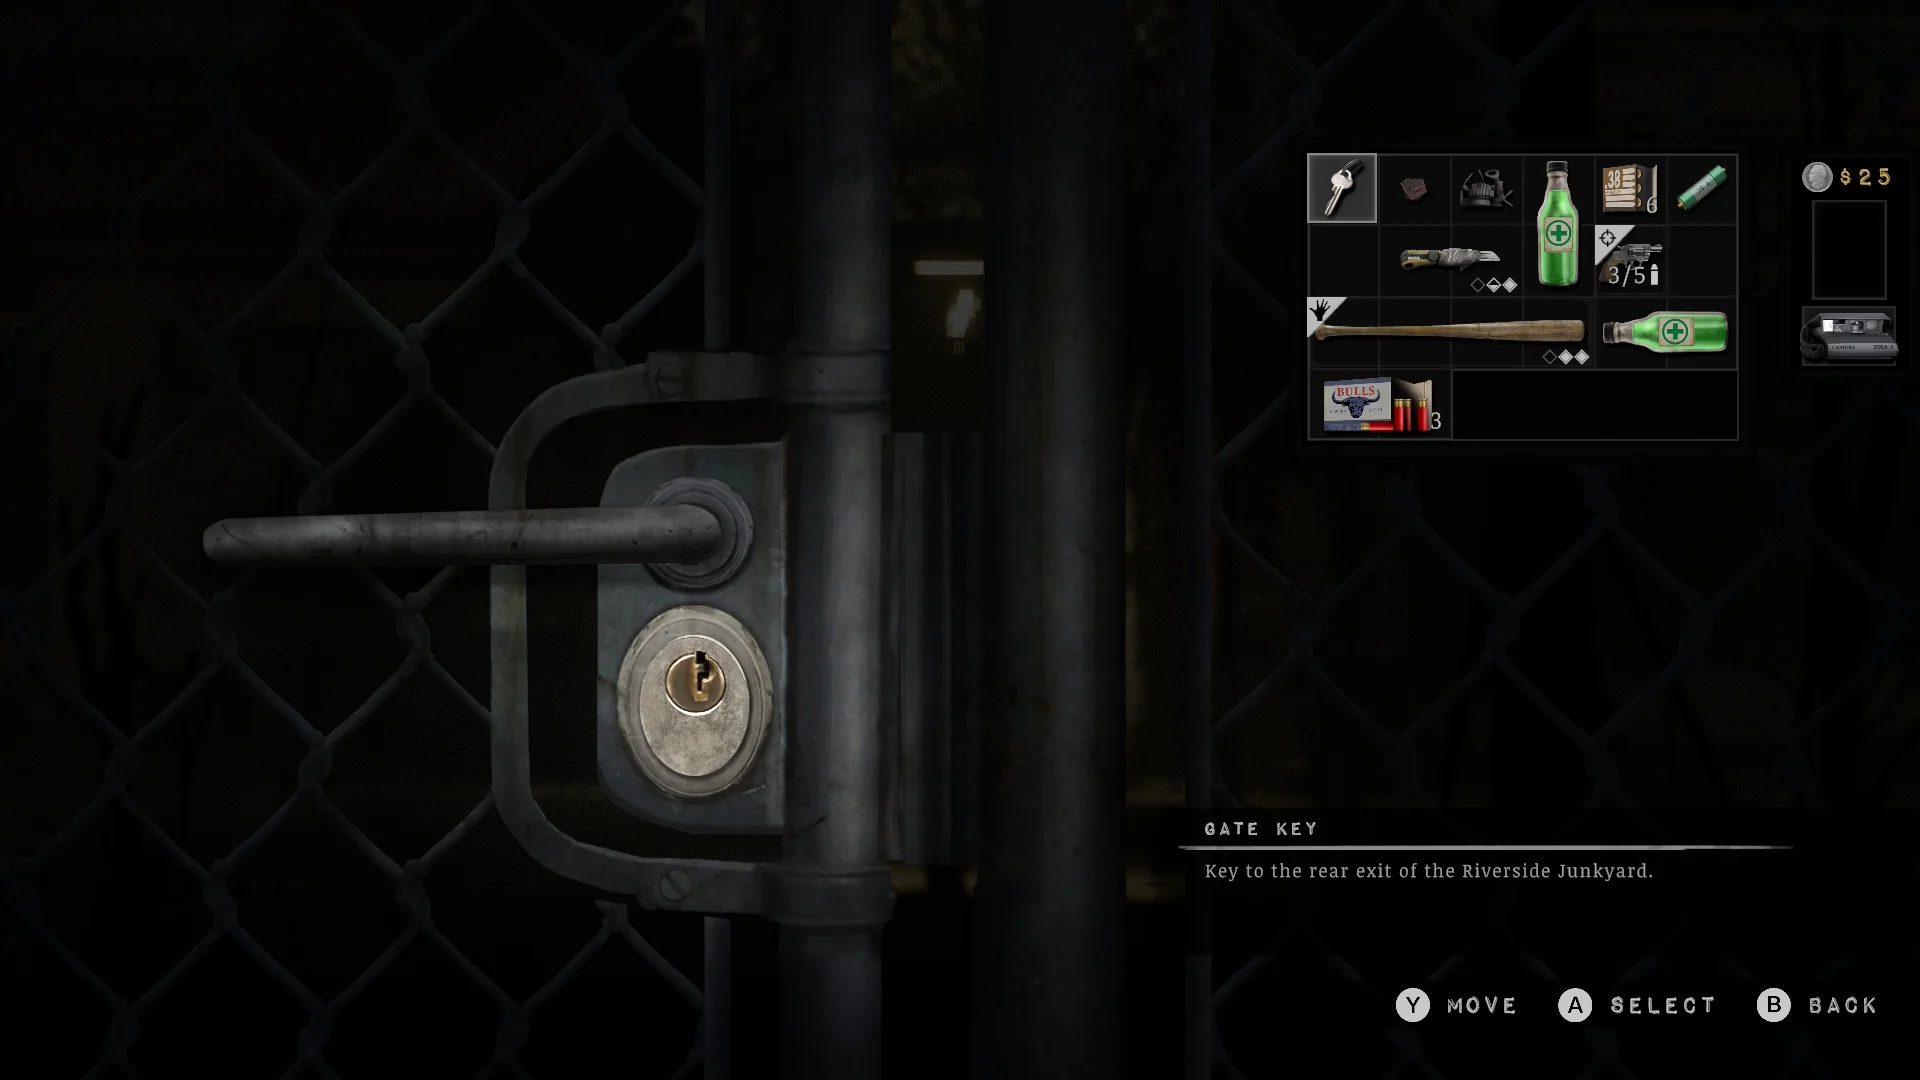
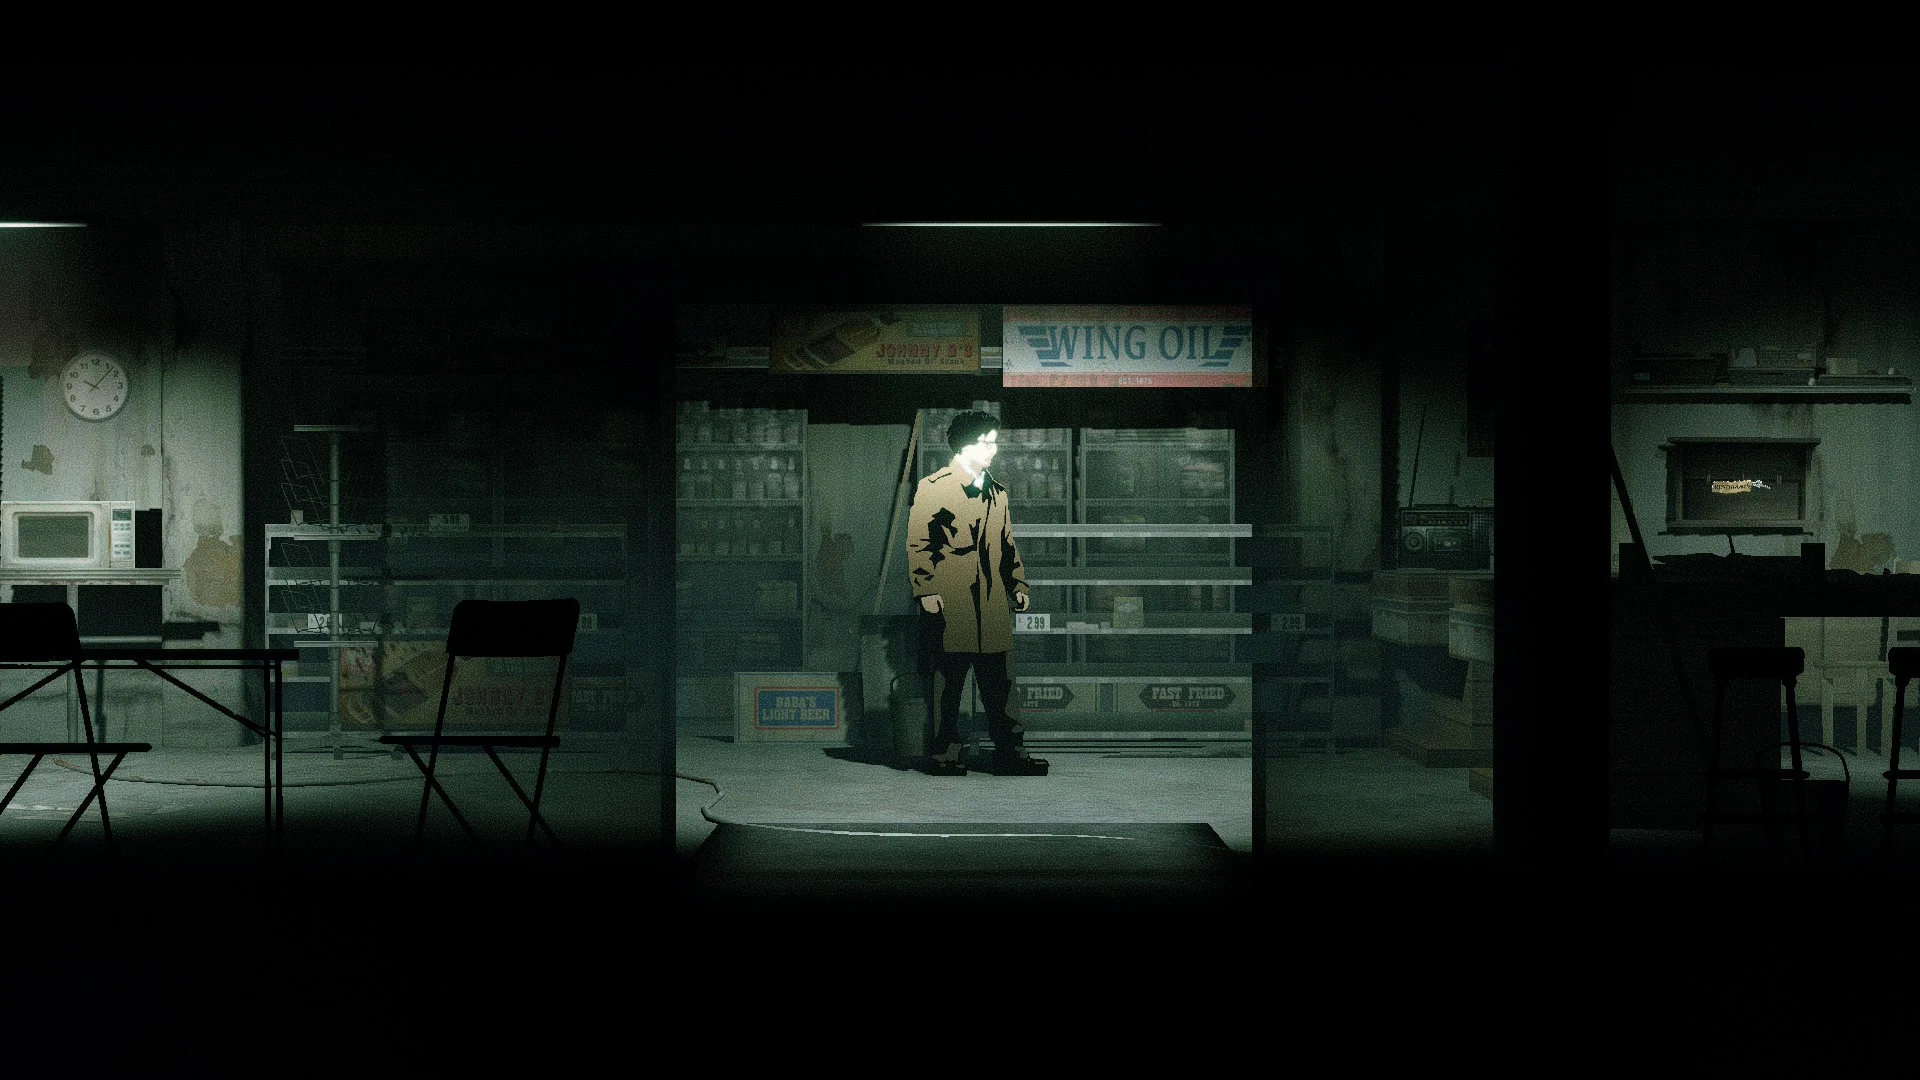
- Go into the junkyard workshop, drink a coffee, and take the Gate Key next to the machine.
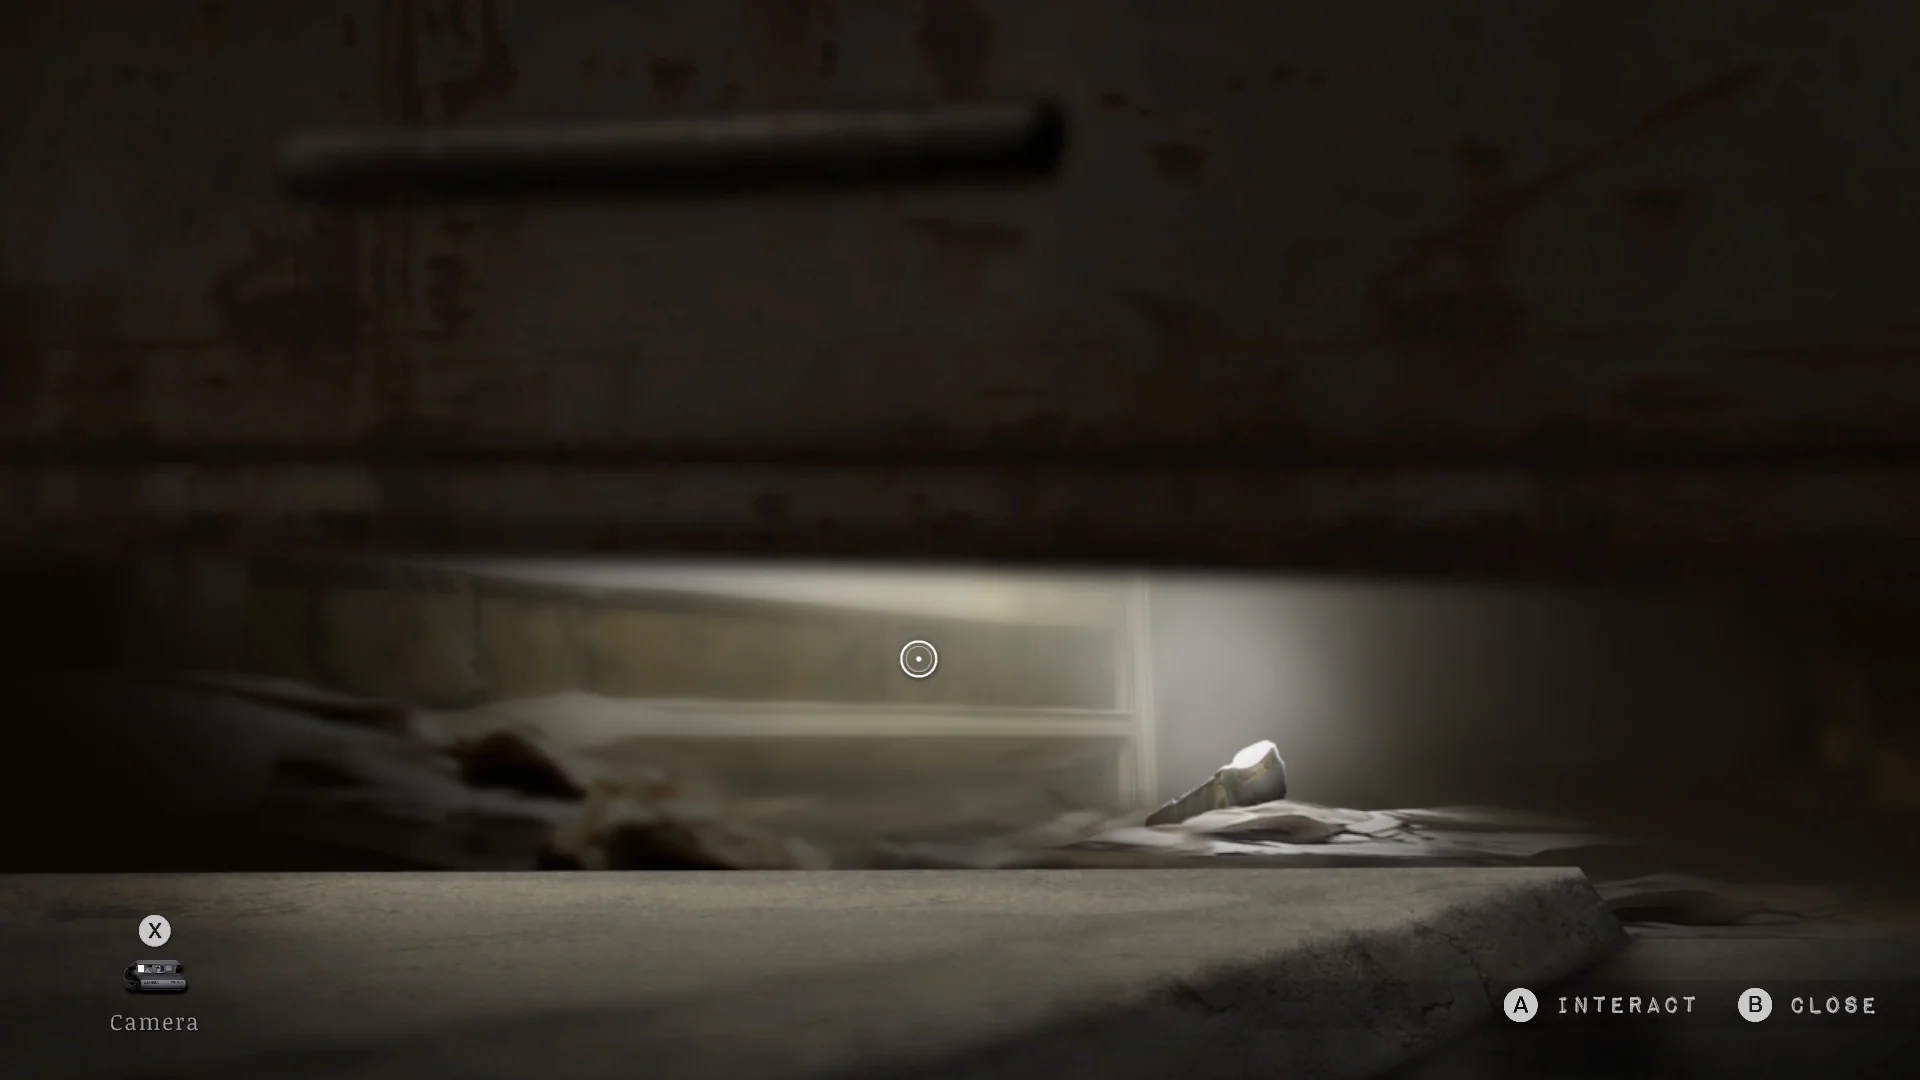
- Open the junkyard’s rear gate with it. Look under the nearby door, and you’ll spot the flashlight on the far side of the gas station, close enough to see and too far to grab.
- Go through the gate and cross the riverbank to the gas station.
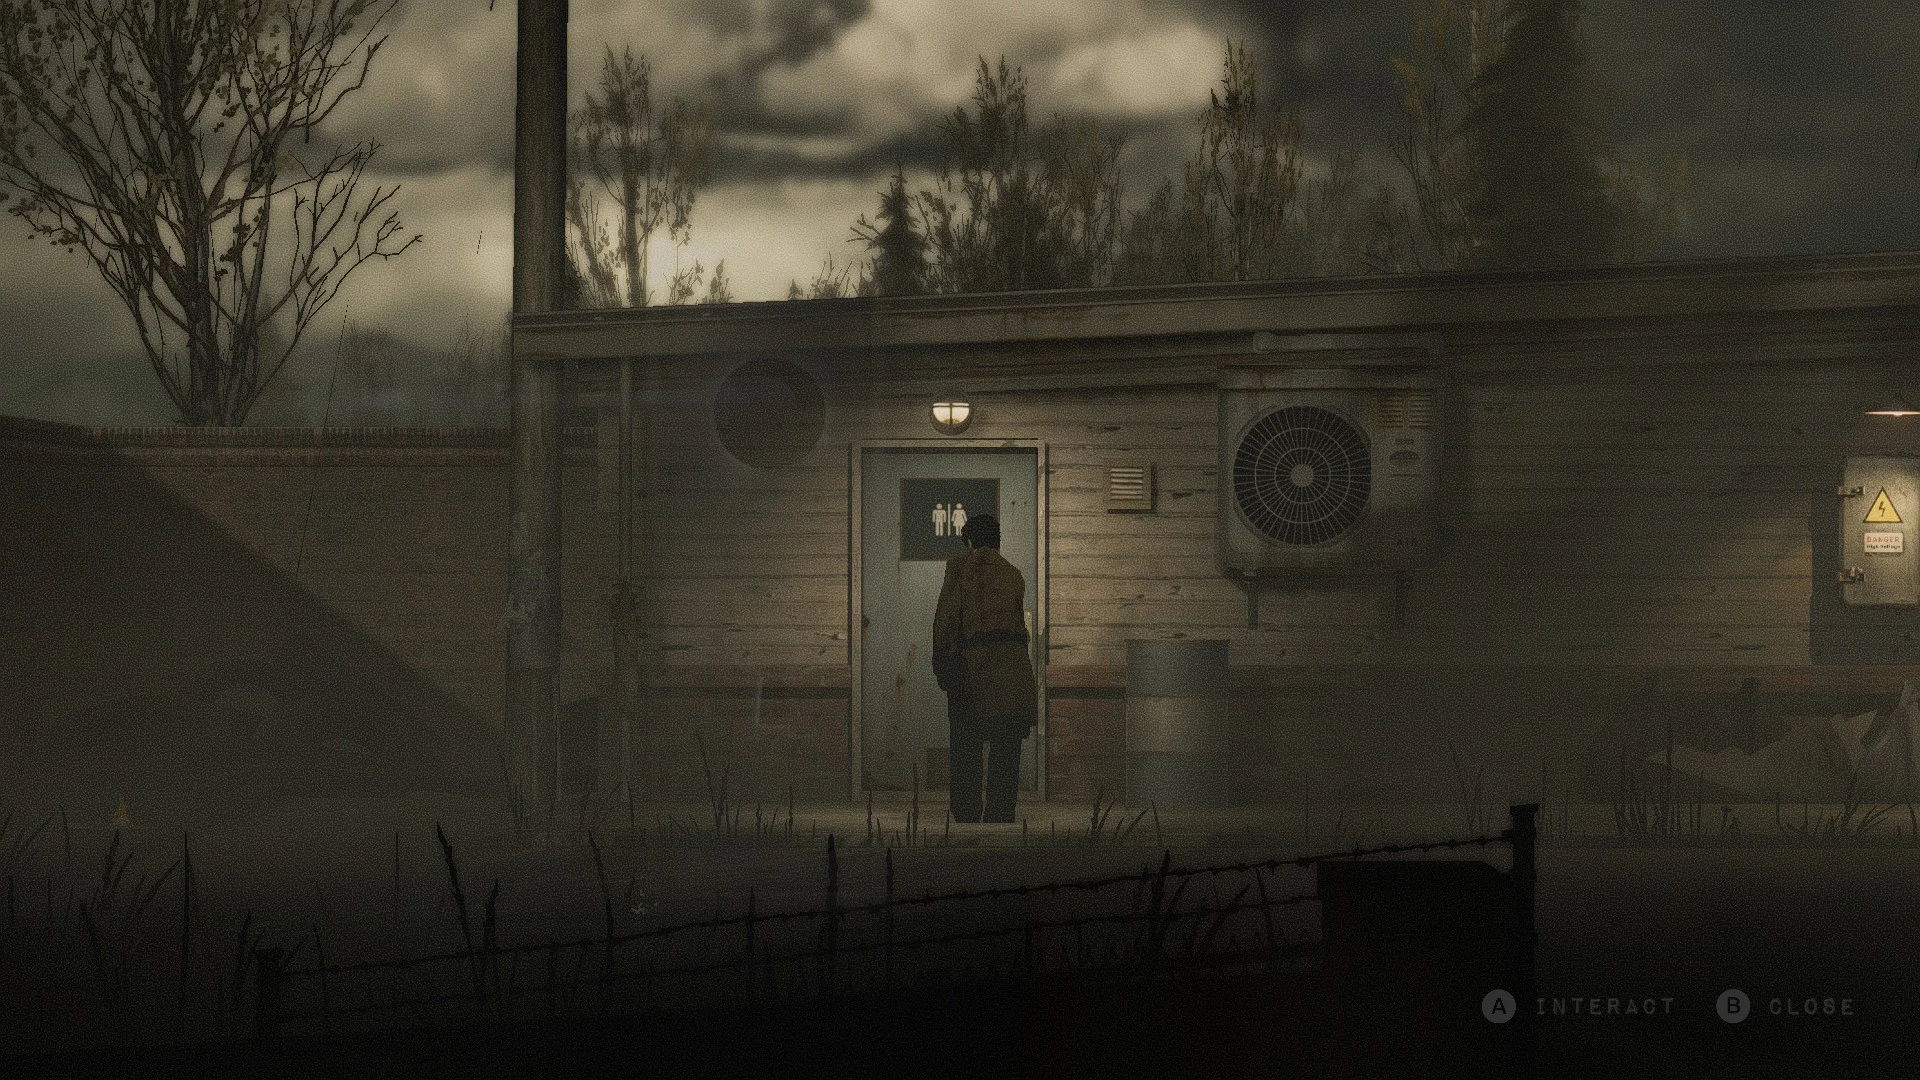
- Take the Bathroom Key on the right inside. The restroom has another Hip Bag, easily the best thing anyone has found in a gas station bathroom.
- Pick up the flashlight from the far side of the station.
What is the Sheriff’s Office door code?
The front door code is 1715. A radio in the dark Riverside tunnel reads it out to you.

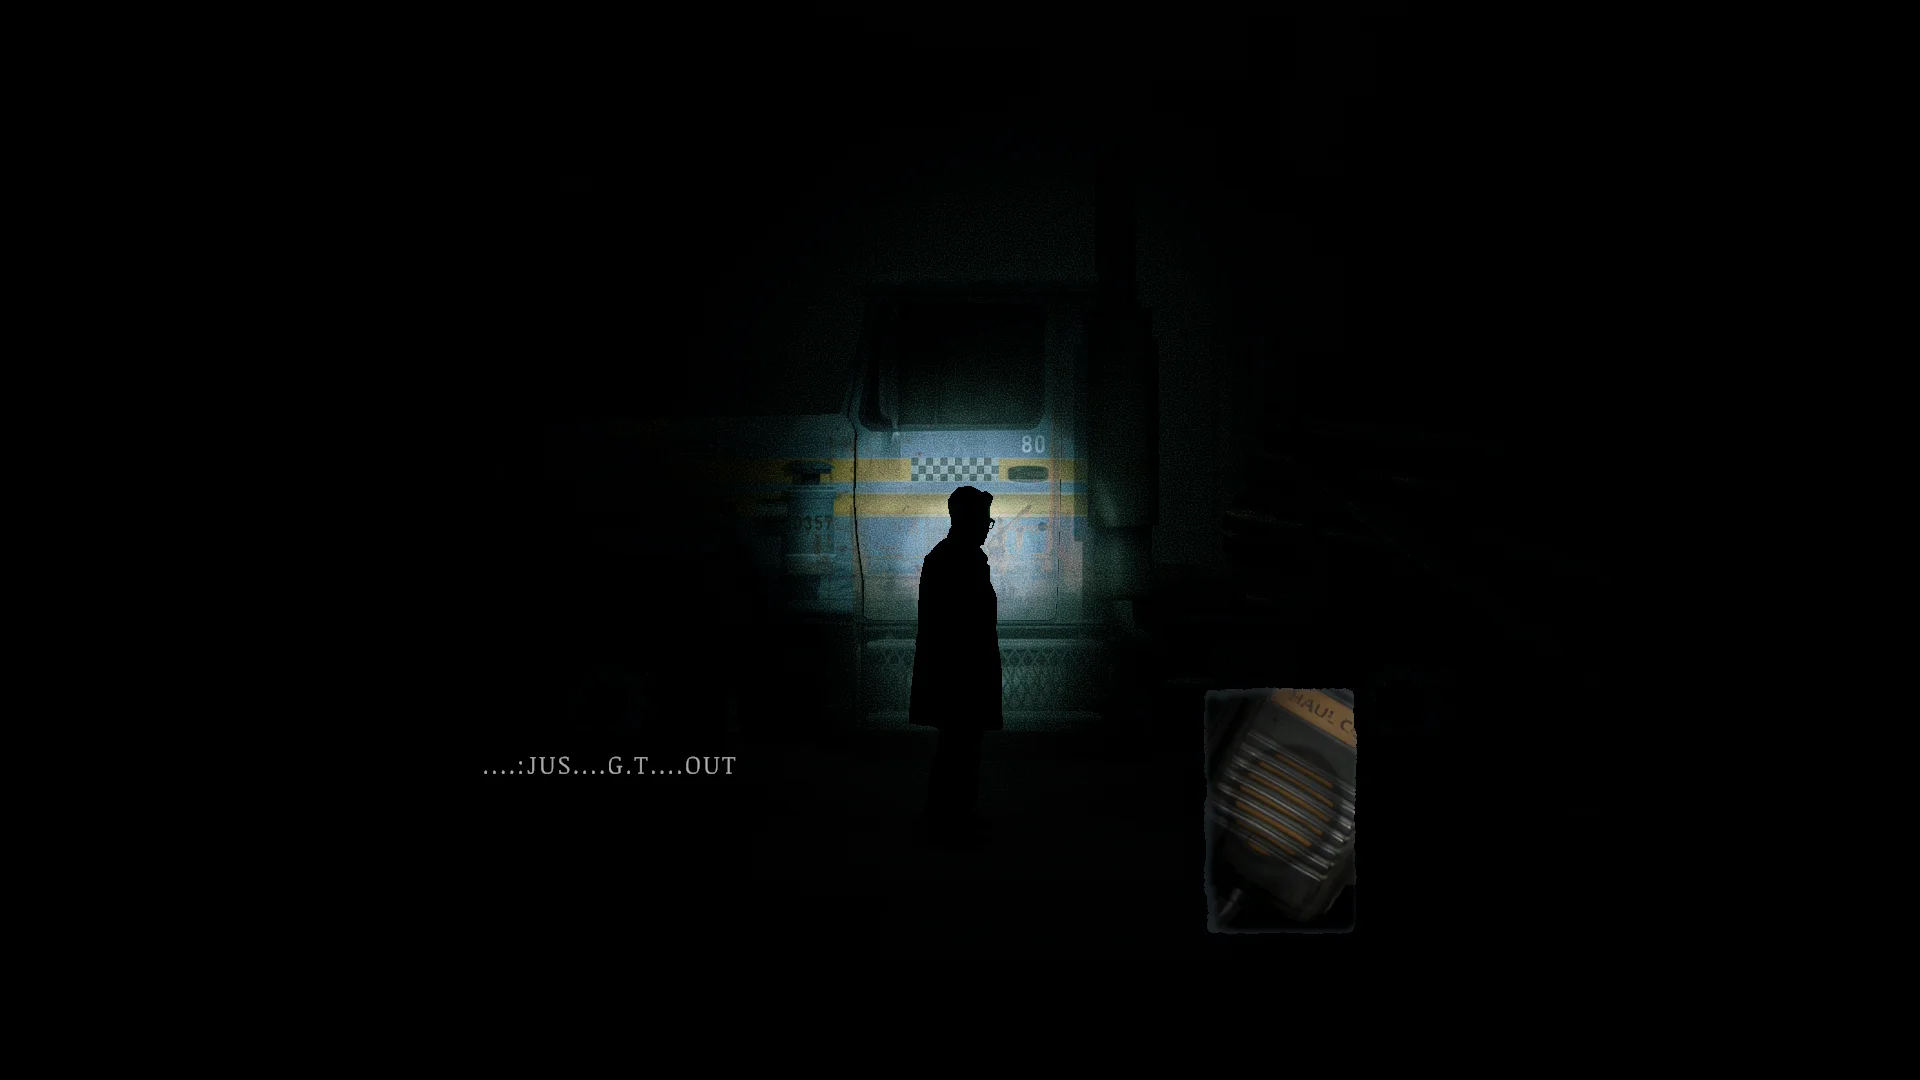
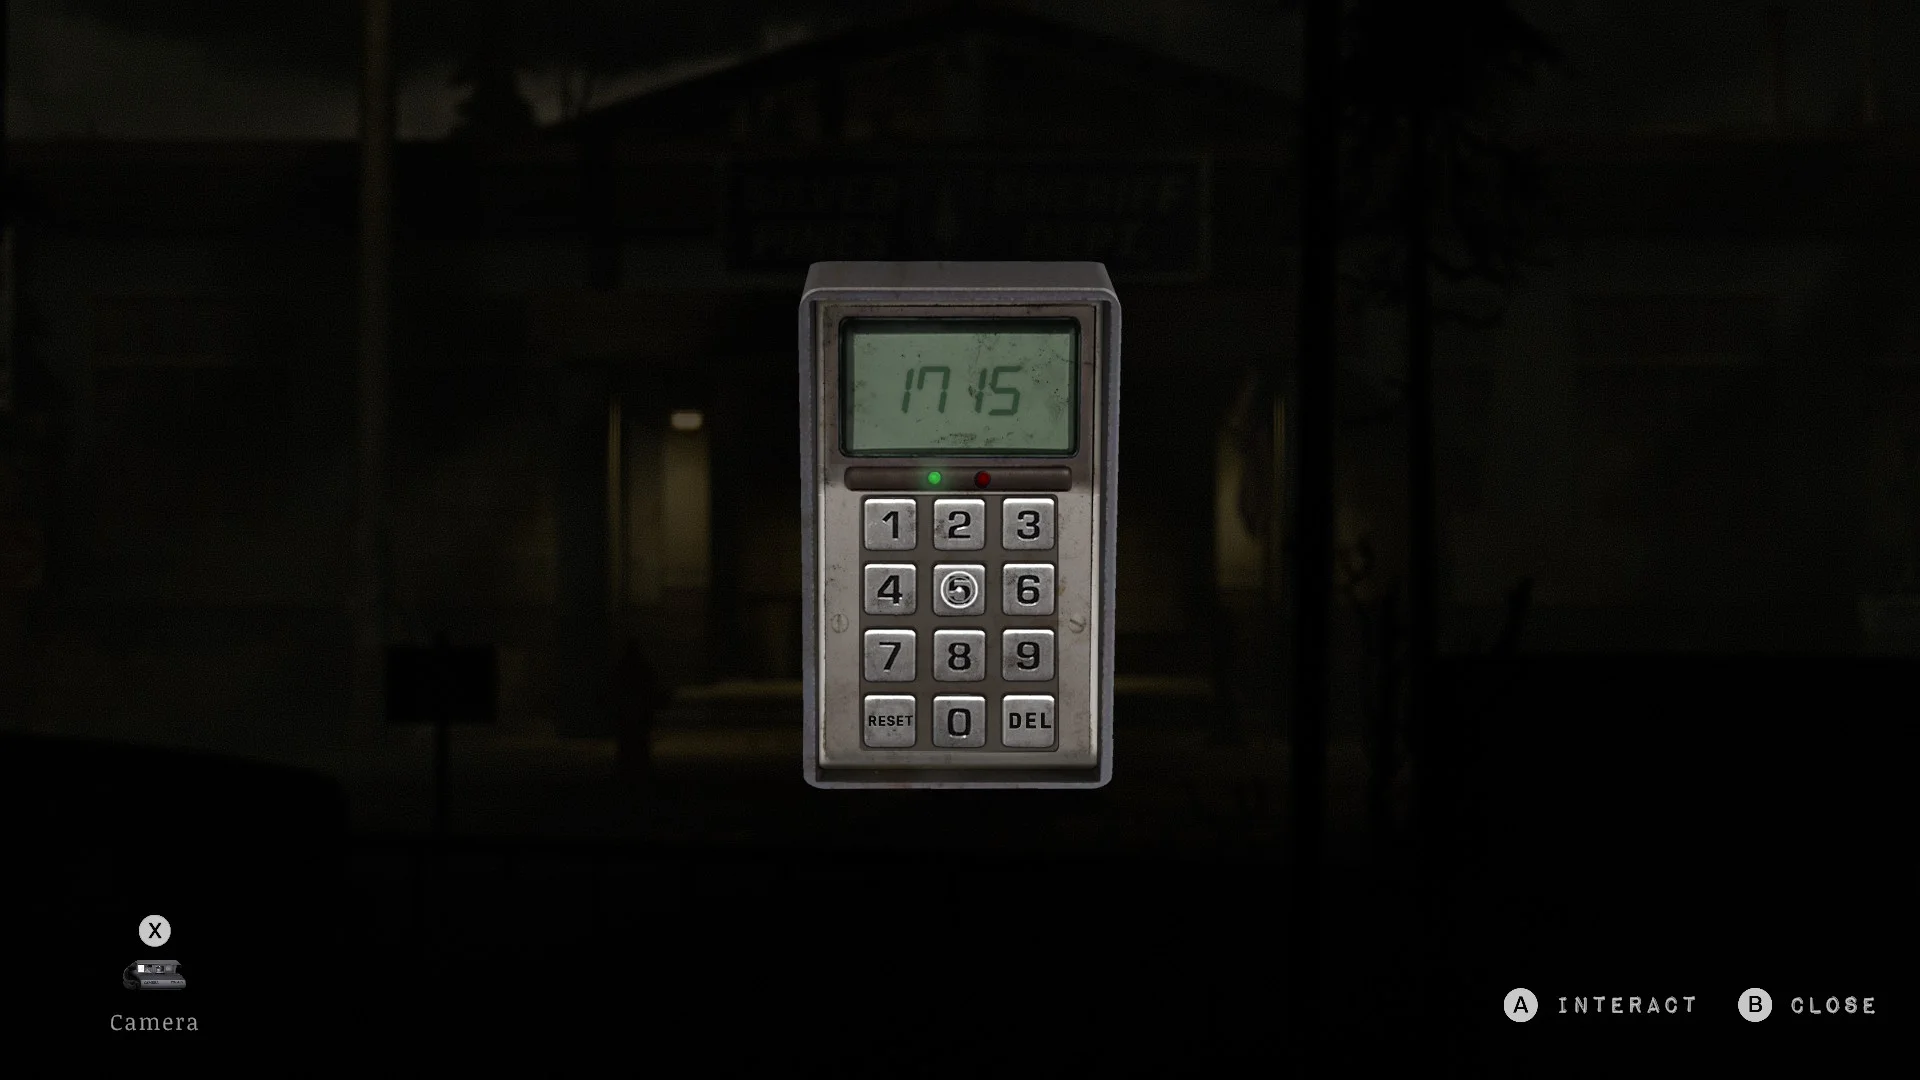
- Notice the radio outside the gas station. Someone left it on 86.6, but it doesn’t work.
- Go back and take the dark tunnel on the right, lighting the way with your flashlight. Make sure you kill the creature inside.
- Tune the tunnel radio to 86.6 to hear the code for the Sheriff’s station.
Sheriff’s Office
How to solve the painting safe puzzle
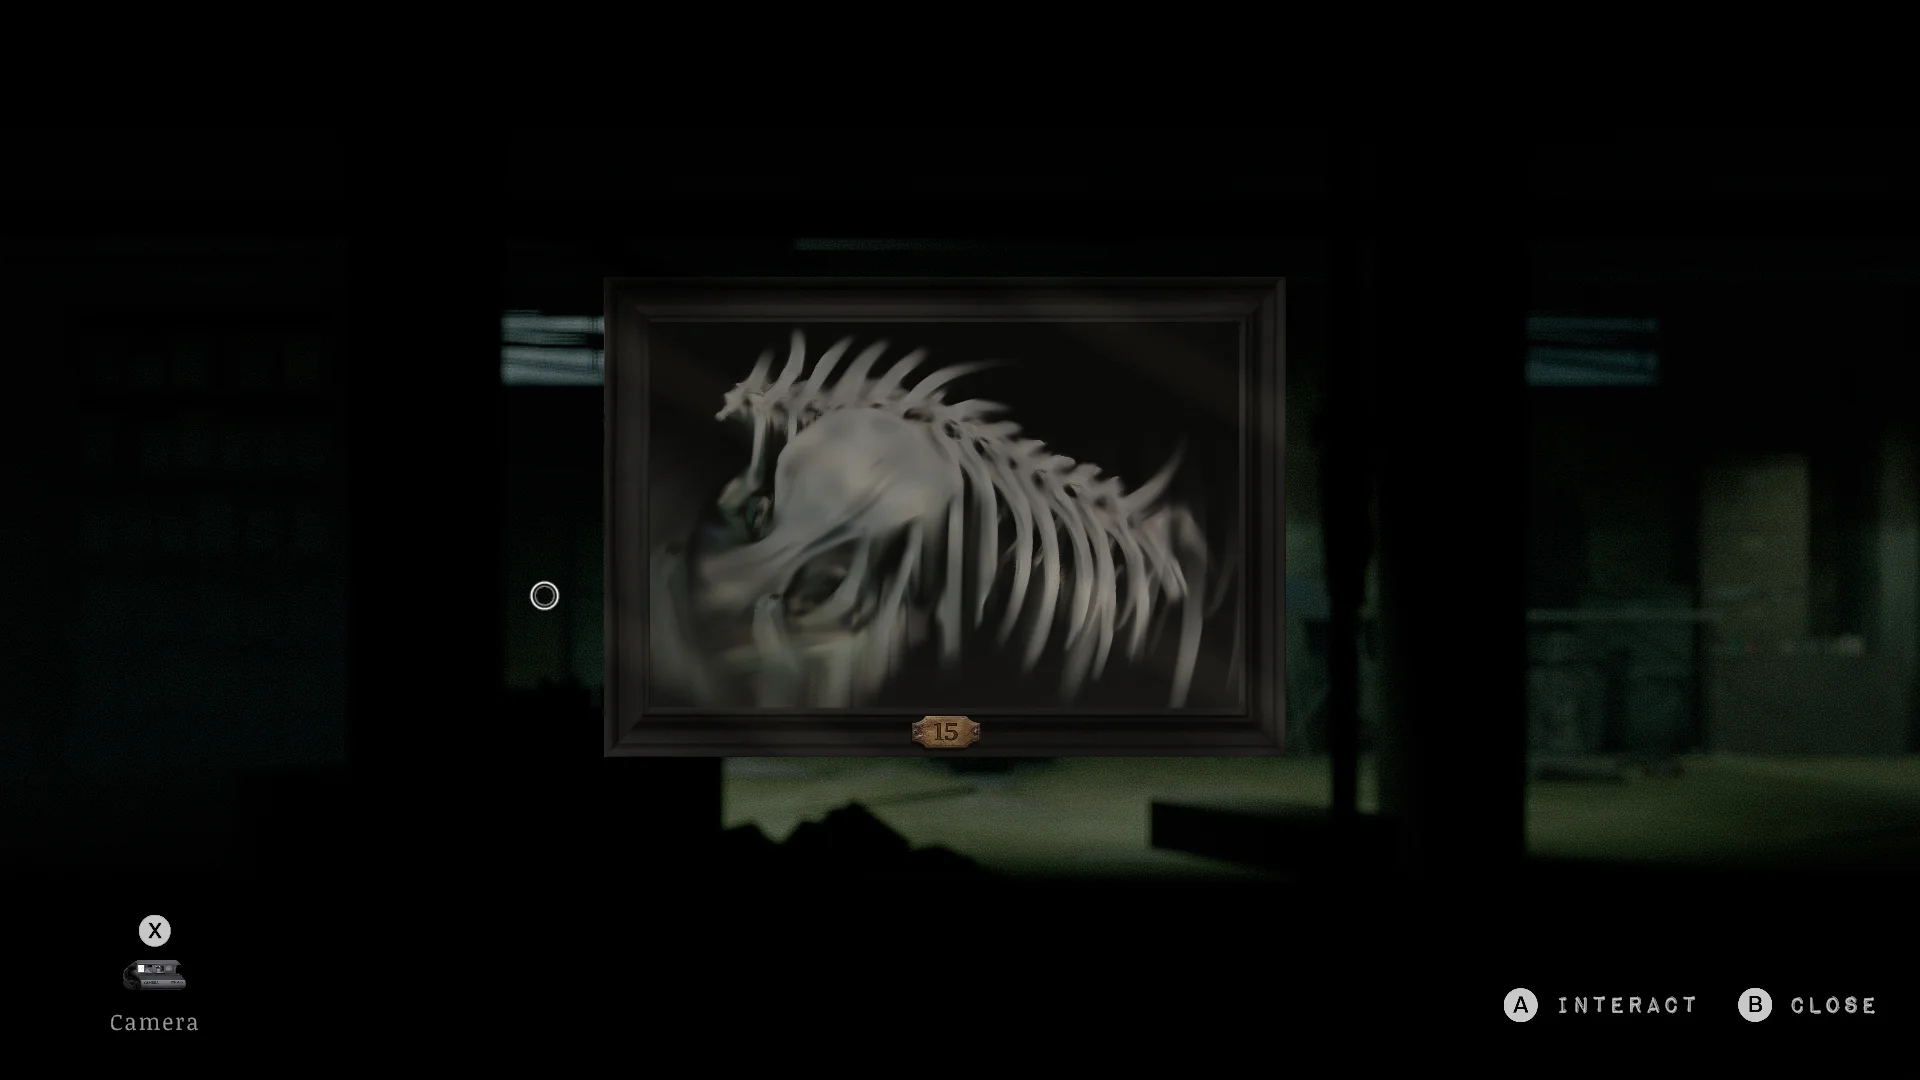
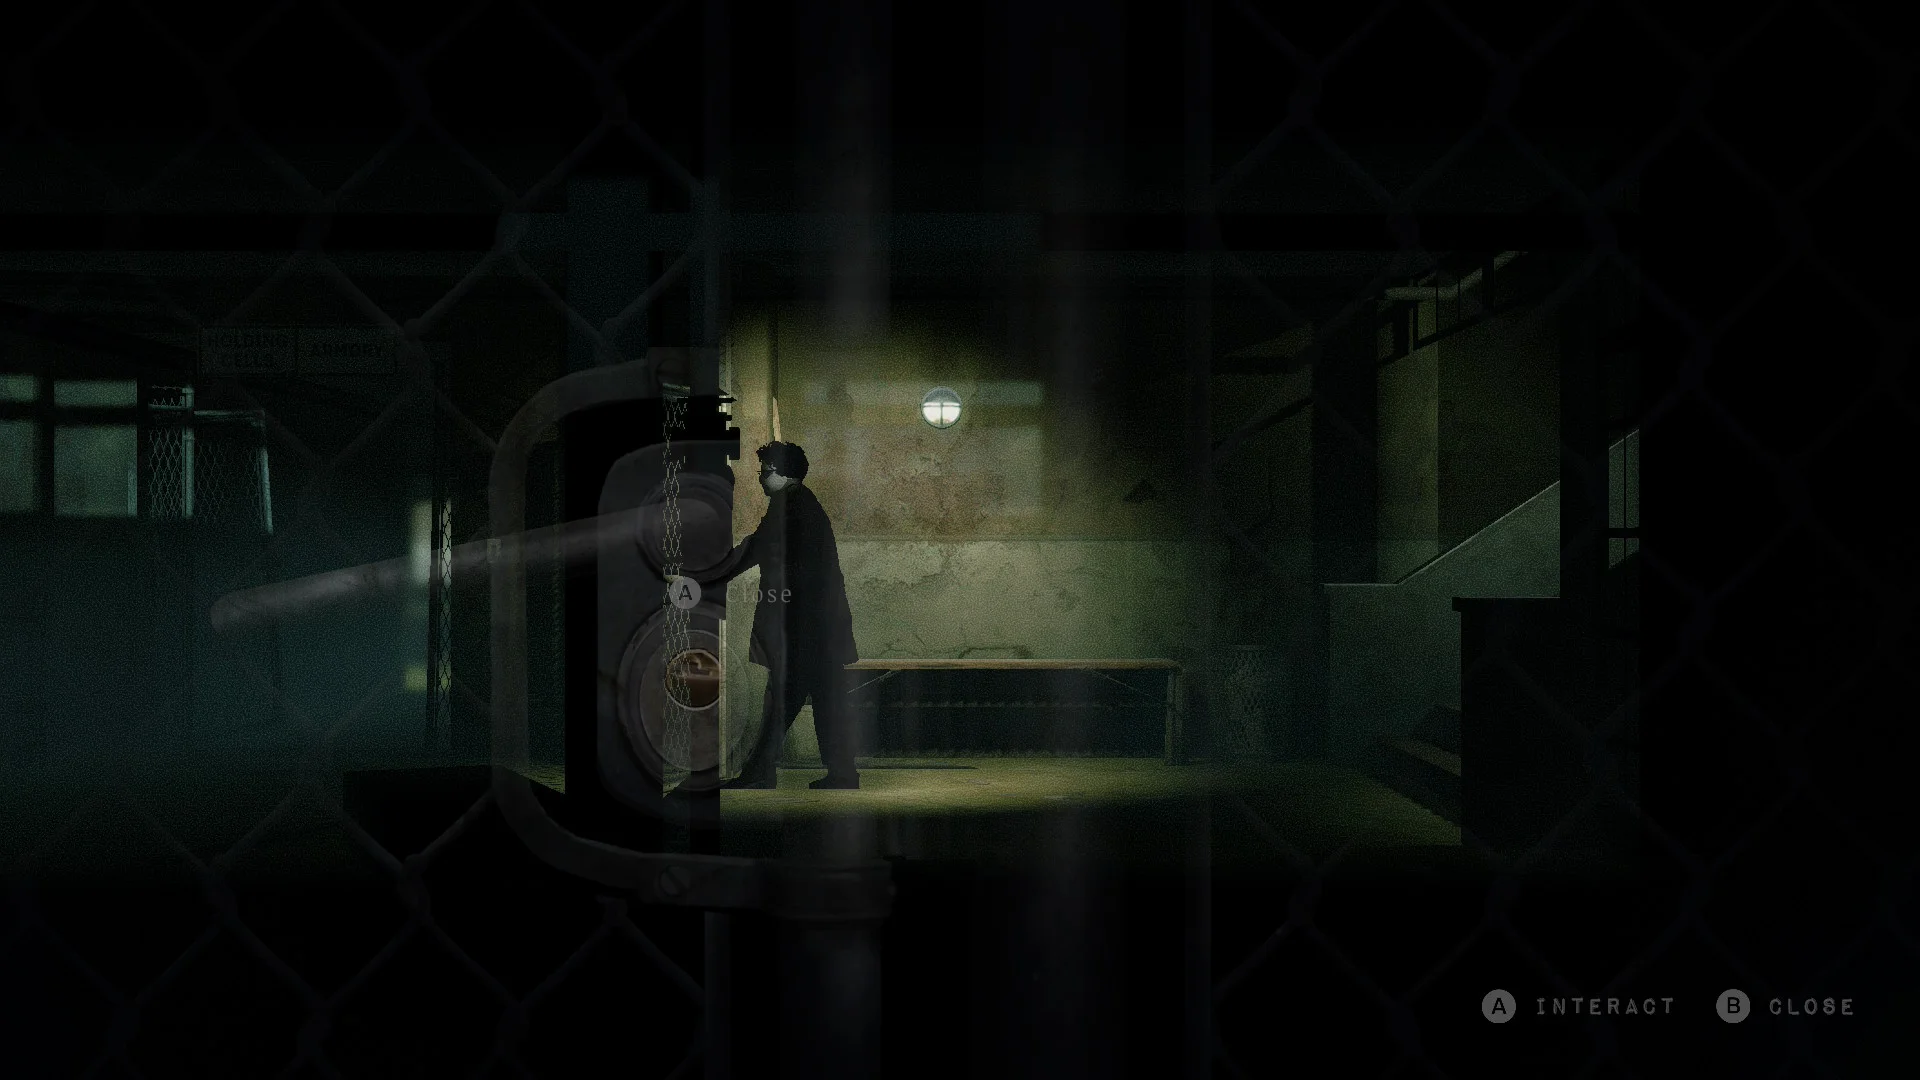
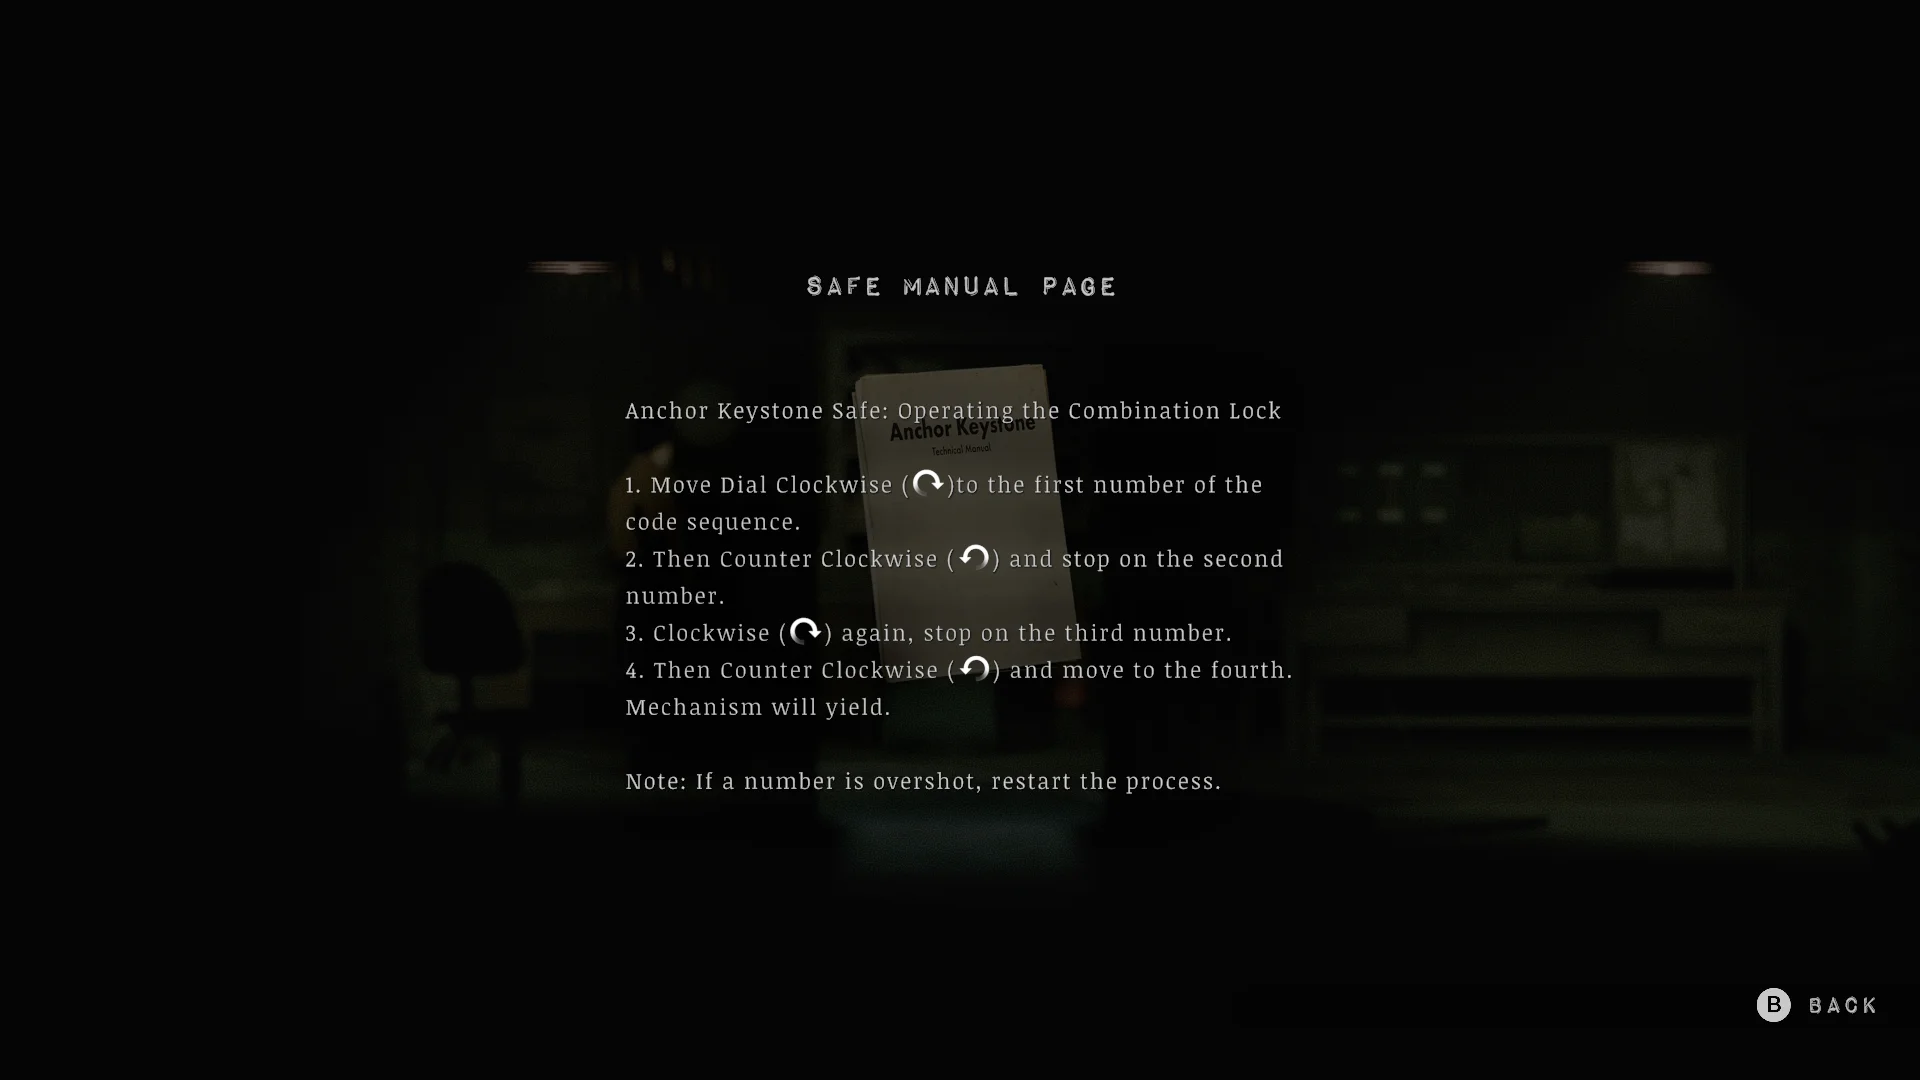
Turn the safe dial to 15, 7, 3, 10, switching direction each time, and the Evidence Lockup Key is yours.
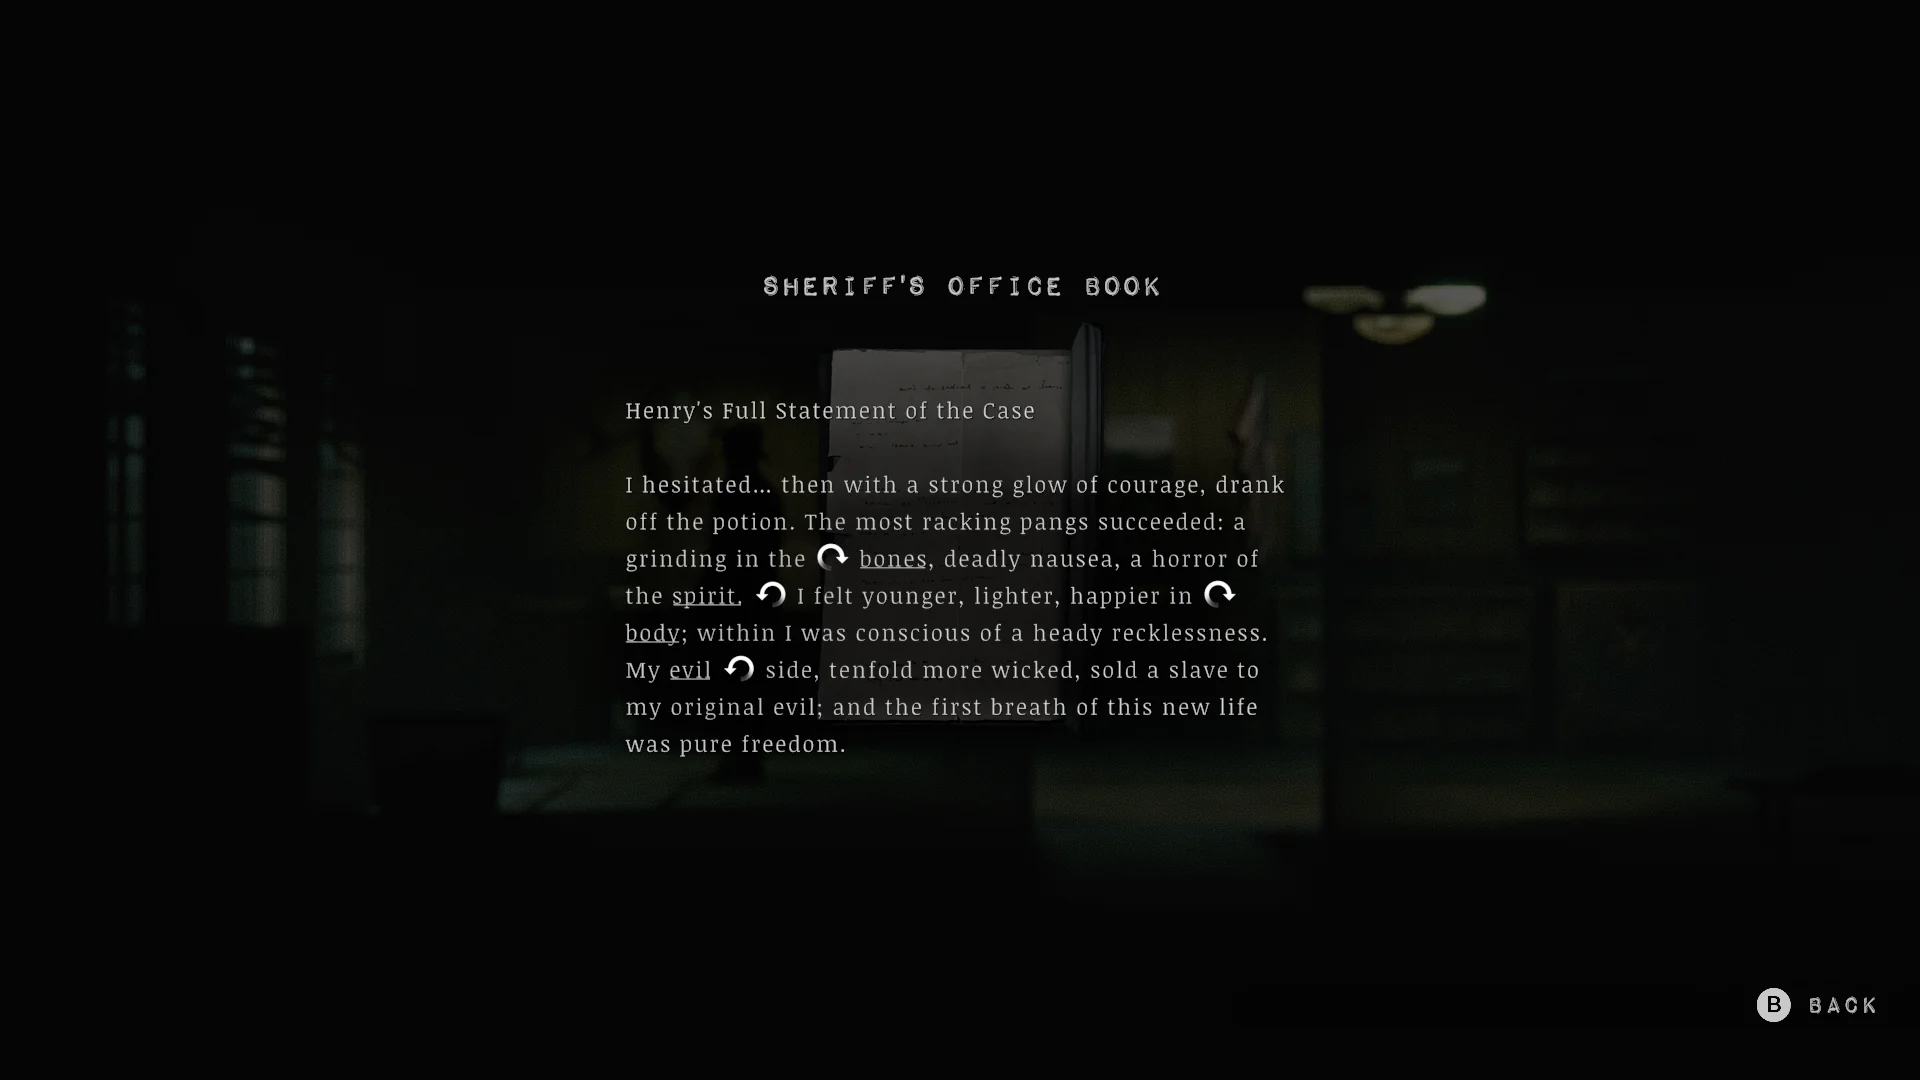
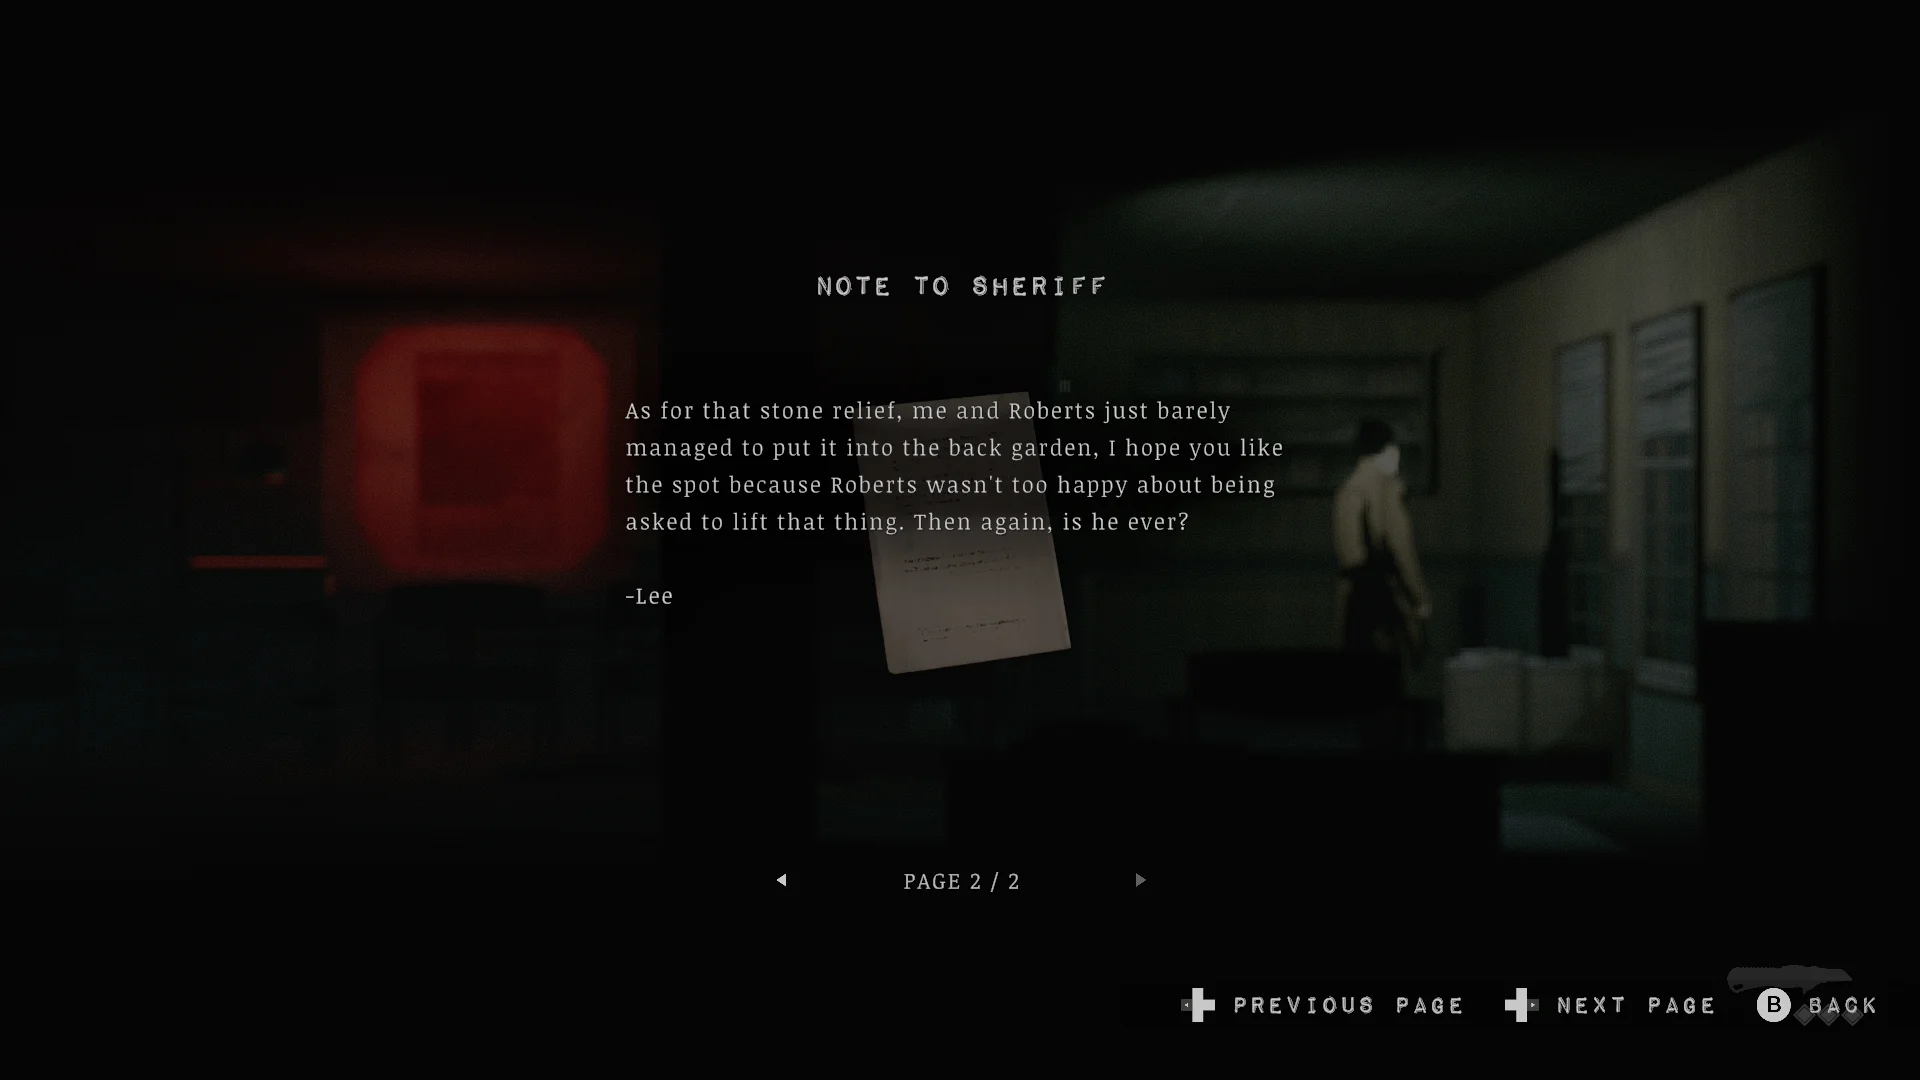


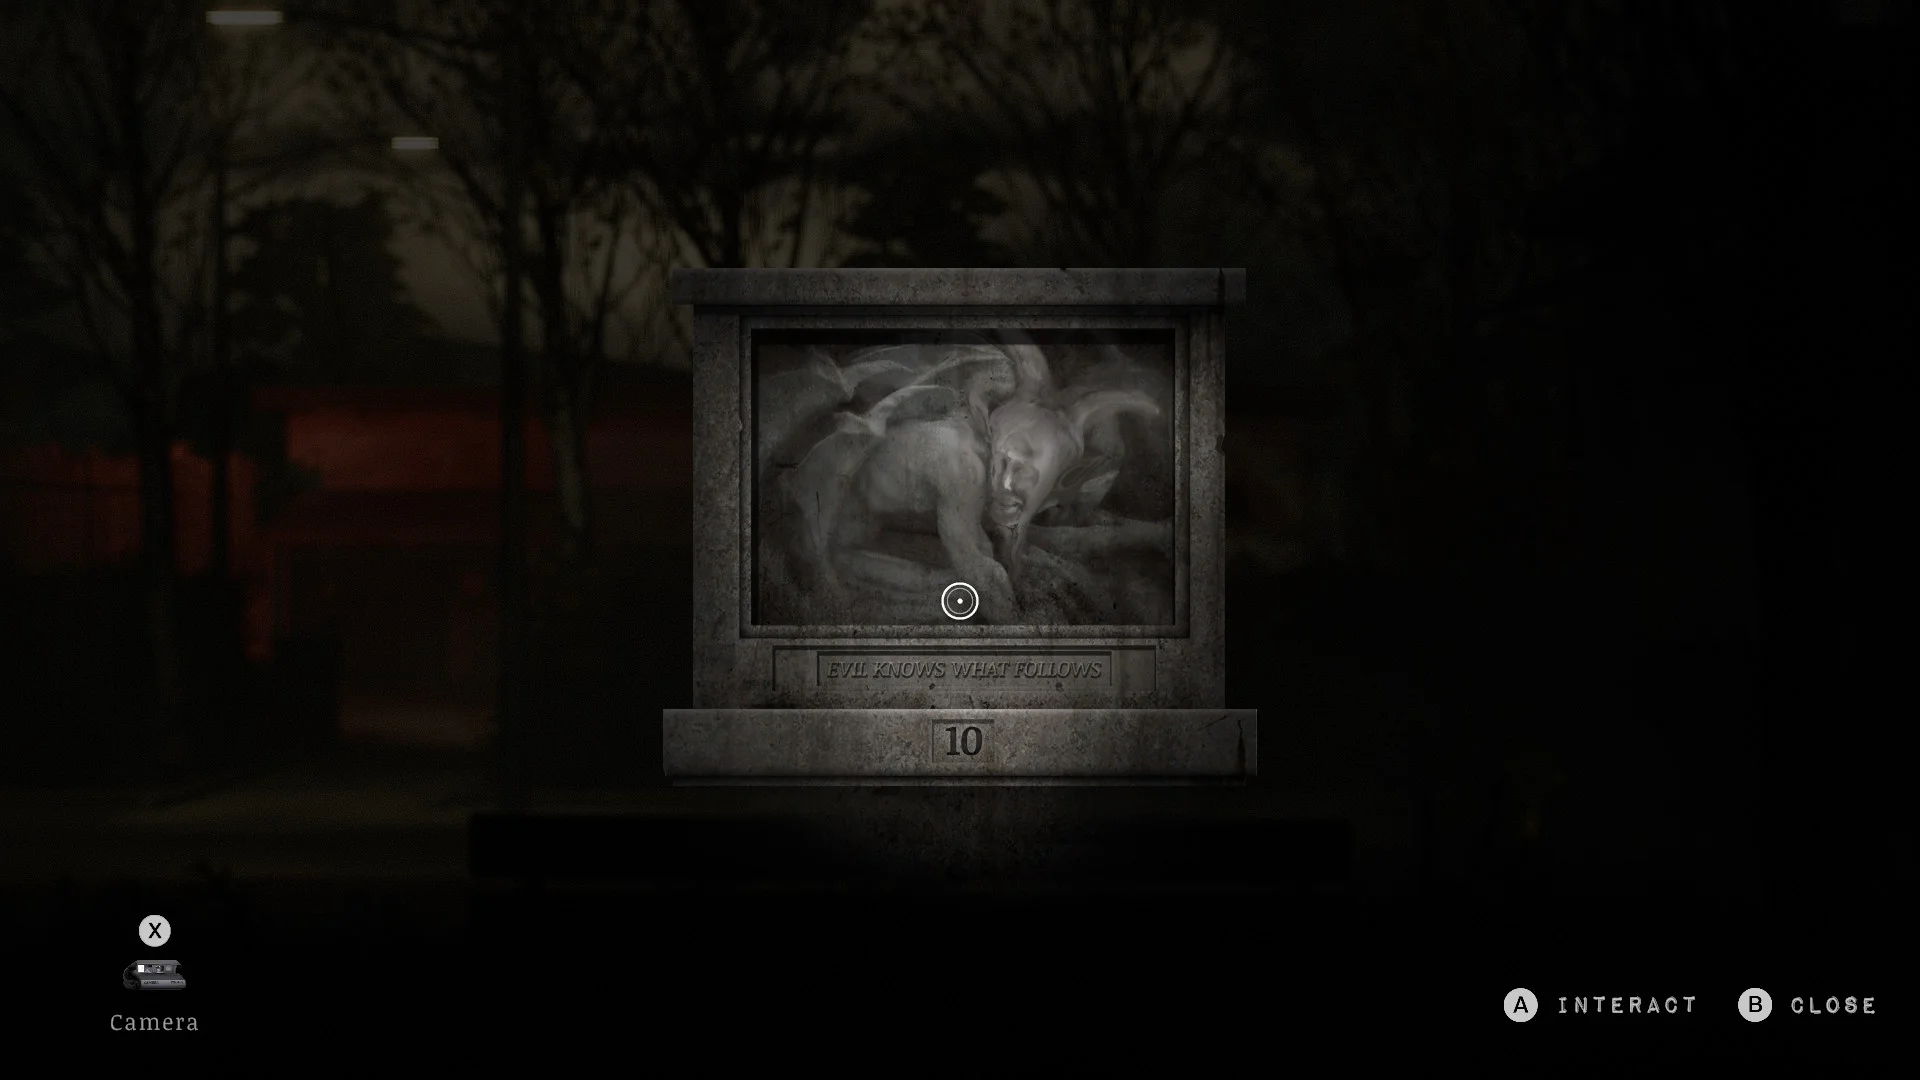

- Read the Sheriff’s Office Book. It marks four words with little turn arrows: bones, spirits, body, and evil. The Note to Sheriff tells you where the matching paintings hang.
- Find the four paintings and note their numbers. Bones is the skeletal remains (15), spirits is the spirit mask (7), body is the autopsy (3), and evil is the stone devil in the back garden (10).
- Turn the dial to 15, 7, 3, and 10, changing direction each time as the safe manual explains. The Evidence Lockup Key waits inside.
Where to find the Armory Key
Look in the dark basement corridor to the holding cells. Between them, the armory and the evidence cage give you the Crowbar.
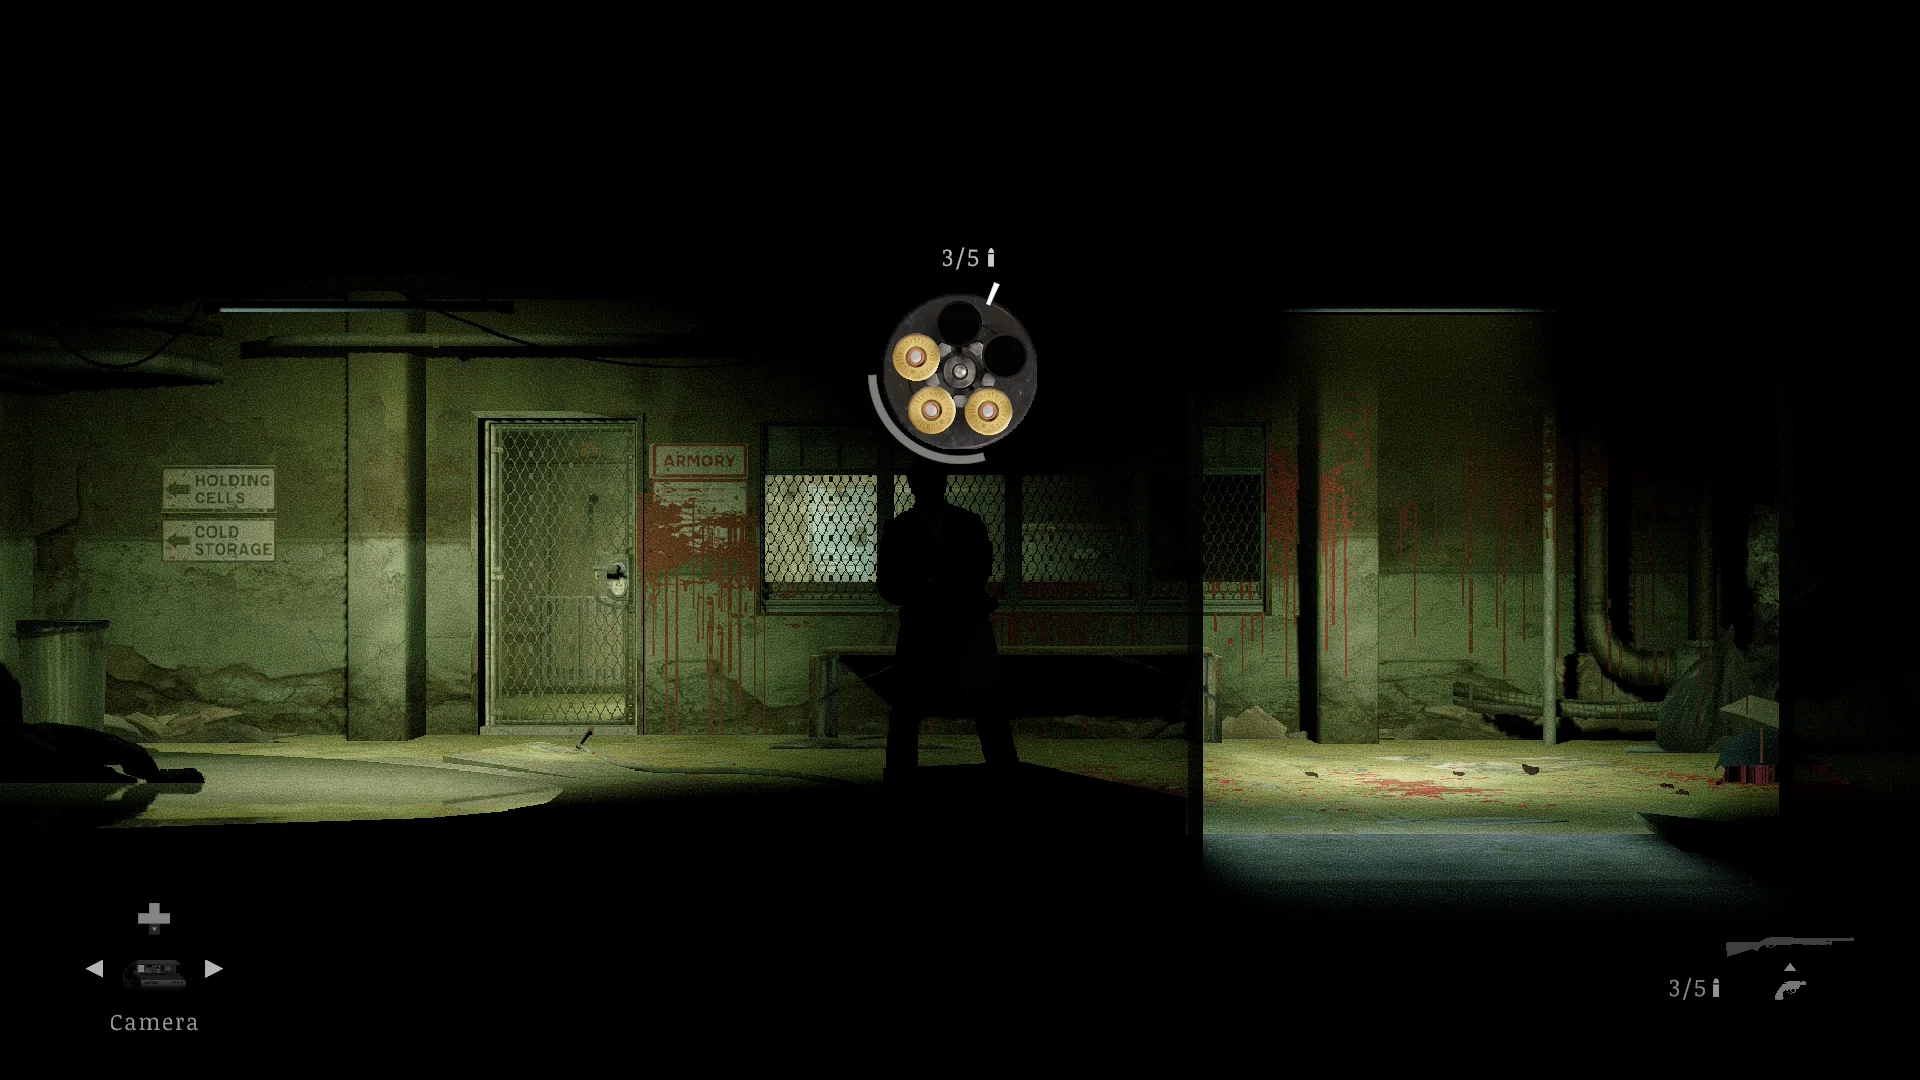
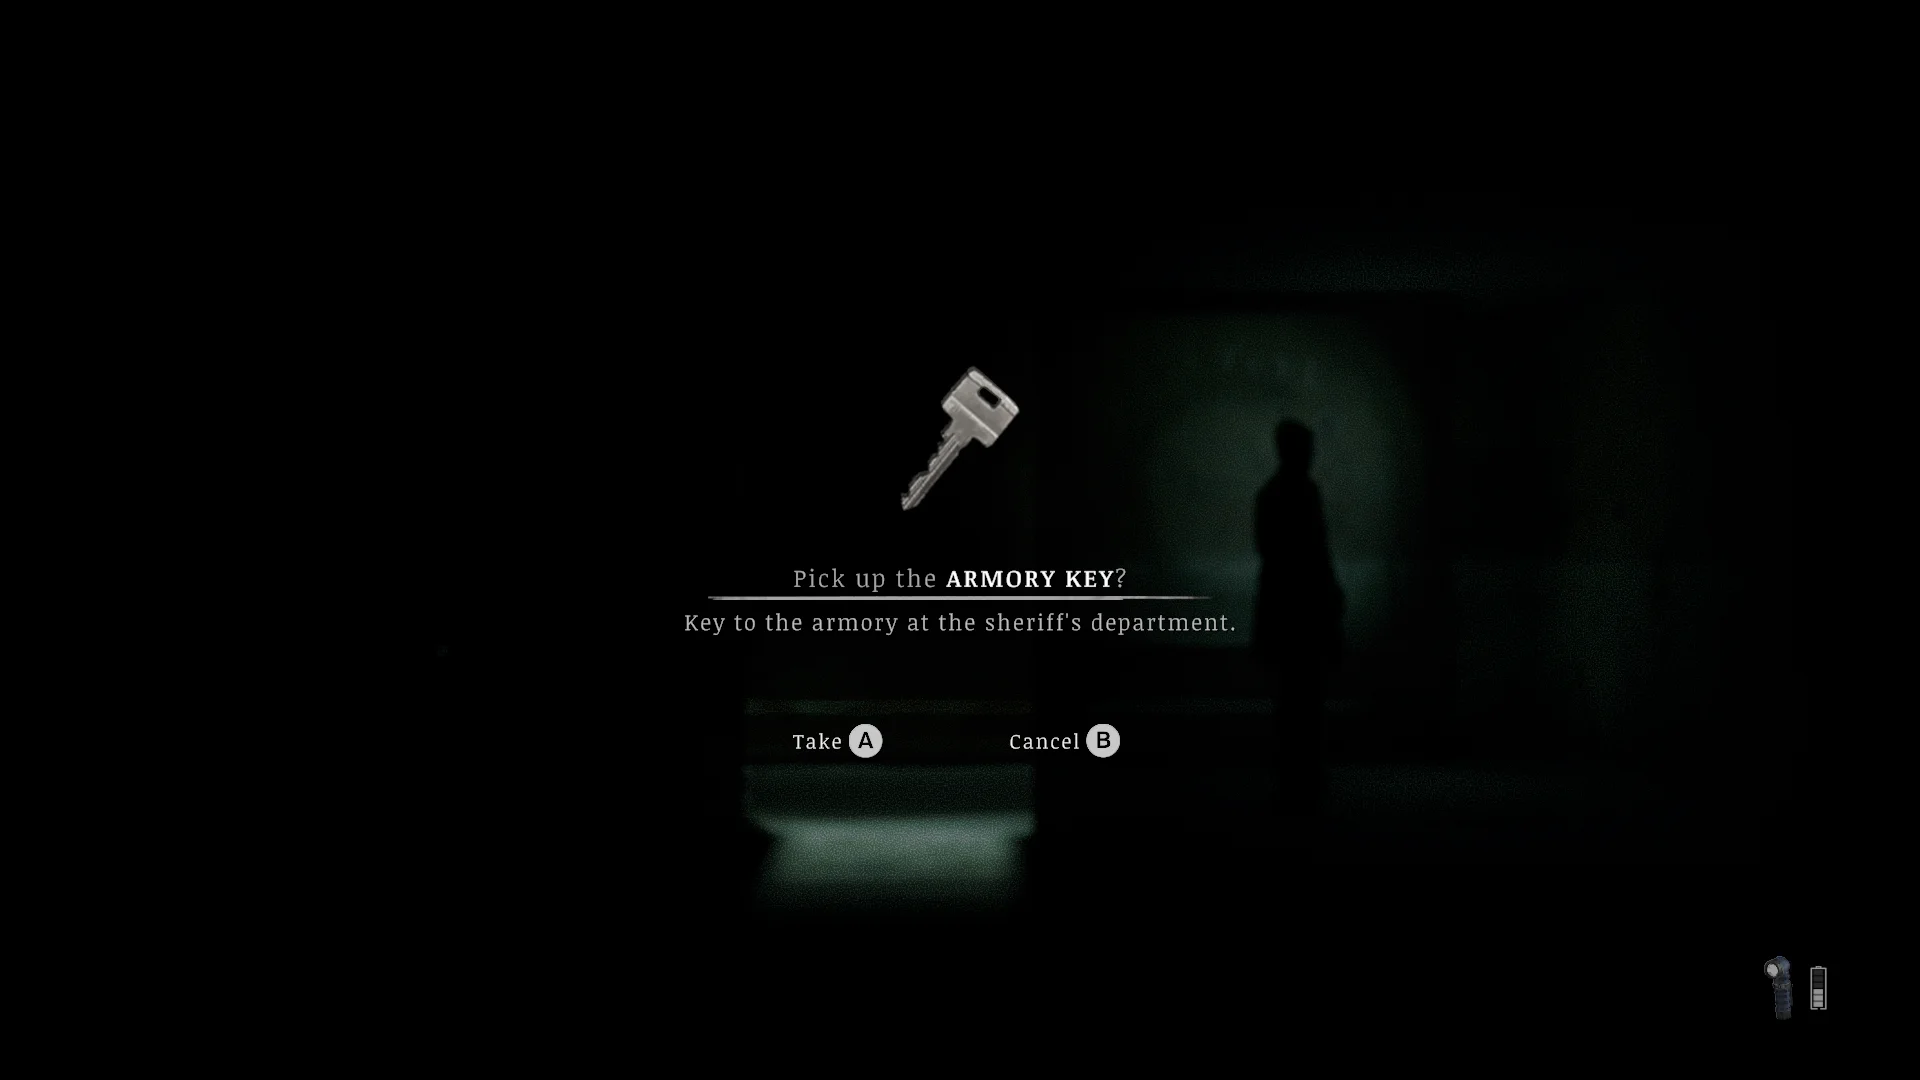


- Head down the basement corridor toward the holding cells and pick up the Armory Key.
- Open the armory and the evidence lockup. One of them holds the Crowbar.
How to solve the projector puzzle
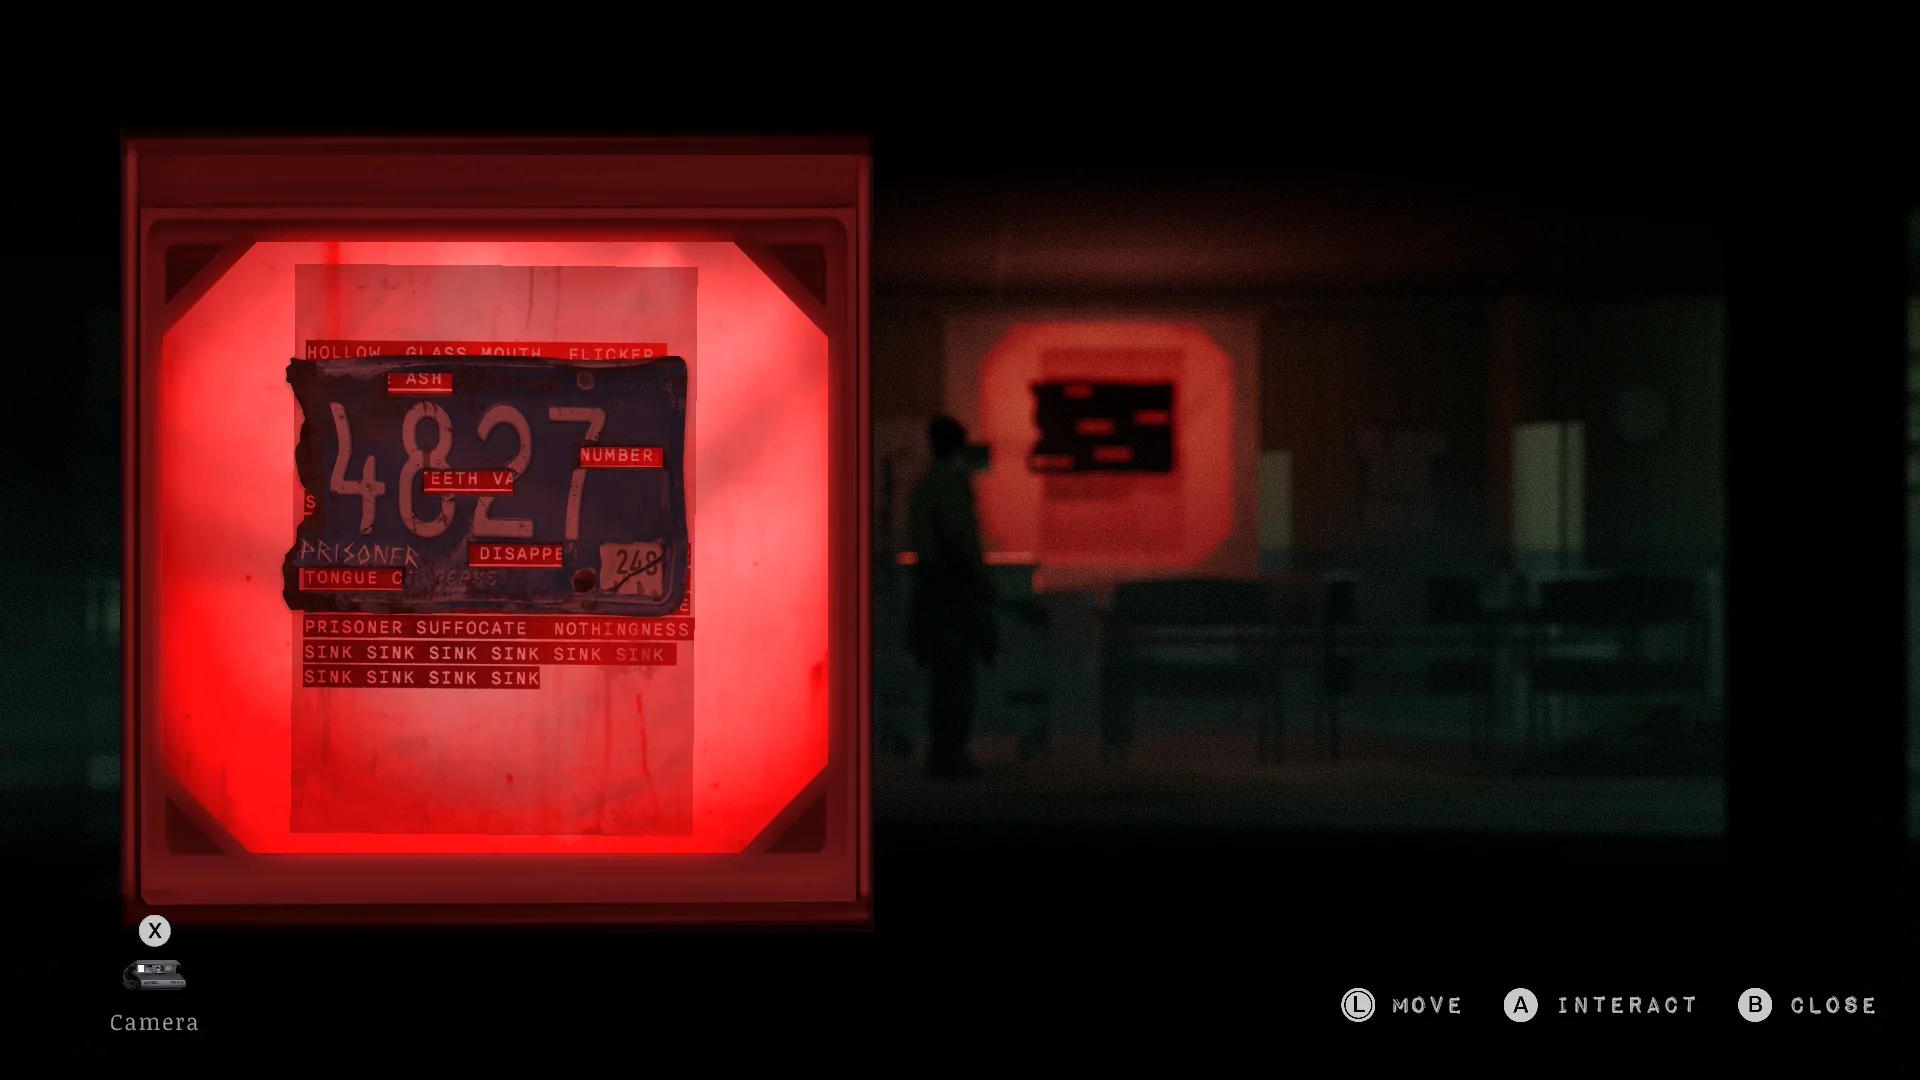
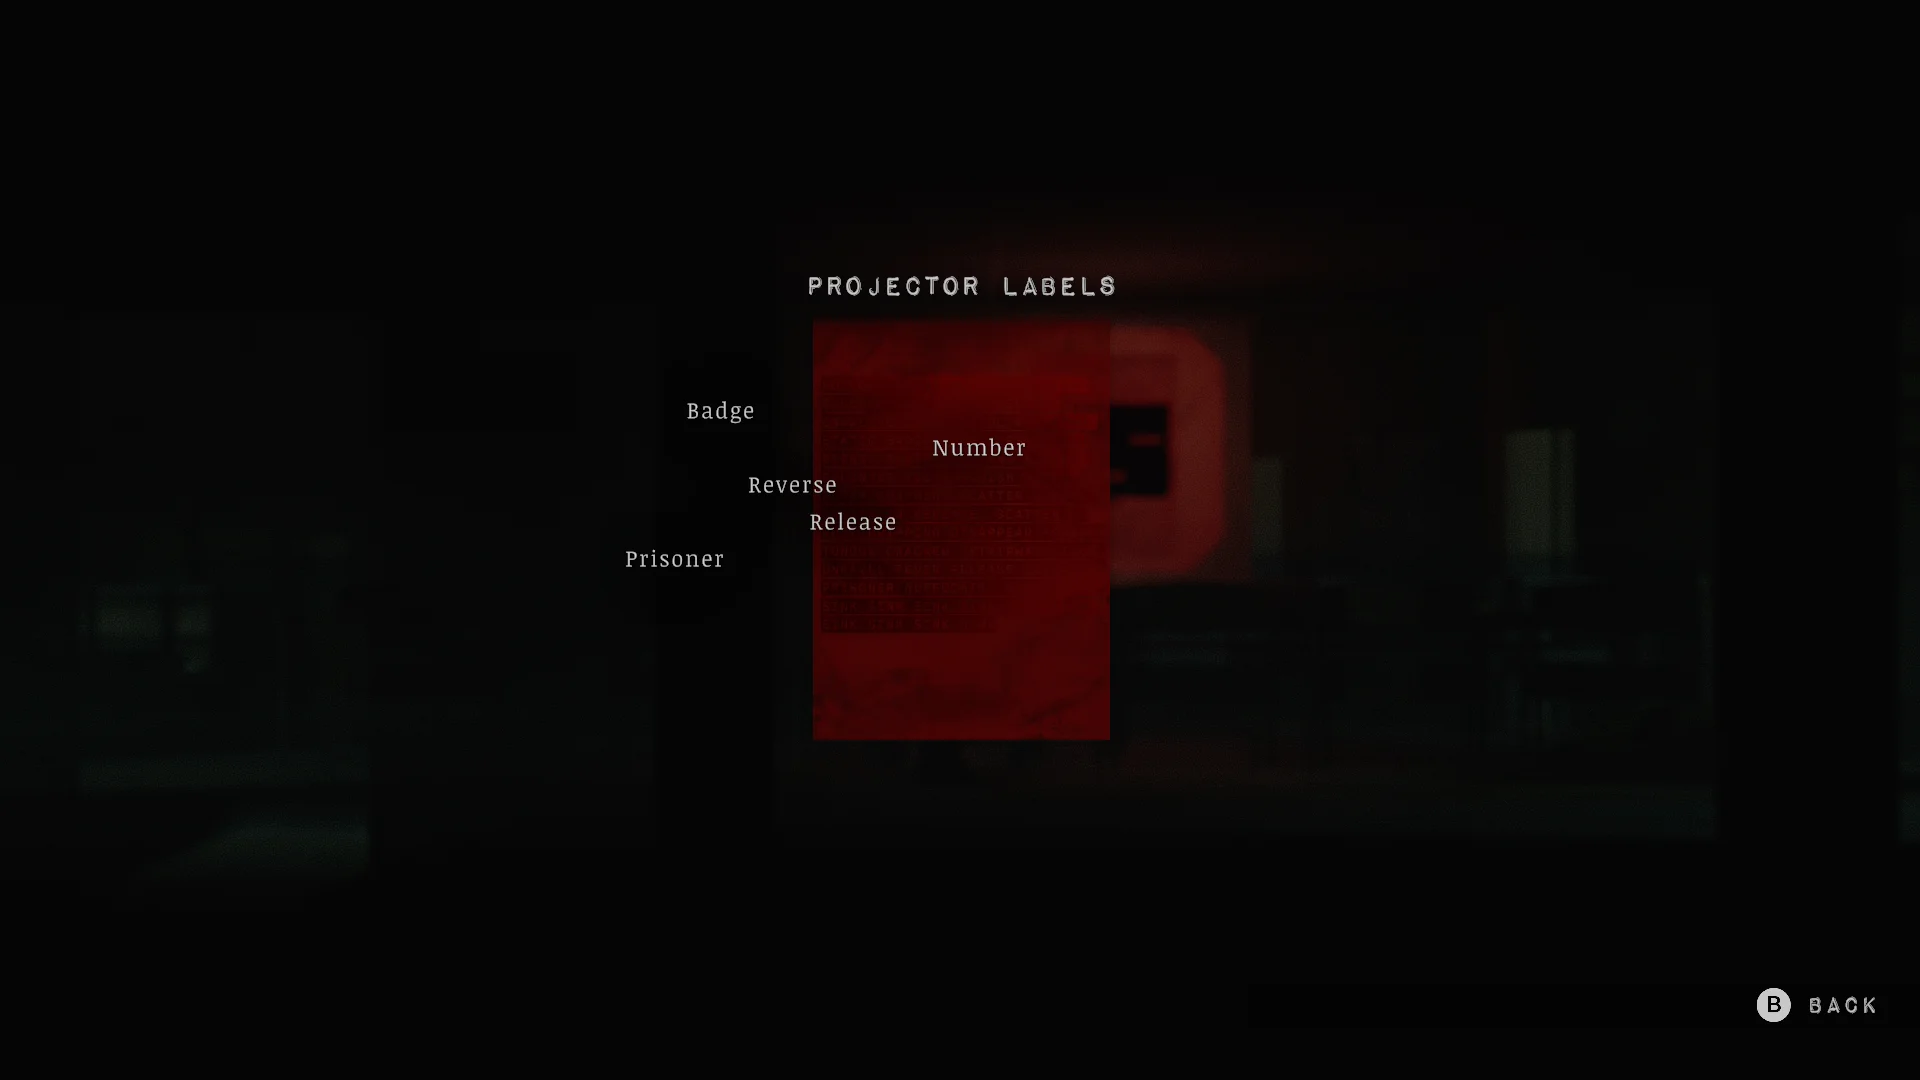
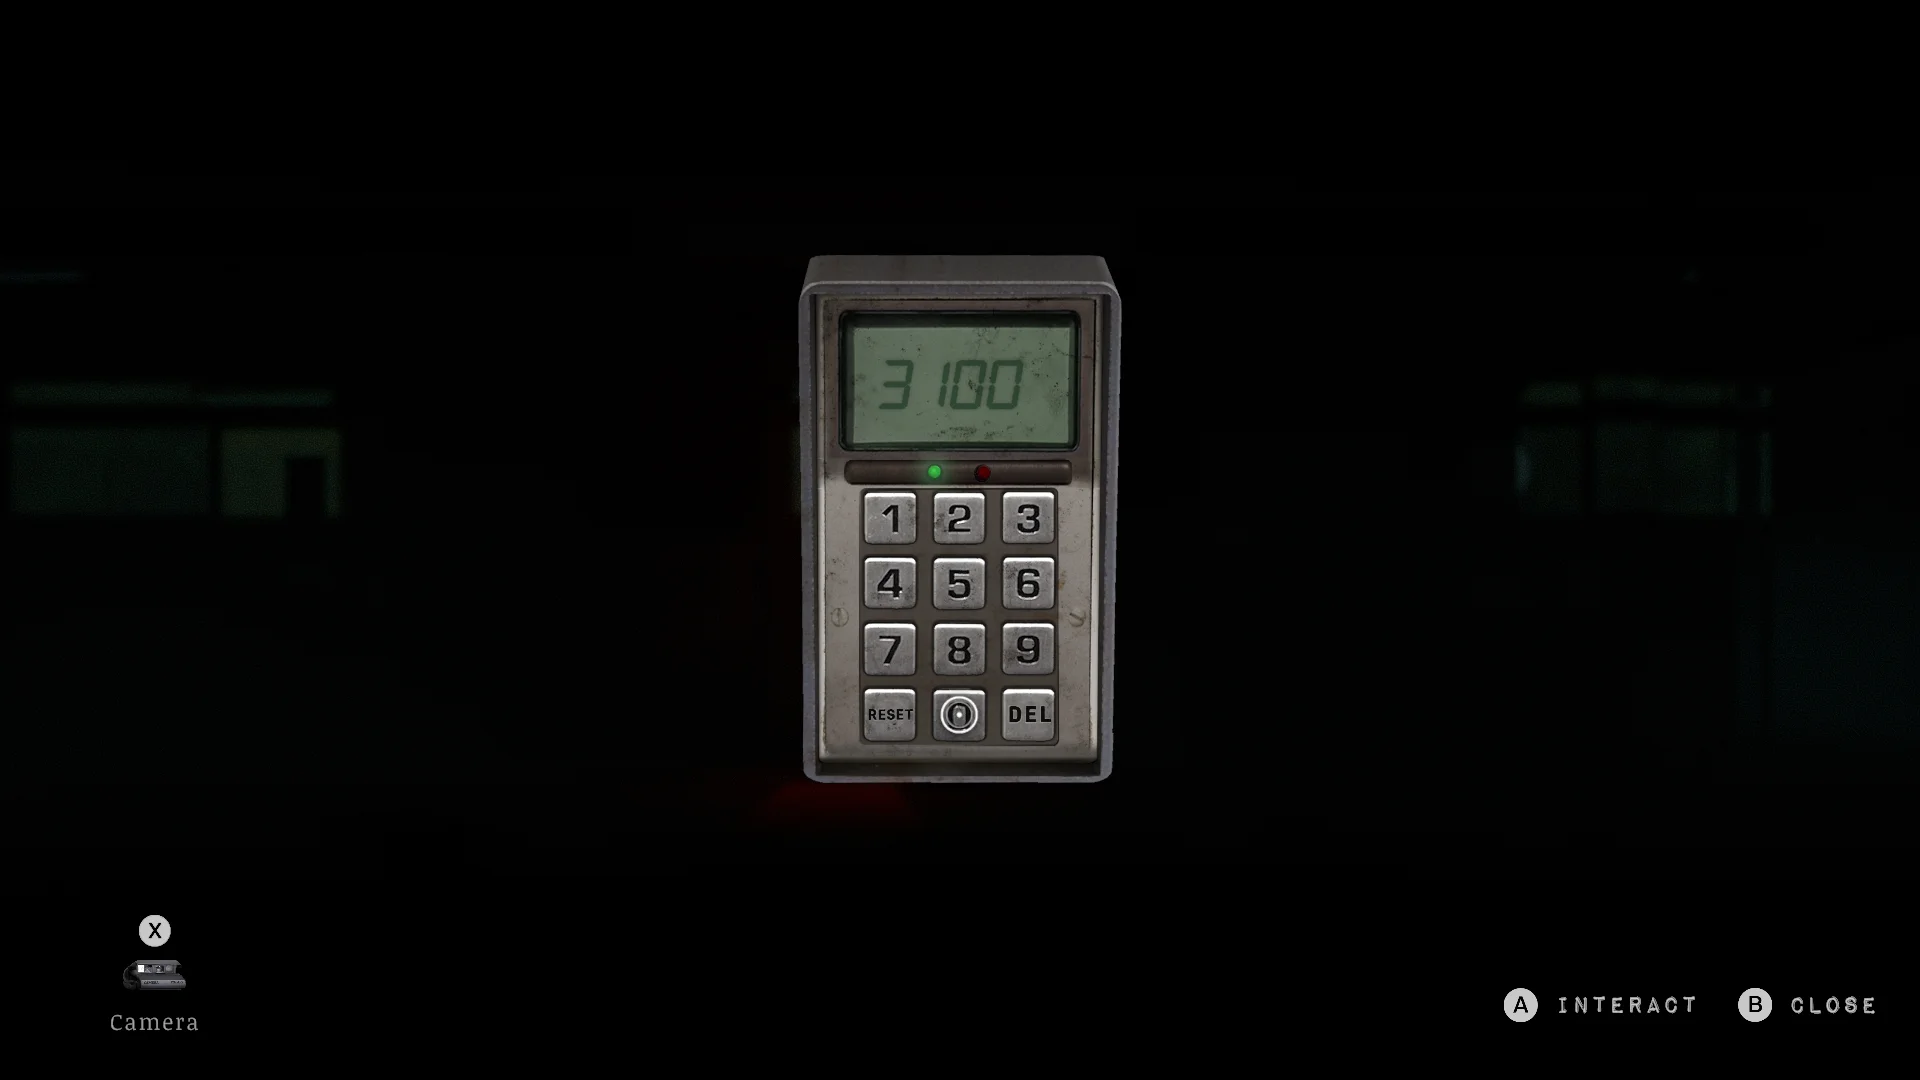
Slide the License Plate into the projector, and it spells out “Badge number reverse release prisoner”. Flip the number on Badge 0013, and you get the holding cell code, 3100.
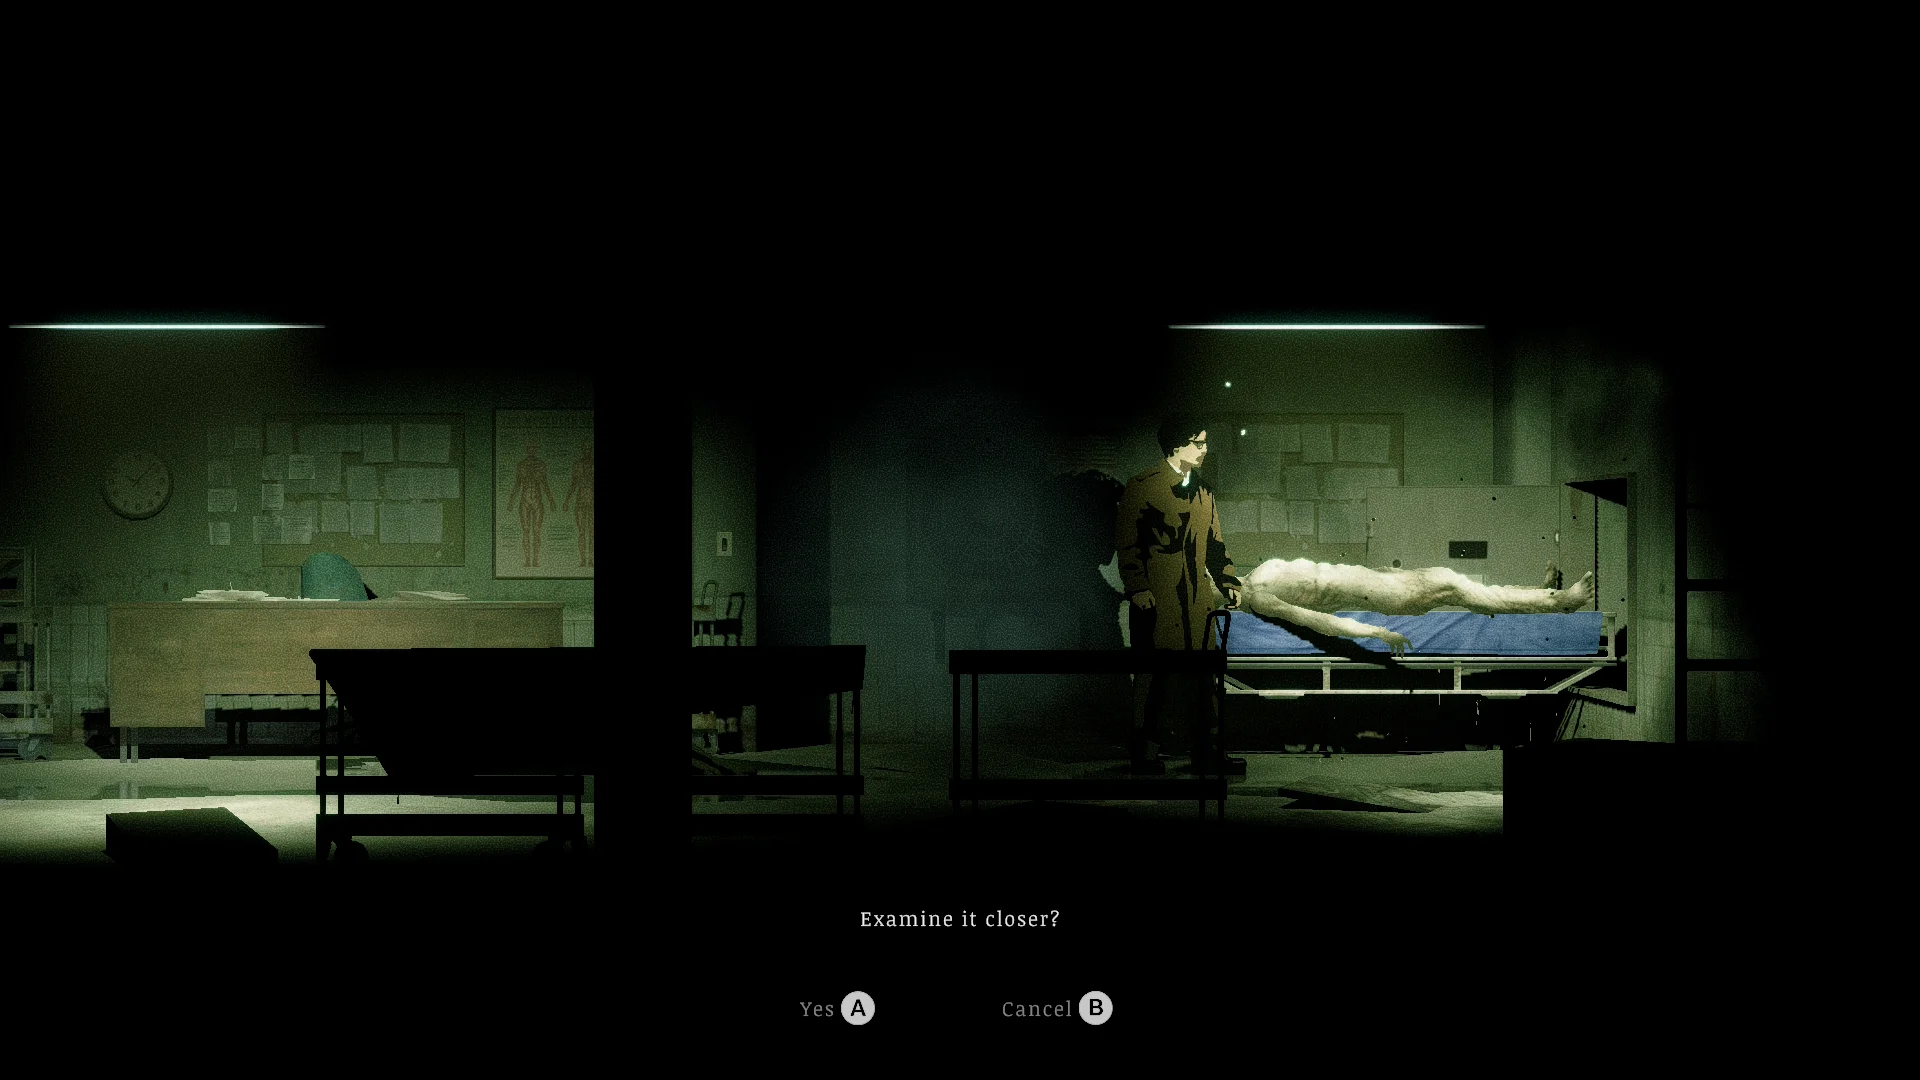
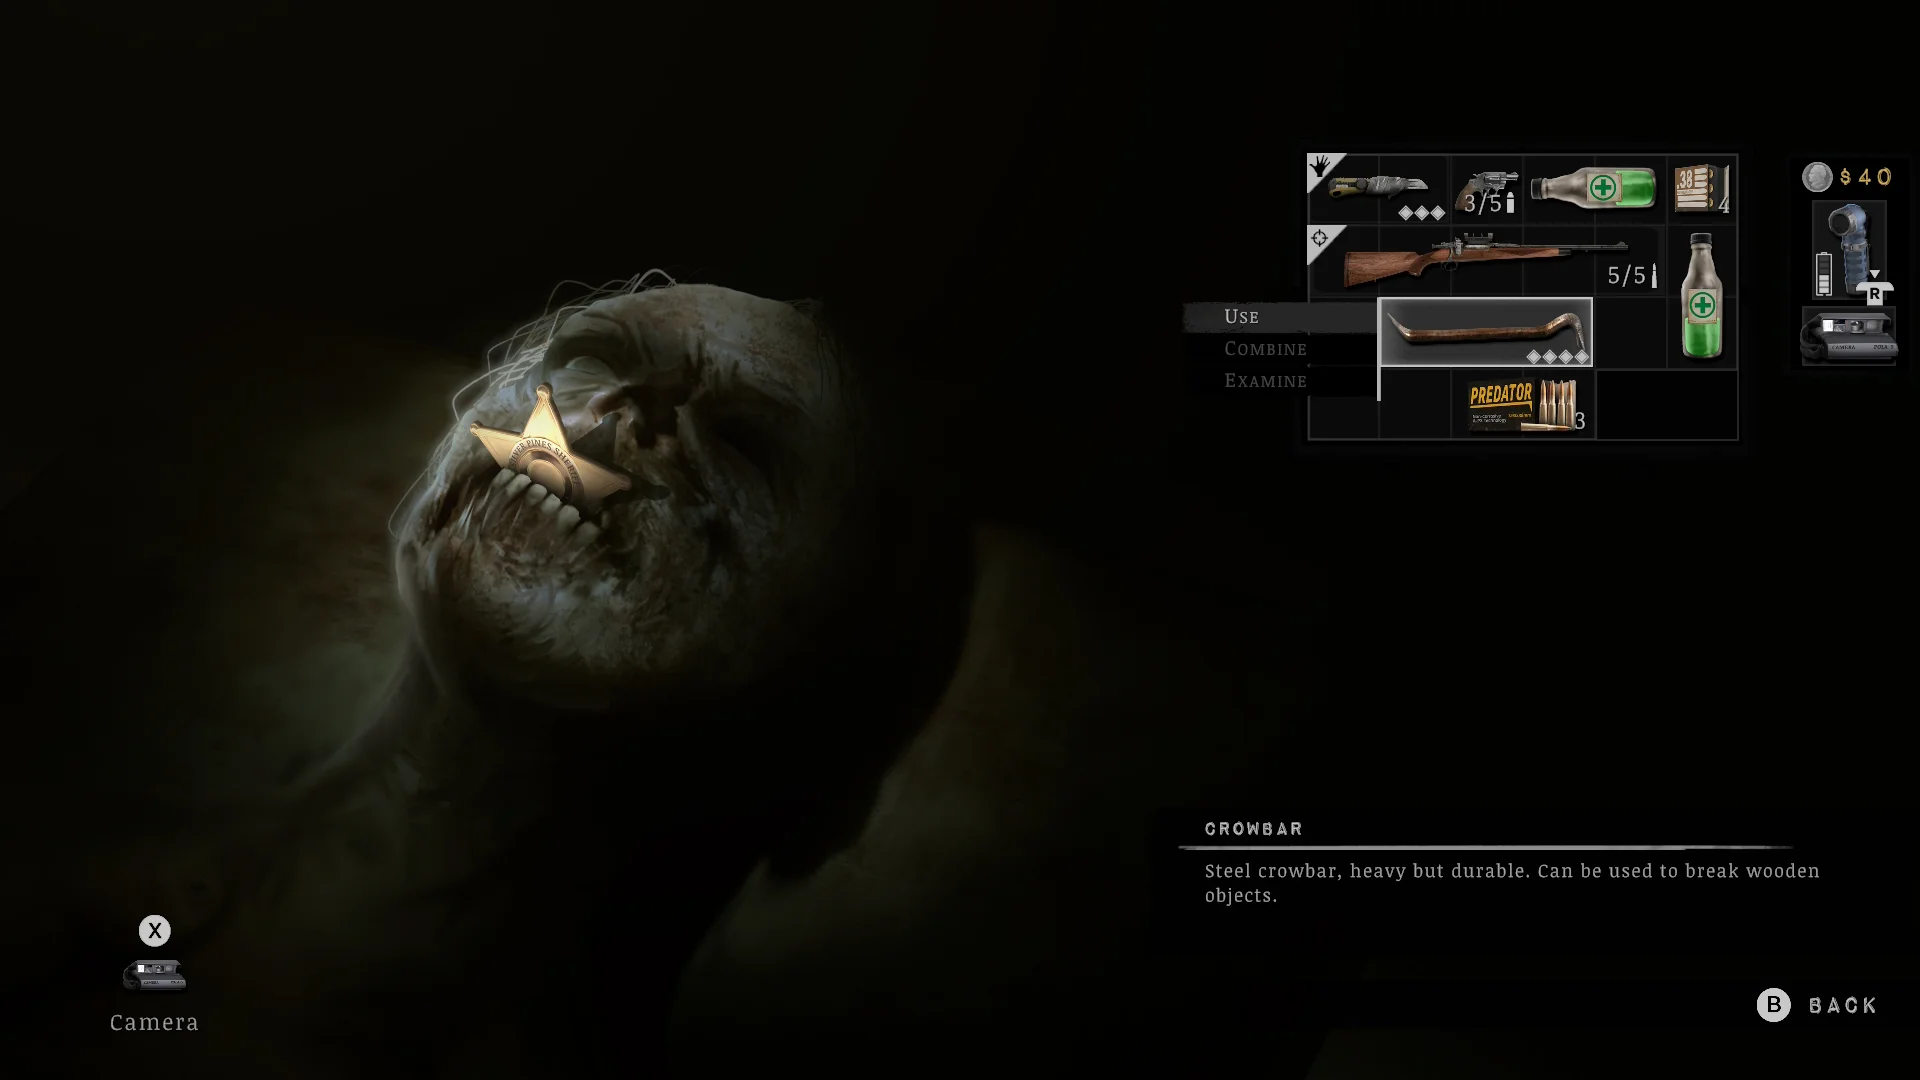




- Go down to the morgue and examine the drowned man. Something glints between his teeth. Pry it out with the crowbar, and you get Badge 0013. Yes, really.
- Pick up the License Plate from the junk in the back alley, outside the barricade you blow open with the shotgun. Somebody cut those holes on purpose.
- Slot the plate into the projector. The holes leave five words showing: BADGE NUMBER REVERSE RELEASE PRISONER.
- Write 0013 backwards, and you get 3100. Enter it on the holding cells keypad to free the prisoner, a deputy.
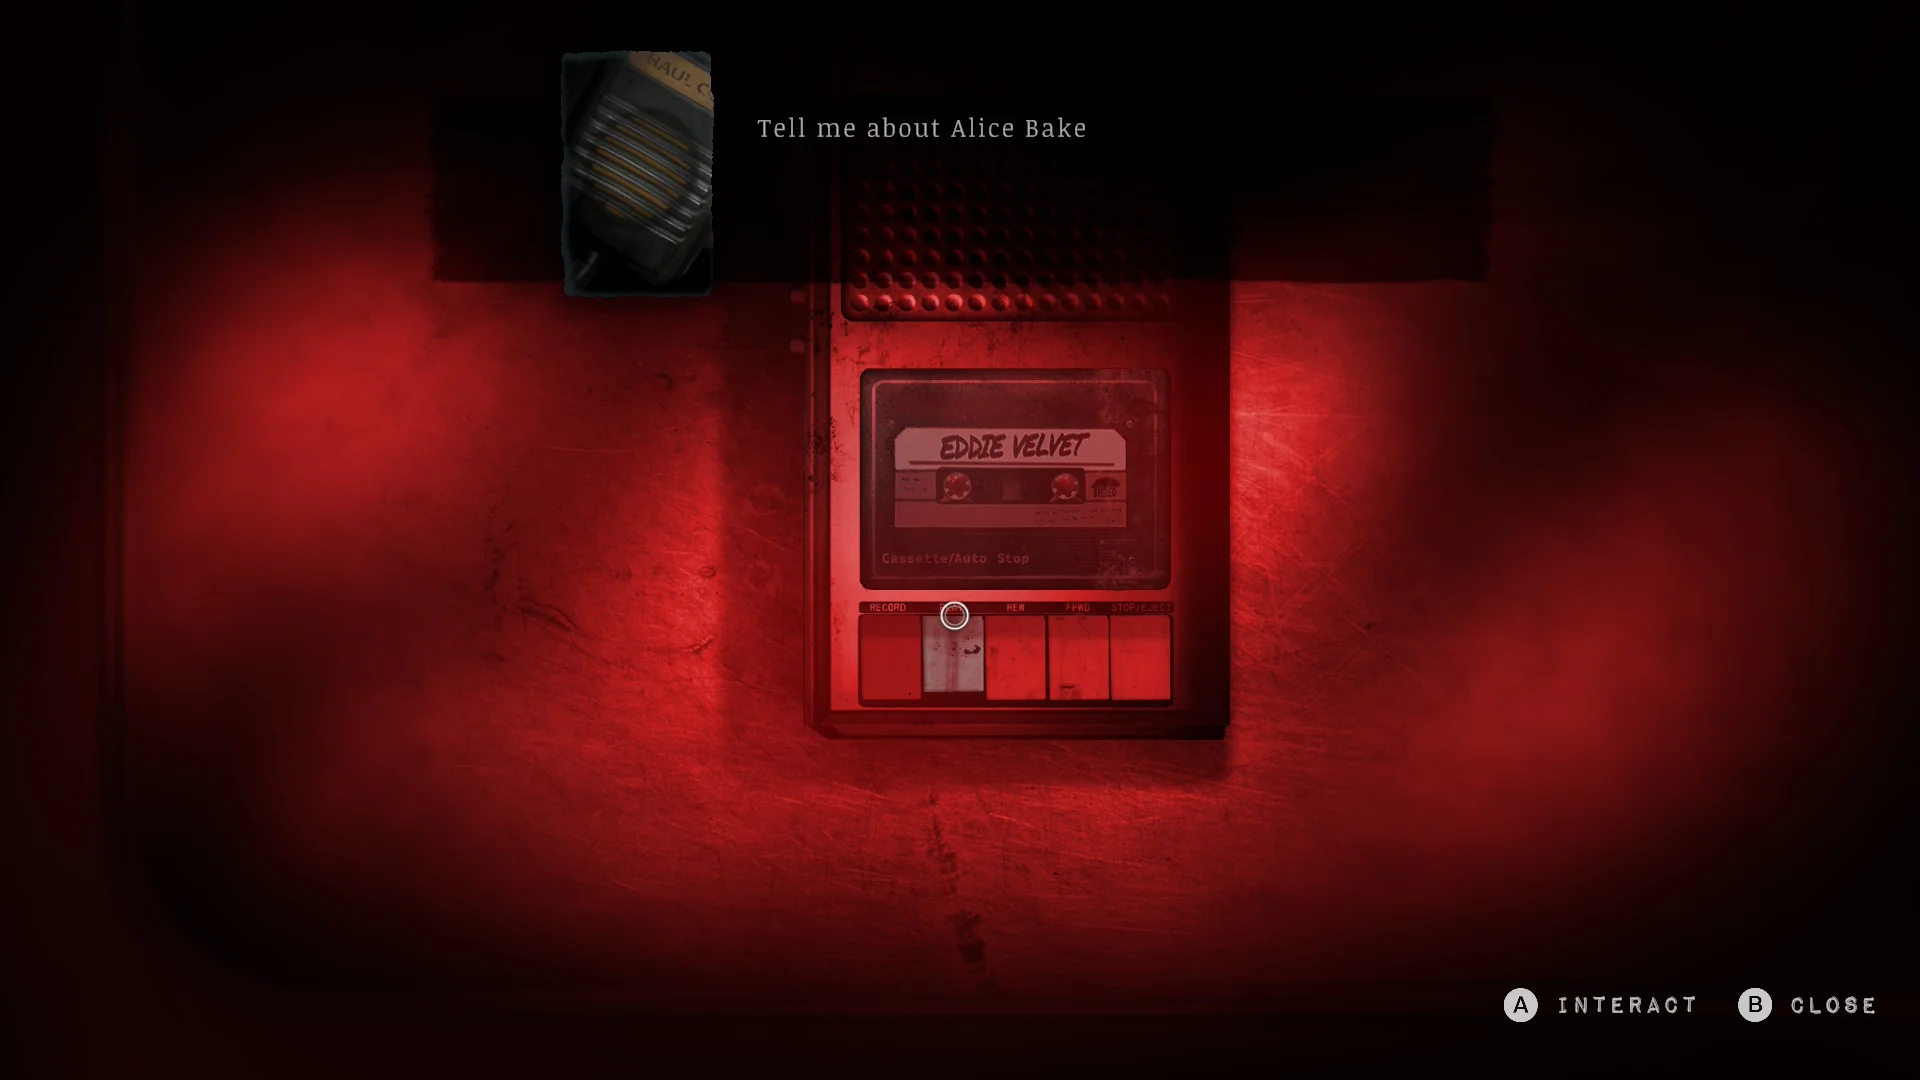
- You get a tape about Eddie, and then a boss fight starts. Win it for Cable Station Bell A.
Union Apartments
How to get into the Union Apartments
Someone left the intercom on broadcast, so switch it off in the utility building before you buzz apartment 4B.
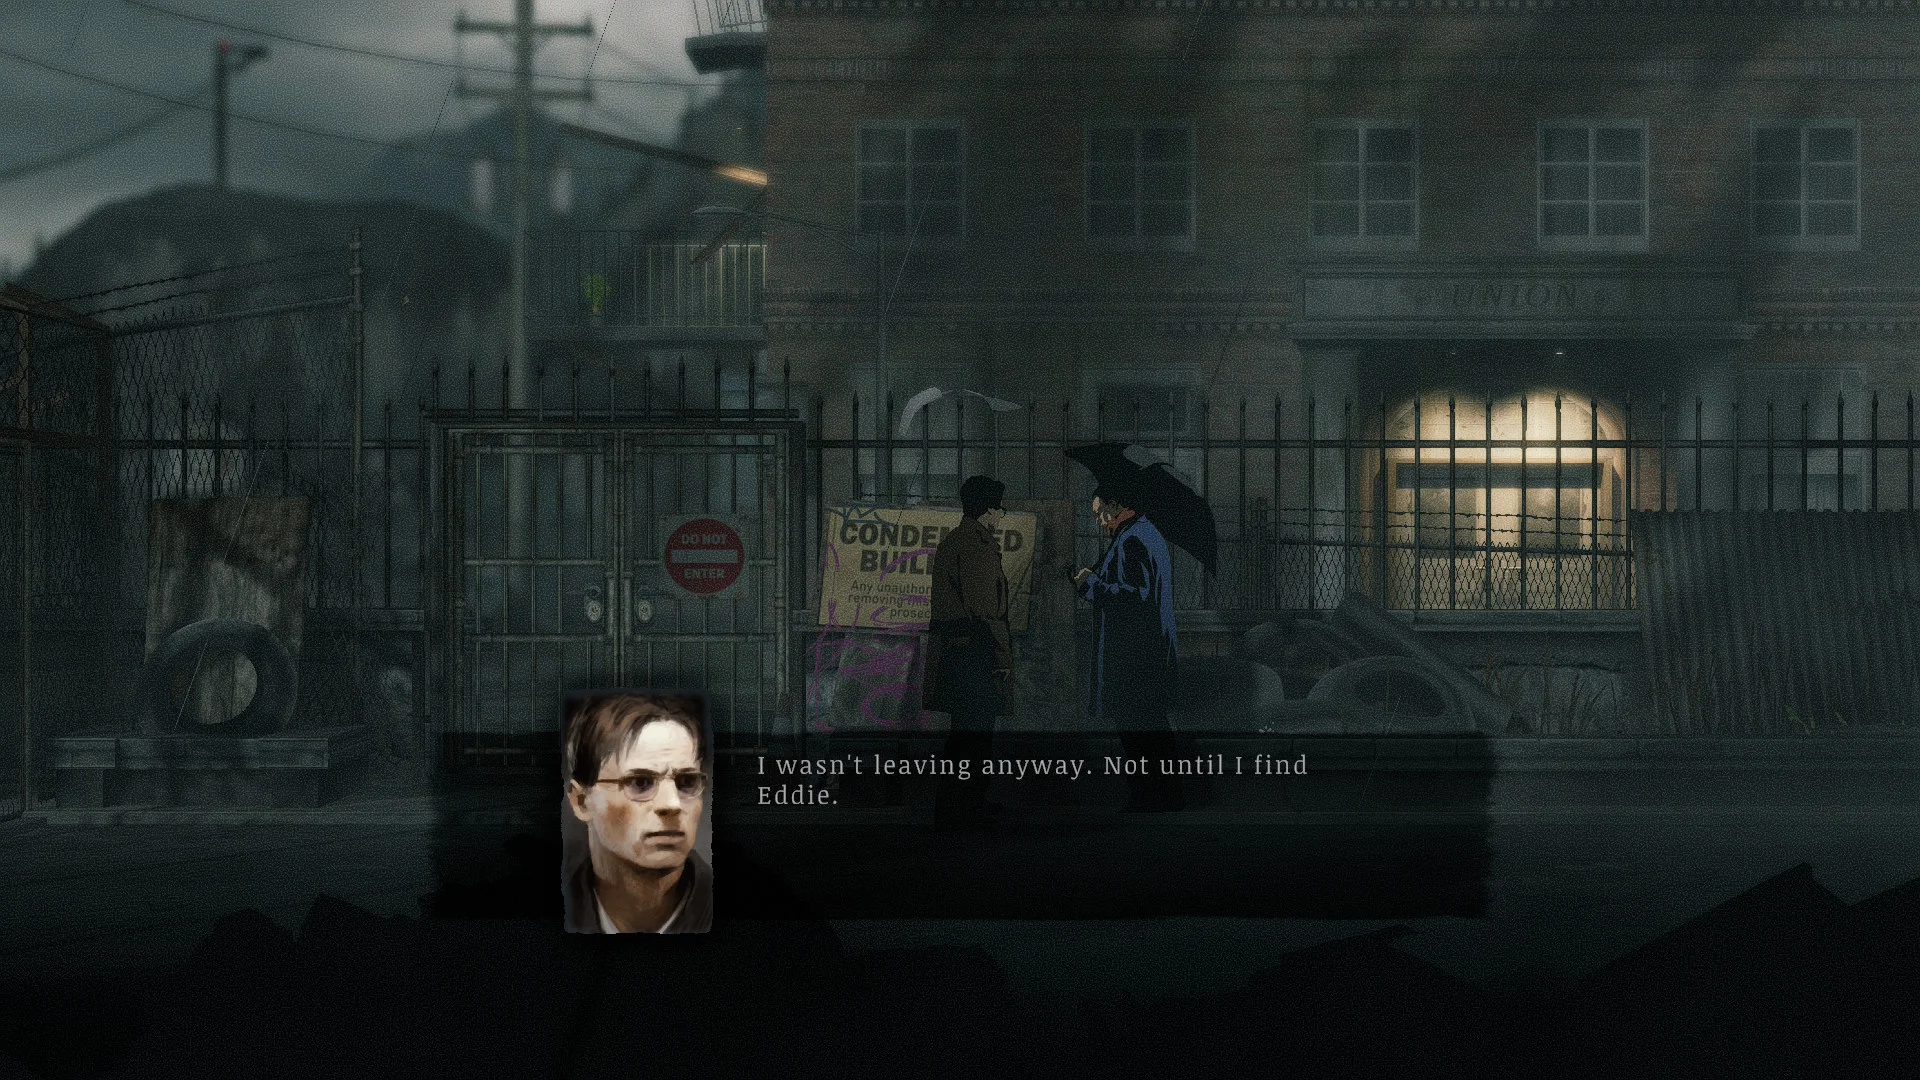
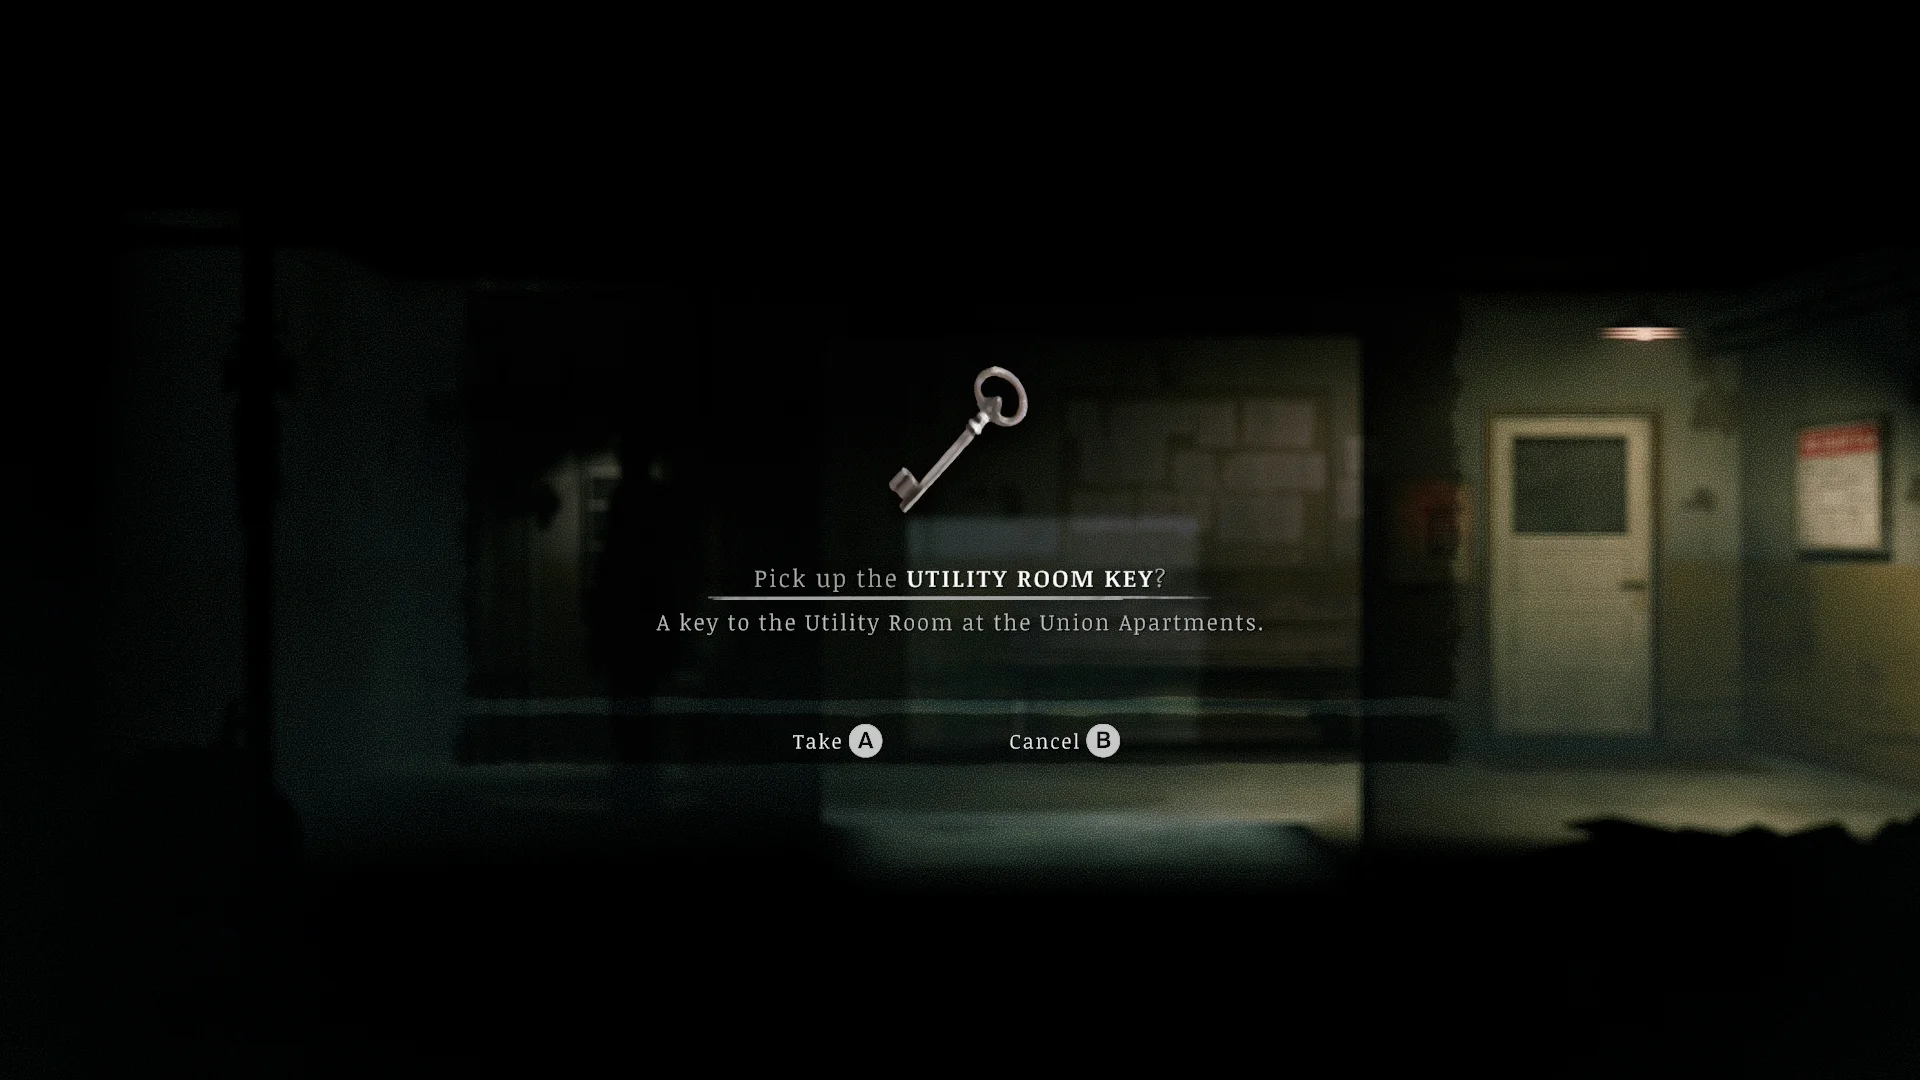
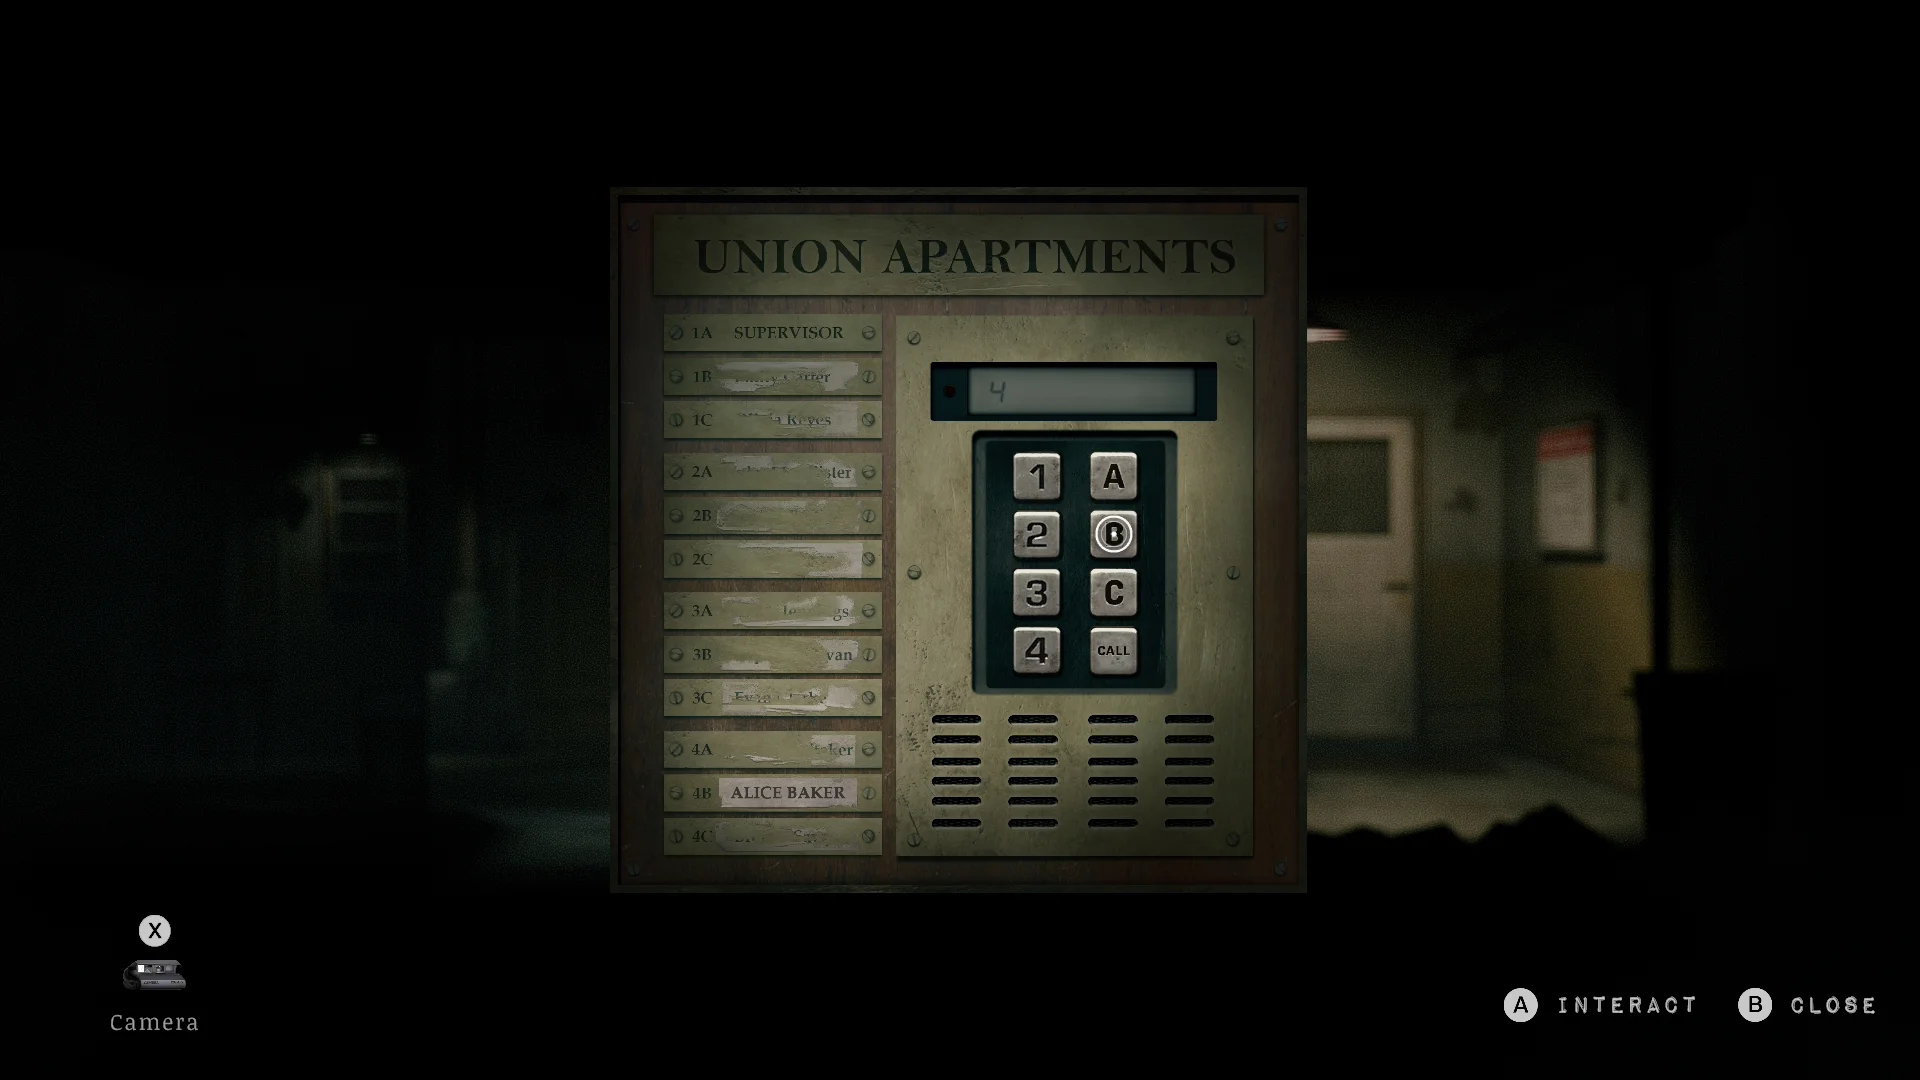
- Talk to the man at the gate and get the Utility Building Key.
- Clear the enemies in the utility building and watch out for explosions. Then switch off the intercom broadcast.
- Go back to the Union intercom and dial 4B, Alice Baker’s apartment.
How to get the Union Level 3 Key
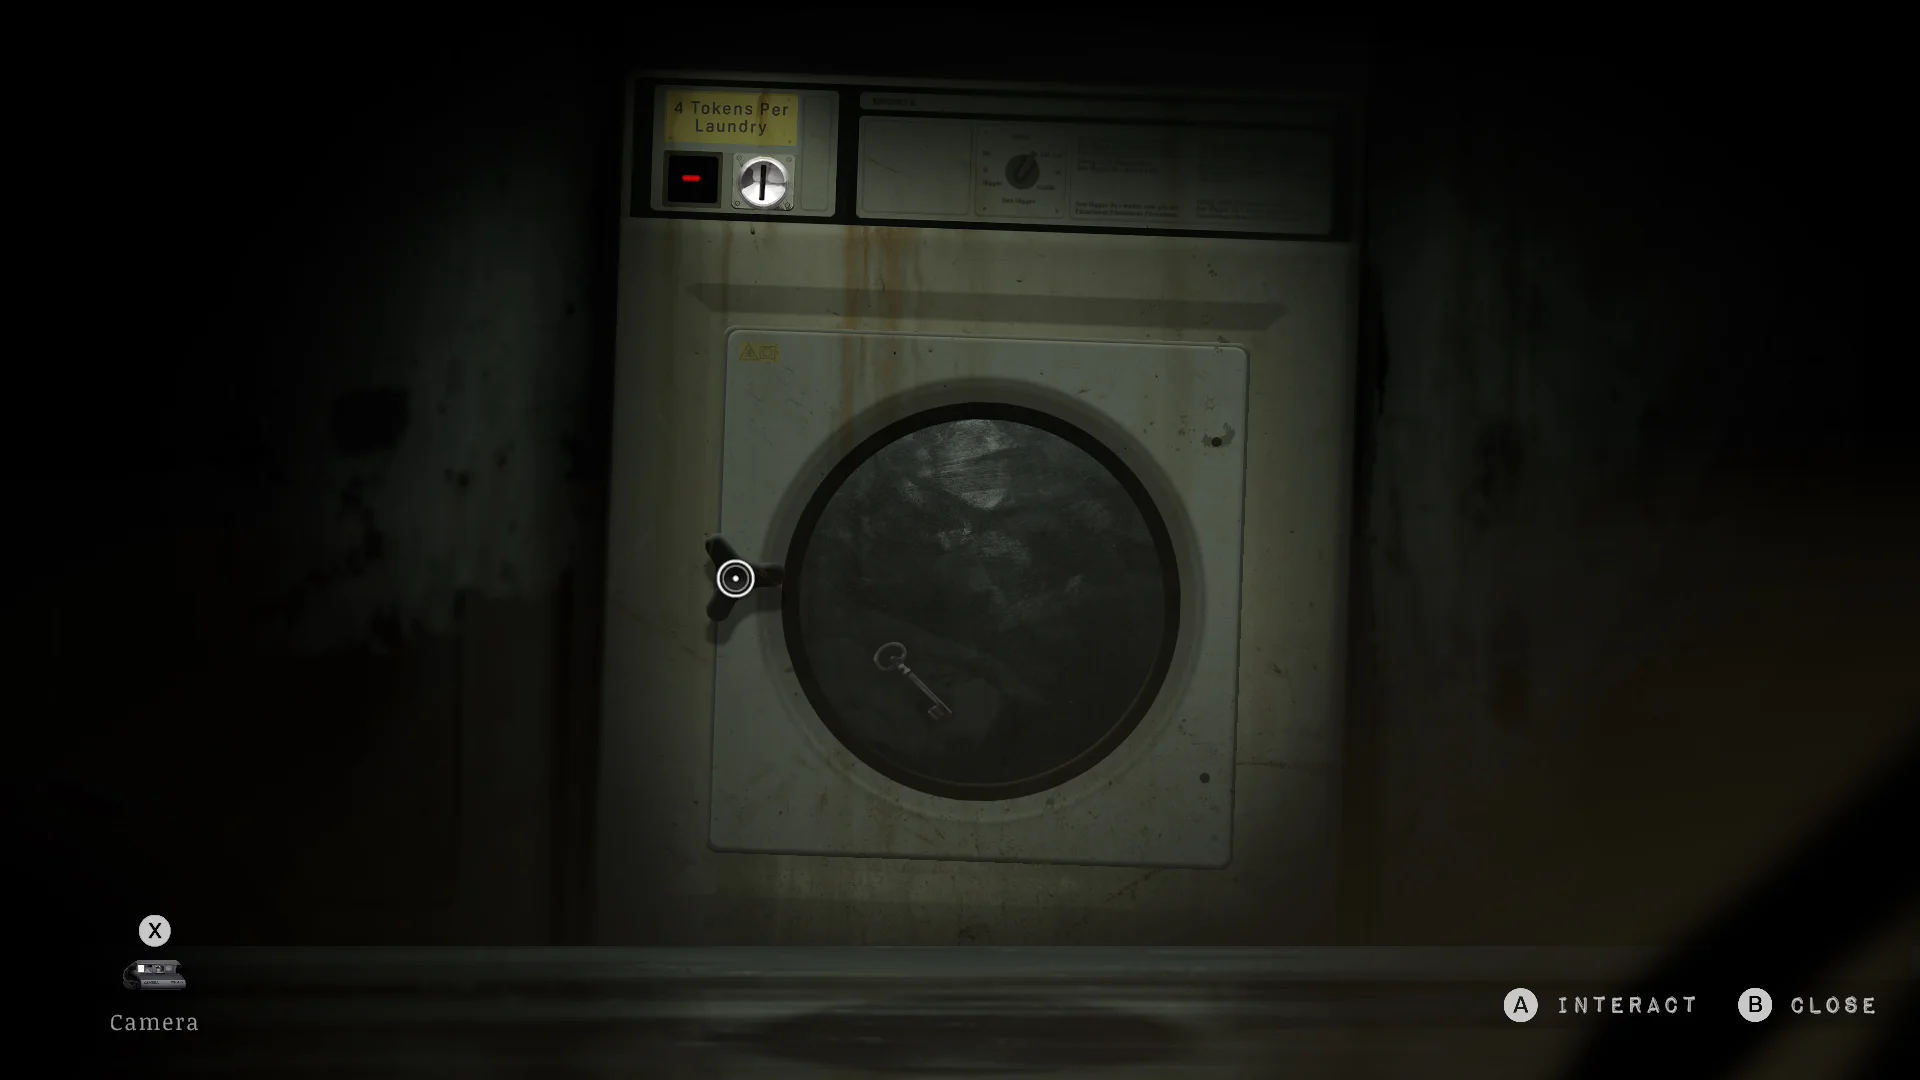
Feed four Laundry Tokens to the washing machine, and it spits out the key.

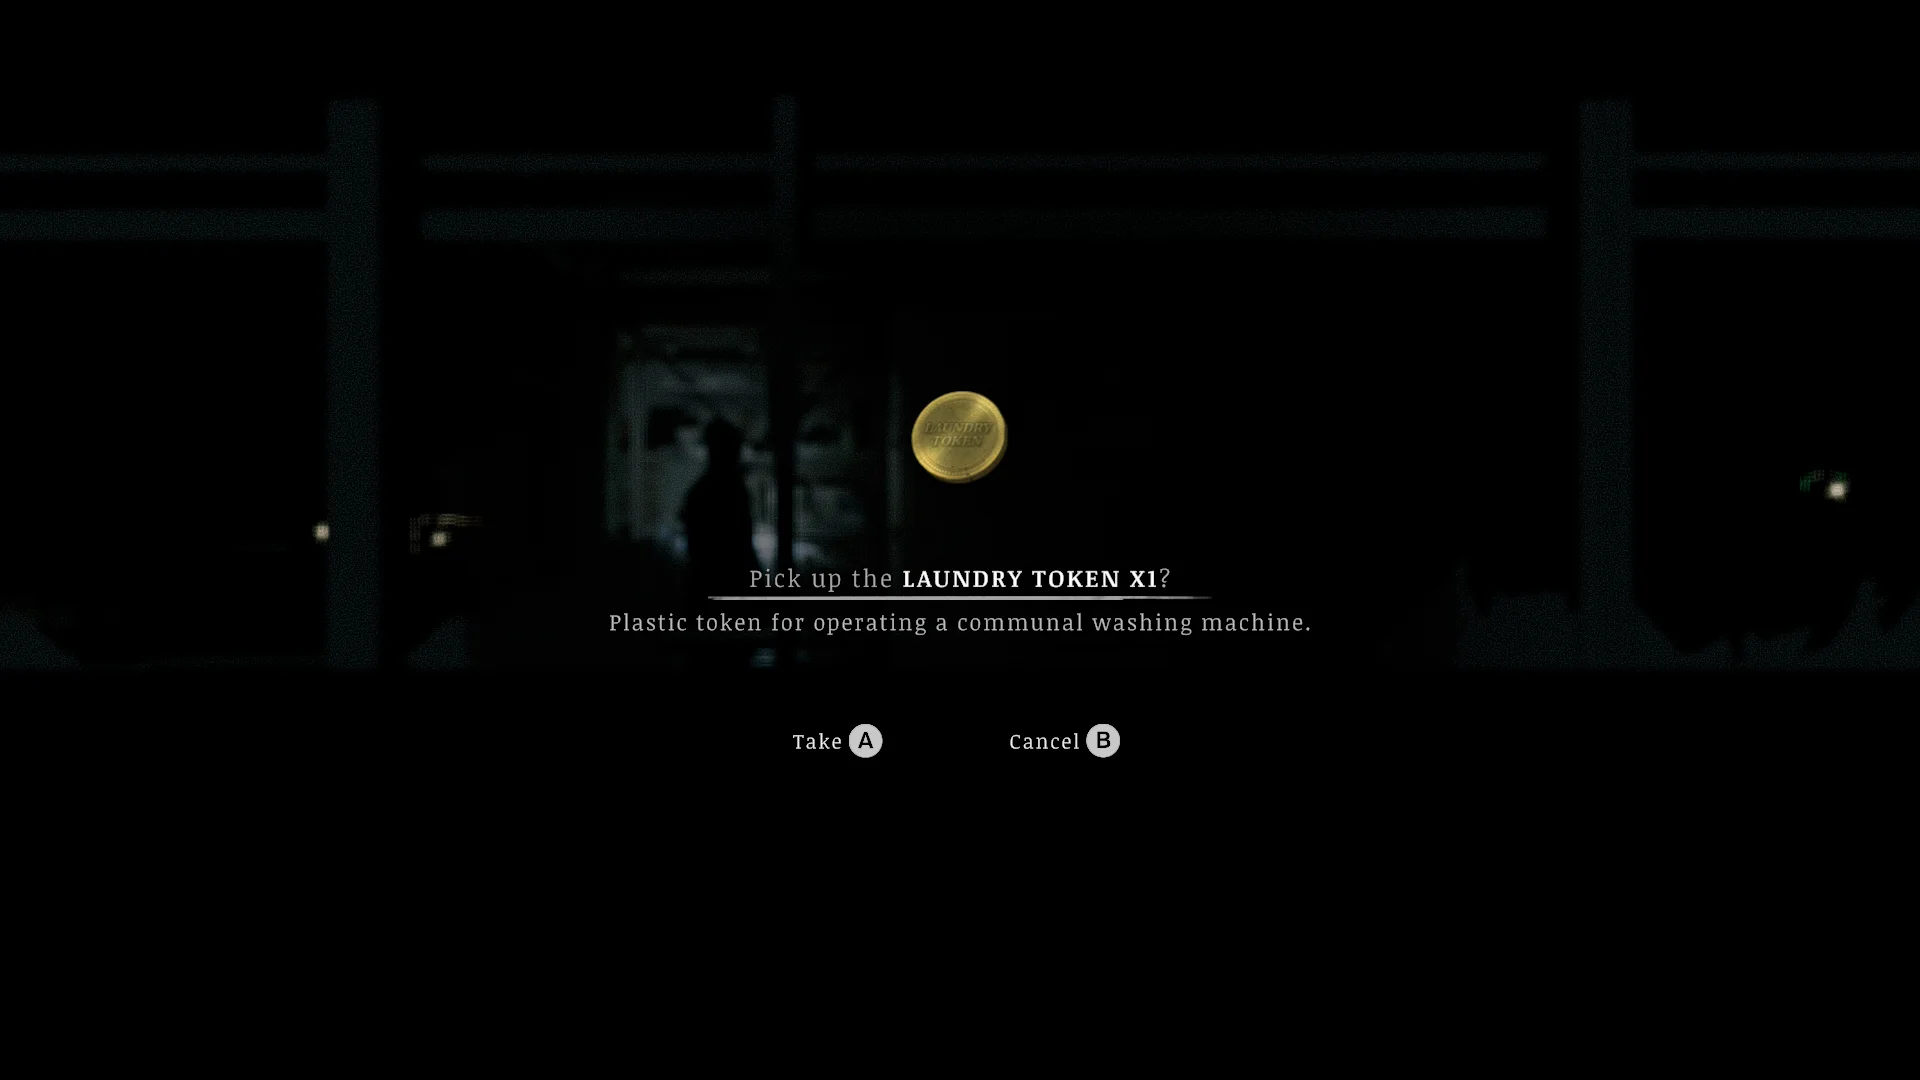
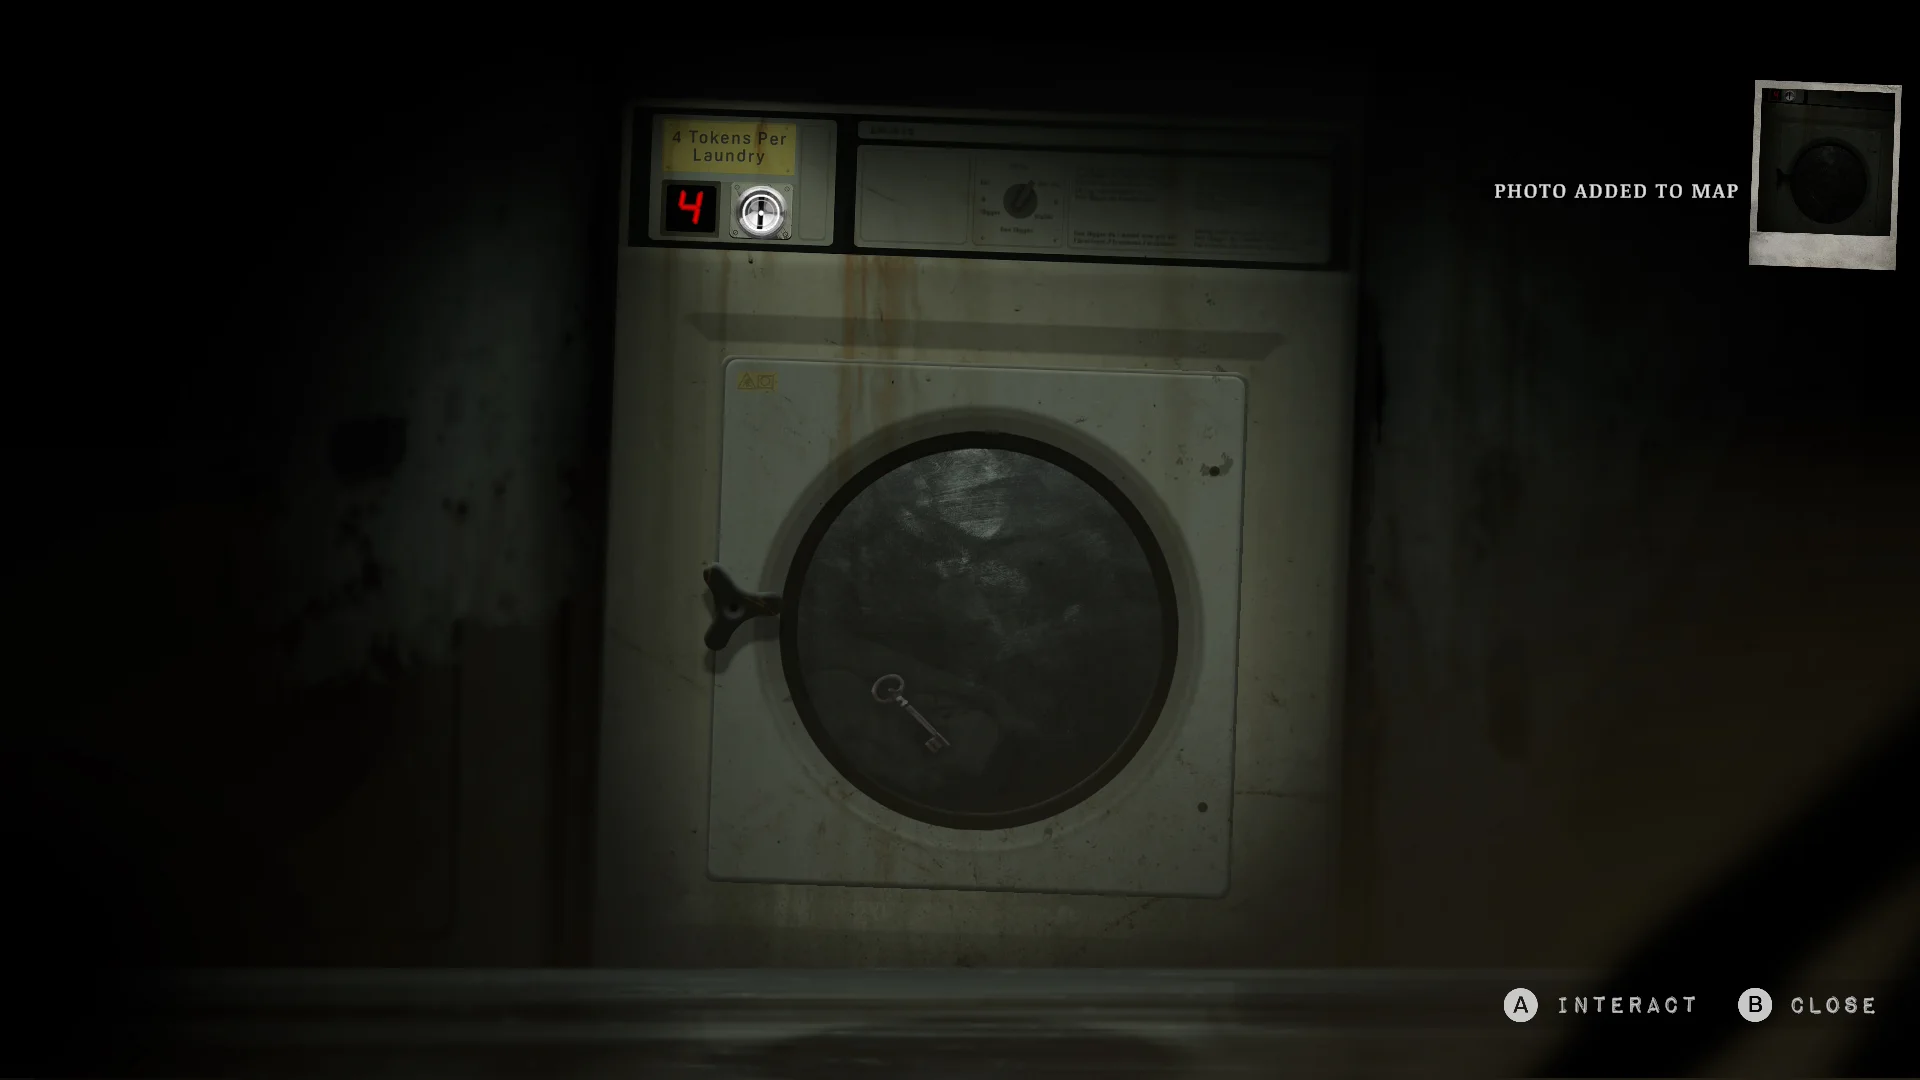


- Collect the four tokens. One sits in the room next to reception, on the left of the ground floor, and another waits in the basement.
- Put all four in the machine and take the Union Level 3 Key when the cycle ends.
What is the supervisor lockbox code?
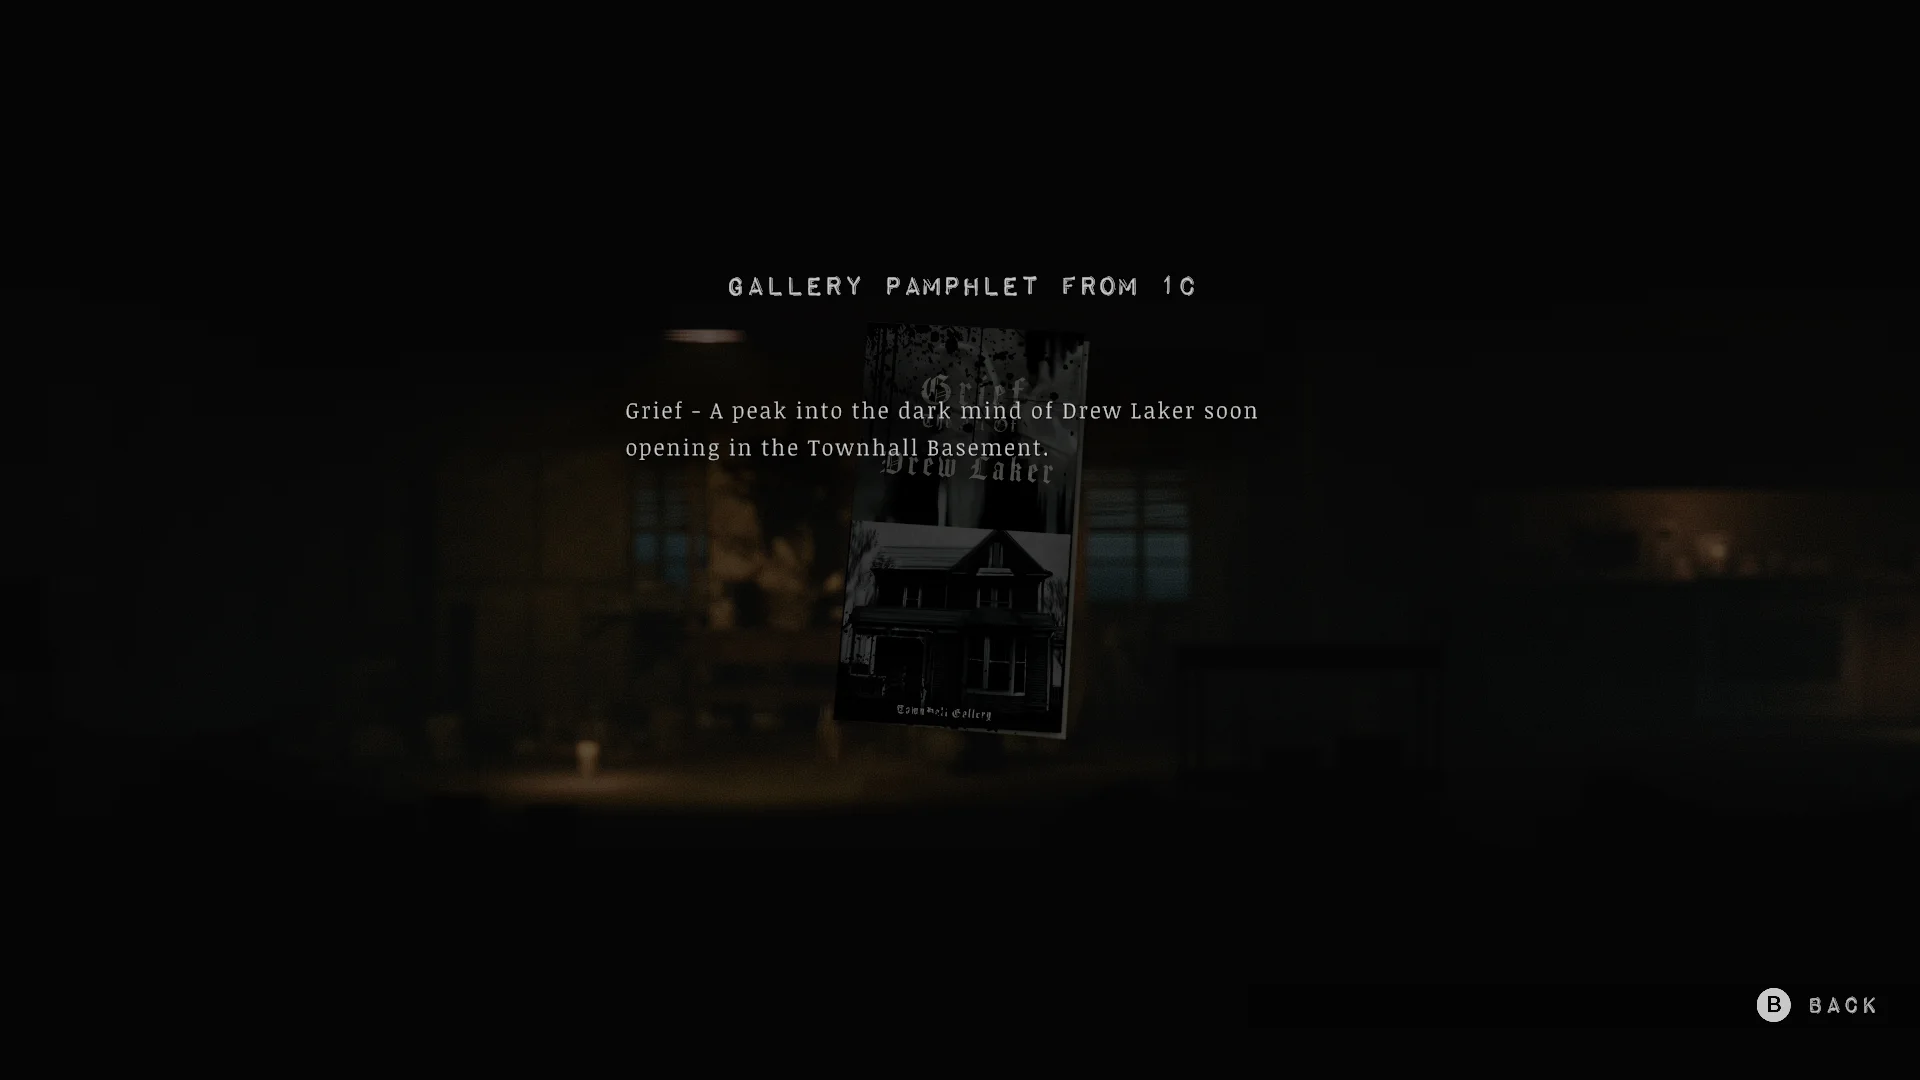
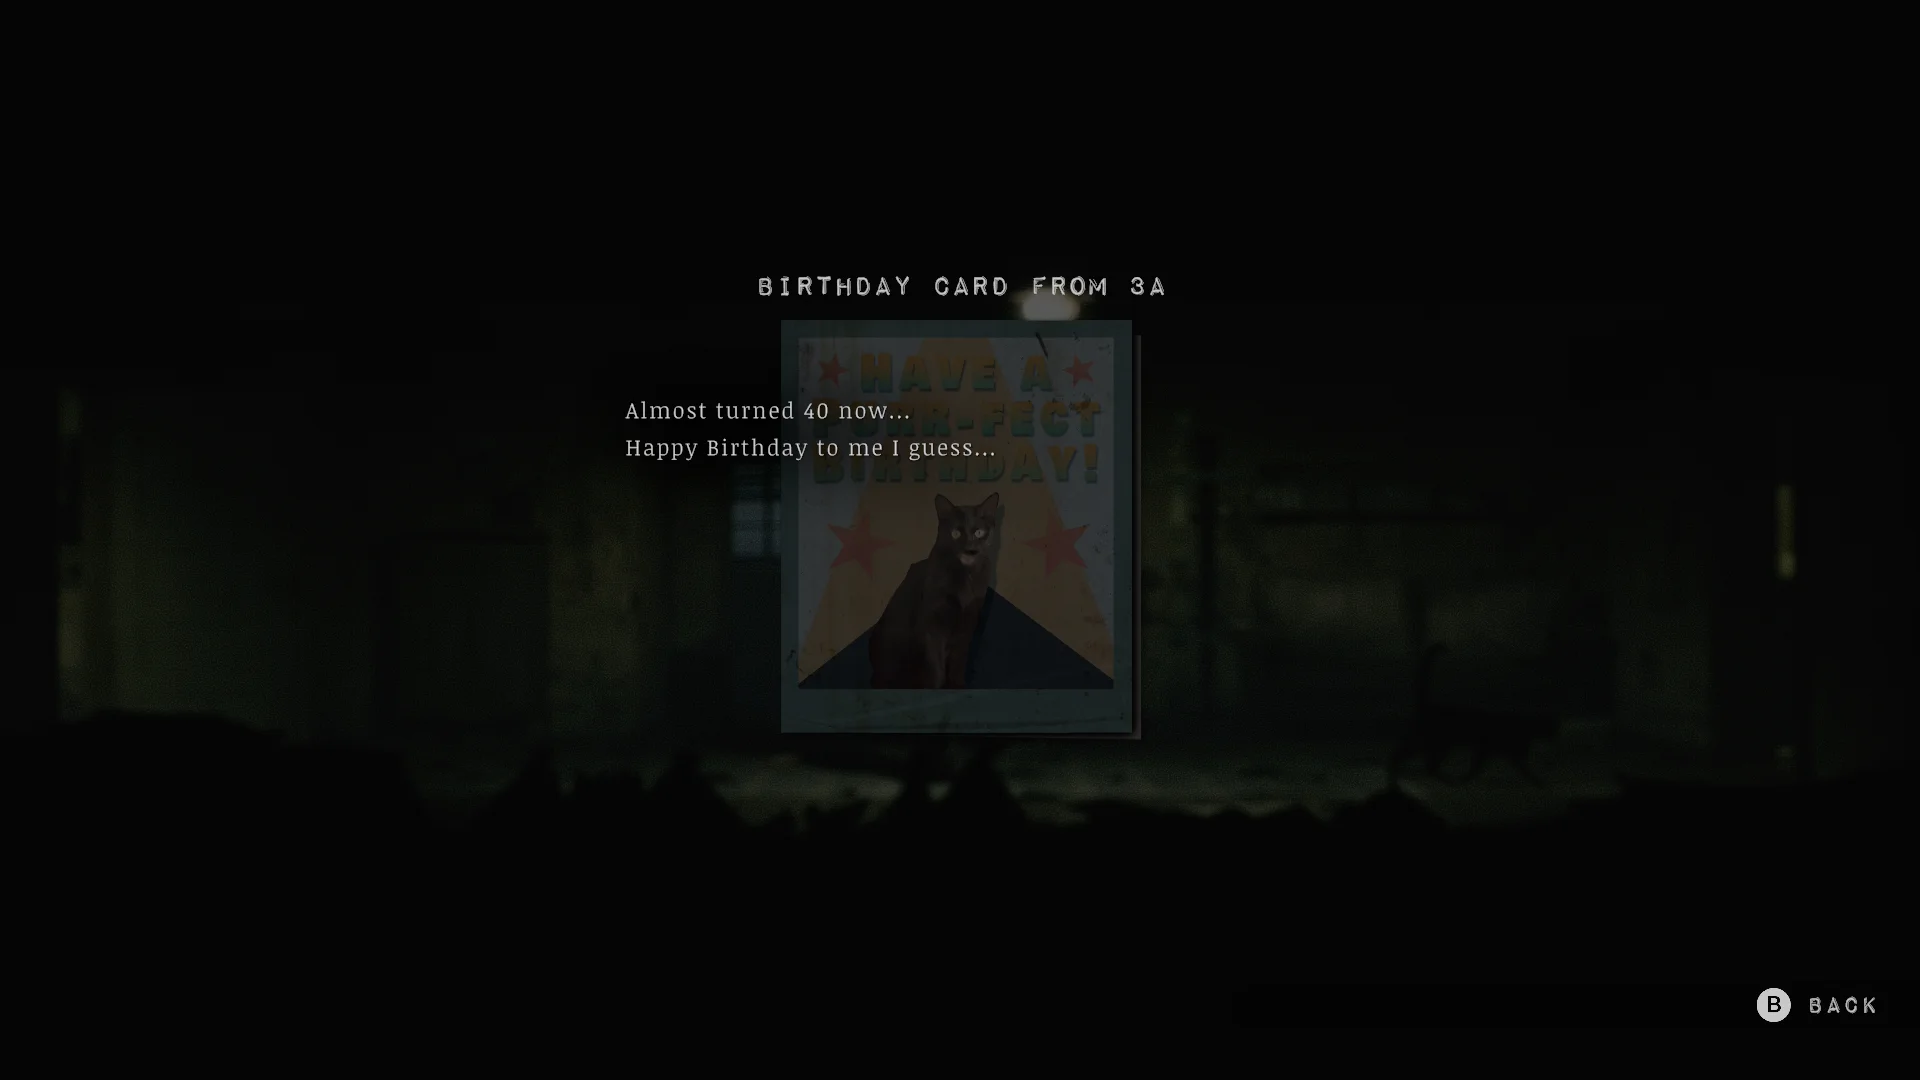
Enter 1C, 3A, 2A, 3C, the rooms of the four tenants from the newspaper cutouts.
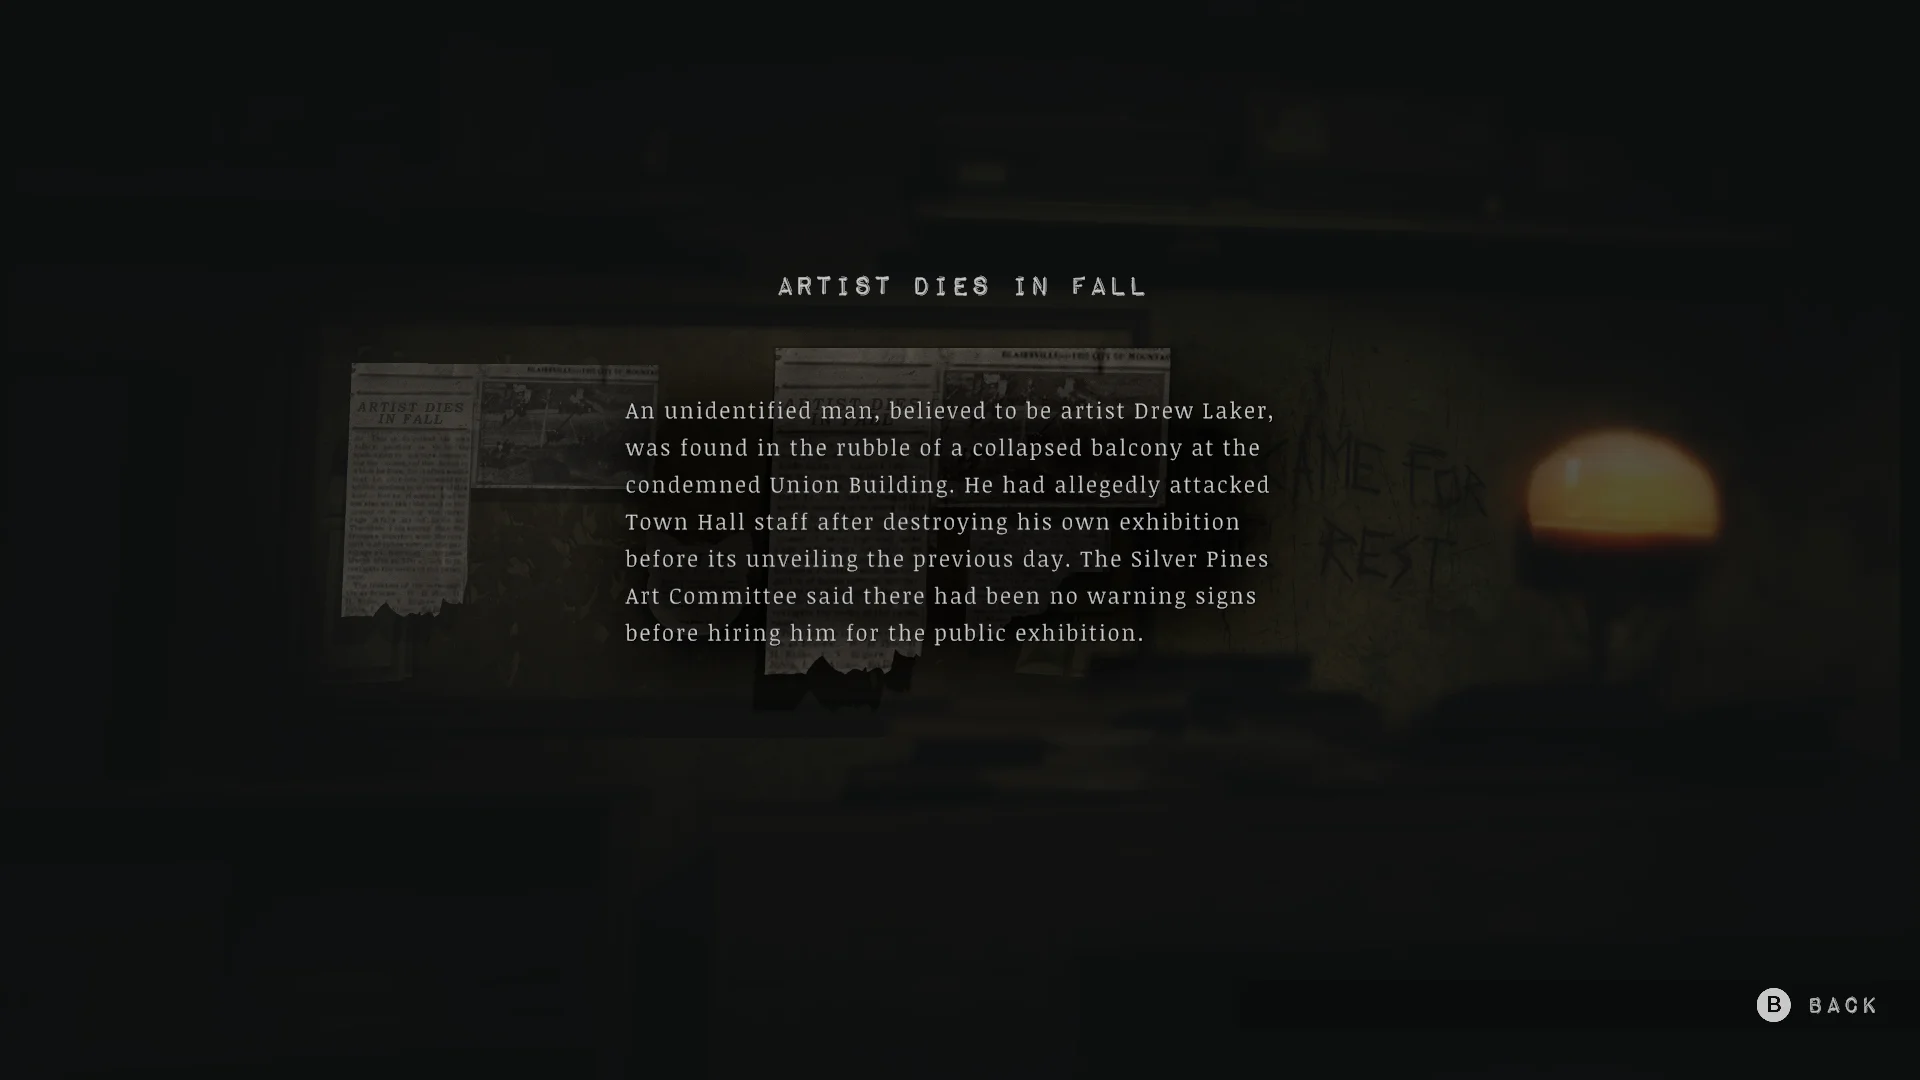
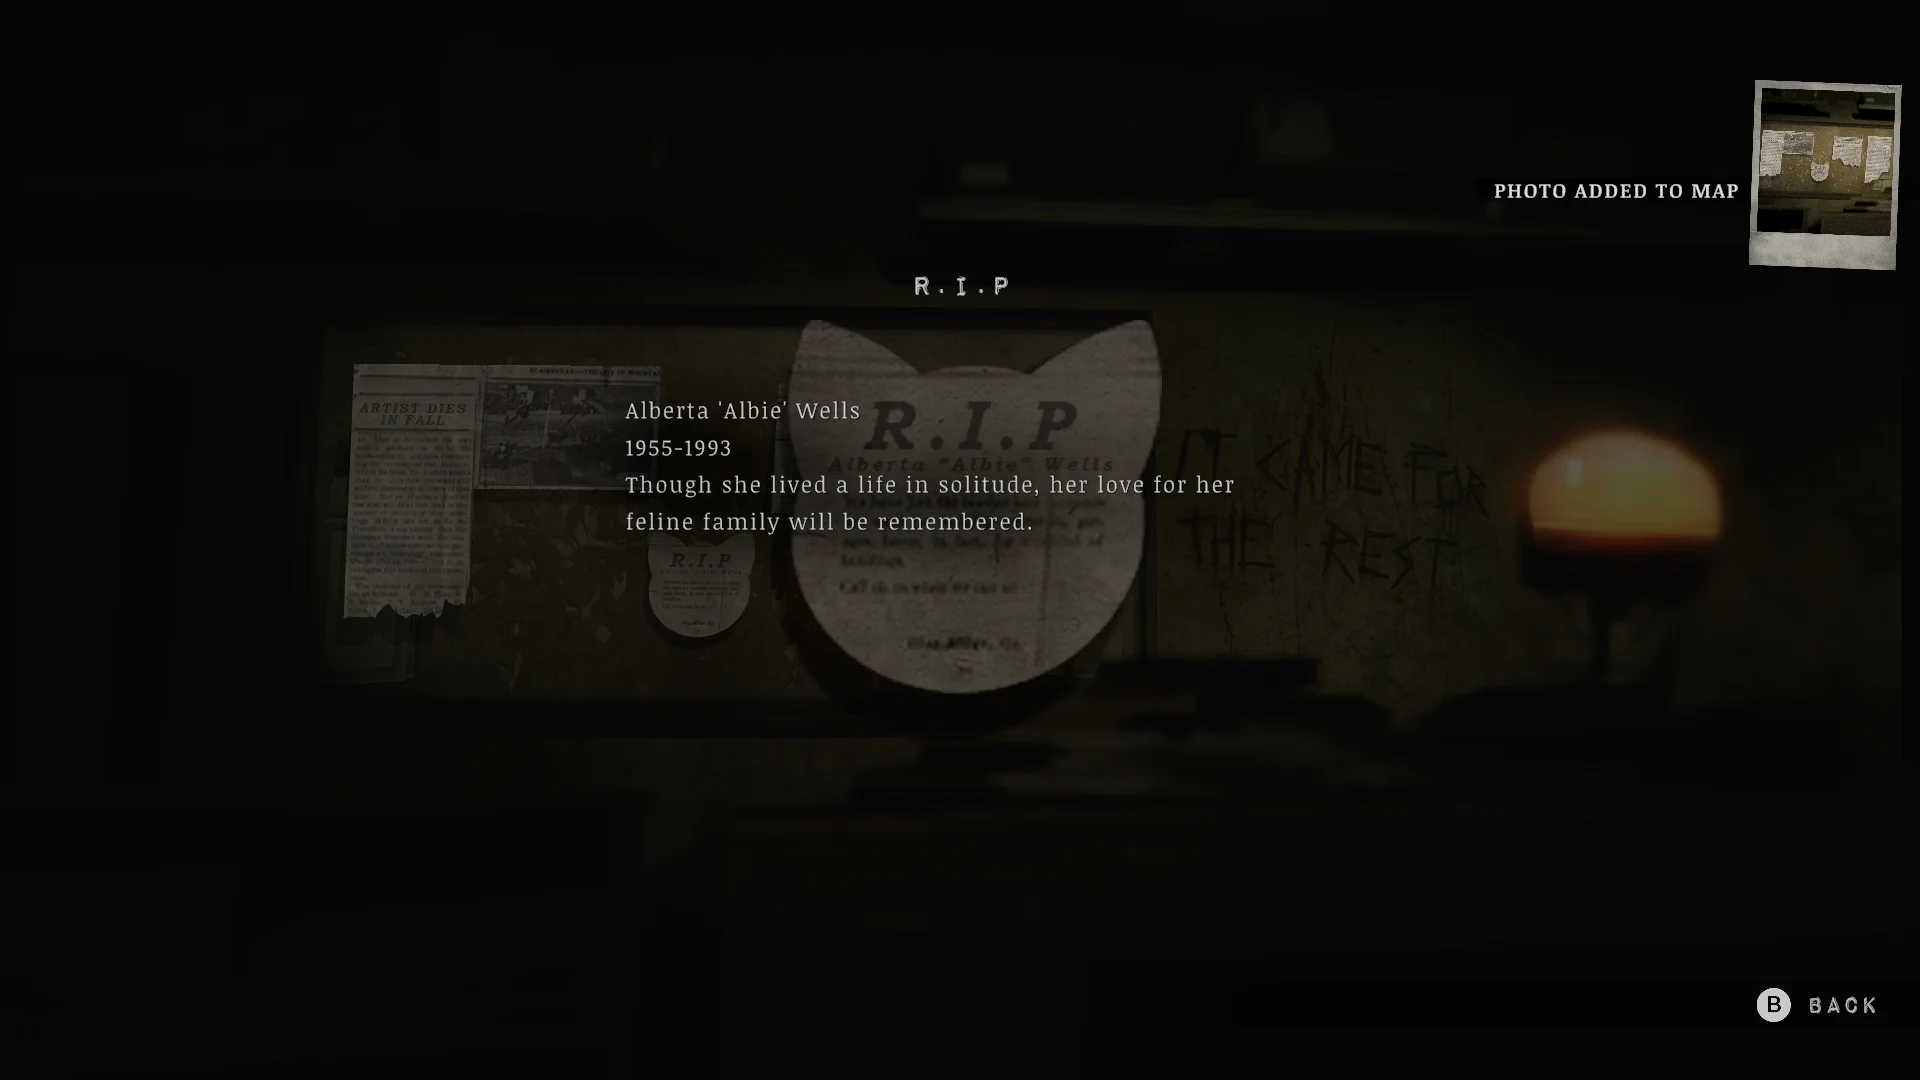

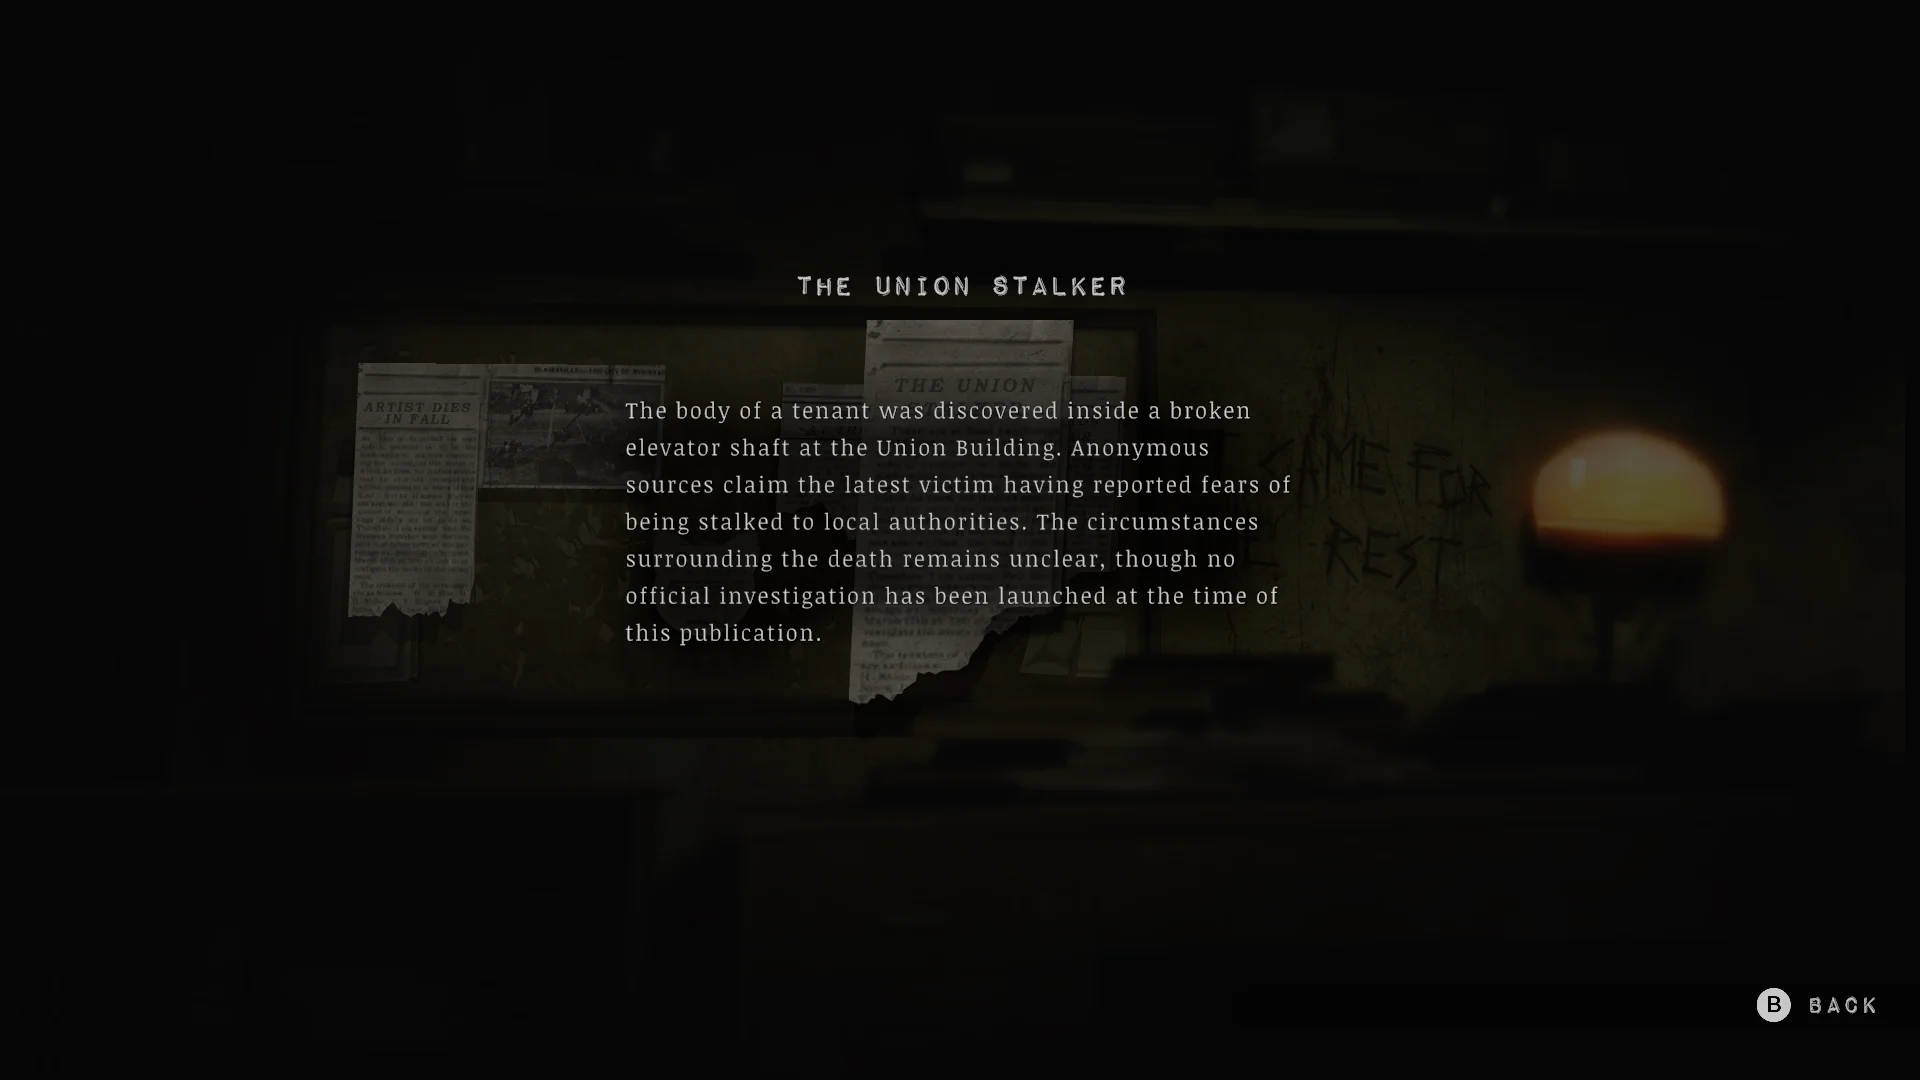
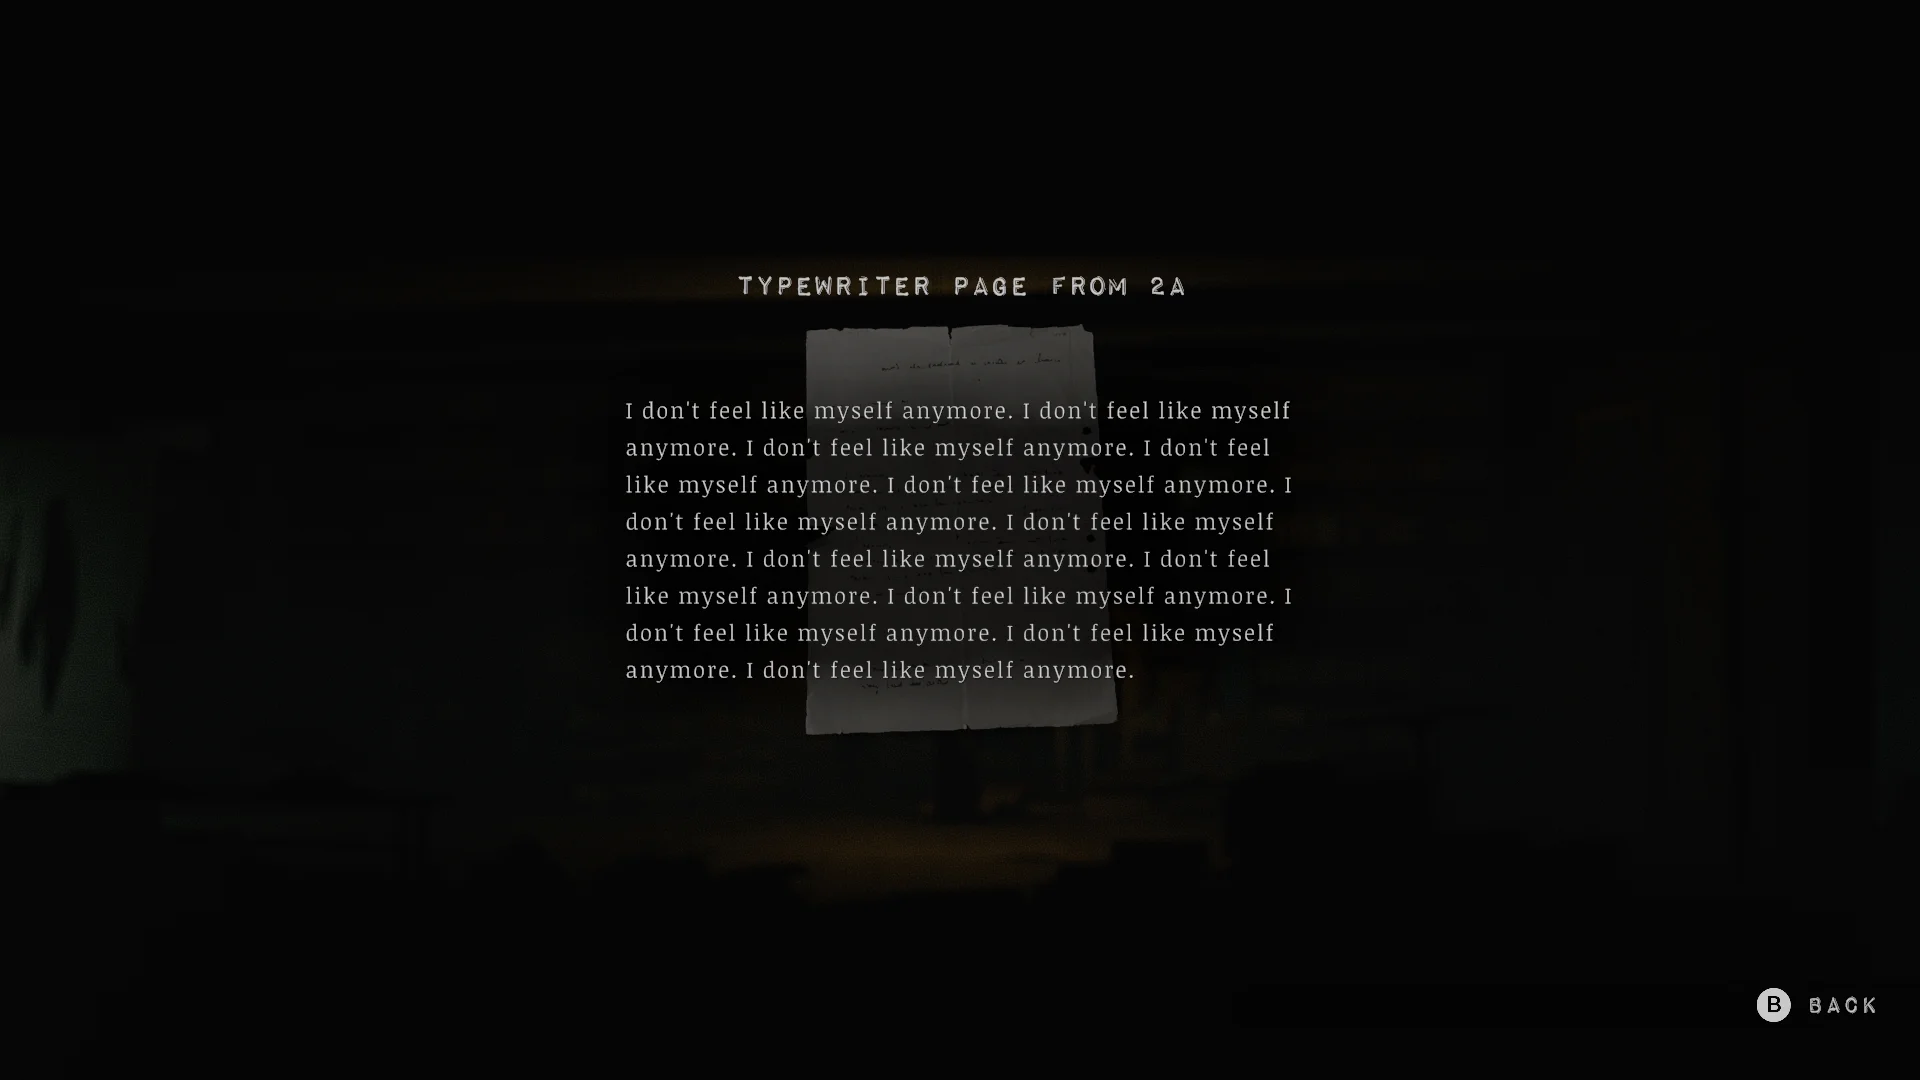

- Read the four newspaper cutouts. They cover an artist who fell, a cat lady, a writer who killed himself, and a paranoid tenant.
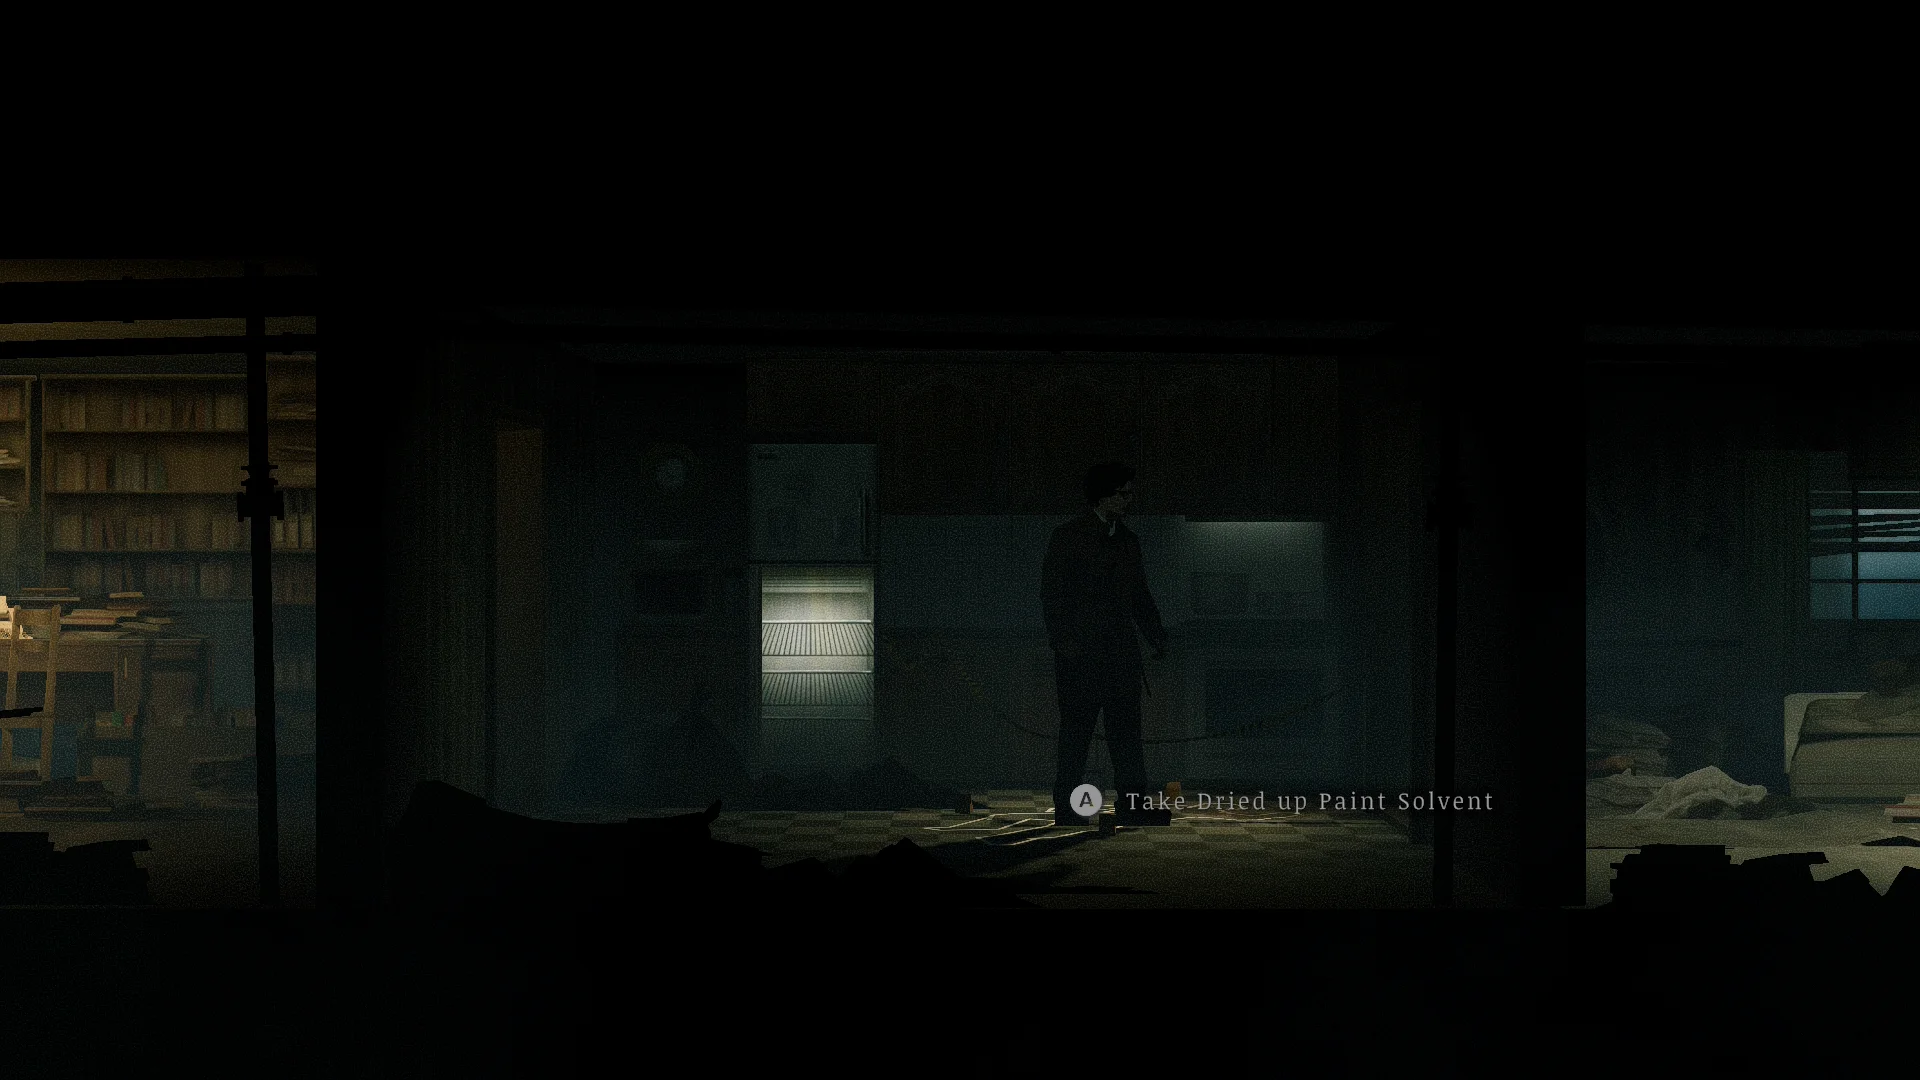
- Match each tenant to a room. The gallery pamphlet puts the artist, Drew Laker, in 1C. Vault over from 3C and keep walking left to find the cat lady’s birthday card in 3A. From there, vault down to the writer’s typewriter in 2A. The paranoid tenant lived in 3C, the room with the mirror message.
- Enter the rooms in that order on the supervisor’s lockbox. Inside you’ll find the Floor 4 Button, a Bottle of Alcohol, and some Dried-up Paint Solvent.
What is the Union basement lockbox code?
It’s 1525. Someone painted over it on the wall of apartment 1C.

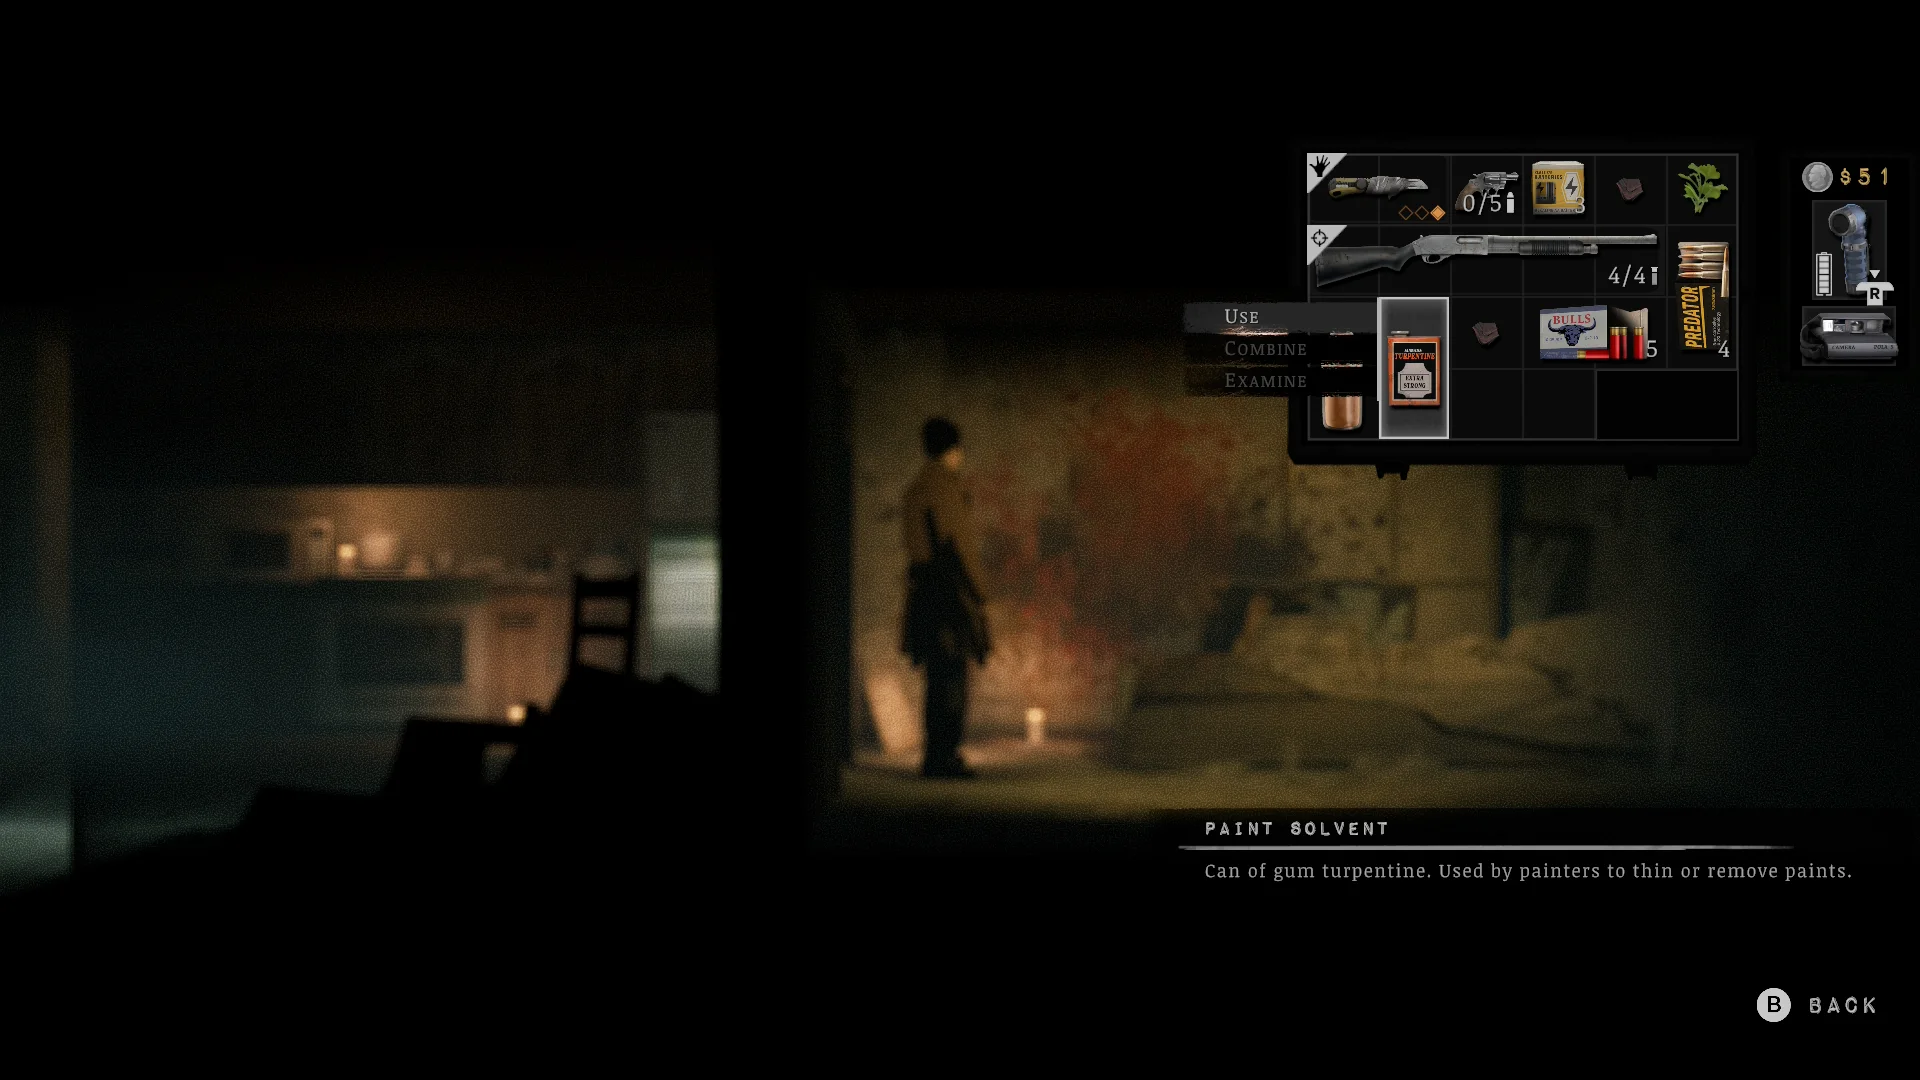

- Combine the Bottle of Alcohol with the Dried-up Paint Solvent to make a working solvent.
- Clean the paint off the wall in 1C. The number underneath opens the basement lockbox.
How to get into apartment 4B
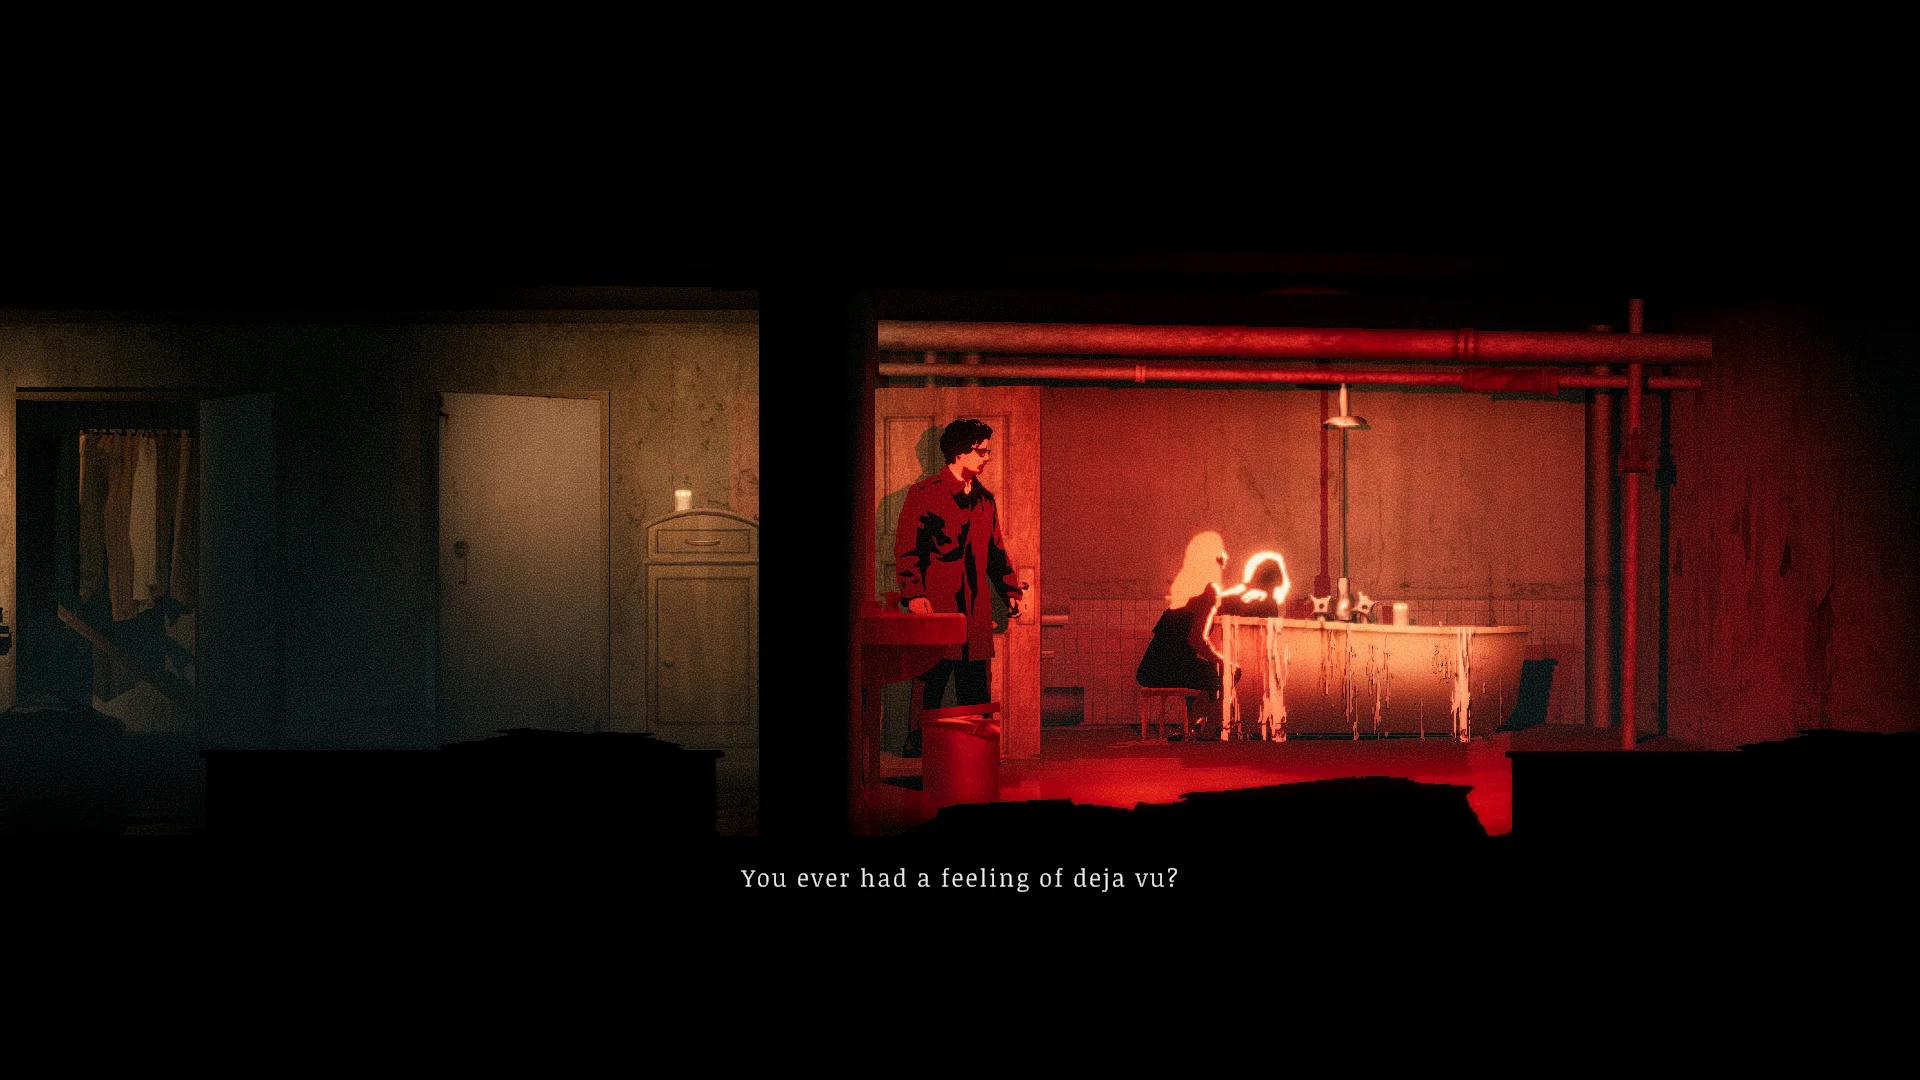
Ride the elevator to the roof for the Apartment 4B Key. Inside, a bathtub dream ends with you feeding a dead bird to the thing in the hole, and it pays you with Cable Station Bell D.
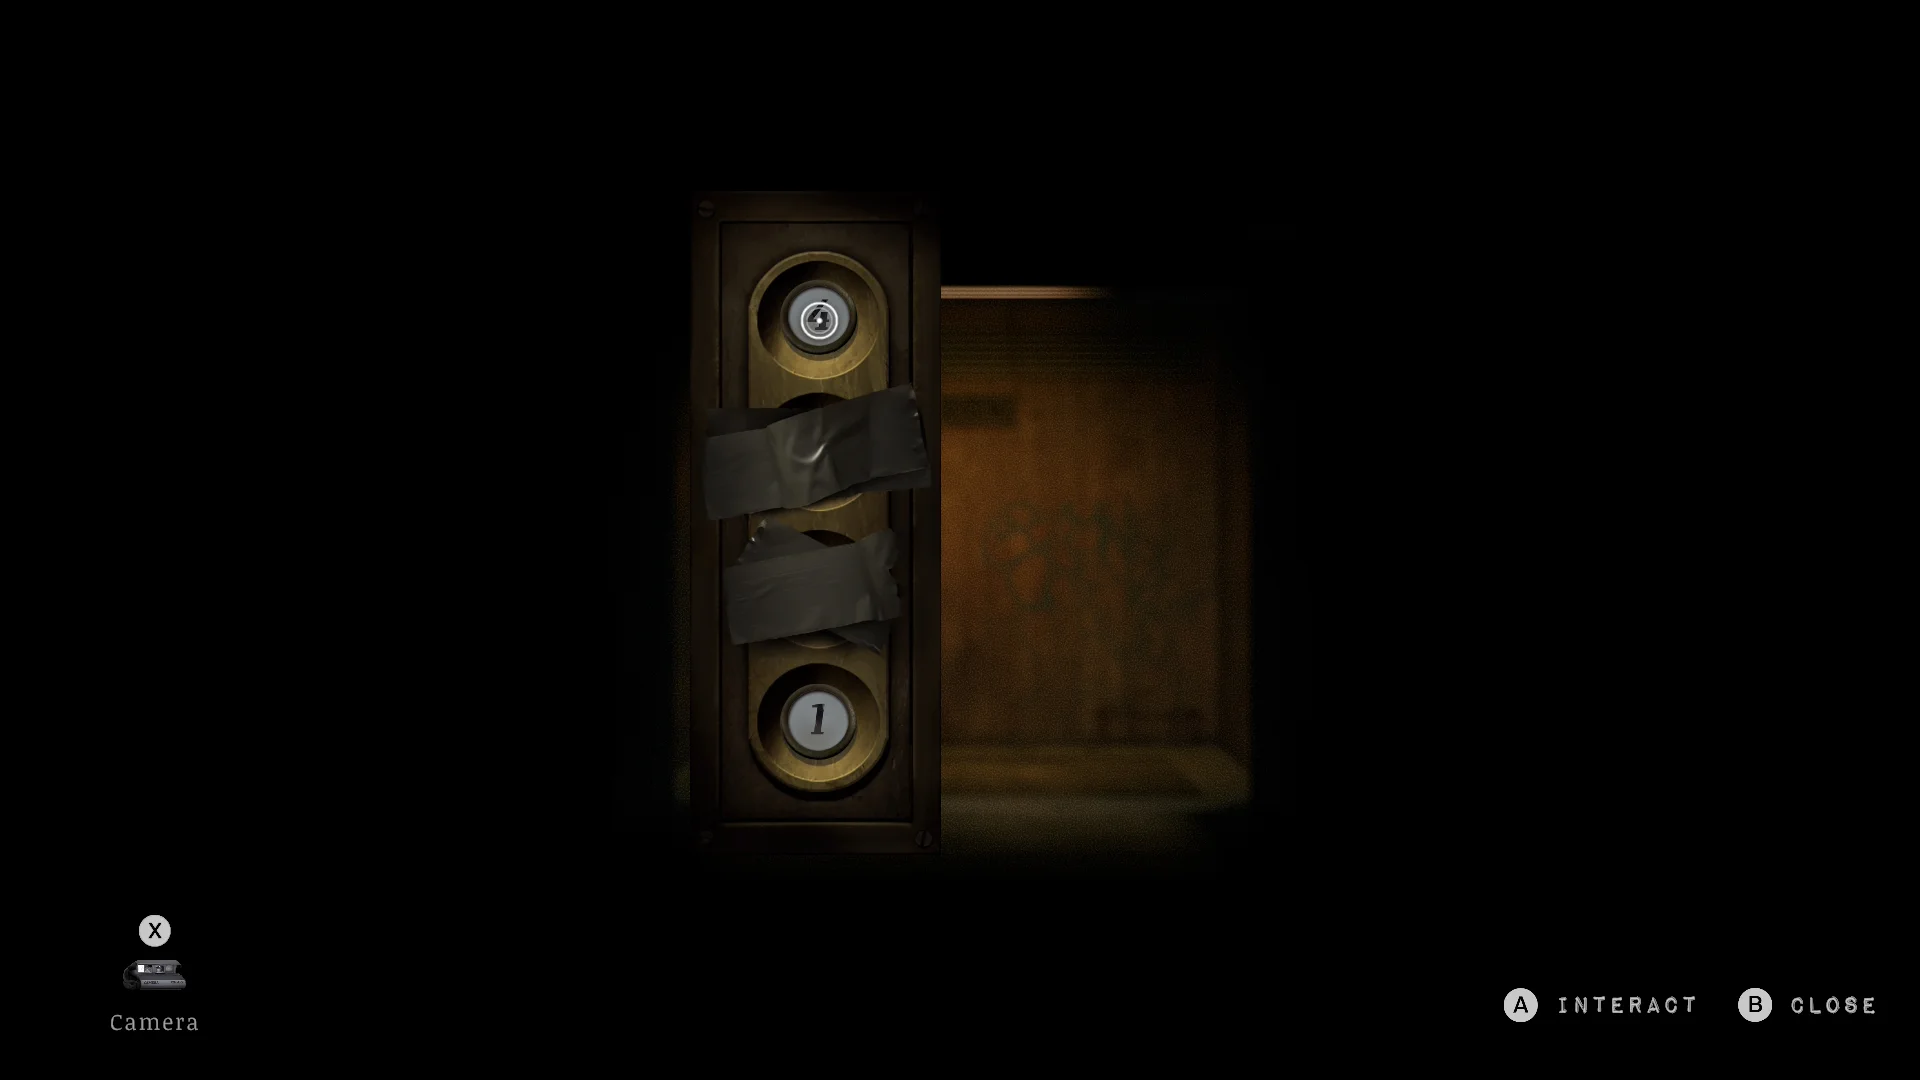
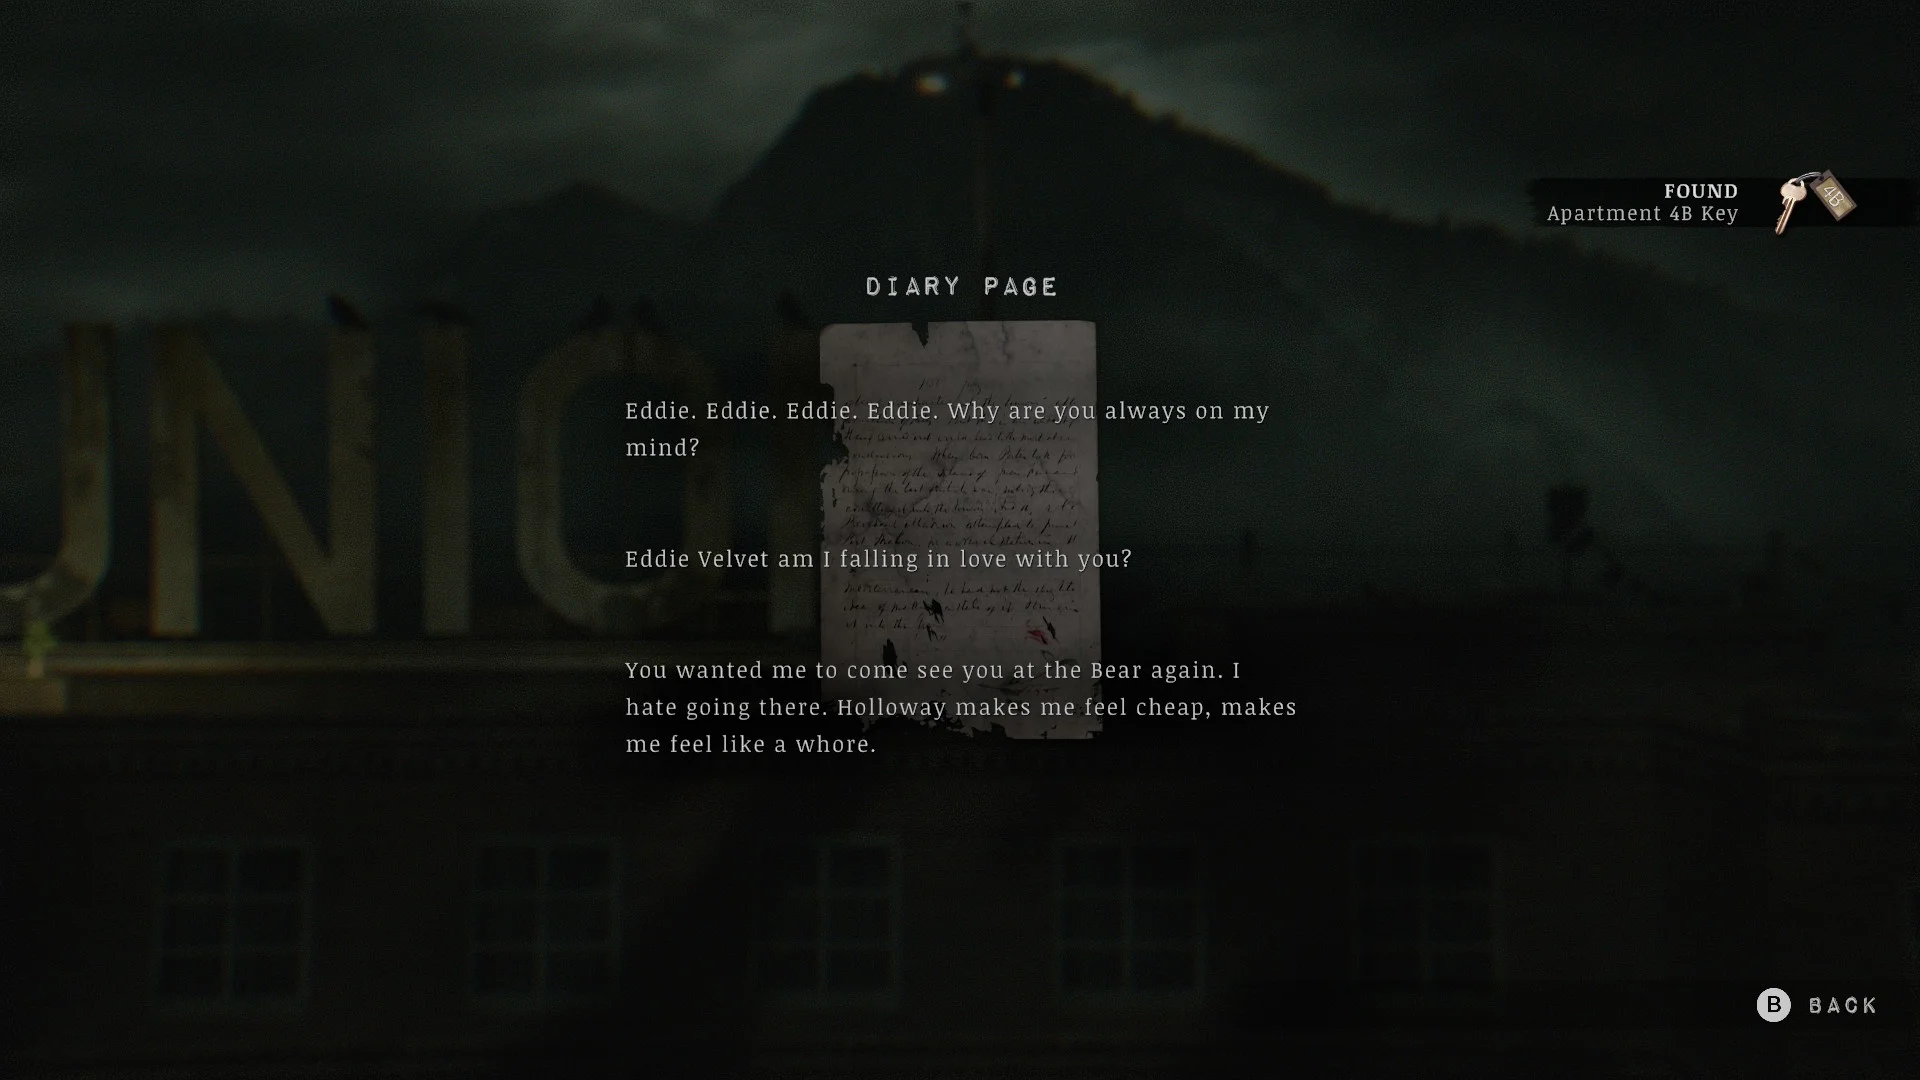
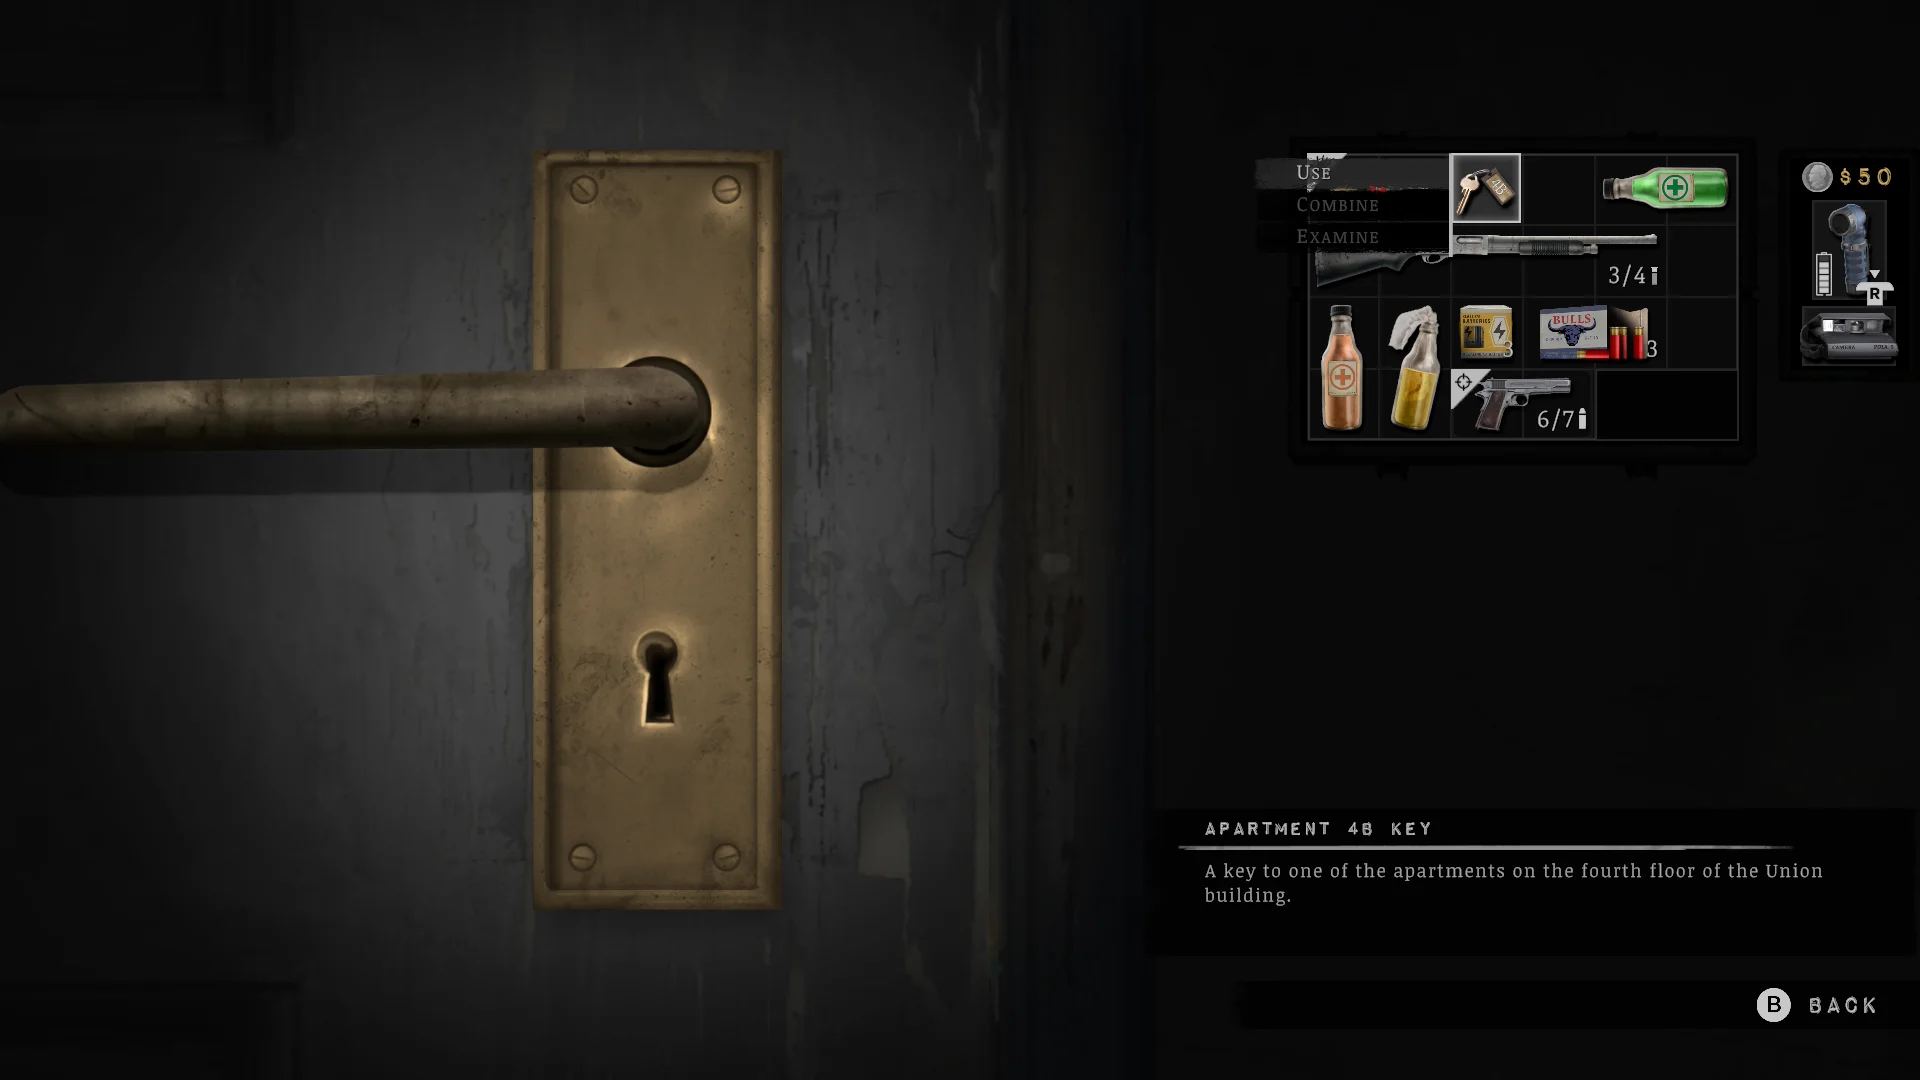
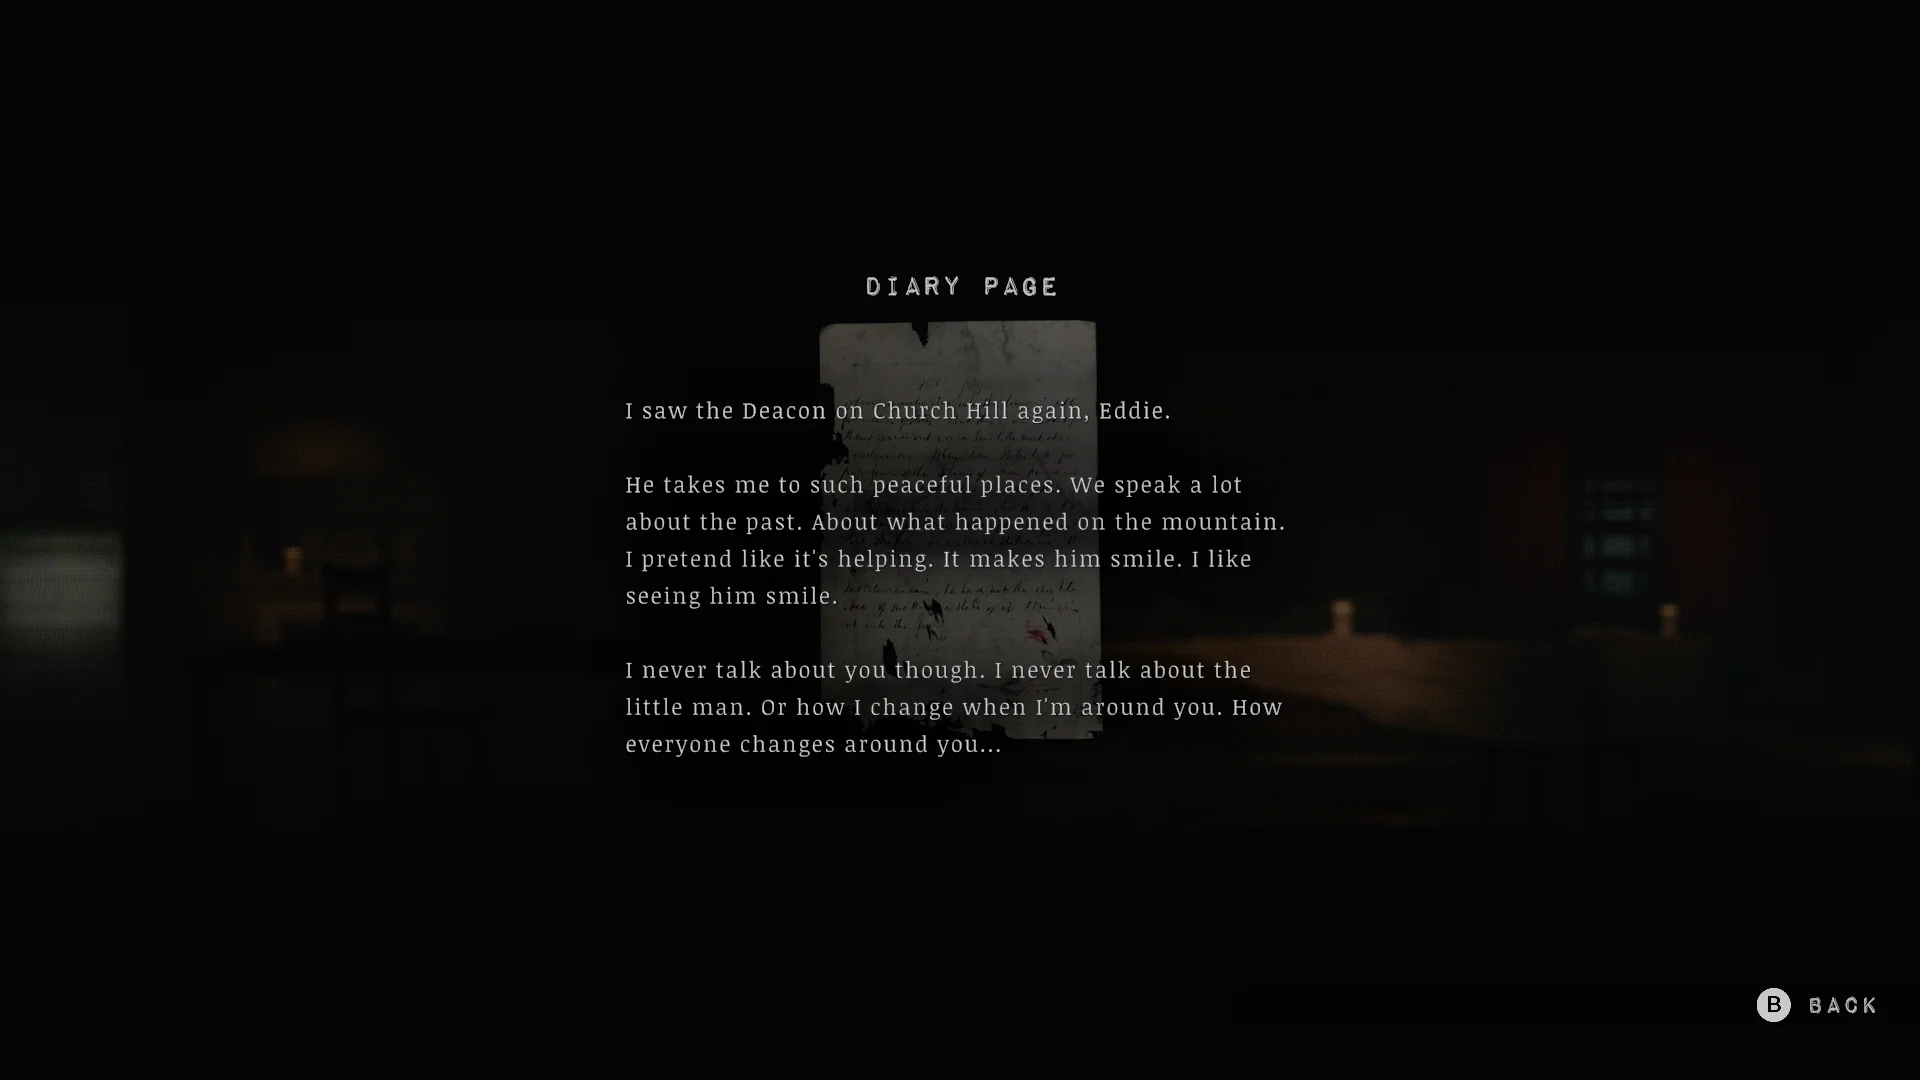


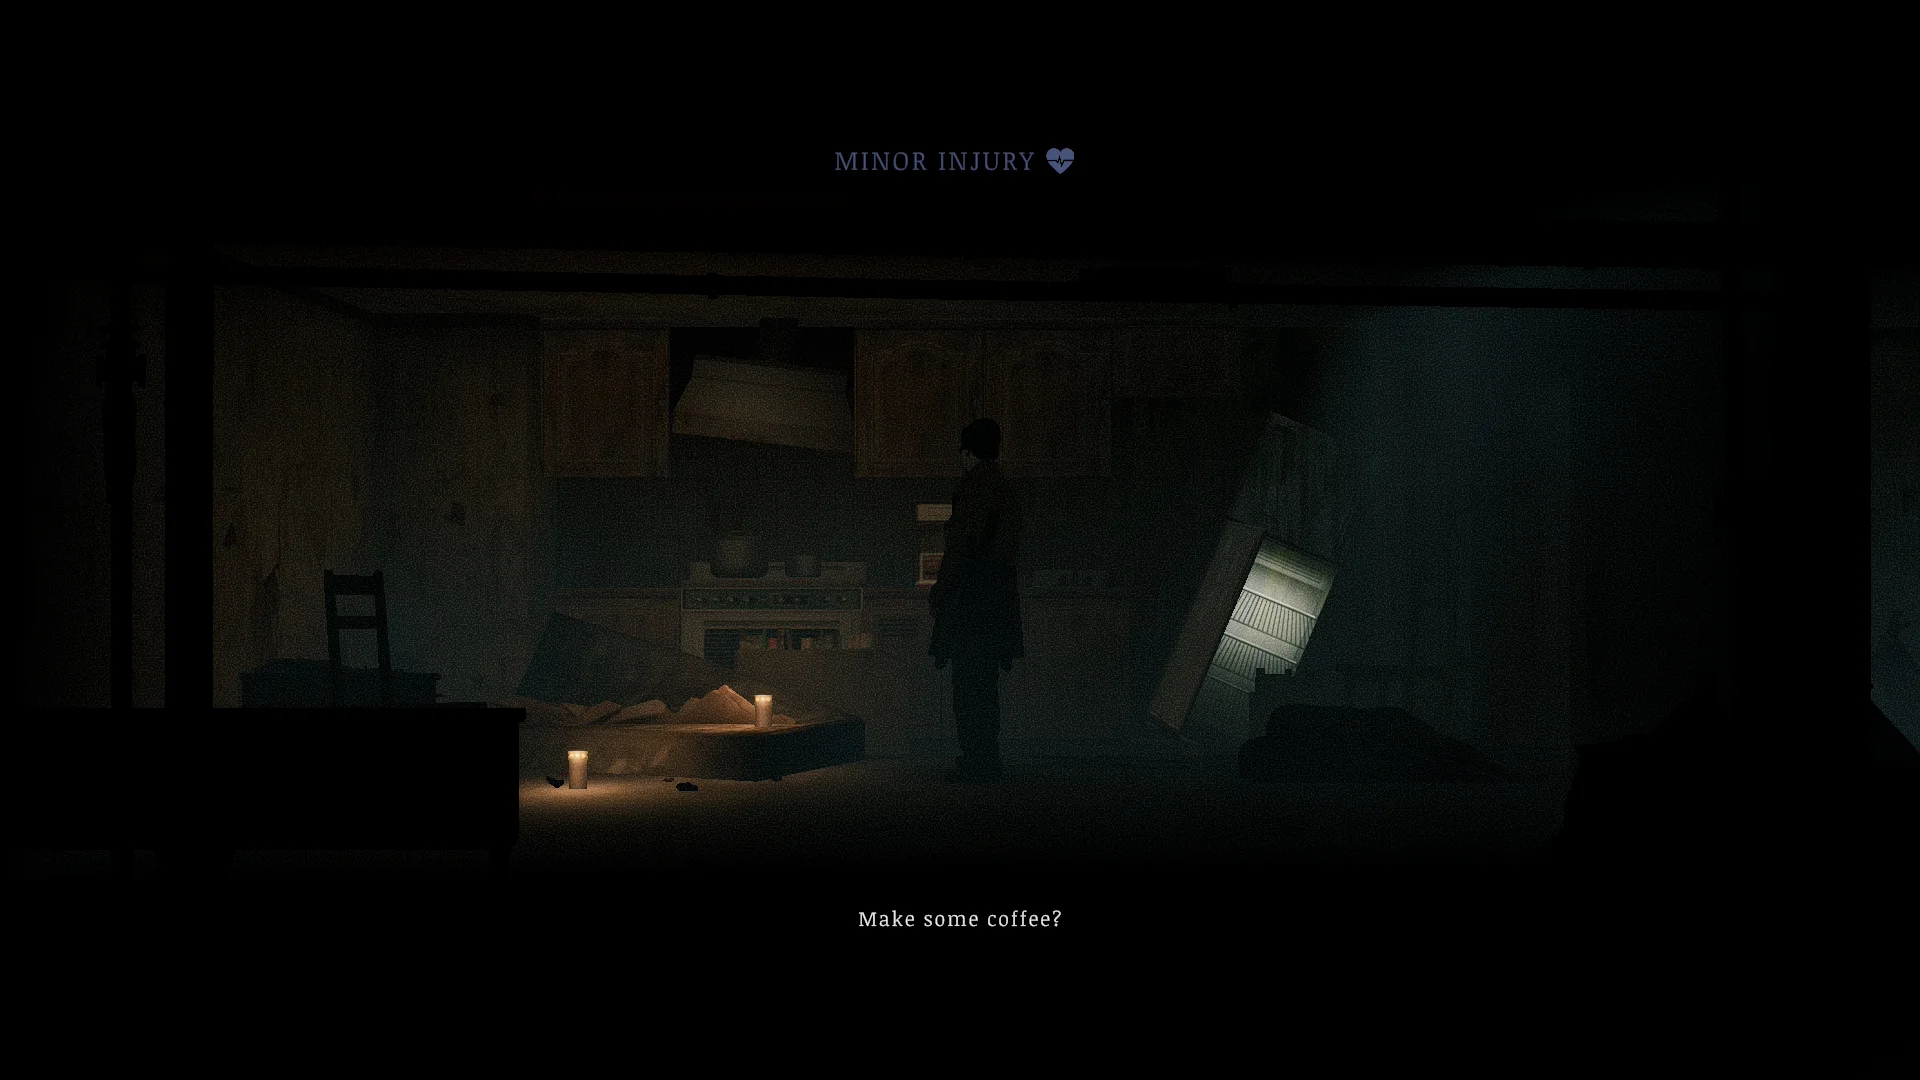
- Fit the Floor 4 Button in the elevator and ride up to the roof. The Apartment 4B Key lies next to a diary page.
- Open 4B and read the diary page. Climb into the bathtub to start a dream sequence.
- The thing in the hole “hungers”. Pick up the dead bird nearby and feed it, and it pays you back with Cable Station Bell D.
- The building also has a coffee machine inside one of the rooms! So don’t leave before you drink it.
Loomis Park and the Town Hall
How to get into Loomis Park
Pry the boards off the park gate with your crowbar.


- Walk up to the boarded gate and use the crowbar.
How to solve the Loomis Park statue puzzle
The faceless statues want three masks back: the Blissful Mask from the Town Hall, a mask lying in the sewers, and a Malformed Mask you bake yourself. Once all three are on, the middle statue hands over Cable Station Bell F.
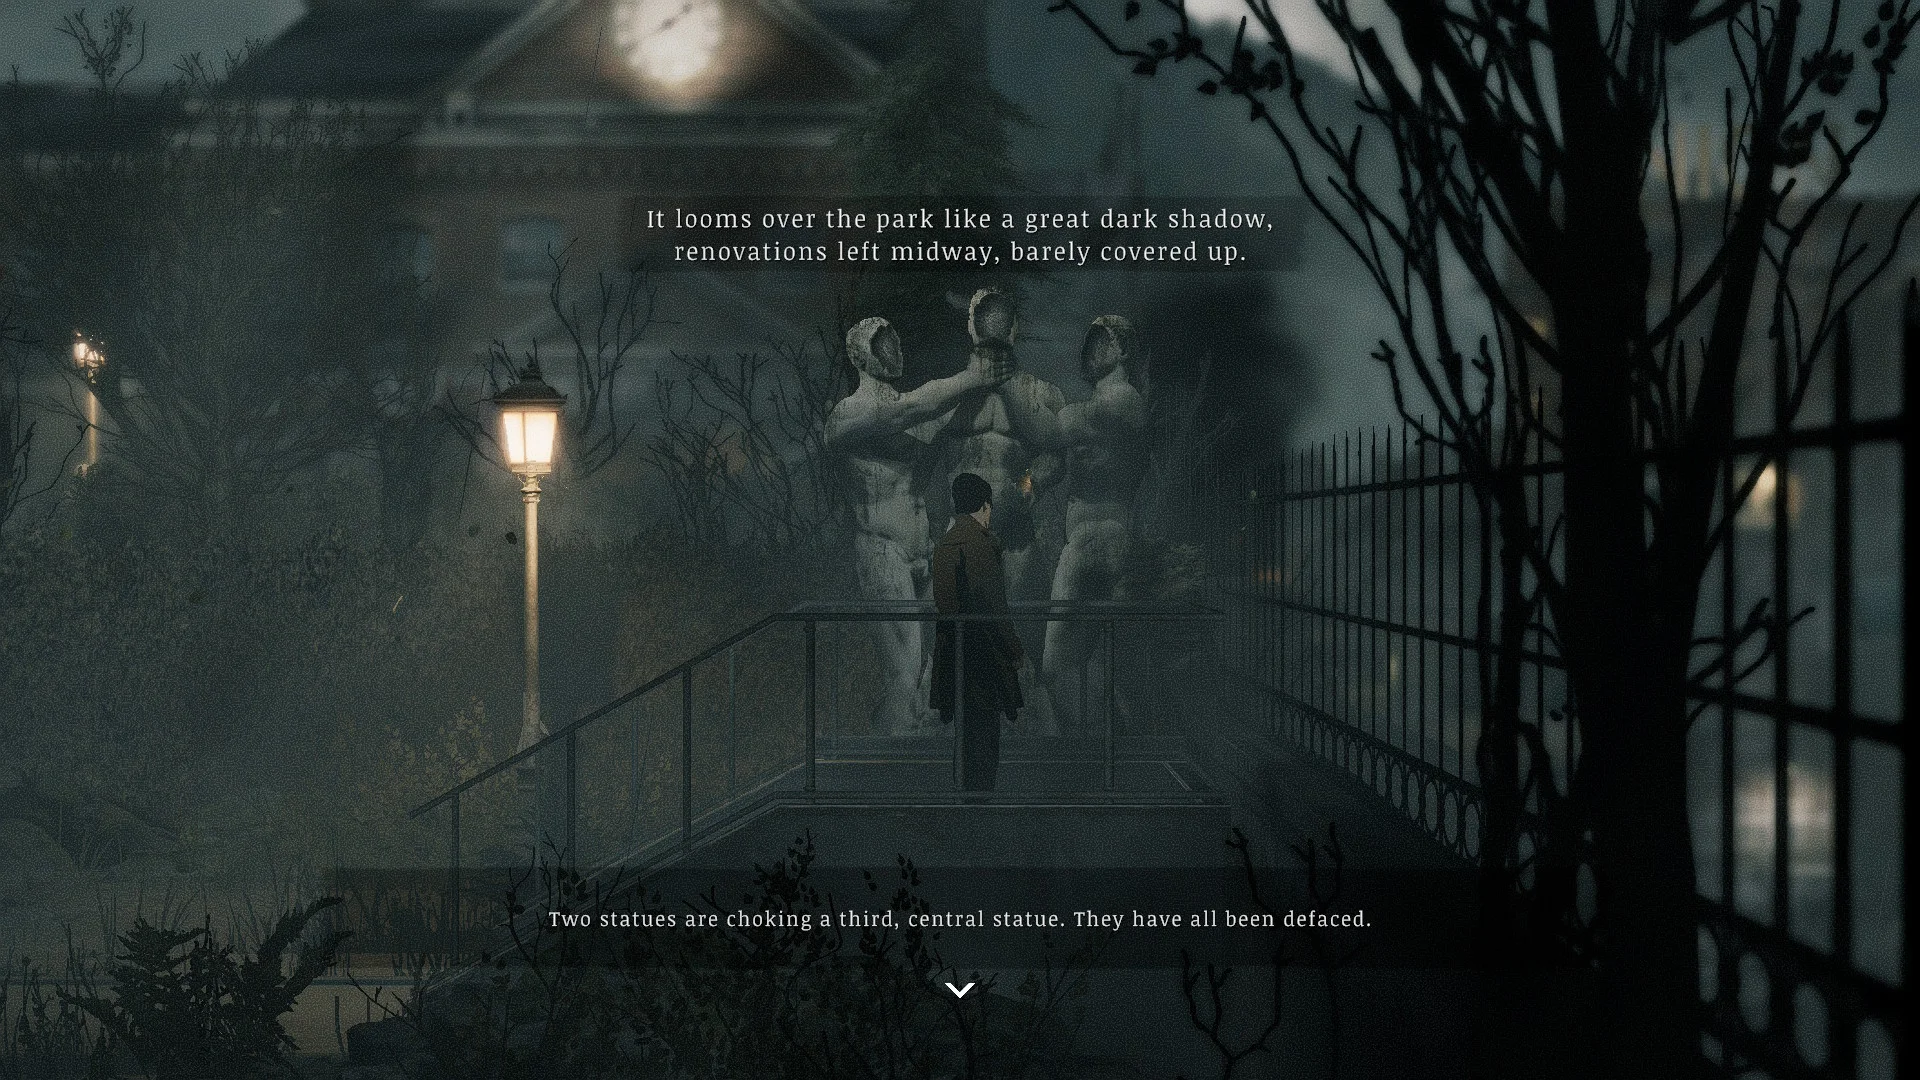
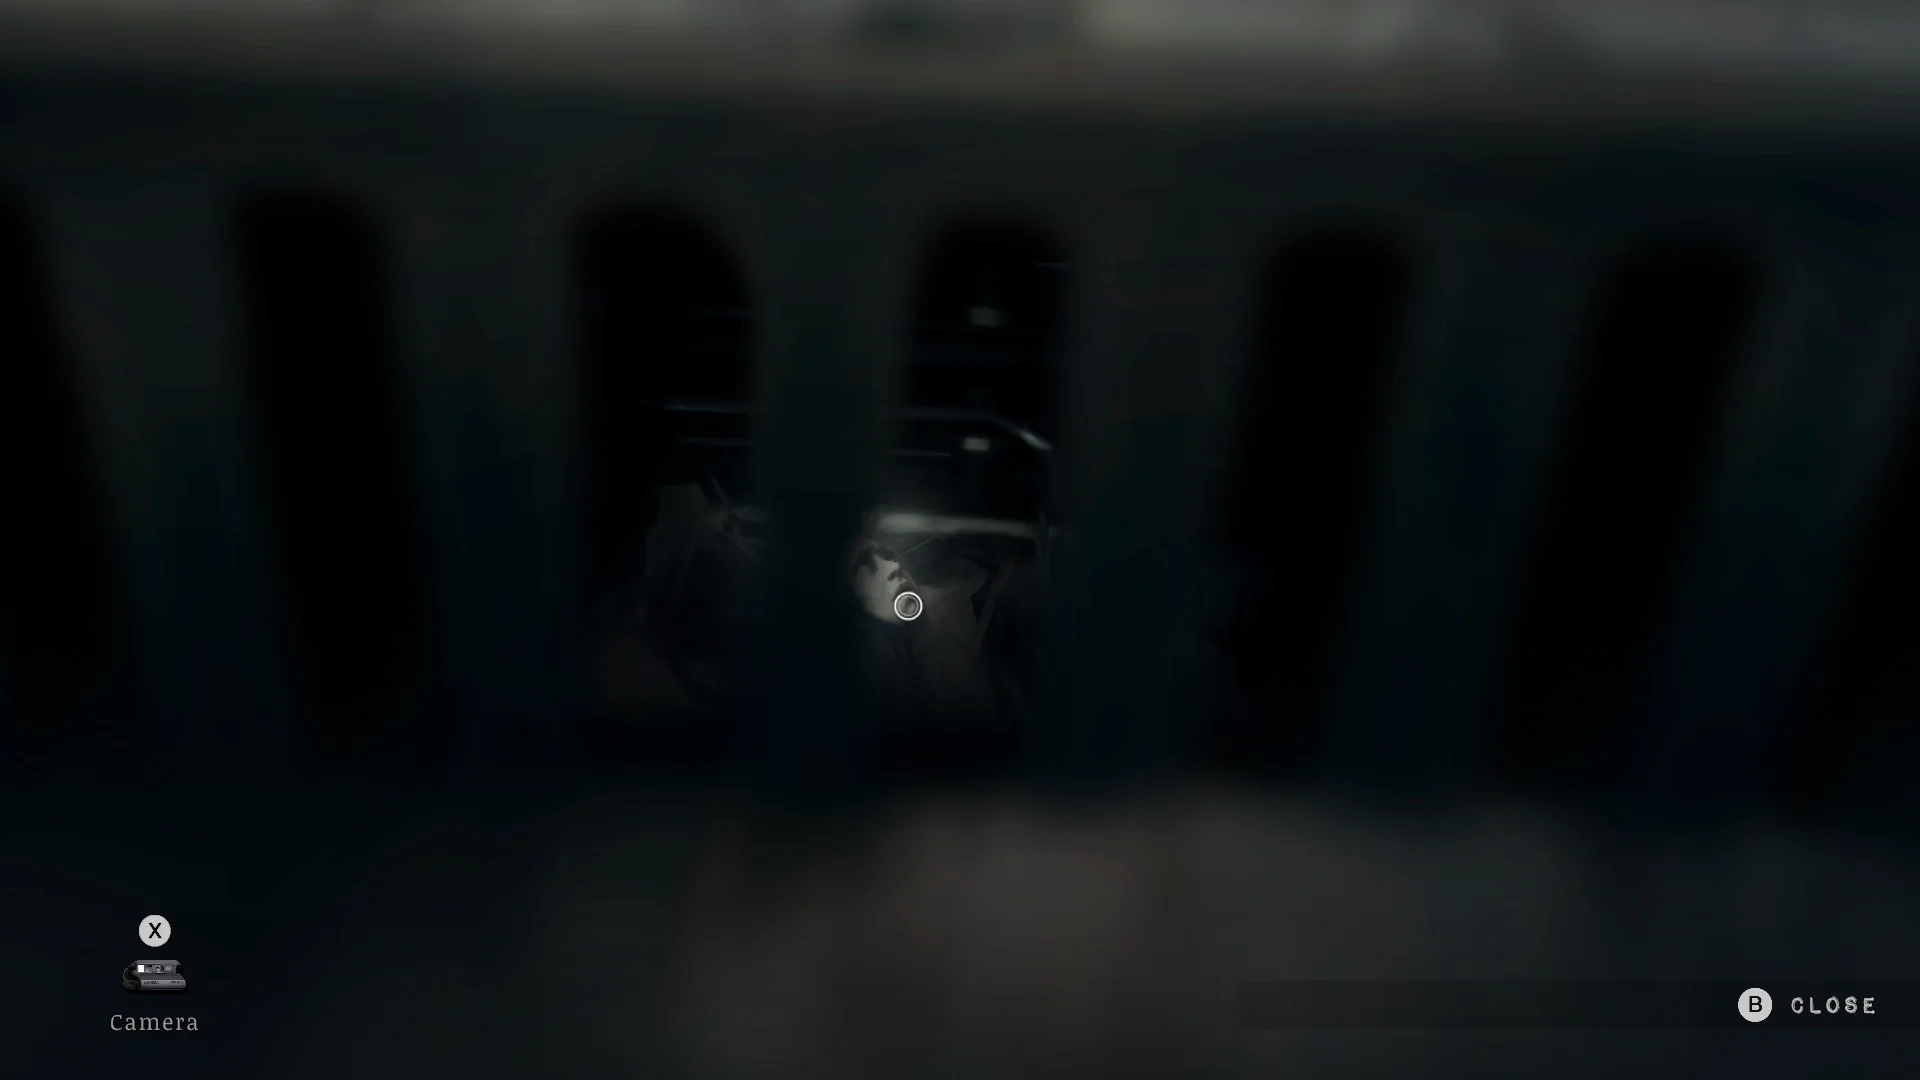


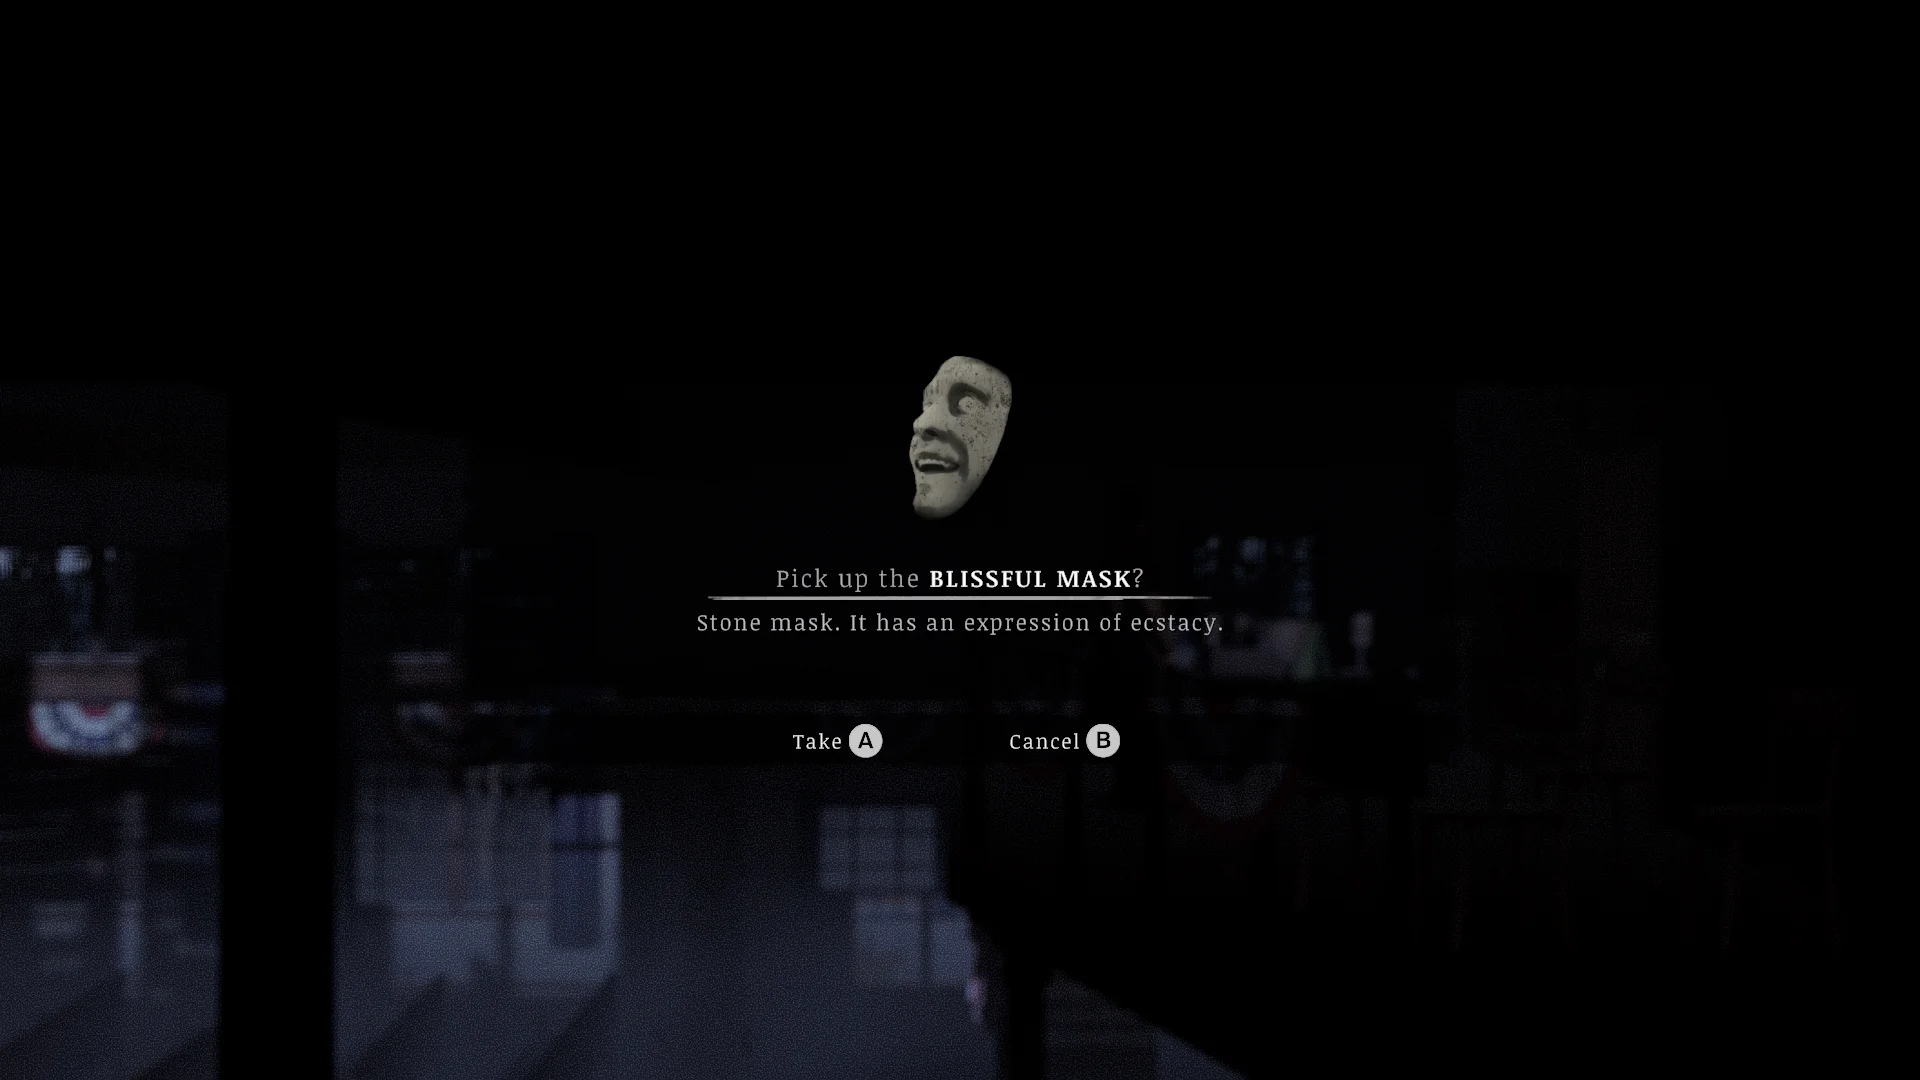

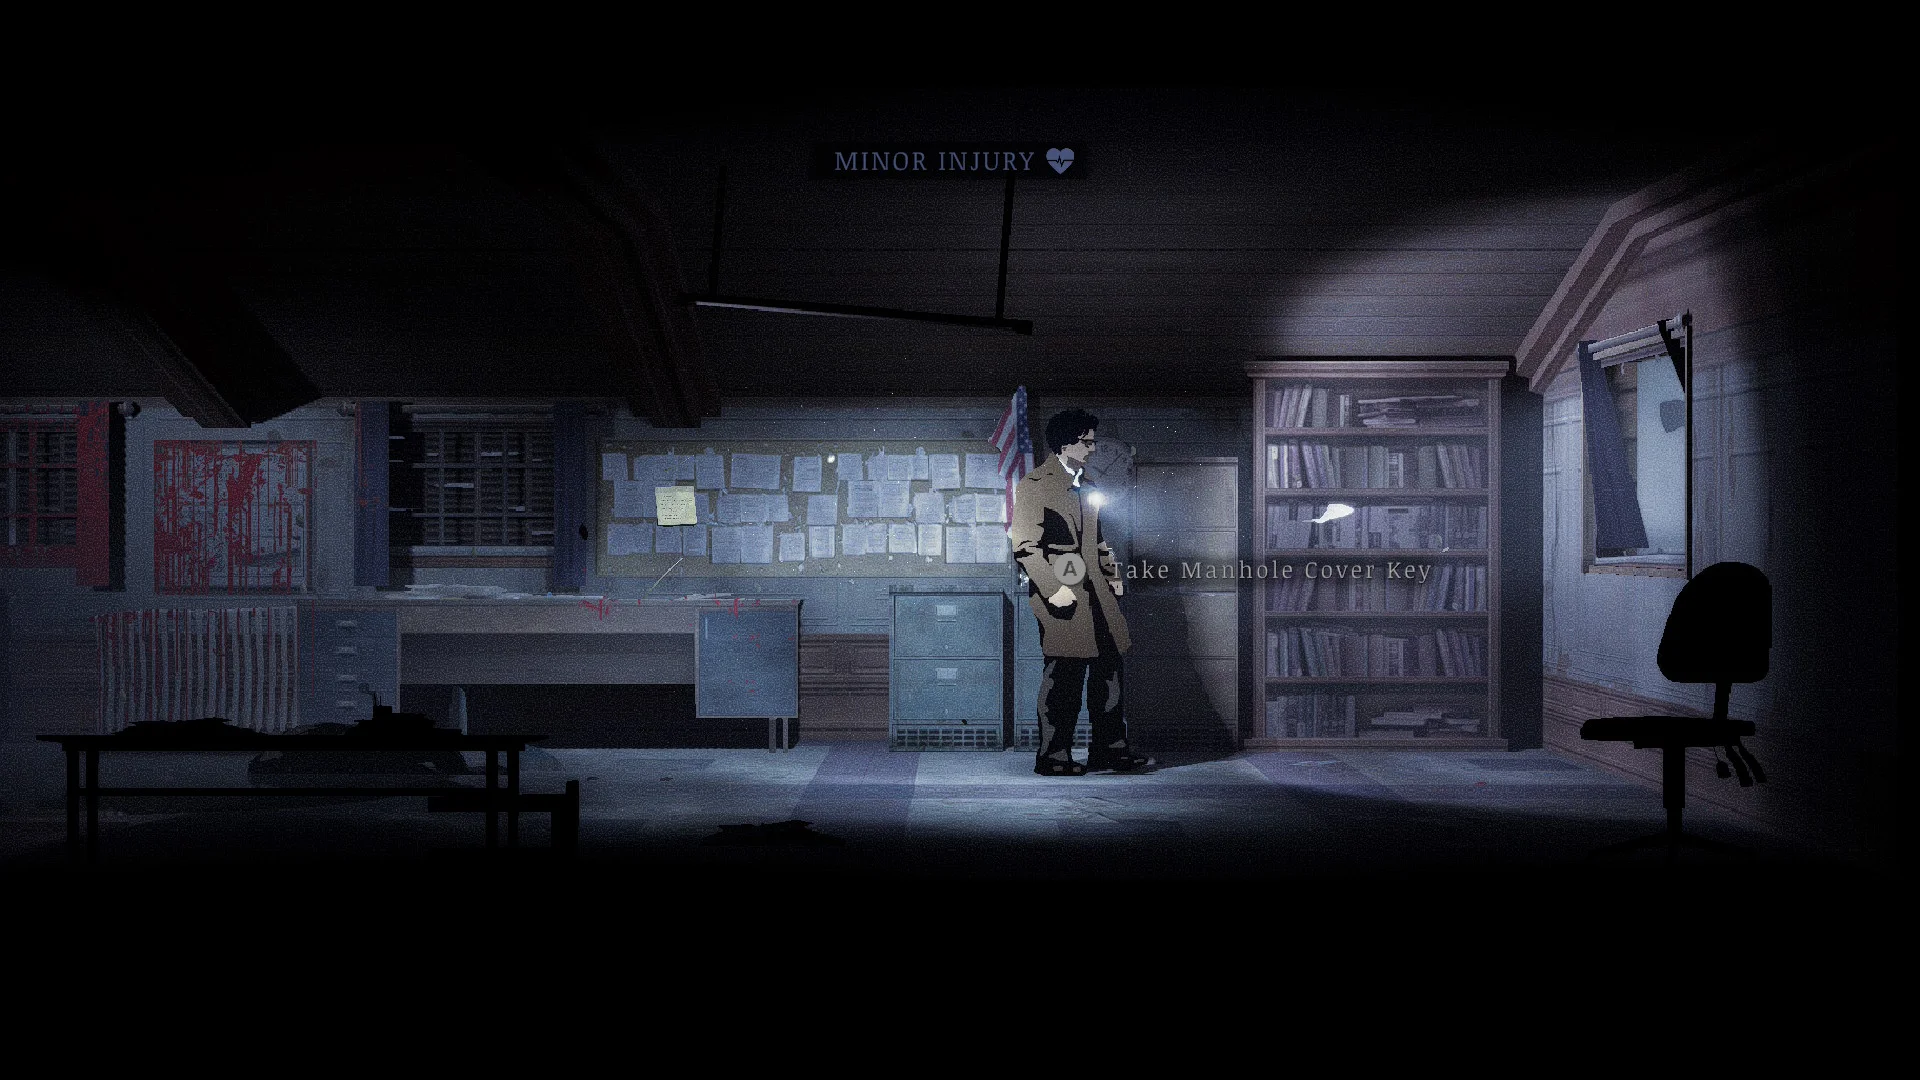
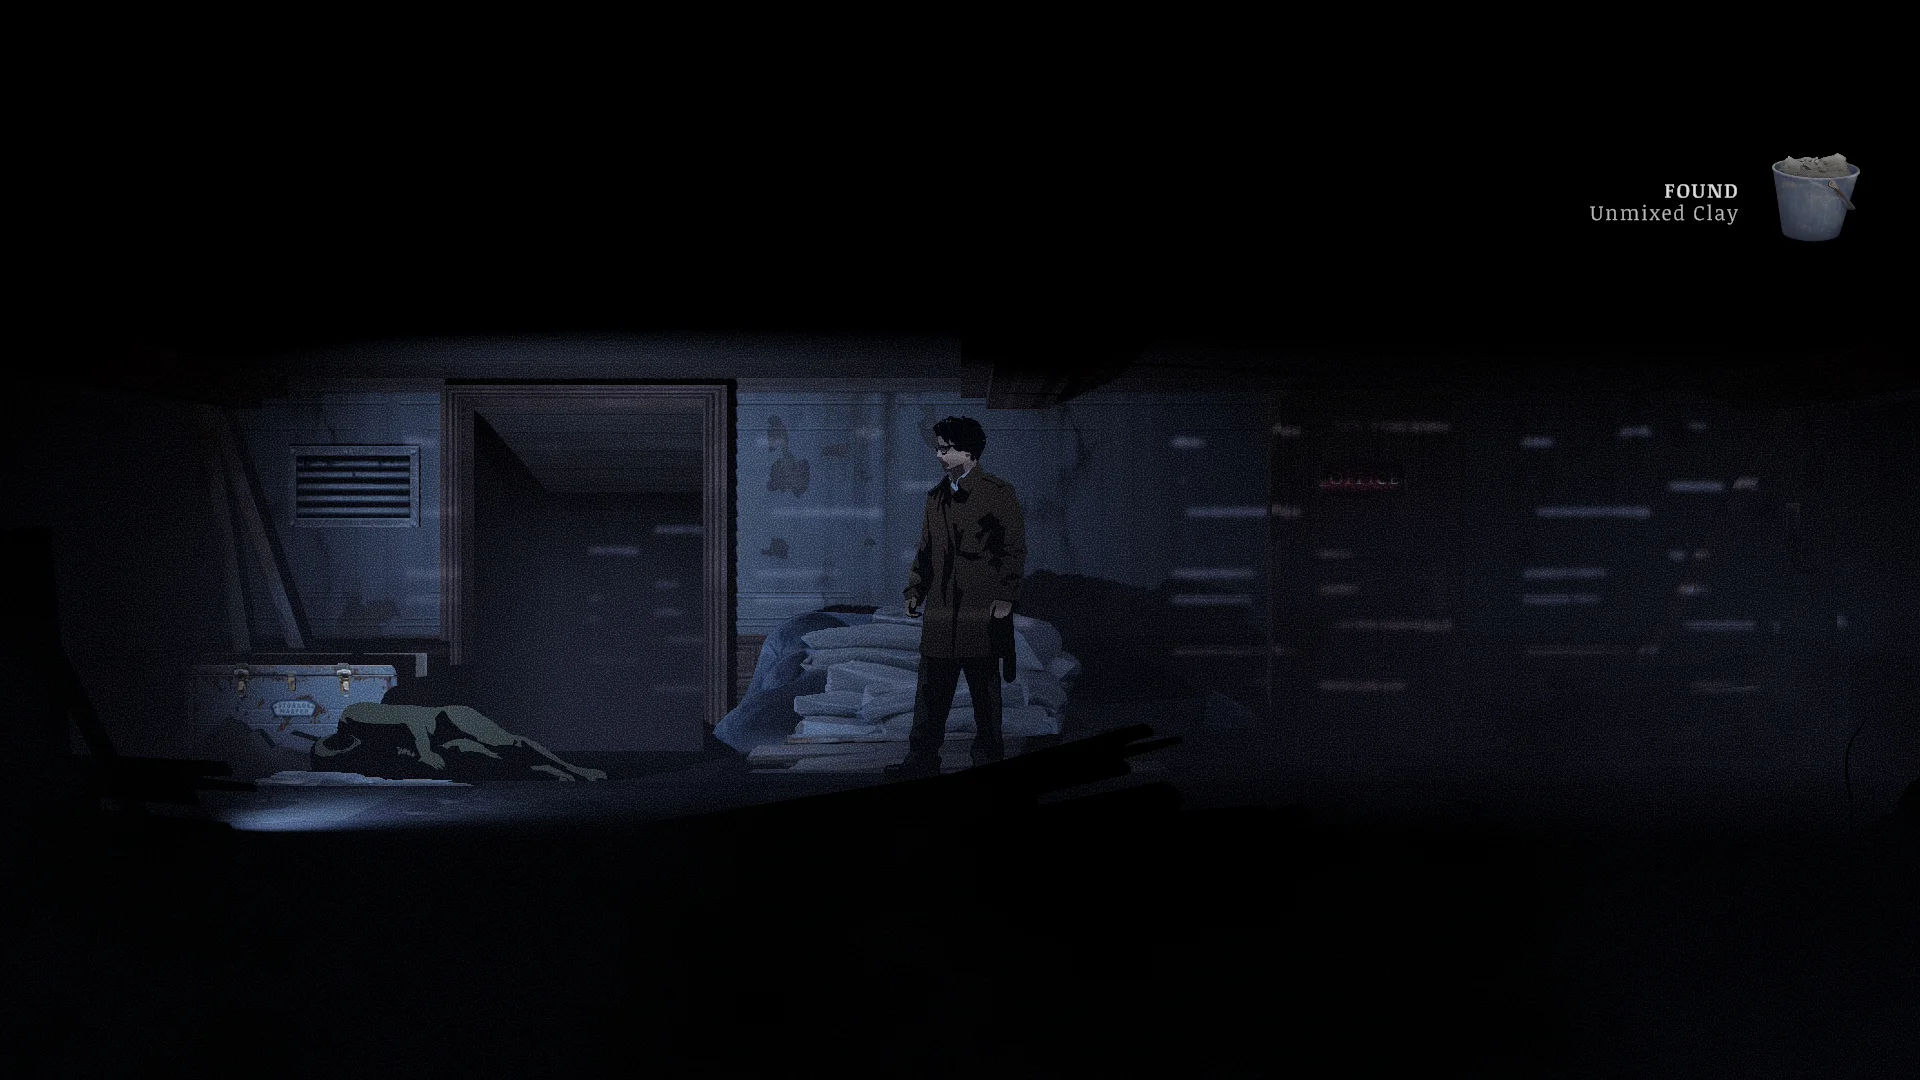
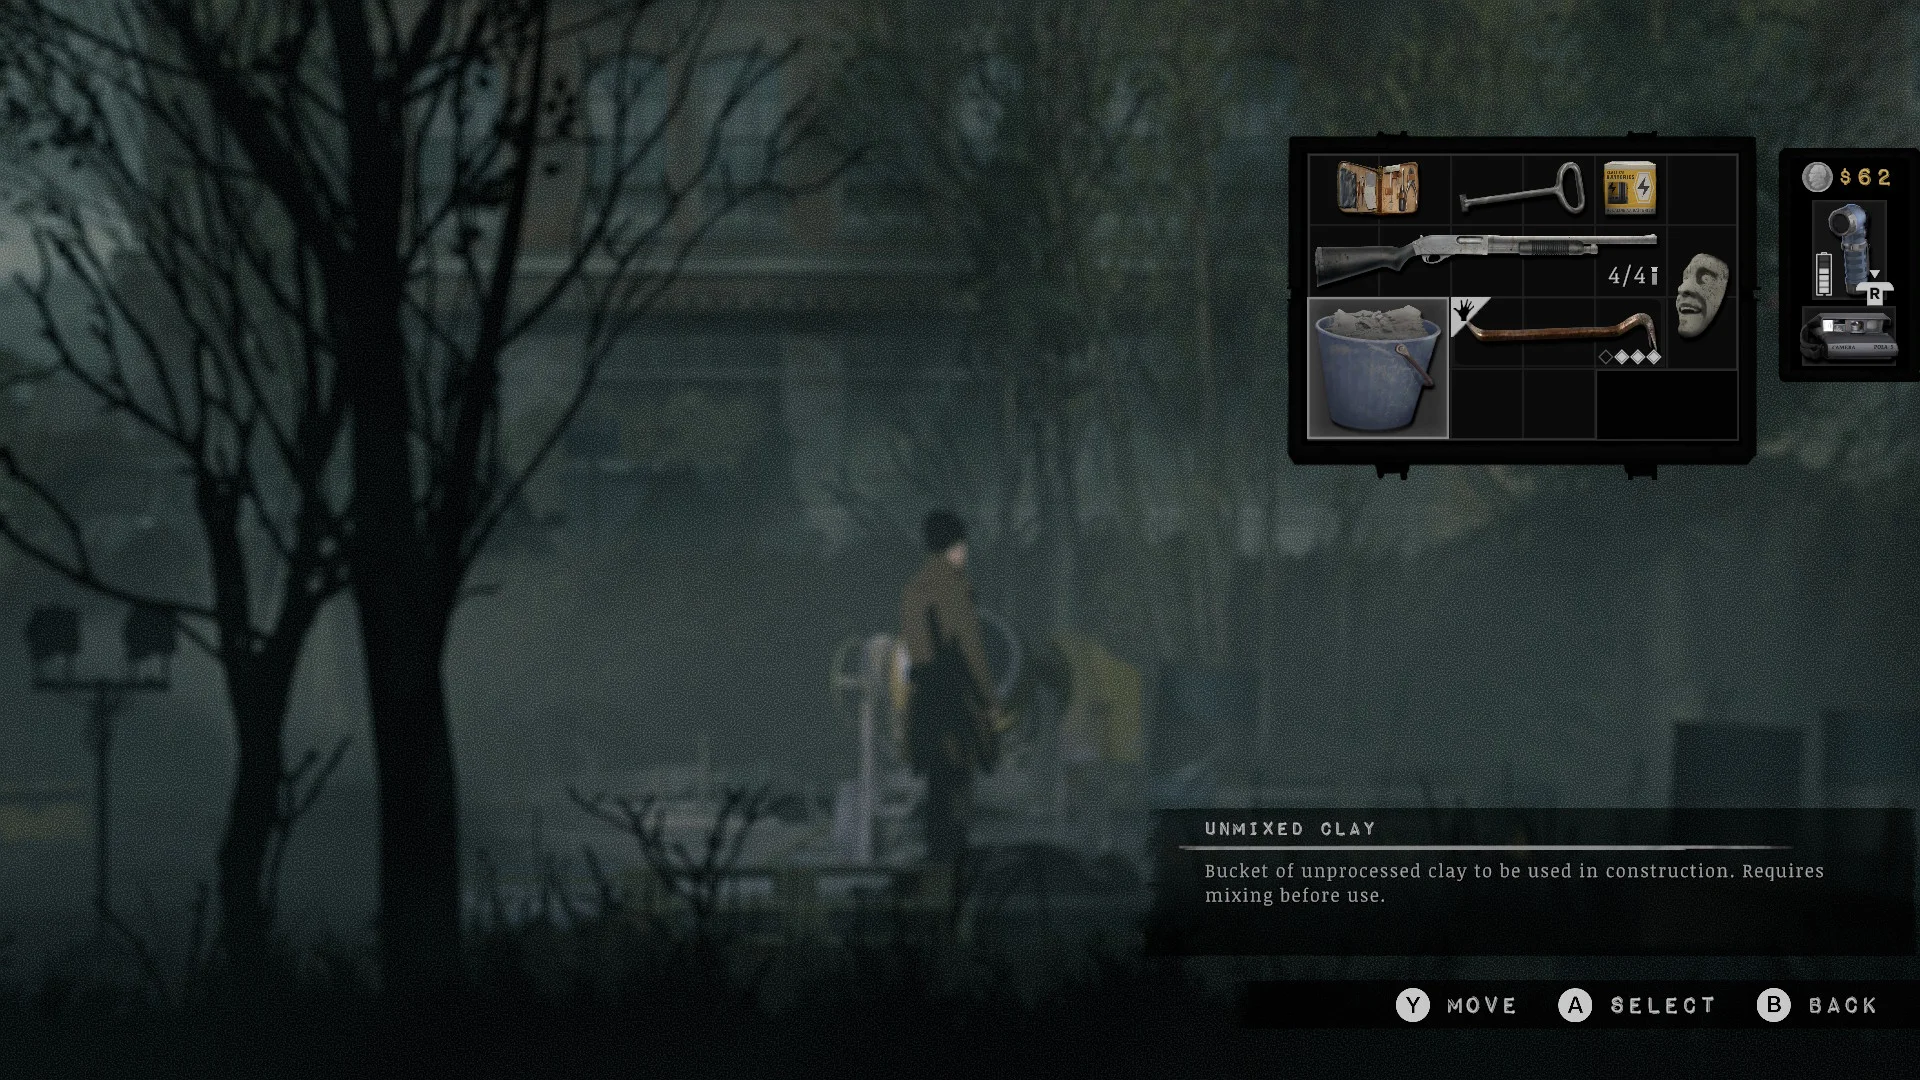
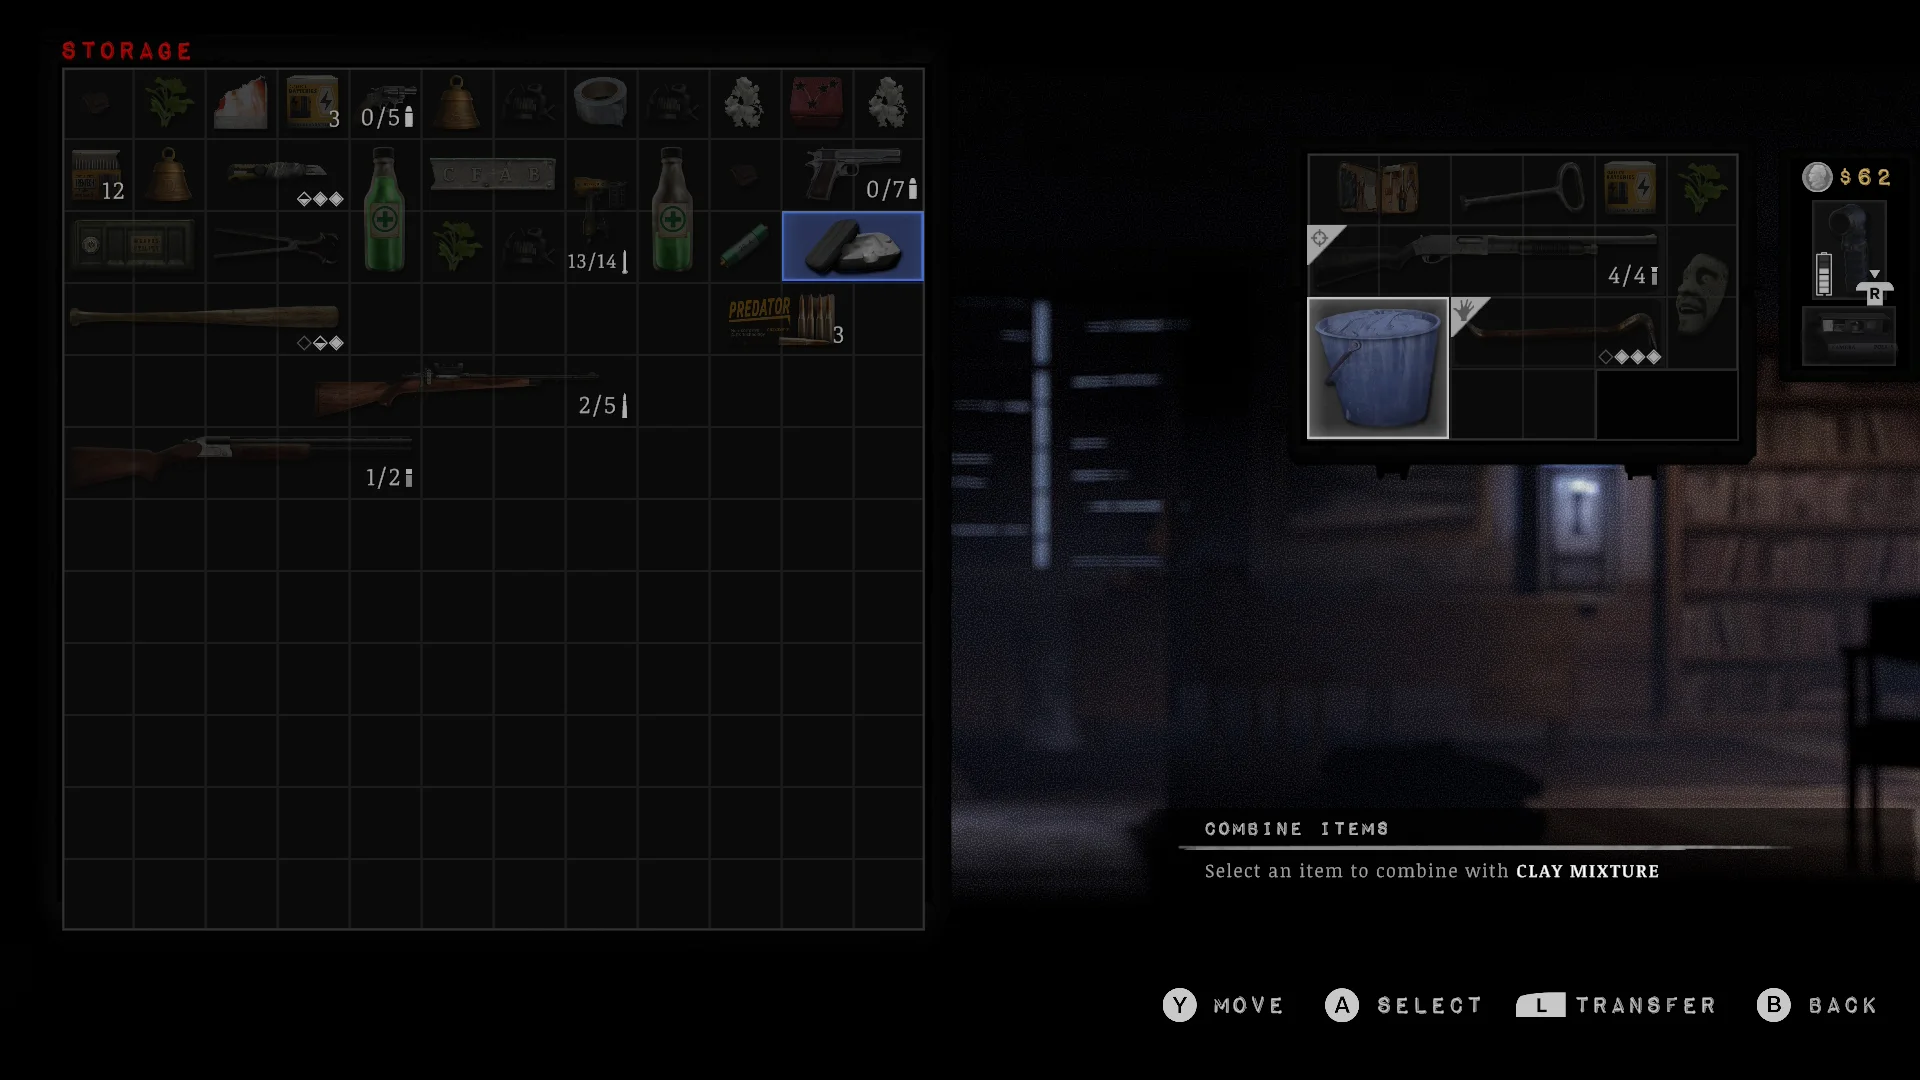

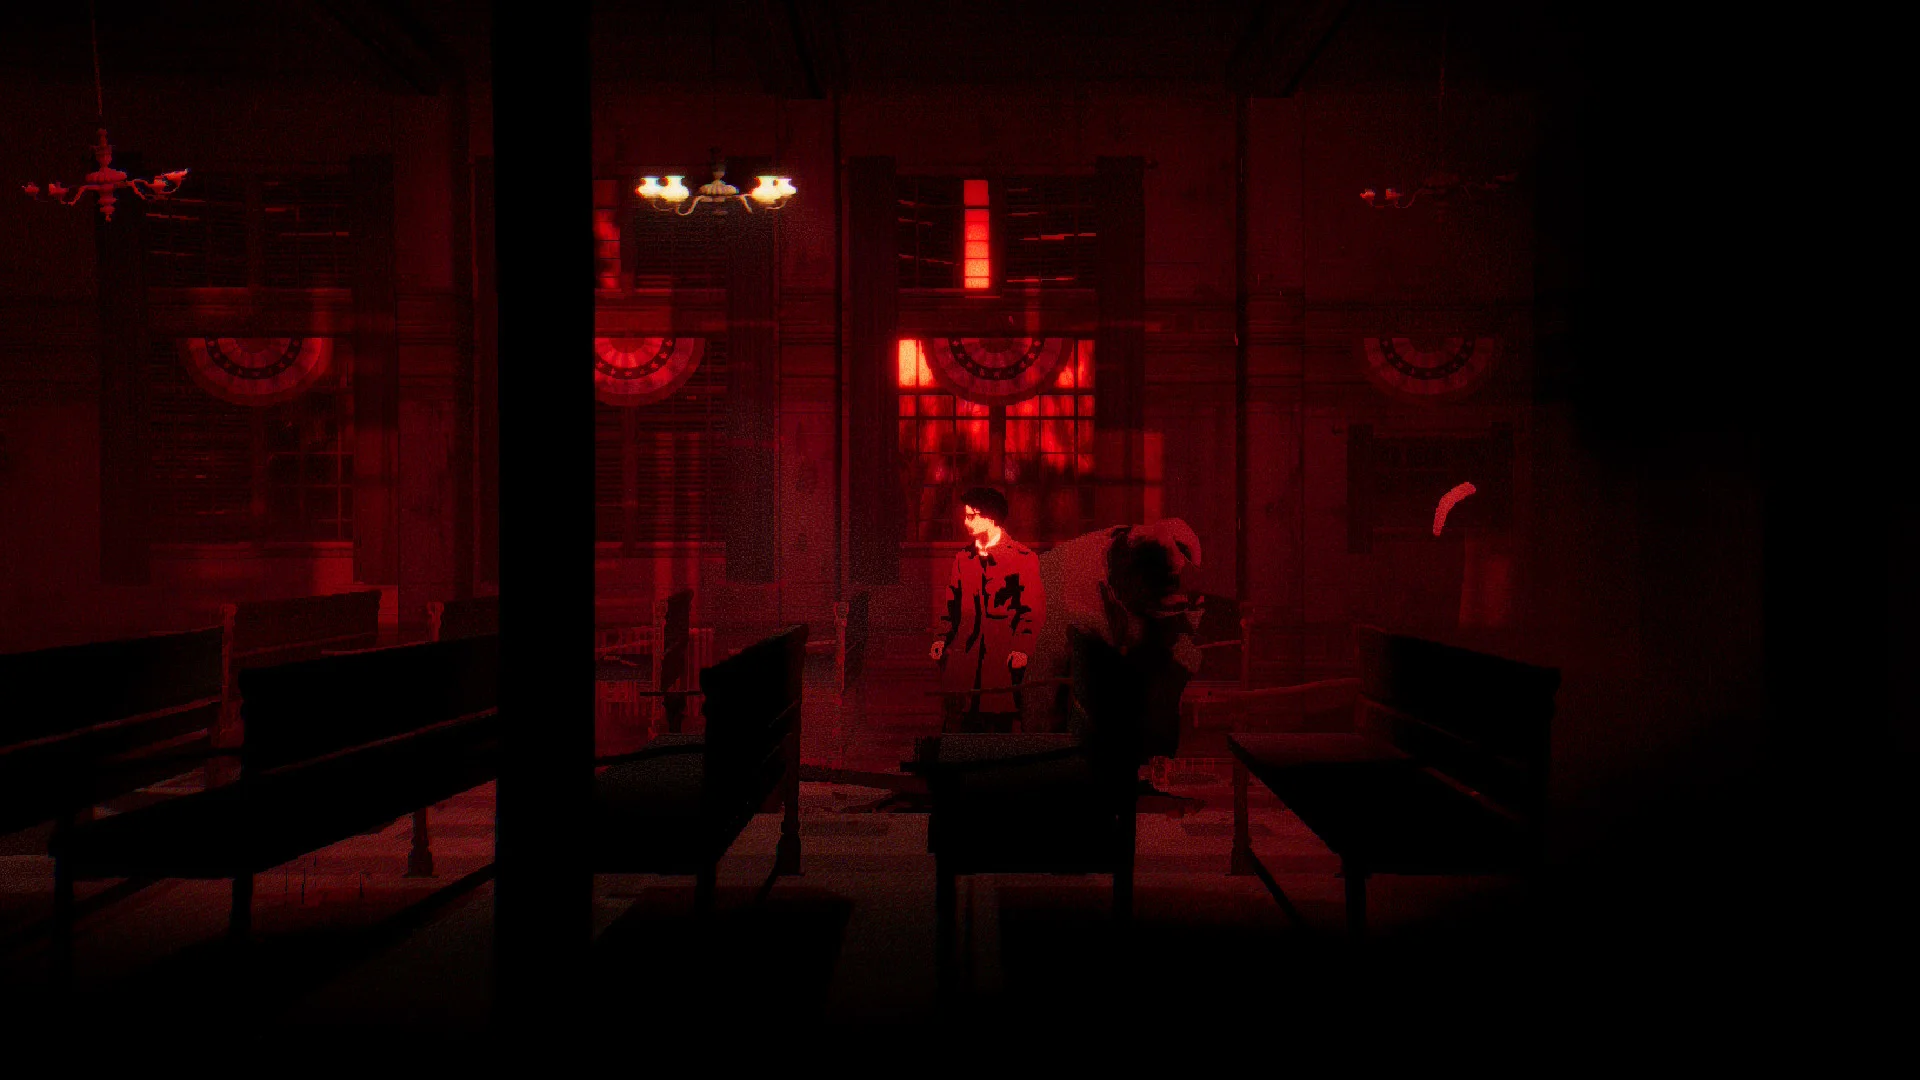
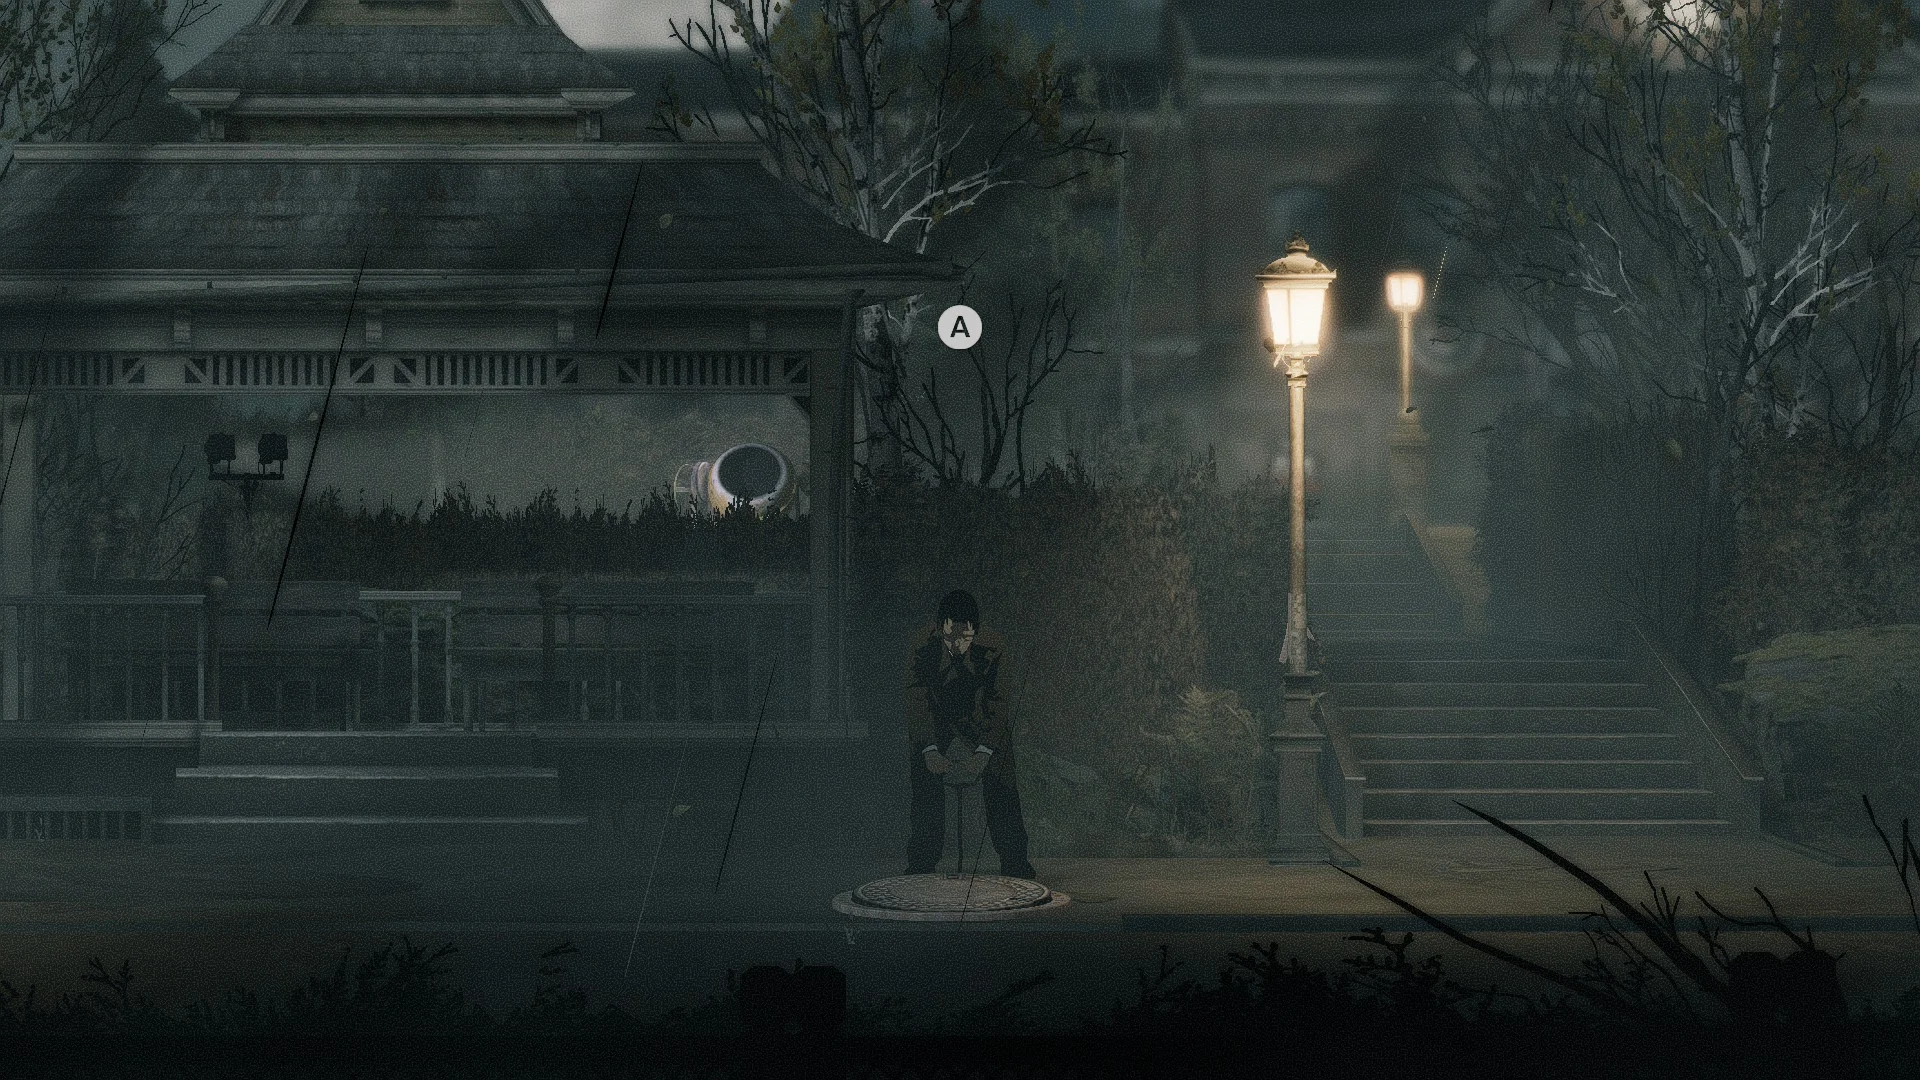
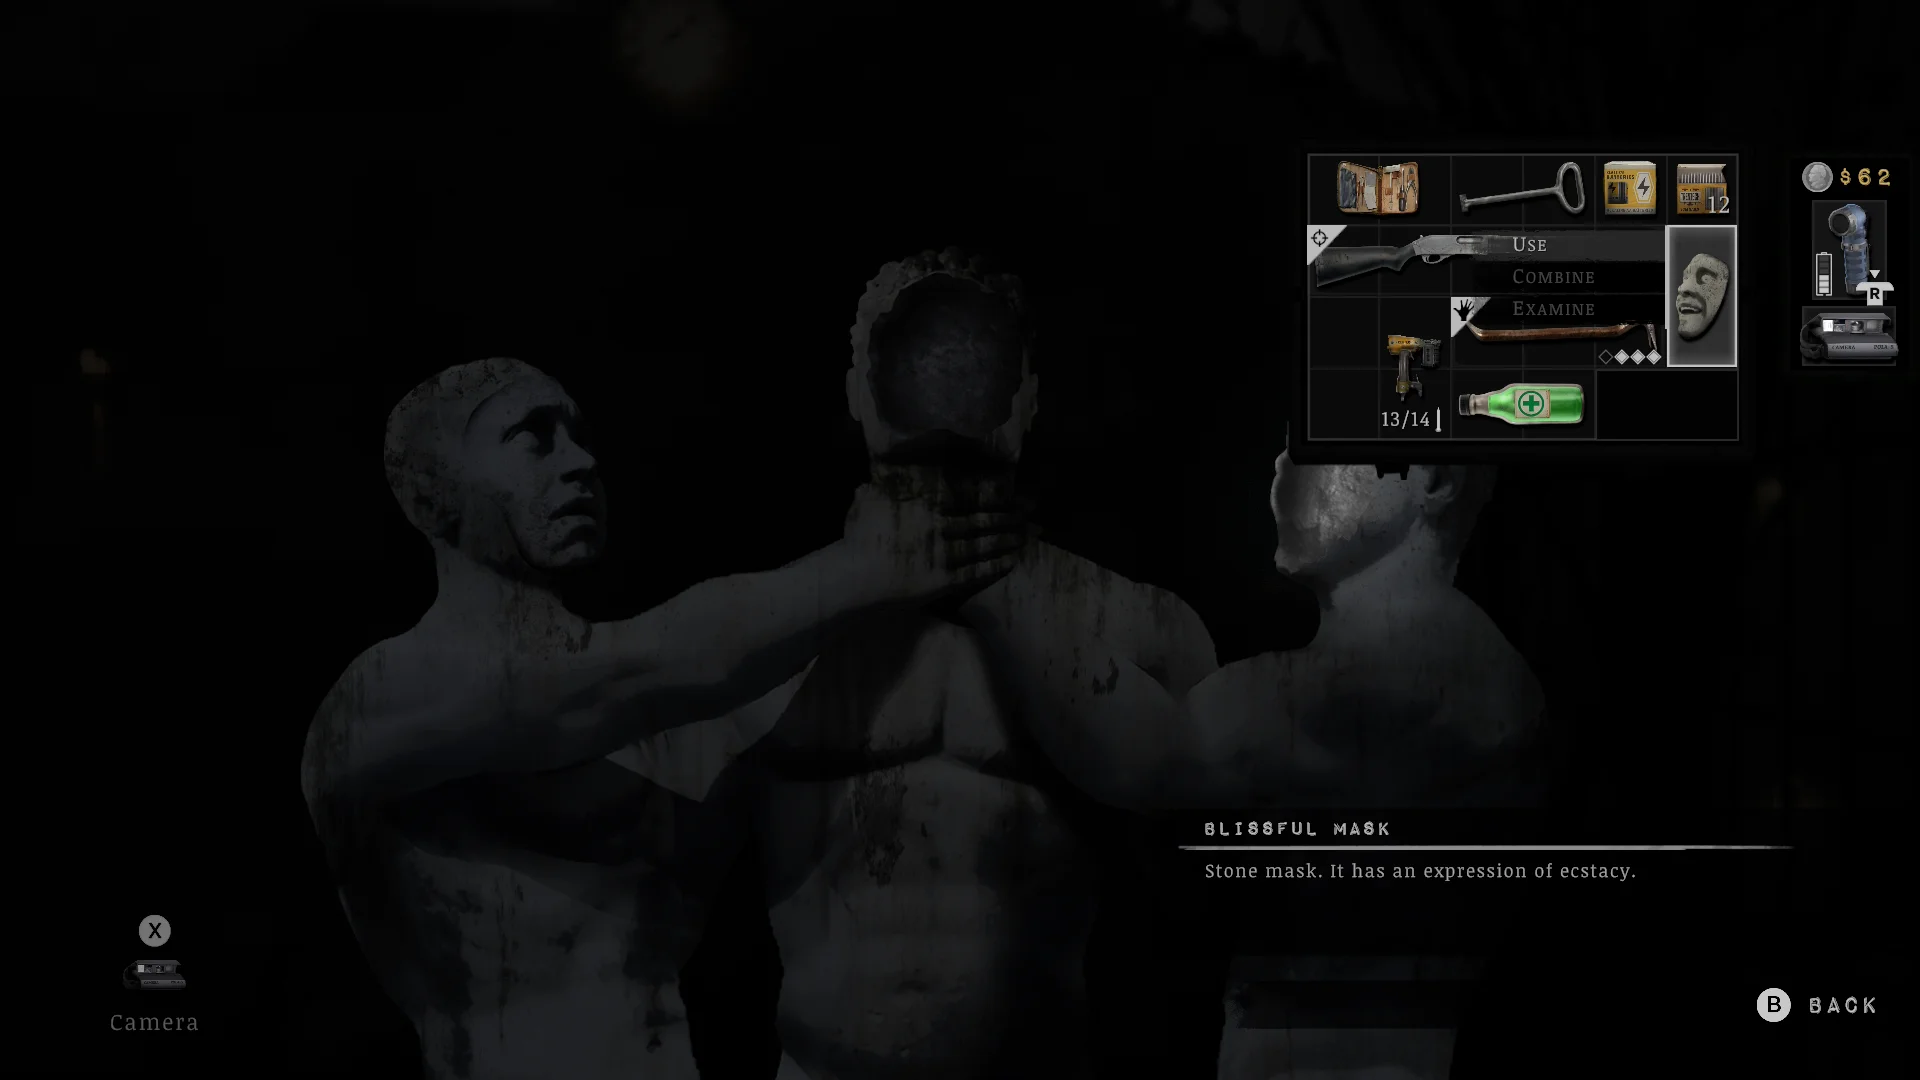


- Look at the statues on the right side of the park. Two of them are choking a third, and the middle one clutches a bell. Peek through the sewer grate nearby and you’ll see one of the masks down there already.
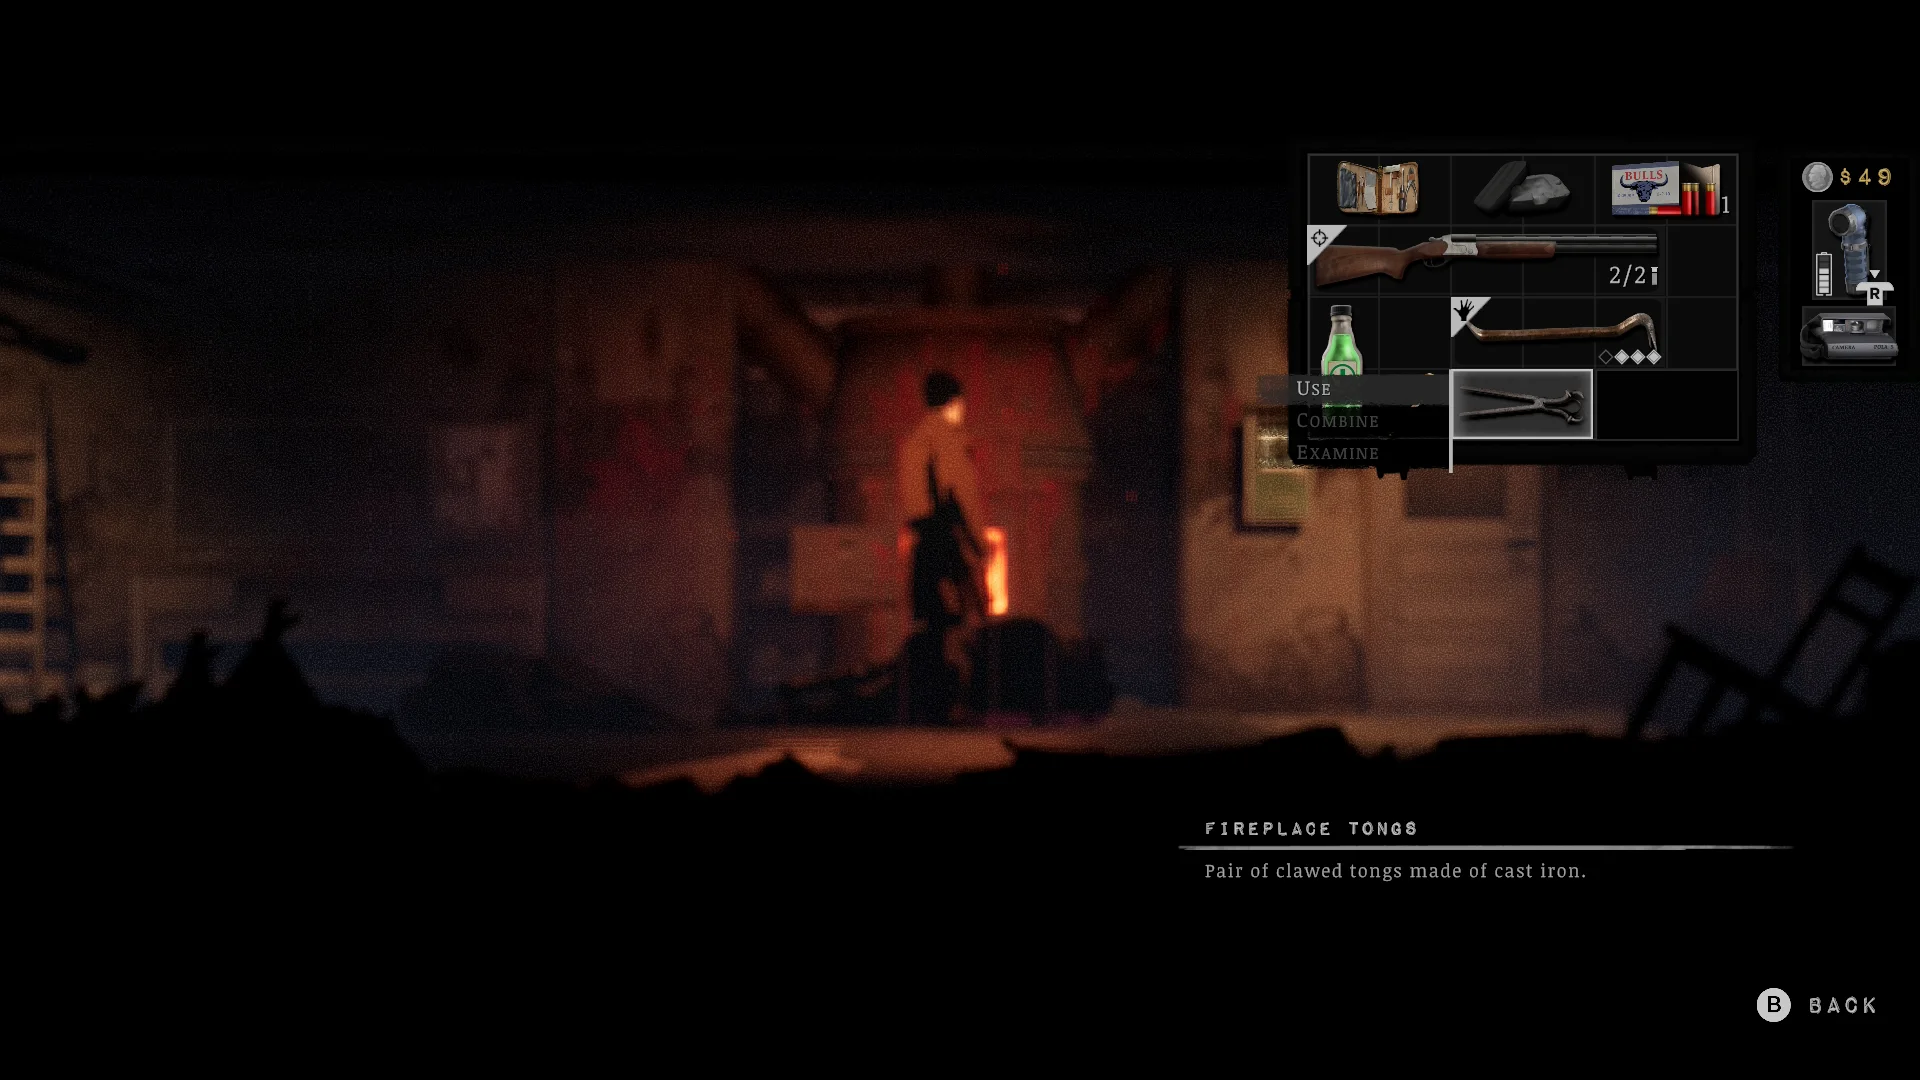
- Go into the Town Hall. Take the Fireplace Tongs from the fireplace room, then go left and downstairs to the artist’s room. It belongs to the same artist from Union 1C, and the Empty Mold is here.
- Head upstairs. A woman talks to you, the classroom has a coffee machine, and you can reach the Blissful Mask on top of the meeting area from the classroom.
- Open the third-floor office with the Town Hall Office Key and take the Manhole Cover Key. You’ll also see a clock puzzle and a keypad. I didn’t need either of them to finish the game, but I’ll be coming back to this so we can solve it.
- Pick up the Unmixed Clay, use it on the yellow concrete mixer, and combine the mixed clay with the Empty Mold.
- Save first. Put the filled mold in the fireplace one floor below the meeting area, then pull it out with the tongs. A boss fight starts, and the Malformed Mask is yours when it ends.
- Open the manhole by the gazebo with the Manhole Cover Key and grab the mask in the sewers.
- Put the three masks on the statues. The middle statue opens its hand and gives you Bell F. Take it to the cable station.
Church Hill
How to get into the Church Hill funeral home
You need the Funeral Home Family Key, and the way in starts on the roof of the building next door.

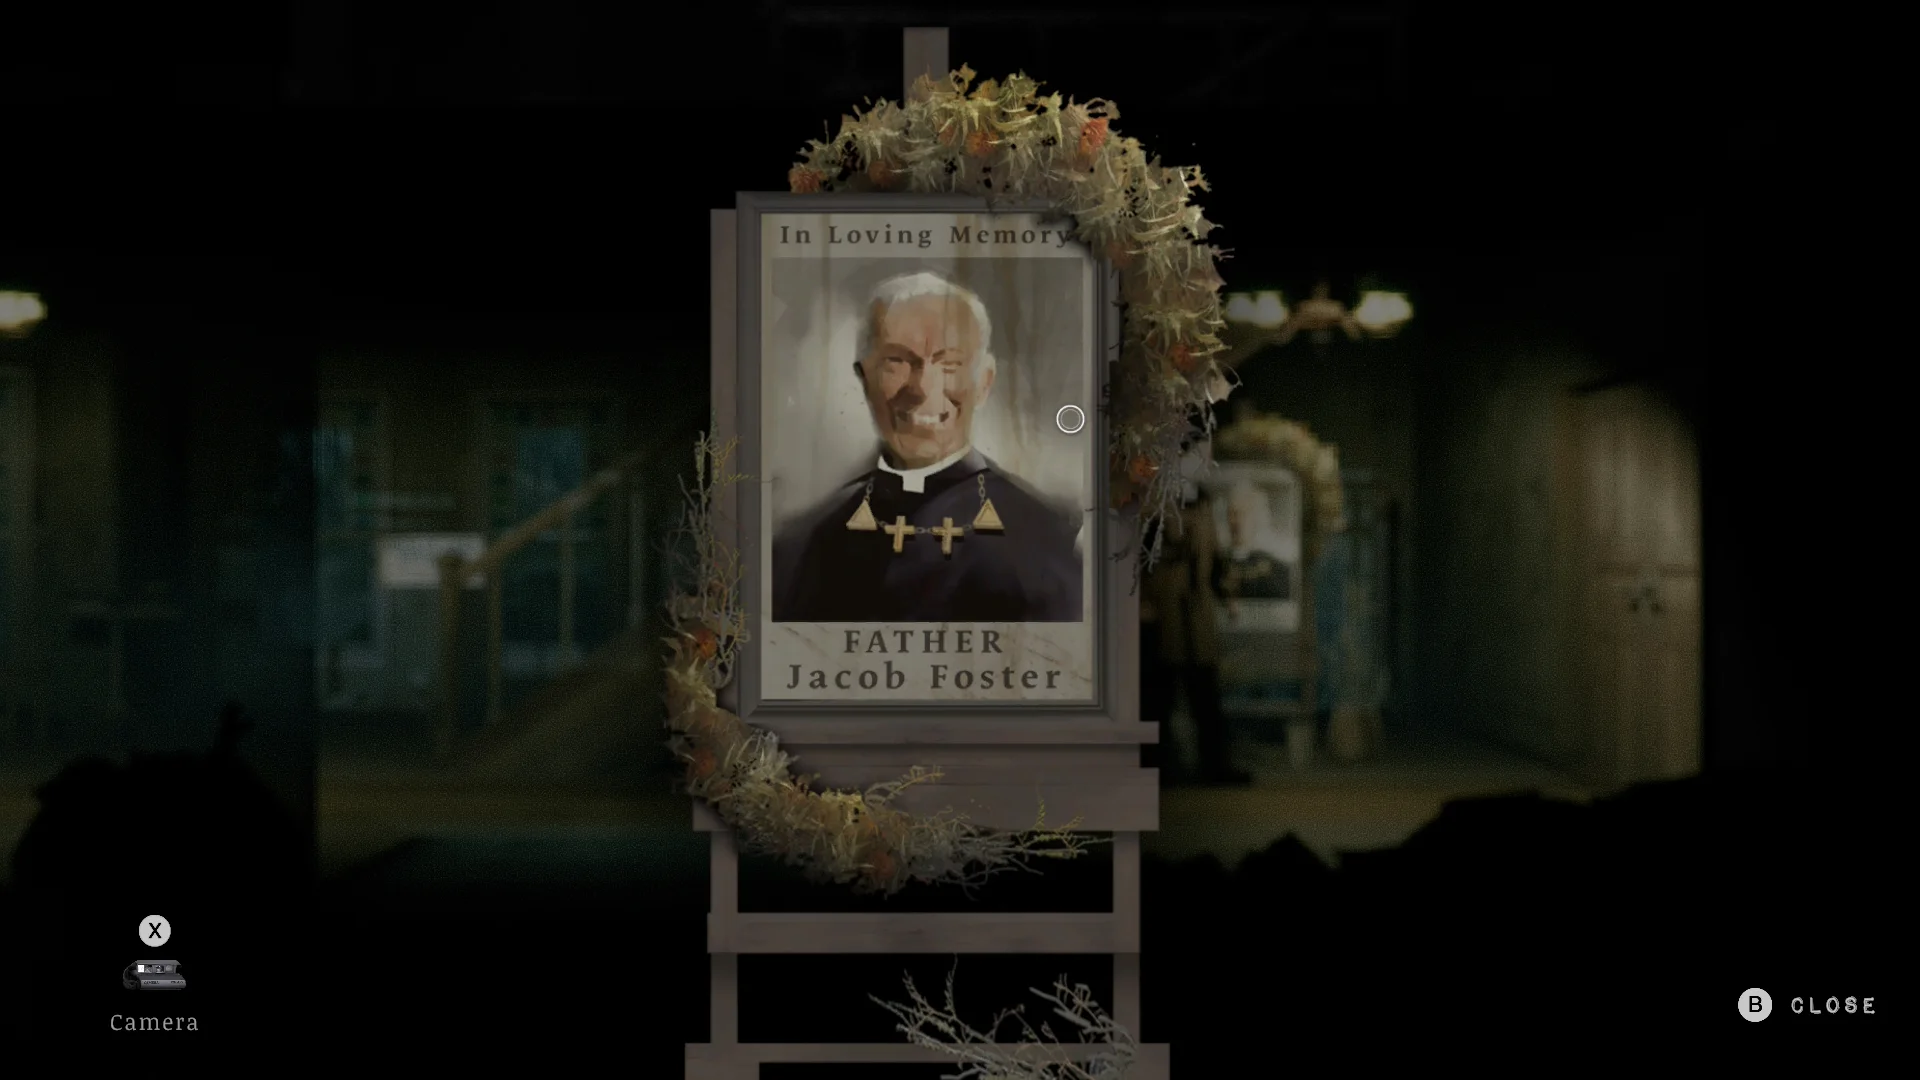

- Read the newspaper about Father Jacob Foster’s death. Then climb onto the building next door to reach the funeral home and his memorial.
- Pick up the Funeral Home Family Key.
What is the funeral home coffin room code?
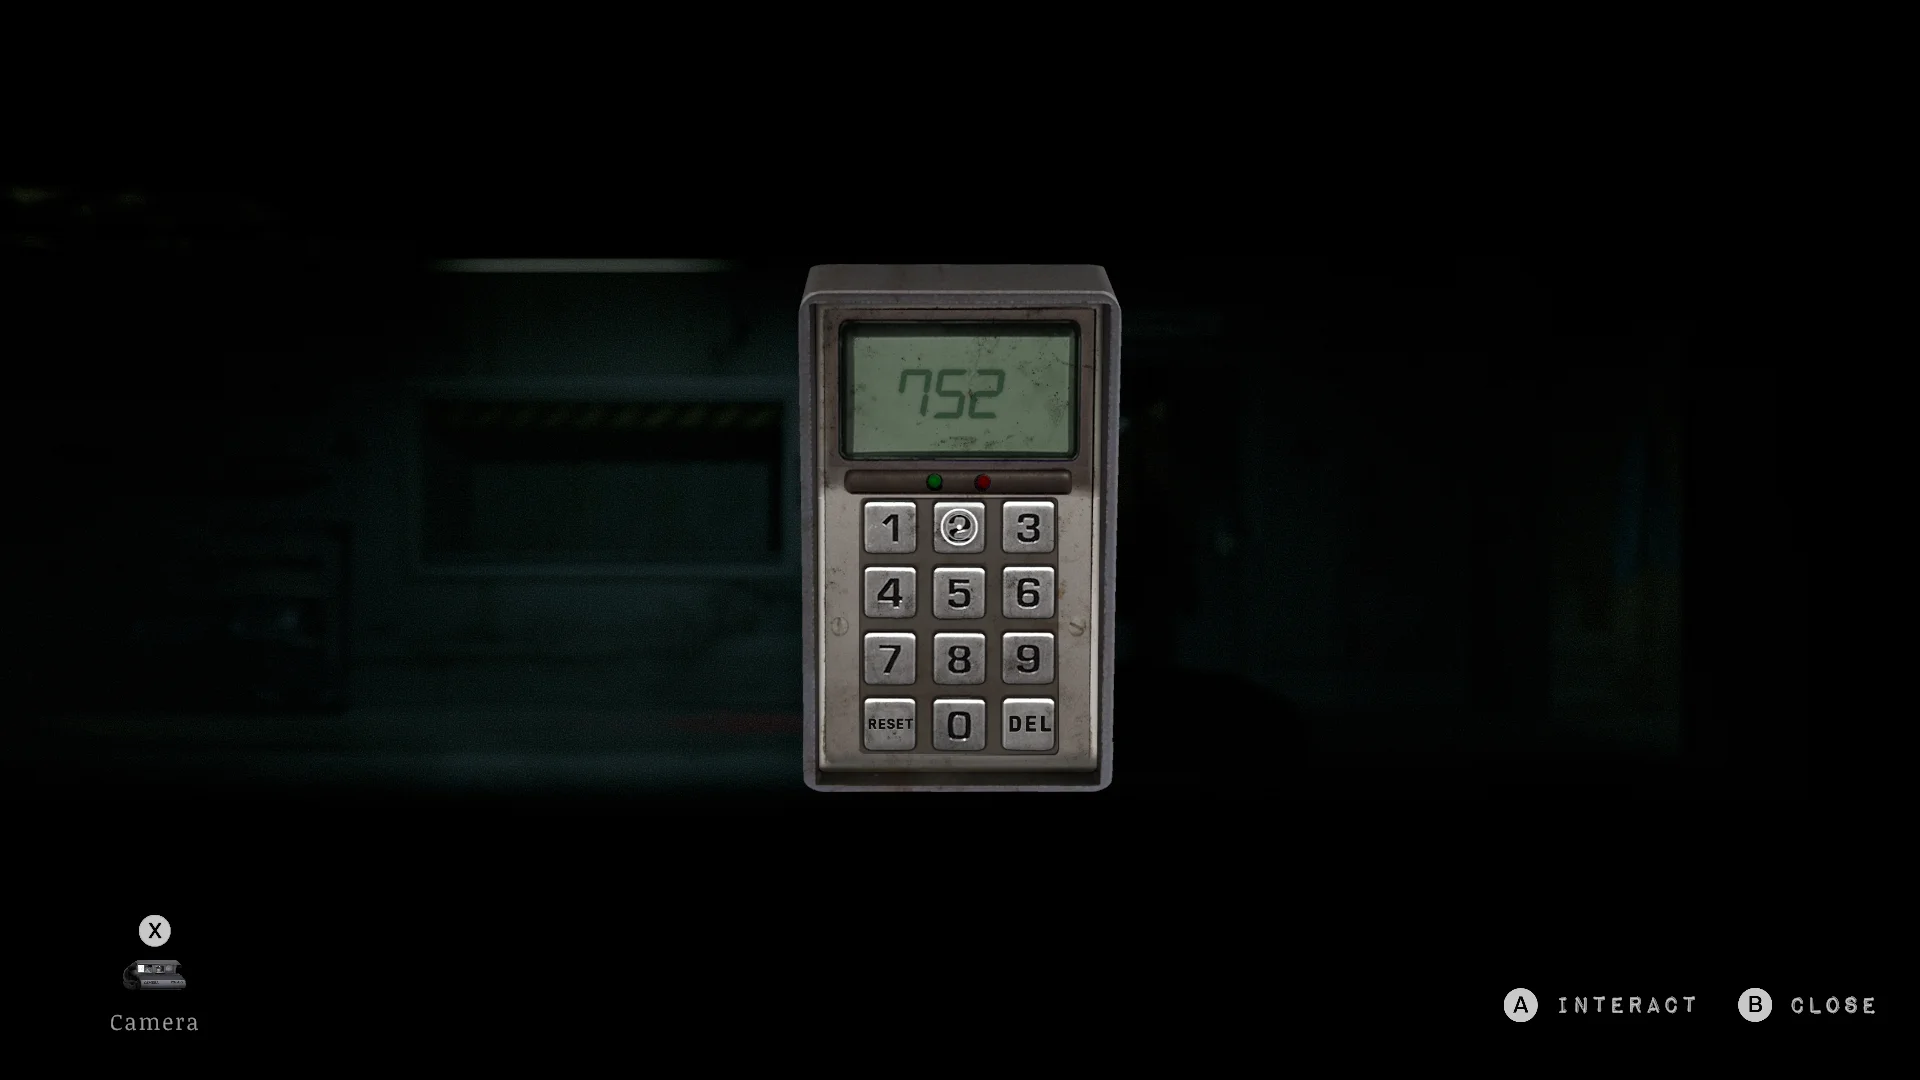
The coffin room code is 752, which is what a lily, a rose, and a bluebell cost at Ashbrook Florist.


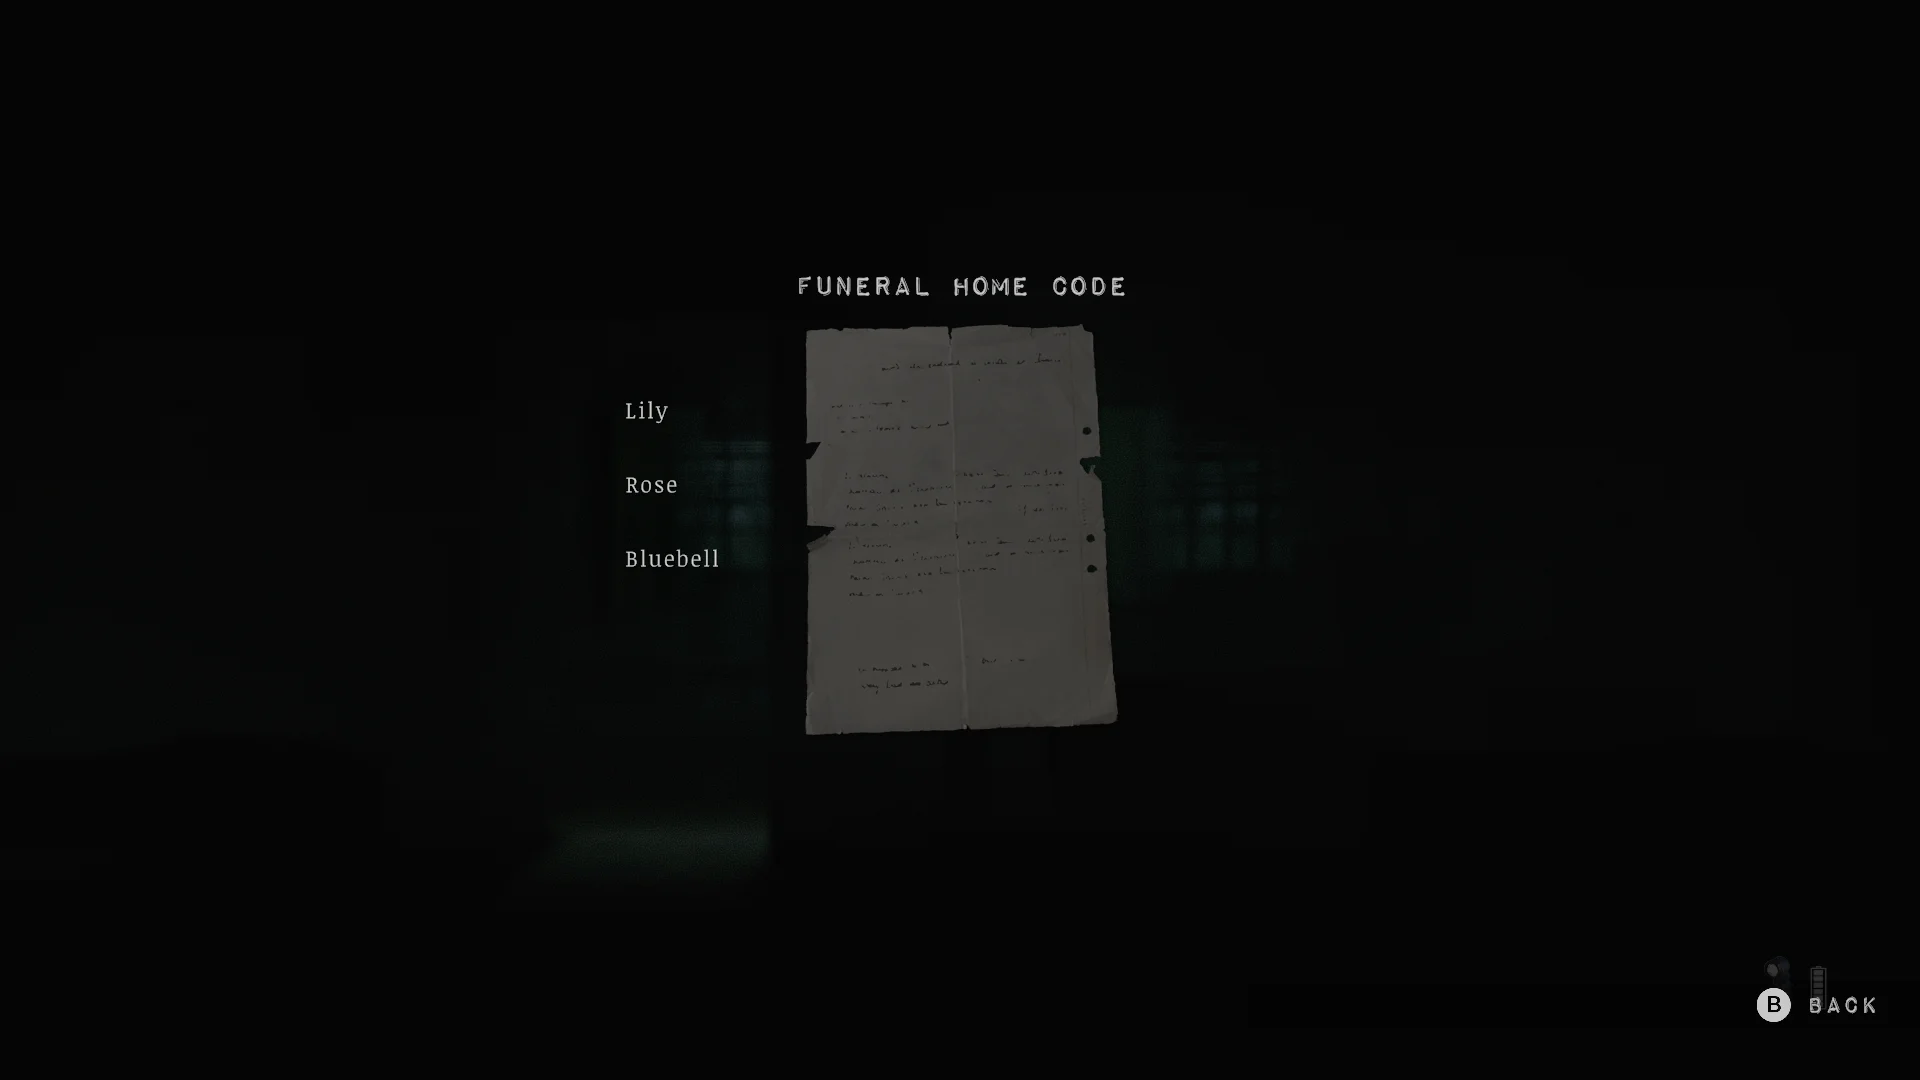
- Open the flower shop with the Flower Shop Key (check where you find it). Roses cost $5, bluebells $2, and lilies $7. Grab the mushroom too, because it makes strong tonics.
- Find the file in the funeral home that reads “Lily Rose Bluebell”. That’s the order for the prices.
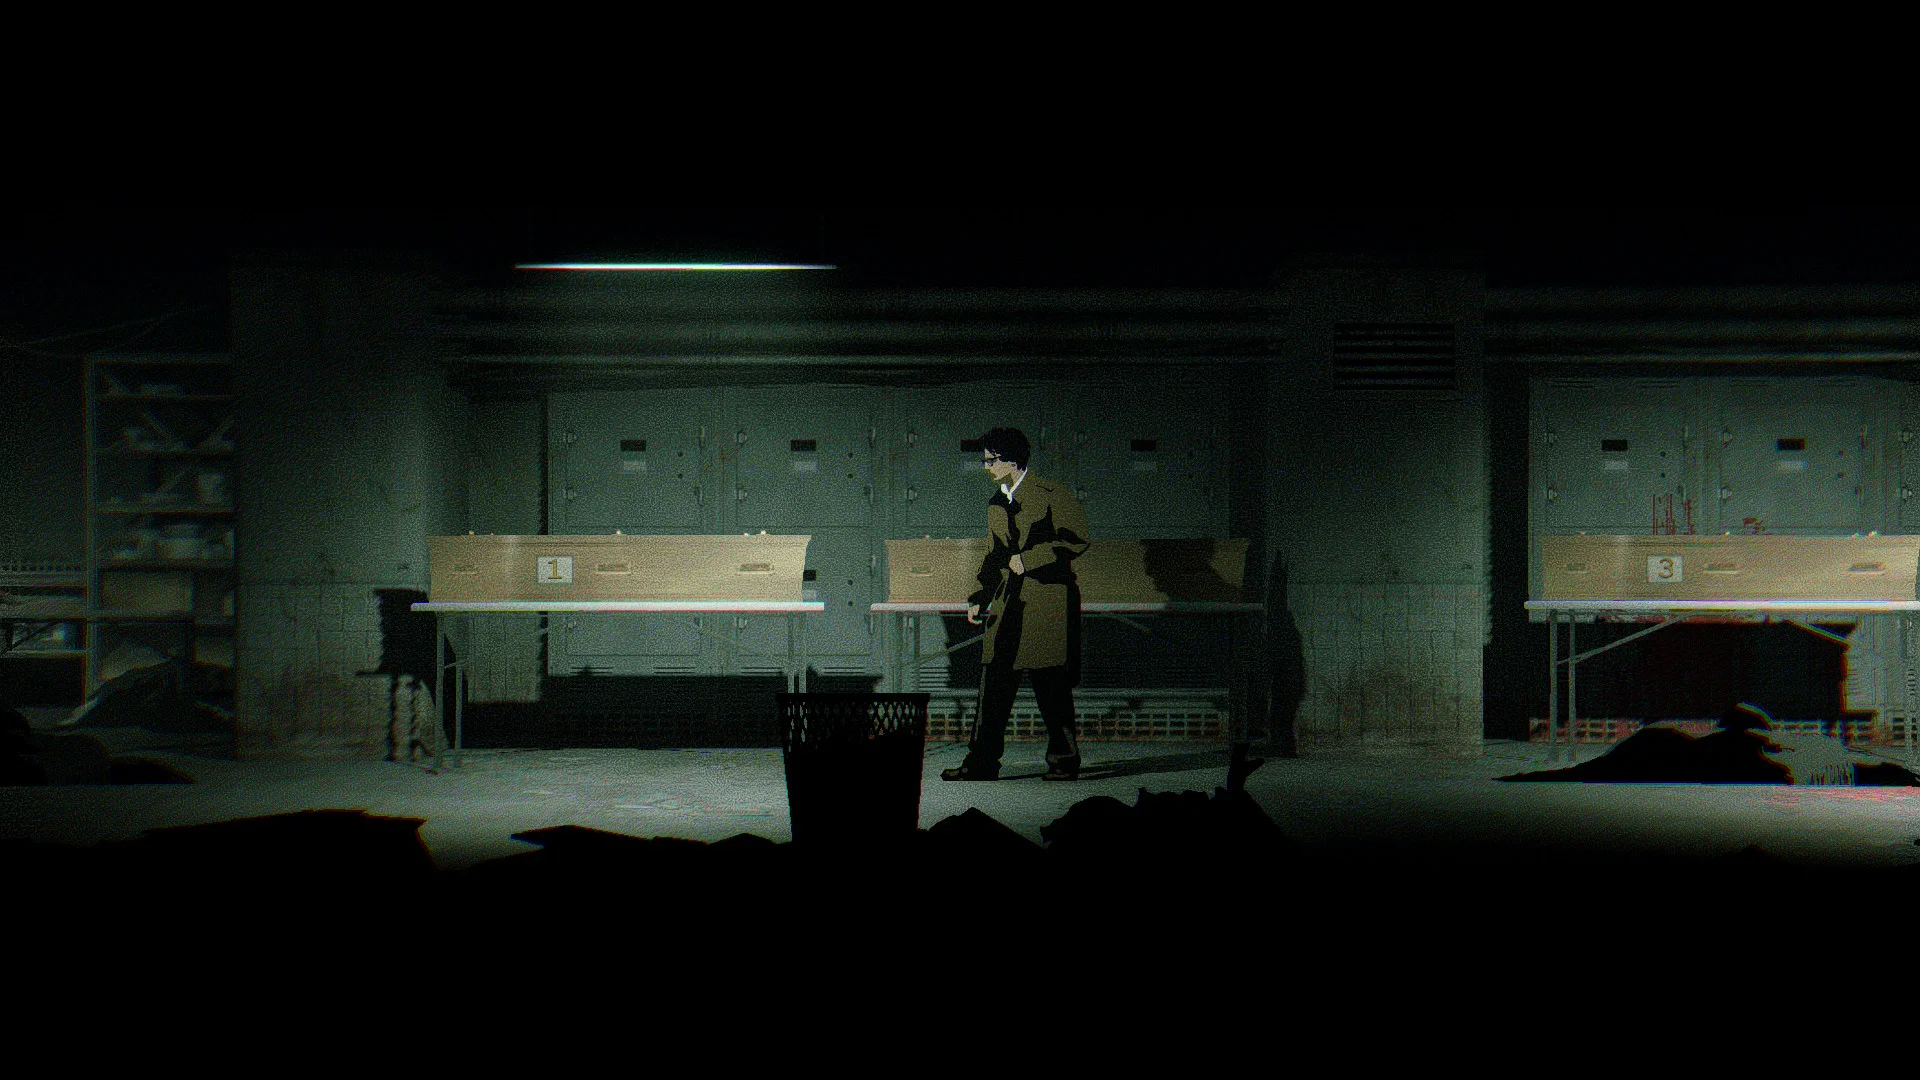
- Go down to the bottom floor and enter 752 on the coffin room keypad.
How to solve the cube gate puzzle
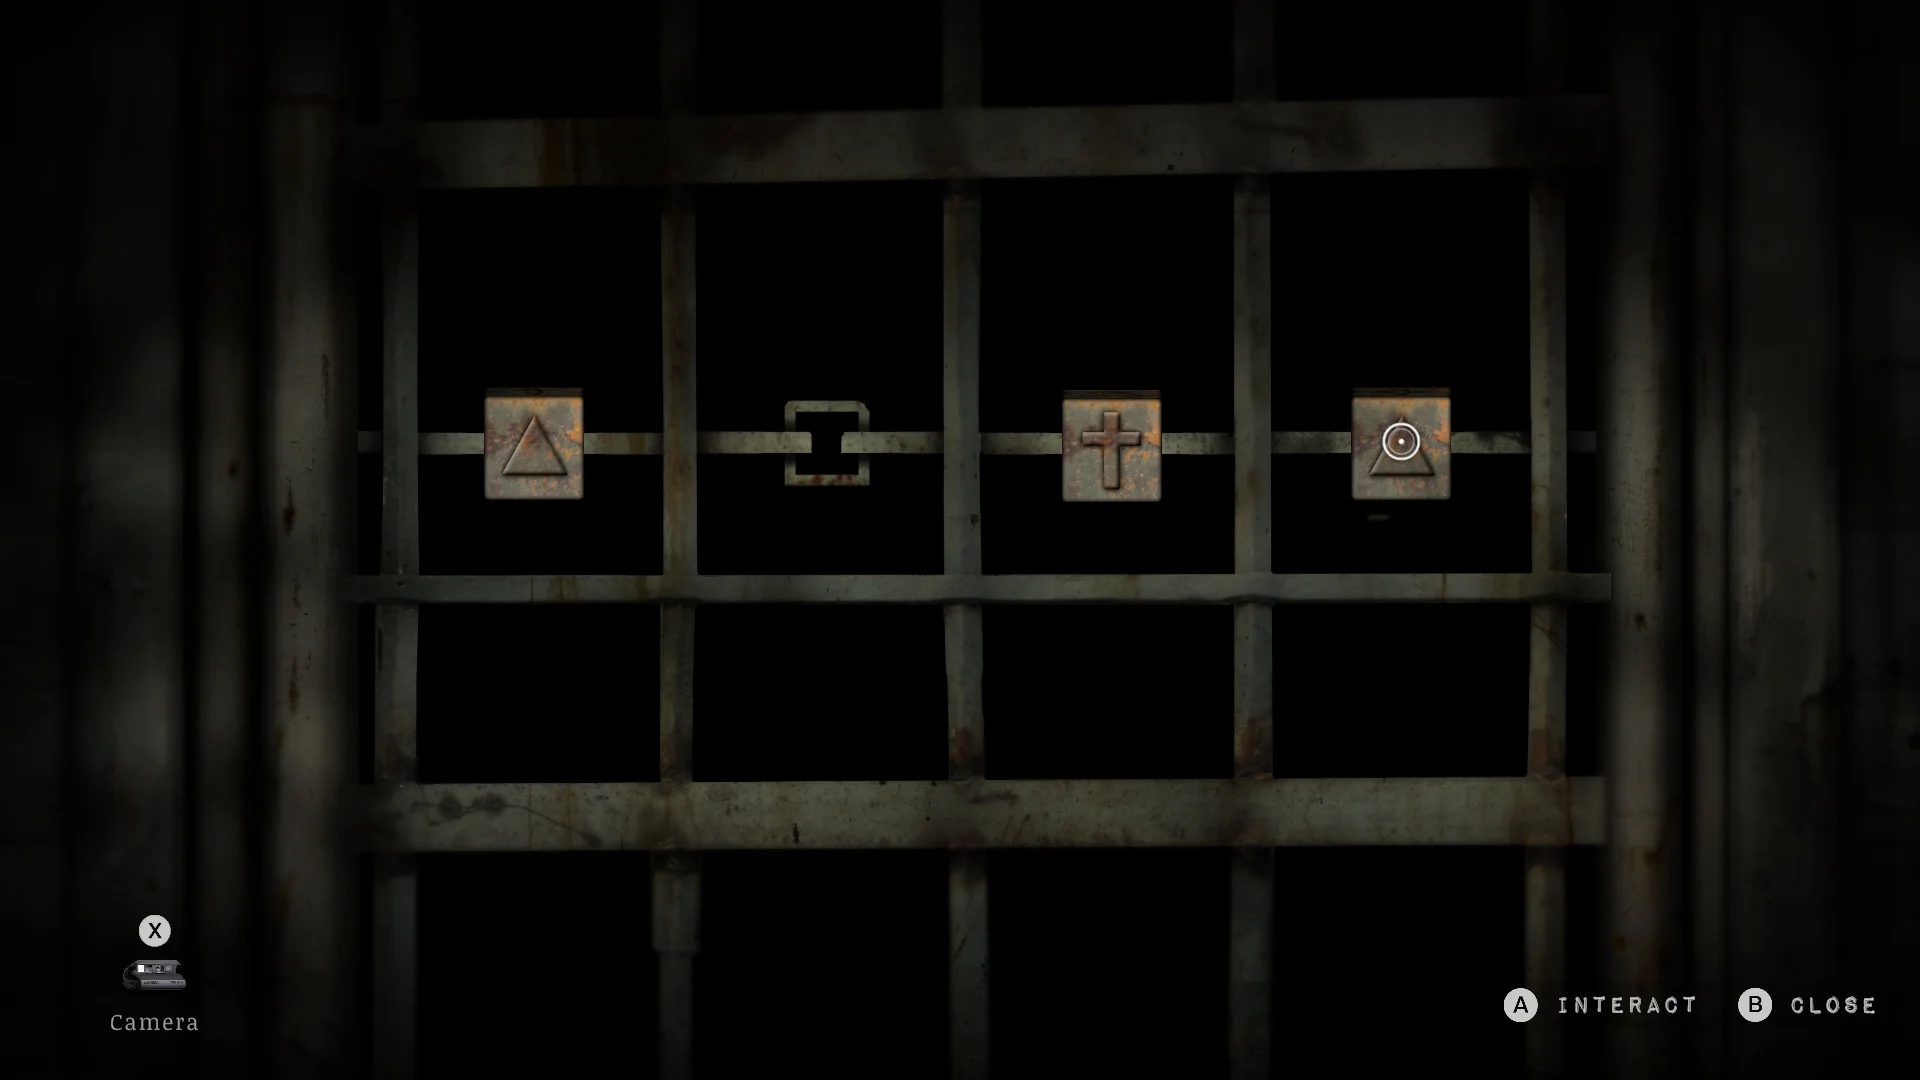
The gate outside Saint Adjutor Parish Church needs four Metal Cubes set to Triangle, Cross, Cross, Triangle. One cube sits in the church, two come out of the funeral home incinerator, and the last one waits at the bottom of the cemetery well.







- Pick up the first cube inside Saint Adjutor Parish Church. Each cube has symbols on its faces.
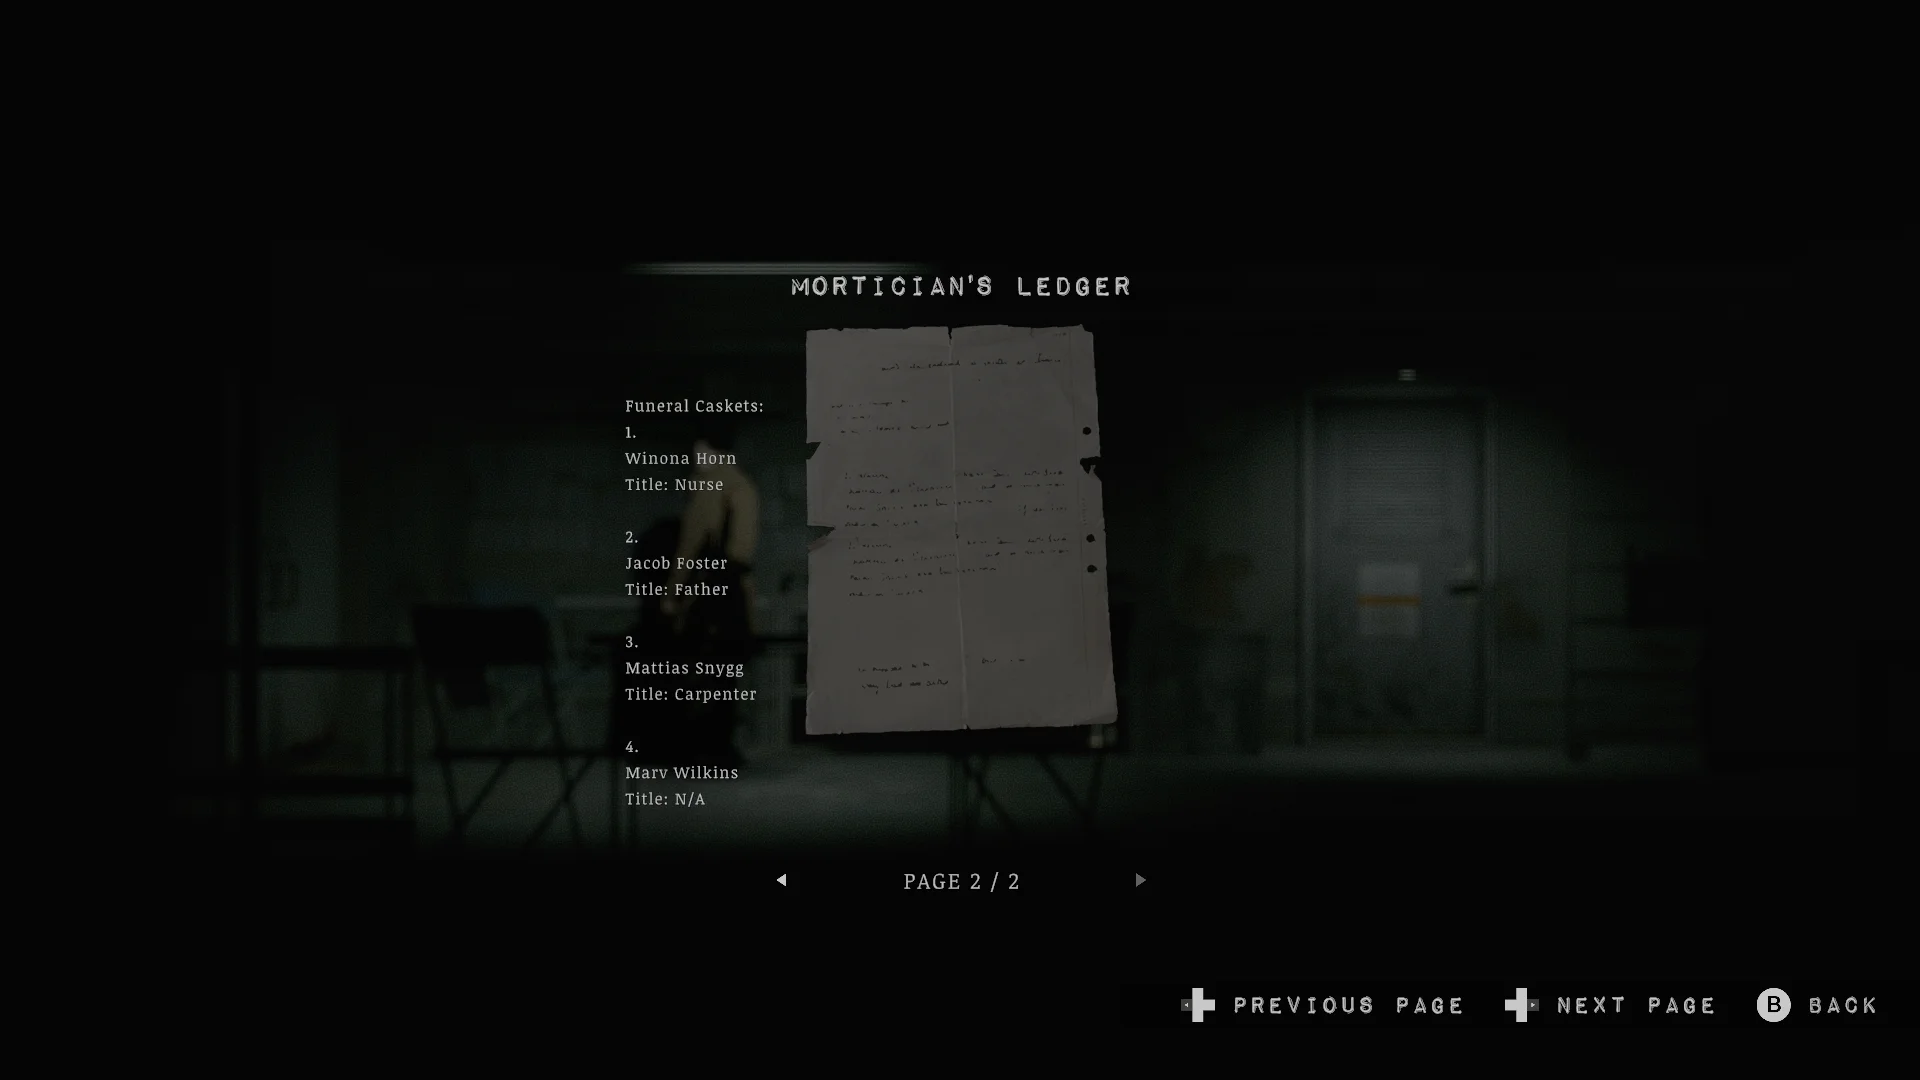
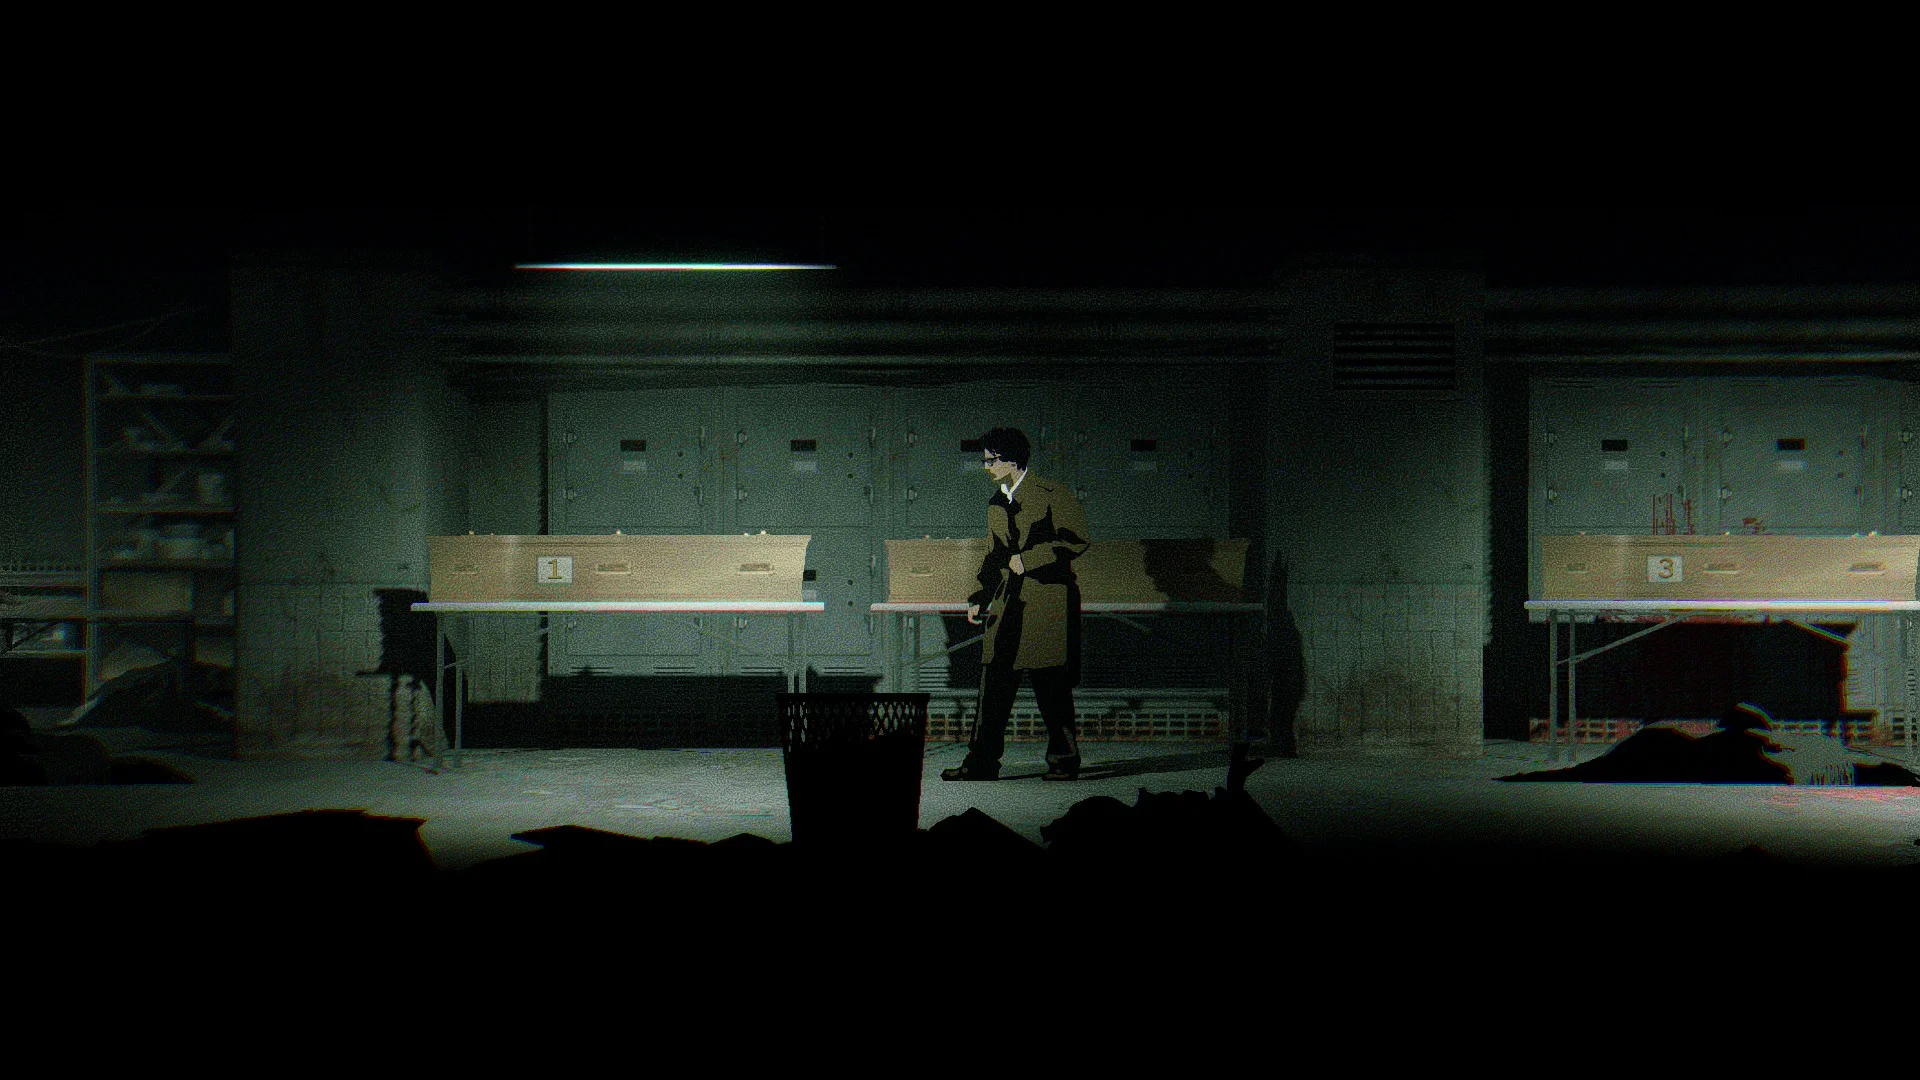
- Read the Mortician’s Ledger in the funeral home. It lists four caskets: Winona Horn, Jacob Foster, Mattias Snygg, and Mary Wilkins. Only casket 2, Father Jacob Foster, needs to go in. I burned all four. You don’t have to.
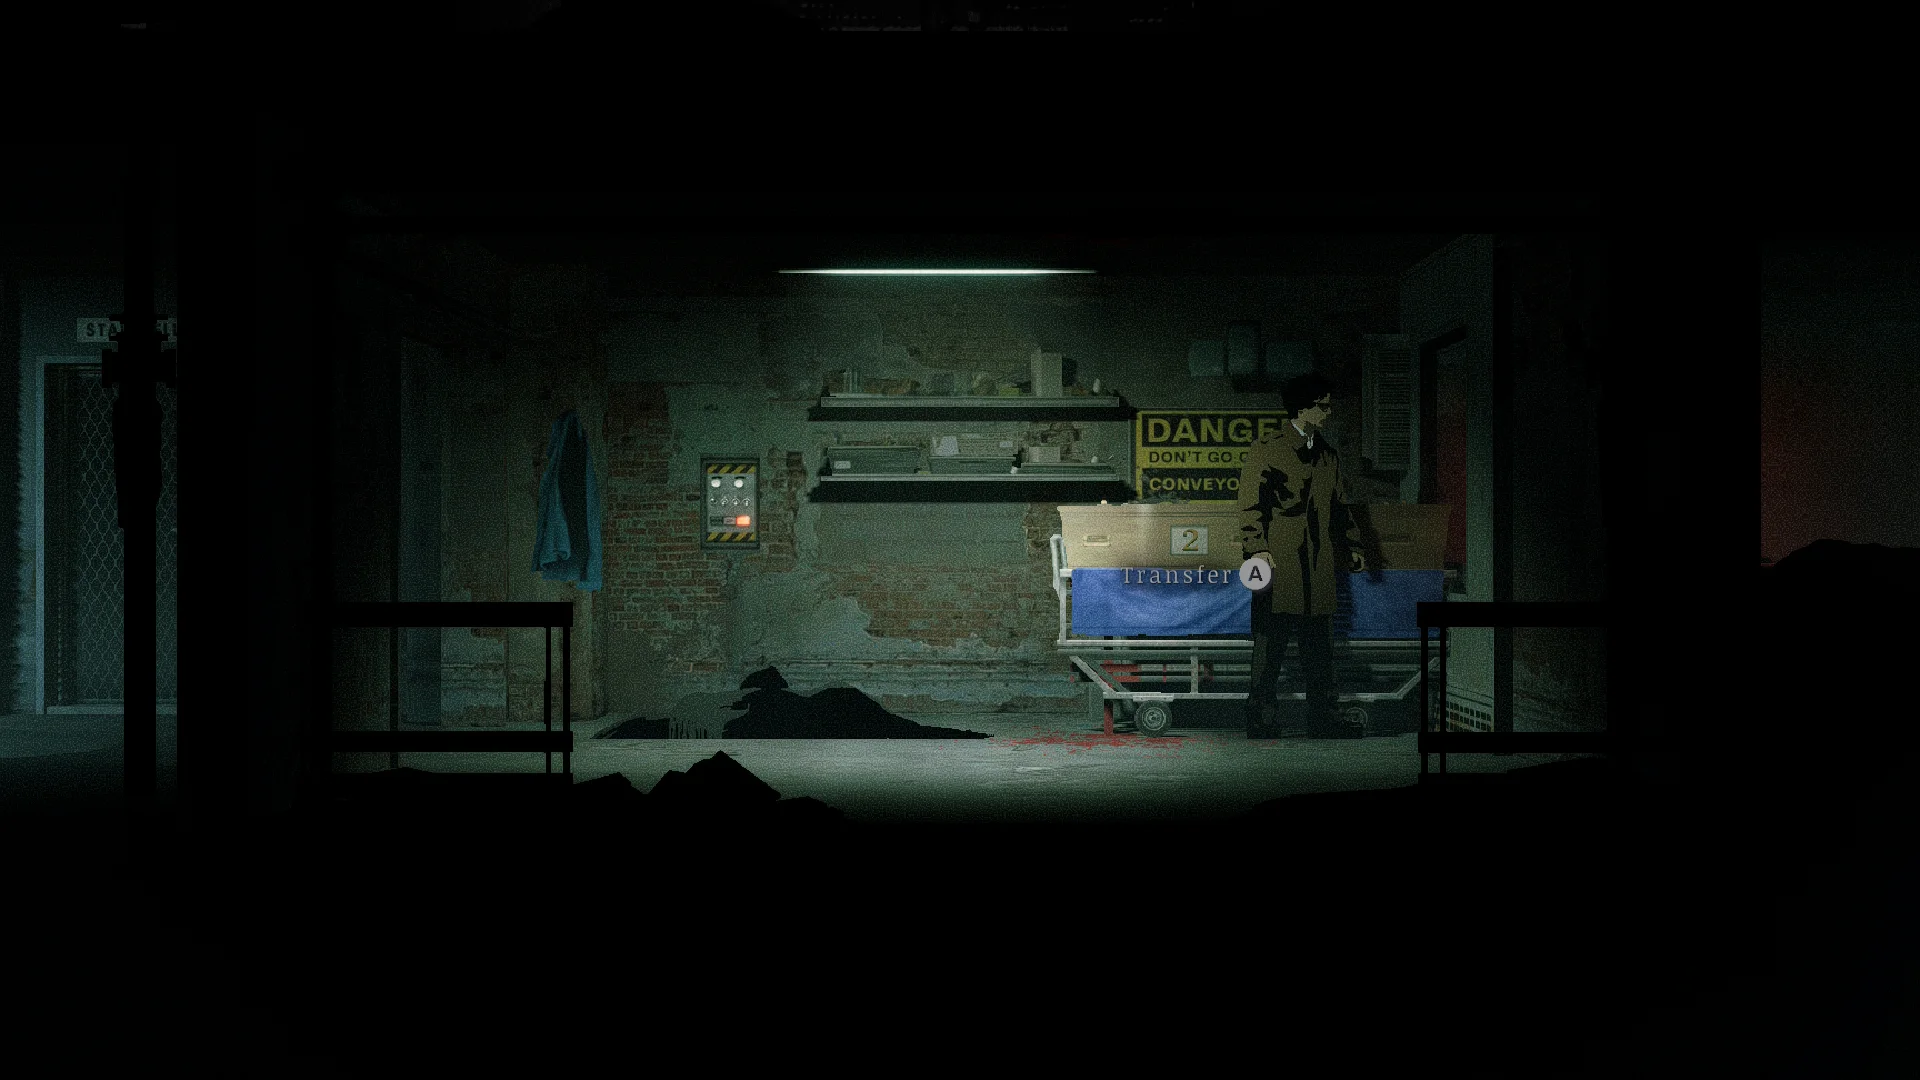
- Load casket 2 onto the blue cremation trolley. Push it into the elevator, send it up, and follow it.
- Put the casket back on the trolley upstairs and drag it to the incinerator room. Use Transfer to move it onto the conveyor that feeds the incinerator.
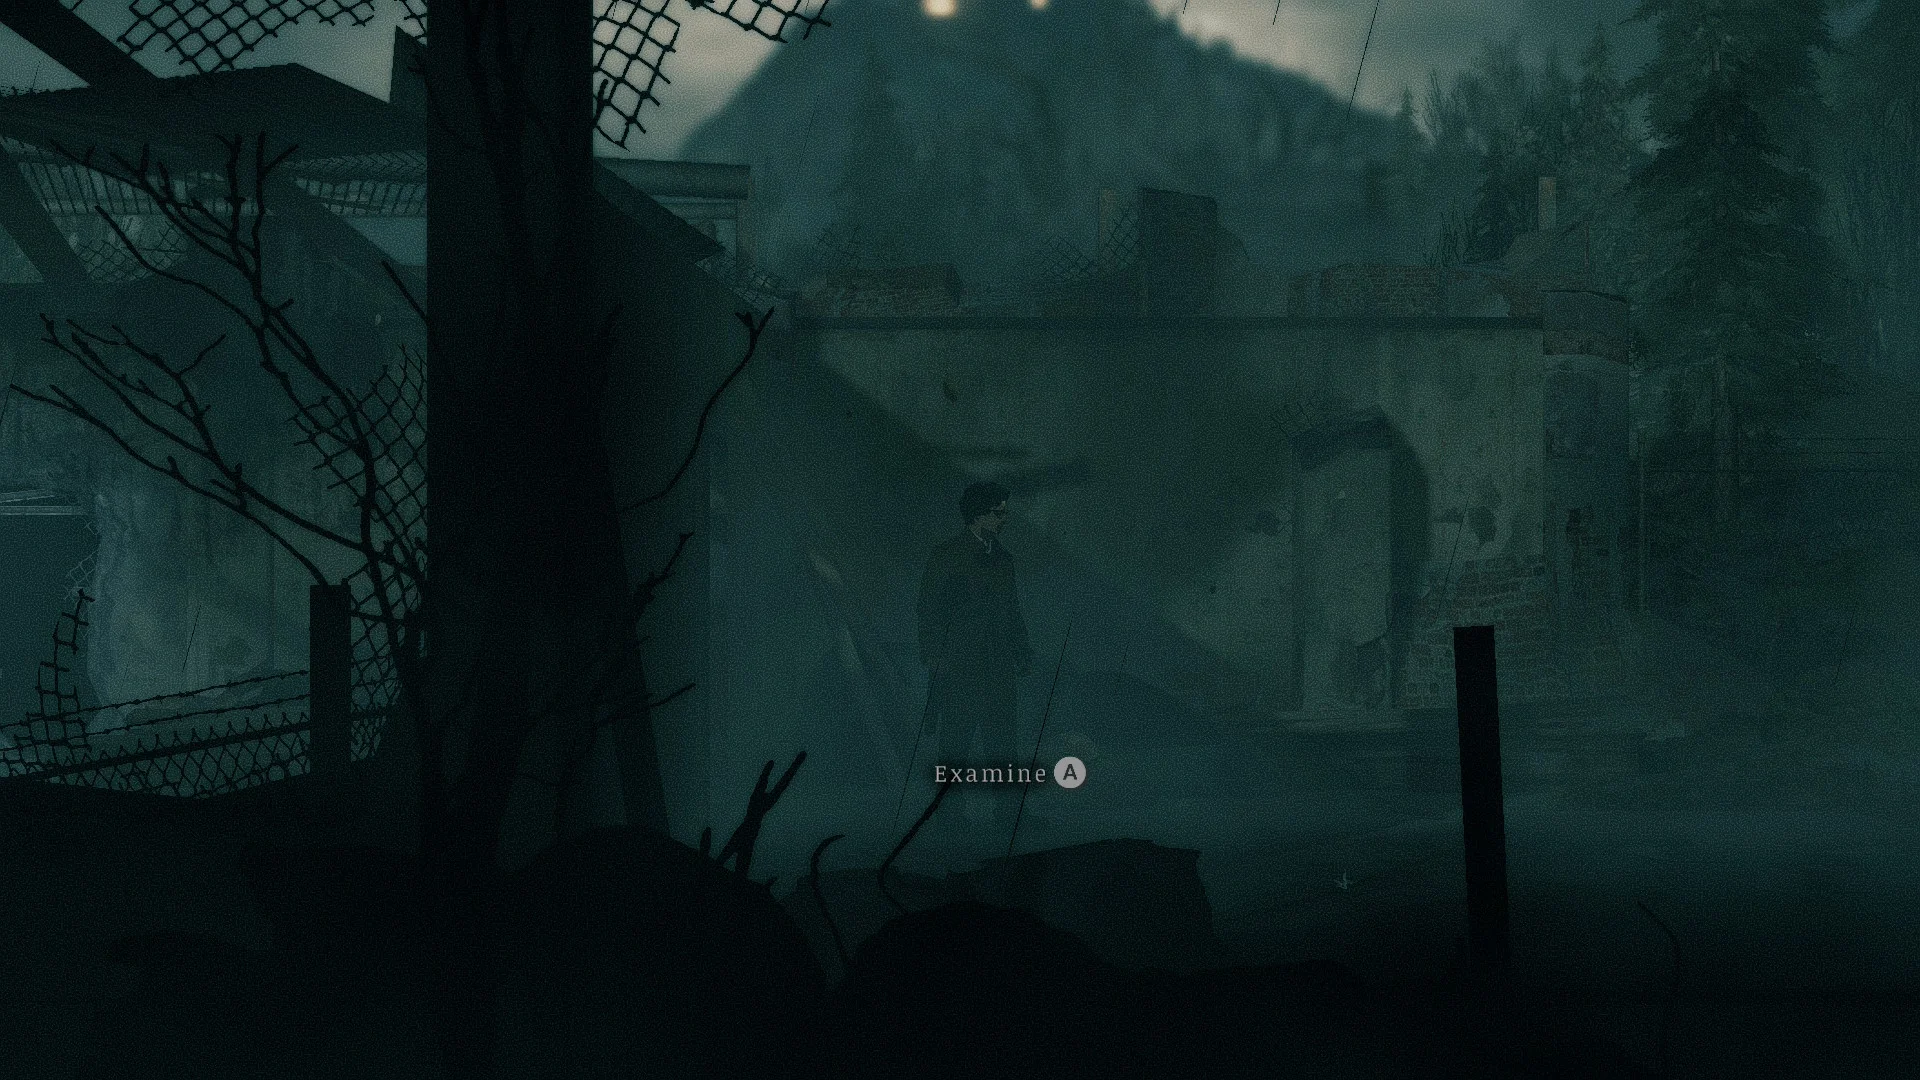
- Wait for the fire to die down, then crouch into the incinerator chamber and take the Metal Cube. I found a second cube in there later, so check the chamber again before you leave Church Hill.
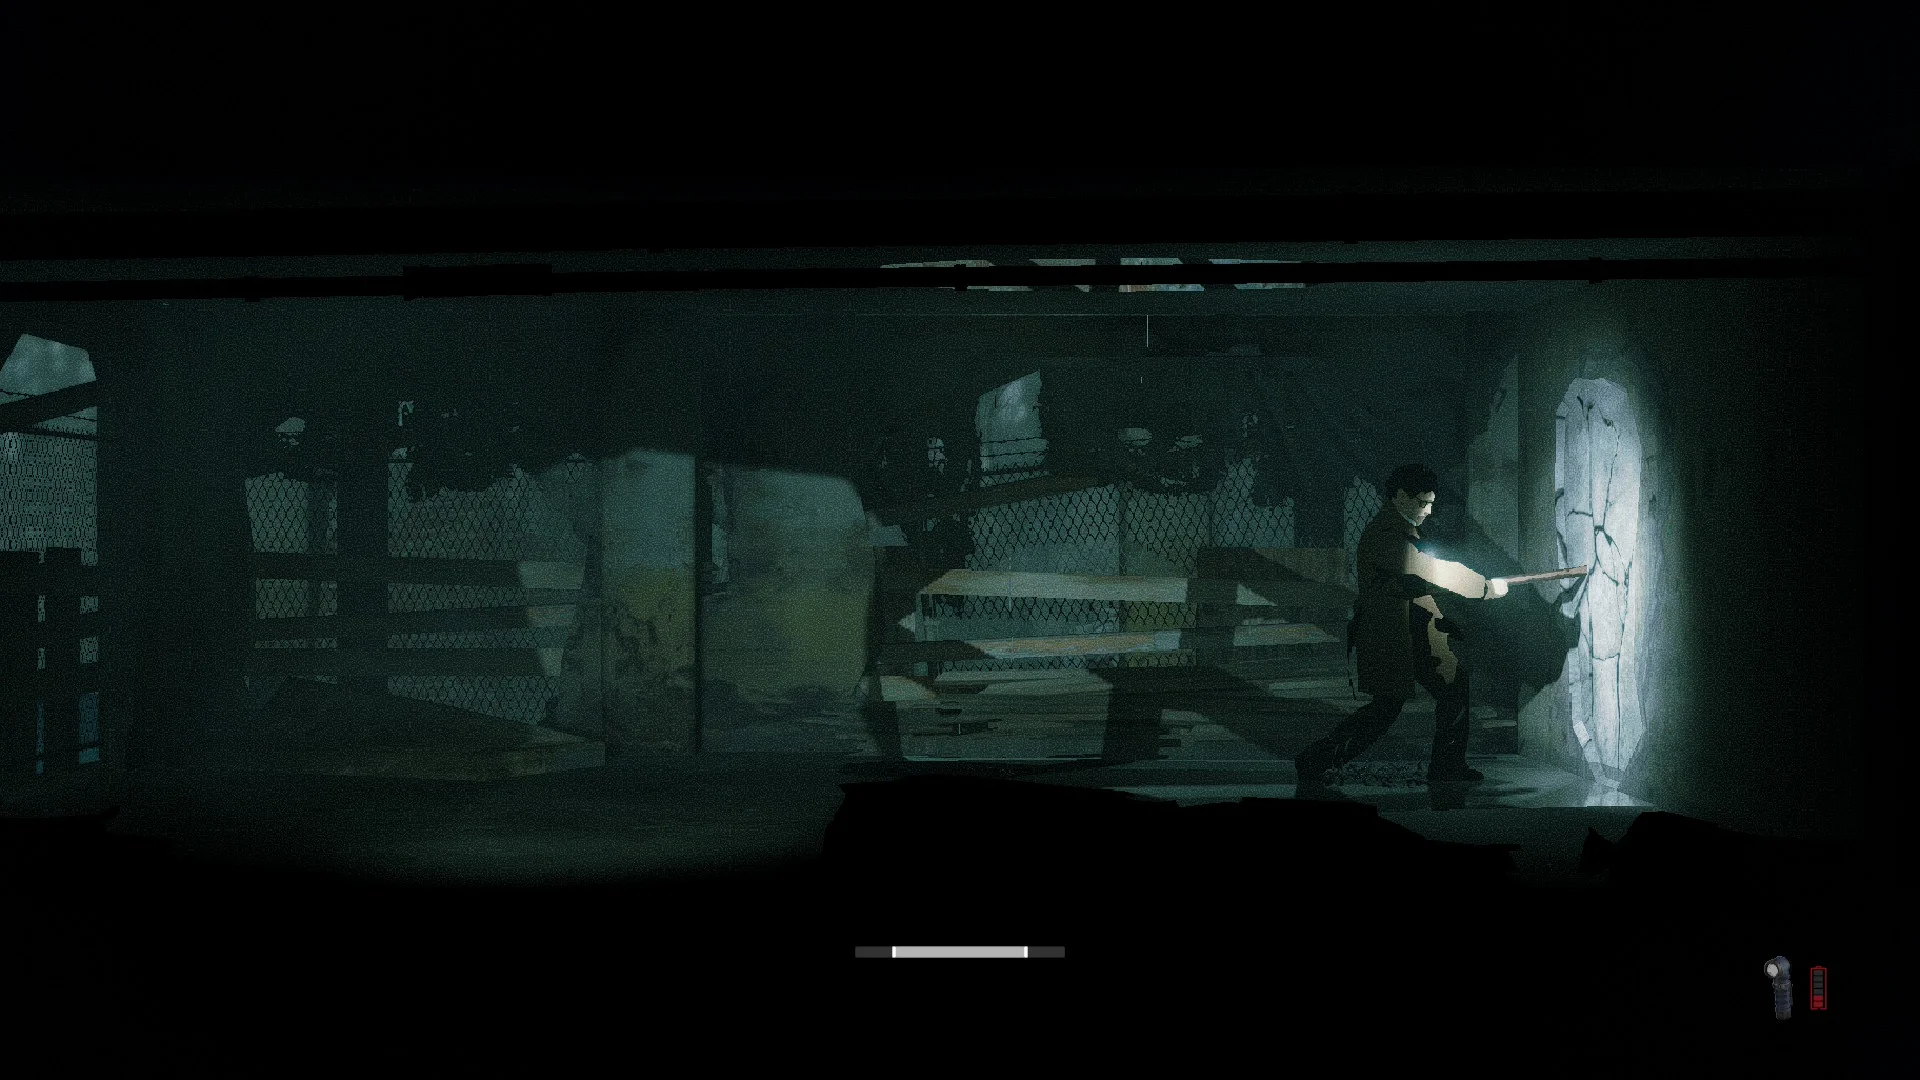
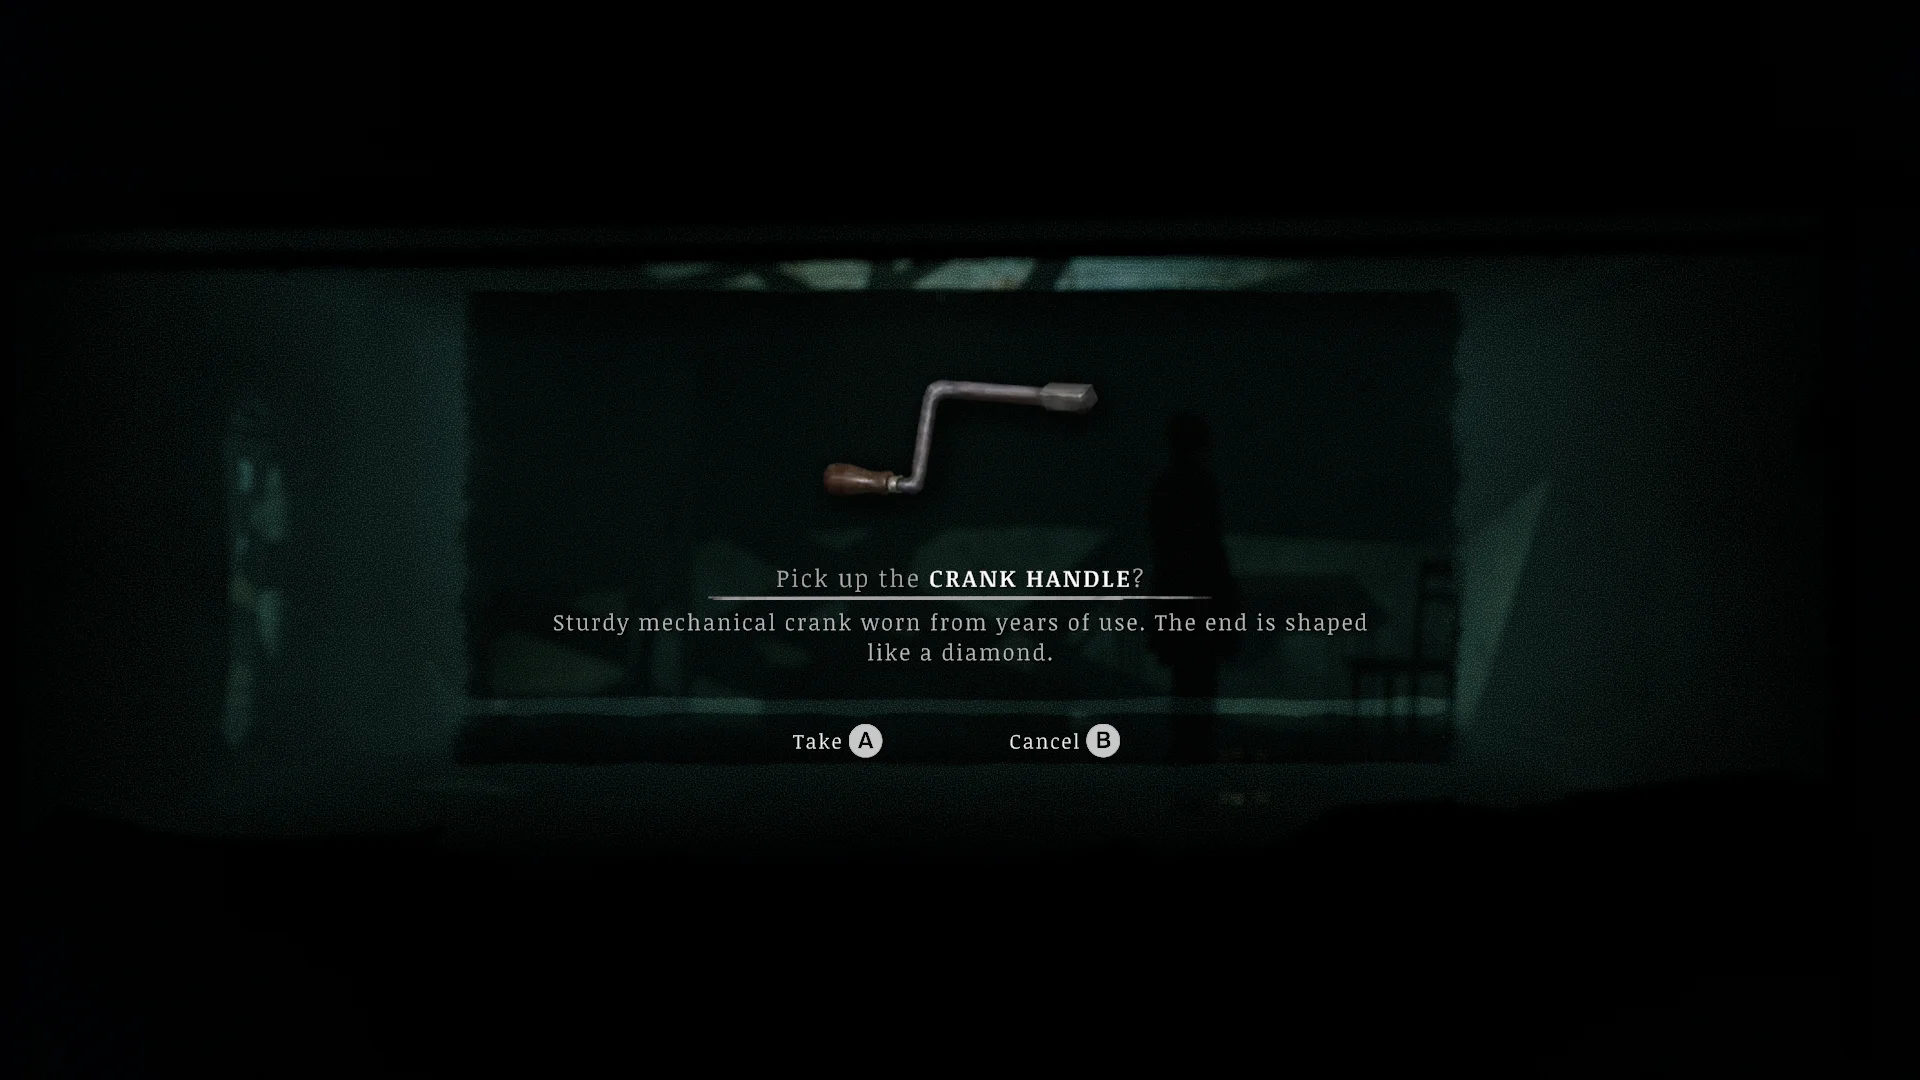
- Open the cemetery with the Cemetery Key. The well in there needs the Crank Handle, which is also in Church Hill: run all the way left along the first street, vault the ledge, and smash the cracked wall in one of the rundown houses with the sledgehammer. It took me far too long to find it.
- Fit the Crank Handle in the well’s diamond-shaped socket and wind up the fourth cube.
- Fit the cubes into the gate and turn them to show Triangle, Cross, Cross, Triangle from left to right. The pattern also appears on the newspaper sign and on the priest’s photo in the funeral home.
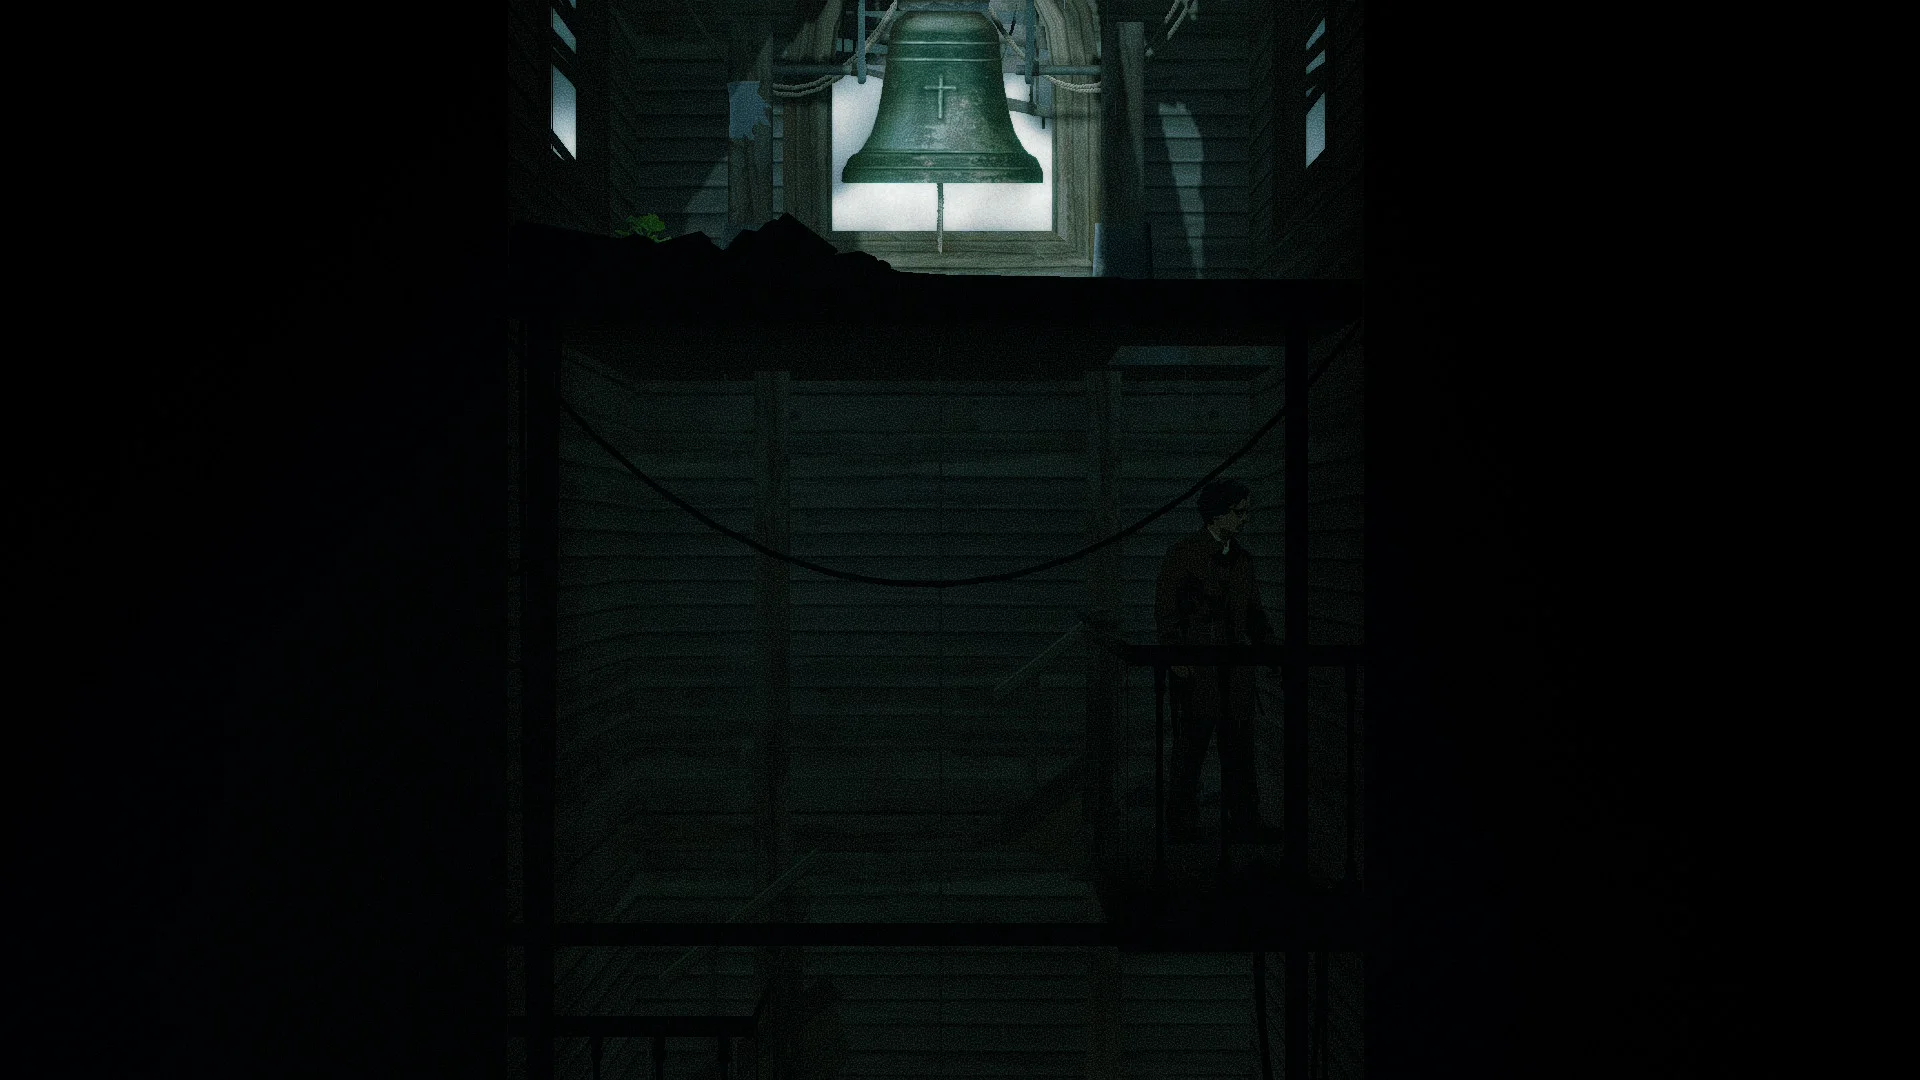
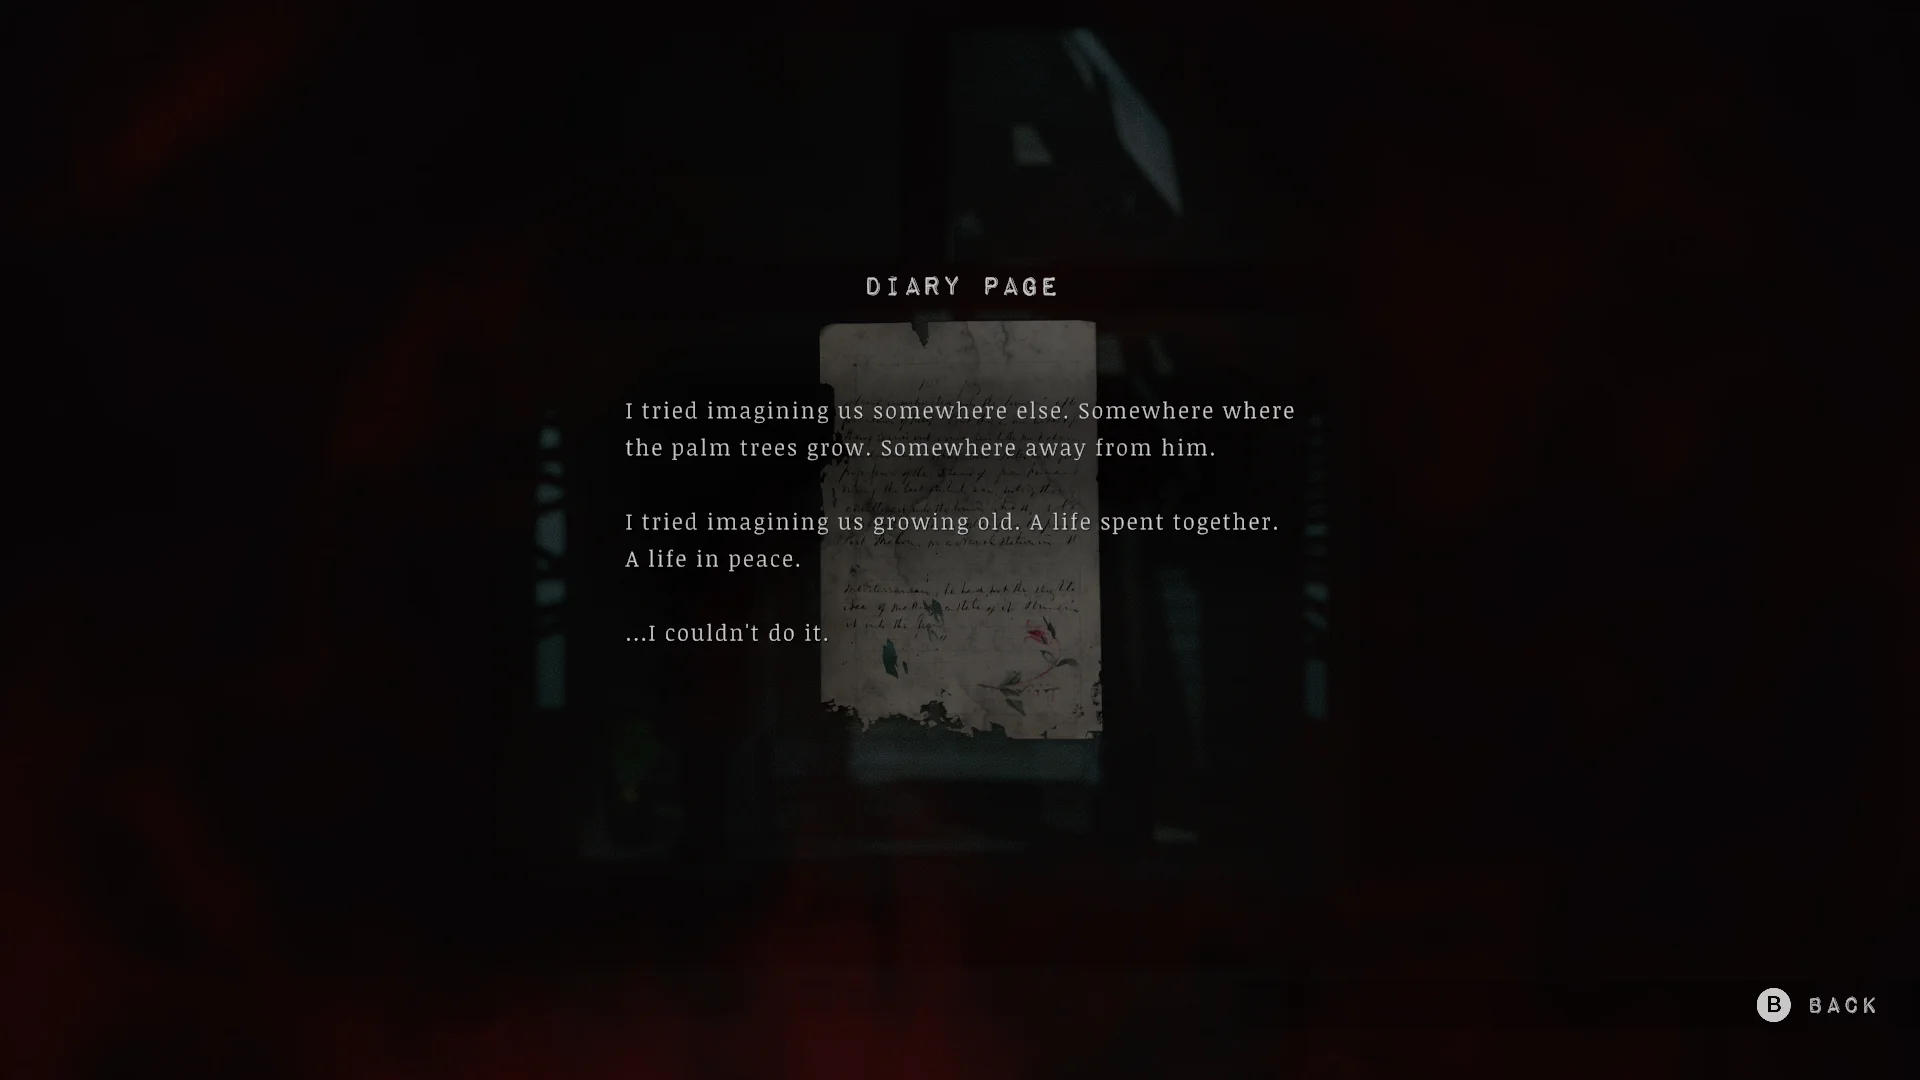
- Go inside and climb to the top of the bell tower. After a short fight, a diary page, and a cutscene, a voice in the confessional starts telling you about Alice and Eddie.
The sluice gate and the sewers
How to solve the sluice gate puzzle
The gear panel on the docks needs the Heavy Mechanical Cog from the sewers and the Crank Handle from Church Hill. Slide all three gears to the bottom of their slots and turn the crank.
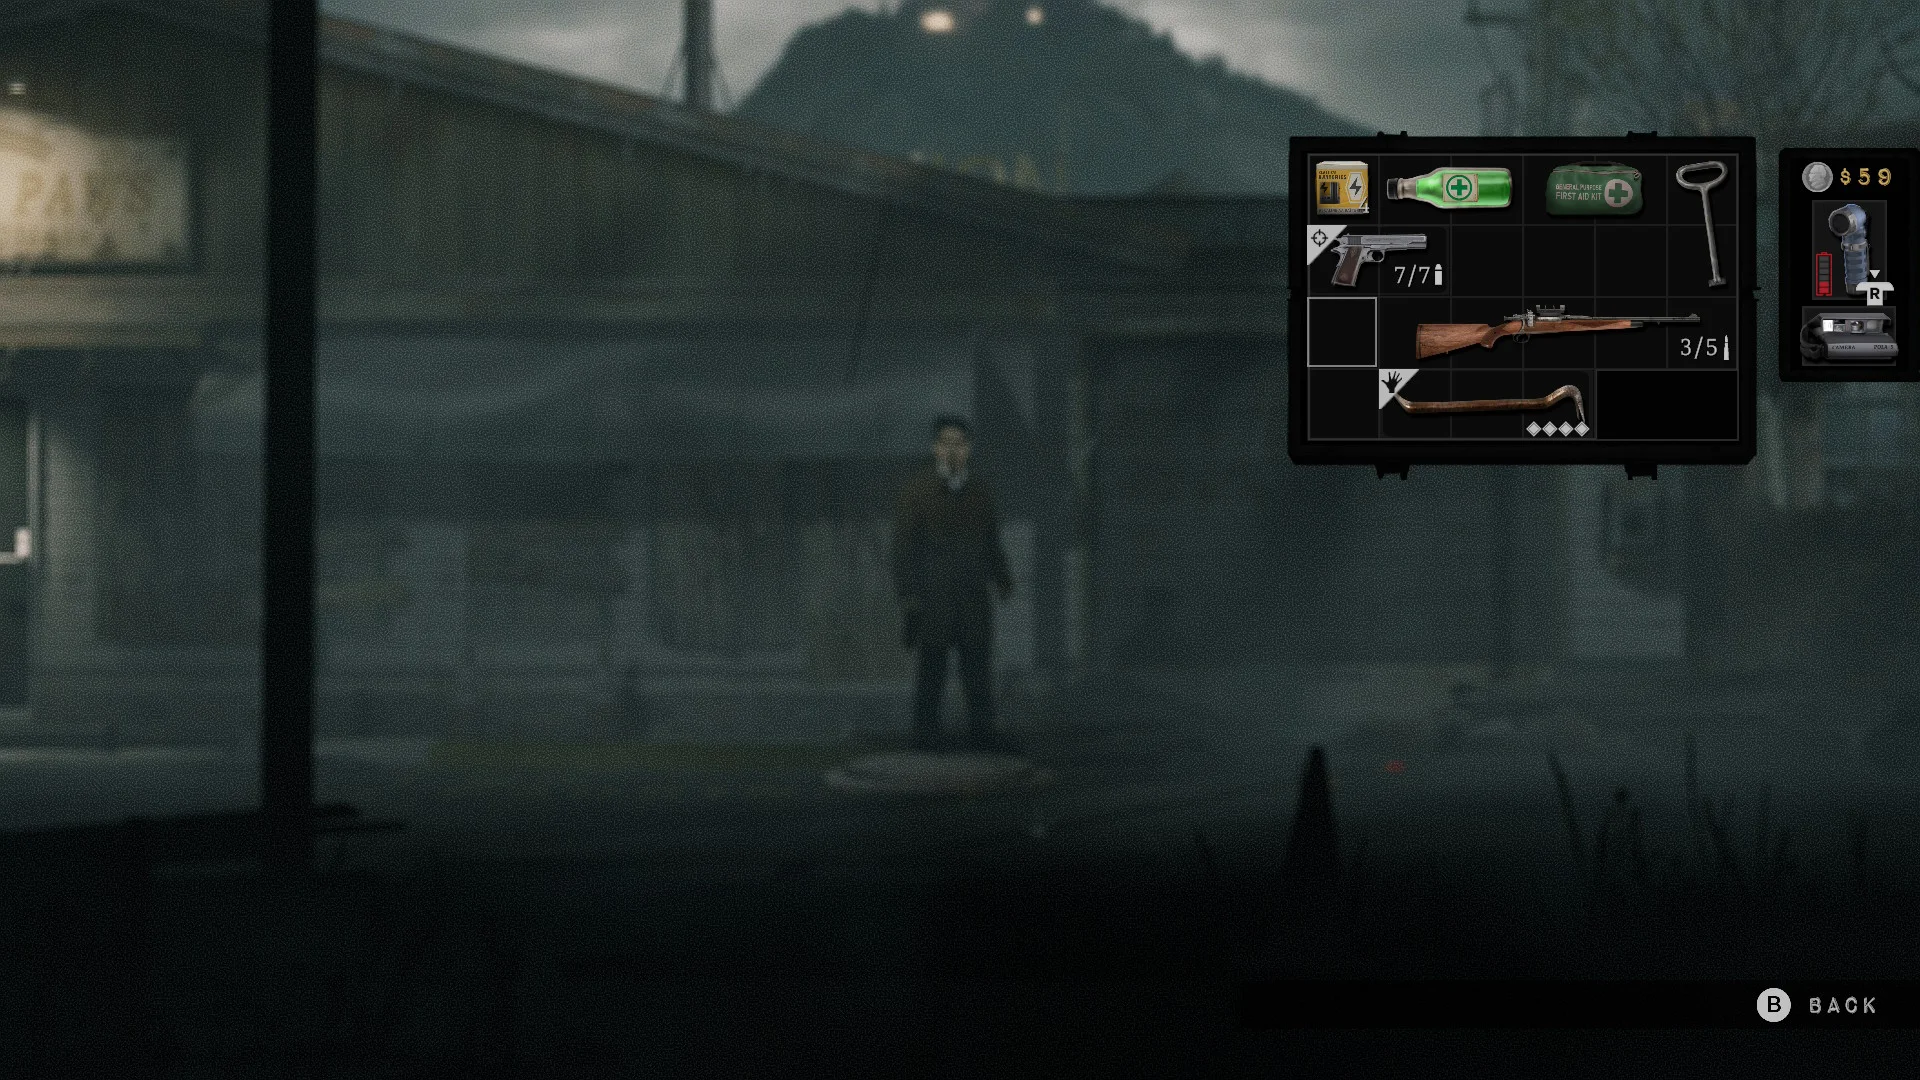


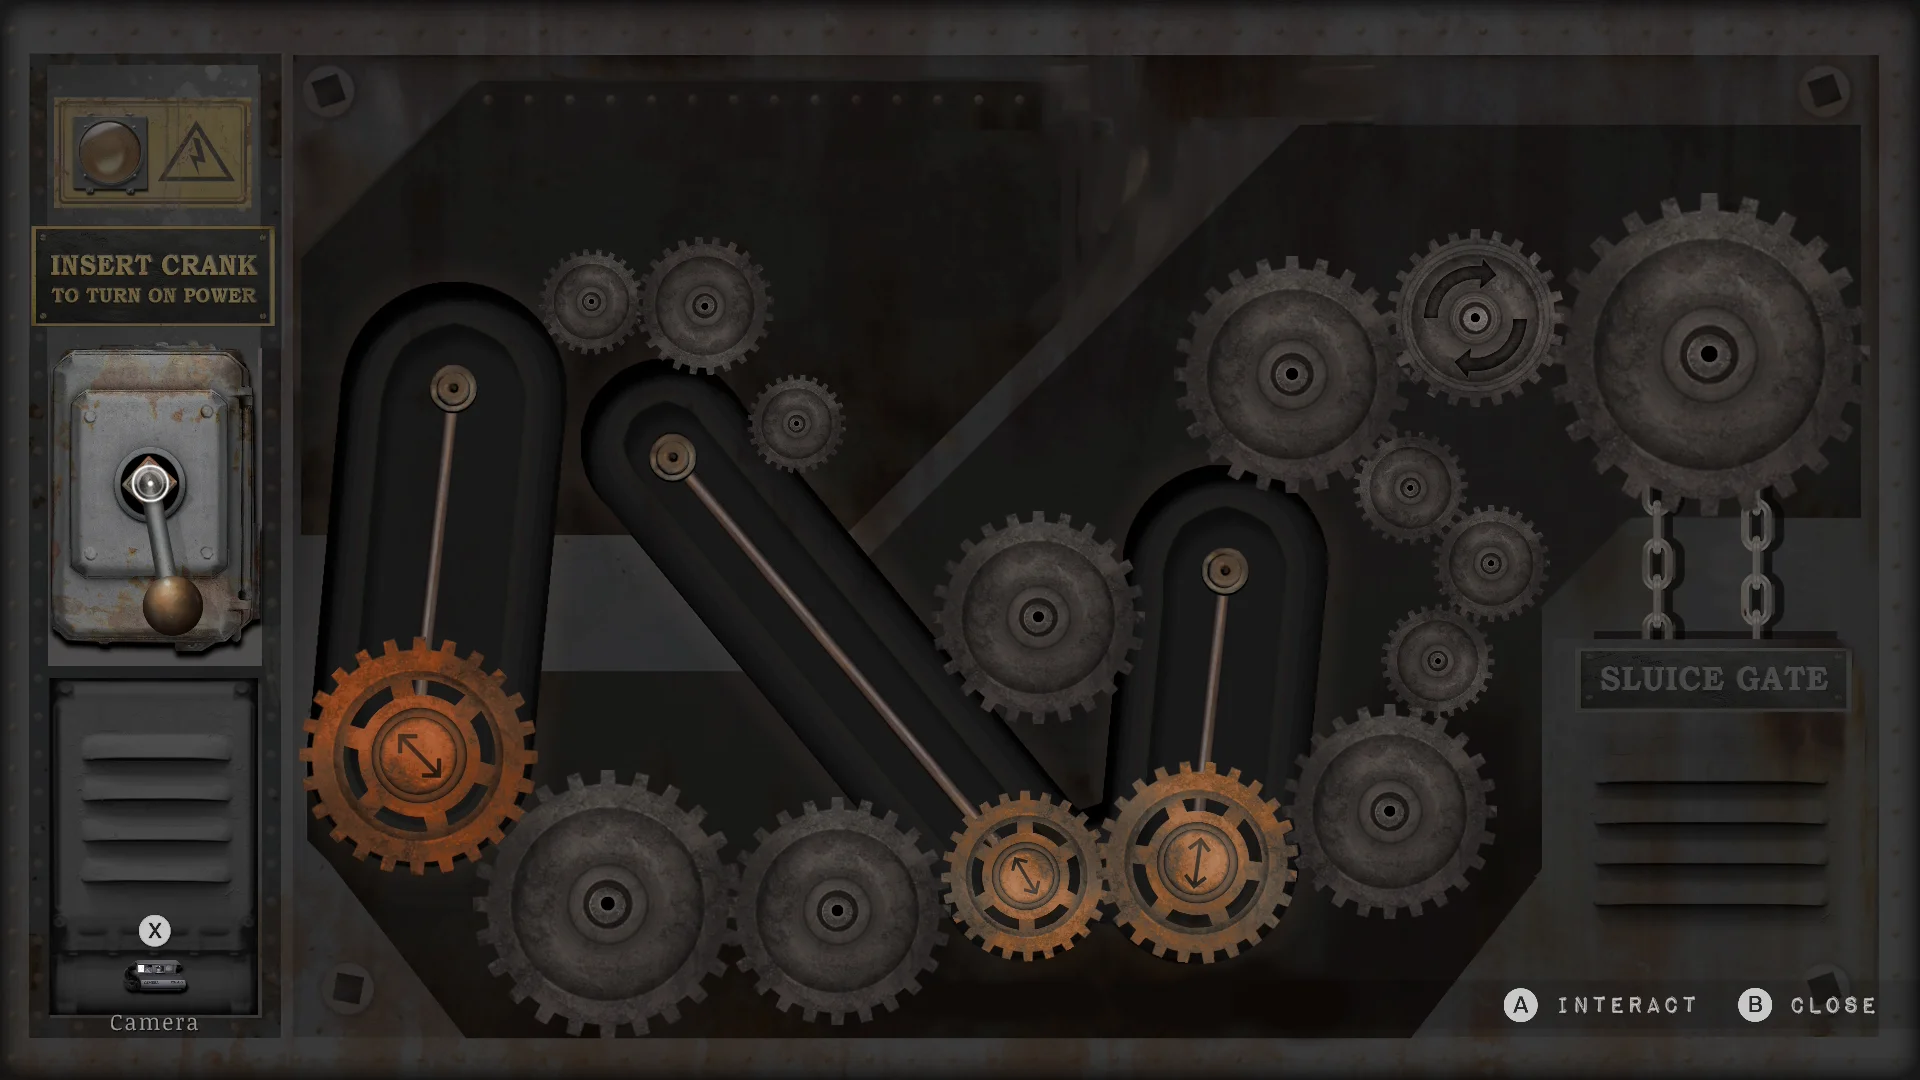
- Open the manhole outside the green building, where the red bird lady lives, with the Manhole Cover Key from the Town Hall.
- Take the Heavy Mechanical Cog from the sewers and fit it in the sluice gate panel on the docks.
- Come back with the Crank Handle and fit it in the panel too.
- Move all three gears to the bottom of their slots, then turn the crank. The water drops, and the rest of the sewers open up.
How to solve the sewer flow control puzzle
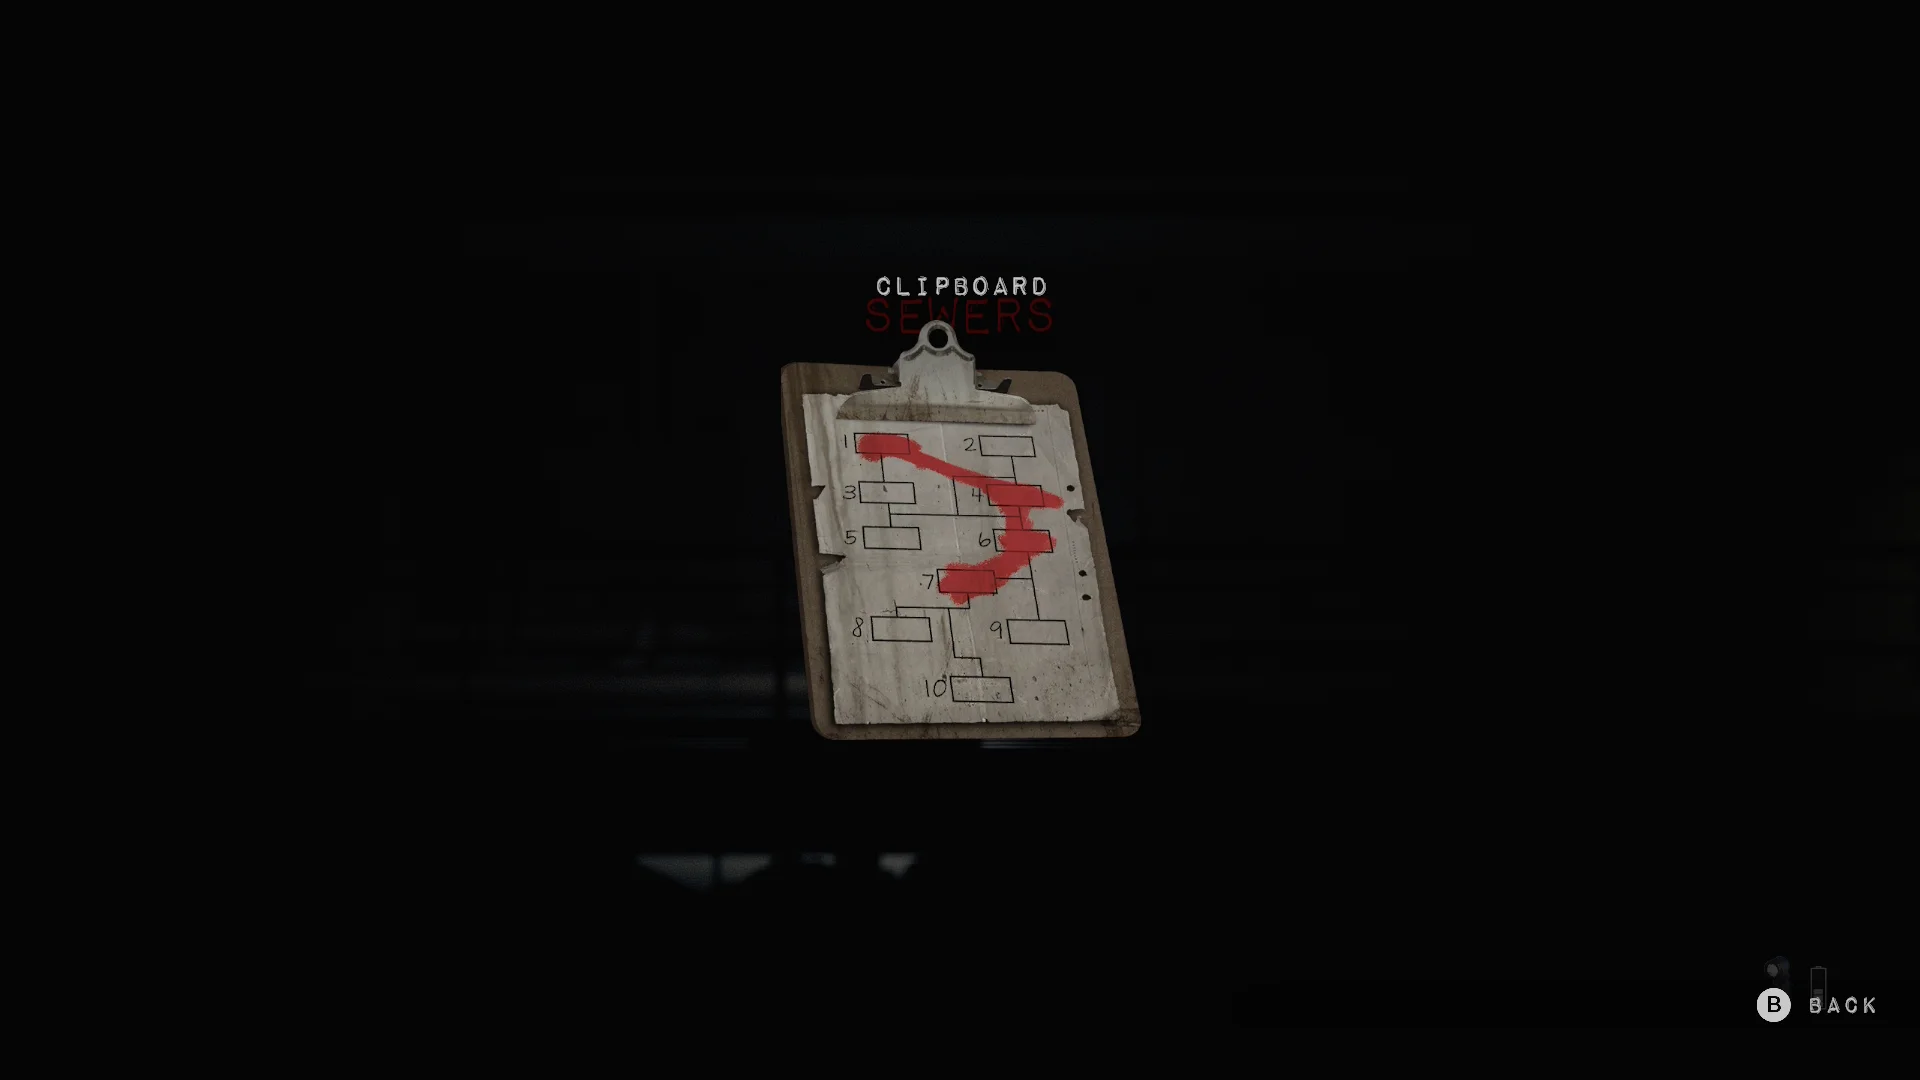
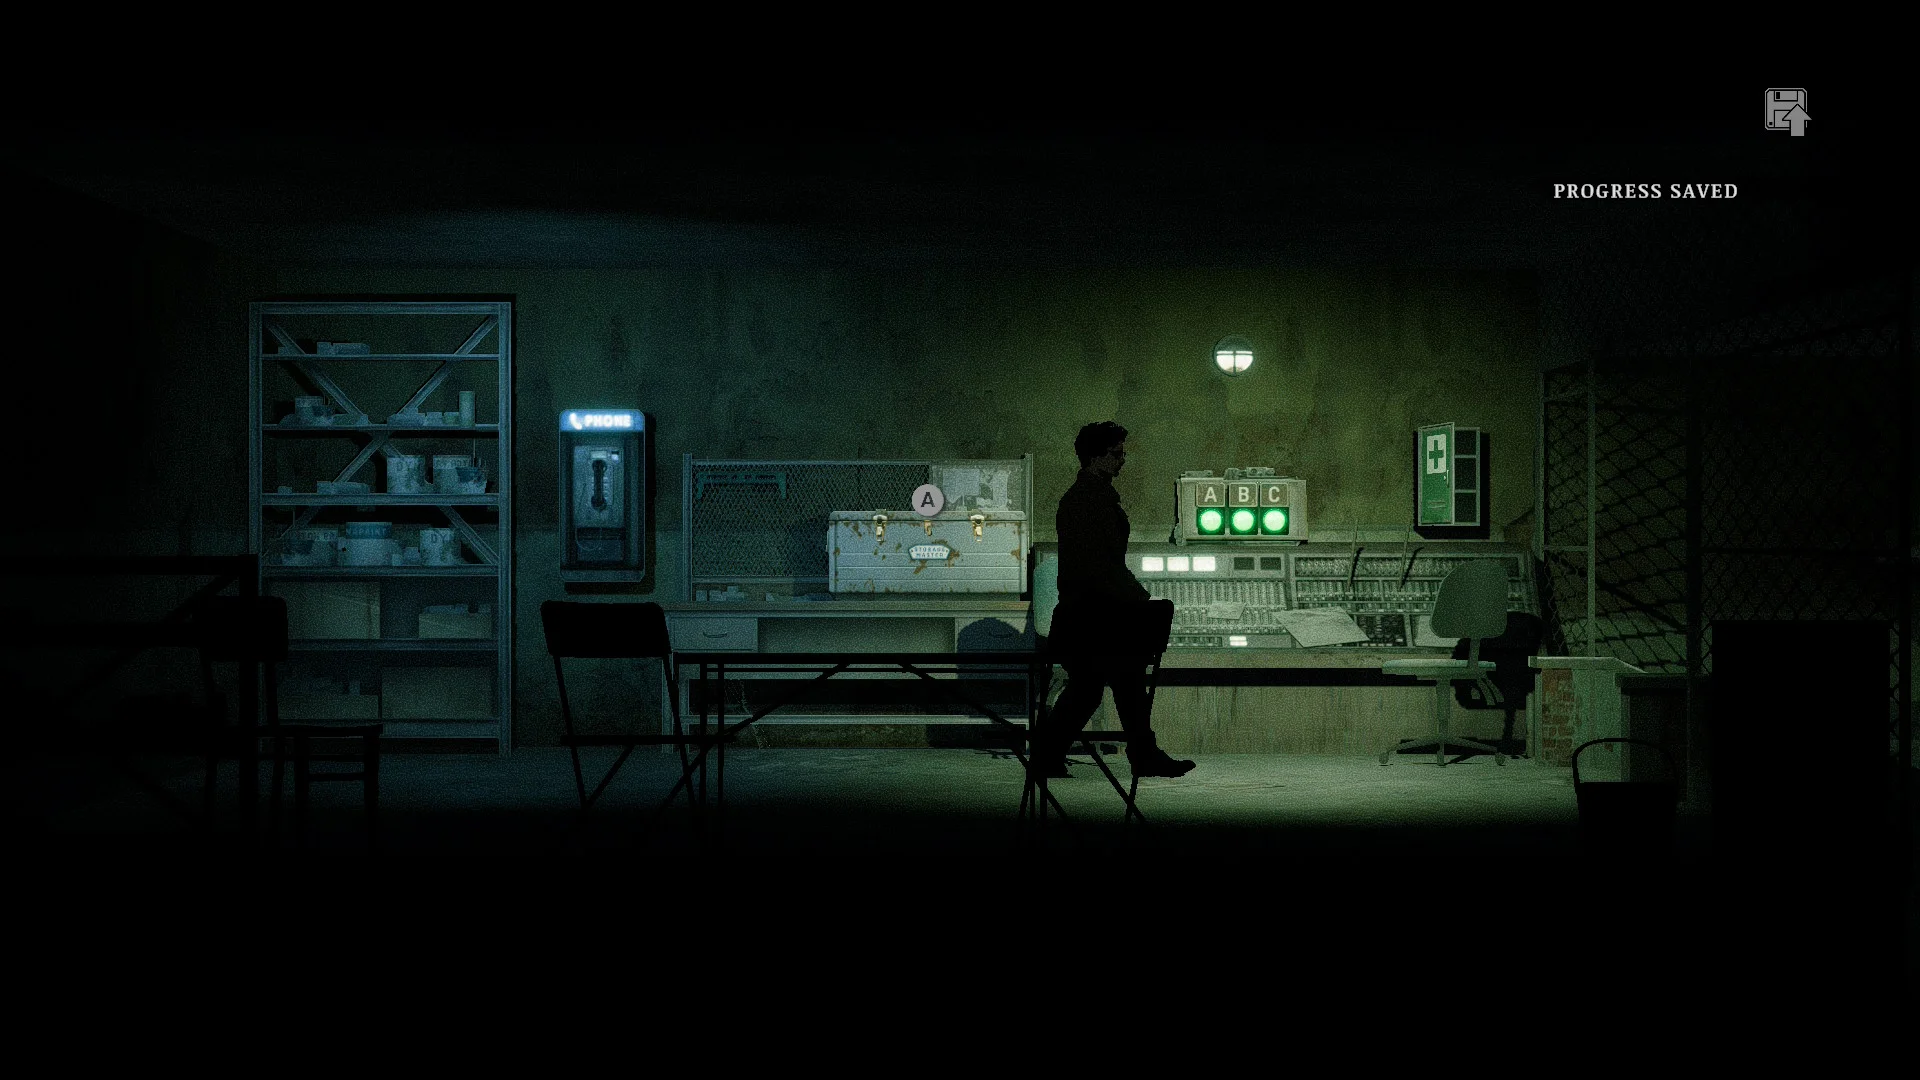
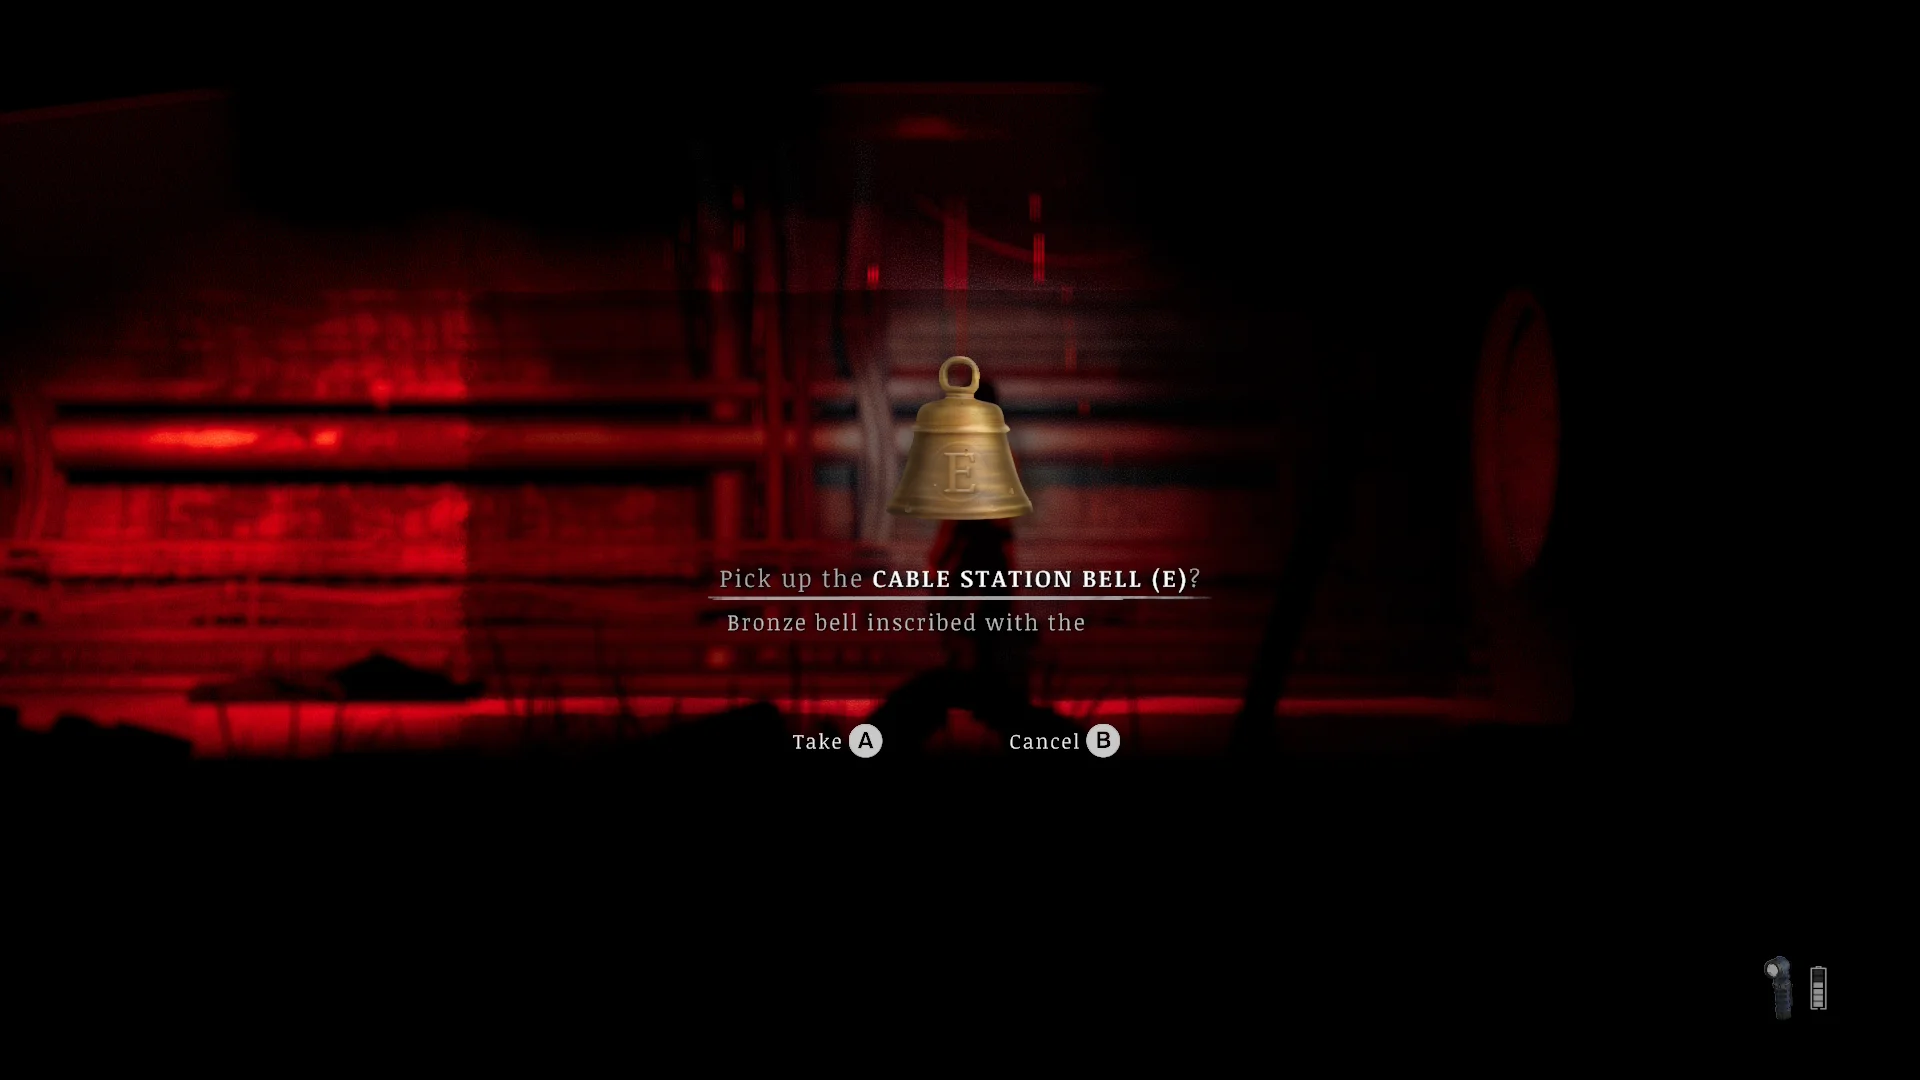
Turn on flow controls A, B, and C, then crank the pressure wheels to maximum in the control room. B hides behind a lockbox with the code 1467, and the main gate opens onto Cable Station Bell E.
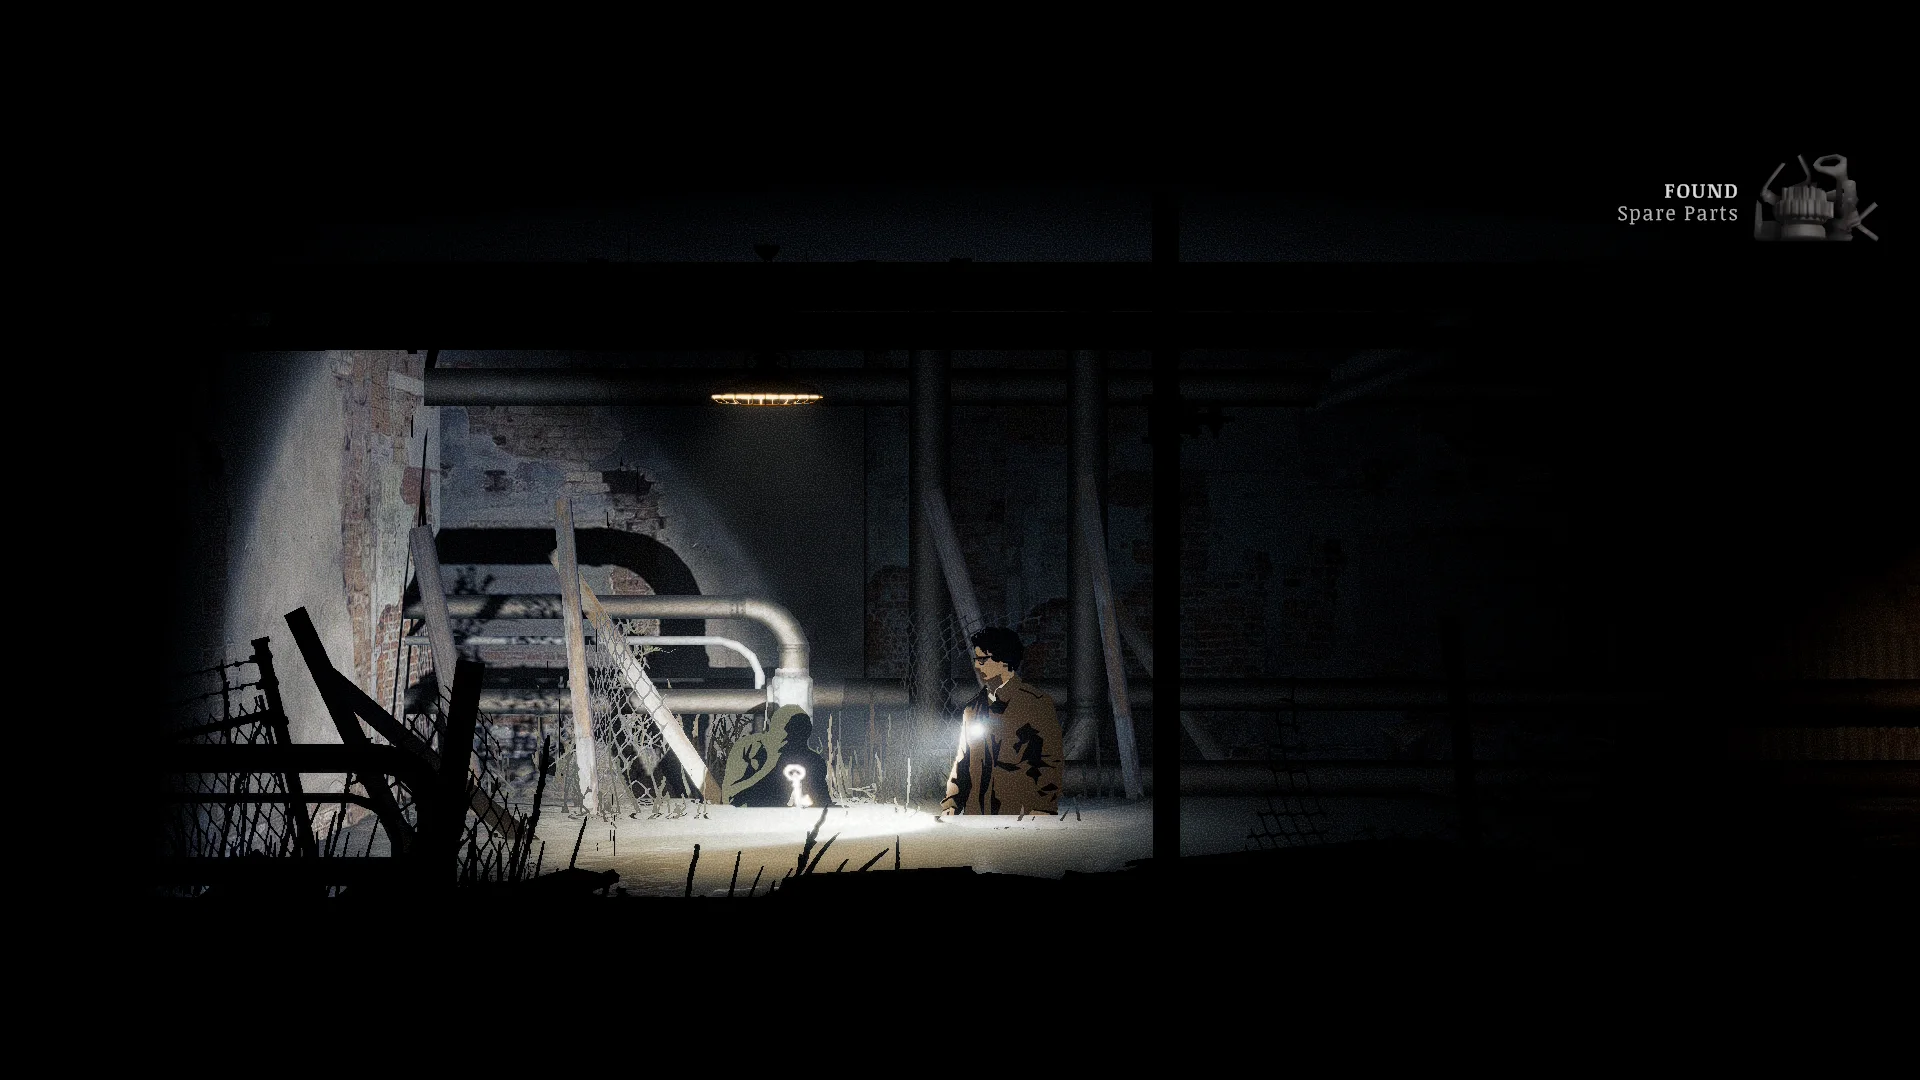
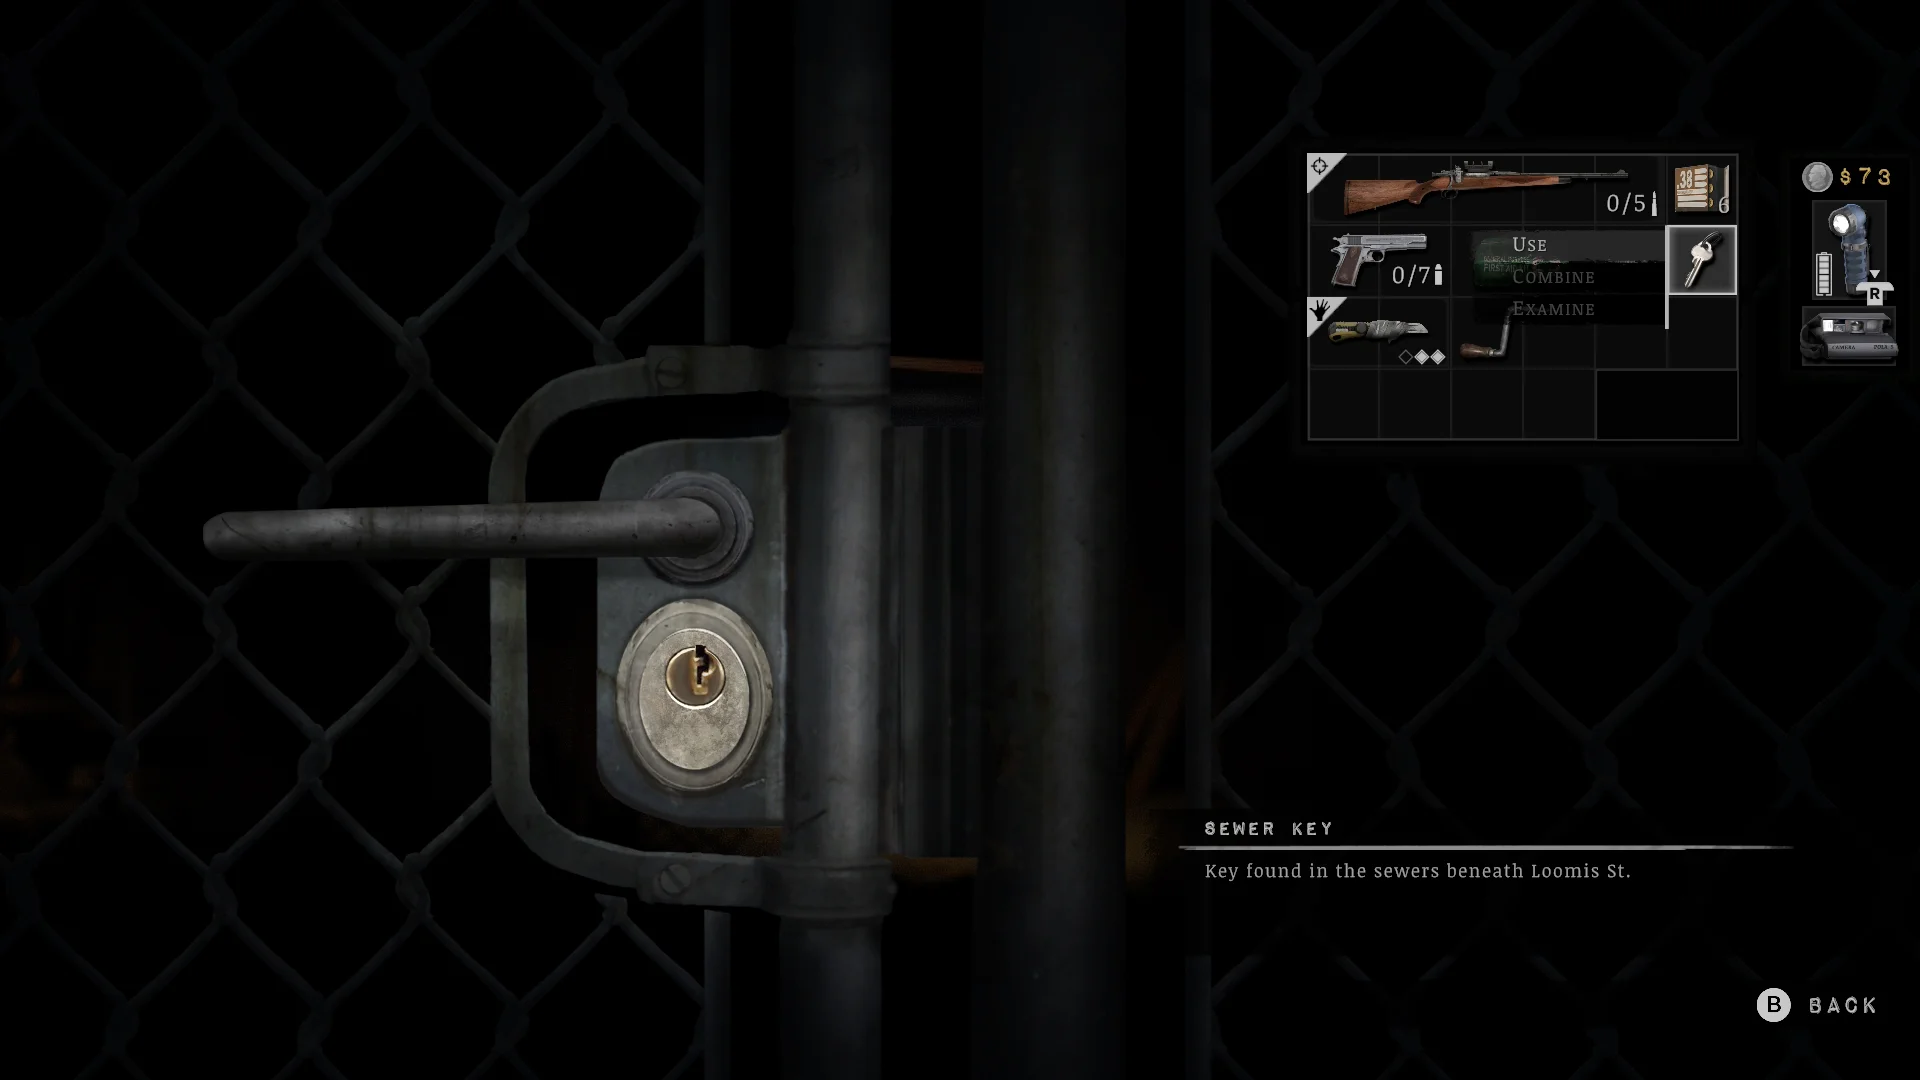



- Go through the Sewer System door by the docks and find the dead worker clutching the Sewer Key. Open the chain-link gate with it.
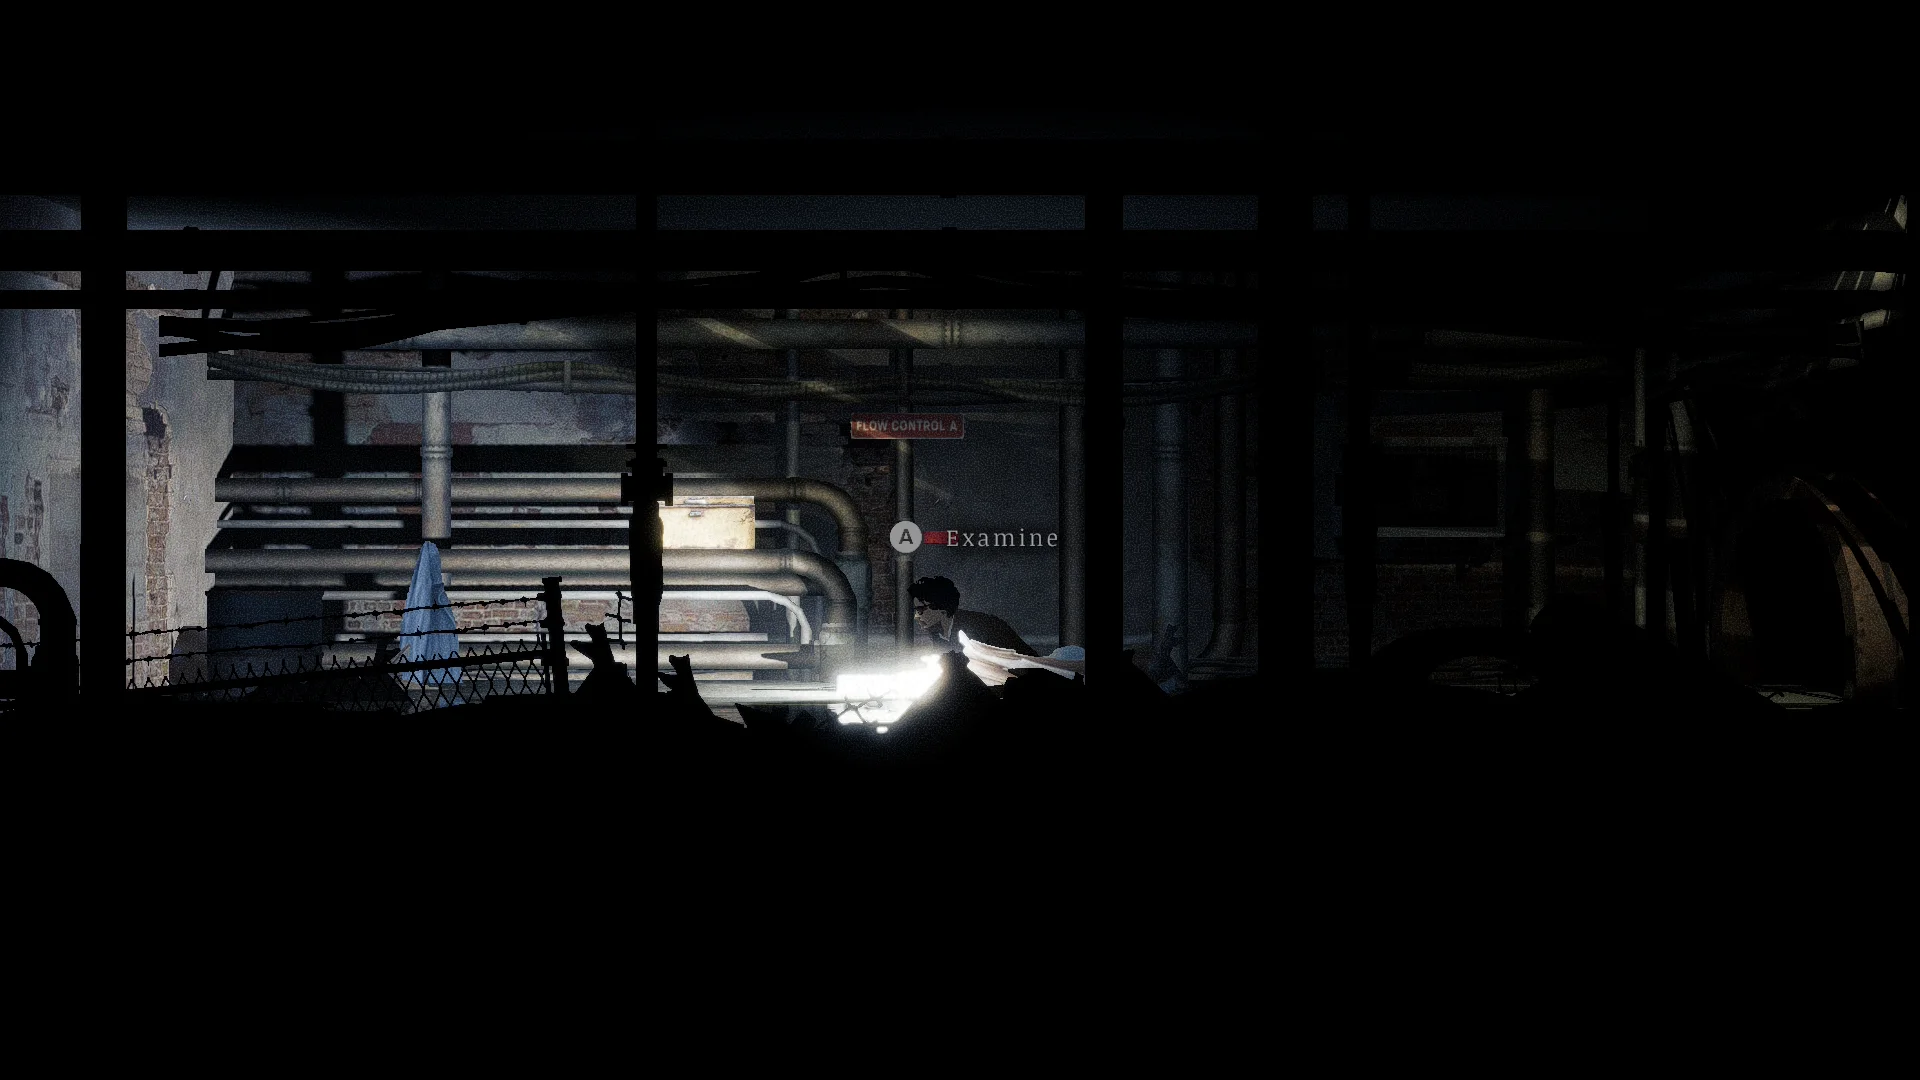
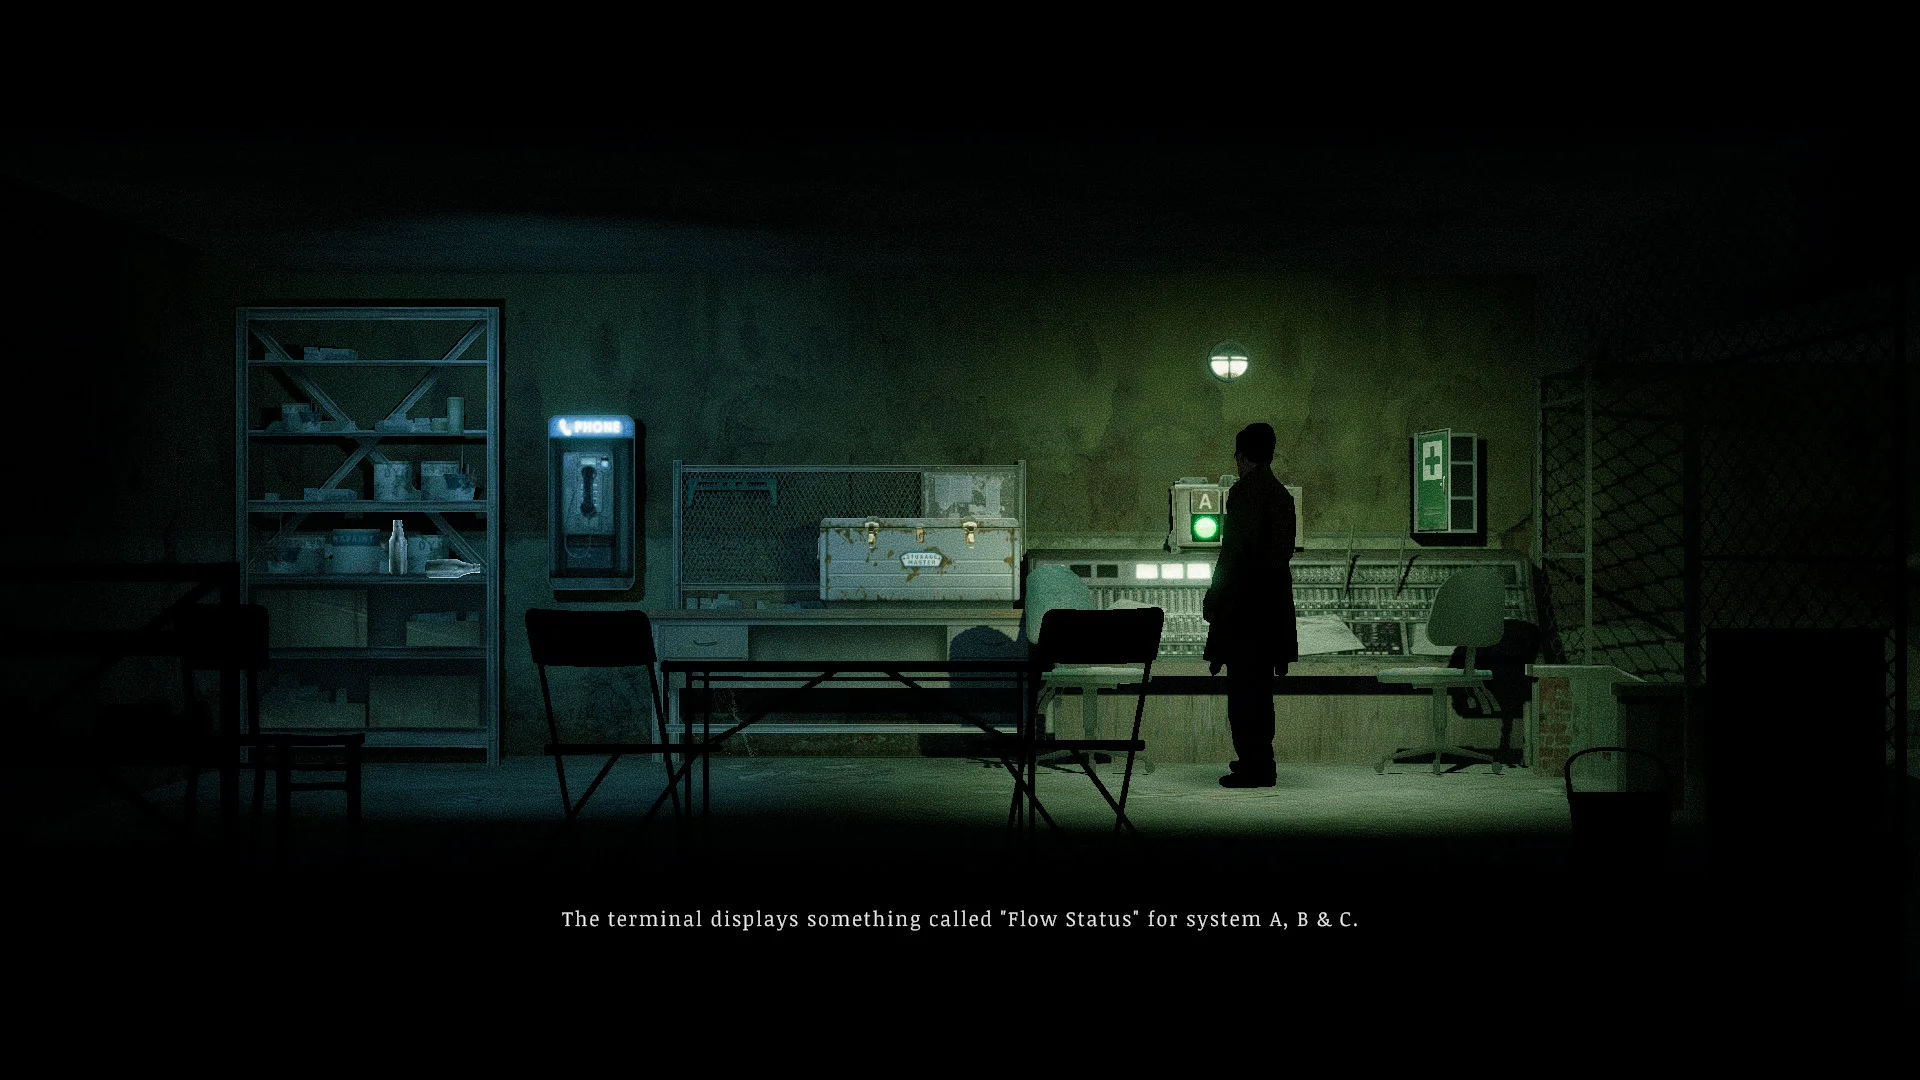
- Turn on Flow Control A, just left of the gate, then follow the pipes to the control room. It has a save point, a payphone, and a terminal that shows which valves are on.
- Keep going past the cracked wall and up the ladder to turn on Flow Control C.
- Find the clipboard with a pipe diagram. A red line runs through boxes 1, 4, 6 and 7, and that’s your lockbox code.
- Save, then enter 1467 to reach valve B and turn it on. A boss fight follows.
- Go back to the control room and check that all three lights show green. Turn each pressure wheel all the way up.
- Walk through the main gate. Survive a jump scare and a vision of an old man, then pick up Cable Station Bell E.
Side quests
How to solve the Ring Box puzzle and find all the Stars
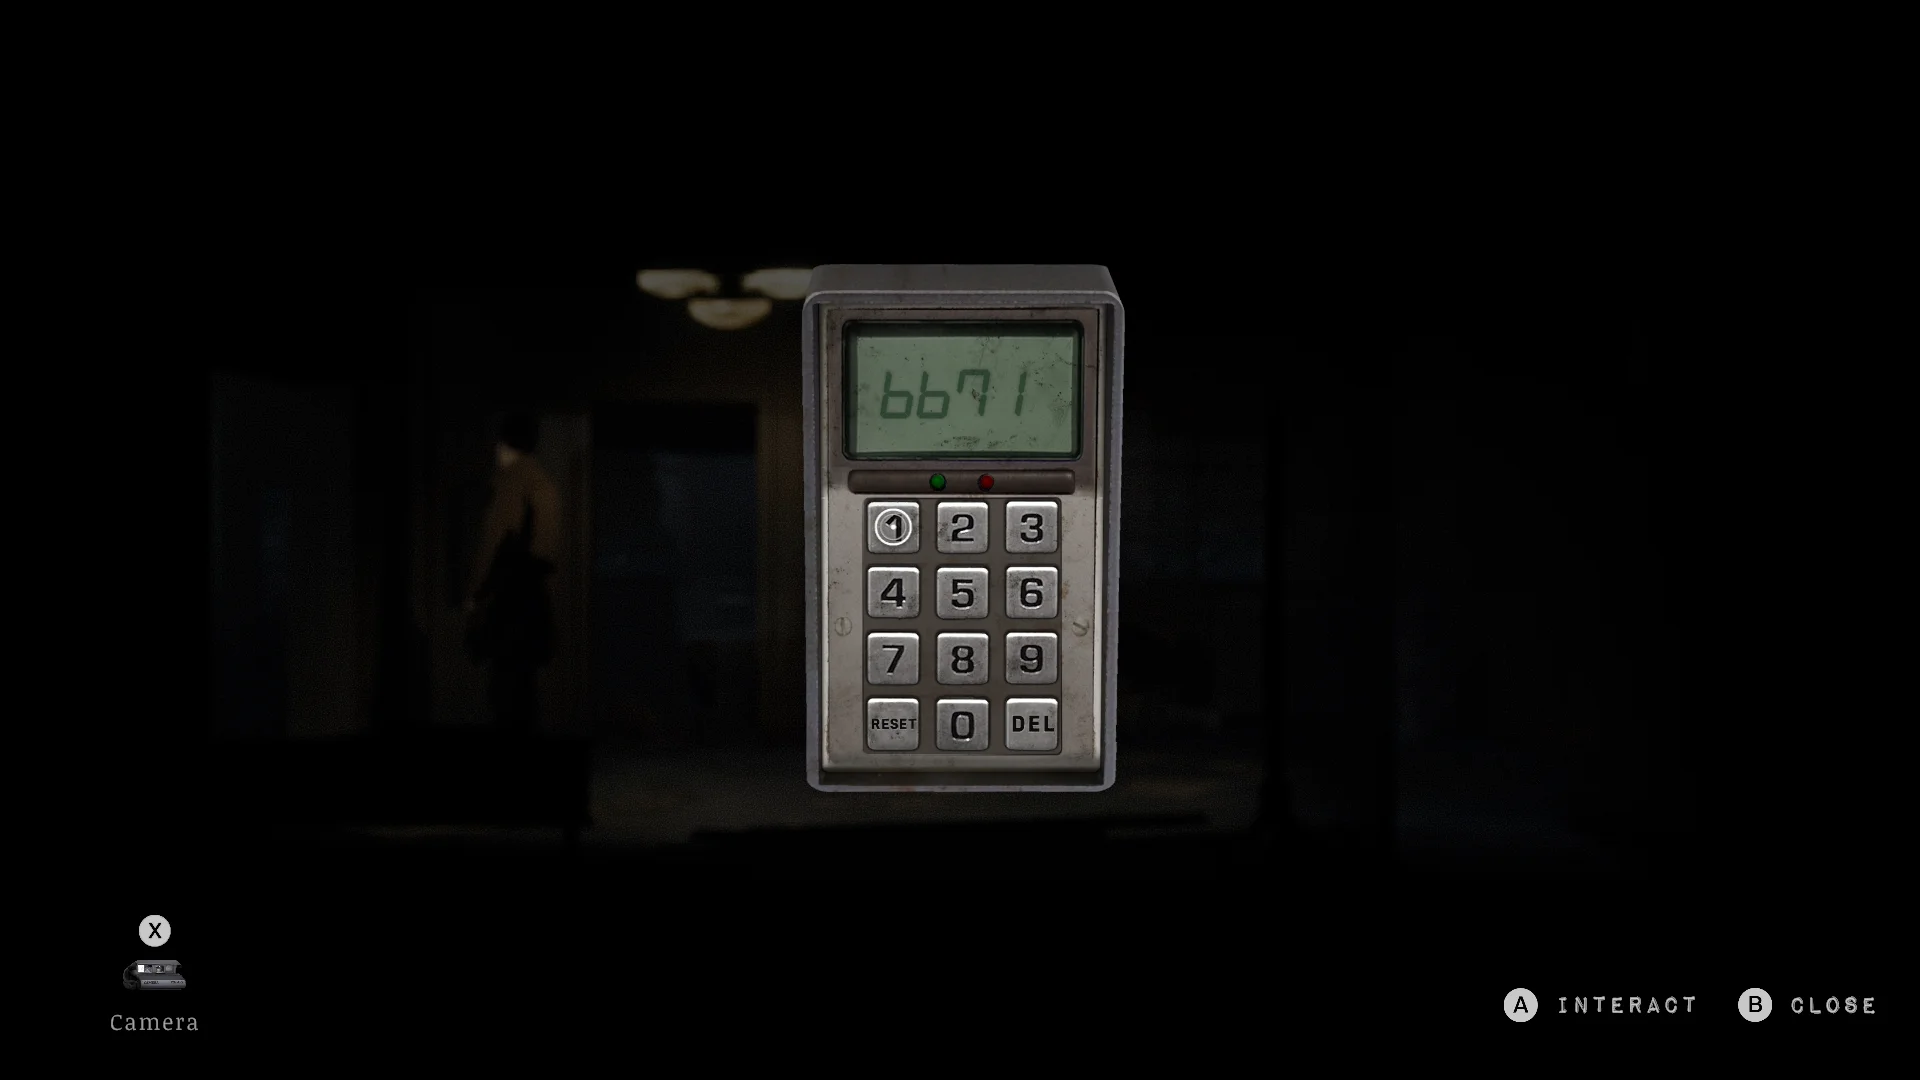
The Locked Ring Box from the diner needs four Stars. I’ve found two so far: one in the Rabbit Hole bar and one behind the keypad in Room 3 of the Crimson Bear Motel (code 6671). I’ll add more steps as I uncover them.
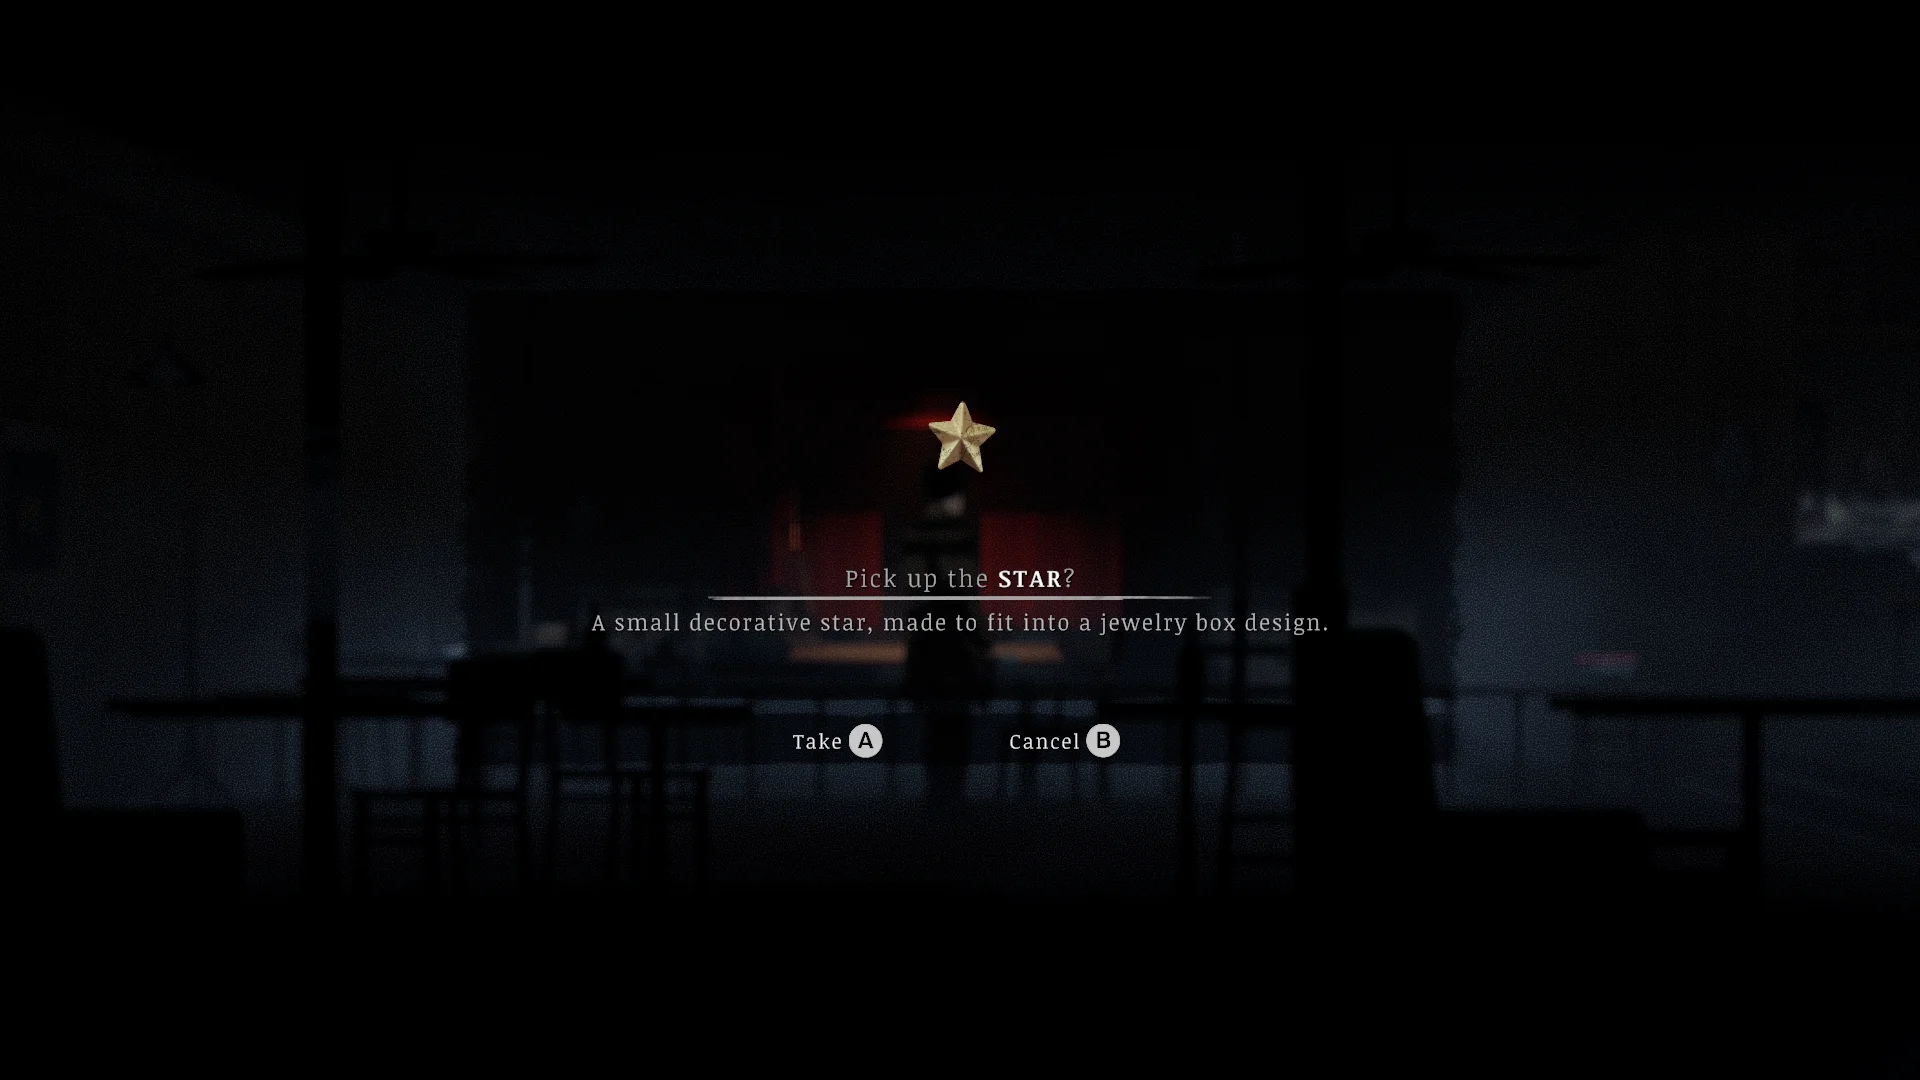


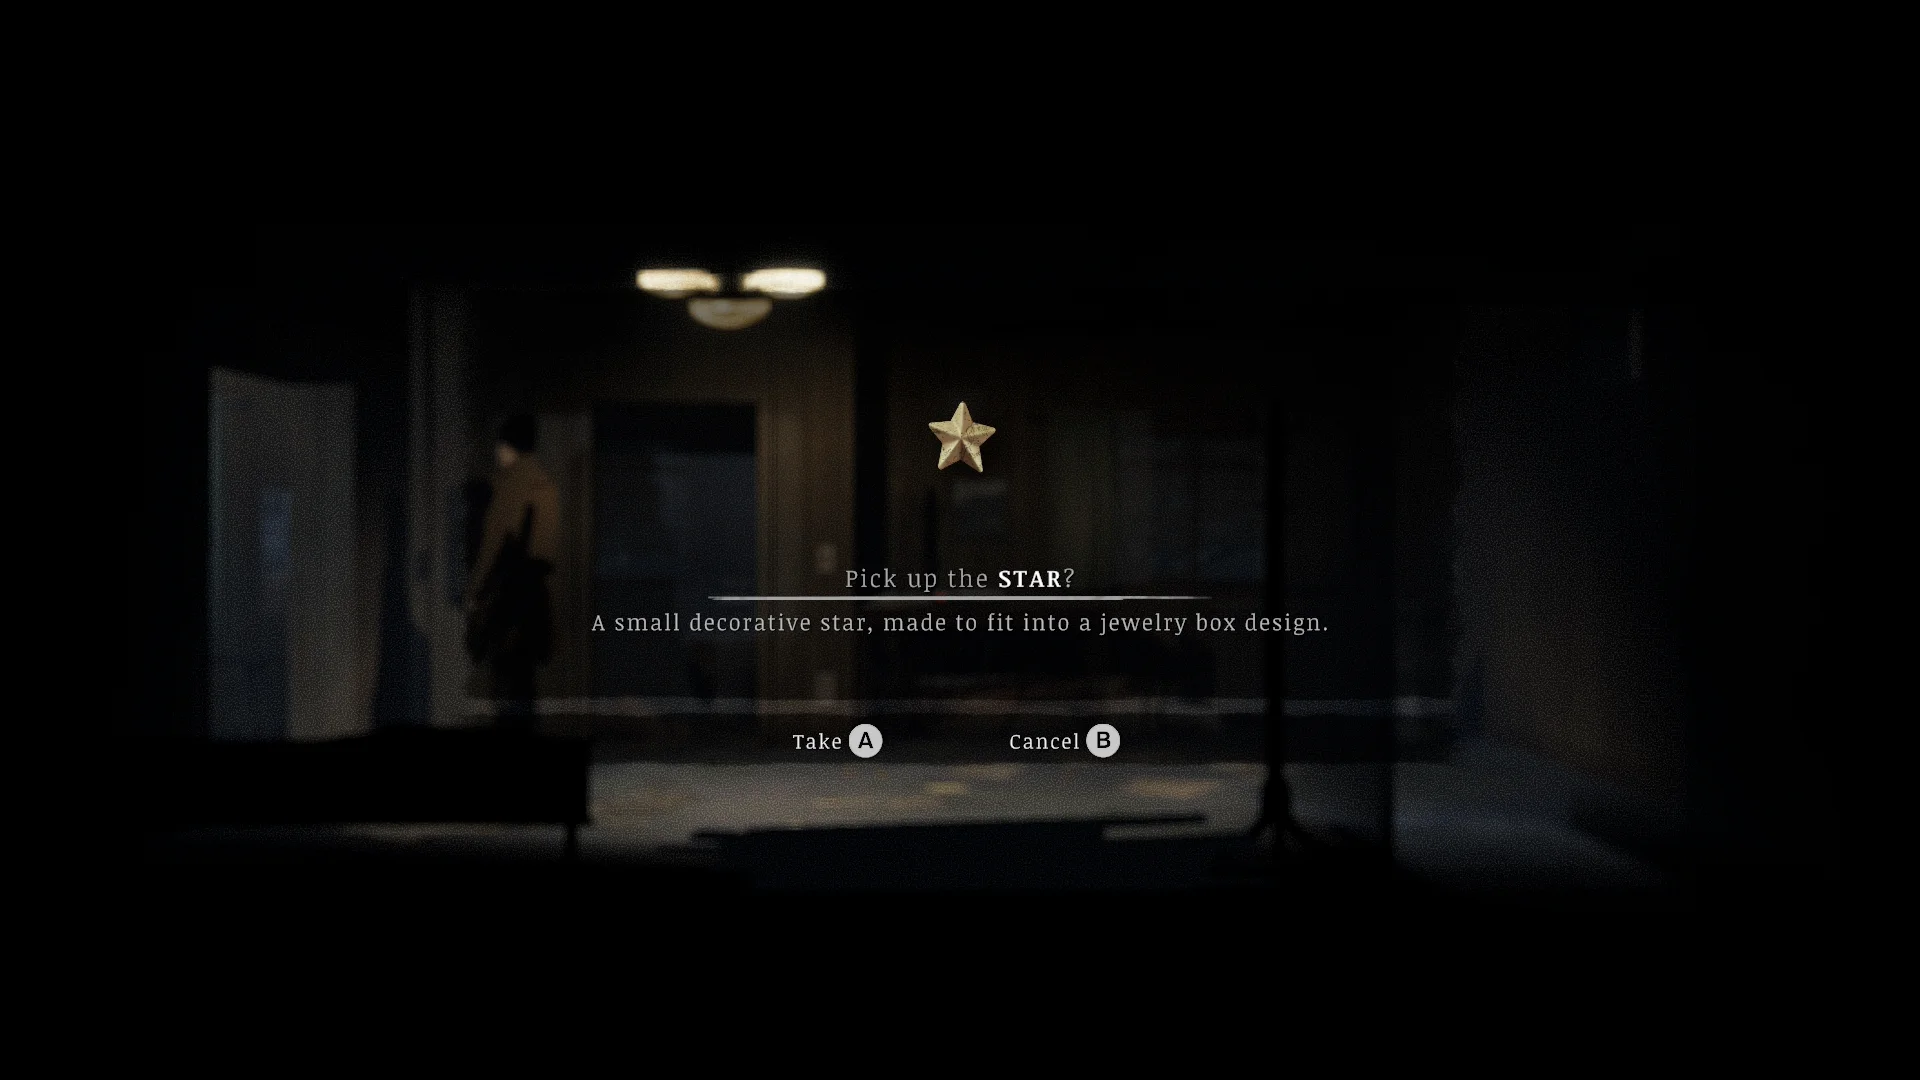
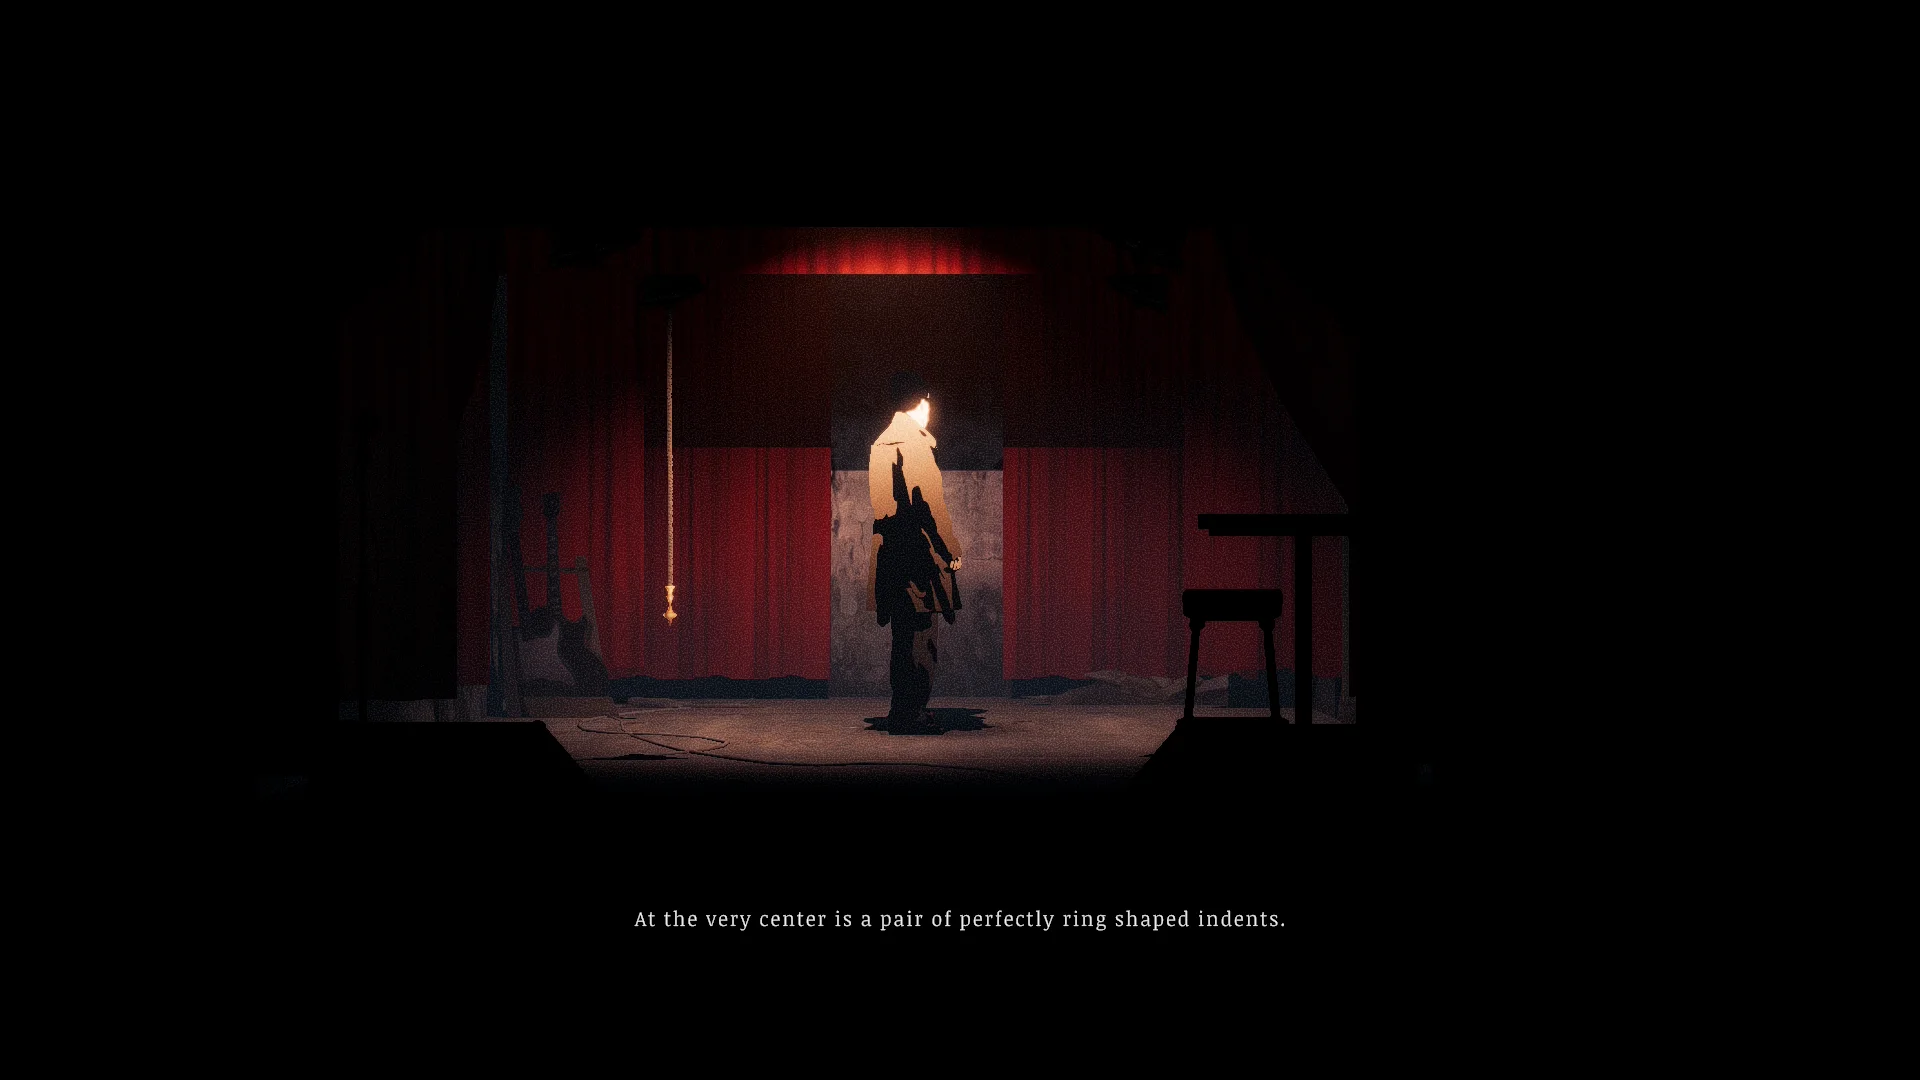
- Pick up the first Star inside the Rabbit Hole bar and combine it with the Locked Ring Box.
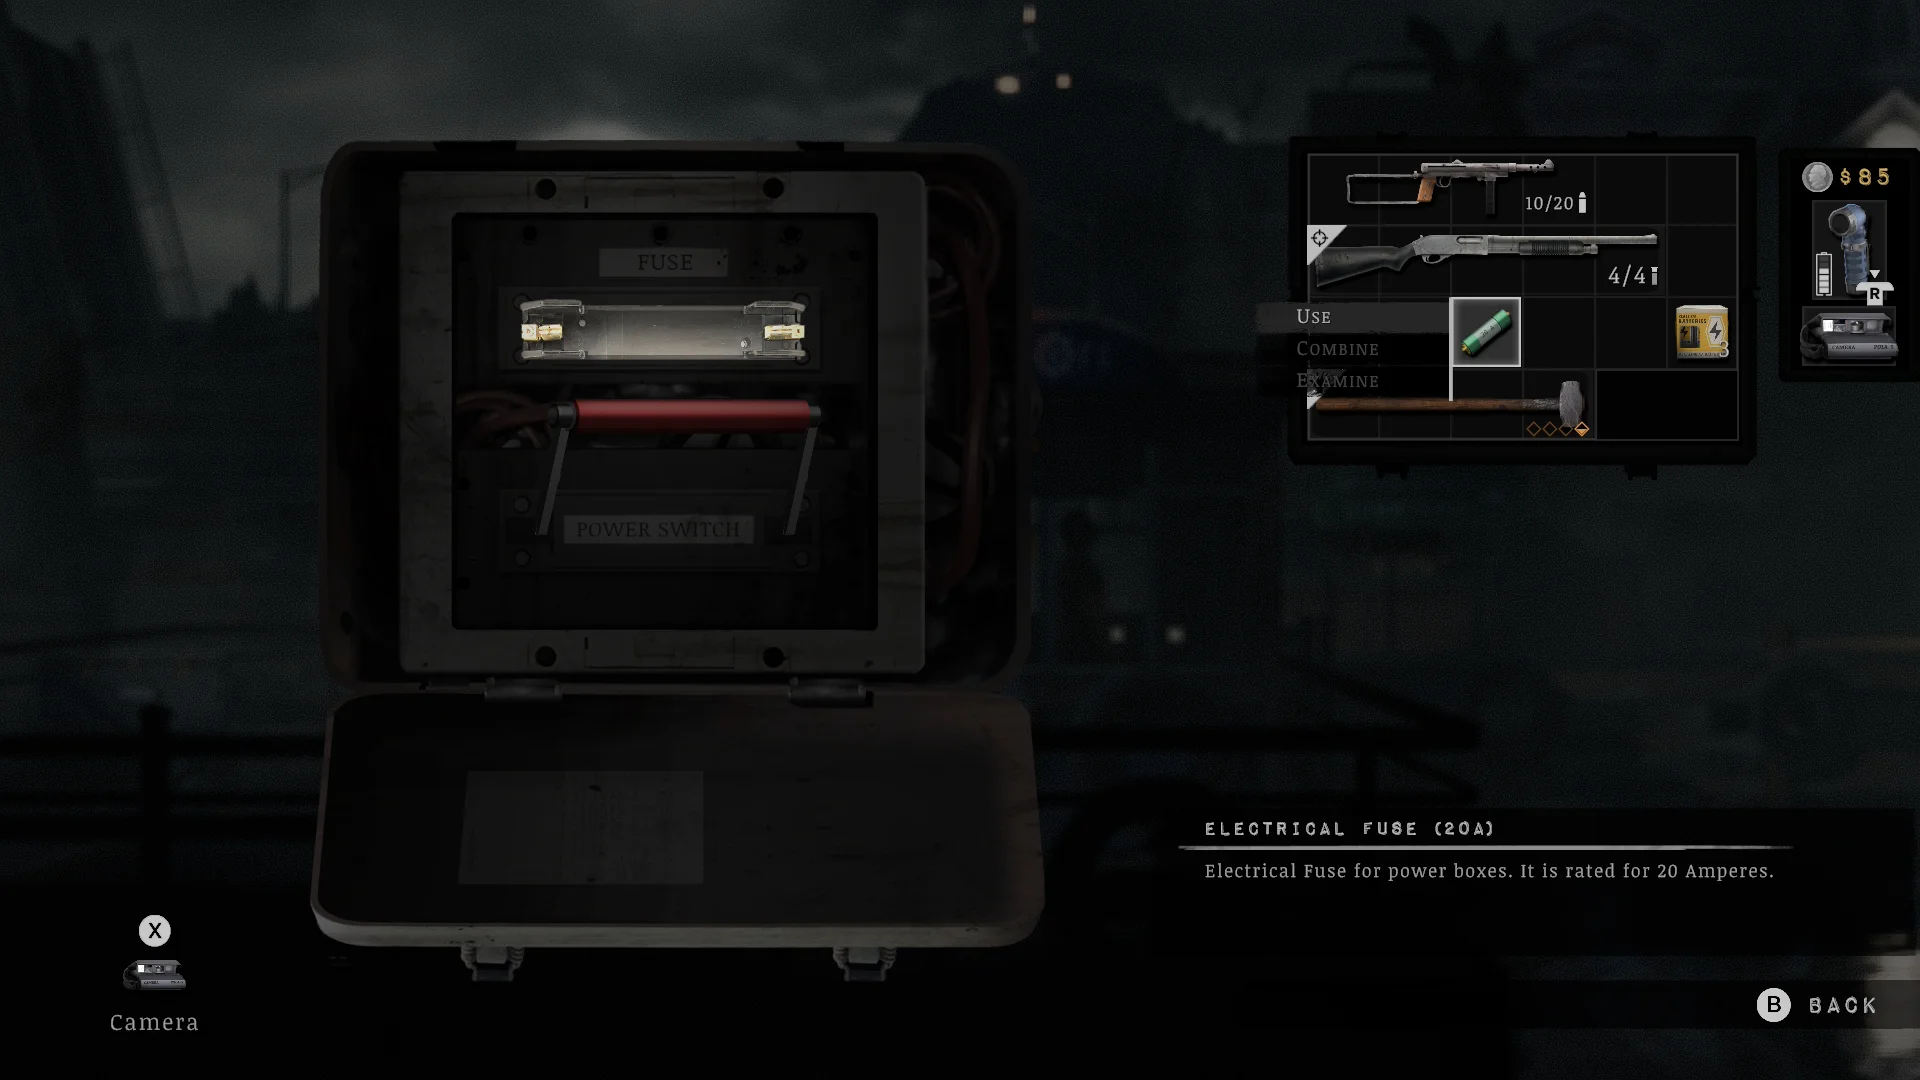
- To reach the second one, fit an Electrical Fuse (20A) in the fuse box at the ferry landing and switch on the power. The ferry carries you back to the Outskirts.
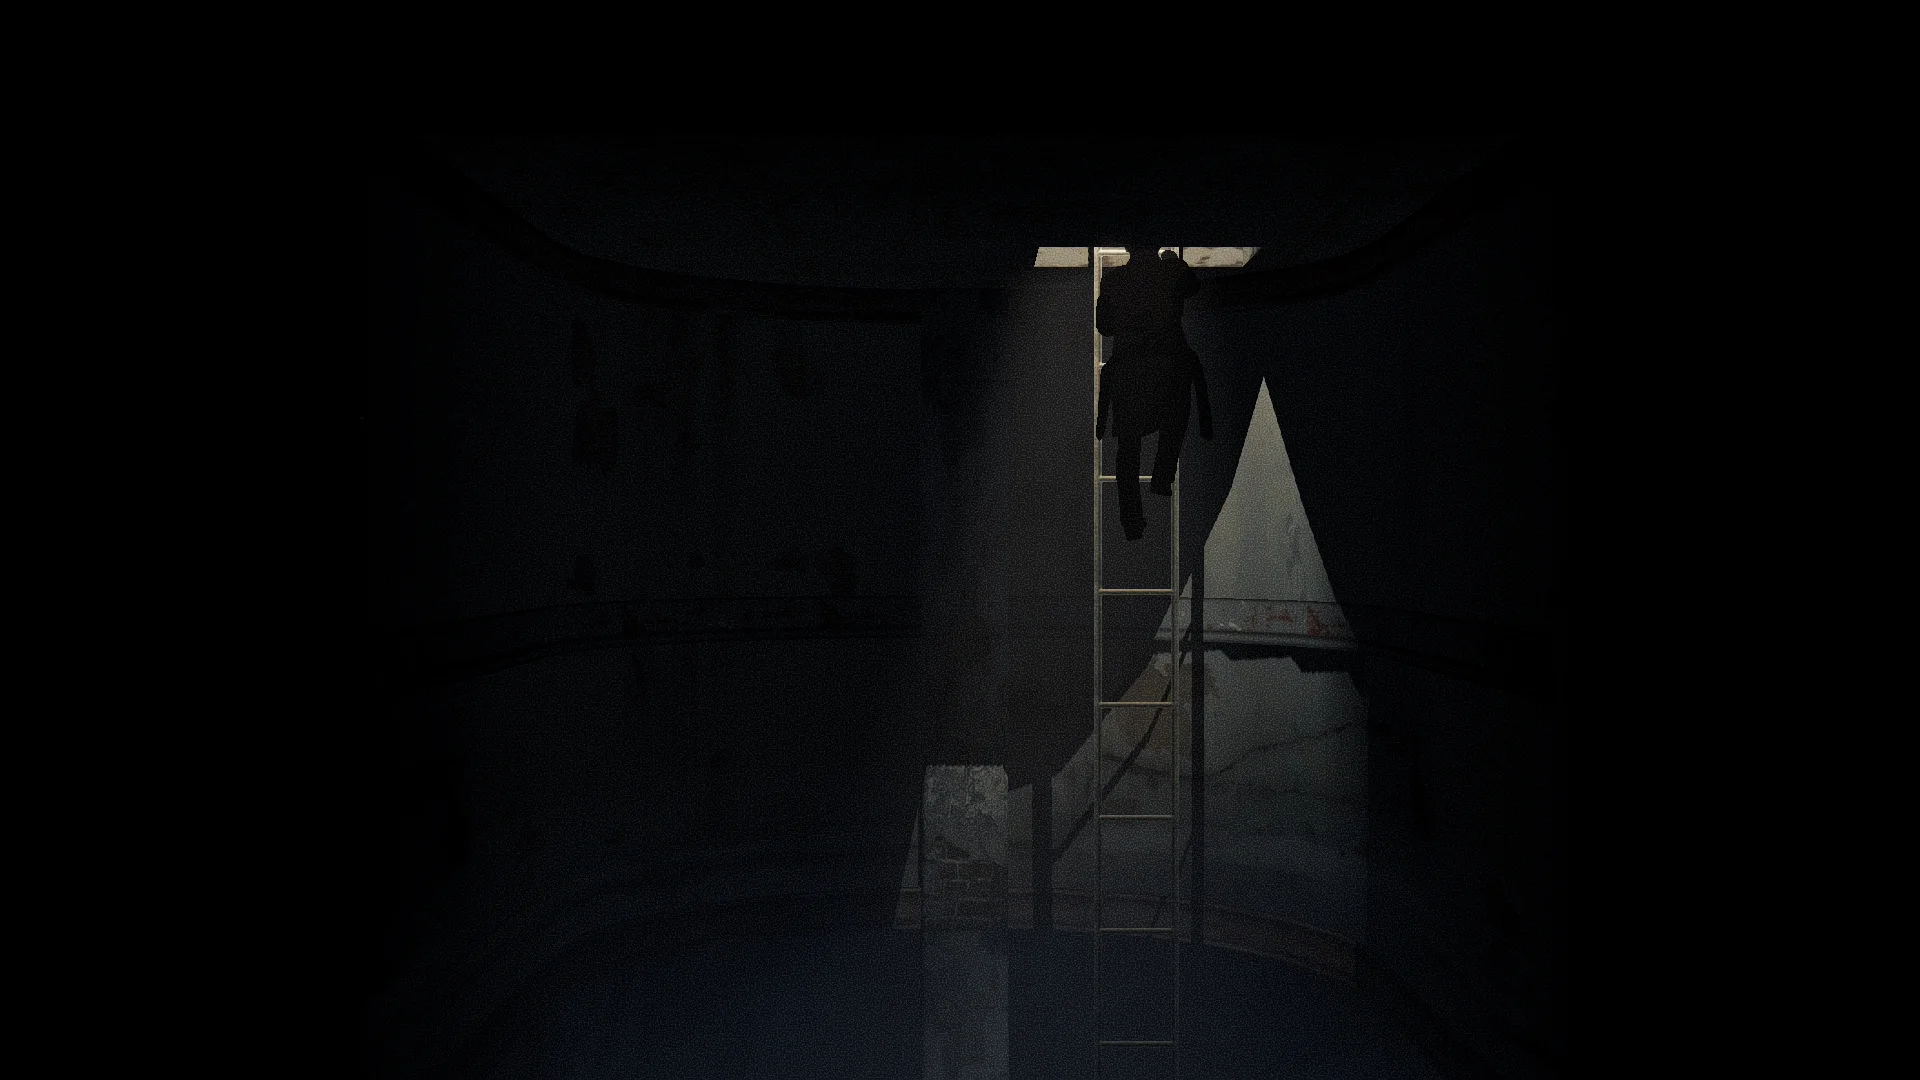
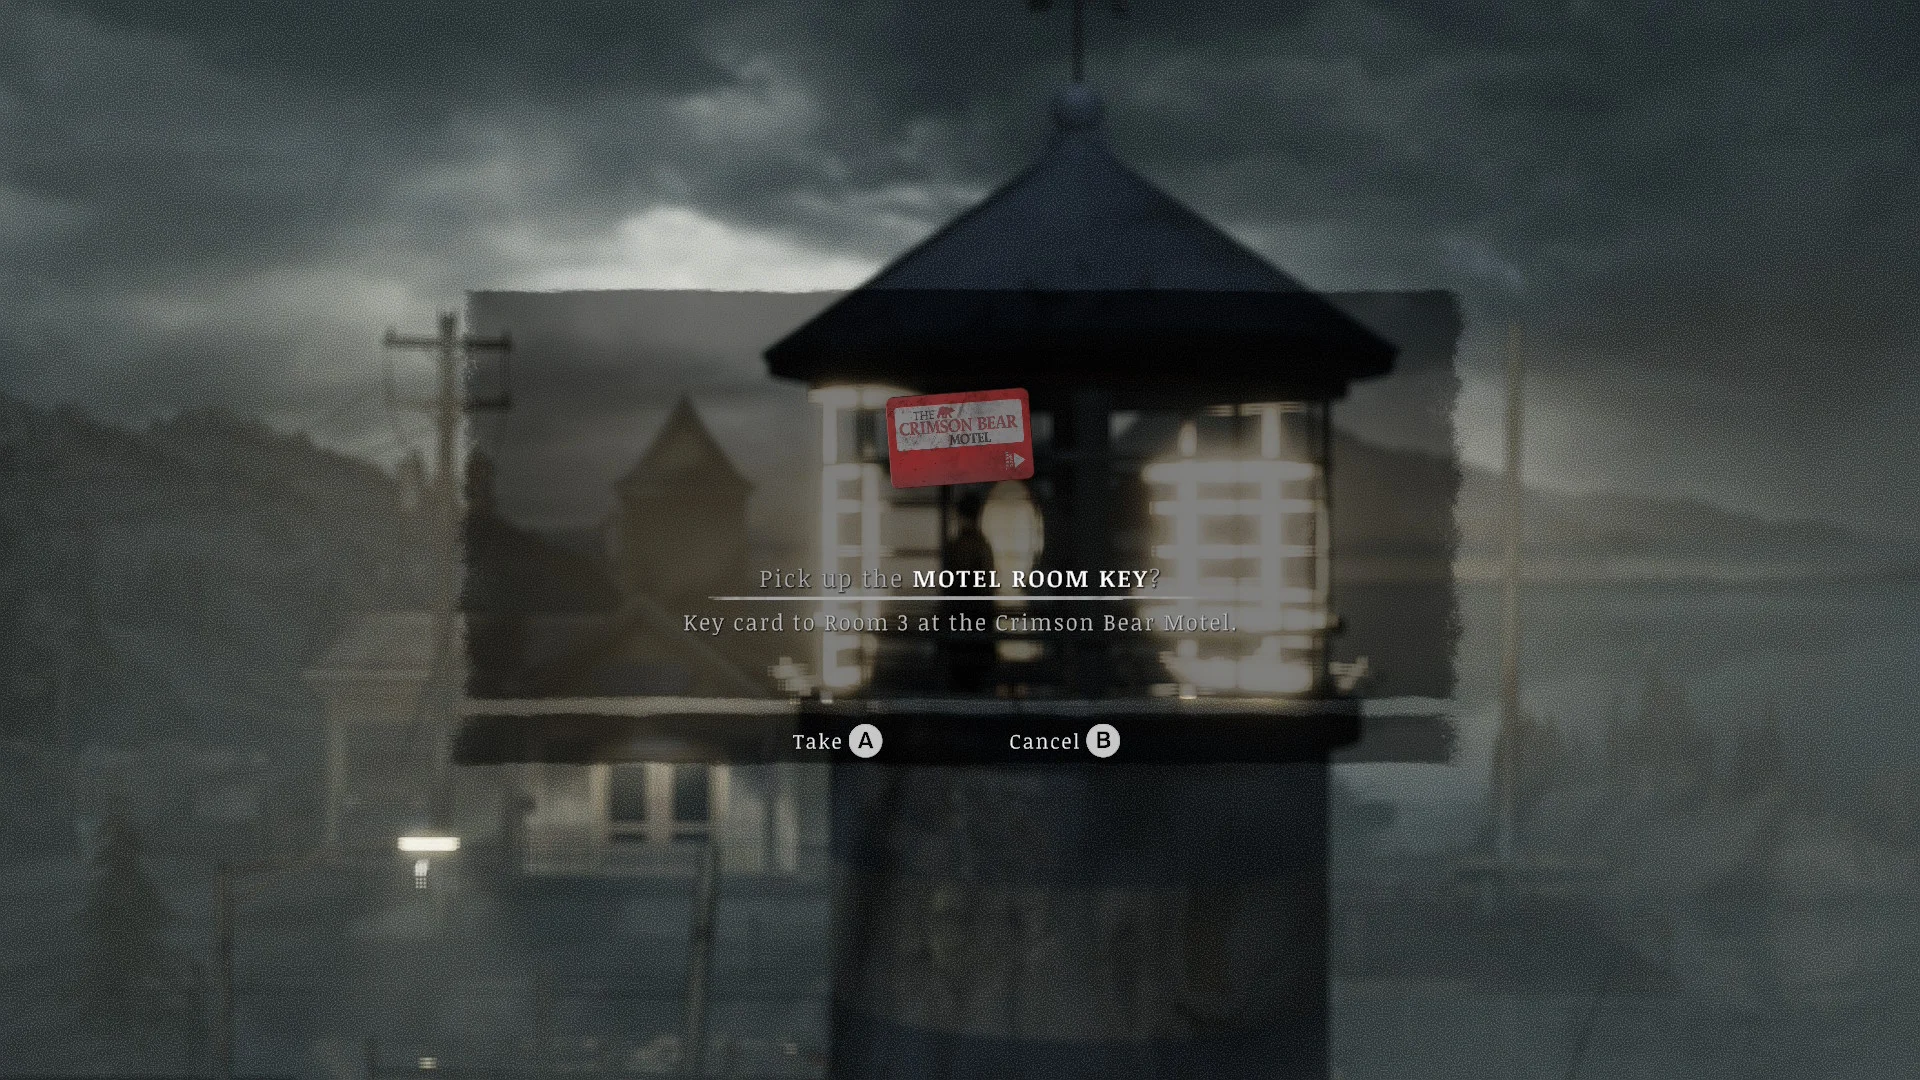
- Smash the wall that leads to the lighthouse with the sledgehammer and climb the long ladder inside. The Motel Room Key at the top is the keycard for Room 3.
- Open Room 3, take the Cassette Tape, and enter 6671 on the keypad. It’s the weapon locker code again, because nobody in this town changes their passwords. The second Star sits behind it.
- Look at the Rabbit Hole stage while you’re there. It has two ring-shaped dents for gold rings, and I haven’t found the rings yet either.
How to fix the boat
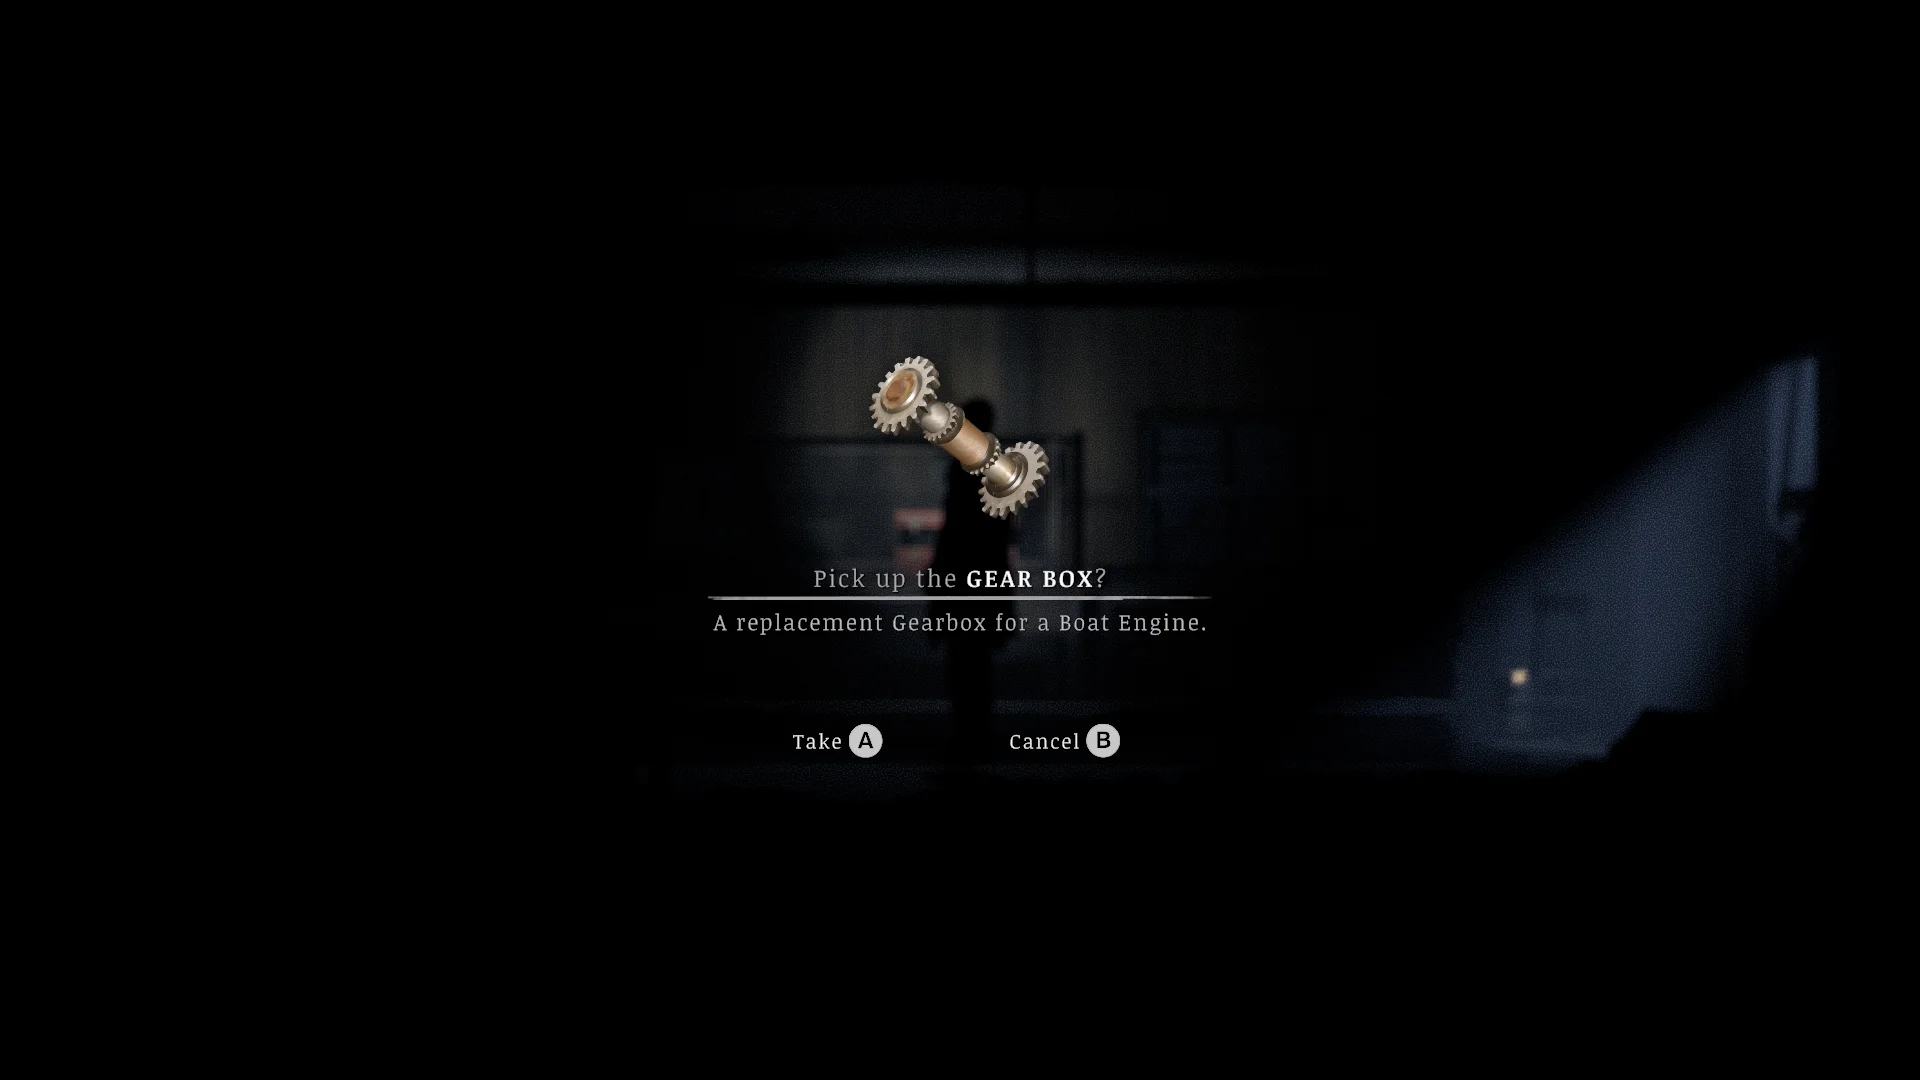
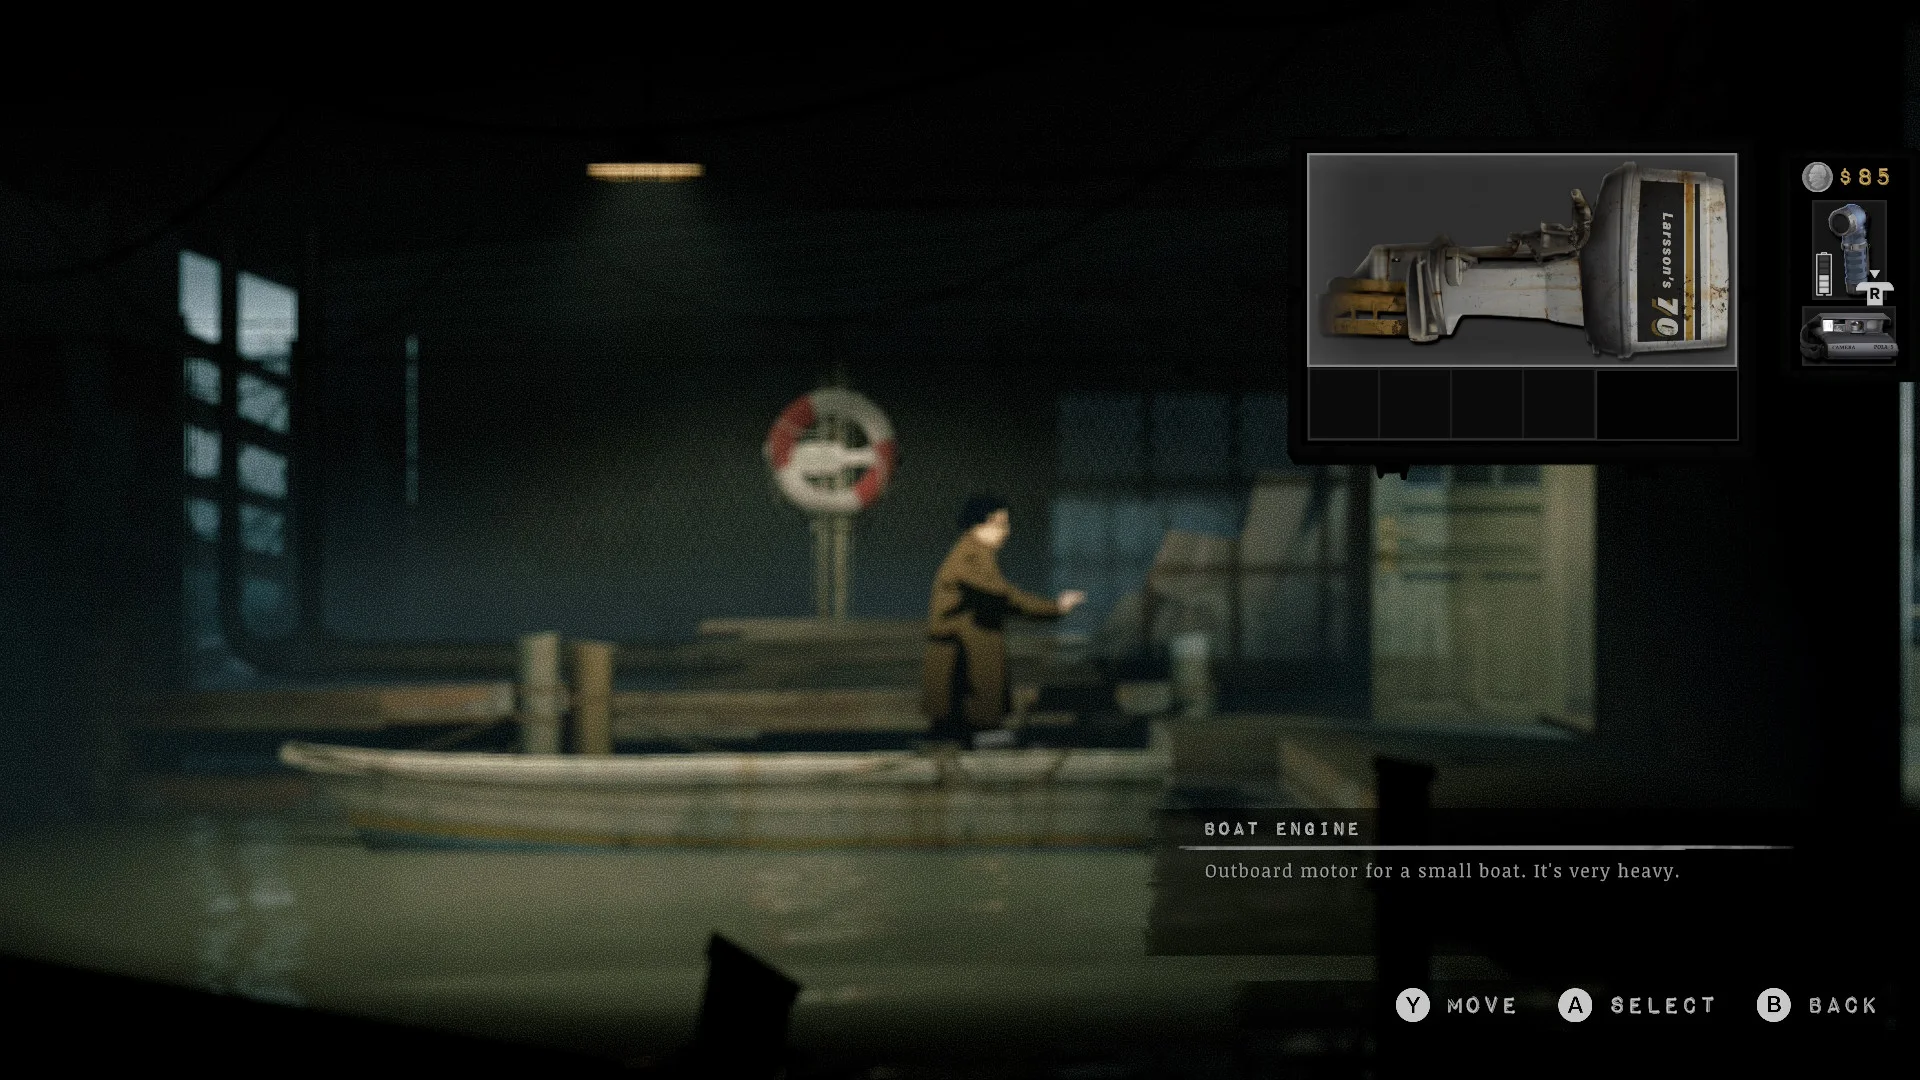
Blast the shed wall near the diner, open the lockbox with 1972, and bolt the Gear Box onto the boat engine in the Downtown boathouse.
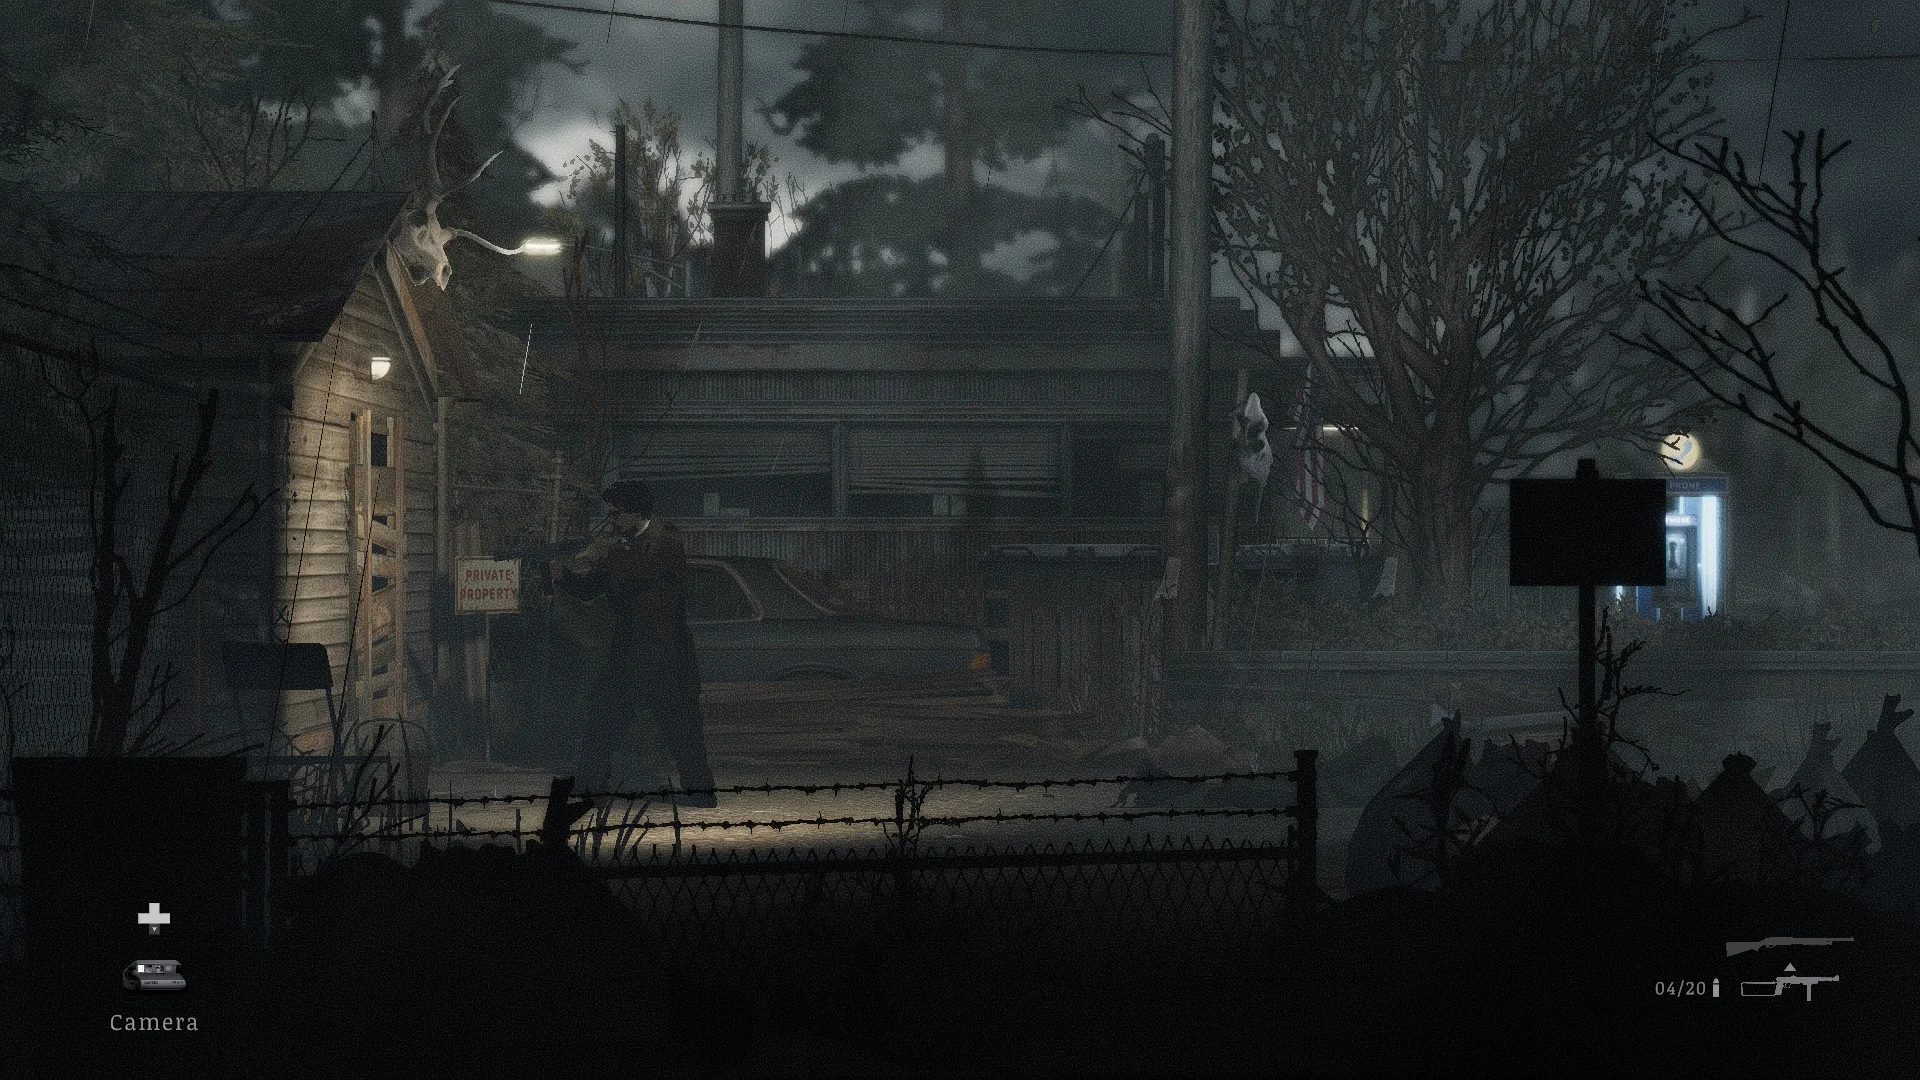
- Walk forward and left from the first payphone by the diner to a shed with a “Private Property” sign. Blast its wall with the shotgun.
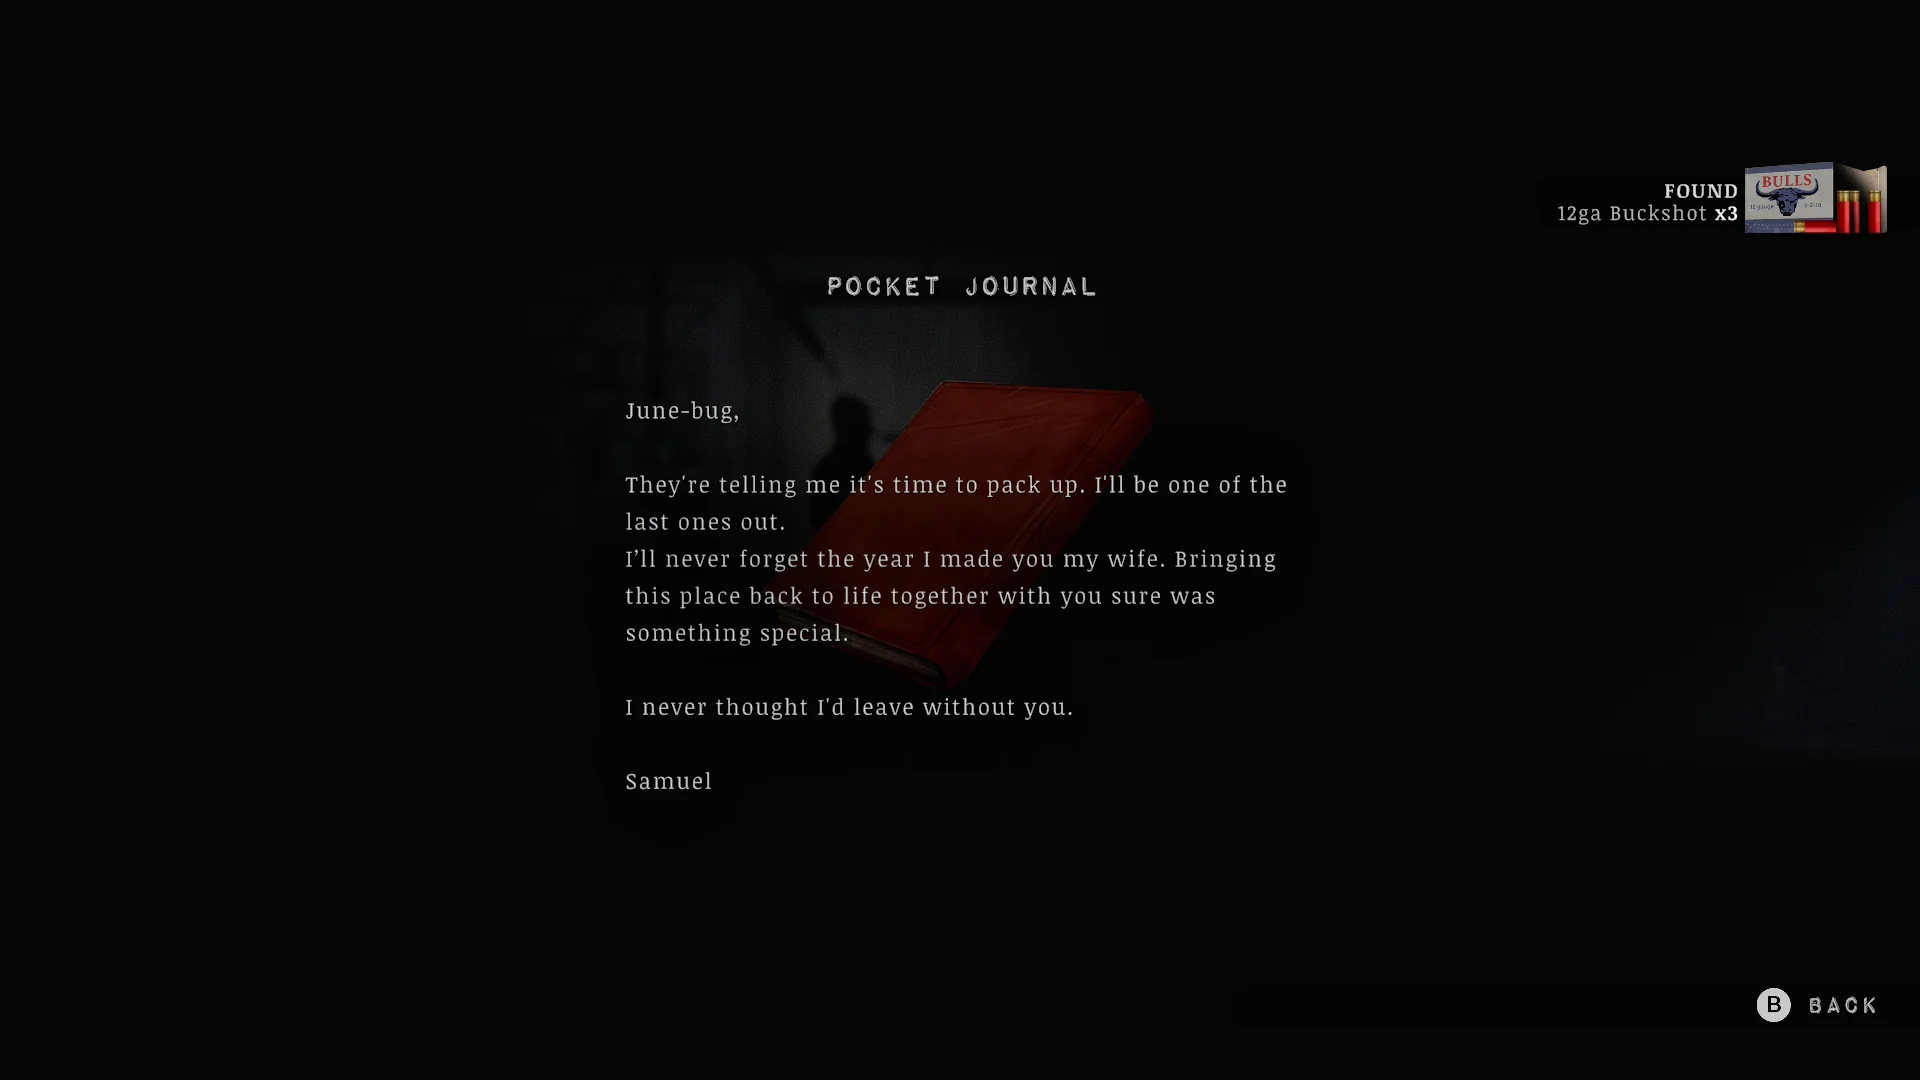
- Read Samuel’s pocket journal to his wife June. He’ll never forget “the year I made you my wife”, and the diner plaque already told you which year that was.
- Enter 1972 on the lockbox and take the Gear Box.
- Use the Gear Box on the engine in the Downtown boathouse. You can now sail between the docks as a sort of fast travel. It’s slow and scenic, and you’ll rarely bother.
How to open the ghost ship control panel
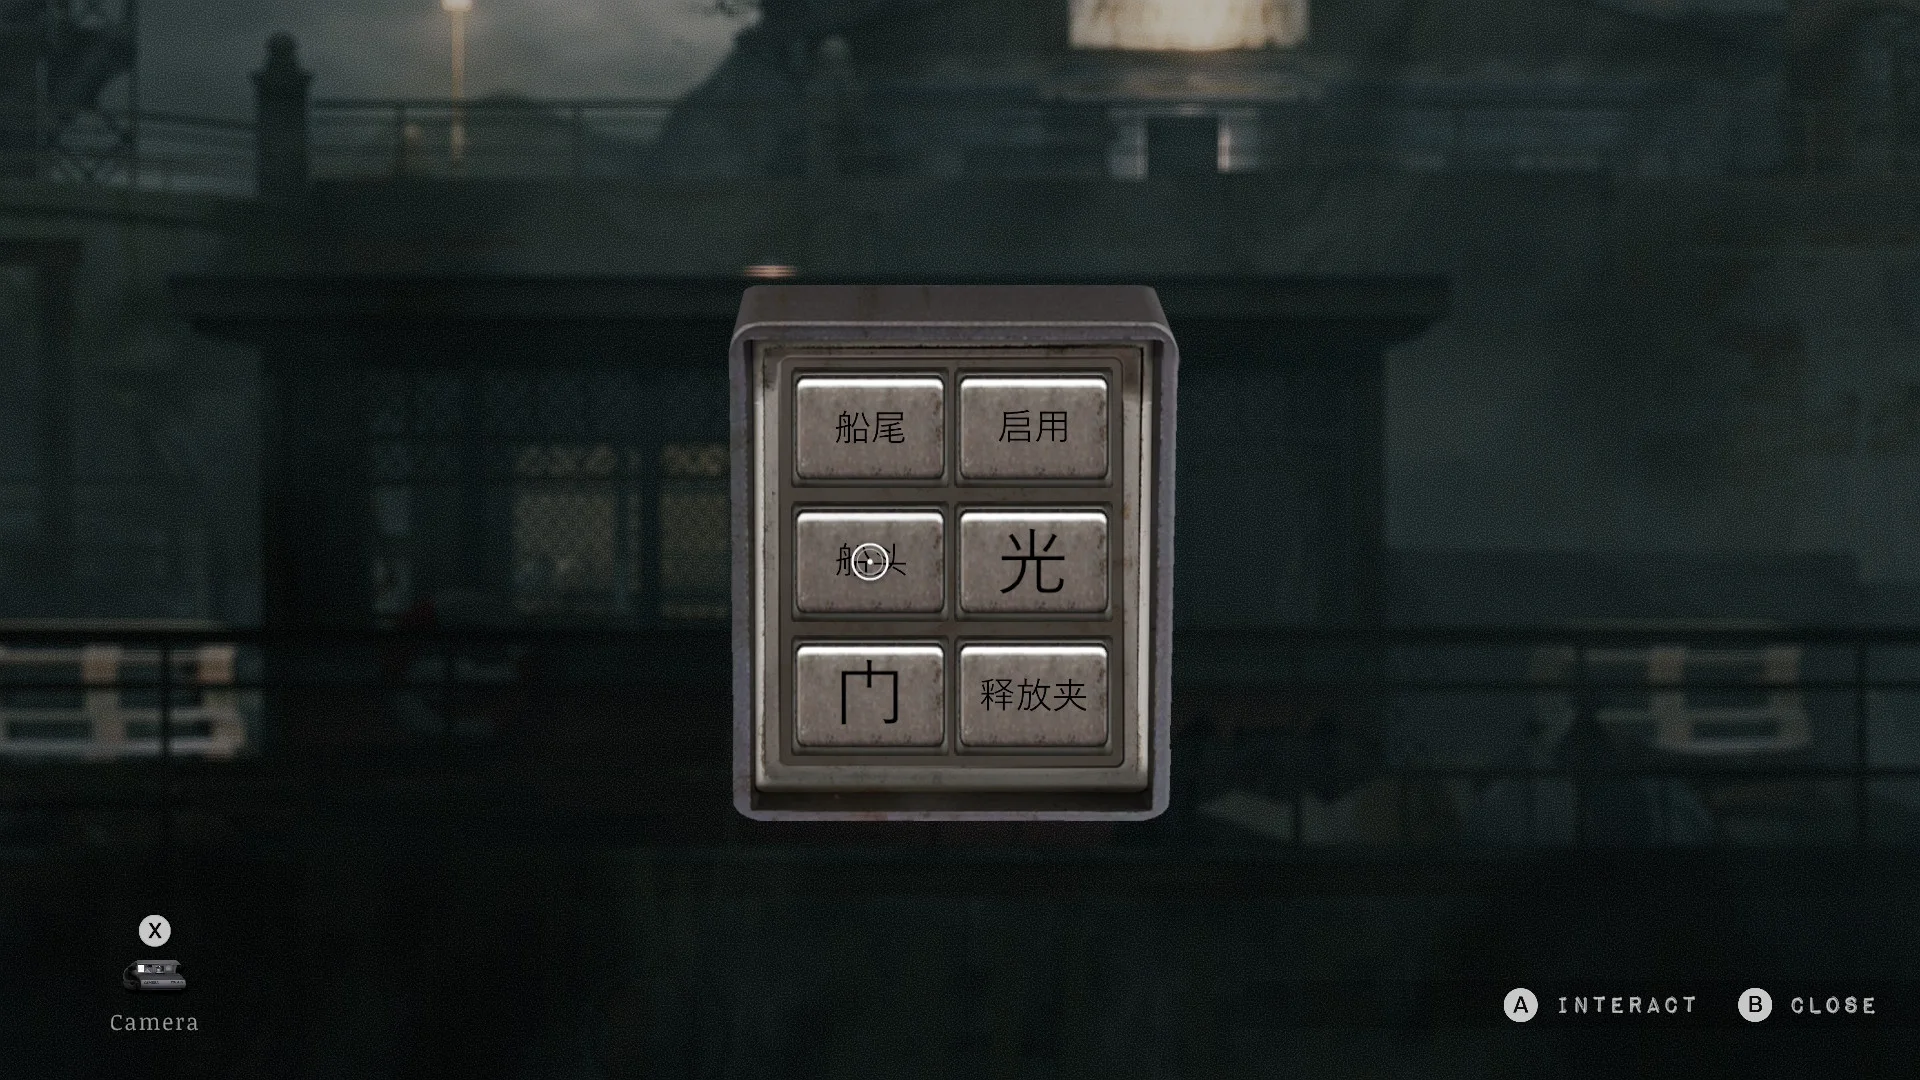
Press the buttons in the order the ship manual shows: 门 (door), 释放夹 (release clamp), 启用 (enable).
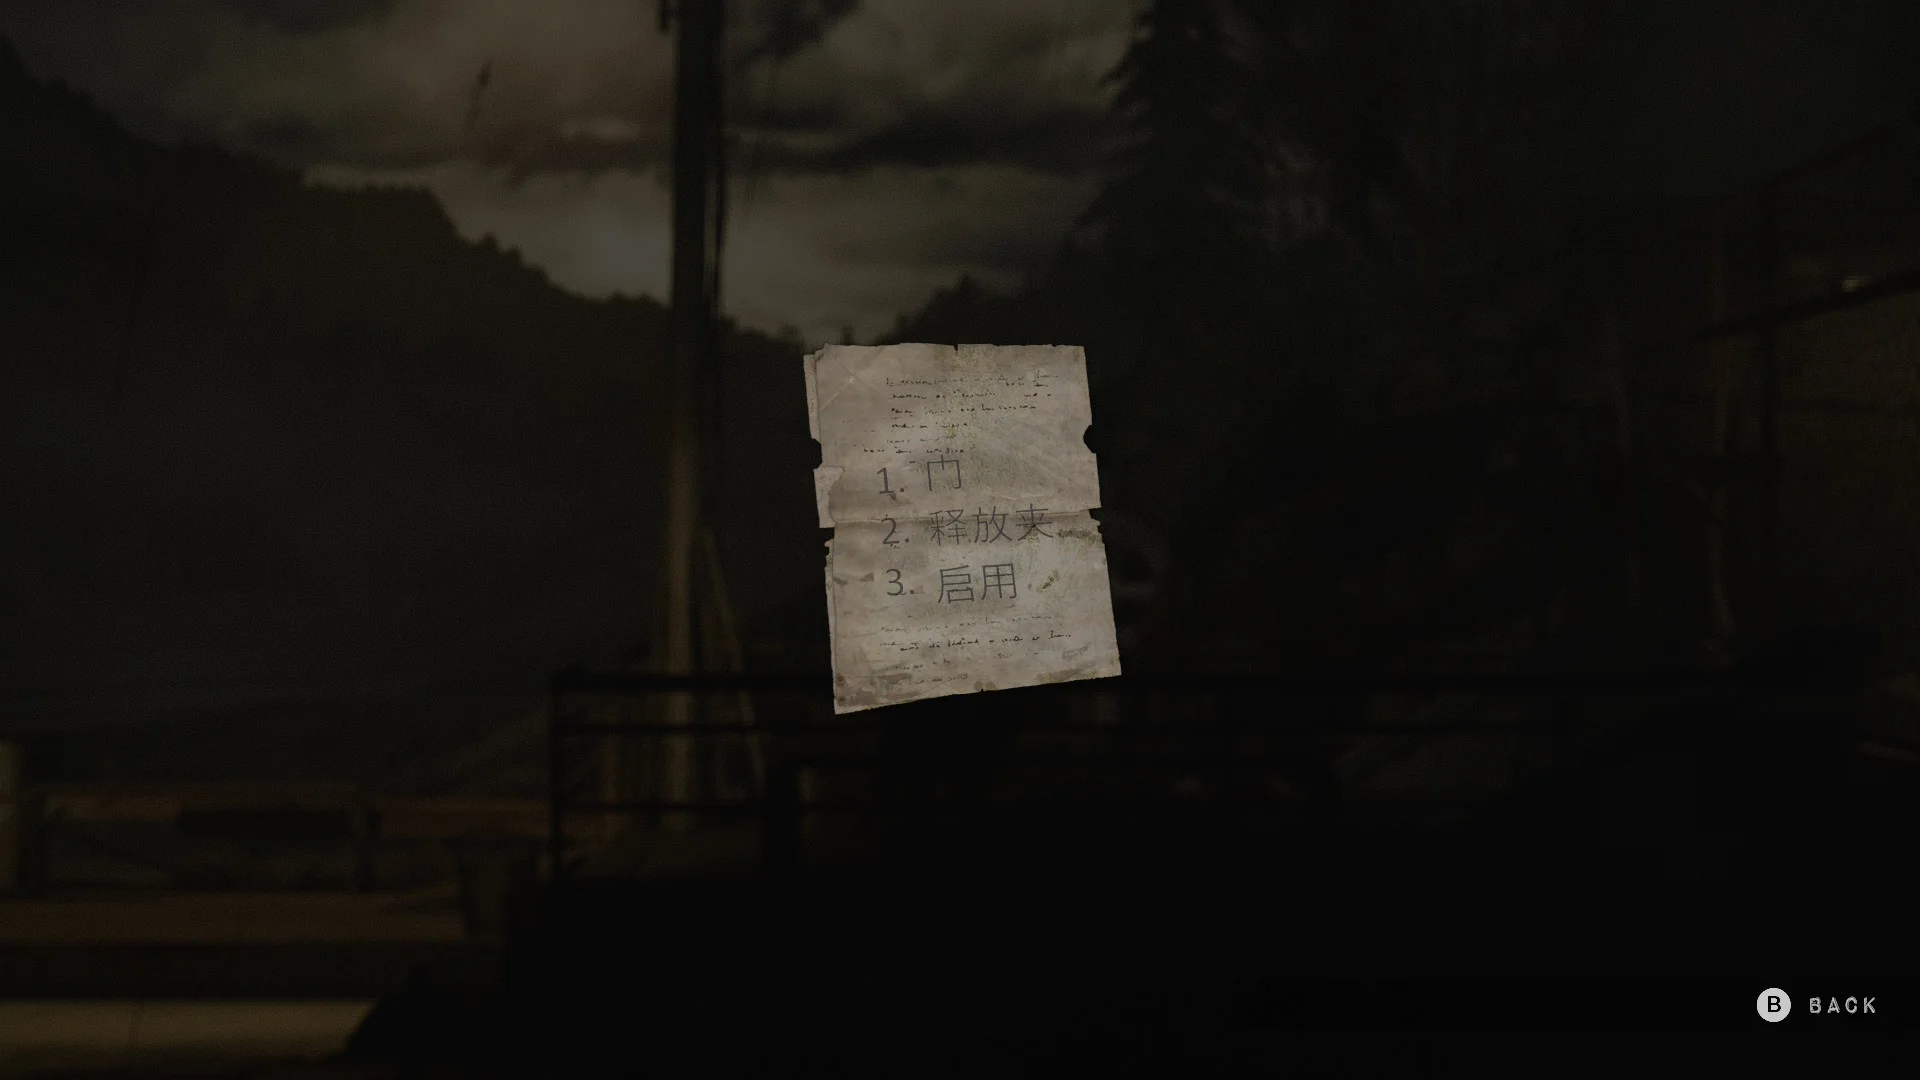

- Pick up the ship manual page at the Riverside docks.
- Climb over the roof to reach the ship and blast the wall with the shotgun. A note to Karl warns that the buttons only work in the right order.
- Press the three buttons in the order from the manual.
- Go inside and kill the enemy. A memento waits on a corpse in there.
How to get into the Pet Clinic
Use the Crank Handle on the storage unit next to the Union sign, and it coughs up the Pet Clinic Key.

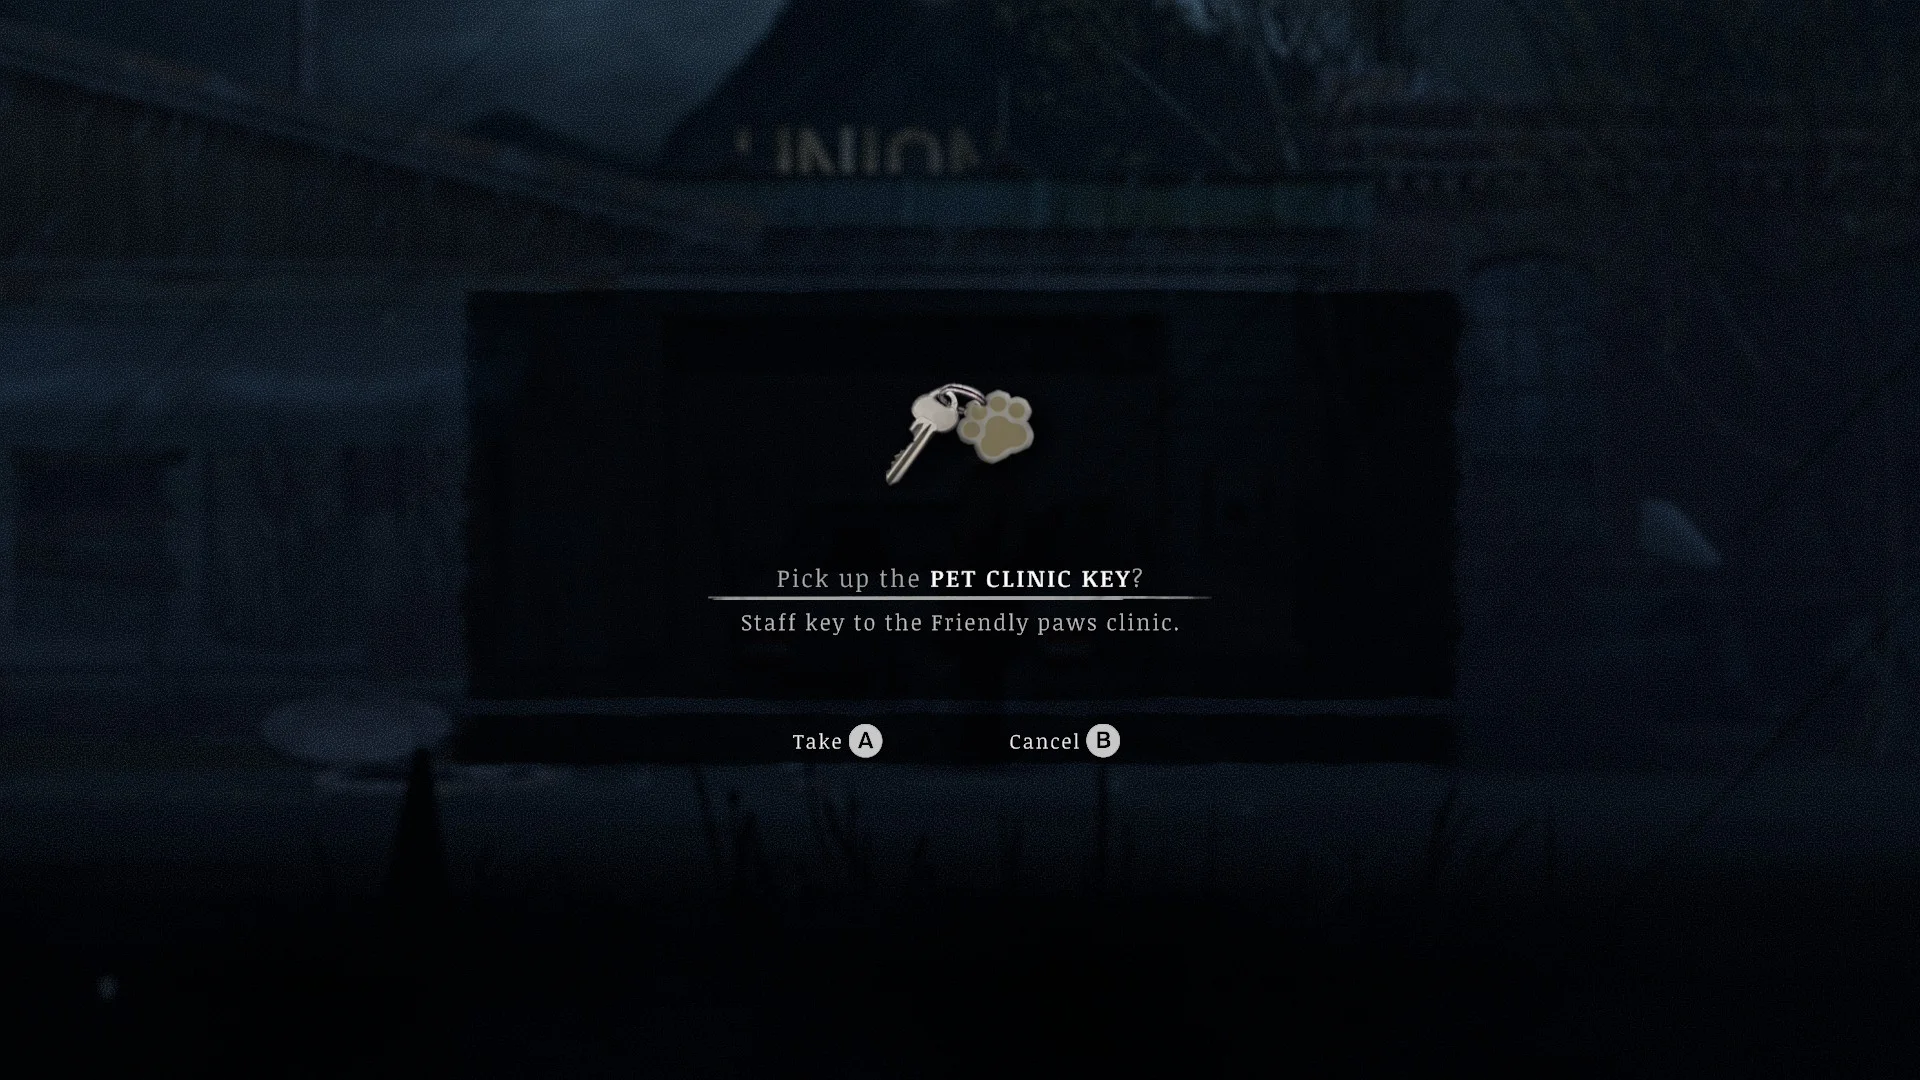

- Crank the storage unit beside the “UNION” sign and take the Pet Clinic Key.
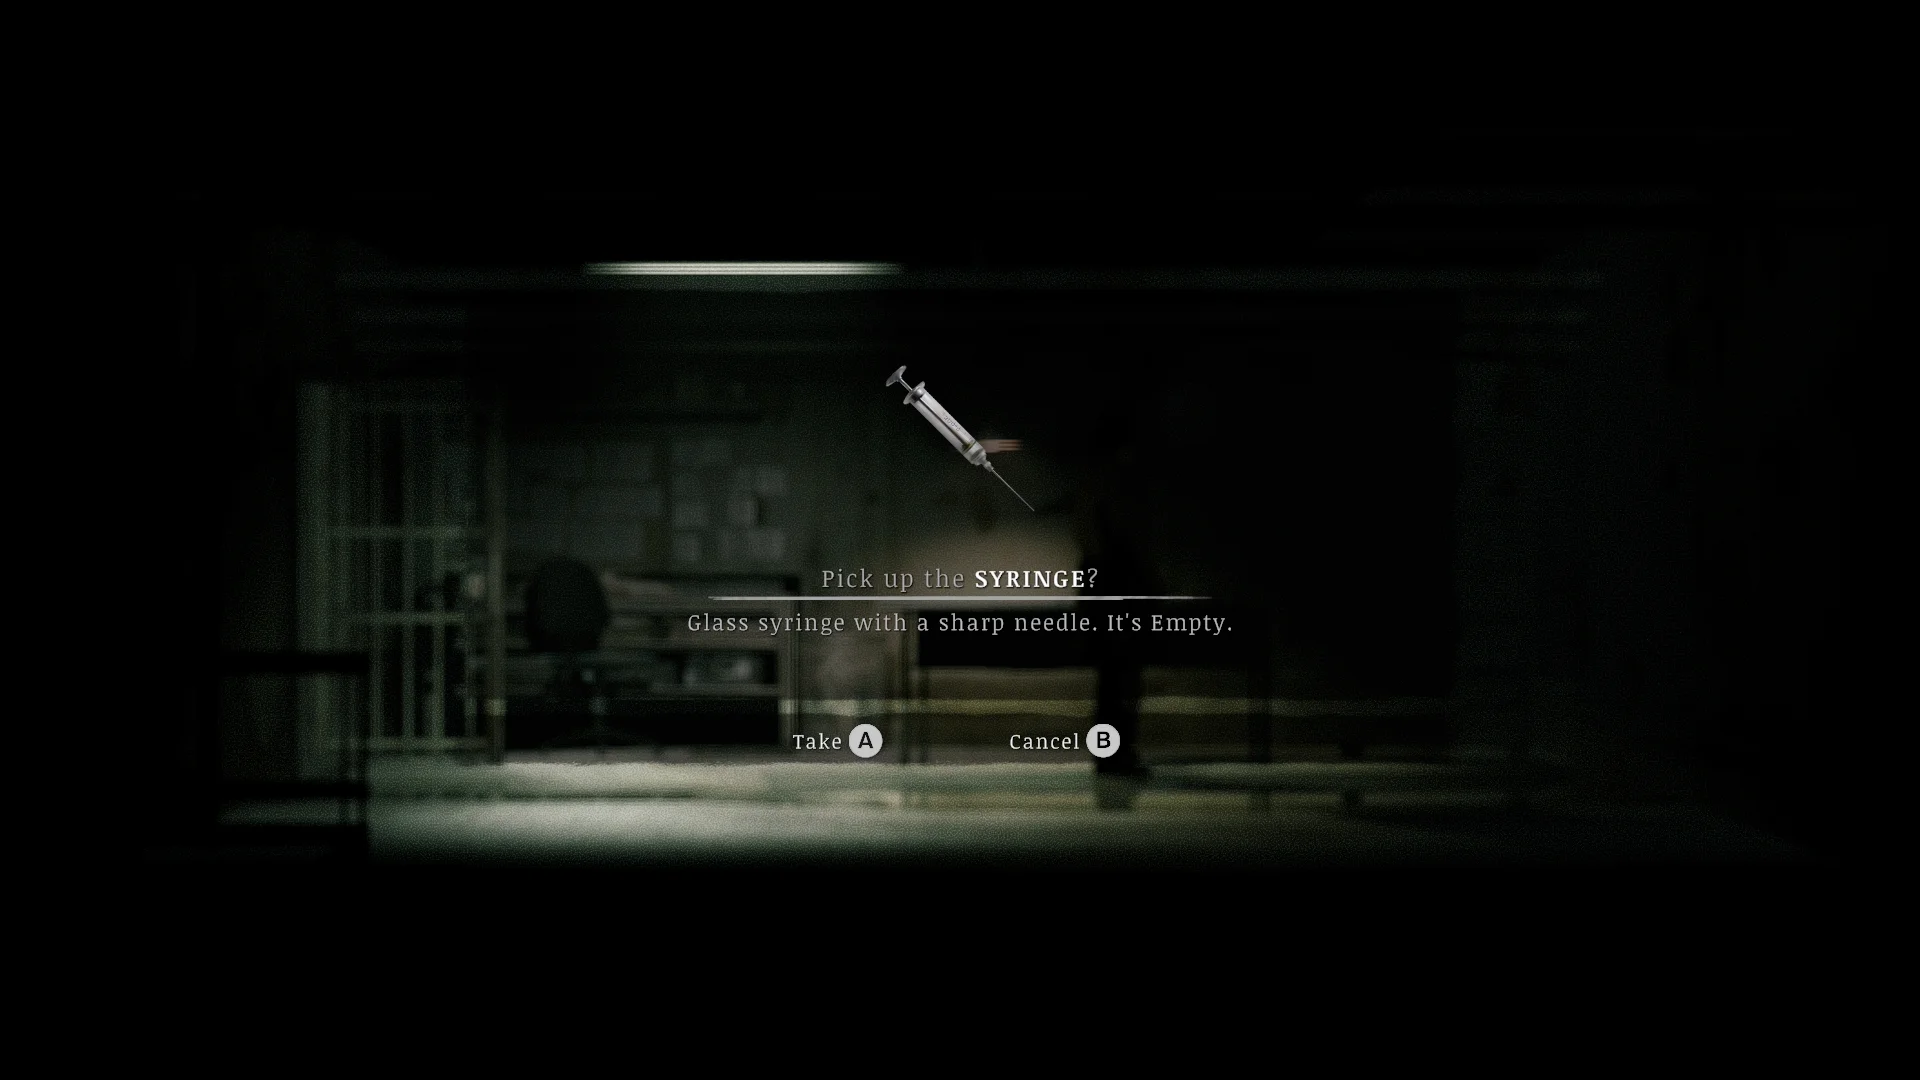
- Open Friendly Paws and pick up the Friendly Paws List and an empty Syringe. The list names four cats: Howard 3, Uno 8, Amber 1, and Beryl 9. I still haven’t found a use for the syringe.
What happens when you call 55 FAITH?
Dial 5532484 from any payphone and a voice gives you a short, strange sermon. Nothing else happened when I called.
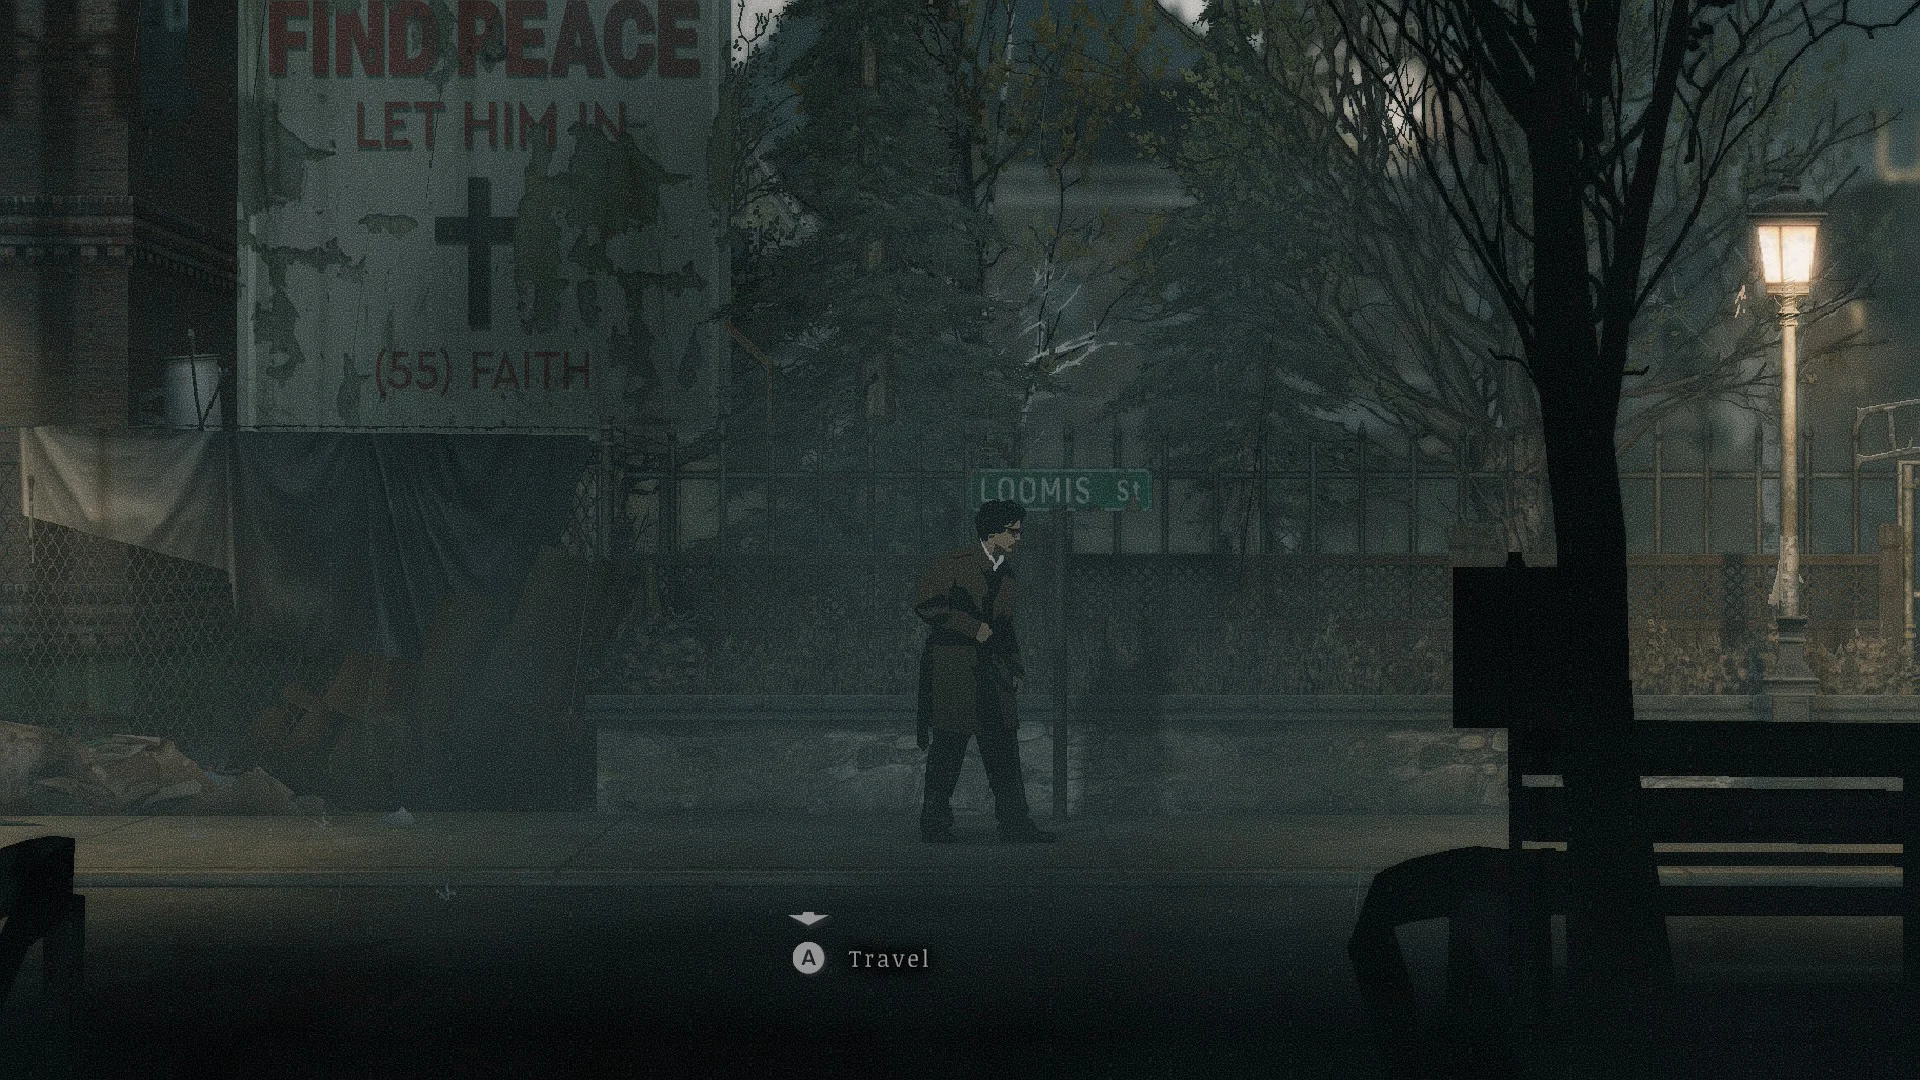
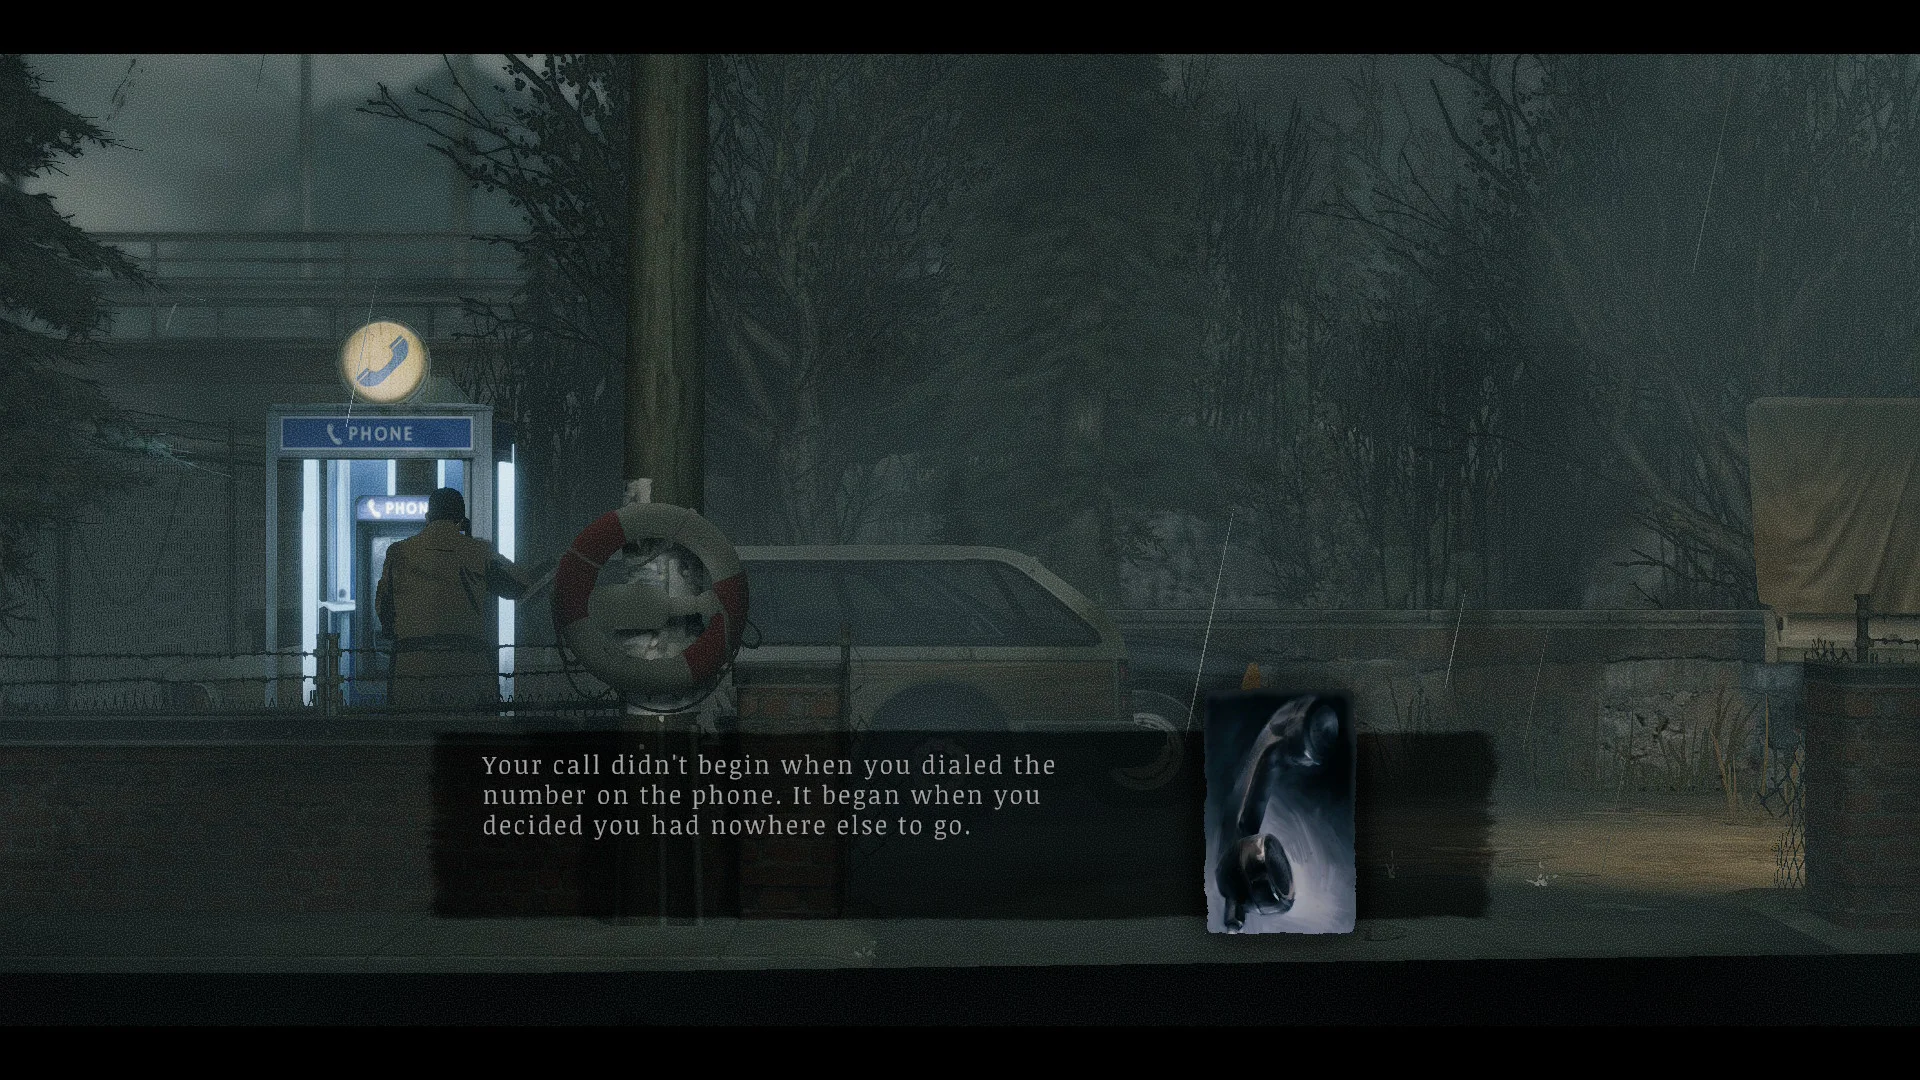
- Find the billboard on Loomis St that reads “FIND PEACE, LET HIM IN, (55) FAITH”.
- Dial 5532484. The voice tells you your call “began when you decided you had nowhere else to go”. Hang up whenever you feel ready. I’m sure there’s more to this but I haven’t figured it out yet.
The cable station and Mt. Siah Kopa
How to solve the cable station bell puzzle
The cable station needs seven bells. Hang them on the hooks as labelled, C D E F G A B, then ring them in the plaque’s order: E G D C F A B.



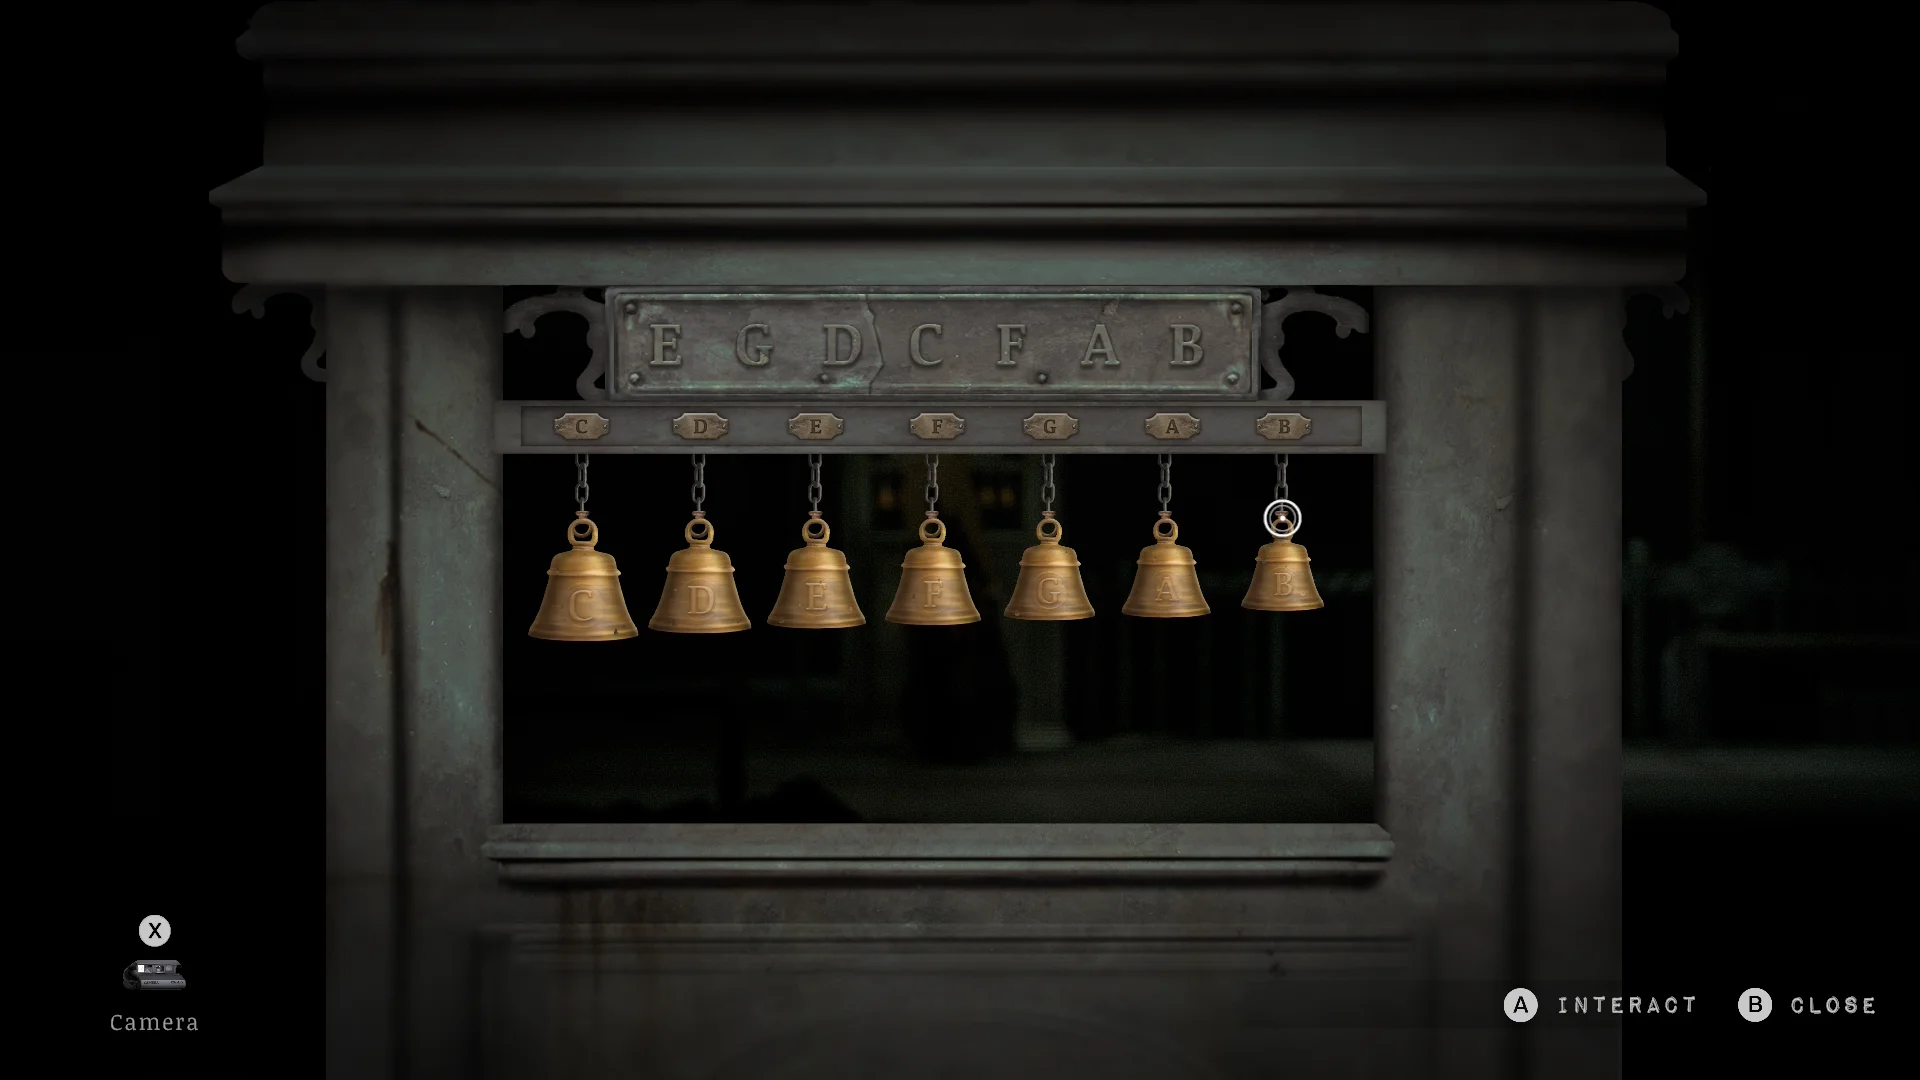
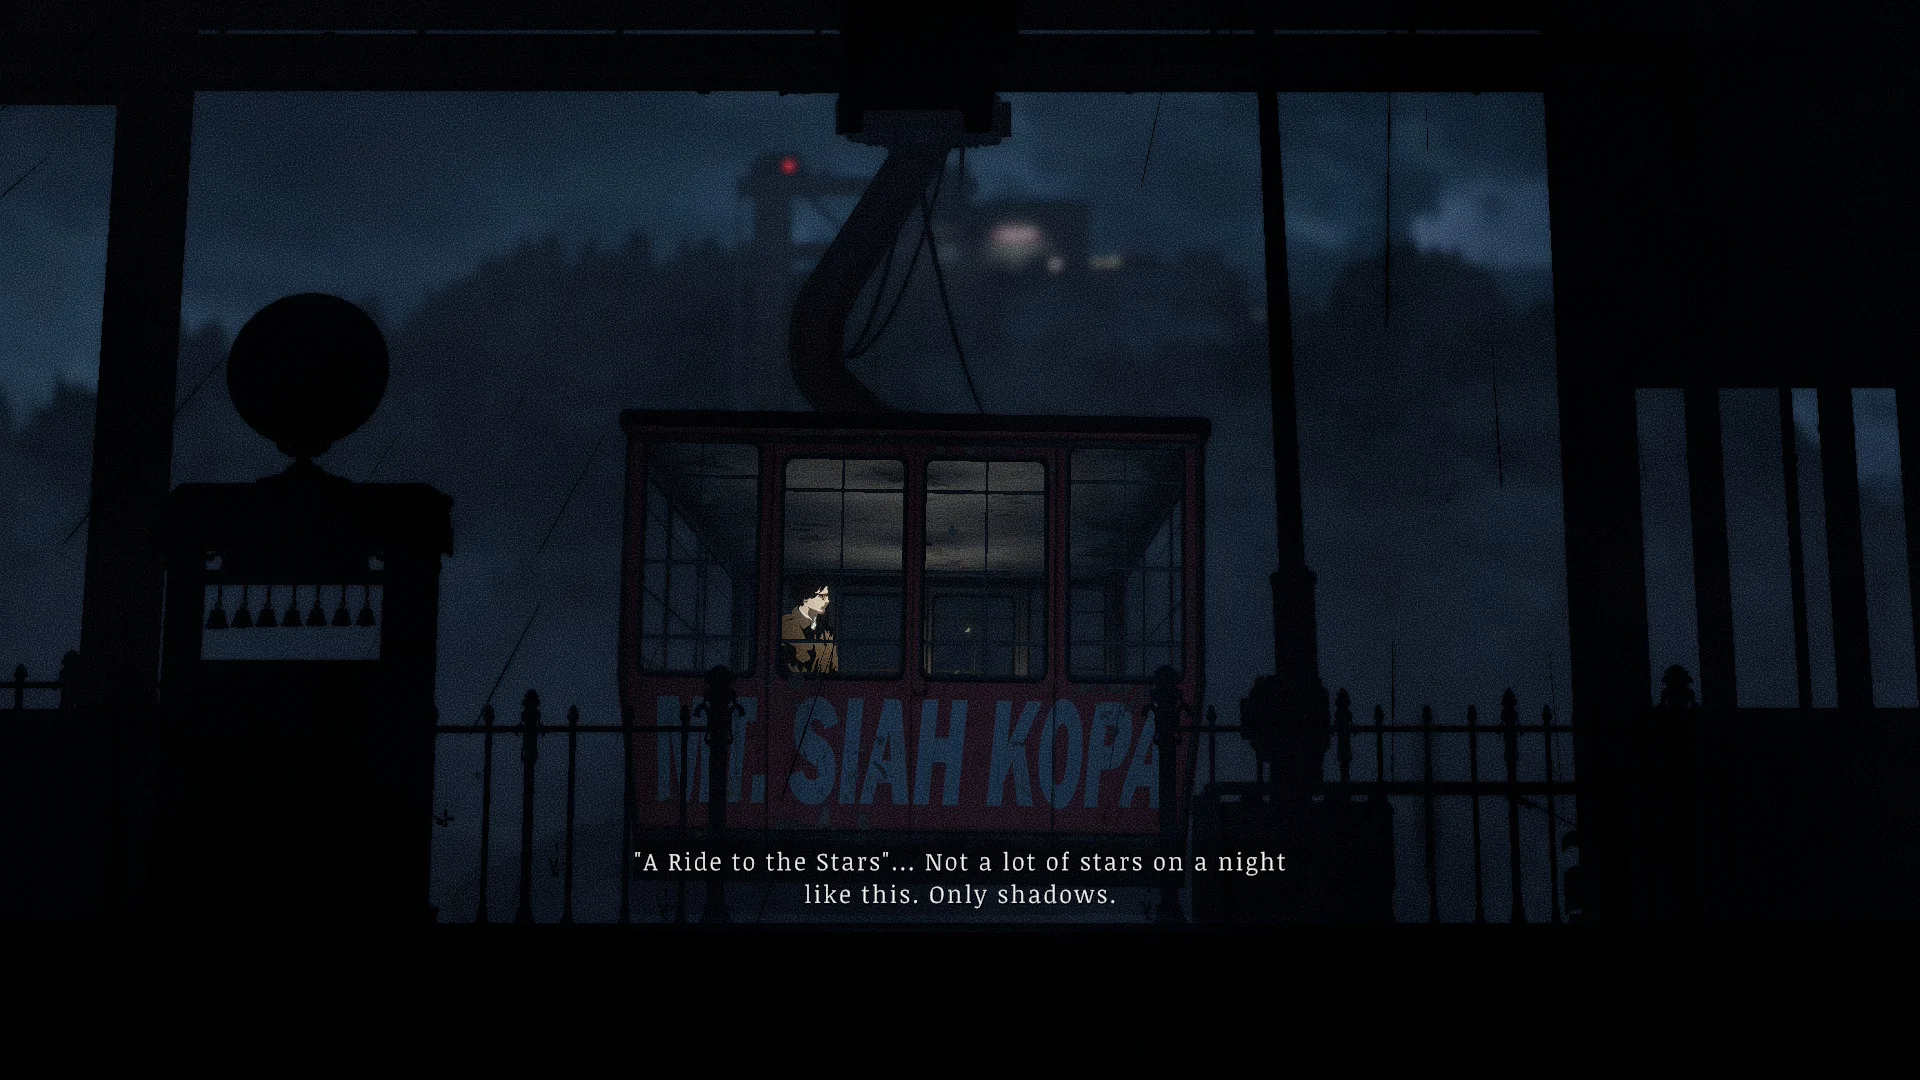
- Look at the bell rack in the cable car station. Bells C and G already hang there, a key dangles from the A hook, and half of the plaque above is missing.
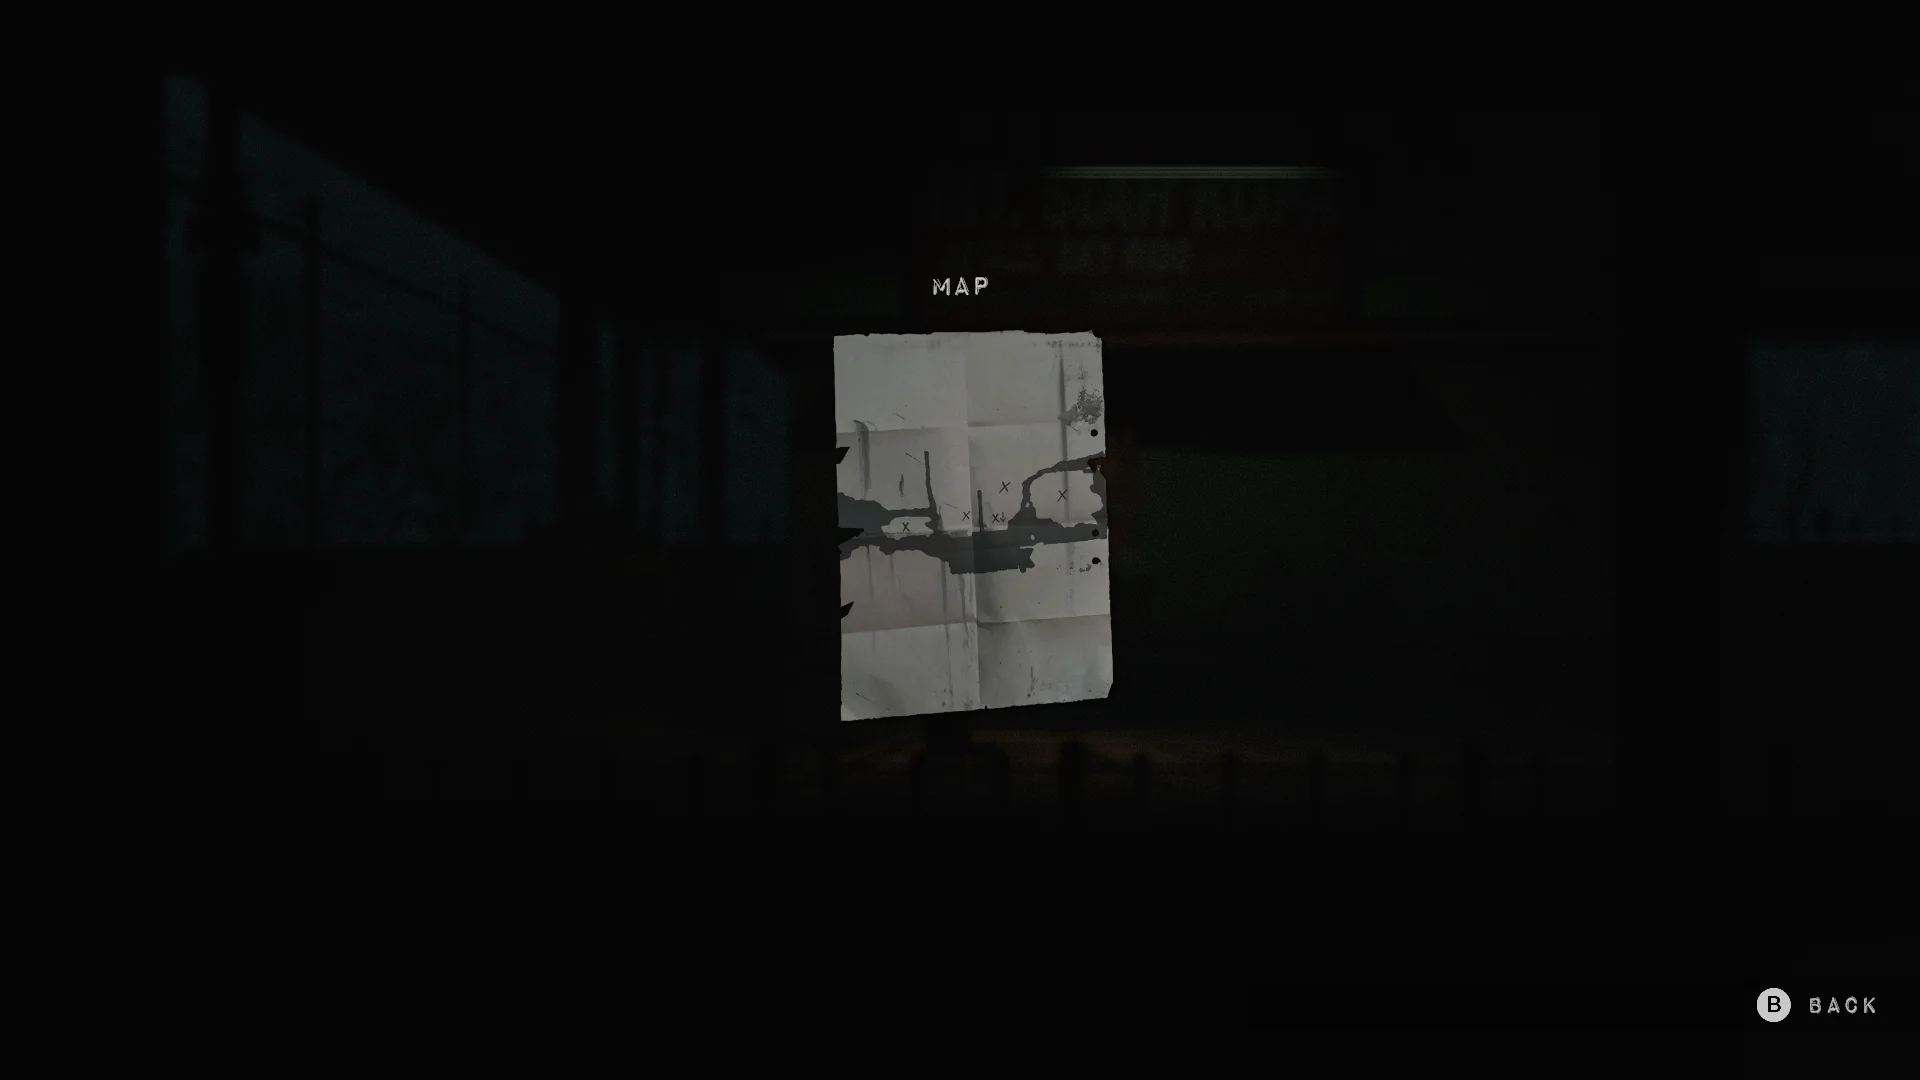
- Check the map board in the station. It marks the five places that hide the other bells: the Sheriff’s Office, the Union Apartments, Church Hill, Town Square, and the Sewers.
- Bell A comes from the boss fight after the Sheriff’s Office projector puzzle, and Bell D from the dream in Union apartment 4B.
- Bell F sits in the hand of the middle Loomis Park statue, and Bell E waits behind the sewer main gate.
- Bell B is the Church Hill bell, and it goes up last. I’ll add exactly where I picked it up, along with the second half of the plaque, as I retrace my steps.
- Put each bell on its matching hook, then ring them in the plaque’s order. The gondola comes down, and you finally get your “Ride to the Stars” up Mt. Siah Kopa.
What is the Mt. Siah Kopa top station code?
Someone painted 0441 on the bathroom wall, right above the urinal. Of course they did.
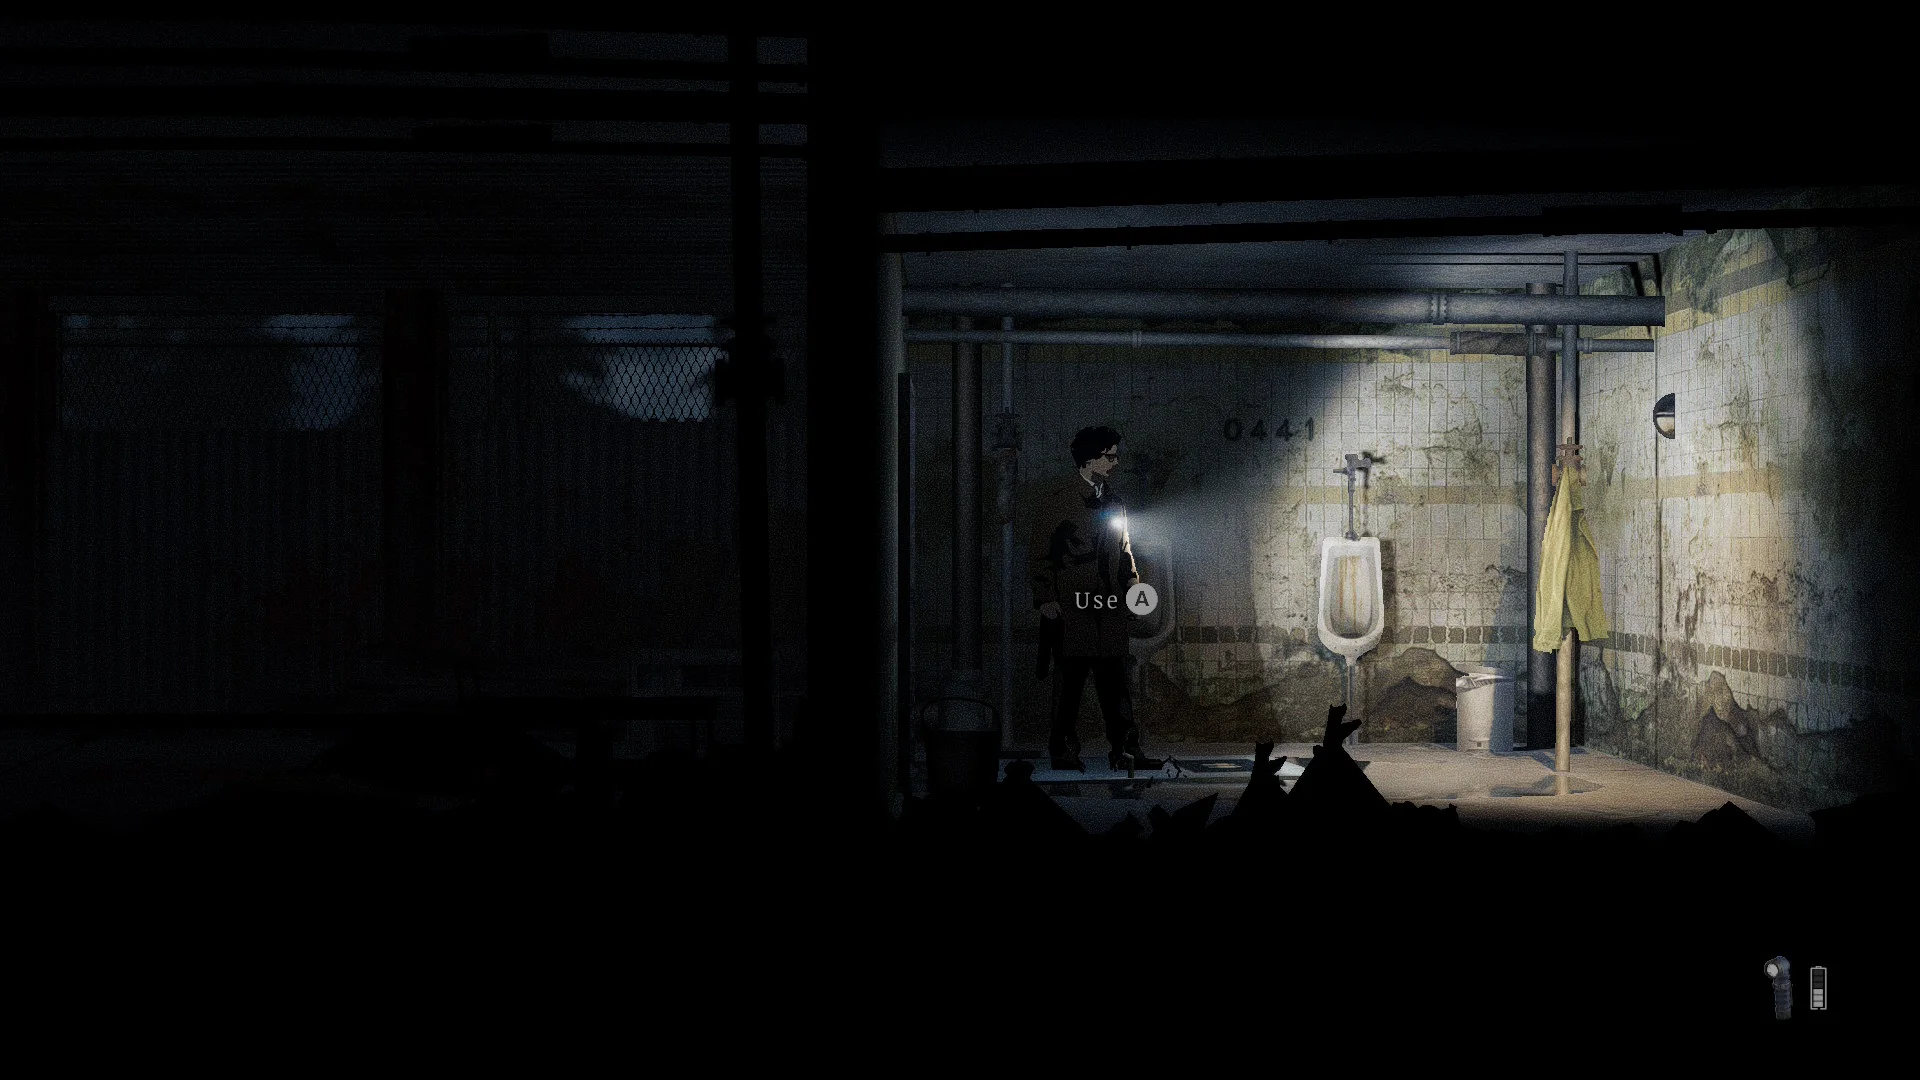

- Go into the bathroom at the top station and read the number above the urinal.
- Enter 0441 on the keypad to leave the station.
Where to find the two 40A fuses
One fuse sits inside a dark building on the left. The other lies outdoors by a toppled satellite dish, behind a barbed-wire fence.

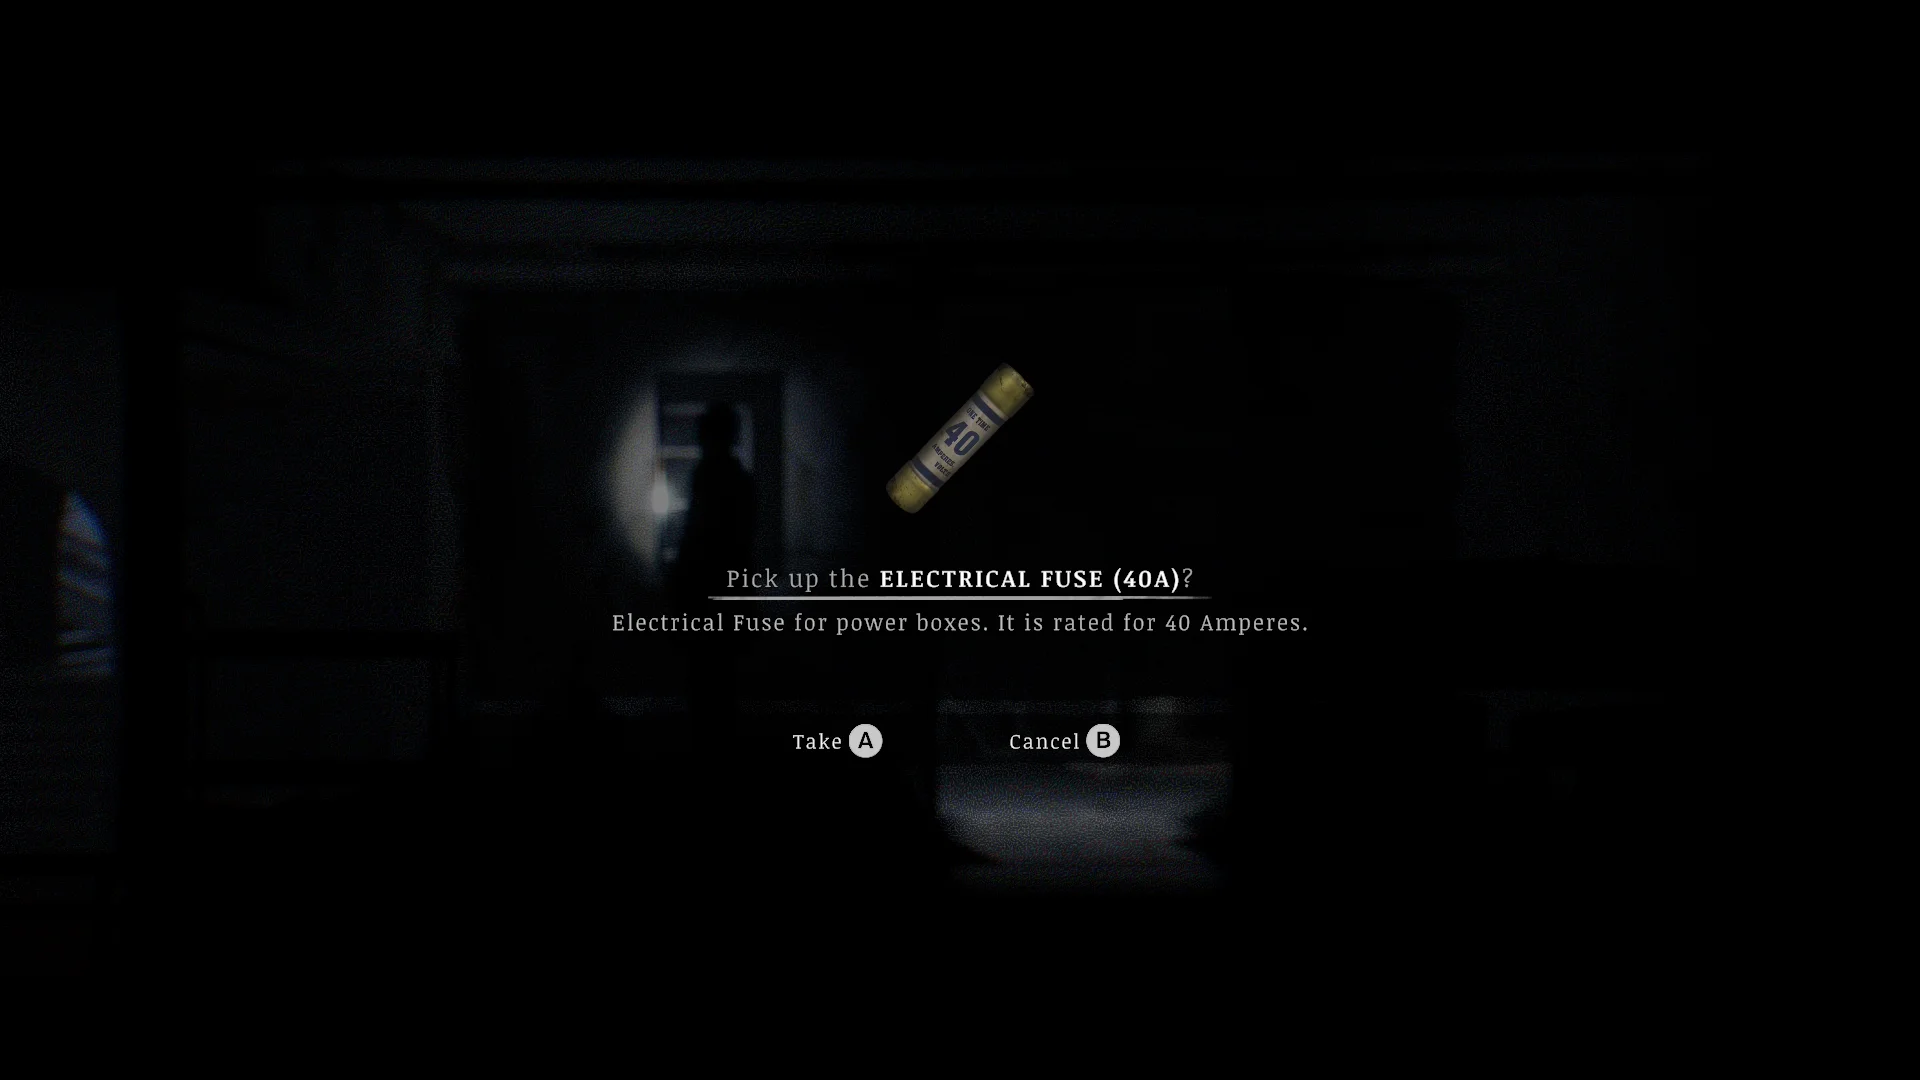

- Find the electrical box on the shed to the right. It needs two 40A fuses.
- Collect both fuses, slot them into the box, and switch on the power.
Thelend Broadcasting
How to get into Thelend Broadcasting
Lower the bridge in the top-left area and climb the ladder to the main building.


- Pull the lever at the top left to lower the bridge, then climb the ladder. You’ll find a save point inside, along with plenty of enemies.
- Answer the payphone. Mr Jackman tells you that killing Eddie is your ticket out, which is a lot of opinion from the man who handles your saves.
How to solve the audio cable puzzle
Wire the patch panel with the manual’s AUDIO pattern: OUT 2 to IN 6, OUT 4 to IN 5, and OUT 5 to IN 2.

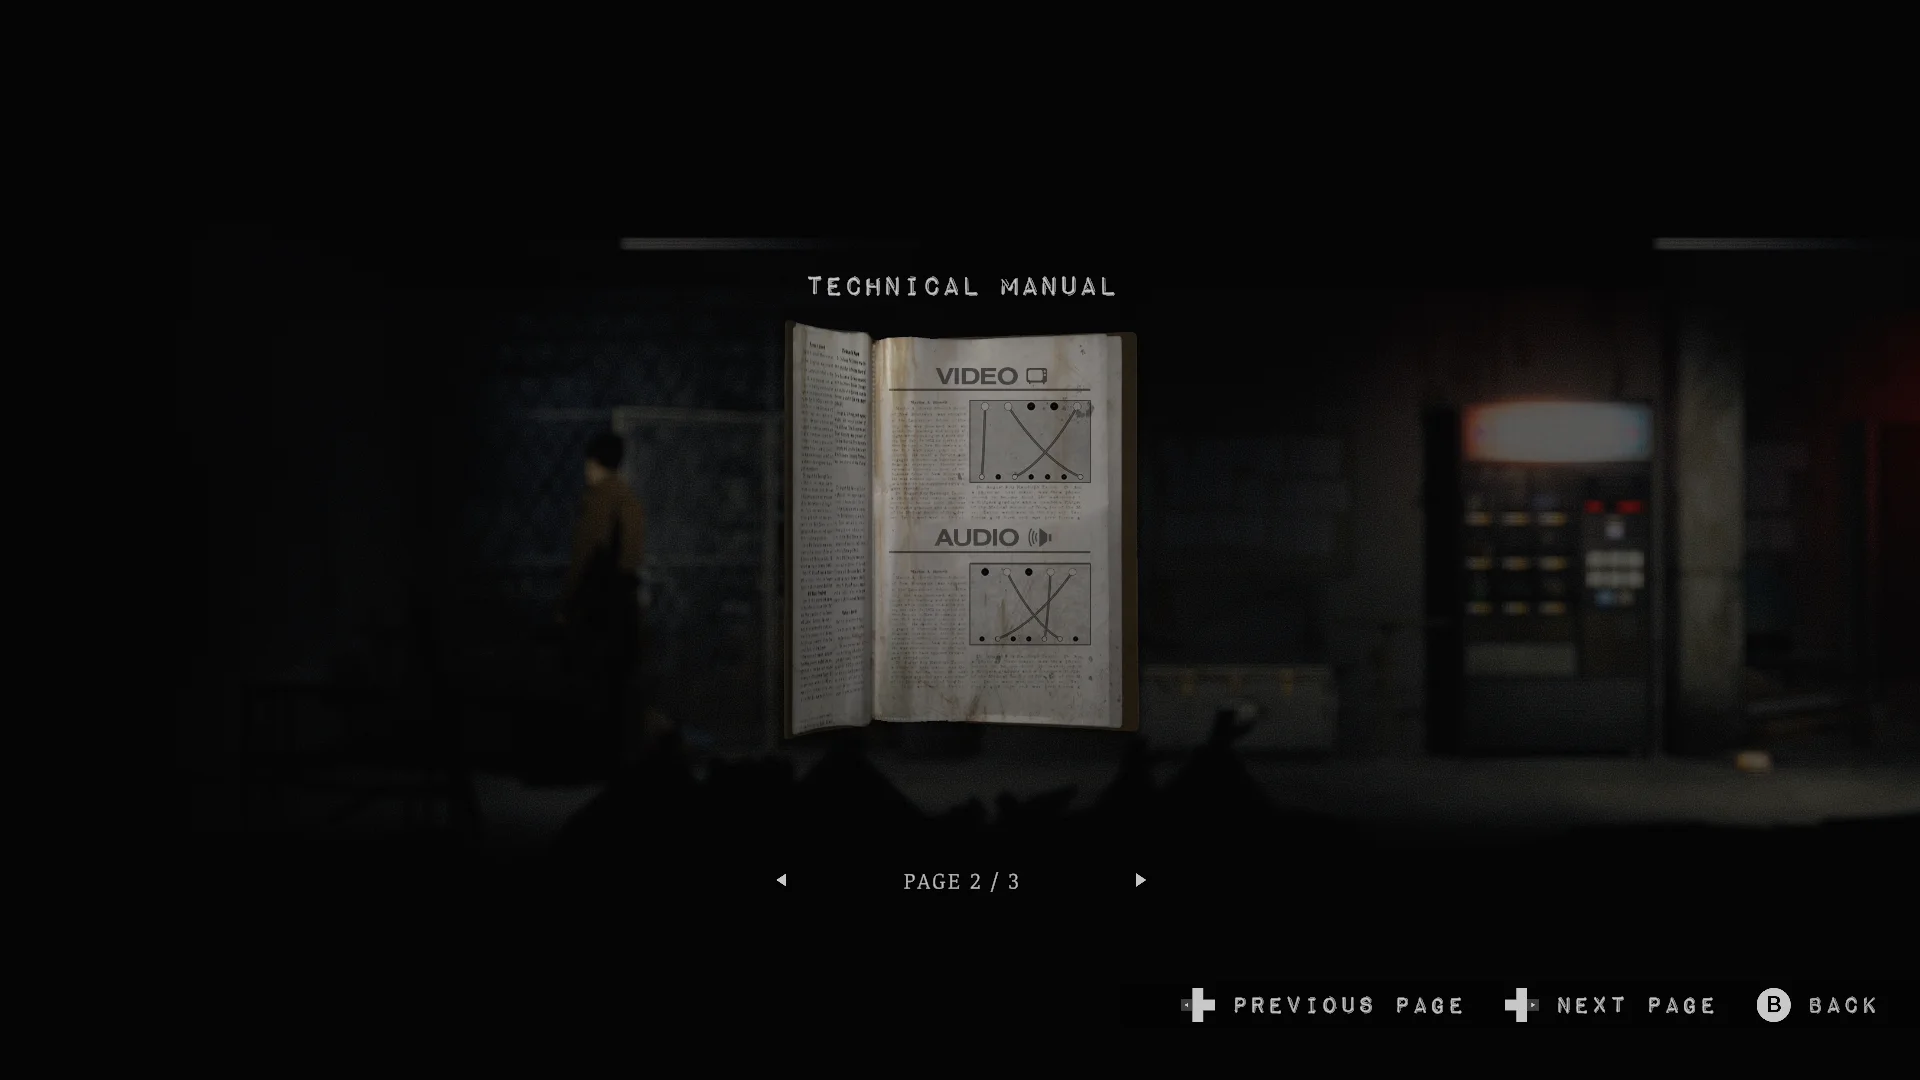

- Collect the cables, including one on a shelf on the right. Read the Technical Manual by the vending machine in the phone room.
- Connect the cables using the AUDIO section. My screenshot shows the VIDEO pattern (OUT 1 to IN 1, OUT 2 to IN 7, OUT 5 to IN 3). That one doesn’t work, so learn from my mistake.
What is the Thelend Broadcasting lockbox code?
The code is 0002, and the kill counts of the four movies in the whispered message spell it out.

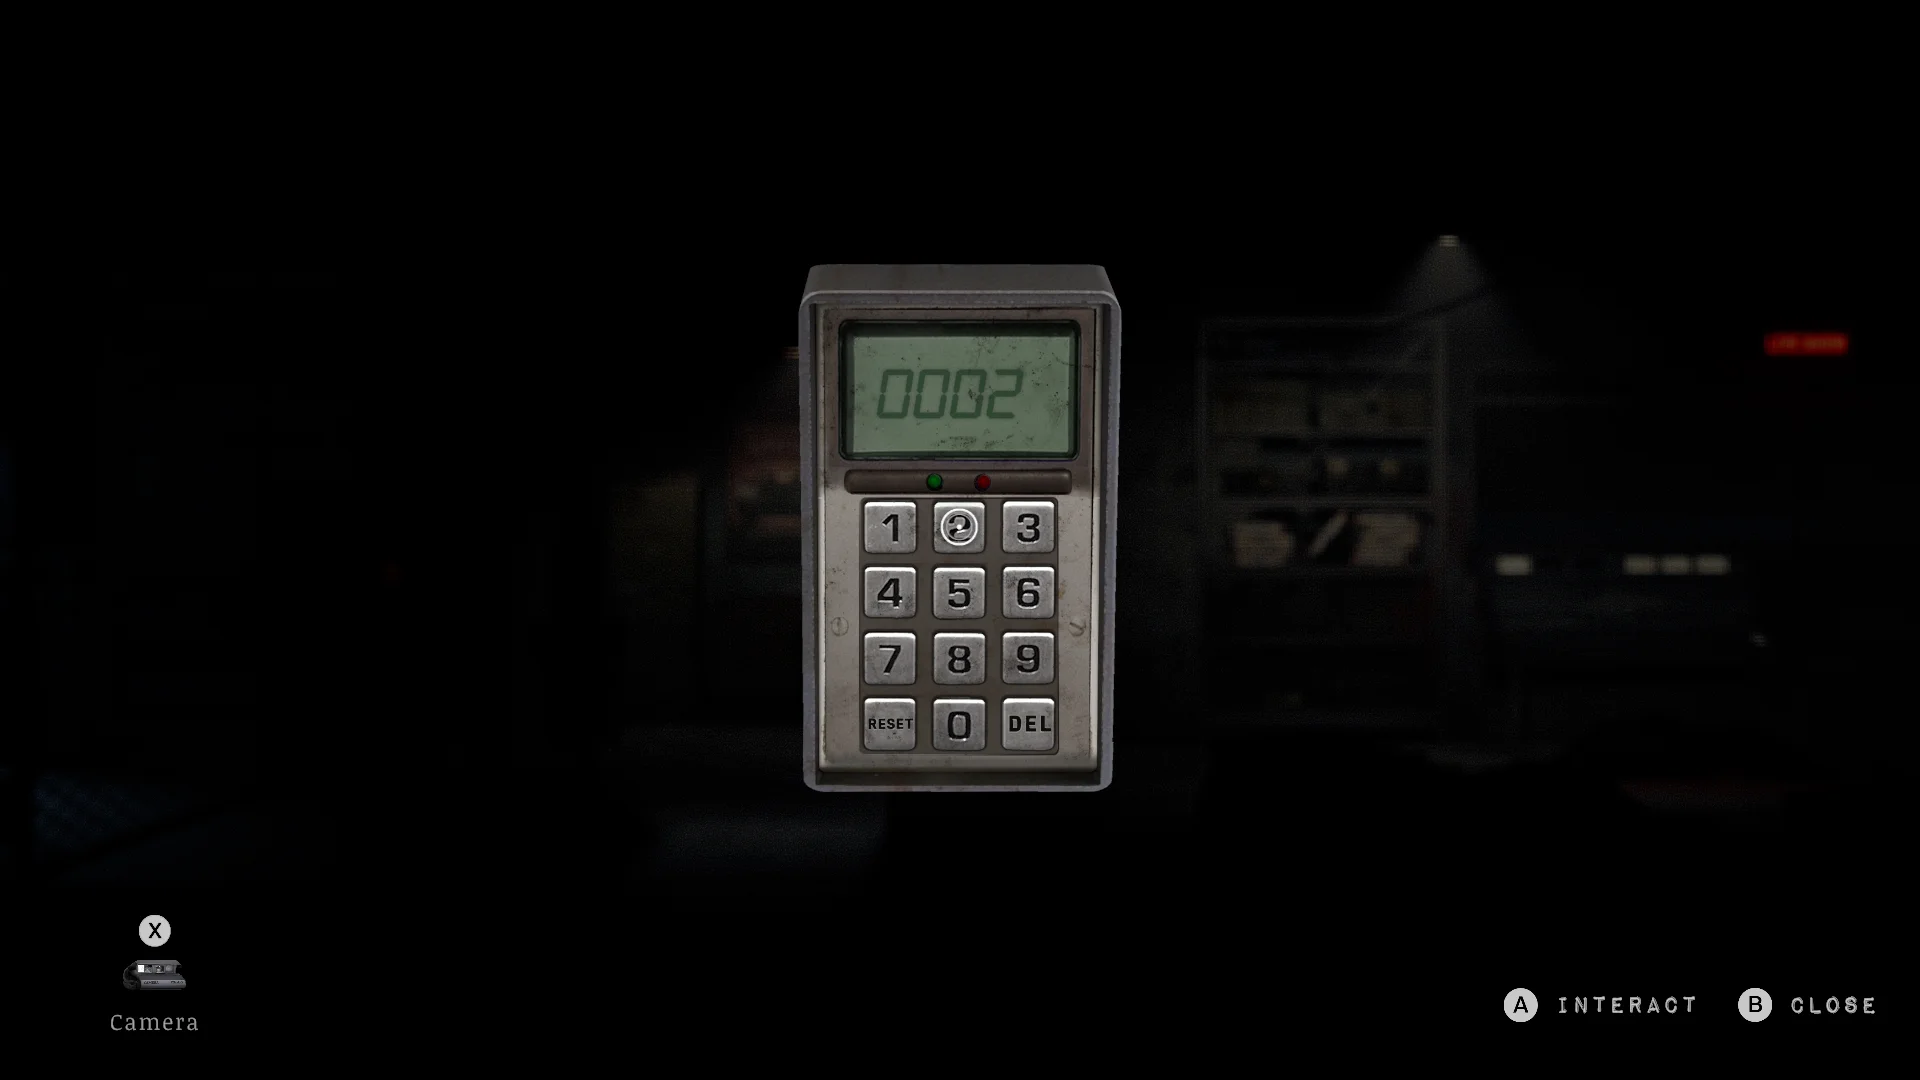
- Listen to the whisper: “All lies. Red light. No brakes. The last exit.”
- Match each phrase to a tape on the VHS shelf. Rear View Lies, Red Light, Dead Night and No Brakes No Mercy all have 0 kills. Finale: Last Exit has 2.
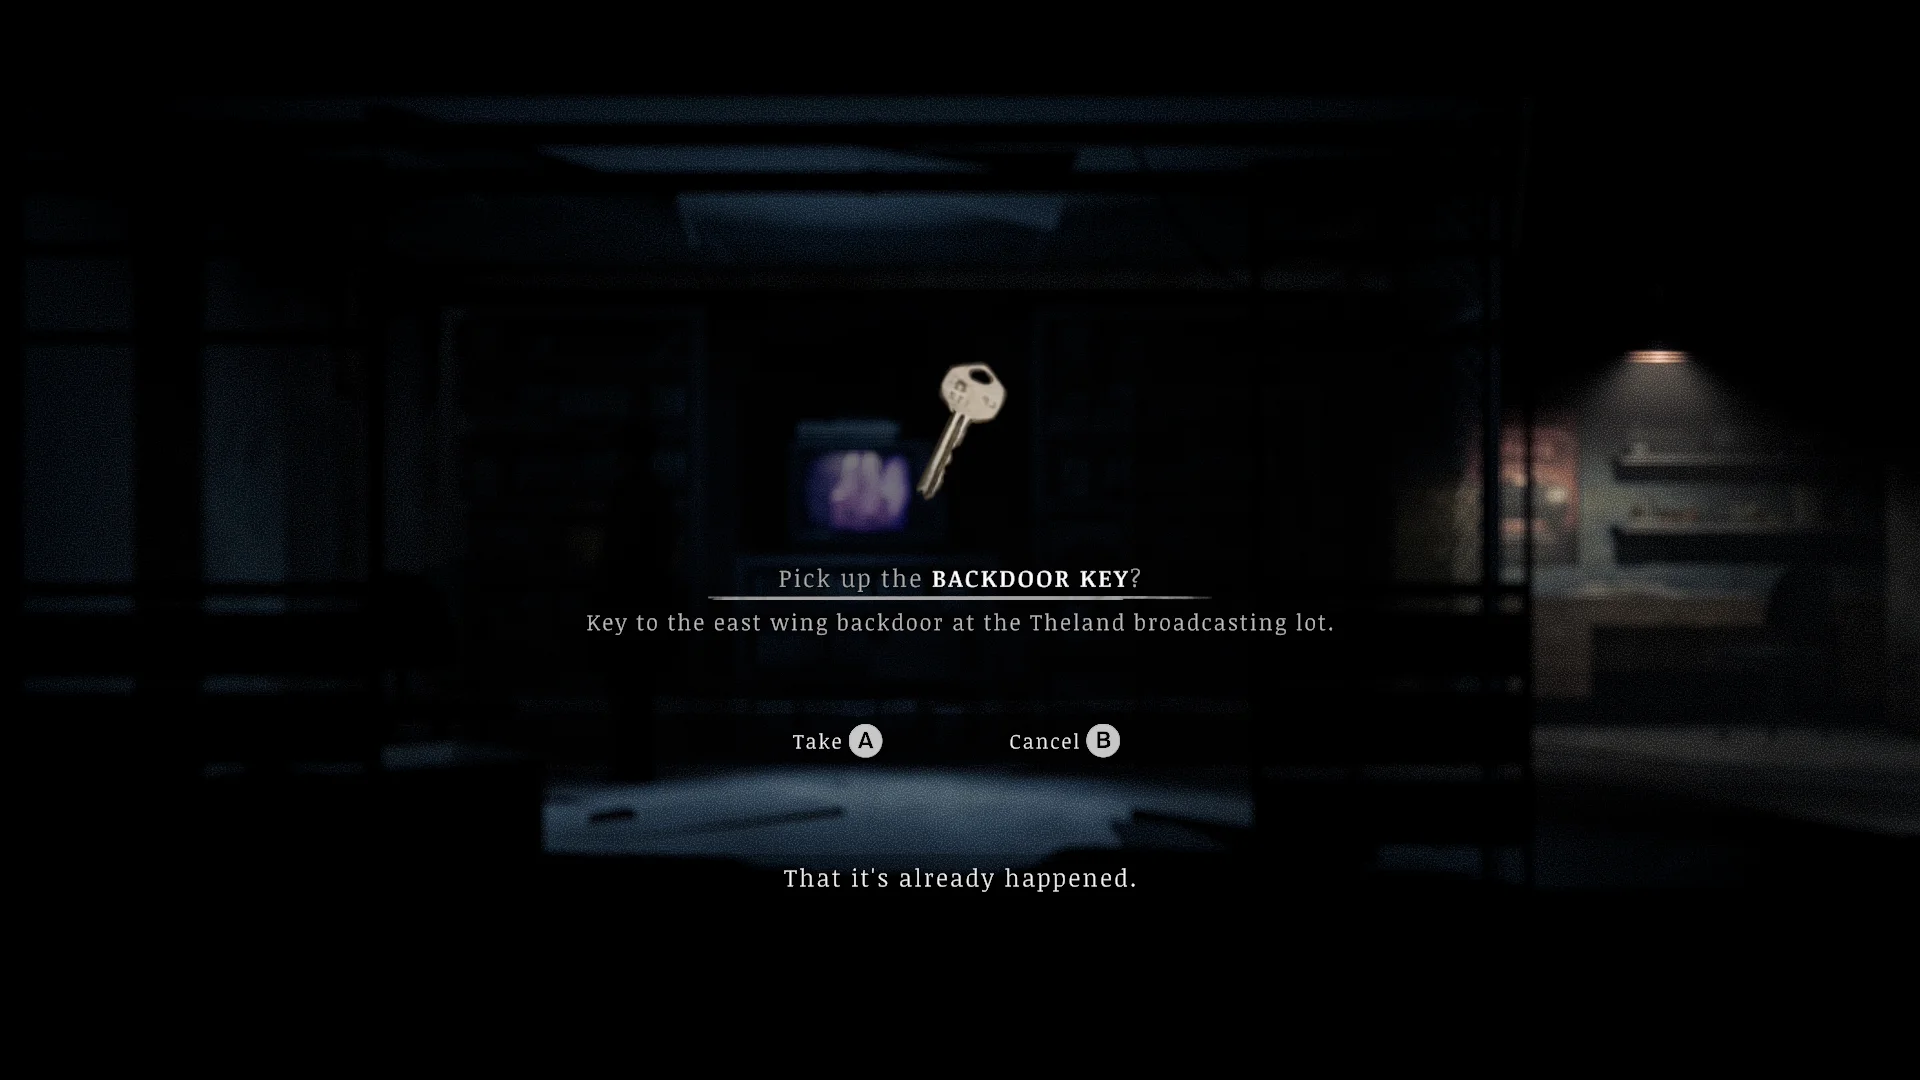
- Enter 0002 on the lockbox on the left and take the Backdoor Key. It opens the back door on the right.
How to solve the Stage 1 projector puzzle
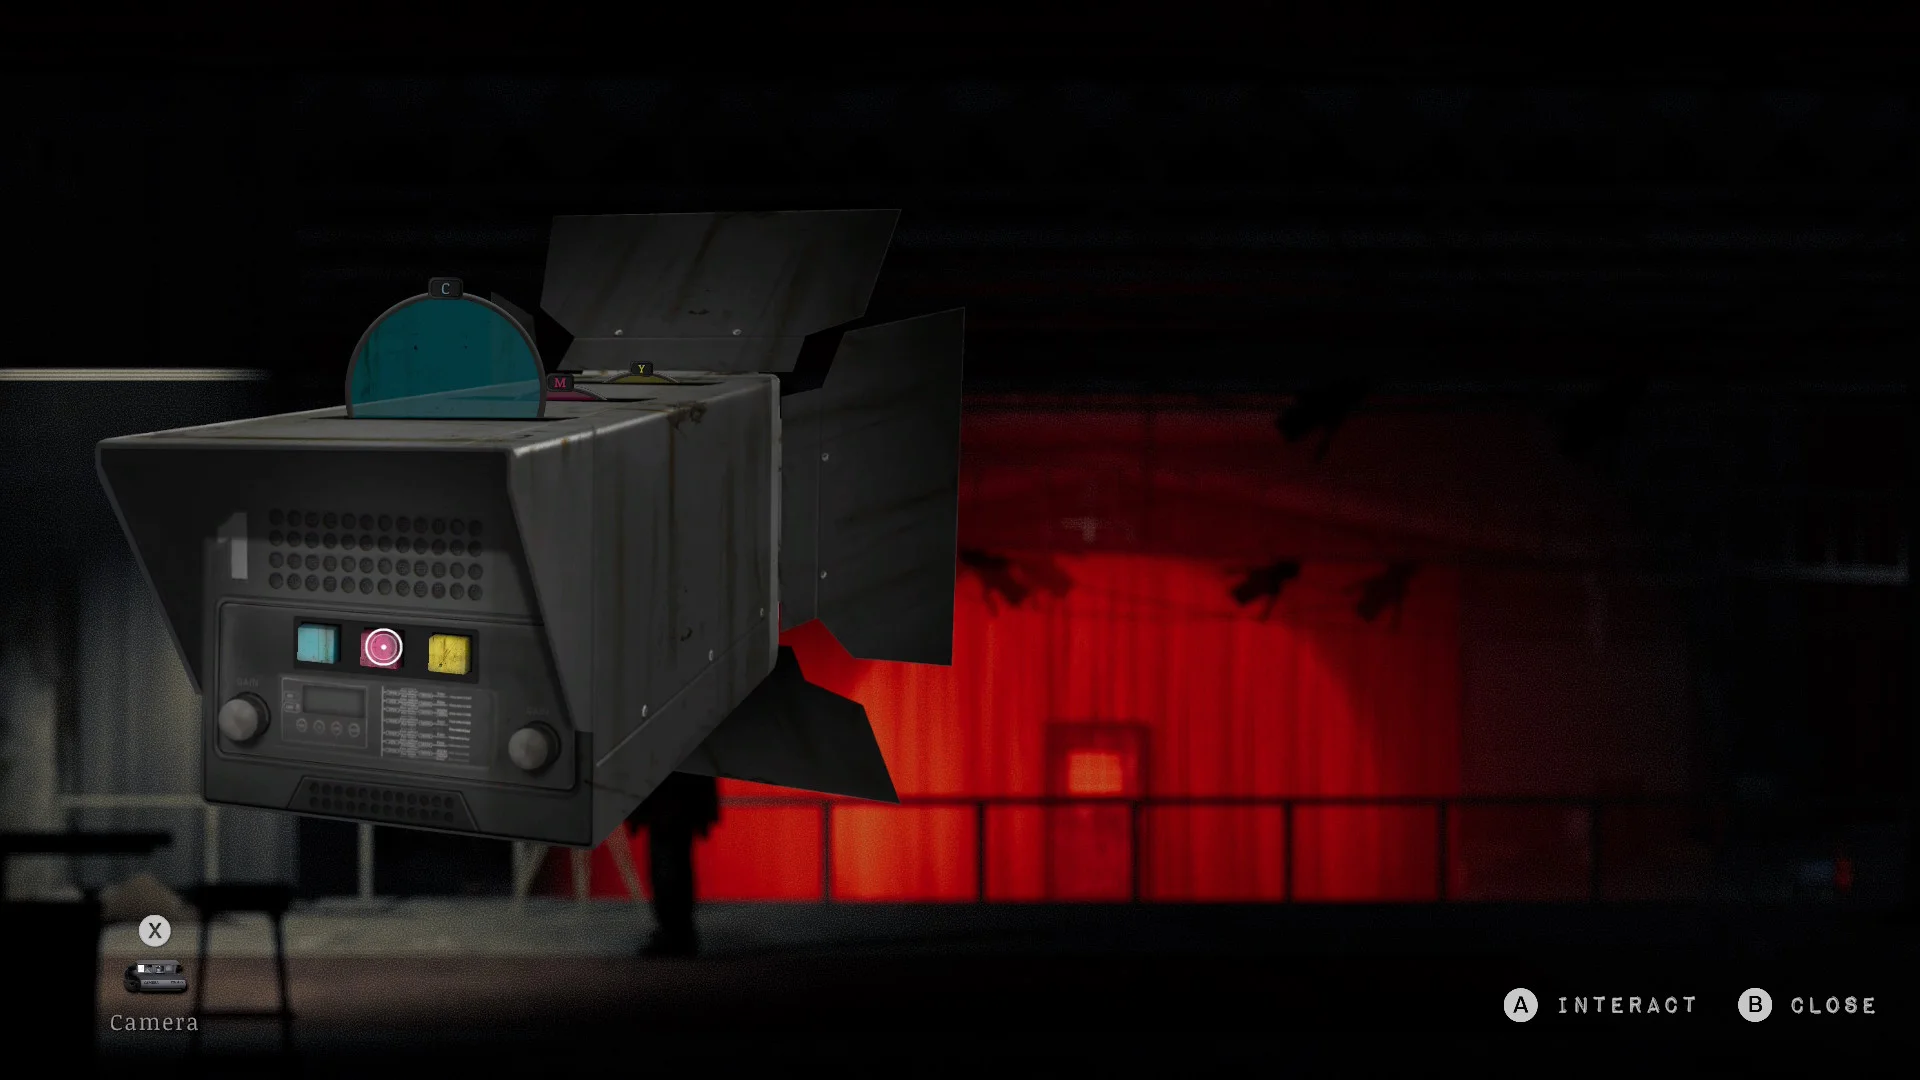
Fit the Cyan, Magenta, and Yellow Lenses in the Stage 1 projector, then flip cyan up so magenta and yellow turn the stage red.

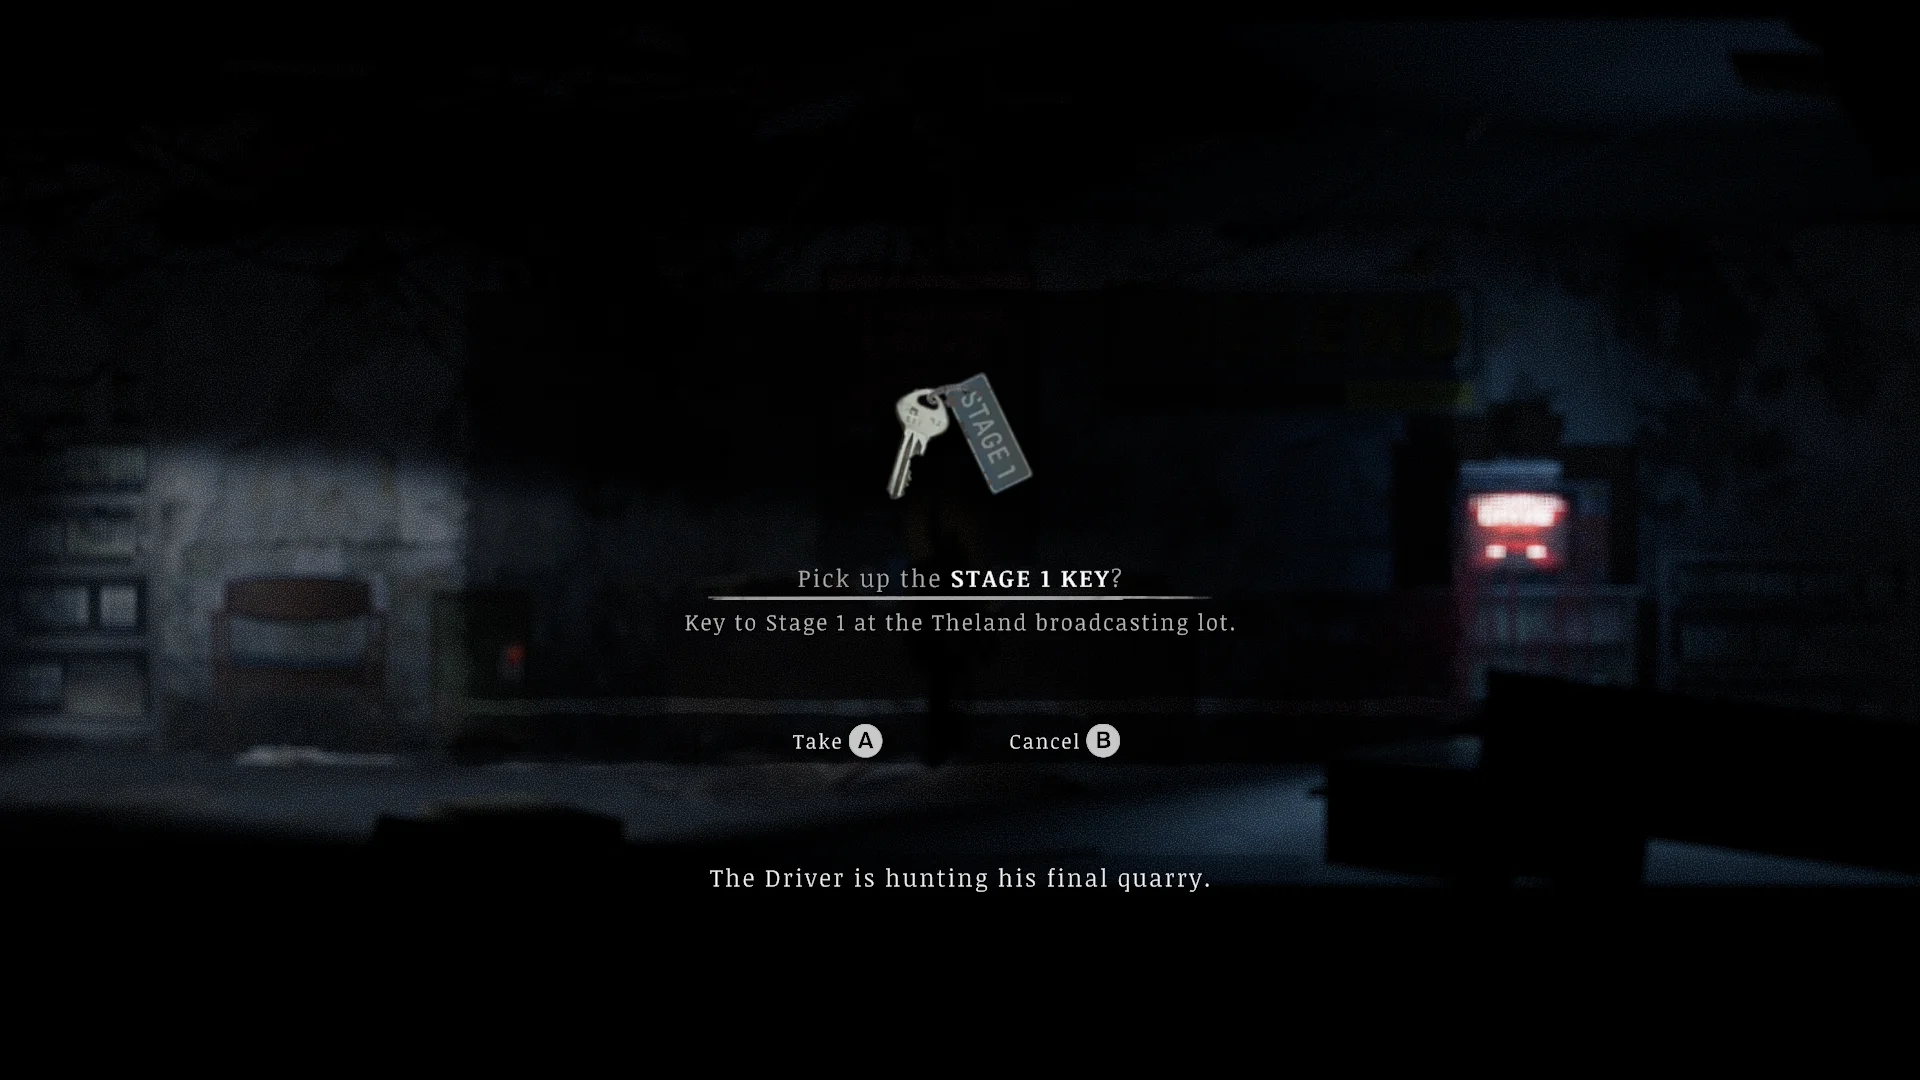


- Take the Cyan Lens from the room full of film reels and the Stage 1 Key from the office. Leave the green safe in the office alone, because you can’t open it yet.
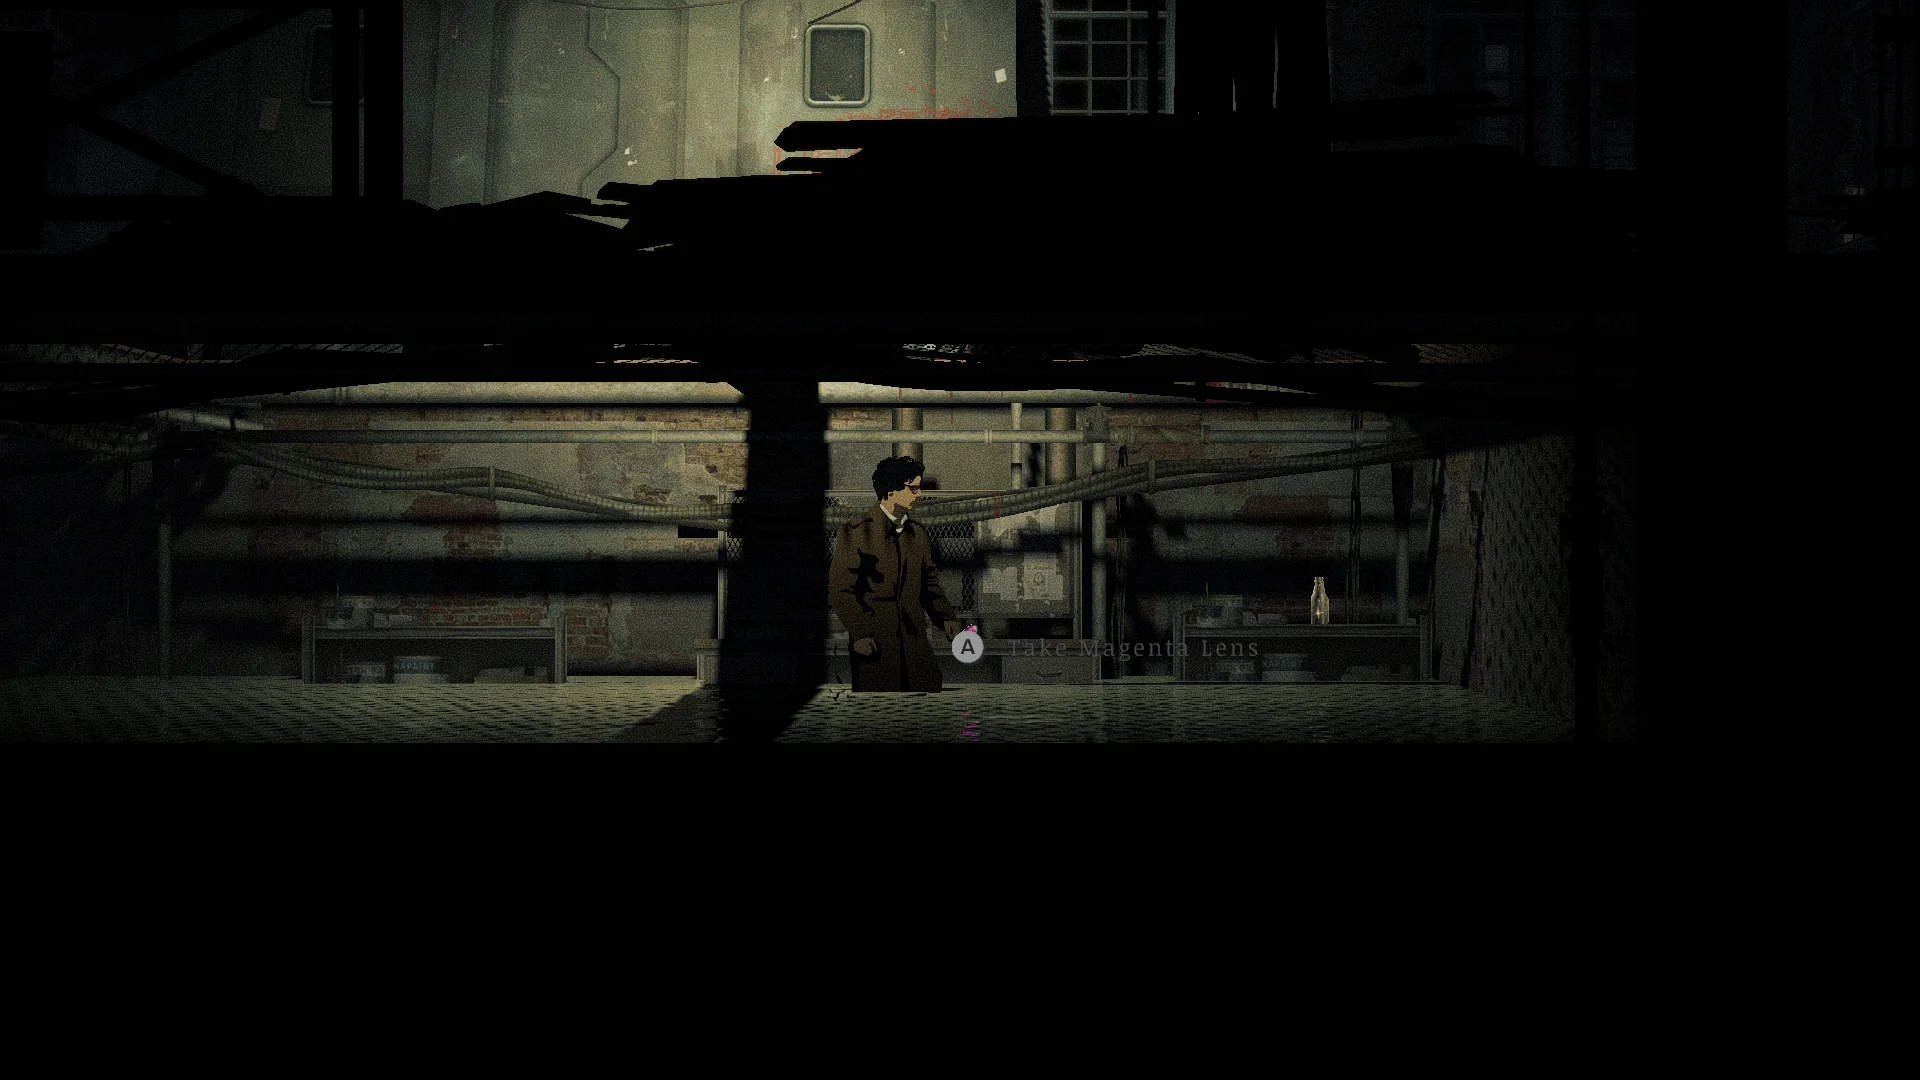
- Pick up the Tower Key in the wrecked warehouse room, then go down to the flooded basement for the Magenta Lens.
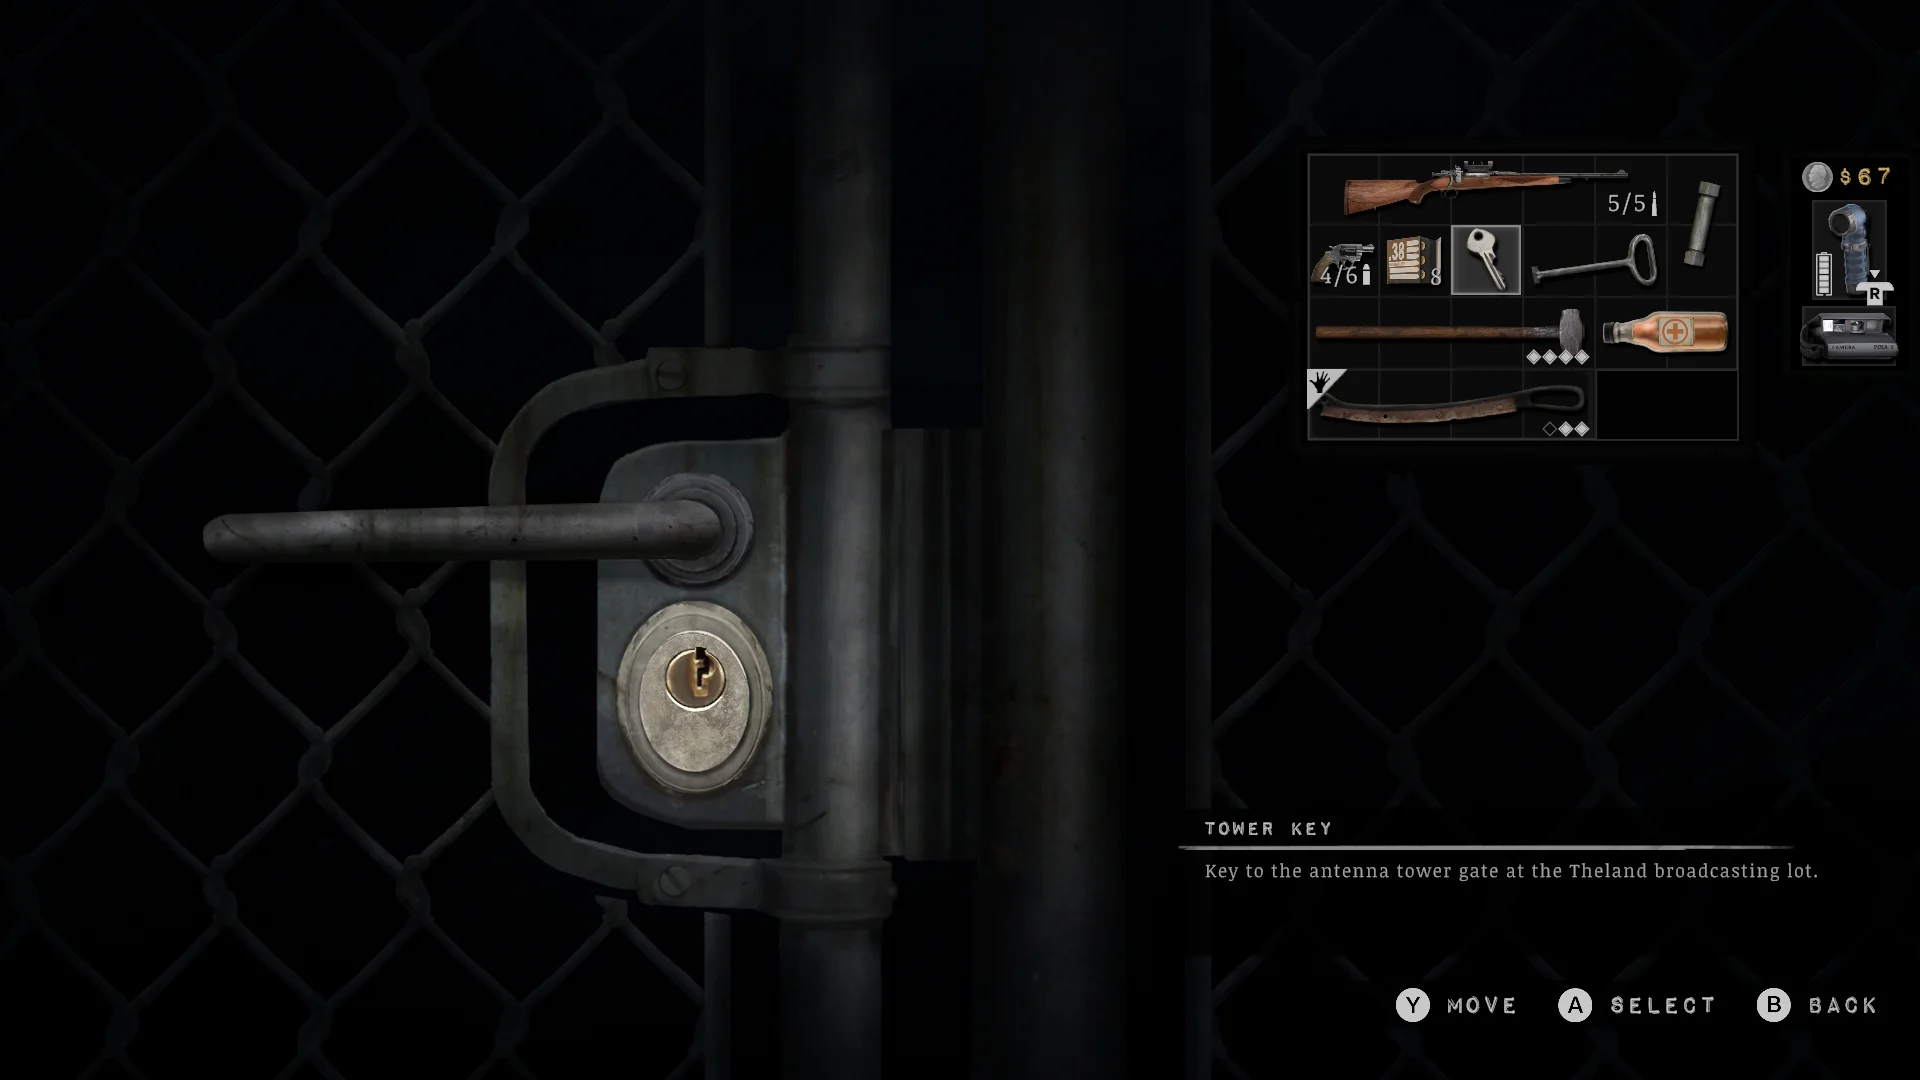
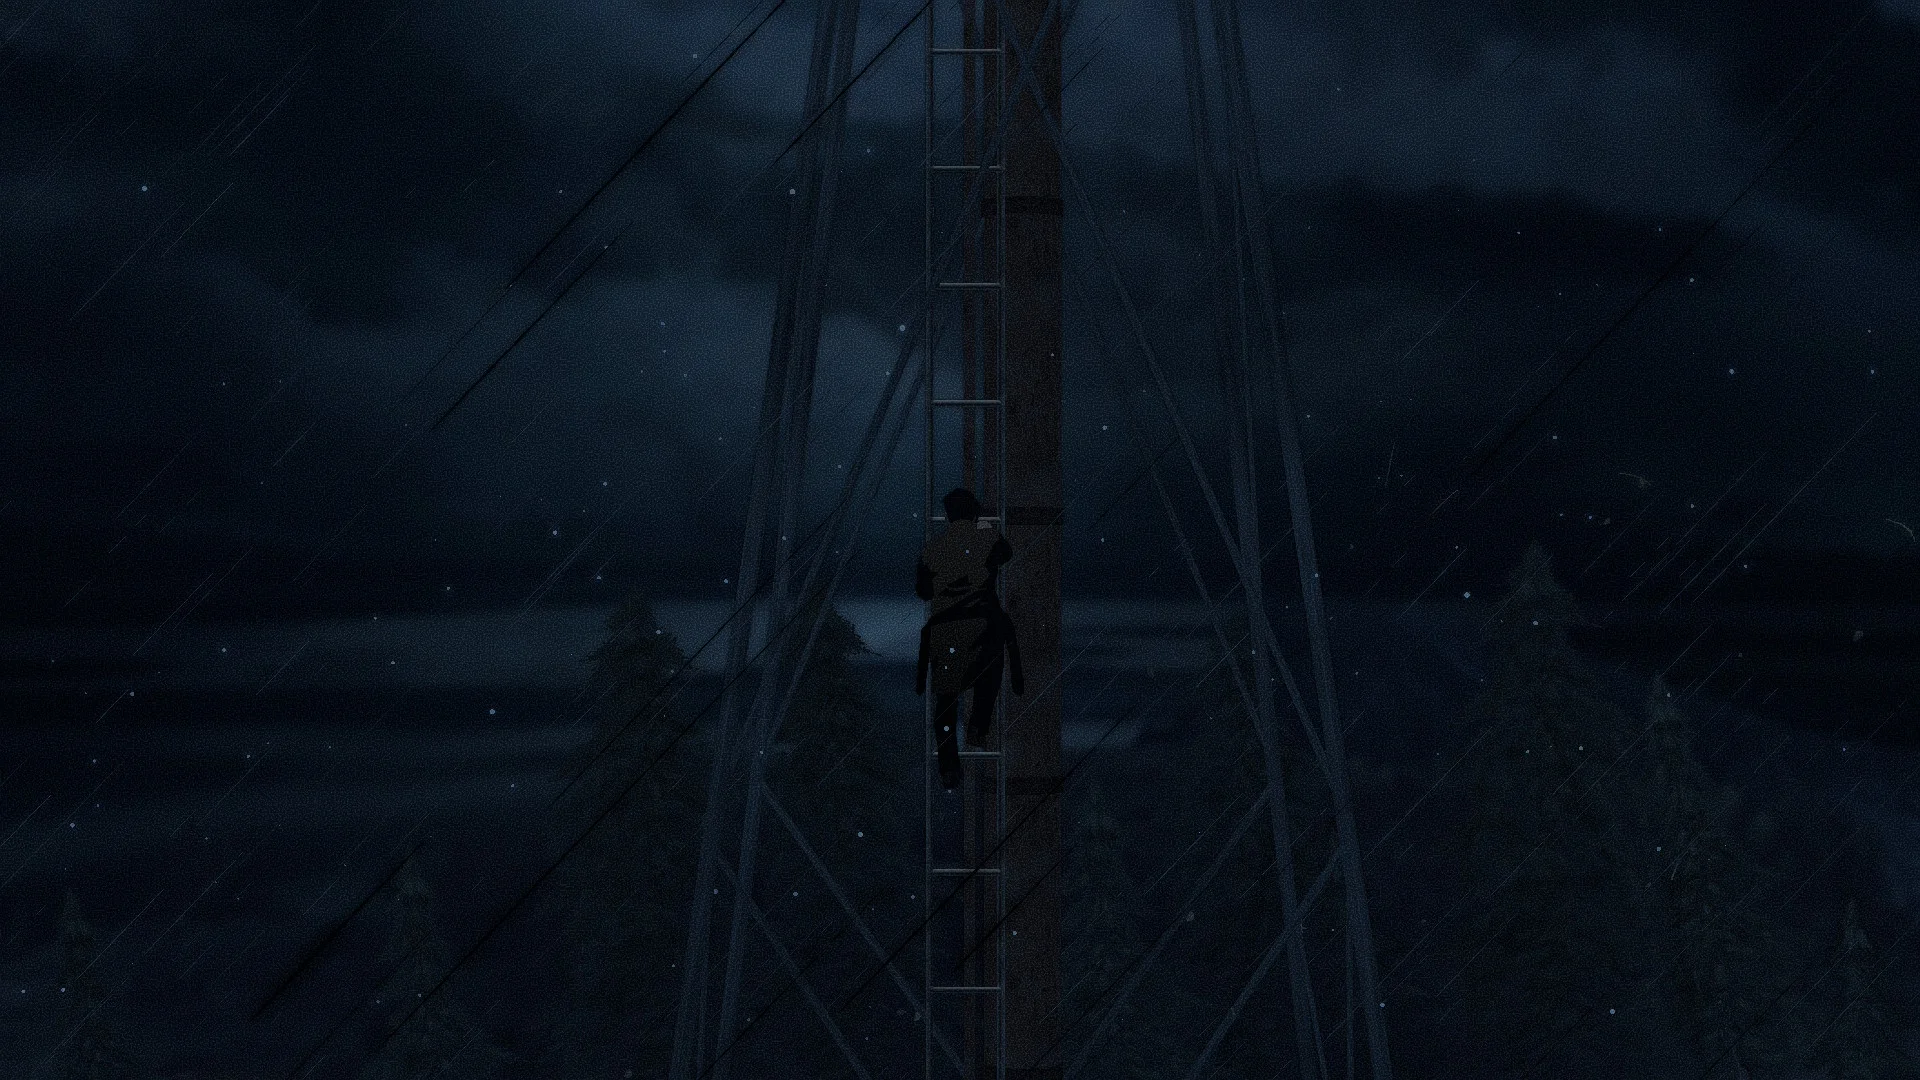
- Open the antenna tower gate with the Tower Key and climb the enormous ladder. The Yellow Lens waits at the top.
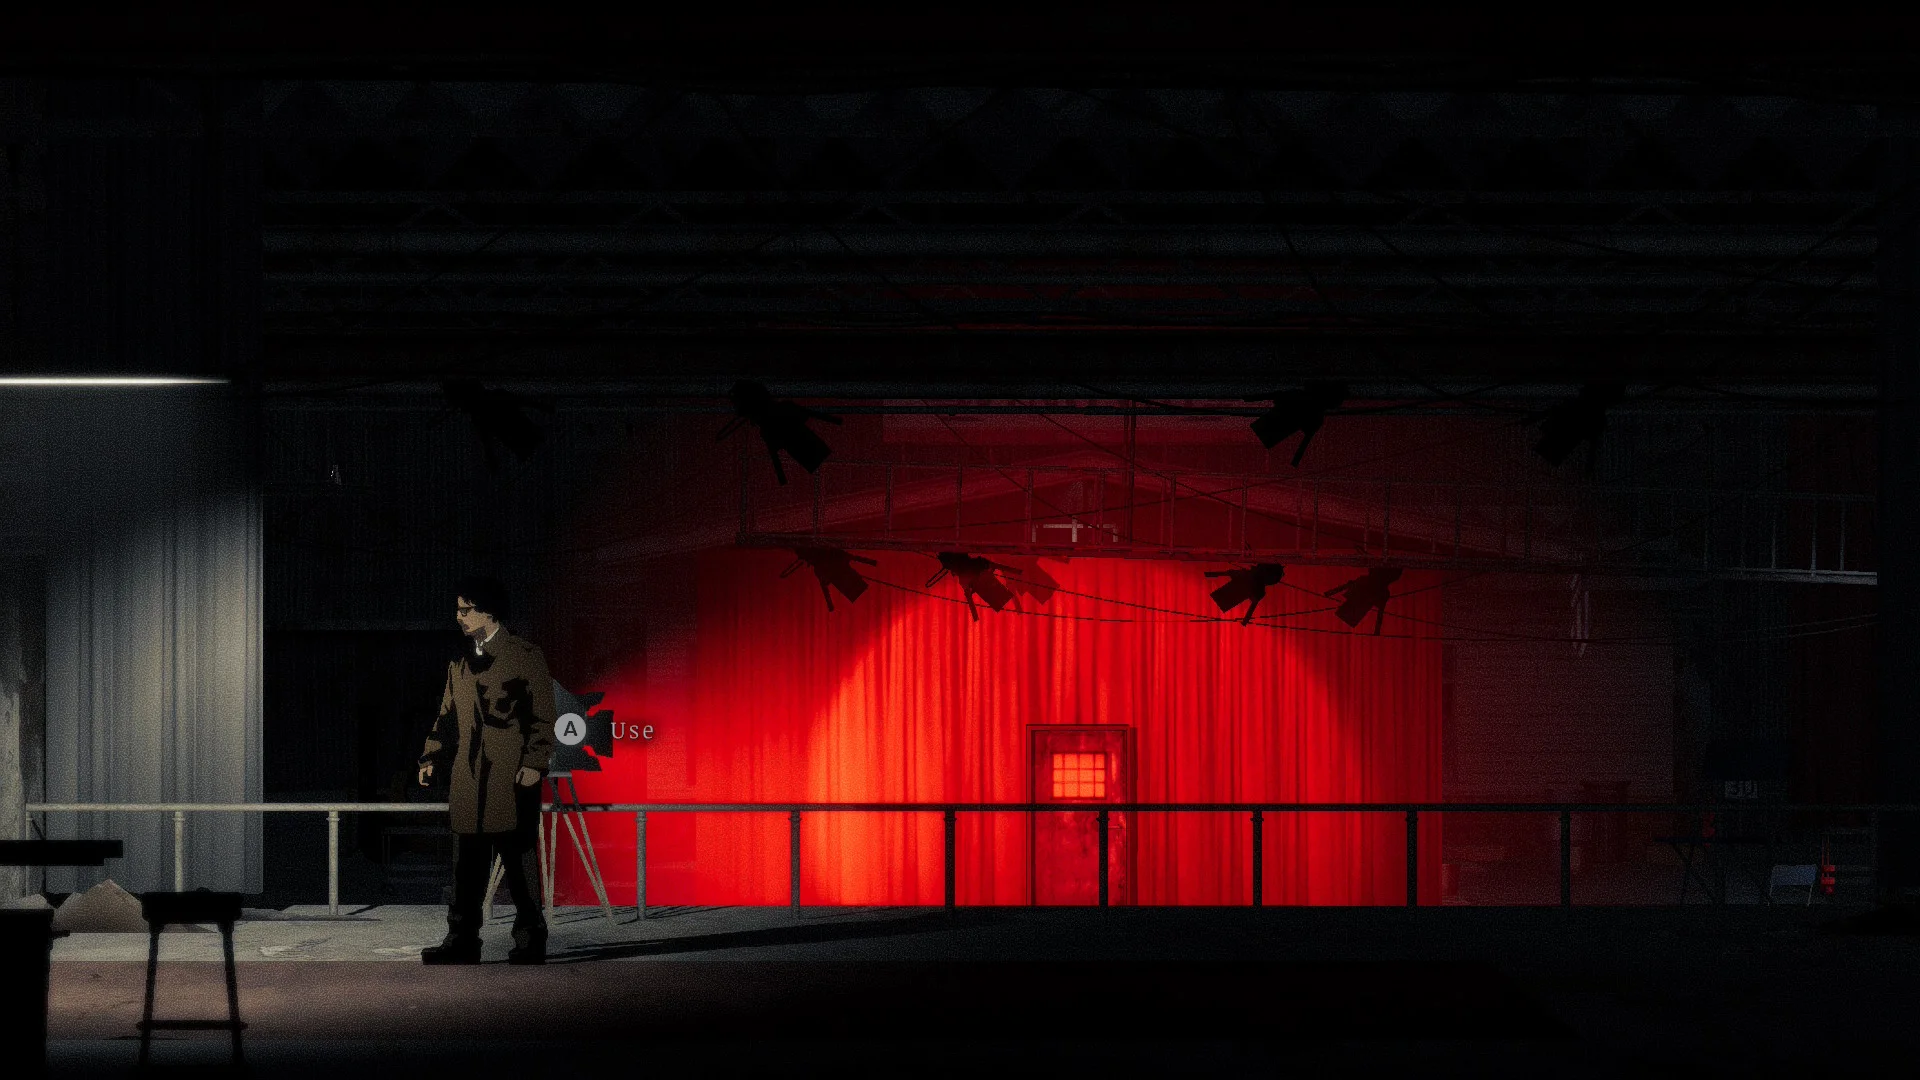
- Put all three lenses in the projector upstairs in Stage 1. The manual’s colour page says magenta and yellow make red, so flip the cyan lens up and leave the other two down.
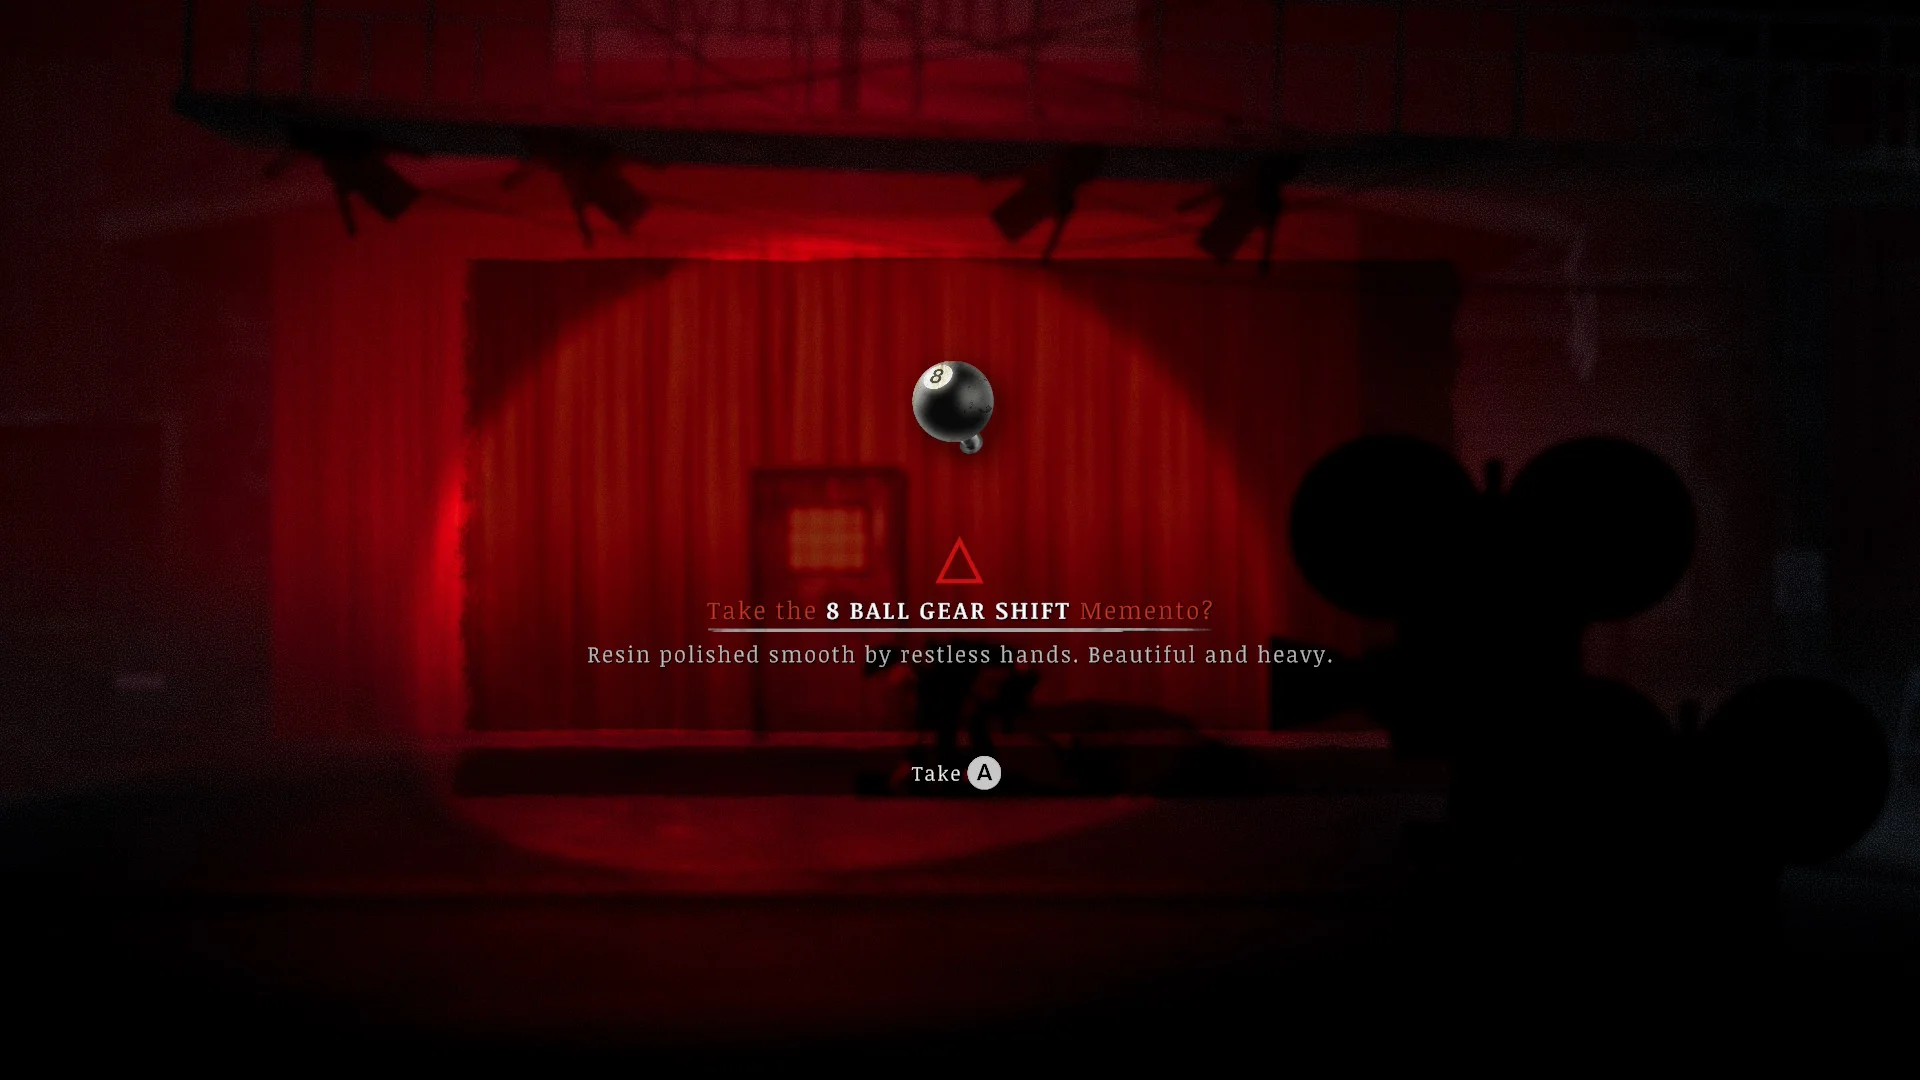
- Watch the gas station set turn red and a red door appear in the curtain. Beat the boss that follows, grab the memento it drops, and step through the door.
The red door
How to solve the nightmare payphone puzzle
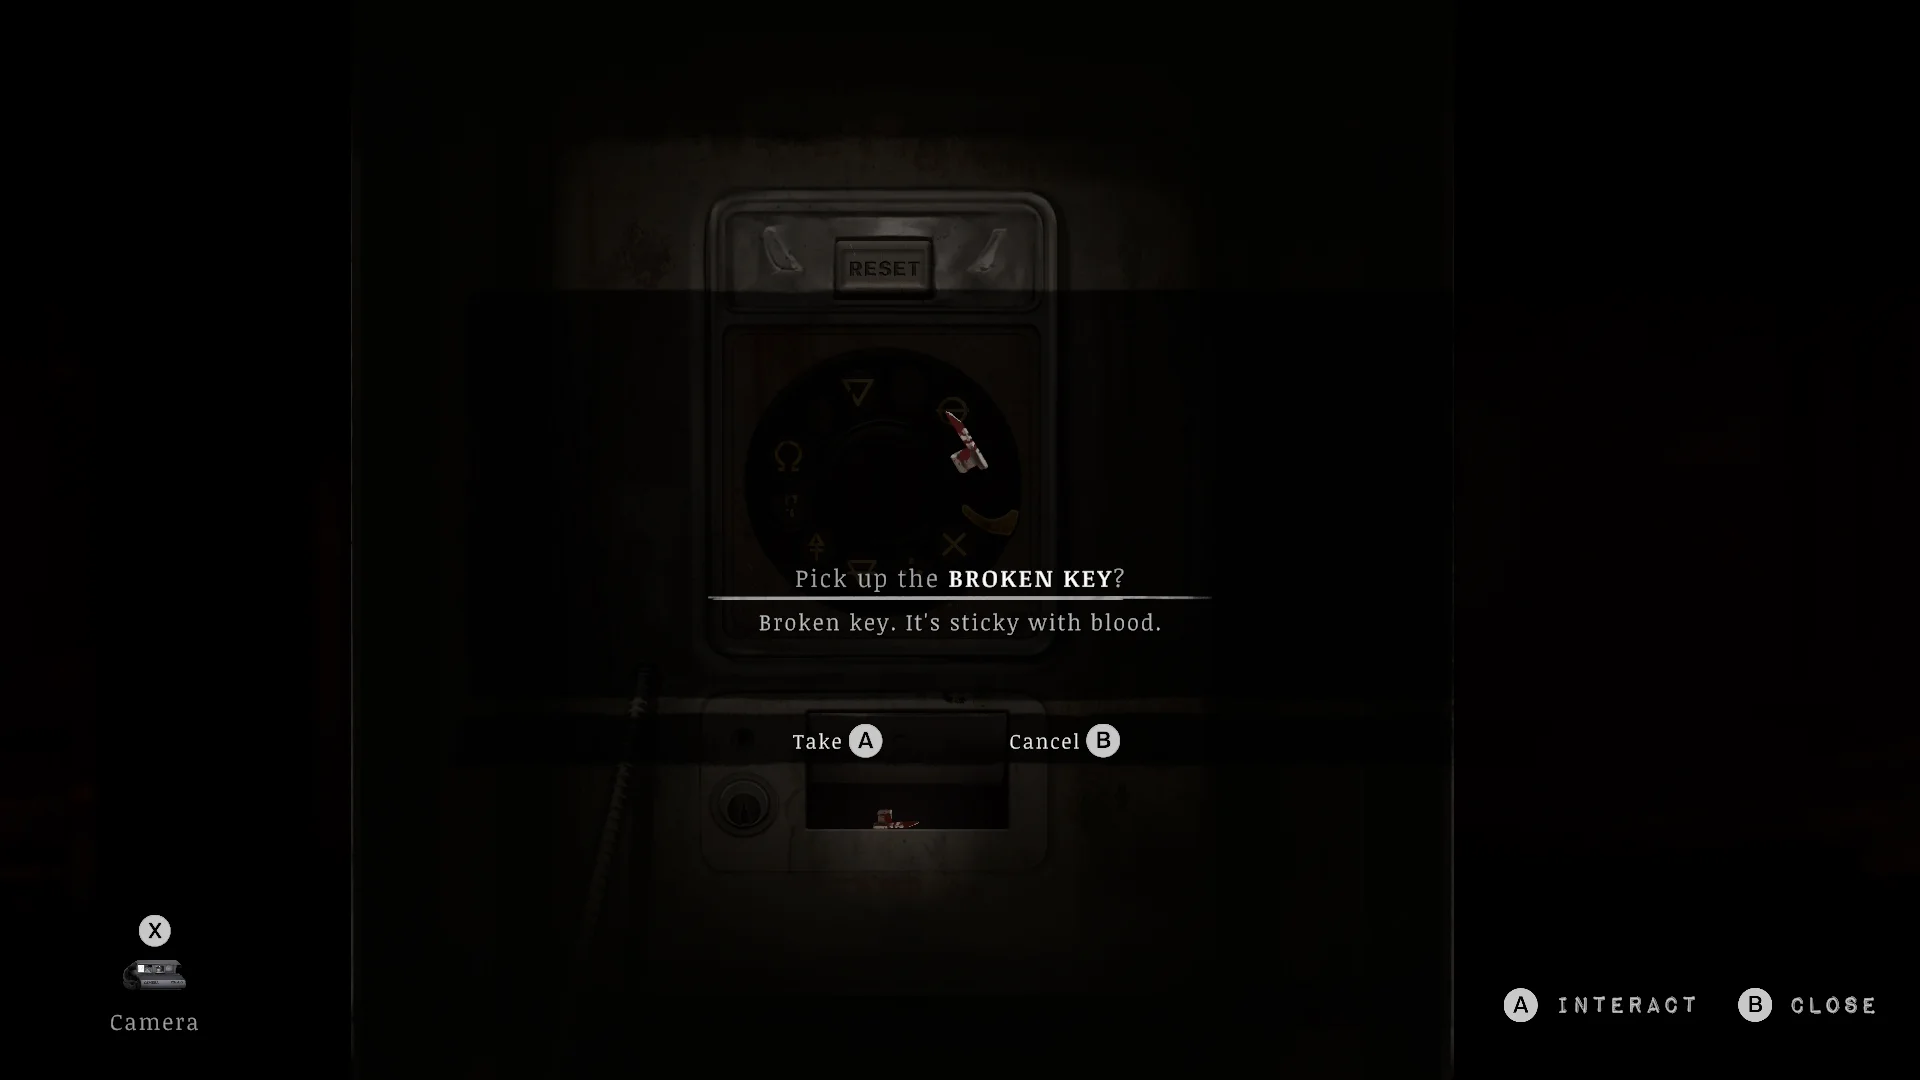
Dial the five symbols painted on the wall at the start of the area, in order, once the payphone has its rotary dial back.
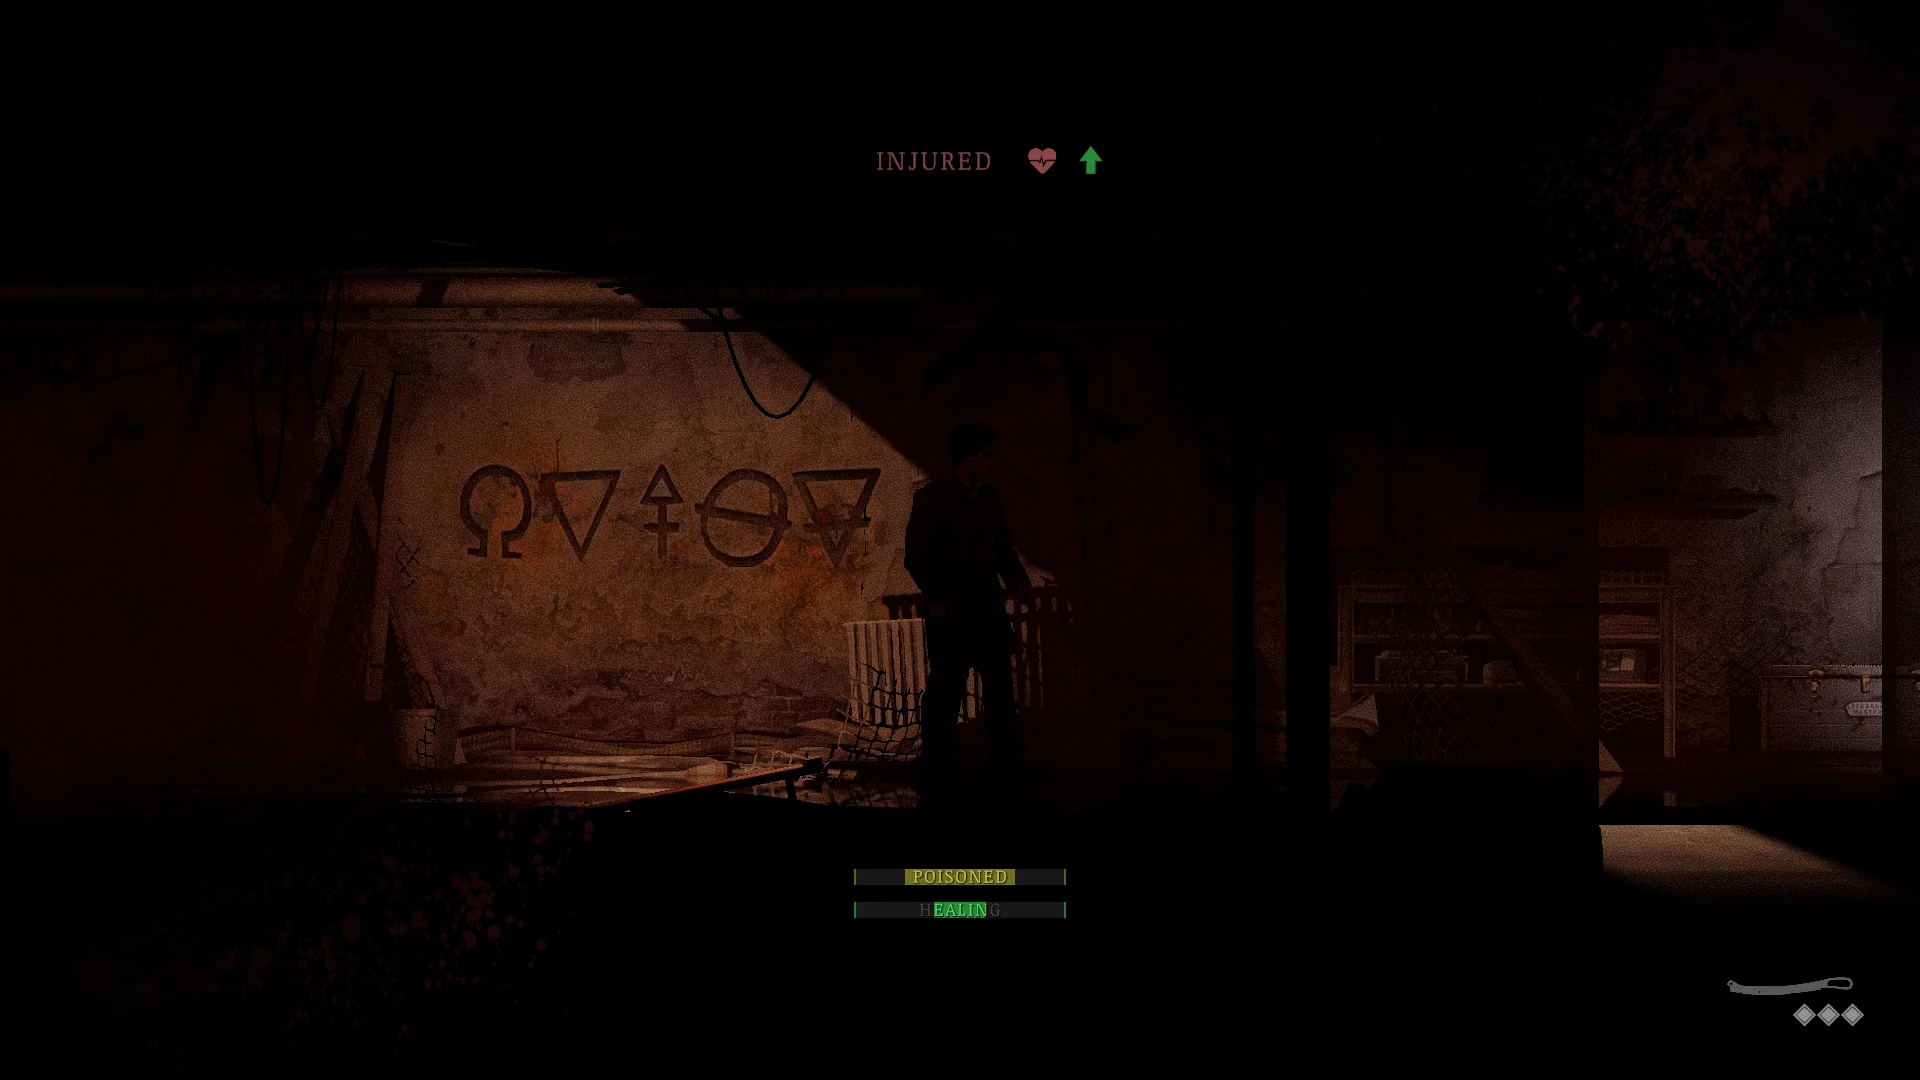


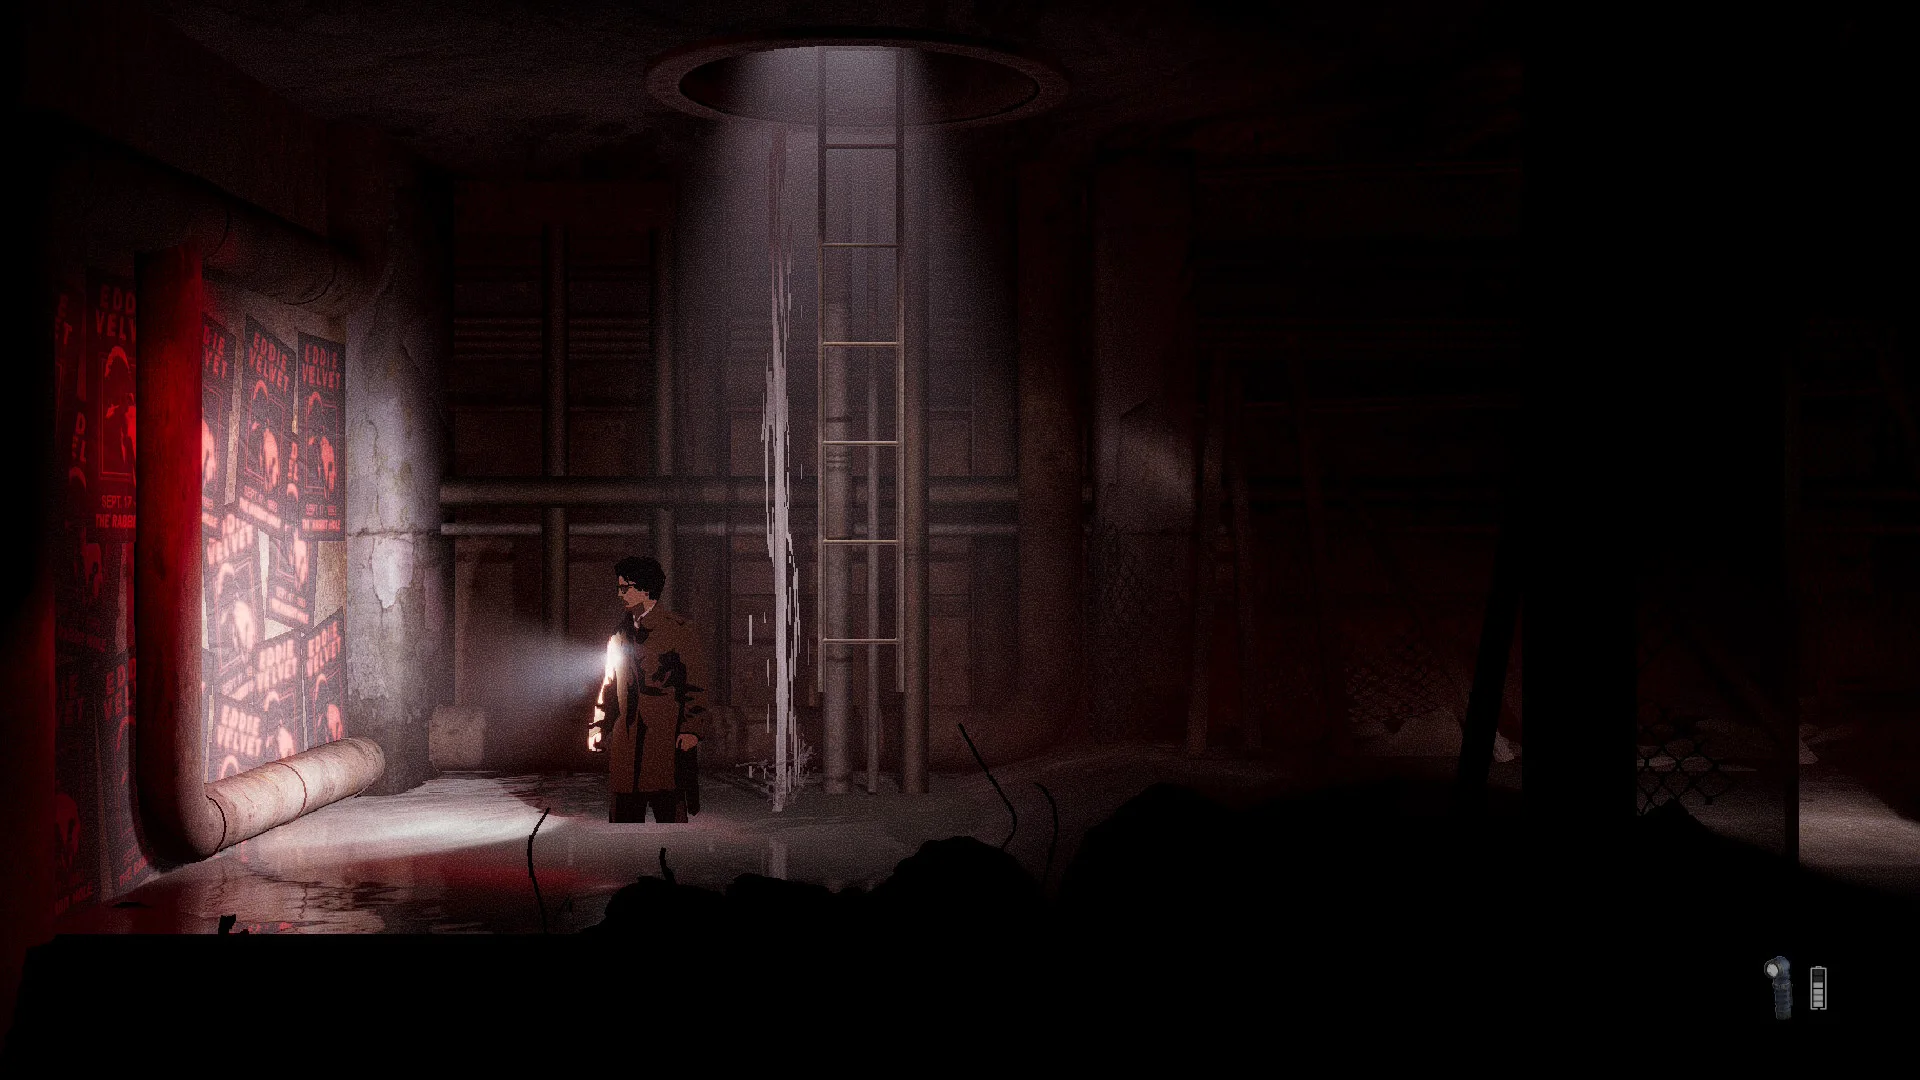



- Study the symbols on the wall: an Omega, a downward triangle, a triangle on a cross, a circle with a line through it, and a downward triangle with a bar. Take a photo, because you’ll need them soon.
- Take the half key and the Rusted Key from the wall hooks in the room on the left. Open the gate on the right with the Rusted Key, and get ready for a crowd.
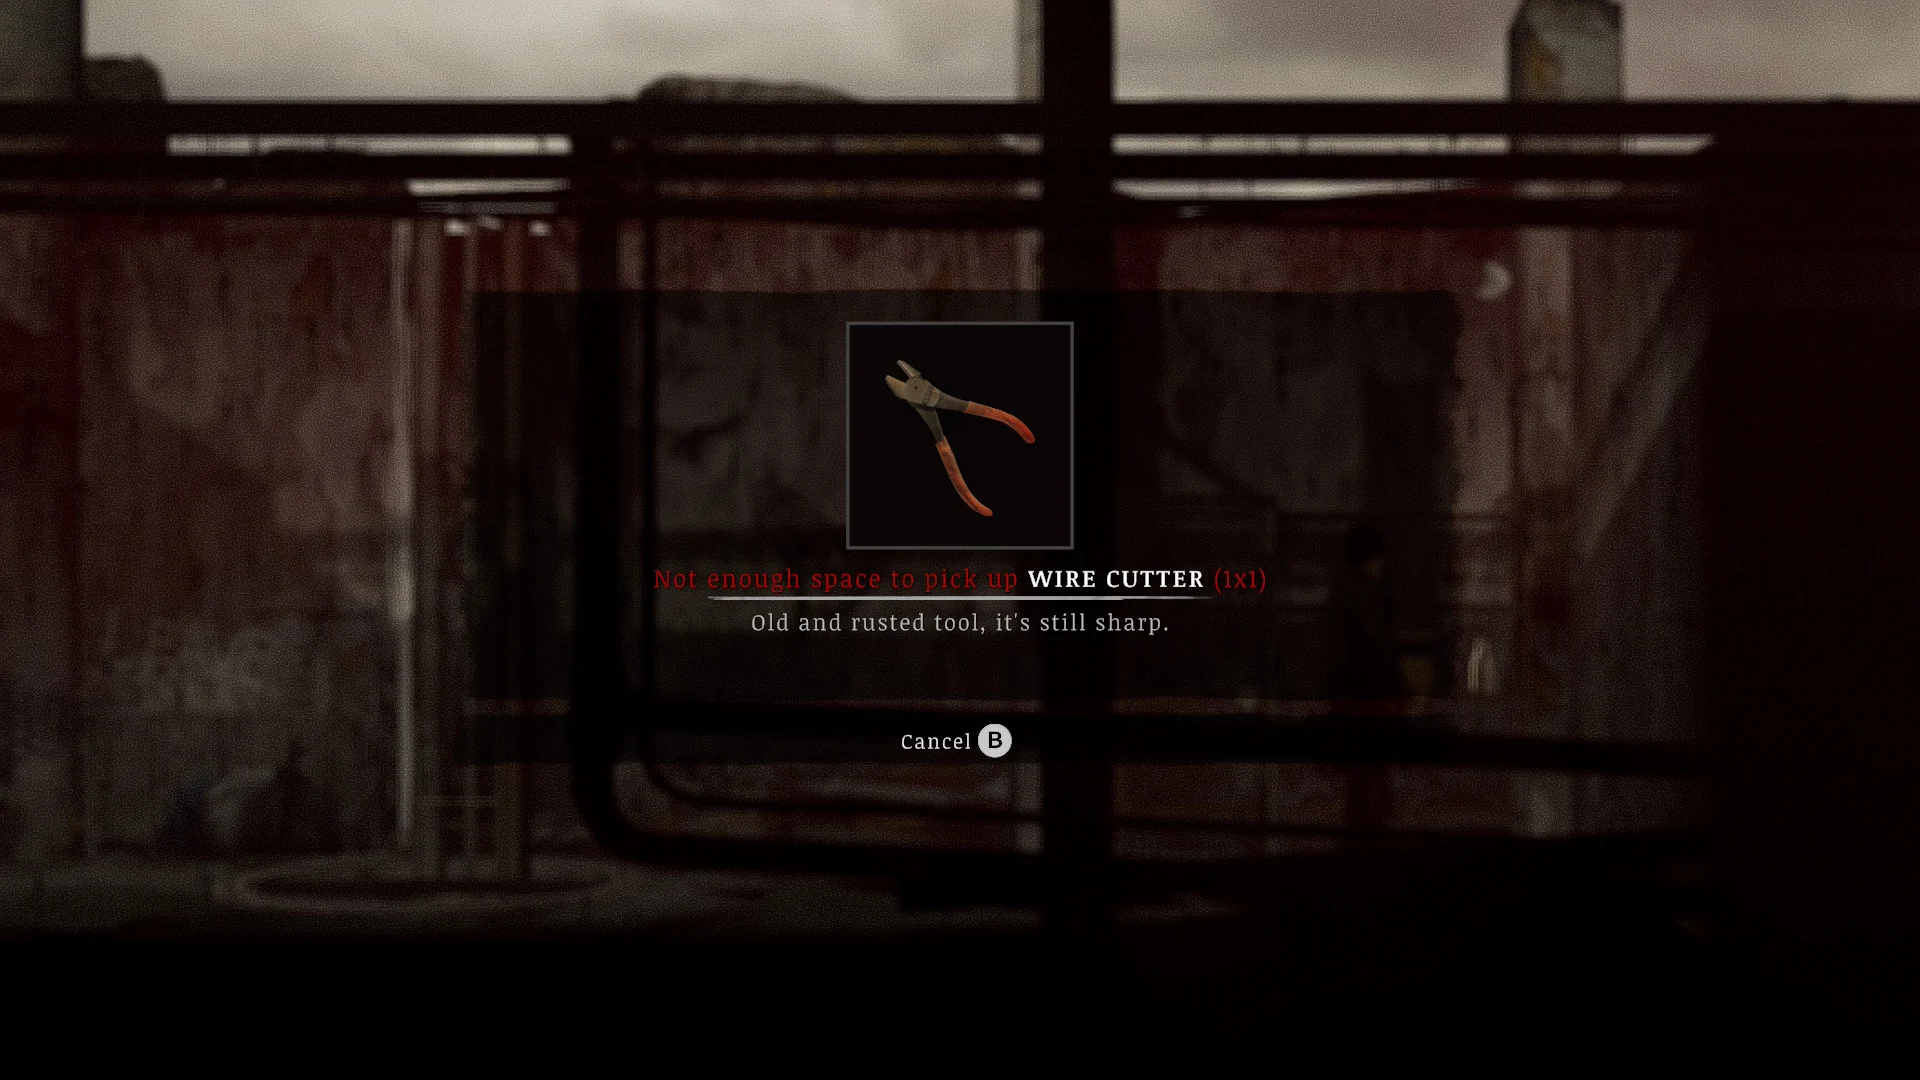
- Climb the ledge to the rightmost room and go up the ladder past the Eddie Velvet posters for the Wire Cutter.
- Take the ladder down on your way back left instead of dropping. The Rotary Dial sits in the room with the crashed car and the red TVs.
- Fit the dial on the payphone upstairs to the left and dial the five symbols. The phone drops the second half of the Broken Key, and the two halves make the Bloodied Key.
How to kill the flesh tree
Stab it three times with Metal Spikes, and save before the third stab, because that one starts a boss fight.


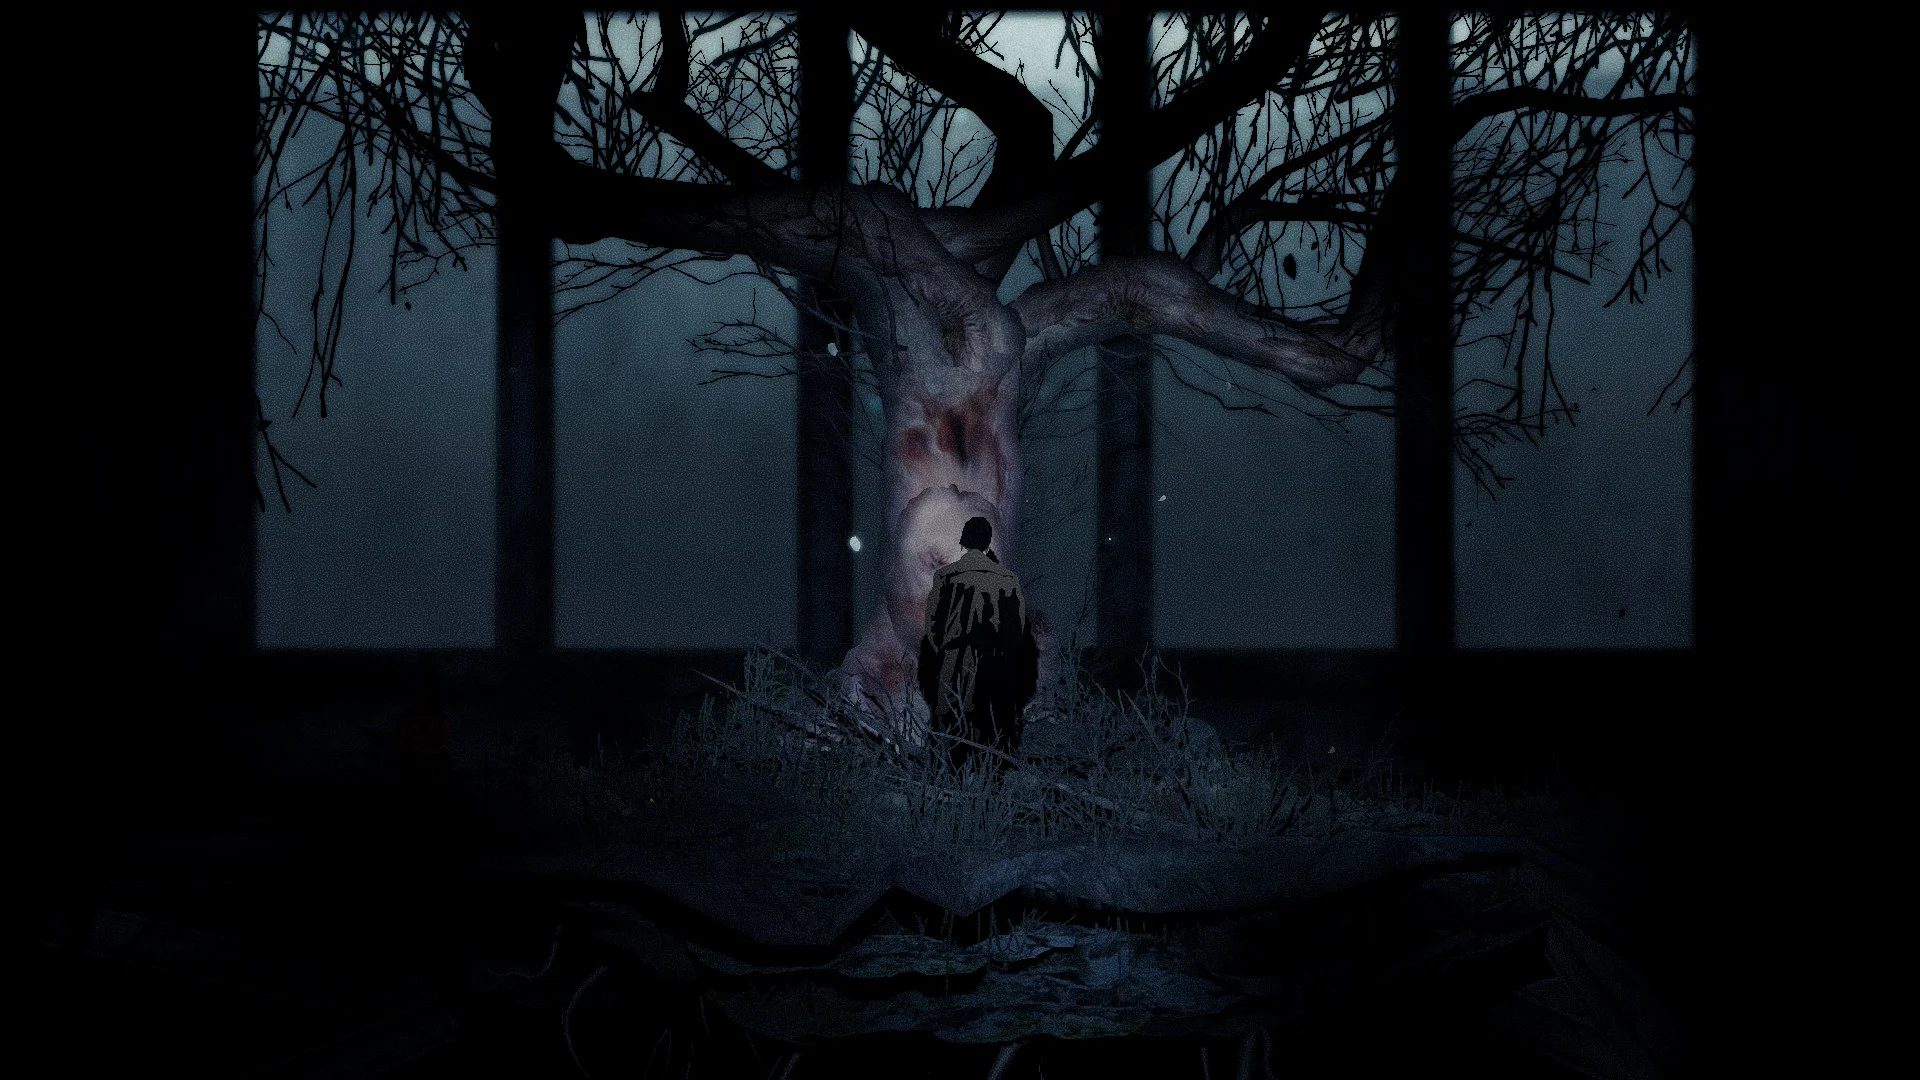

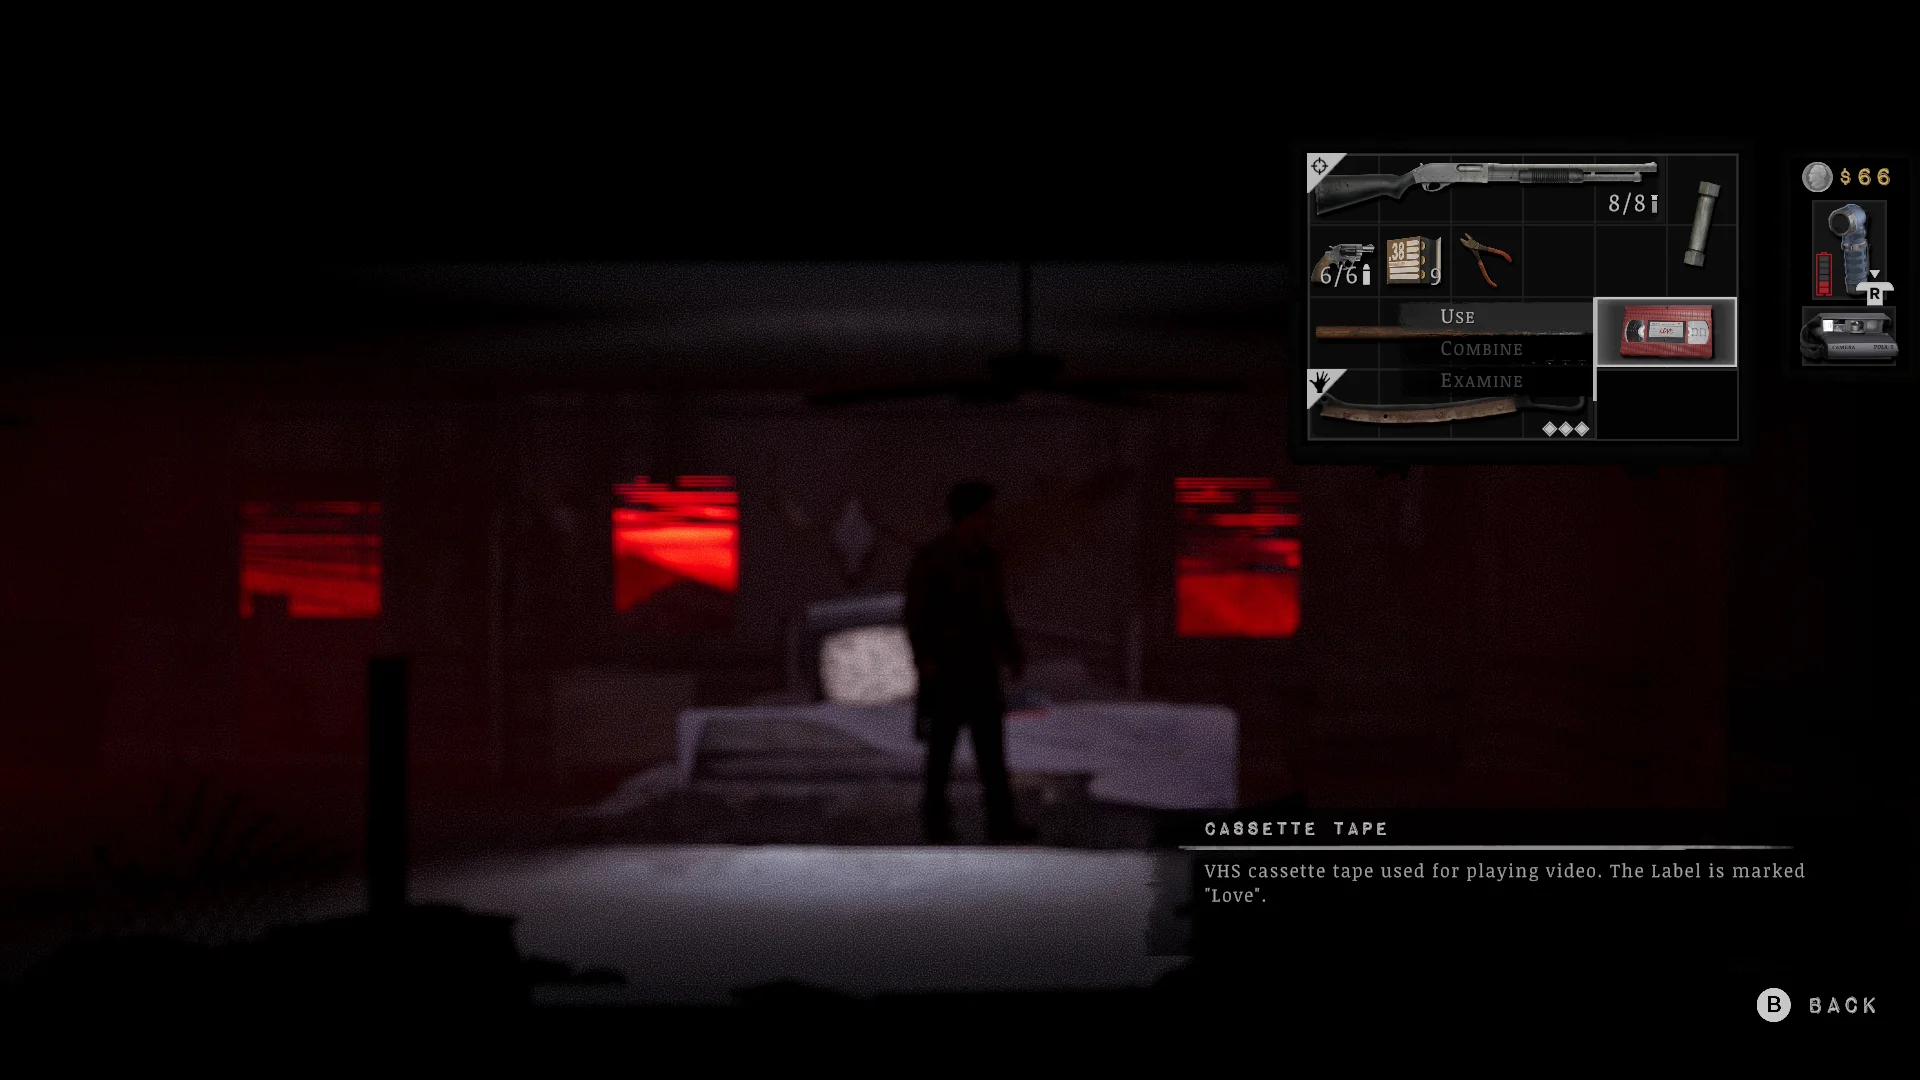
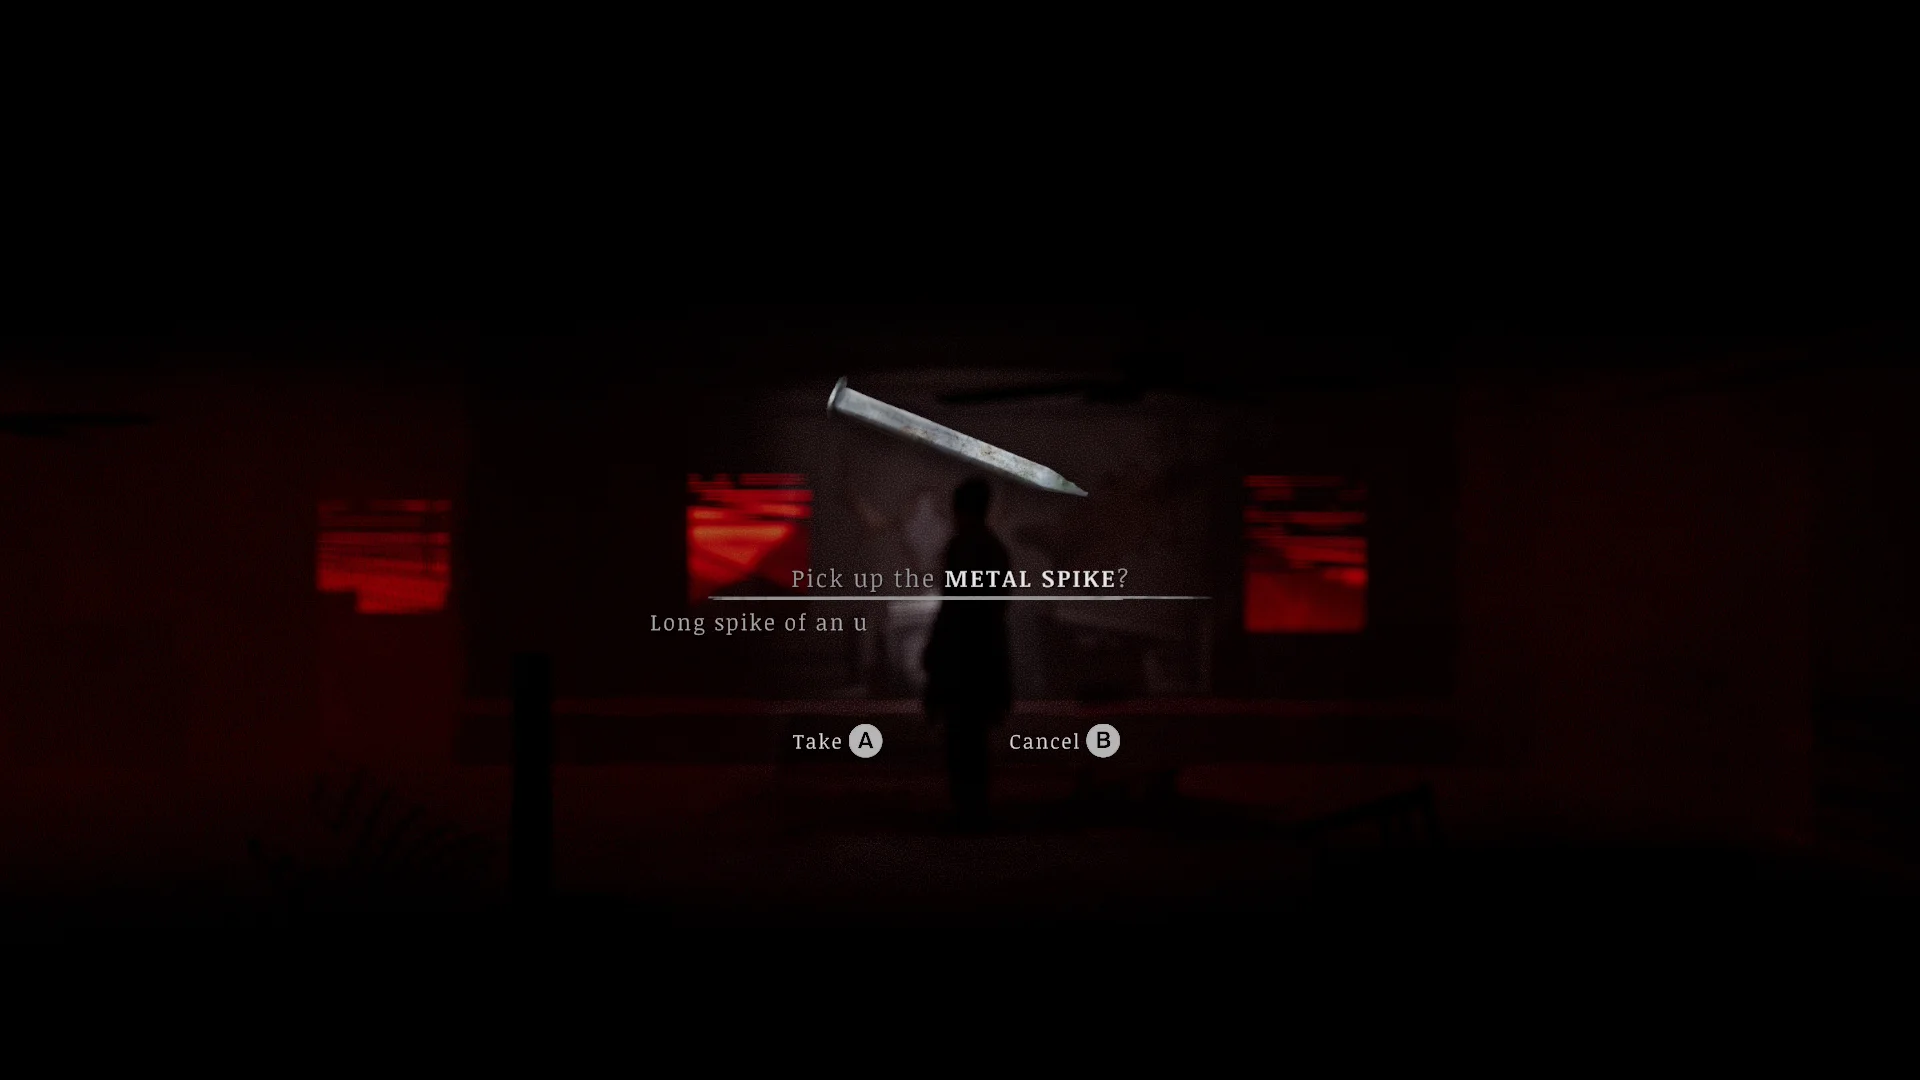


- Open the gate on the left with the Bloodied Key and pick up the first Metal Spike. Stab the pale tree with it.
- Take the Cassette Tape labelled “Love” from the room on the left and play it on the TV in the red bedroom. The second spike appears, so stab the tree again.
- Go right and walk down the slope instead of jumping, because it’s shallower than it looks. Keep heading down, open the door, and go left past Alice Baker’s ghost to the third spike by a wrecked car.
- Save, then stab the tree a third time. The boss soaks up a lot of bullets, and it drops a memento when it finally falls.
How the Silver Pines ending works
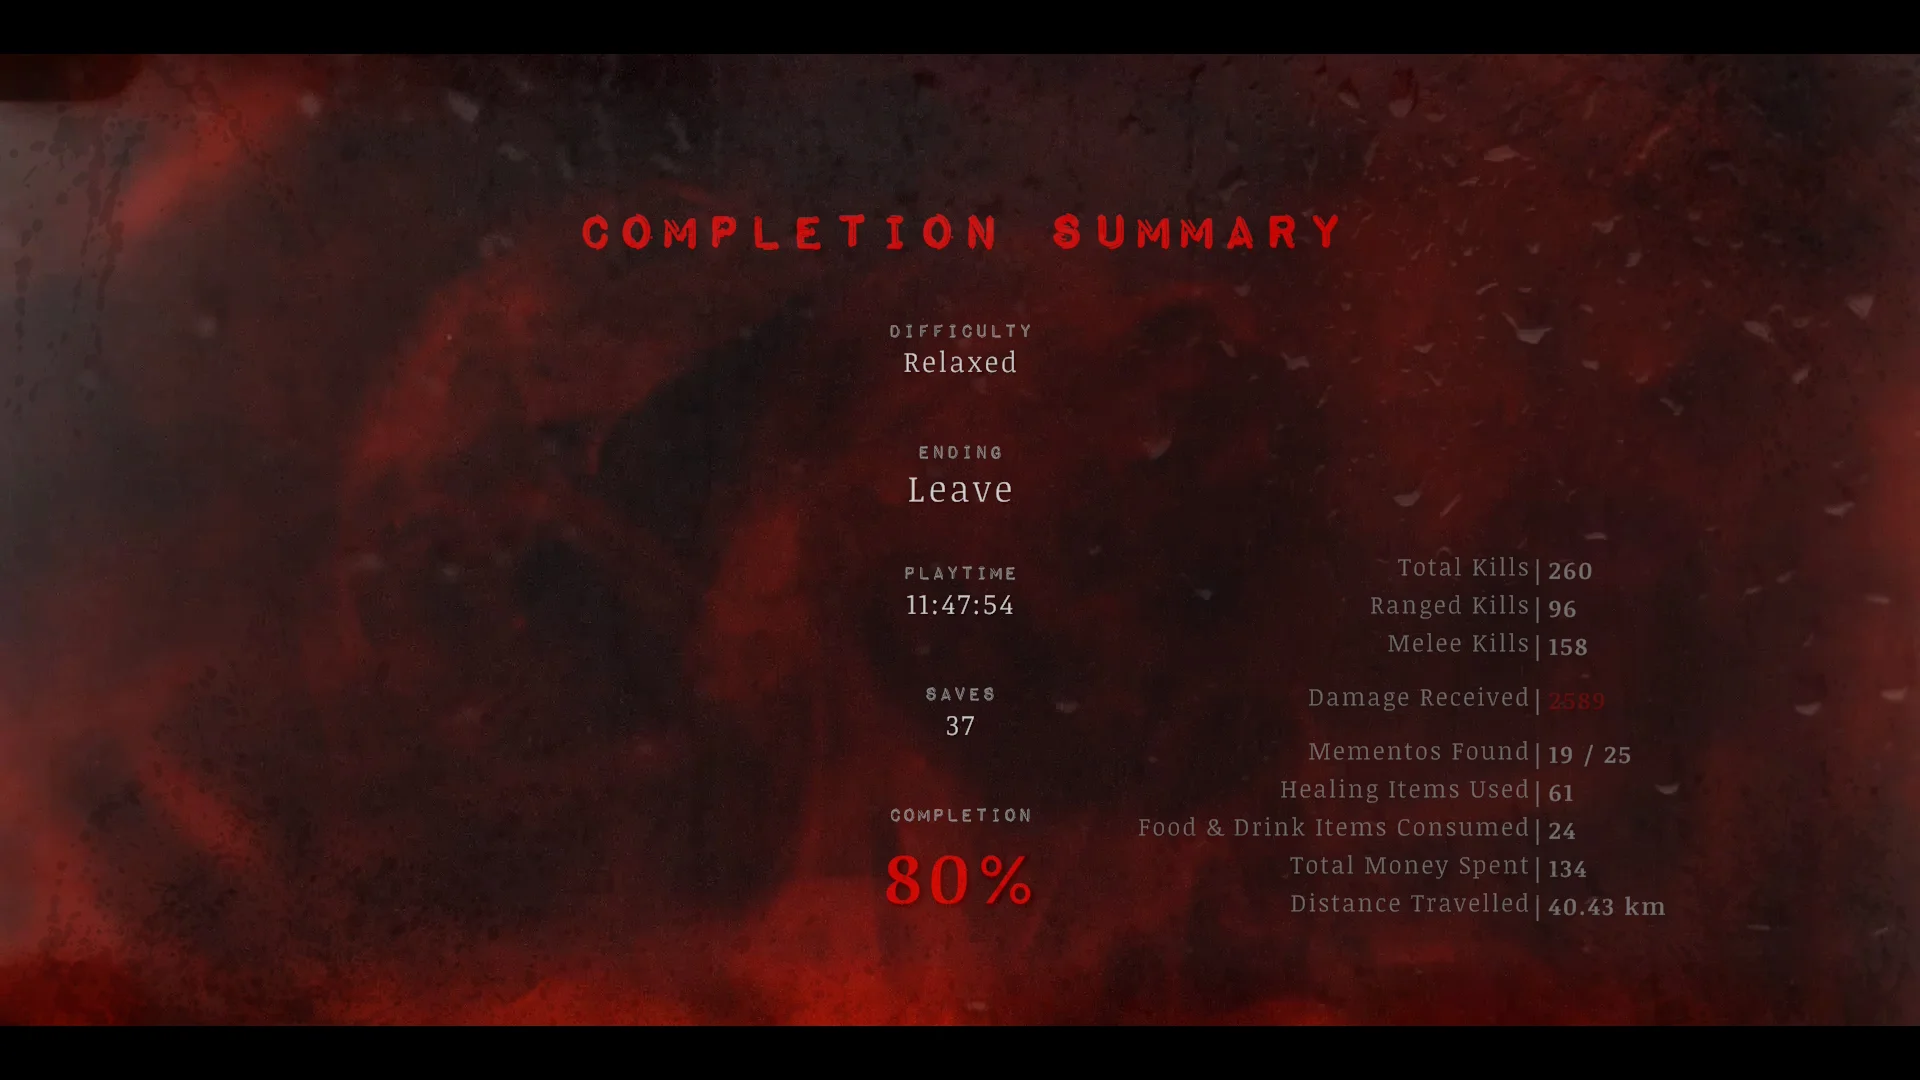
You find Eddie by a dead tree and choose between Kill Eddie Velvet and Leave. The ending I got sends Walker home with a paycheck and not much else.
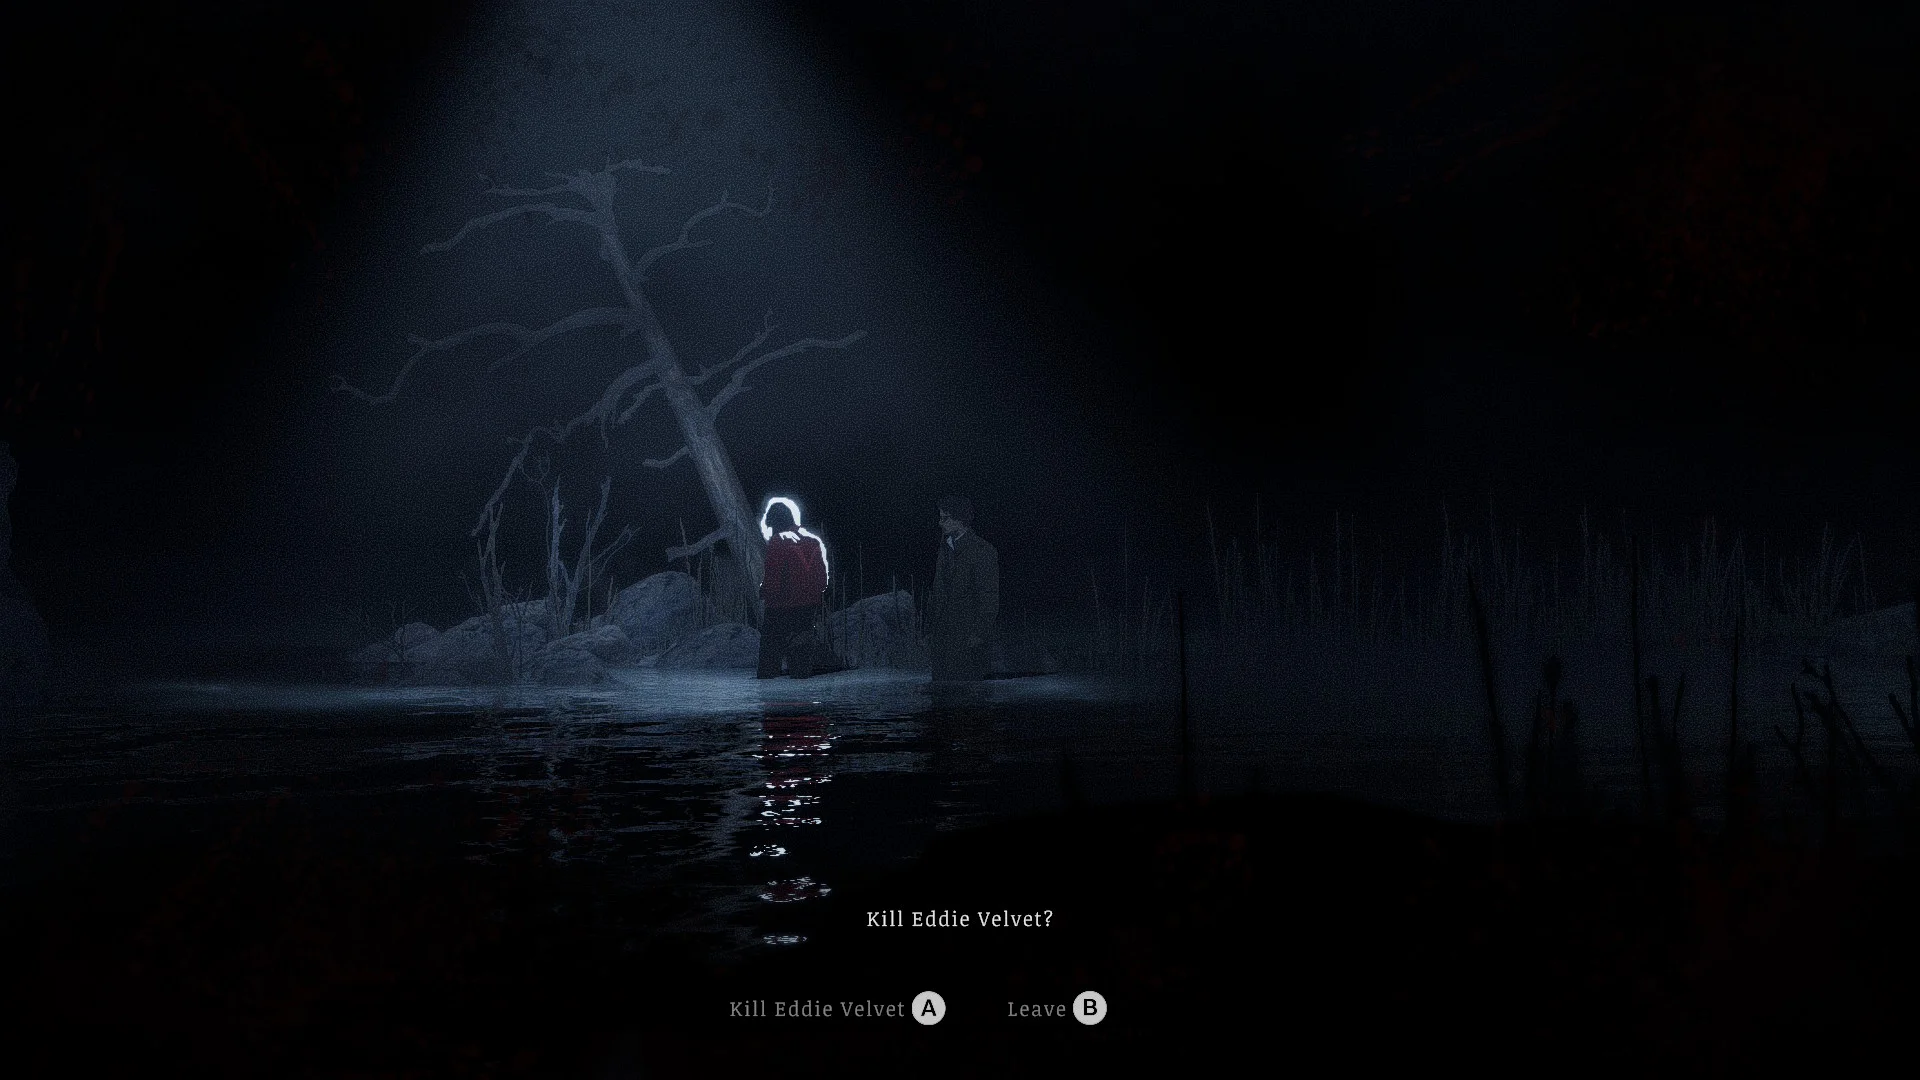
- Walk into the water and talk to Eddie. The choice comes at the end of the conversation.
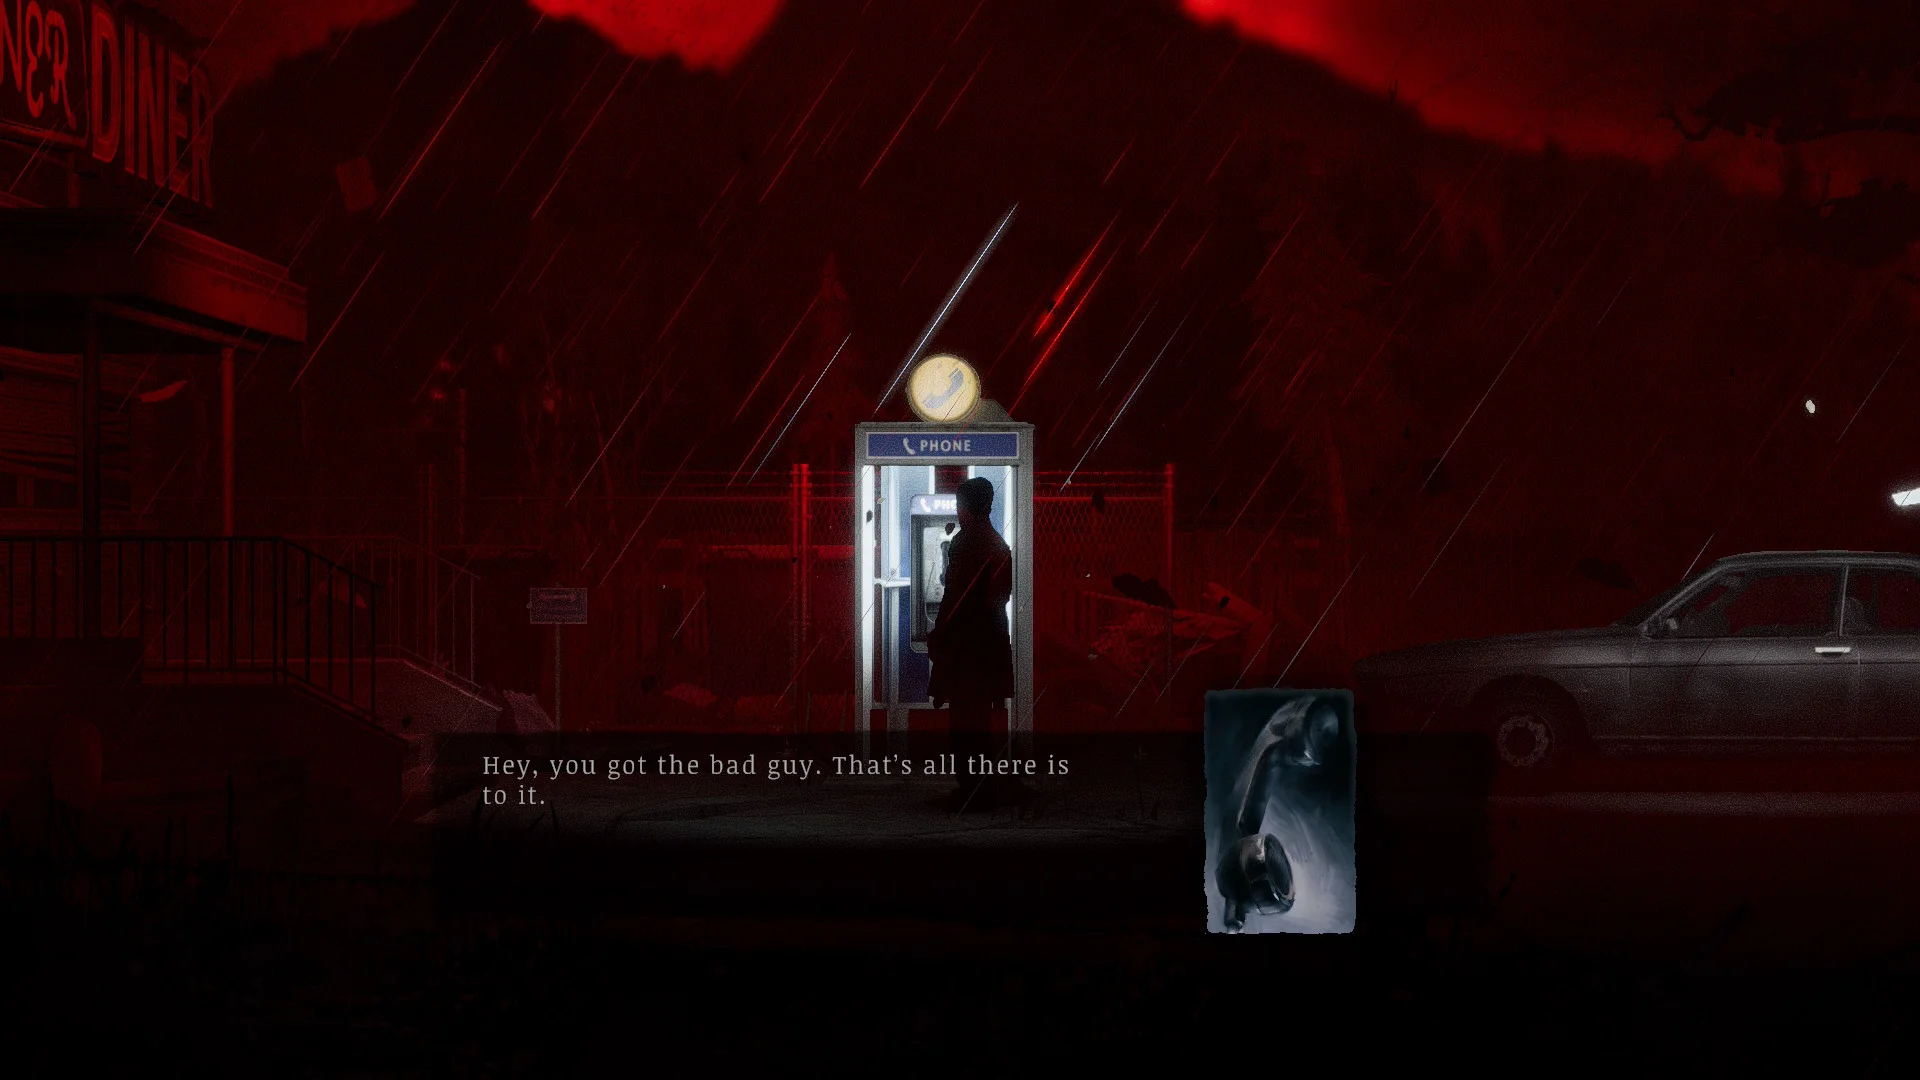
- In my ending, Walker takes a call at the diner payphone (“Hey, you got the bad guy”) and drives away. The completion screen calls it “Leave” (check which choice gives which ending).
- It feels unsatisfying, and I suspect that’s deliberate. Reload, mop up what you missed, and go looking for the other ending.
I rolled the credits with a few loose ends still in my pocket, but I’ll make sure to update this guide as I uncover new secrets.
Still here? Good.
That means the article did its job! If you’d like to see more of them (and get first crack at what’s next) our Patreon’s the place.
About the Author

Discover more from Bonus Action
Subscribe to get the latest posts sent to your email.