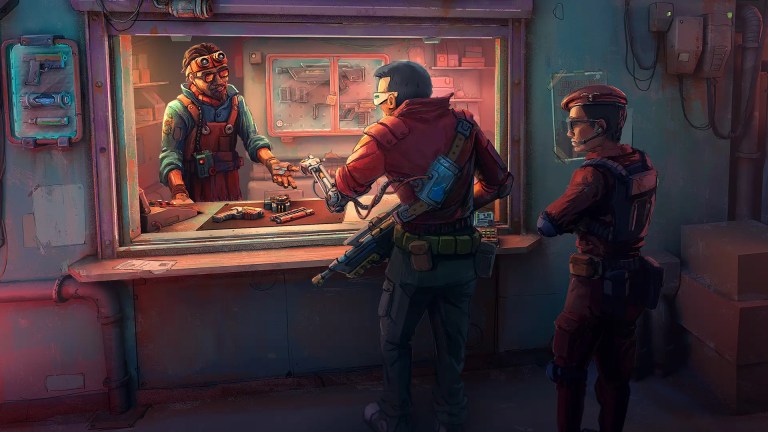
Probably Stolen gives you a shop and a rent bill, then leaves you to work out how to actually make money. The answer is trades: water, wine, farming, chemistry, guns, metal, rats, fish, and fencing, each with its own machines, suppliers, and rules.
I’ve broken down every trade in the launch build, so this guide covers how to unlock each one, what you need, and exactly how it works step by step.
All Trades in Probably Stolen and How to Unlock Them
You can pick most trades as your starting specialization, but you don’t have to. Every trade below can also be unlocked mid-run through Joe Wild’s Network, which you get access to on day 7.
| Trade | Starting trade | How to unlock mid-run | Core machines |
|---|---|---|---|
 Water Trading | Water Merchant | Wild: Water Trading (300 credits) | Water Purifier, Moisture Farm, Bottle Printer |
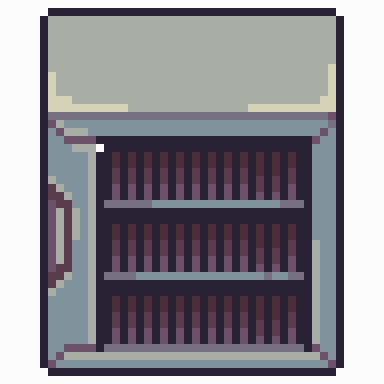 Winemaking | None | Wild: Retired Winemaker (200 credits) | Wine Bottle, AgeWell |
 Hydroponic Farming | Hydroponic Farmer | Wild: Retired Farmer (350 credits) | Hydroponic System |
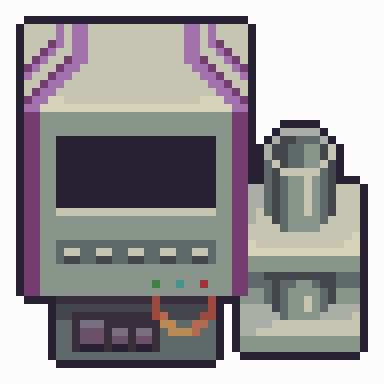 Plant Genetics | None | Wild: Plant Genetics (1,250 credits, needs Retired Farmer) | DNA Manipulator |
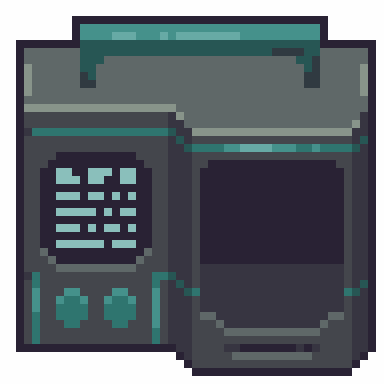 Chemistry | Chemist | Wild: Retired Chemist (1,000 credits) | Blender, Heating Plate, Evaporator, Chem Finisher |
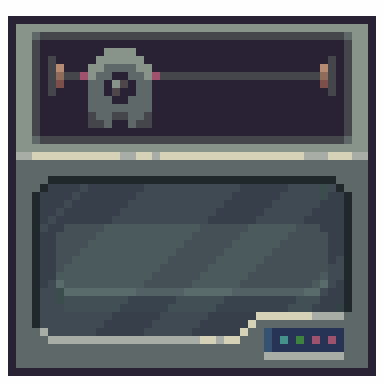 Gunsmithing | Gunsmith | Wild: Retired Gunsmith (650 credits) + Weapon Permits | 3D Printer |
 Smelting | None | Free: Dr. Jackson gives you a Furnace on day 6 | Furnace |
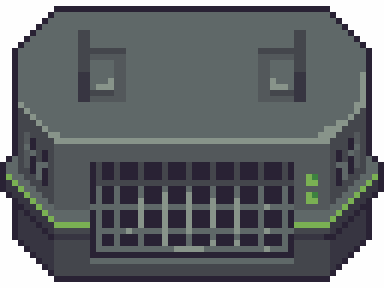 Rat Ranching | Rat Wrangler | Wild: Ranching (750 credits) | Animal Cage, Feed Dispenser, Auto Butcher |
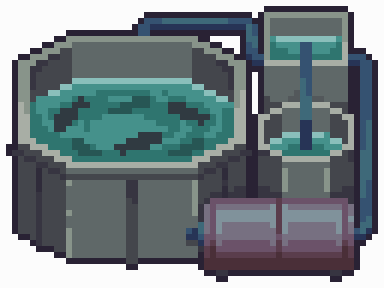 Aquafarming | Aquafarmer | Wild: Aquaculture (400 credits, needs Water Trading) | Recirculating Aquaculture System |
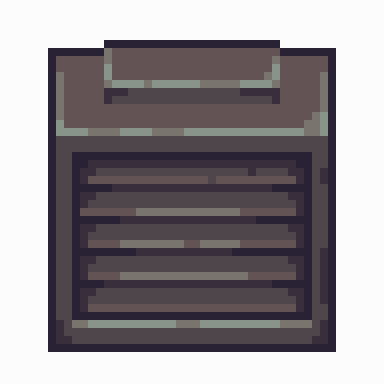 Fencing | Fence | Always open, but no Smuggler’s Bay or Exchange until later | Smuggler’s Bay |
 Appraisal | None | Join the Appraisal Board on day 8 (85 credits on Normal) | Magnifying Glass |
 Ruined Machine Scrapping | Junker (not selectable yet) | Not available in the launch build | Furnace, Module Extractor |
Every Wild unlock that names a “retired” visitor also gives you a starter kit straight away, and that visitor comes back once a week with stock for that trade.
Water Trading
Water is the easiest trade to understand and one of the most reliable. You buy or collect dirty water, clean it, and sell it by purity.
How to Unlock Water Trading
You can unlock Water Trading by starting as the Water Merchant, or buying Water Trading from Wild for 300 credits.
- You immediately get the Water Trading Manual, testing strips, purification tablets, a Water Pitcher, a Water Filter, a water sign, and a used HydraTech Micro Water Purifier.
- Dr. Jackson starts stocking the Water Purifier, Moisture Farm, Bottle Printer, AquaScan, water tanks, and better filters.
Water Grades and Prices
| Grade | Purity | Price per liter |
|---|---|---|
| Pure Water | 99.9%+ | 200 credits |
| High-Quality | 99% to 99.9% | 100 credits |
| Basewater | 98% to 99% | 40 credits |
| Ghostwater | 96% to 98% | 27 credits |
| Rustwater | 90% to 96% | 20 credits |
| Gutterflow | Below 90% | 10 credits |
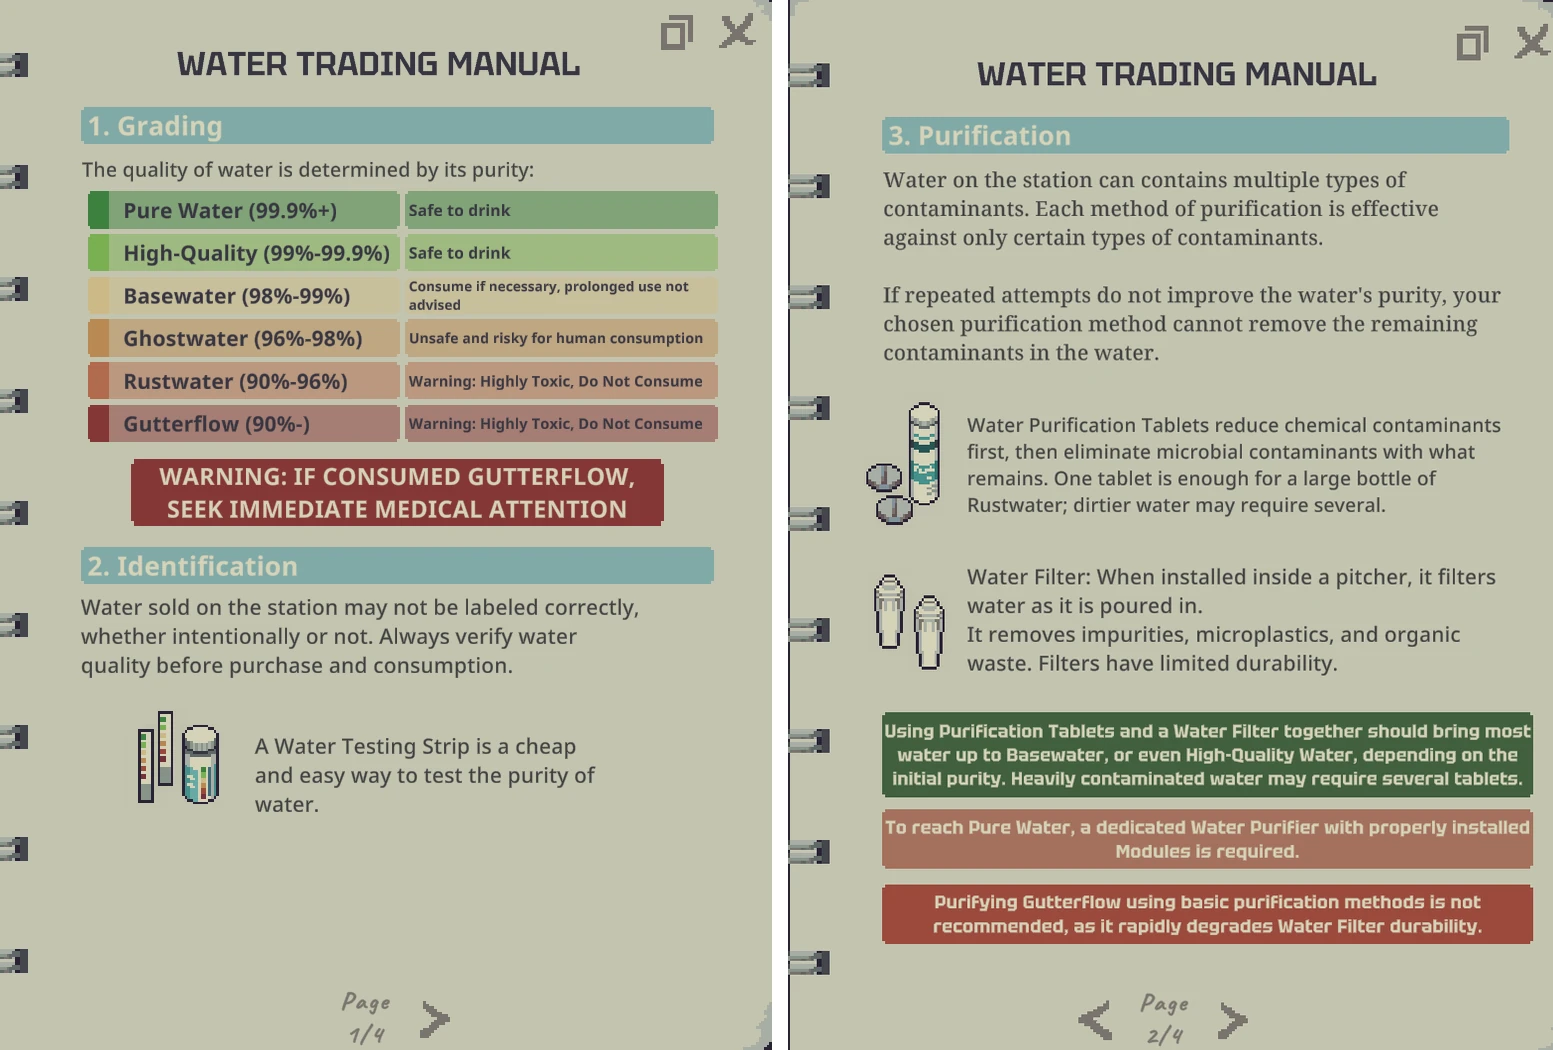
How to clean water step by step
- Test it by dipping a Water Testing Strip in any water before you buy or sell it. The strip tells you the real grade.
- Use a tablet to wipe out microbes and cut some chemical contamination. One is enough for a large bottle of Rustwater.
- Pour it through a filtered pitcher with a Water Filter to strip physical impurities, microplastics, and organic waste as you pour. Filters wear out, and Gutterflow destroys them quickly.
- Finish in the Water Purifier. Tablets and a filter get most water to Basewater or High-Quality, but Pure Water needs the Water Purifier with Quality modules installed.
Tips for Water Trading
- The Water Purifier works much faster on dirty water. It removes up to 20 times more contamination per night from water under 50% purity than from water that’s already close to clean, so feed it your worst water.
- The Moisture Farm makes 850 ml of water a night into any container you give it. Running two or more lowers the output of each one.
- Gutterflow On Tap (250 credits) and Rustwater On Tap (350 credits) give you unlimited free water. The Working Pipes trait gives you unlimited Rustwater from day one.
- The Bottle Printer turns 3D printing filament into bottles: 4 for a small, 6 for a normal, and 11 for a large. You pay 3 and 6 once to unlock the normal and large moulds.
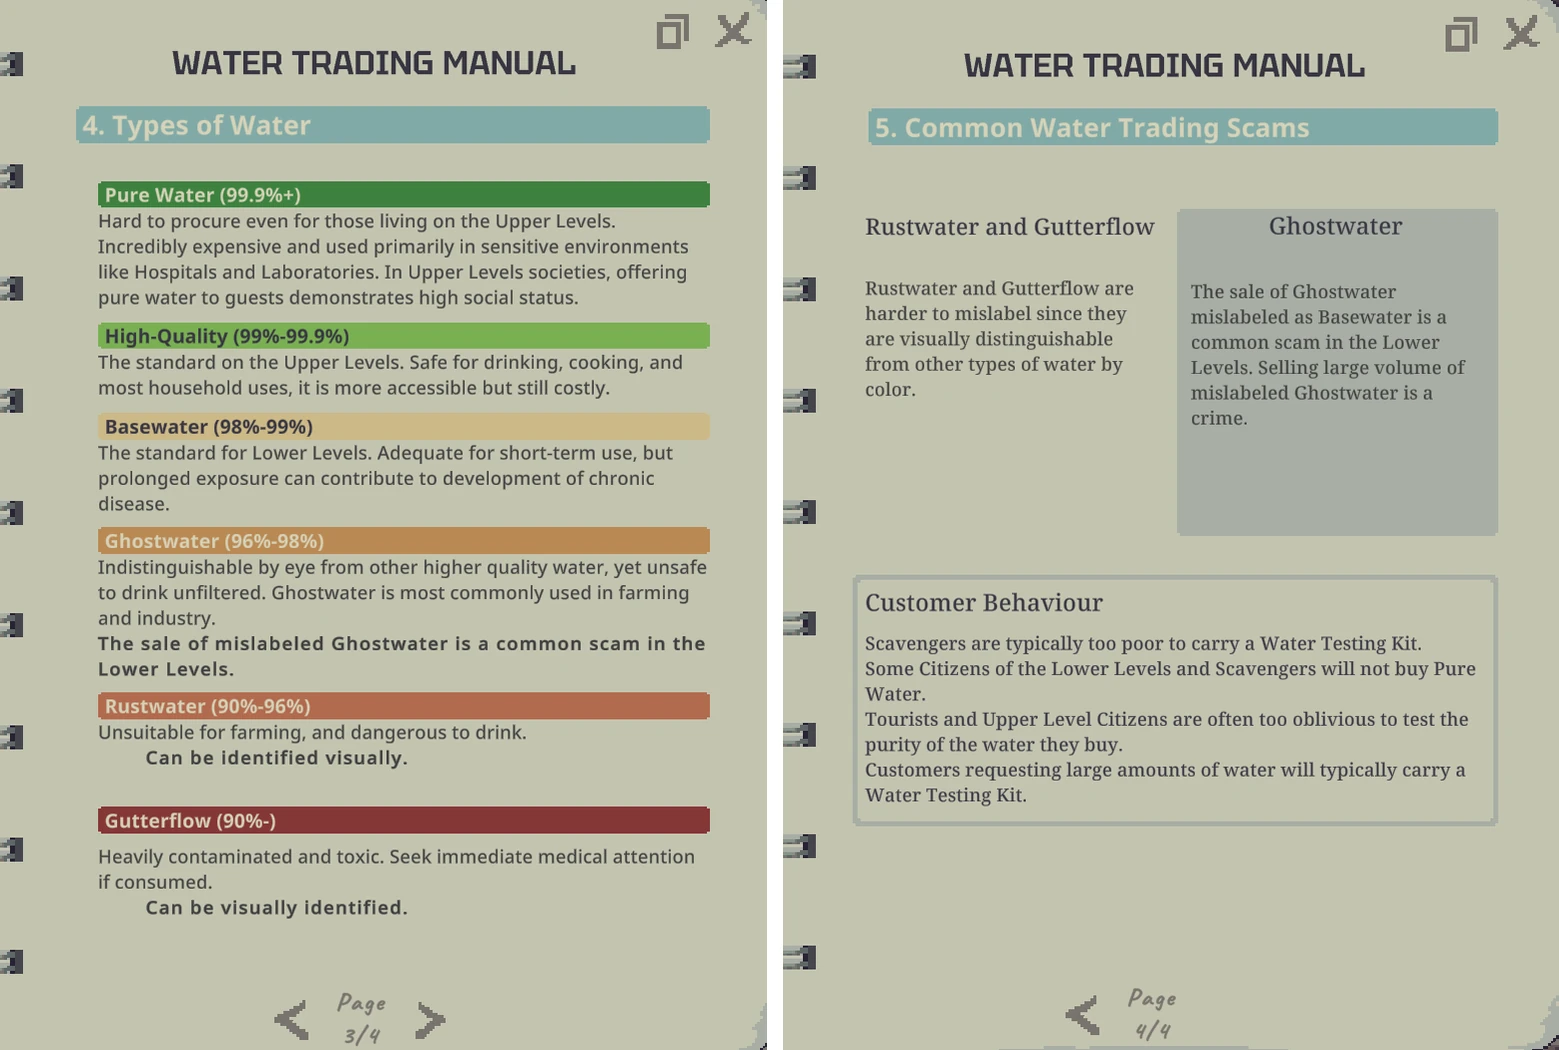
- Never sell untested water labelled as a better grade. Selling Ghostwater as Basewater counts against you, and once you’ve sold around 2.5 liters of it, you’re charged with Endangerment. Labelling it as High-Quality or Pure counts double and quadruple.
- Rustwater and Gutterflow are easy to spot by color. Ghostwater looks clean, so always strip-test it.
Winemaking
Winemaking is the cheapest production trade to unlock, and every finished bottle gains value just by sitting on a shelf. I’ve written a full winemaking guide with every number, so this is the short version.
How to Unlock Winemaking
You can unlock Winemaking by buying Retired Winemaker from Wild for 200 credits.
- You get 3 Yeast, 3 Wine Bottles, 2 BloomBerries, a Water Ration, a Magnifying Glass, and the BloomBerry Wine Fermenting Guide.
- The Retired Winemaker visits every Friday with 8 BloomBerries, 4 bottles, Yeast, and Water Rations.
How to Make Wine Step by Step
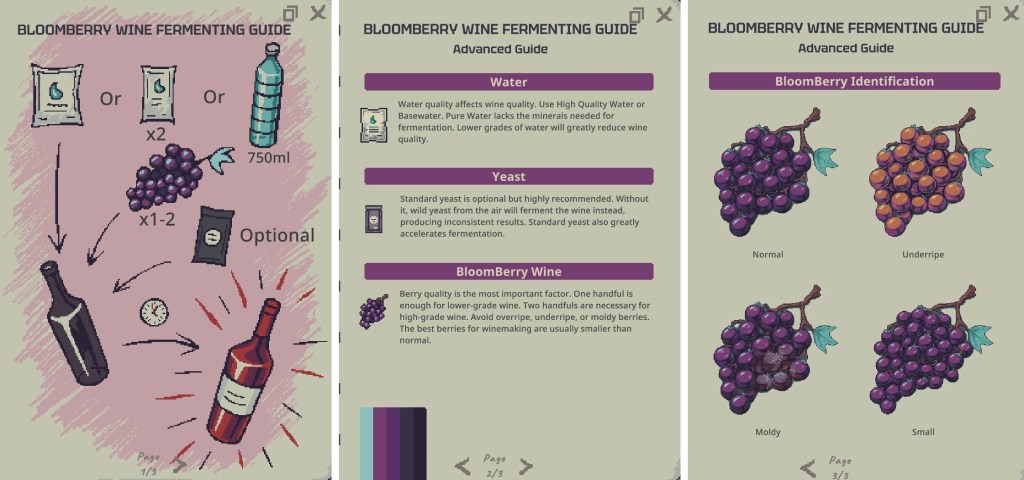
- Fill a Wine Bottle with 750 ml of water. A Sealed Water Ration does this in one go.
- Open the bottle and add BloomBerries and Yeast. The bottle fits two berries and one yeast.
- Press Start Fermenting. With Yeast it takes 2 nights, with Super Yeast 1 night, and with no yeast, 4 nights.
- Store the finished bottle. It gains 3 credits of value every night, and the AgeWell speeds that up.
Tips for Winemaking
- Small berries are the best, normal berries are good, and underripe, overripe, or moldy berries drag the wine down. Inspect them with the Magnifying Glass.
- High-Quality water helps. Basewater is fine, but anything dirtier ruins the bottle.
- Two good berries, yeast, and High-Quality water get you Reserve or Master Vintage wine, which sells for 50% to 75% more and counts as a luxury item.
- Avoid Synthetic Yeast. It makes counterfeit GloomBerry Wine, which is contraband and never ages.
Hydroponic Farming
Hydroponics grows food and chemistry ingredients overnight. It feeds Chemistry, Winemaking, Rat Ranching, and plain food sales.
How to Unlock Hydroponic Farming
You can unlock Hydroponic Farming by starting as the Hydroponic Farmer, or buying Retired Farmer from Wild for 350 credits.
- You get an old Hydroponic System, the Hydroponic Farming Manual, Fillerweed and Nutrifruit seeds, Nutrient Tablets, and small Water Rations.
- The Retired Farmer visits every week with a Hydroponic System, seeds (Dream Cap, Kotton, Coffee, Fillerweed, Hydroreed and BloomBerry), Nutrient Tablets, a Plant Analyser, an AquaScan and farm modules.
How to Grow Crops Step by Step
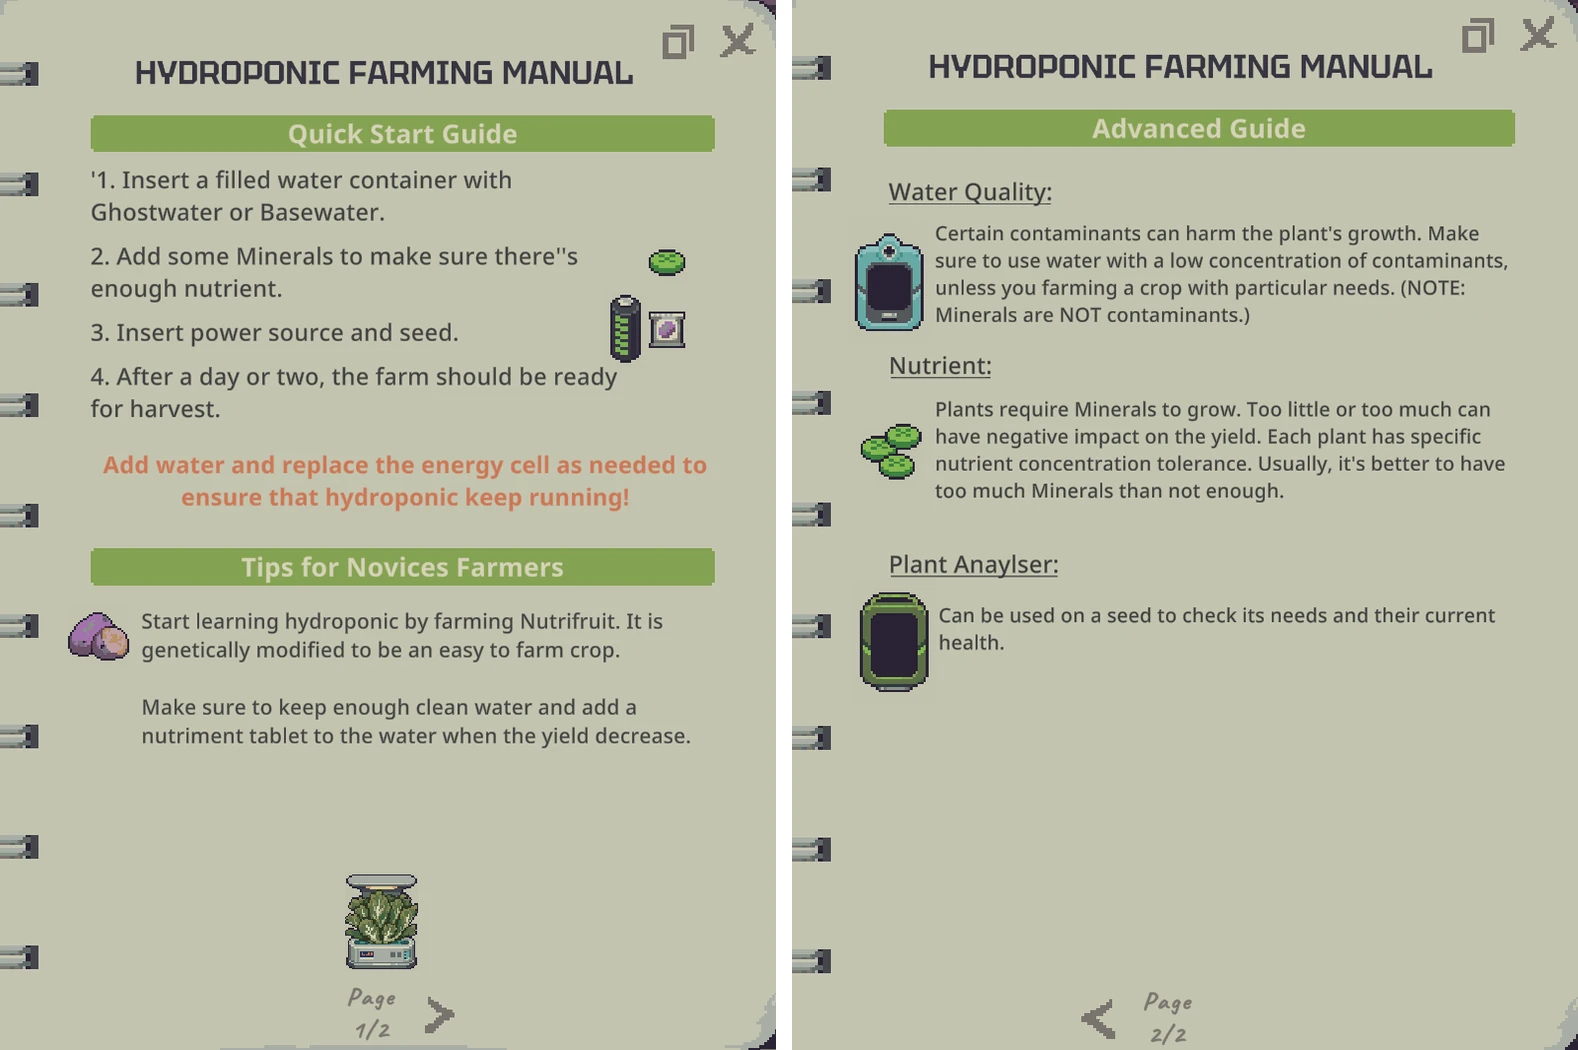
- Put an Energy Cell in the Hydroponic System. It uses 8 power per night.
- Add a water container with the cleanest water you have. Drop a Nutrient Tablet into the water first.
- Insert a seed.
- Leave it overnight. The plant grows every night until it’s ready, then harvests into the output slot.
Crops and Growing Times
| Crop | Nights to grow (base) | What it gives you |
|---|---|---|
 Fillerweed | About 2 | Cheap edible filler and seeds back |
 Nutrifruit | About 3 | Food and 3 seeds back |
 Coffee | About 3 | Coffee Beans for Caffeine Pills |
 Hydroreed | About 3 | Cleans the water it grows in; makes Hydroreed Filters with its module |
 BloomBerry | About 3, then about 2 per refruit | Berries for wine; the bush survives harvest |
 Dream Cap | About 4 | Dream Caps for Dream Dust (contraband) |
 Kotton | About 4 | Kotton fiber, or Kotton Fabric with the Kotton Loom module |
Tips for Hydroponic Farming
- Water quality and nutrients decide plant health, and health decides how big the harvest is.
- Farm modules change what you grow. The Dream Cap module makes Dream Caps legal food and adds yield, the Nightmare Cap module turns Dream Caps into Nightmare Caps, and the Smuggler module removes contraband status from growing seeds.
- The Hydroponic Farmer start comes with a Decrepit Hydroponic System that has four stuck modules, two of them ruined. Get a Module Extractor before you rely on it.
Plant Genetics
Plant Genetics lets you copy traits between plants, like Fast Grower or Bountiful, to build better crops.
How to unlock Plant Genetics
You can unlock Plant Genetics by buying Retired Farmer first, then Plant Genetics from Wild for 1,250 credits.
- You get a DNA Manipulator, a Gene Scanner, and four blank DNA Data Disks. Dr. Jackson then stocks more disks, manipulators, and DNA modules.
How to Edit a Plant Step by Step
- Switch on the Gene Scanner and check the target’s traits and genetic complexity.
- Extract: put a blank disk in the output slot and the source plant in the target slot. The machine copies one random trait onto the disk, and the source plant is destroyed unless you have a Genetic Stabilizer module installed.
- Install: put the written disk in the input slot and the plant you want to improve in the target slot. Every successful install uses one charge on the disk. Installing a trait the plant already has raises its rank.
- Check the success chance on the machine before you start. Higher complexity and repeated edits make it slower and riskier.
Tips for Plant Genetics
- The Positive Trait Filter and Negative Trait Filter modules make extraction pick only good or only bad traits. Installing both blocks extraction entirely.
- The Precision Extraction module only pulls one trait. Use it on a disk that already holds that trait to scan it, then install it in the DNA Manipulator.
- Every edit “heats” the plant’s genetics. Let it mature before editing it again.
Chemistry
Chemistry has the highest ceiling per item and the most ways to go wrong. You turn plants and chemical supplies into pills, dust, and injectors.
How to unlock Chemistry
You can unlock Chemistry by starting as the Chemist, or buying Retired Chemist from Wild for 1,000 credits.
- You get the Chemistry 101 Guide, a Composition Spectrometer, a Blender, a Heating Plate, an Evaporator, a Chem Finisher, droppers, measuring cylinders, Bottled Water, Common Chemical Supplies, Coffee Beans, a Water Pitcher, and Kotton Fabric.
- The Chemist starts by skipping the intro, starts with -15 Security reputation, and puts you on the Cartel’s payroll.
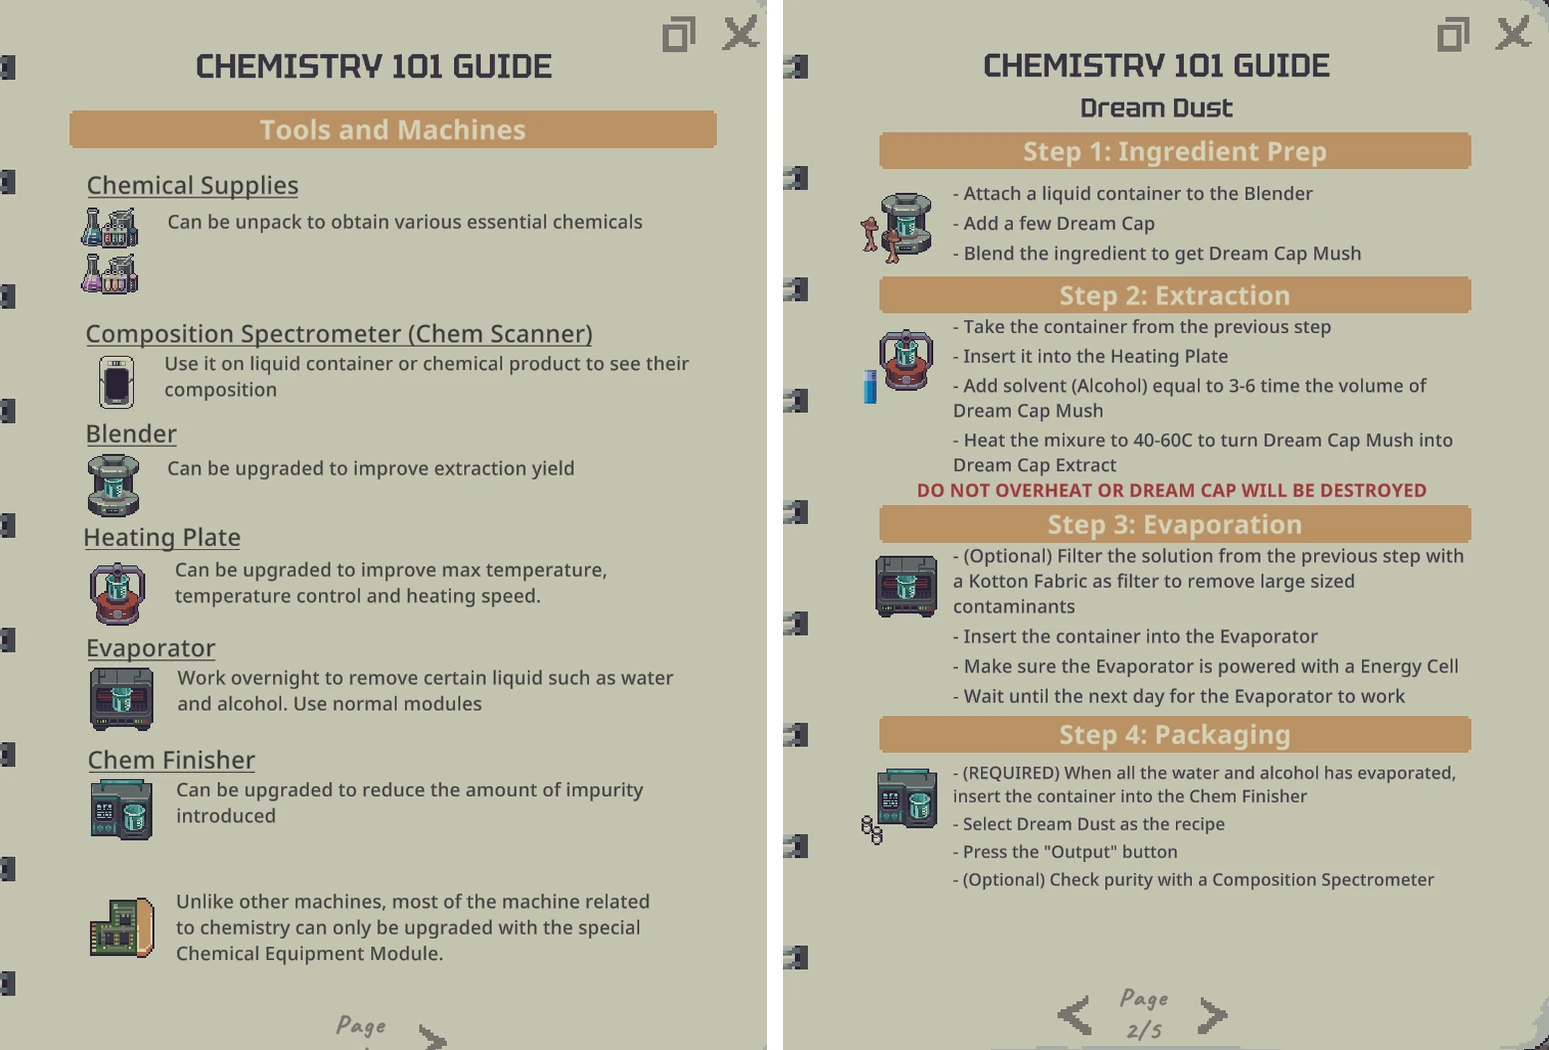
The Four Machines
| Machine | What it does |
|---|---|
 Blender | Turns plants into mush inside an attached container |
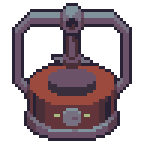 Heating Plate | Heats the container to trigger extraction and reactions |
 Evaporator | Works overnight to remove water and alcohol |
 Chem Finisher | Packages a fully dried residue into a product |
How to Make Dream Dust Step by Step
- Attach a liquid container to the Blender and blend a few Dream Caps into Dream Cap Mush.
- Put the container on the Heating Plate and add alcohol. Use at least five times as much alcohol as mush for the fastest extraction.
- Hold it between 40°C and 60°C. Above 60°C, the extract starts breaking down, and above 100°C almost all of it is gone.
- Optionally strain it through Kotton Fabric to remove large contaminants.
- Put it in a powered Evaporator overnight until all the water and alcohol are gone.
- Put the dry residue in the Chem Finisher, pick Dream Dust, and press Output. Each vial uses 2 ml of residue.
Chem Finisher Recipes
| Product | Active ingredient | Dry residue per unit |
|---|---|---|
 Dream Dust | Dream Cap Extract | 2 ml |
 Nightmare Dust | Nightmare Extract | 4 ml |
 Caffeine Pill | Caffeine | 5 ml |
 Zyanide Pill | Zyanide | 0.6 ml |
 Birth Control Pill | Contraceptive Hormones | 0.1 ml |
 Phanta Pill | Phanta | 0.5 ml |
 Nomore Injector | Nomore | 4 ml |
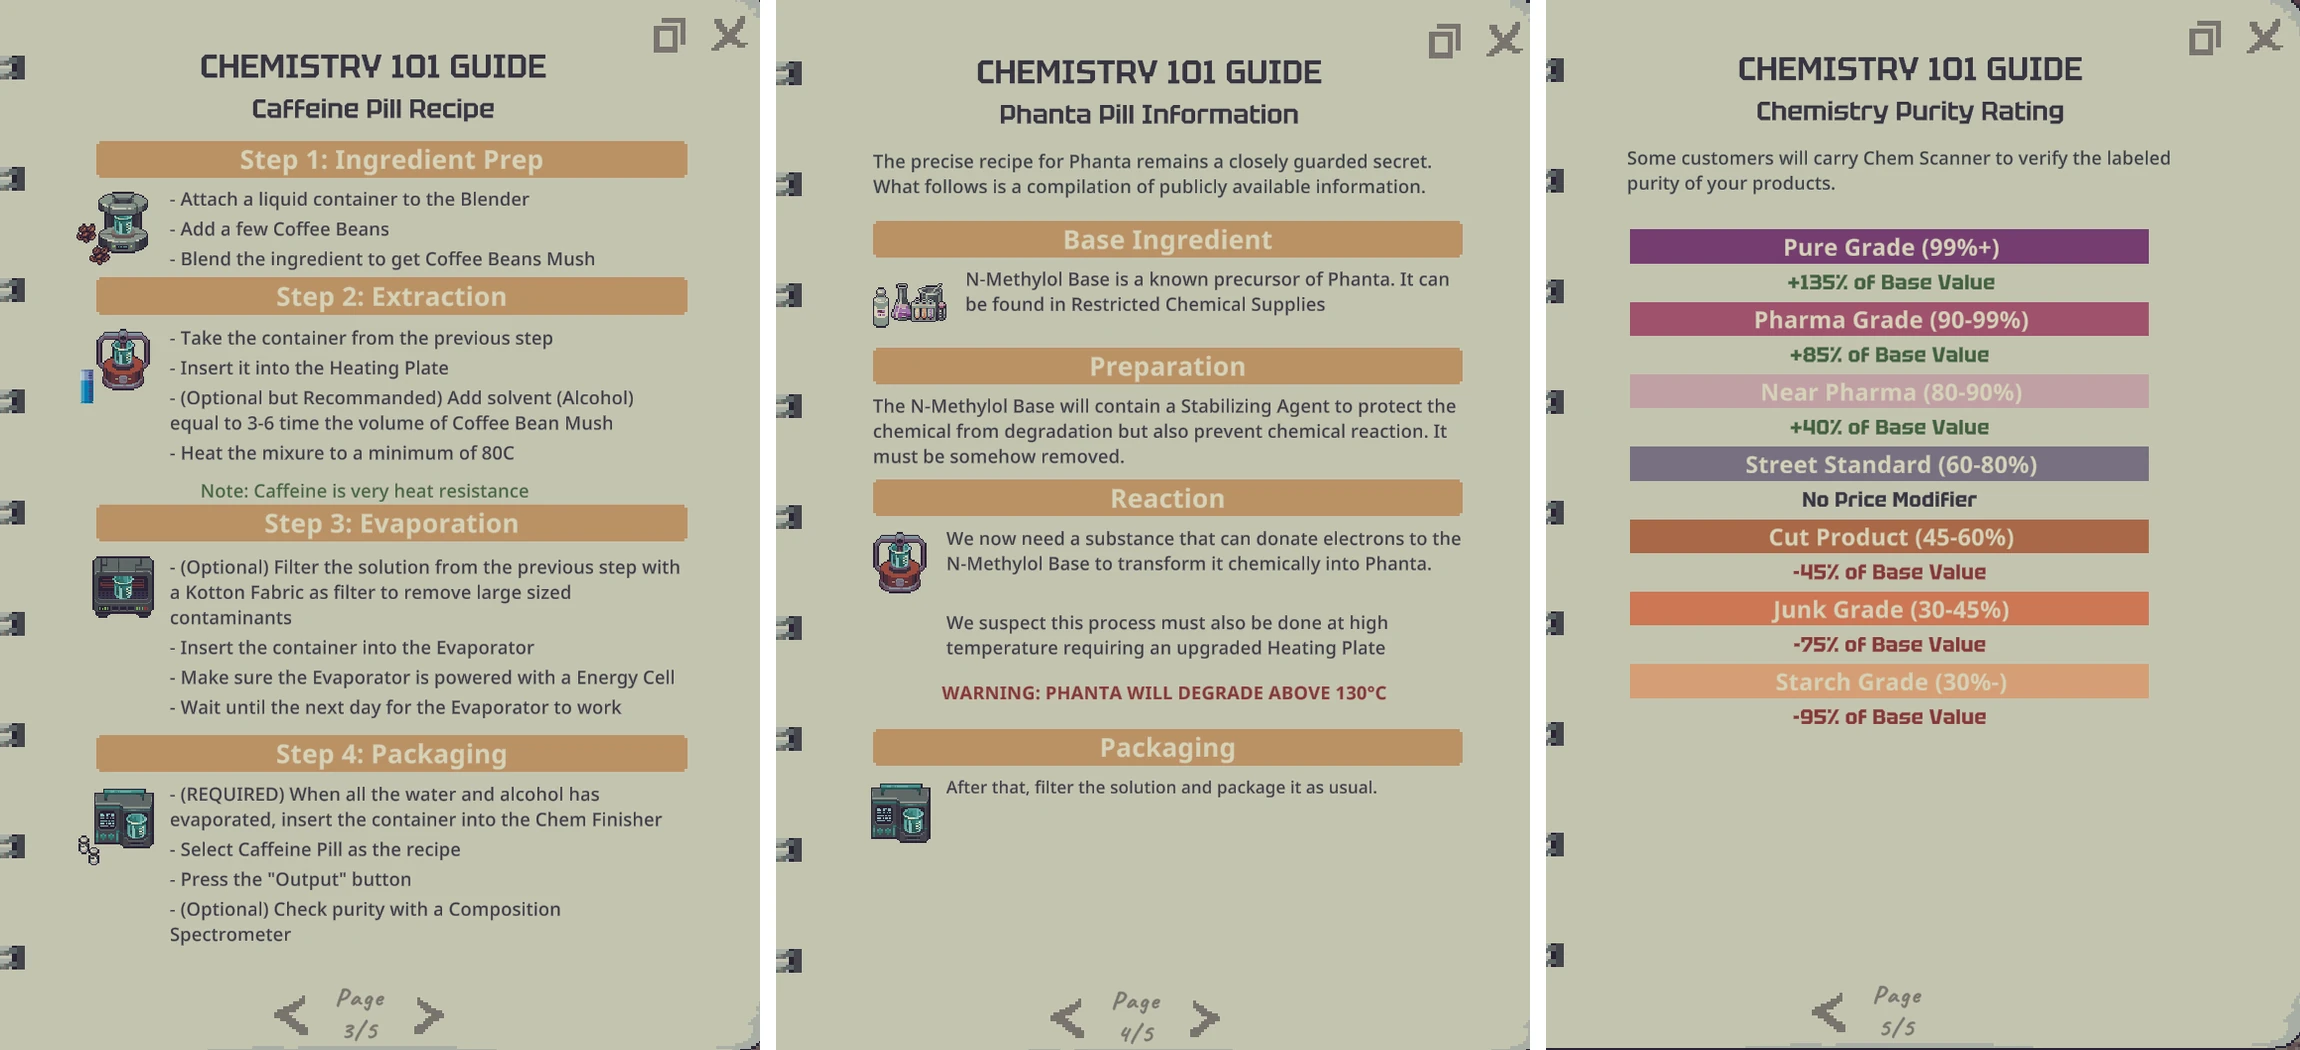
Purity Grades
| Grade | Purity | Price |
|---|---|---|
| Pure | 99%+ | +135% |
| Pharma | 90% to 99% | +85% |
| Near Pharma | 80% to 90% | +40% |
| Street Standard | 60% to 80% | No change |
| Cut Product | 45% to 60% | -45% |
| Junk | 30% to 45% | -75% |
| Starch | Below 30% | -95% |
Tips for Chemistry
- The Chem Finisher adds 12% impurity on its own. Each Chemical Equipment Module you install cuts that: 6% with one, 3% with two, 1% with three, and none with four.
- Nightmare Caps are more fragile than Dream Caps. Keep them between 40°C and 50°C.
- Caffeine survives heat. Take Coffee Bean Mush to 80°C or higher.
- Phanta needs N-Methylol Base from Restricted Chemical Supplies. You have to settle out its Stabilizing Agent first, add a Reducing Agent, and hold it between 110°C and 130°C on an upgraded Heating Plate.
- No more needs Dream Cap Extract, a Reducing Agent, and a Lipobond Agent between 45°C and 55°C, with alcohol under 10% of the mix. Li Bei Wen’s formula, which you get by sparing him, is the in-game way to learn it.
- Some customers carry chem scanners, and buyers come back to complain if a product hits harder than labelled.
Gunsmithing
Gunsmithing covers 3D printing gun parts, modding guns to order, and selling firearms legally with permits.
How to Unlock Gunsmithing
You can unlock Gunsmithing by starting as the Gunsmith, or buying Retired Gunsmith from Wild for 650 credits.
- You get a shabby 3D Printer with a charged cell, a Liberator pistol chip, filament, a Screwdriver, a gun part, and a set of mods.
- The Retired Gunsmith visits weekly with chips, filament, mods, and printer modules. With each extra permit, he’s more likely to bring the rare chips and modules.
Weapon Permits
| Permit | Cost | Delivered at | Revoked below | Makes legal |
|---|---|---|---|---|
 Weapon Permit I | 300 credits | 20 Security reputation | 0 Security reputation | Low-level firearms and ammo |
 Weapon Permit II | 600 credits | 50 Security reputation | 30 Security reputation | Mid-level firearms and ammo |
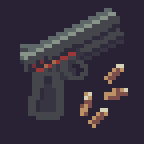 Weapon Permit III | 900 credits | 80 Security reputation | 60 Security reputation | High-level firearms and ammo |
Permitted guns stop counting as contraband but still sell with half the usual contraband markup.
How to 3D print Step by Step
- Put an Energy Cell in the 3D Printer.
- Insert a printer chip.
- Add the materials the chip asks for: filament, scrap metal, or metal ingots.
- Leave it overnight. Bigger prints take more than one night.
Printer Chips
| Chip | Materials | Output |
|---|---|---|
 Liberator Pistol | 2 filament | 1 pistol |
| Double Liberator Pistol | 3 filament | 2 pistols |
 Improved Springs | 2 scrap metal | 4 |
 Makeshift Red Dot / Toy Laser | 1 filament + 1 electronic part | 4 |
 Small Plastic Bottle | 1 filament | 6 |
 Red Dot Sight | 3 scrap metal + 1 electronic part | 2 |
 Laser Sight | 2 scrap metal + 1 electronic part | 2 |
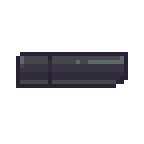 Suppressor | 5 scrap metal | 2 |
 .22 Magazine (standard / high cap / extended) | 1 / 2 / 3 filament | 2 |
 10mm Magazine (standard / high cap / extended) | 3 / 2 / 3 scrap metal | 2 / 1 / 1, needs Metal Printing |
 Box Cutter | 2 scrap metal + 1 filament | 3 |
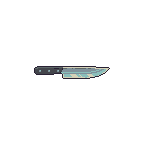 Kitchen Knife | 3 scrap metal + 1 filament | 4 |
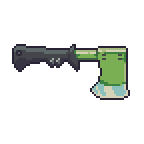 Hatchet | 4 scrap metal + 1 filament | 4 |
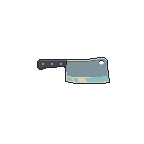 Meat Cleaver | 5 scrap metal + 2 filament | 4 |
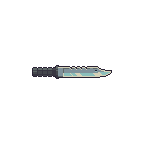 Combat Knife | 2 metal ingots | 5, needs Metal Printing |
 Combat Machete | 3 metal ingots | 3, needs Metal Printing |
 Nestfire Compact Frame | 1 metal ingot | 1, needs CNC + Metal Printing |
 Ironcraft 10 Frame | 1 metal ingot + 1 scrap metal | 1, needs CNC + Metal Printing |
 Gun Part | 1 metal ingot | 3, needs CNC + Metal Printing |
How Gun Orders Work
- Lower-level buyers ask for basic guns, mercenaries for mid-tier guns, and upper-level buyers for high-tier guns.
- Each order lists required stats (Firepower, Style, Reliability, Recoil Control, Ergonomics, Accuracy, Size or Suppressed). Meet them all, and they buy. Bonus requirements add extra credits.
- “Give me your best” orders pay the gun’s market value plus 50%.
- Service orders bring their own gun. You fit parts, and they pay for the parts plus a fee.
Tips for Gunsmithing
- The Melee Batch Module adds one extra weapon to every melee print, which makes knives and cleavers very efficient.
- Pair Gunsmithing with Smelting. Ingots feed the best chips.
- Keep your Security reputation above the revoke line, or an officer will take your permit away.
Smelting
Smelting turns scrap metal and ore into Metal Ingots. It’s free to start and feeds Gunsmithing.
How to Unlock Smelting
You can unlock Smelting for free, since Dr. Jackson gives you a Furnace on day 6.
- After that, Dr. Jackson always stocks a Furnace, along with the Metallurgy Manual and furnace modules.
- Ore comes from Caulson at GP Mining Coop (a 250-credit introduction from Wild). Scrap comes from the Dumping Ground and scrap sellers.
How to smelt step by step
- Put an Energy Cell in the Furnace. It uses 8 power per night.
- Add two Scrap Metal, two Metal Ore, or one of each.
- Optionally add a Flux Smelting Agent.
- Leave it overnight for one Metal Ingot.
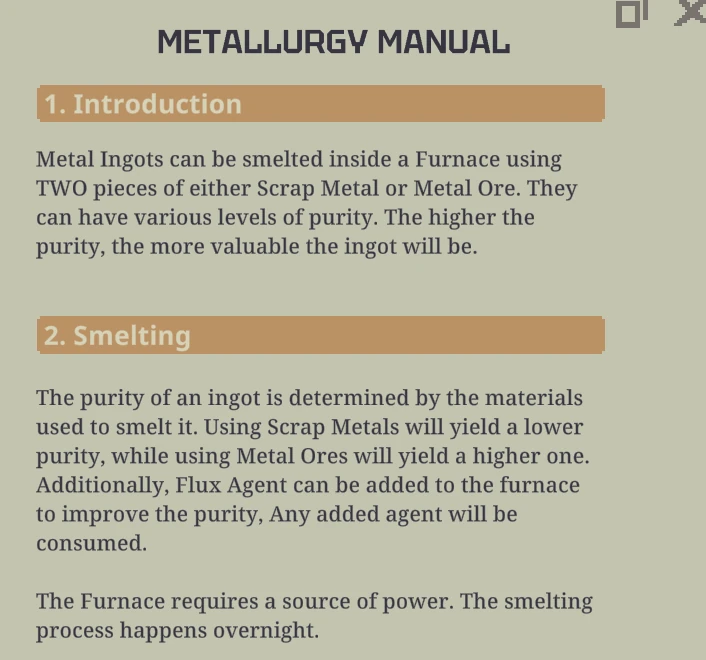
Ingot Purity
| What you put in | Purity | Value change |
|---|---|---|
| 2 Scrap Metal | Low | -15% |
| 1 Scrap Metal + 1 Ore | Fair | No change |
| 2 Ore | High | +25% |
| 2 Ore + Flux Agent | Very High | +50% |
| Quality modules on top | Up to Perfect | +200% |
Tips for Smelting
- The Blast module takes three inputs and gives two ingots, at one purity level lower.
- The Junk Processing module turns six Junk into four Scrap Metal.
Rat Ranching
Rat Ranching is a self-renewing meat business. Rats breed, grow, and get butchered, so you never need a supplier once it’s running.
How to Unlock Rat Ranching
You can unlock Rat Ranching by starting as the Rat Wrangler, or buying Ranching from Wild for 750 credits.
- You get an Animal Cage with a Feed Dispenser, three pairs of rats at different ages, a Kitchen Cleaver, a Blue Labeler, a Marking Pen, Nutrifruit, and Peat.
- The Rat Rancher visits weekly with cages, dispensers, Auto Butchers, serums, a Cleaner Robot, and breeding rats, sometimes with better genetics.
How to Raise Rats Step by Step
- Put a male and a female in the Animal Cage.
- Load food into the Livestock Feed Dispenser. It stores up to 40,000 calories and keeps the rats fed.
- Let them breed. Pregnancy lasts 3 days, and litters average 3 pups.
- Let the young grow. Rats reach adulthood around day 11 at about 450 g.
- Butcher them with a cleaver, or install an Auto Butcher to do it every night.
What a Rat is Worth
| Every… | You get | Value |
|---|---|---|
| 400 g | Raw Meat | 159 credits |
| 200 g | Small Raw Meat | 65 credits |
| 100 g | Morsel | 30 credits |
| Leftover | Small Morsel | 15 credits |
An adult 450 g rat gives one Raw Meat and one Small Morsel.
Tips for Rat Ranching
- Mark your breeding pair with the Marking Pen, since the auto Butcher always skips marked animals.
- Sick rats lose a quarter of their meat. The green serum boosts immunity, the red serum boosts growth but lowers immunity.
- Repair the cage with Scrap Metal and expand it with Metal Ingots. A badly damaged cage lets rats escape.
- A Cleaner Robot collects feces overnight, which keeps disease down.
Aquafarming
Aquafarming raises fish in a closed water tank. Tilapia breed on their own, and the Aquaculture II upgrade adds eels and sturgeon.
How to Unlock Aquafarming
You can unlock Aquafarming by starting as the Aquafarmer, or buying Water Trading and then Aquaculture from Wild for 400 credits.
- You get a Recirculating Aquaculture System with its tank, fertilized Tilapia roe, an Energy Cell, a jug of Rustwater, fish feed, a Kitchen Knife, and a Marking Pen.
- Aquaculture II (1,200 credits) makes the Retired Aquafarmer bring eels, electric eels, and sturgeon, and gives you two young eels.
How to Raise Fish Step by Step
- Power the RAS (5 power a night) and fill its 12-liter tank with water.
- Add filters to the four filter slots to keep the water clean.
- Add fertilized roe or a breeding pair, plus feed. Tilapia eat anything and grow 25% faster on meat.
- Tilapia hatch in a day, become juveniles on day 3, and adults on day 8. Well-fed adults have a 15% chance to breed each night.
- Butcher them into fillets.
Fish Worth Raising
| Fish | How to get it | Why |
|---|---|---|
 Tilapia | Starter kit, roe from the Aquafarmer | Breeds on its own |
 Gutter Tilapia | Roe from the Aquafarmer | Unharmed by dirty water and cleans it |
 Graft Tilapia | Roe from the Aquafarmer | Gives skin grafts and medical roe |
 Eel | Aquaculture II | Big fillets worth 136 credits each |
 Electric Eel | Aquaculture II | Powers the RAS and nearby cells |
 Sturgeon | Aquaculture II (500 credits) | Lays eggs; surgery gives up to 10 jars of Caviar at 240 credits each |
Tips for Aquafarming
- Fillets scale with size: Large Fish Fillet 143, Fish Fillet 57, Small 26, Tiny 13 credits.
- Each tilapia needs up to 1 liter of tank water as an adult. Overcrowding fouls the water.
Fencing
Fencing means buying contraband and stolen goods cheap and selling them at a premium without getting caught.
How to Unlock Fencing
You can unlock Fencing from day one by starting as the Fence, but any other start can fence too.
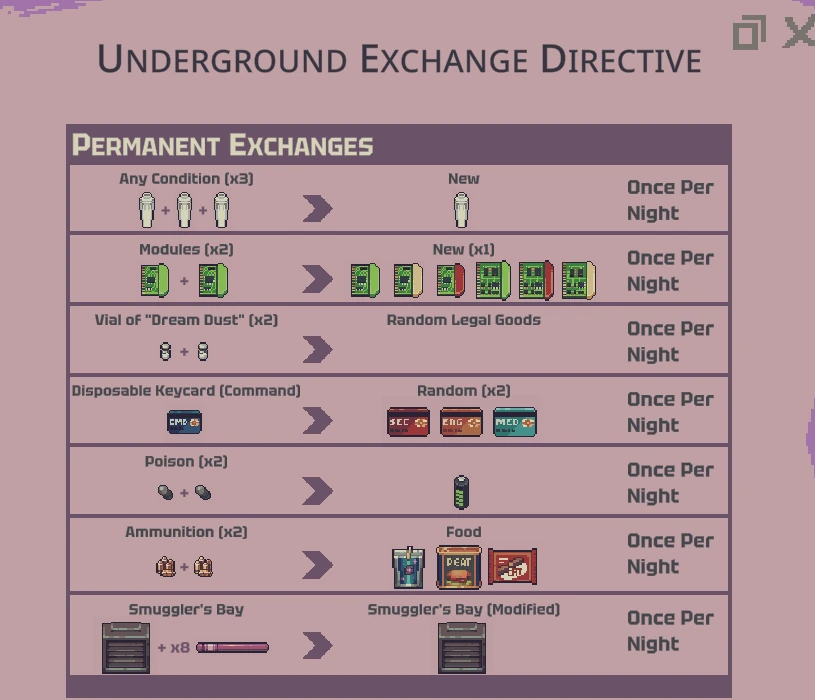
- The Fence start gives you a Smuggler’s Bay, a stock of contraband, keycards, +30 Black Market reputation and the Underground Exchange, along with -30 Security reputation and +50 rent.
- On any other start, Dr. Jackson sells Smuggler’s Bays, and Sawyer’s Crew opens the Underground Exchange on day 25.
How Fencing Works
- Contraband sells with a markup: 35% for low level, 70% for mid level, and 100% for high level.
- Smuggler’s Bays and locked containers are never searched during inspections. Everything else is.
- Stolen goods carry “heat.” The hotter the item, the more likely an inspector finds it.
Tips for Fencing
- Inspections only start once you’ve committed trafficking crimes, so your first contraband sales are the safest ones.
- Never put serious contraband or stolen goods in the display case. It triggers a surprise inspection.
Still here? Good.
That means the article did its job! If you’d like to see more of them (and get first crack at what’s next) our Patreon’s the place.
About the Author

Discover more from Bonus Action
Subscribe to get the latest posts sent to your email.