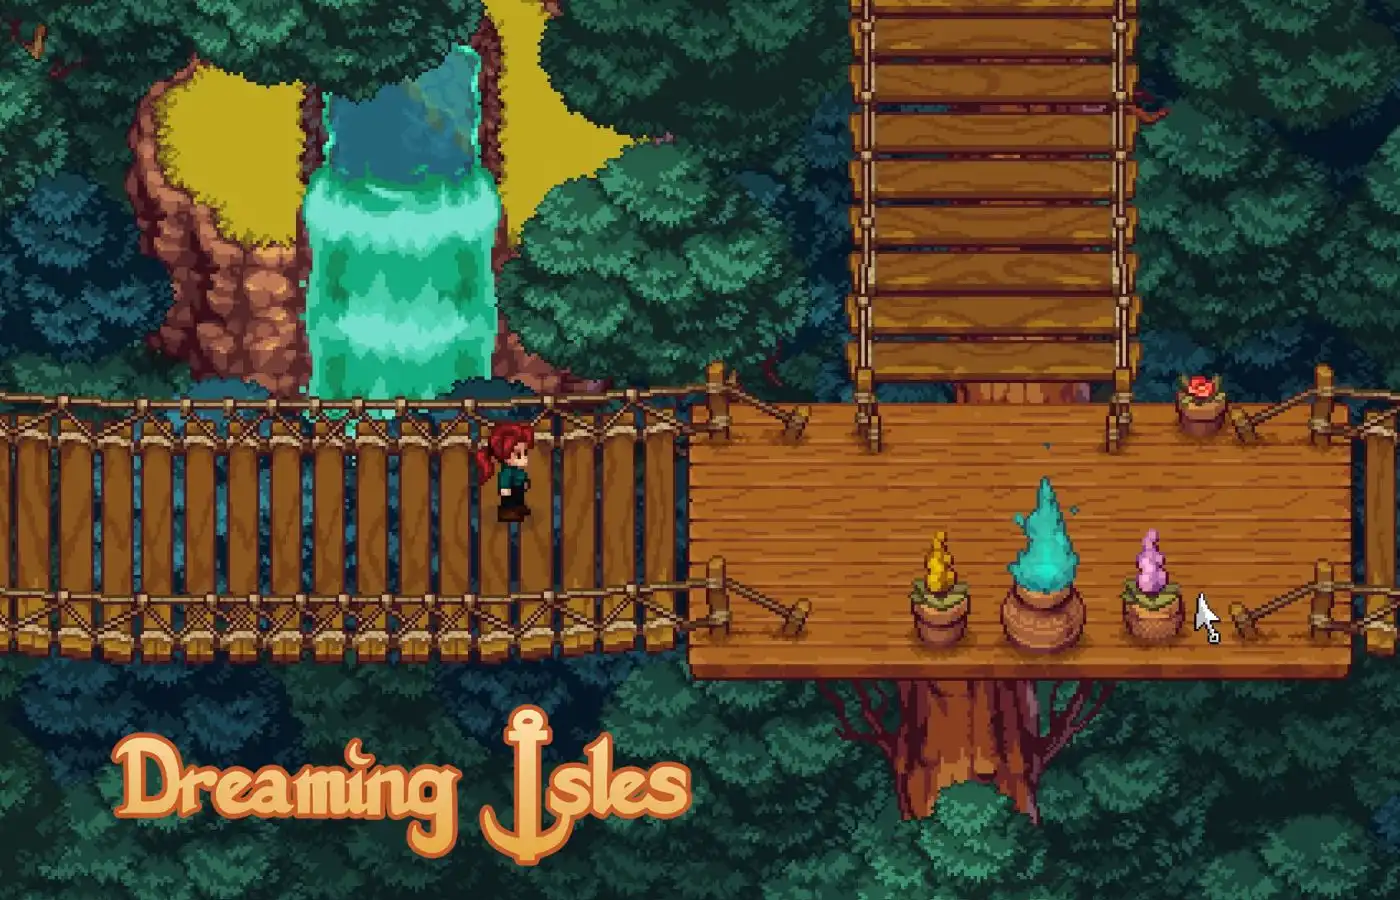
Screenshot by Bonus Action
A good pirate game is hard to come by, especially when you also want all the cozy elements of a farming sim. Dreaming Isles sets out to deliver that nice blend of farming, crafting, and sailing the seas – all while making some big choices that impact the story.
In Dreaming Isles, you become the new farmer on a small island surrounded by other territories embroiled in a conflict between the Pirates and Global Trade. As part of your story, you choose who to side with, impacting the trajectory of what happens in the Isles. But before you can pick a side, you’ll need to get set up with a farm and a ship – which is where our Dreaming Isles walkthrough comes in.
**This guide is complete as of 1/26/2025 with all content currently available in Dreaming Isles prior to the planned Homestead Update**
Table of contents
- Basic Gameplay Overview
- Is Dreaming Isles in Early Access?
- Do You Need to Use a Controller for Dreaming Isles?
- Does Dreaming Isles Have Romance?
- Getting Started: Exploring The Island & Finding Your Tools
- Getting Started: How Sleep & Stamina Work
- How to Get a Boat
- How to Increase Your Inventory
- How to Get Friendly with the Pirates or Global Trade
- How to Repair Your Ship
- Main Quests & How to Complete Them
Basic Gameplay Overview
In Dreaming Isles, you discover a large plot of land where you can farm various crops and sell them for money. Your property also includes mines where you can obtain materials – and fight enemies. That’s where the Stardew Valley similarities end, however. Your home base is a small island, and you’ll soon acquire a boat to set sail and discover other areas – and people – to interact with.
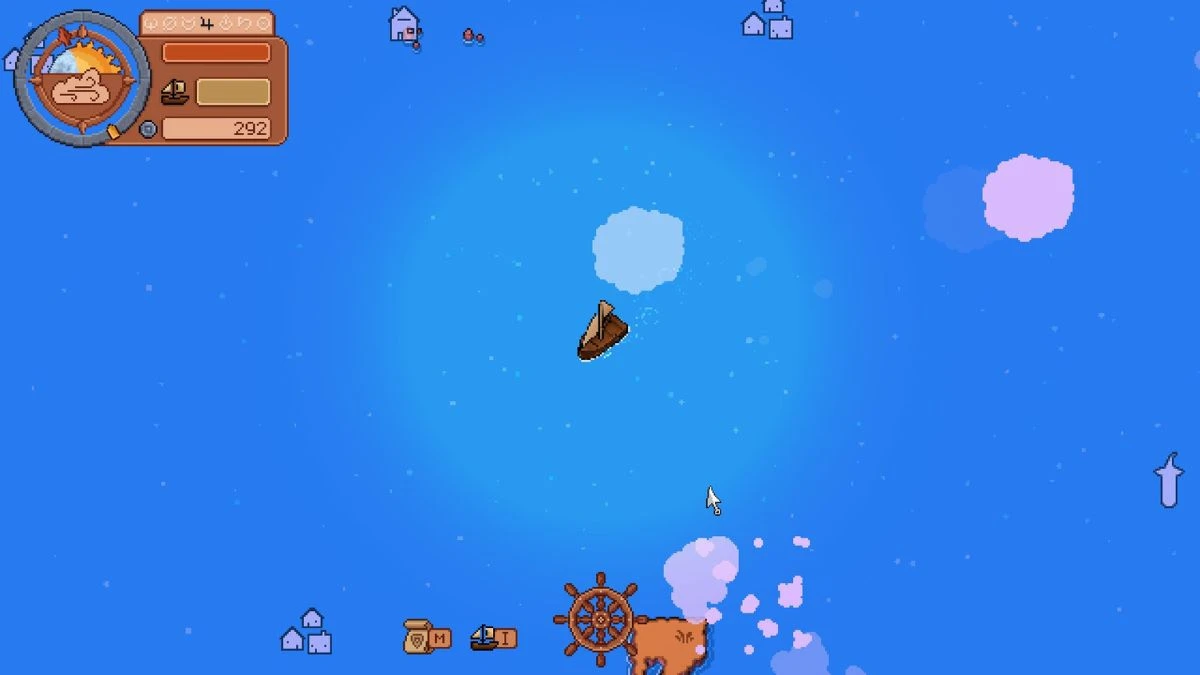
The basic gameplay loop involves completing daily farming and crafting tasks while also pursuing larger overarching quests based on whether you choose to help the Pirates or Global Trade. When sailing, you can gamble with the fishing boats for fish or engage in combat with whoever you’ve deemed to be your enemies.
Is Dreaming Isles in Early Access?
While Dreaming Isles is not officially labeled as being in Early Access, there are many features that will be added after the initial launch. The developer, Yawning Dad, shared a roadmap for future update plans via Steam.
Certain features, like accessing areas of the map or having children, will be available in later phases.
Do You Need to Use a Controller for Dreaming Isles?
No, you don’t have to use a controller with Dreaming Isles. The game works well with mouse and keyboard, though it does have controller support if you prefer to use one.
Does Dreaming Isles Have Romance?
Yes, Dreaming Isles has a handful of eligible romance candidates with whom you can build a relationship. The various romanceable characters have different ideas of what they’d like your life together to look like, so the decision does have an impact on gameplay.
Getting Started: Exploring The Island & Finding Your Tools
Your first quest in Dreaming Isles is simply “explore the island.” You’ll quickly learn that said island isn’t that big. So, what to do first?

Begin by opening up the chest near the farmhouse. It contains an axe, your first tool. You’ll find all required tools in a similar way, in a chest near where you’ll need them for the first time. The only exception is a watering can, which you don’t need in Dreaming Isles due to the frequent rain.
After you find the axe, head towards the broken bridge, interacting with it will tip you off on what to do next – repair the bridge.
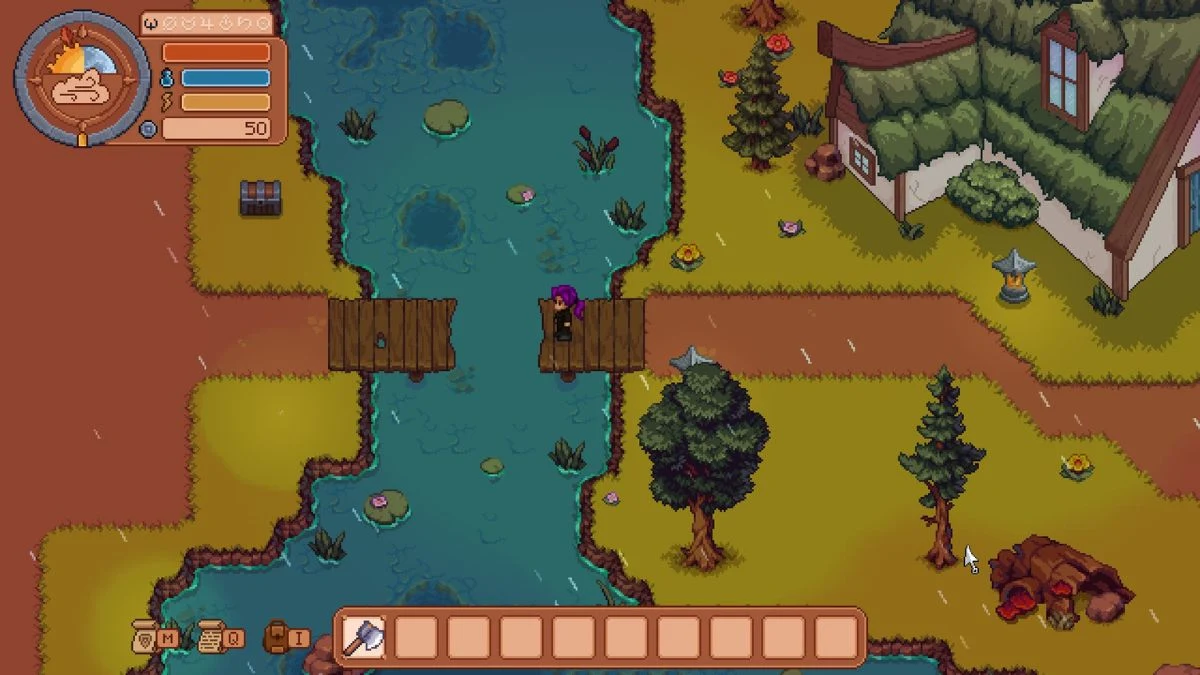
Doing this is pretty straightforward. Use that new axe on the trees nearby until you have enough wood. Then, interact with the bridge again.
Once it’s fixed, head across to find another chest with gardening tools and some starter seeds. Then, head for the top left corner to find the key to the farmhouse.
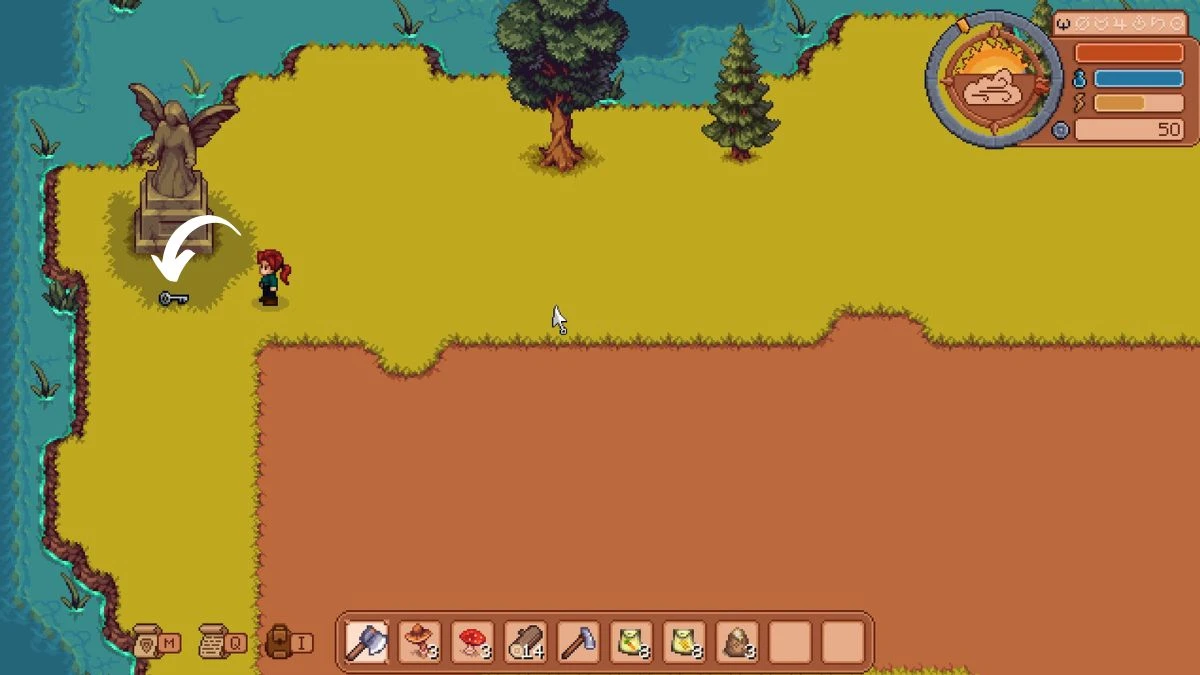
You’ve now fully explored the island and you’re ready to begin your adventure in earnest!
Getting Started: How Sleep & Stamina Work
Unlike Stardew Valley and many farming sims, there’s no curfew in Dreaming Isles. Whenever your stamina needs a top-up, you can sleep. Once you unlock the Stamina Potion recipe by reading the book in Miles’ house, you can use those to supplement your energy as needed.
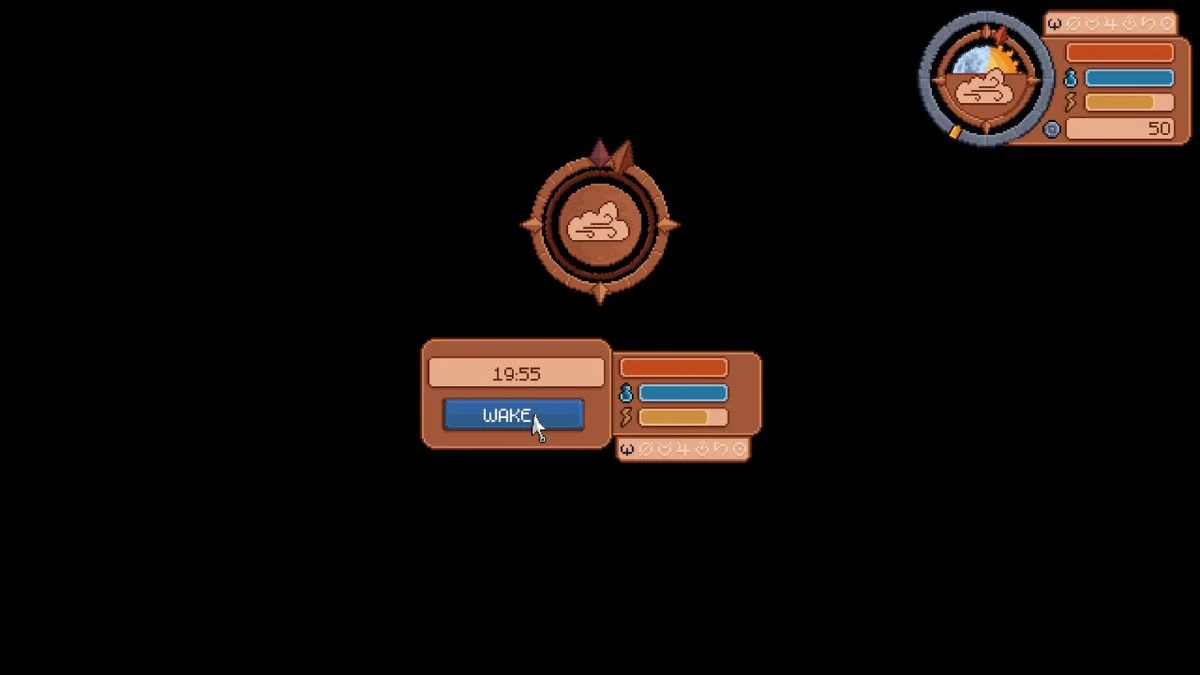
To go to sleep, interact with your bed or one of the available beds on select islands. You can then sleep until your health & stamina are at the desired level and hit the “wake” button to get back to it.
How to Get a Boat

When you first uncover the mines below your house as instructed by the tutorial, you’ll meet Elise. She promises to leave your new territory alone, but wants to talk to you on the Scythe island “once you have a boat.”
If you’re like me, your immediate question is, how do I get a boat? The tutorial in the game is helpful, but not hand-holdy, meaning you’ll need to do a little exploring to learn how to get a boat. If you’re stuck, here’s what to do to get out on the open seas.
Go Through the Mines to Find Miles
First, go all the way through the mines below your house. When you come out the other side, you will be on another small island. There, find and talk to Miles, one of two people who live there.
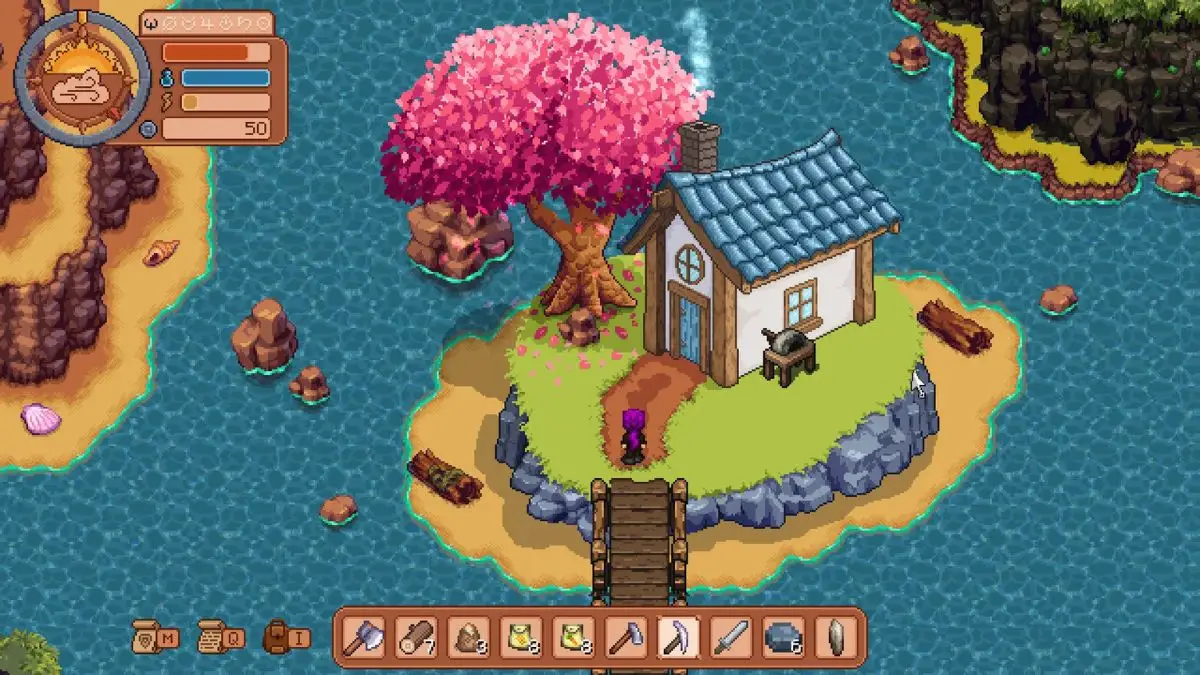
He will likely be in the house at the top of the map but sometimes wanders around the gardens near the cave entrance.

It just so happens that Miles has an old boat he isn’t using, and he’s willing to let you have it – once you prove yourself.
Earn Miles’ Trust
Before Miles will give you his boat, he needs to know you’re serious about this farming business. To do that, you’ll need to grow and deliver 12 wheat.
If you haven’t found them yet, the wheat seeds are in a chest to the left of the farmhouse, across the bridge. You’ll also find a hoe there, which you can use to plow the field. Plant the wheat seeds and wait for them to grow – each seed will yield multiple wheat.
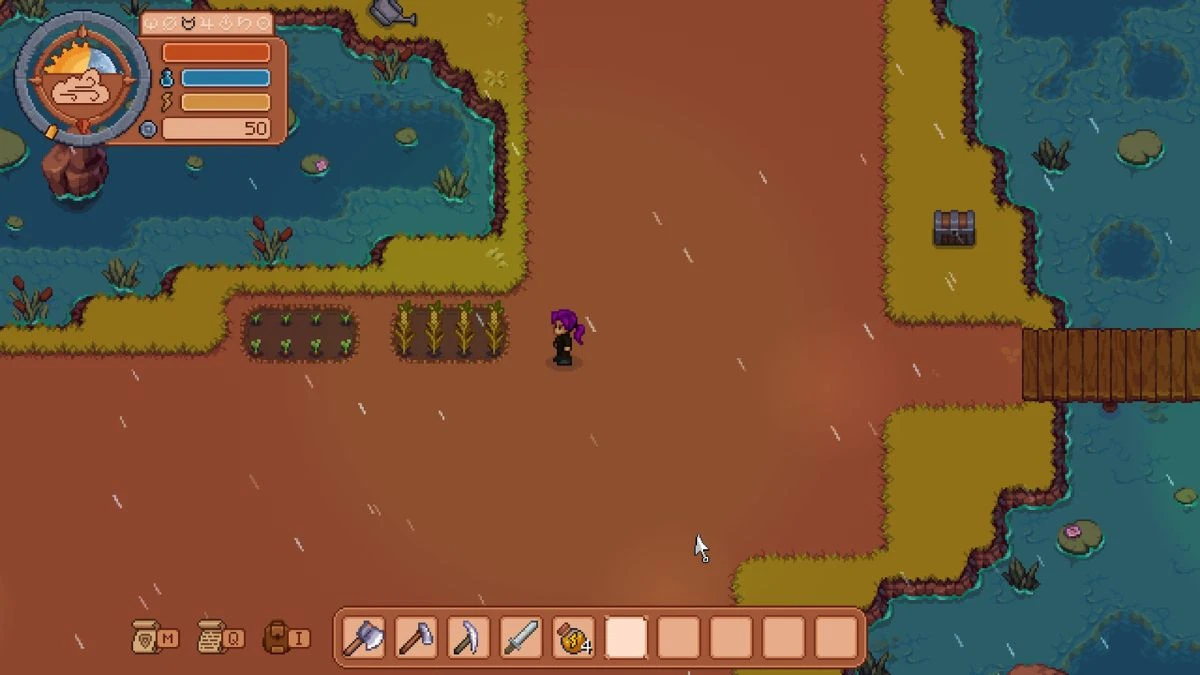
To speed things up, you can kill some rats and bats in the mines on the second island to get ingredients for fertilizer. Miles will mention the recipe when he asks for the wheat, so simply head to the crafting table to make more as needed.
Repair the Boat
Once you deliver the wheat to Miles, the boat’s as good as yours. You just need to fix it first. To repair the boat, you will need to get the following materials:
- 50 Wood
- 15 Iron
You can chop wood from any of the trees on the island, using the axe you found in one of the chests in your initial exploration. Iron is found in the mines below your house and on the second island, using the pickaxe you found when you first entered the mines.
Once you get the supplies, talk to Miles again. He will repair the boat, and you’re ready to set sail! Simply walk onto the boat to begin sailing. The first time you do, you’ll get a quick tutorial about the controls to help you navigate when you’re on the water.
How to Increase Your Inventory
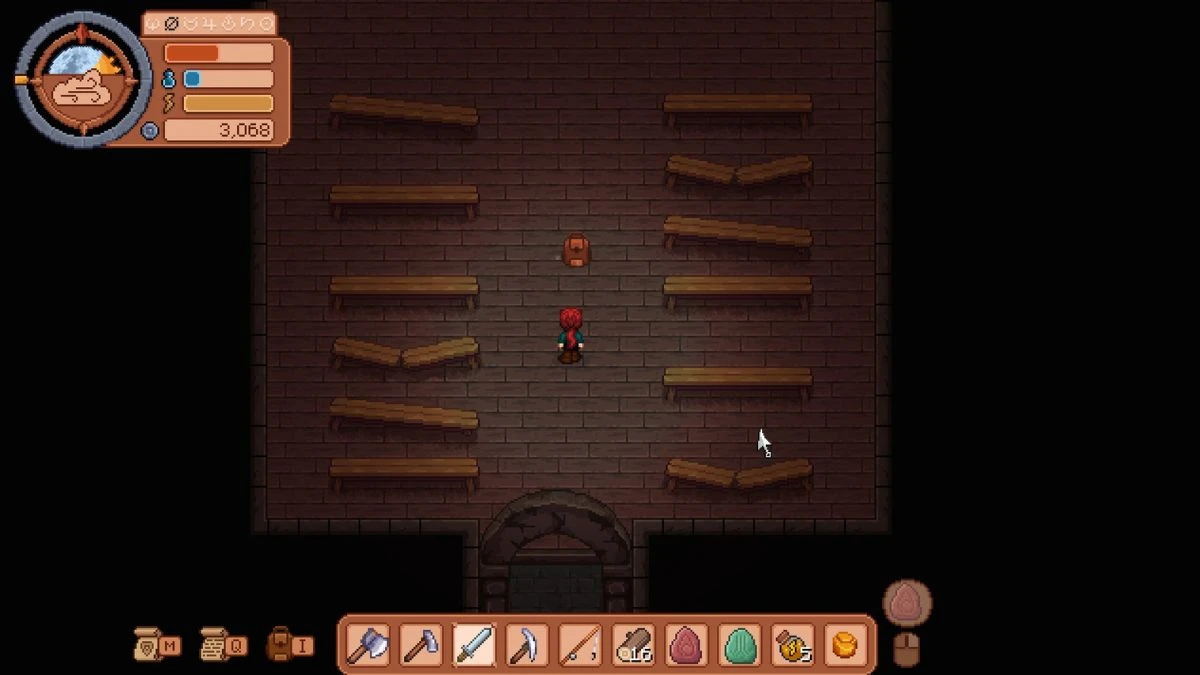
You’ll quickly realize the current inventory size isn’t enough for all the cannonballs, crops, and spell stones you need to carry. Thankfully, the barkeep in Scythe thinks you can find a backpack somewhere on the island. But where?
The backpack is in the abandoned building at the far right of Scythe. It’s full of spiders, so you’ll need to level up combat and have quick reflexes to get to the top right corner of the building. There, battle and defeat the giant spider. It will leave behind a backpack, which gives you several more inventory slots to use.
I found it easier to beat the spiders once I got the fire stone from Bella in the Eastern Witch’s tower. This, along with hitting the venom back at the spiders before it hits you, makes the combat easier.
How to Get Friendly with the Pirates or Global Trade
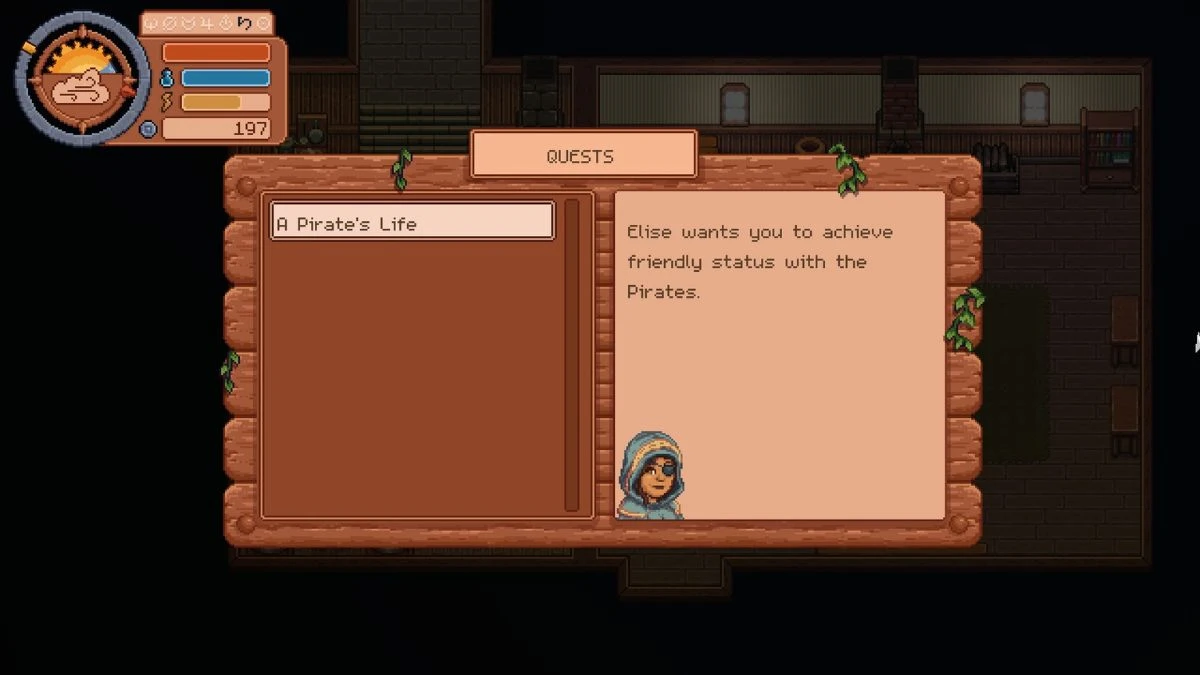
Early on, you’ll meet Elise of the Pirates and Garrett of Global Trade. They’ll both ask for your help, but you can only choose one. Once you decide who to work with, you’ll need to prove your alliance by improving your relationship to the Friendly level. So, how do you do this?
Unfortunately, getting to Friendly status with the Pirates isn’t about talking to the locals – at least not entirely. The quickest way to increase your standing is to engage in combat with Global Trade.
To battle a Global Trade ship, sail close enough so that a target appears. Once it does, click on the ship and you’ll enter combat – as long as you’ve crafted cannonballs to use in naval warfare.
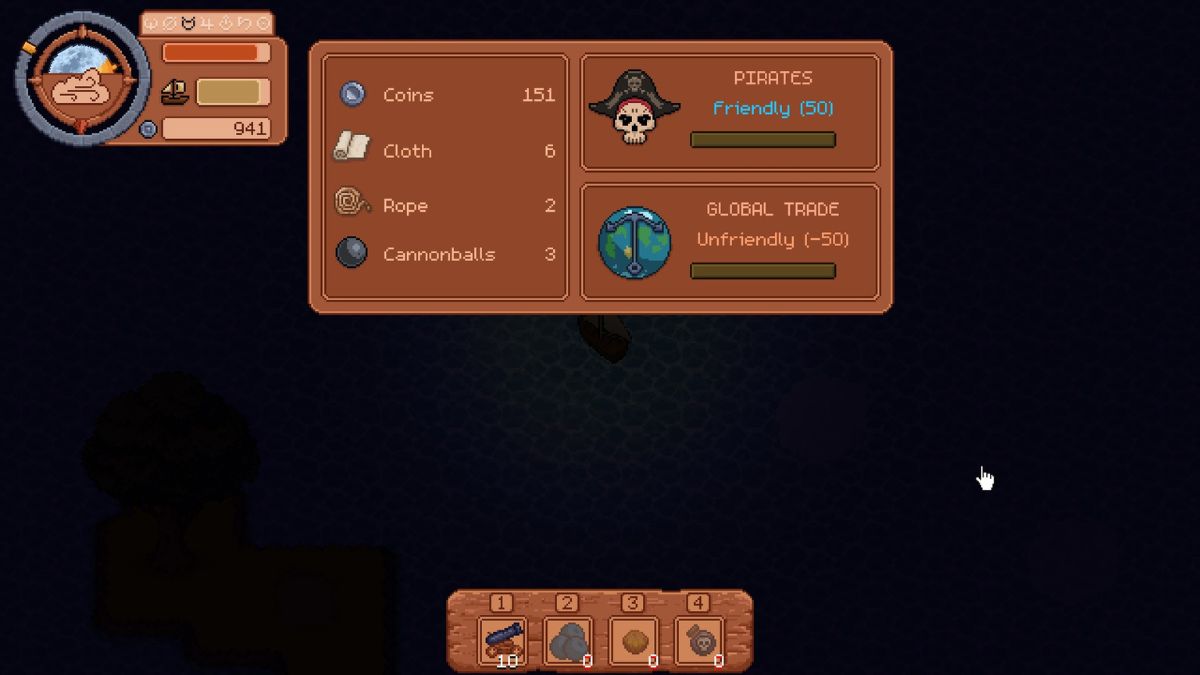
When you engage a Global Trade ship in battle, you’ll improve your relationship with the Pirates but damage your relationship with Global Trade, and vice versa. You can check your relationship level with both parties by pressing I to open the main menu.
How to Repair Your Ship
During battle, your ship will be damaged – you’ll see the amount of HP on the bar above your ship when sailing.
Once your ship’s HP bar gets low, you’ll need to repair it using the workbench by the docks on your farm island. Repairs require the following materials before your ship will have the HP required to safely hit the seas again. The amount will vary depending on how much damage your boat has taken, but these are the items you’ll want to have on hand:
- 5 Cloth
- 22 Wood
- 8 Iron
- 8 Rope
You can craft these items at the workbench in your house, then use them at the repair area to fix your ship and make it seaworthy again.
Main Quests & How to Complete Them
There are a few minor quests in Dreaming Isles, but they’re pretty straightforward. People like Amelia will ask you for things like rat skulls or fish, which you can bring to them for a minor reward.
The tricky part comes with the main quests, which will differ depending on whether you choose to side with the Pirates or Global Trade. Here’s every main quest in Dreaming Isles and how to complete them.
Note: The quests below are based on choosing to side with the Pirates. If you side with Global Trade, the exact names of quests will be different, but your objectives and how to complete them are essentially the same. Follow the advice below to find each of the Spell Stones, and you will be able to complete either storyline.
A Pirate’s Life
This is the first quest you’ll get from Elise if you ally with the Pirates. To complete it, wage war on Global Trade ships until you hit the Friendly status with the Pirates. Then, go talk to Elise again.
Fish and Magic
Elise’s second quest is far more challenging. She wants you to find two magic stones – a fire stone and a water stone. The only hint she gives is that Bella and Sai can help you.
Where to Find Bella & The Fire Stone
Bella is the witch who lives in the Witch’s Tower on the eastern side of the map. Visit her and she’ll reveal how to get the Fire Stone. After you talk to her, the path further into the island where she lives will be unblocked.

To get the stone, you’ll need to follow this path until you reach the cave at the far end. Inside, there’s a goblin boss. Defeat him and you can take the stone.
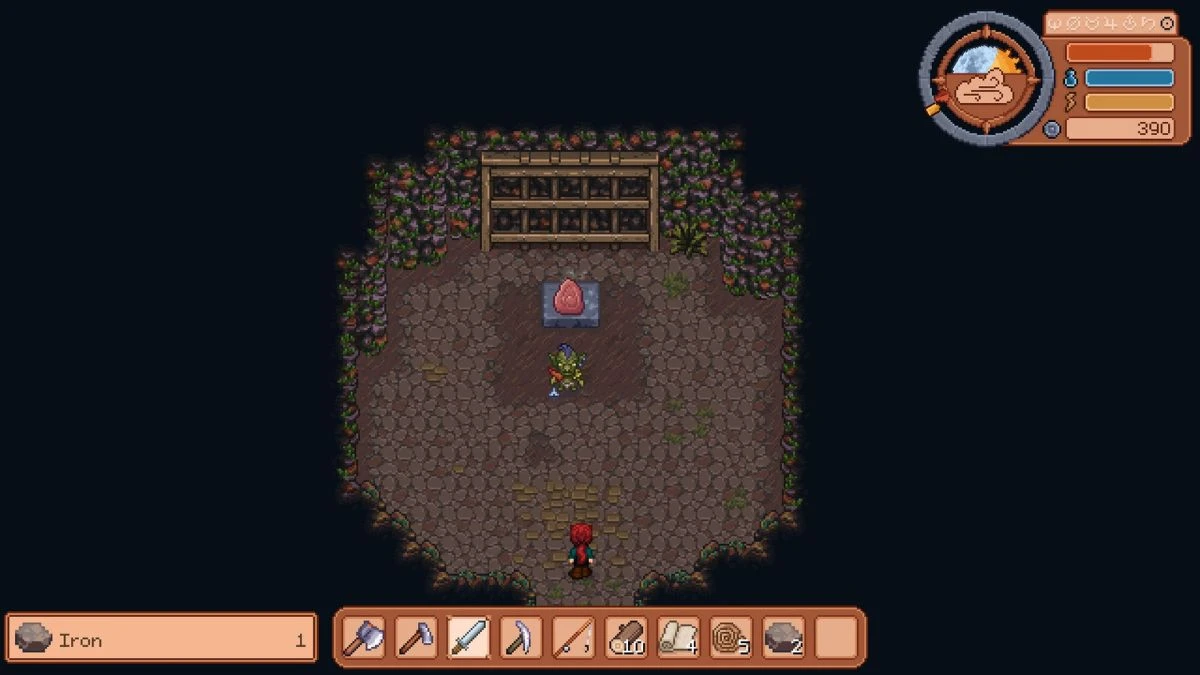
The goblin boss hits hard, but he’s pretty low on HP himself. Avoid his attacks and do damage quickly to take him out. Then, you can grab the Fire Stone and learn your first spell!
Talk to Bella, then equip the Fire Stone by selecting it from your toolbar. Use the spell once by holding the action button, then it will become your equipped spell. You can then use it with the right click on your mouse while still having your sword equipped.
Where to Find Sai & The Water Stone
Sai lives on the small Moon Hollow island near your farm. However, getting him to help you with the Western Tower there isn’t so straightforward.
Befriend Sai & Thabisa
First, build up your relationship with his mom, Thabisa. She runs the only store in town and will be the only other interactable NPC on the island. Stop by and talk to her (and Sai for good measure) at least once a day. Once you reach 1 heart, she’ll ask you for a favor – this starts the Fish for Sai quest.

This quest is your key to befriending Sai and getting the next information you need. Use your fishing rod in deep water to catch a fish or play cards against fisherman. Then, bring a fish to Thabisa to complete the quest.
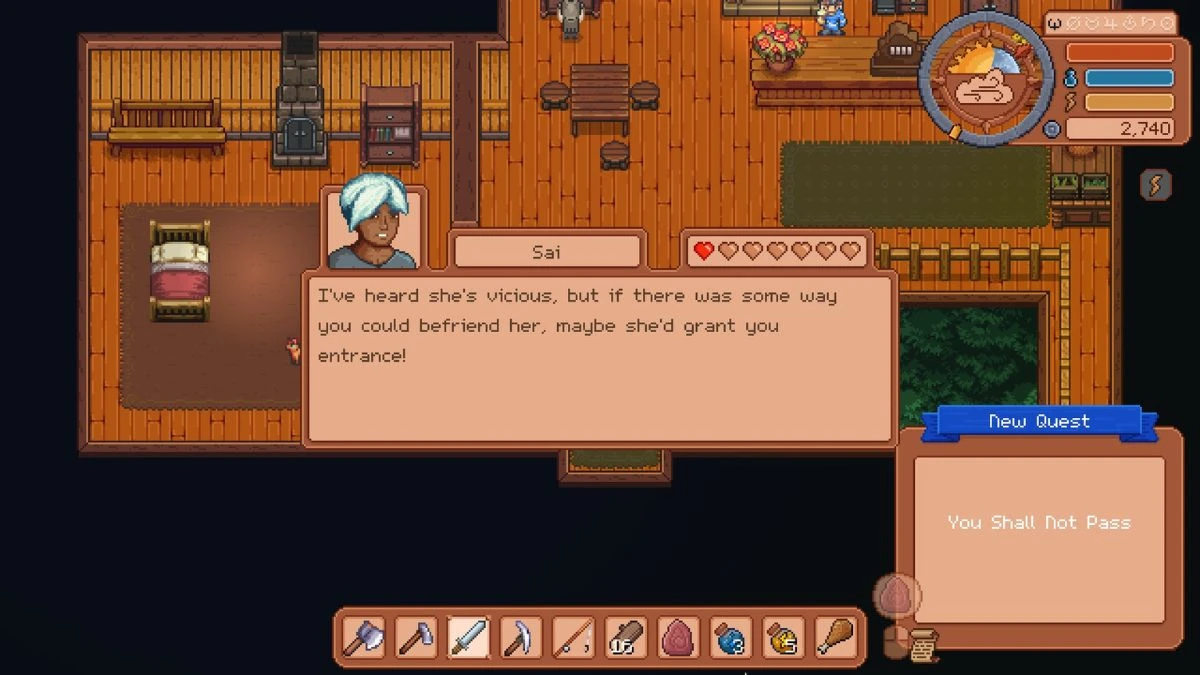
Once you do, talk to Sai again. He’ll reveal that someone told him how to get into the Western Tower. Surprise surprise, it requires talking to the only witch in town.
Enter the Tower & Claim the Stone
This begins the You Shall Not Pass quest. To complete it, head back to the Witch’s Tower and speak to Bella. She will now offer to let you enter the Western Tower.
When you return to Moon Hollow, you will be able to go into the tower. Once there, you’ll need to pass the magical barriers inside to get to the Water Stone.
The books in the library give you the hint “When magic stops you, let your sword be a beacon.” There are two unlit beacons on either side of the magically blocked door. Find them and hit them with your sword to ignite the purple crystals. Once you have hit both, the barrier will vanish.

The puzzle in the next room works the same way. There is a beacon on the left and another on the right. Hit both with your sword, then be ready to fight some ice monsters. Once you defeat them all, the Water Stone will appear.
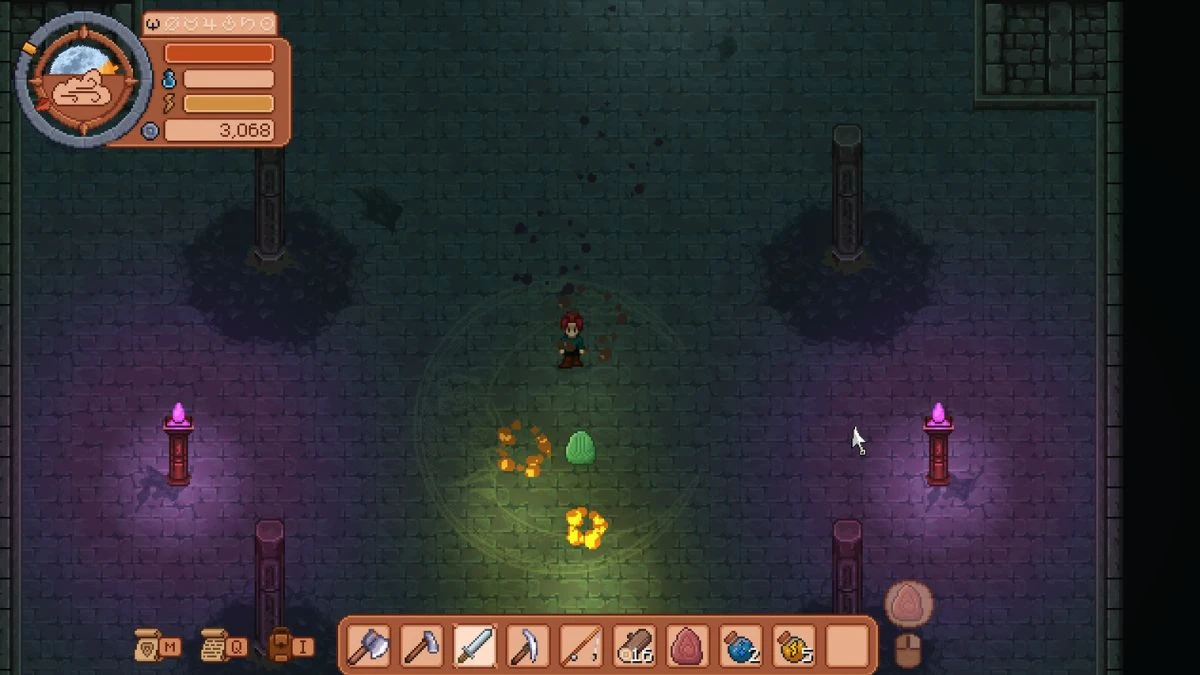
Grab it and head back to Scythe to talk to Elise and complete the Fish and Magic quest.
Air and Stone
Once you show Elise that you have the Fire and Water stones, she’ll send you on another magic quest. This time, you need to find the Air stone. She believes it’s somewhere in Freestad, in or beyond the caves there.
How to Get Into the Freestad Caves
To get into the cave, you’ll need to break the red rocks blocking it. This requires upgrading to a better pickaxe. You should have the recipe on hand, so collect the required materials and craft the Study Pickaxe.
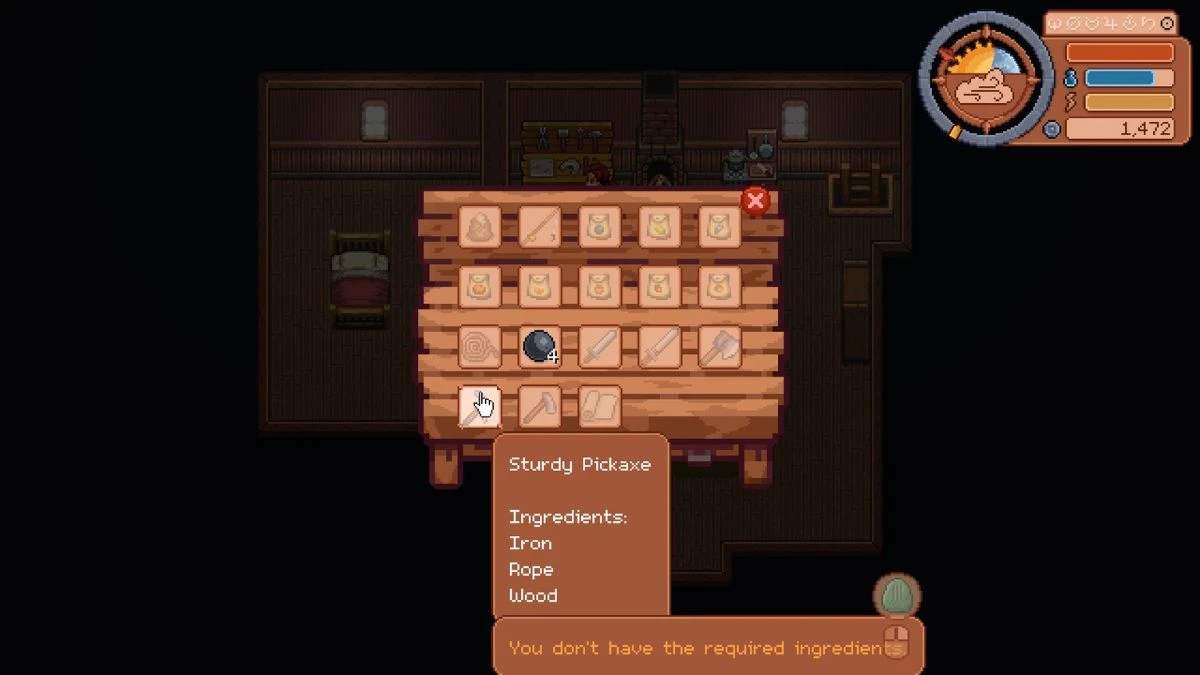
You’ll need:
- Iron
- Rope
- Wood
Once you craft the Sturdy Pickaxe, head north to Freestad, then to the right on the map. Break the ruby rocks and you’ll be able to enter the cave.
Where to Find the Air Stone
The Air Stone is beyond the caves. Make your way through the cave and out to the other side. There, you’ll find several small werewolves and one giant one. I recommend keeping your distance and using the fire stone to damage them.
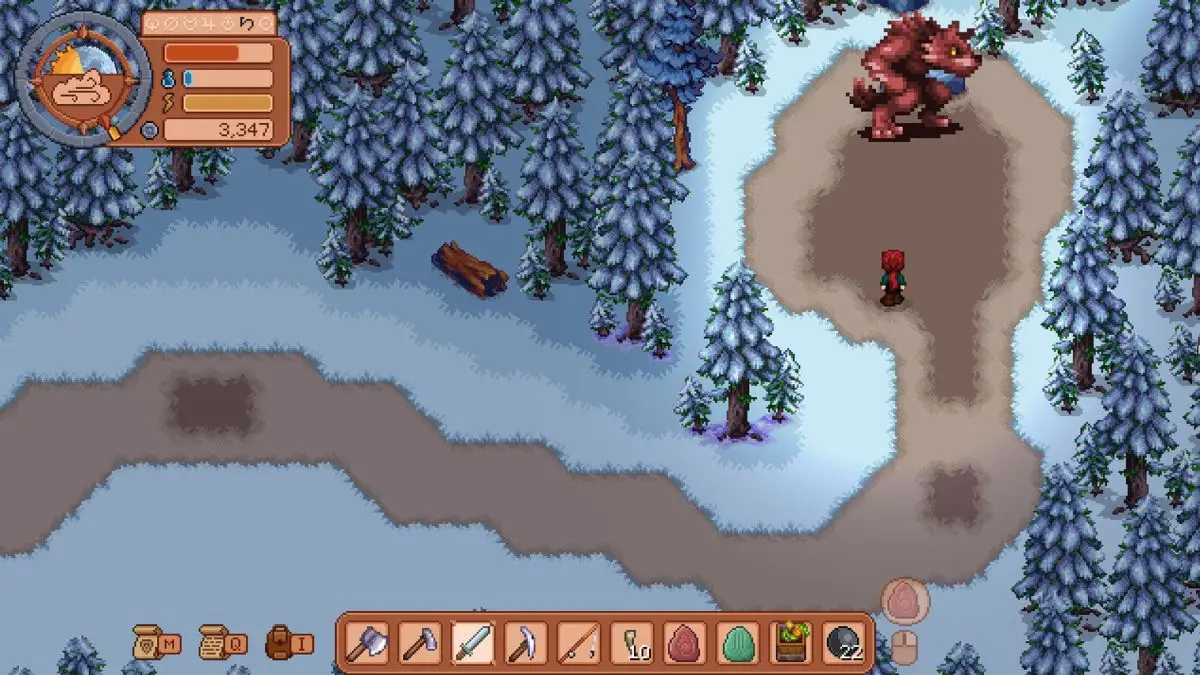
Defeat the giant werewolf and it will drop the Air Stone. It’s best to avoid its claws, as those attacks do a great deal of damage. Run and hit it with ranged damage to win and get the stone.
Return to Elise to complete the quest & start the next one.
Boats, Boats, Boats
Next up, Elise wants you to upgrade your boat. To unlock boat upgrades, you need to level up your reputation with the islanders by selling crops from your farm.
Cultivate crops and sell them until you reach Level 10 reputation with the Islanders. At this point, you will unlock three upgrades. To complete the quest, you need to get them all.
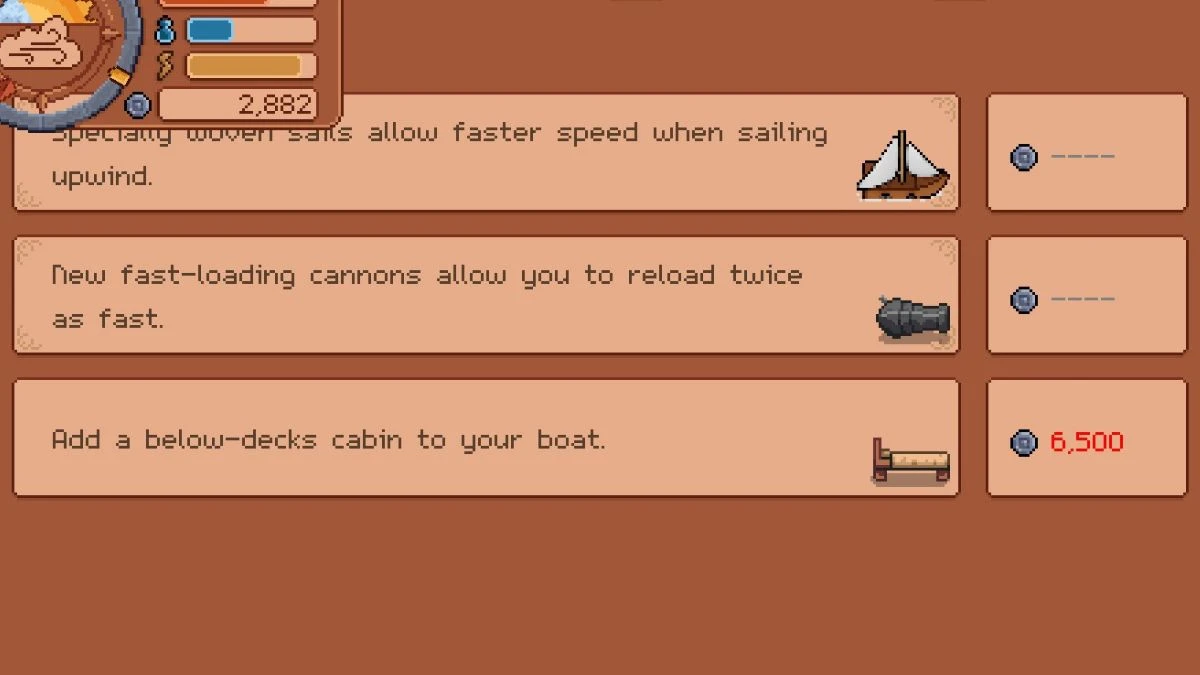
The first two upgrades cost 1500 gold each, while adding a below decks area costs 6500 gold. Sell crops and fish to earn gold as needed, then buy all three.
Once you do, return to Elise for your final mission – for now.
Canons at the Ready
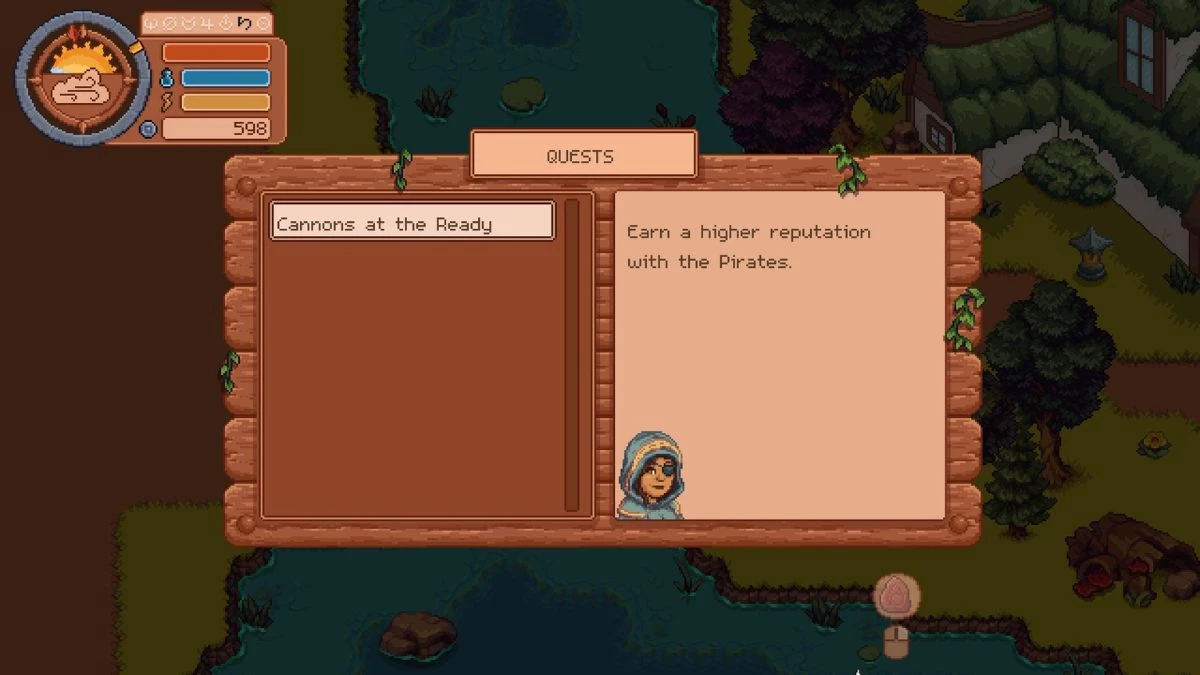
As of now, Canons at the Ready is the final main quest for the Pirate track in Dreaming Isles. It requires you to increase your reputation with the Pirates to the next level.
Do so by battling Global Trade ships whenever possible – and winning.
Once you rank up, head back to Elise to complete the quest. At this point, you can focus on side quests until the Homestead update adds more content to explore.
For now, that’s all there is to the story in Dreaming Isles. Developer Yawning Dad plans to add more content with later updates.
About the Author

Discover more from Bonus Action
Subscribe to get the latest posts sent to your email.