Image via Sunny Lab and Silver Lining Interactive
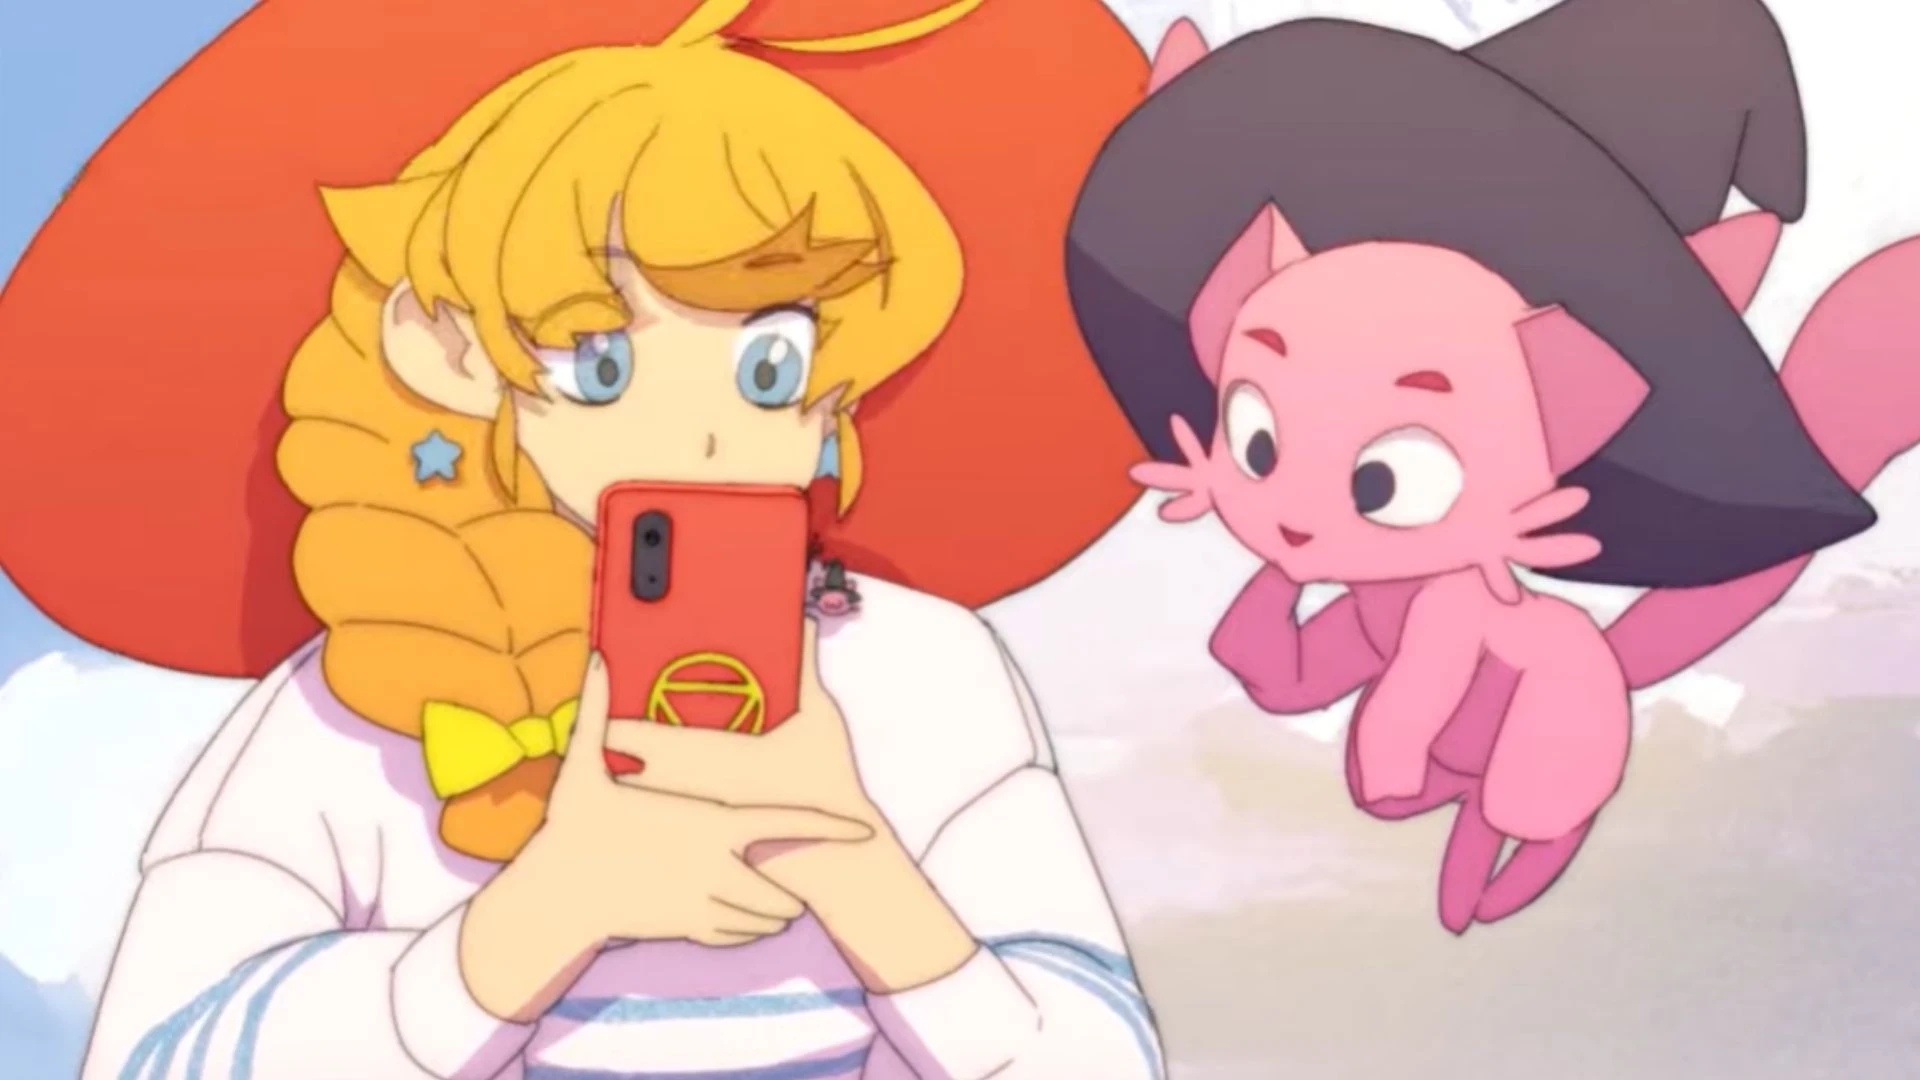
If you love baking and witches as much as I do, The Witch’s Bakery is here to deliver. The game draws inspiration from Kiki’s Delivery Service and the Persona series. Its charming art style and heartfelt story make it the ideal cozy game for any time, but most especially for spooky season.
Much of The Witch’s Bakery gameplay is pretty straightforward. The game slowly eases you into new features, making it relatively easy to settle in alongside Lunne and Orio. But as you get to the more challenging Heart Palace puzzles, there are certainly some trickier moments. That’s where our The Witch’s Bakery walkthrough comes in. I’ll be breaking down the Heart Palace puzzles and key details for the game to help you make the most of life as a Heart Mage in Paris.
**This guide is in progress. Last updated 10/19/2026**
The Witch’s Bakery Basic Details: Price, Platforms, and Rating

The Witch’s Bakery is a 2D narrative adventure and bakery management sim. You’ll play as Lunne, who moves to Paris to start a bakery and use her heart magic to heal the city.
By day, you will run the bakery, keeping Orio stocked with dough and serving customers. Those who have big emotions to work through will pull up mini-puzzles, which you’ll need to solve before you can serve the next customer. After work, you’ll get to pick from a few activities to restore your energy and grow your skills, go shopping, or hang out with friends. As you get to know a few of the game’s key characters, you will also go into deeper, more complicated Heart Palaces to heal their bigger woes.
- Price: $19.99 USD
- Platforms: PC, PS5, Nintendo Switch/Switch 2, Xbox Series X|S
- Rating: T for Teen; PEGI 12 (Fantasy Violence, Language, Suggestive Themes)
Note: The Witch’s Bakery offers an extensive breakdown of trigger warnings when you first launch the game. Because it deals with healing hard emotions, The Witch’s Bakery does tackle some tough issues, so take care to review the trigger warnings before diving in.
The Witch’s Bakery Basic Heart Dive Mini-Game Puzzles, Explained
During the workday, Lunne will sometimes dive into customers’ hearts to quickly unstick difficult emotions. These puzzles, unlike those in the more involved Heart Palaces, are quick and fairly simple. There are 3 main types of puzzles, connected to core emotions that customers need help working through. Here is the basic overview of each type, along with some tips for navigating them.
With each puzzle, your objective is simple: find the heart to unlock the puzzle exit, then carry the heart out of the maze. But each type puts a unique obstacle in your way to make it a little bit harder to accomplish this task. You can tell which one you’re about to jump into based on the color of the customer’s order request, which will be different from the standard grey. Those customers will also have a Regret clinging to them.
As you level up your skills in each of the core emotions, you will gain a new power-up that makes each puzzle easier. You can activate it by pressing the A button or following the relevant button prompt at the bottom of the screen. The power-up will be fully colored in when it is charged and ready to activate.
Blue
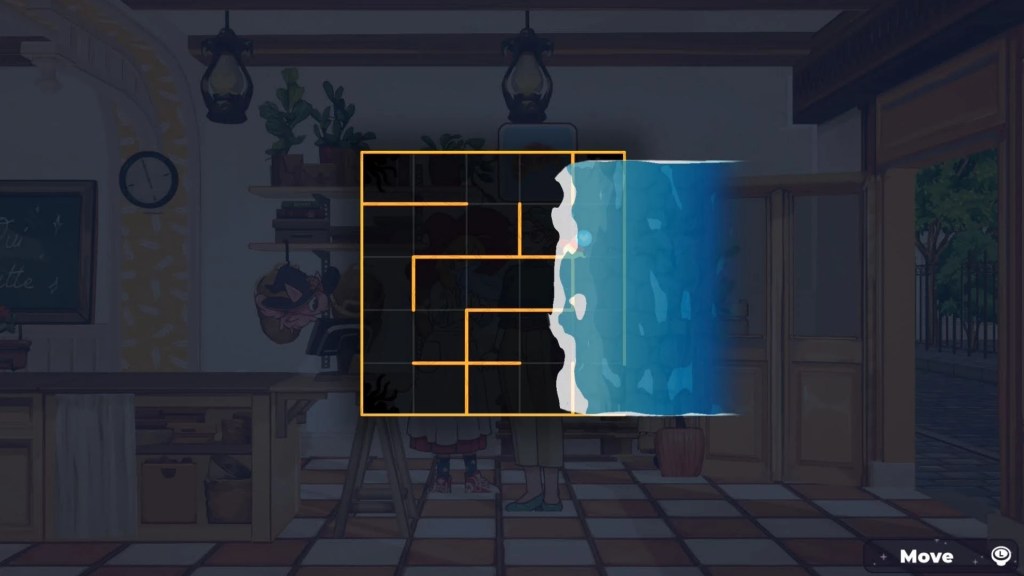
These puzzles represent sadness. Their main obstacle is a massive wave of water that will periodically sweep over the screen. You can avoid being pushed all the way to the edge by moving in front of a barrier before the wave hits. The lines in the maze will stop you from being pushed any further, whereas you’ll go flying if you’re in open space when the water crashes over Lunne.
Purple

These puzzles represent anxiety. Their main obstacle is that darkness will make it hard to see where you’re going. The controller will vibrate as you move towards the heart, so use this to help guide you more quickly to it.
Red

These puzzles reflect anger or frustration. Their main obstacle is a series of glowing red dots that will overheat and burst into flame. The trick here is to get to an empty space once you see the dots start to glow and pulse. So long as you aren’t sharing a space with a red dot when they explode, Lunne won’t catch on fire.
All Puzzle Solutions for Estelle’s Heart Palace
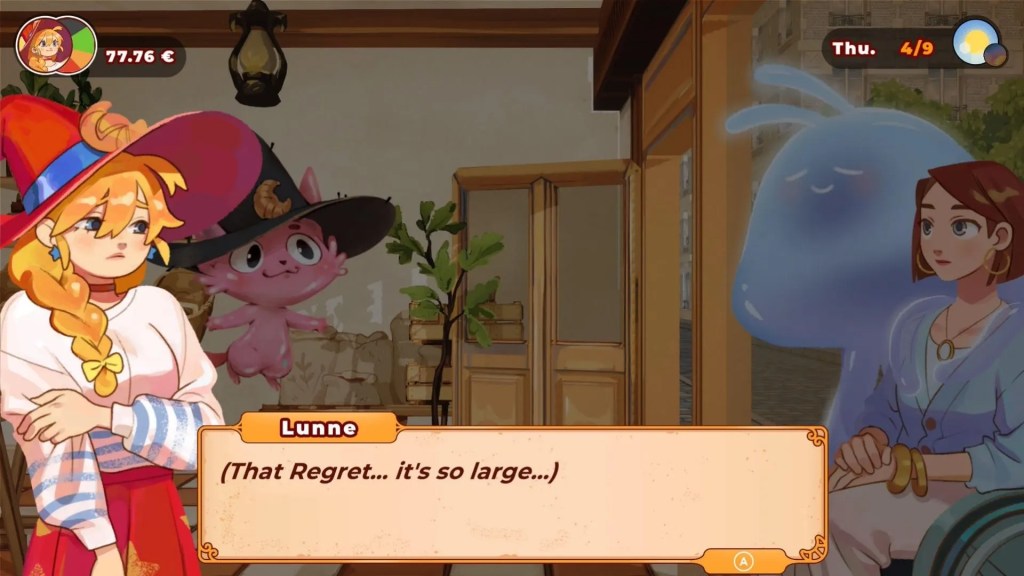
Once you meet Estelle, you will find yourself in the first larger Heart Palace you’ll explore in The Witch’s Bakery. Your goal is to help Sadness find its way back to the Cradle. But to do that, you’ll need to solve a series of puzzles to clear the way and progress deeper into Estelle’s Heart Palace.
Below, you’ll find each puzzle’s starting point and solution, in the order you’ll encounter them. The key to these puzzles is finding a clear path for Sadness to enter and collect all of the glowing white orbs. You won’t necessarily need to use every puzzle piece to make this happen, so focus on creating a clear, connected pathway over using every block. You can only move the lighter colored, glowing pieces. The darker colored ones are fixed and cannot be shifted.
Lunne will run into barriers along the way, causing her to leave the Heart Palace until she can return with more information to help unlock the next area. As such, I’ve broken this up by each separate encounter in the Heart Palace.
Estelle Heart Puzzles, Round 1
At this point, you’ll run into the first barrier. Lunne will leave the Heart Palace until she gets to know Estelle better and can move to the next level.
Estelle Heart Puzzles, Round 2
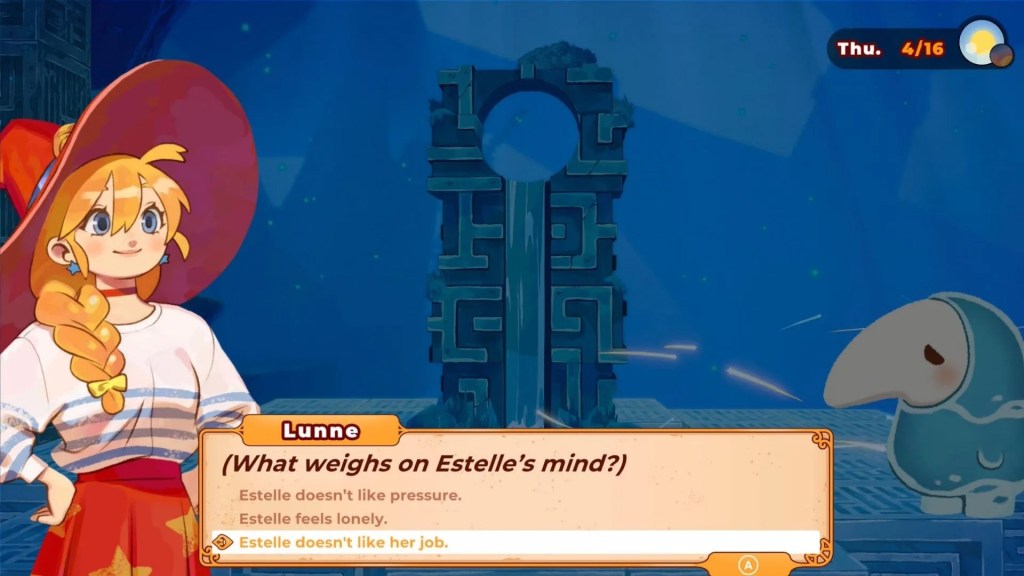
Before you can progress to the second round of puzzles, you’ll need to answer the question “What weighs on Estelle’s Mind?” to open the barrier. The answer should be pretty clear from Lunne’s conversations with Estelle, but if you’re stumped, the answer is “Estelle doesn’t like her job.”
At this point, you’ll once again run into a lock that Lunne doesn’t yet know how to open. You’ll need to spend more time with Estelle to find the solution.
Estelle Heart Puzzles, Round 3

Before you go in for your third round of exploration in Estelle’s heart palace, you’ll have to answer another question: “What did the picture mean to Estelle?” You’ll once again be presented with 3 options. As you probably gathered from your conversation with her, the correct choice is Estelle is happier when doing pastries. From here, you and Sadness will continue your journey toward the cradle. This is a much shorter dive, with just two puzzles to solve.
At this point, you’ll hit one final insurmountable obstacle that you’ll need to work through.
Estelle Heart Puzzles, Round 4 / Final Boss
This last round of puzzles is extra tricky. You will need to get close enough to move the blocks without being spotted by the Torment. That means you need to have a hiding place of at least 2 blocks tall at all times, while also keeping the blocks you need free. You can move when the Torment is looking the other way, but will need to hide before it sees you.
TIP: If you can’t move a block far enough, Lunne may not be close enough to its final destination and will need to move further towards the puzzle blocks.
You will move back and forth from the left and right side of the barrier a few times, solving new puzzles until the Torment is defeated. Only then can you unlock the final barrier and move on to the cradle.
Once you defeat the Torment, you’ll have to answer the final heart barrier question. This time around, the answer is She doesn’t want her father’s efforts to go to waste. Now, you will return Sadness to the cradle and get the info Lunne needs to bake a magical treat for Estelle.
All Puzzle Solutions for Mawuli’s Heart Palace
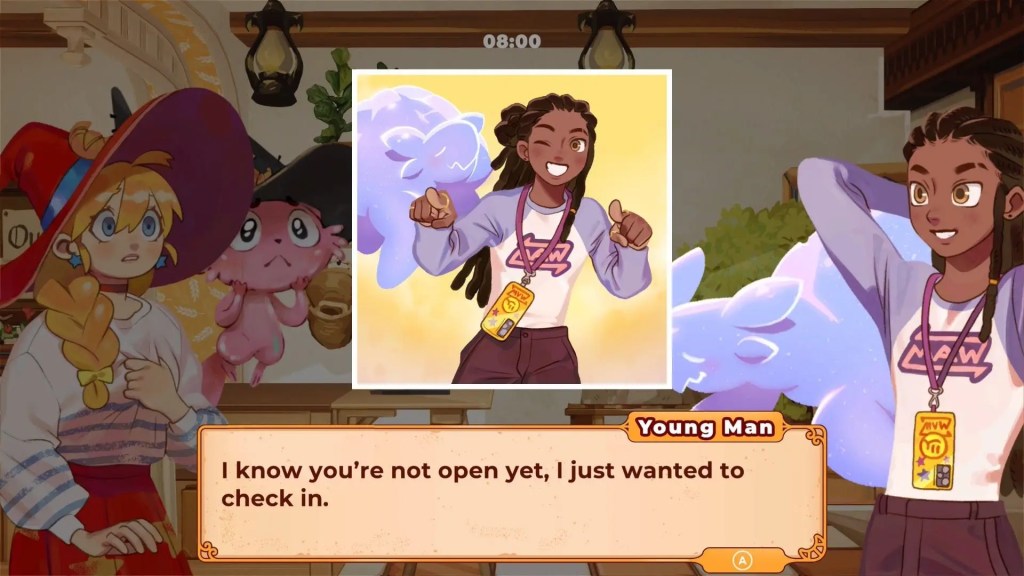
Lest you think Estelle is the only person in Paris with an oversized Regret hanging around, Mawuli will stumble into your bakery. He, too, is hiding deeper emotions beneath the surface. But where Estelle is struggling with sadness, Lunne will run into Fear when she dives into Mawuli’s Heart Palace. You will need to guide Fear through the train to the cradle, avoiding the lurking shadows as you do.
For Mawuli’s Heart Palace, you will need to move Fear to possess different items to distract the shadows. This will let Lunne sneak by without being spotted. If you’re seen, you will have to start over, so moving Fear to the right place at the right time is key. So, these are less straightforward puzzles and more a strategic game of hide-and-seek.
Mawuli Heart Puzzles, Round 1
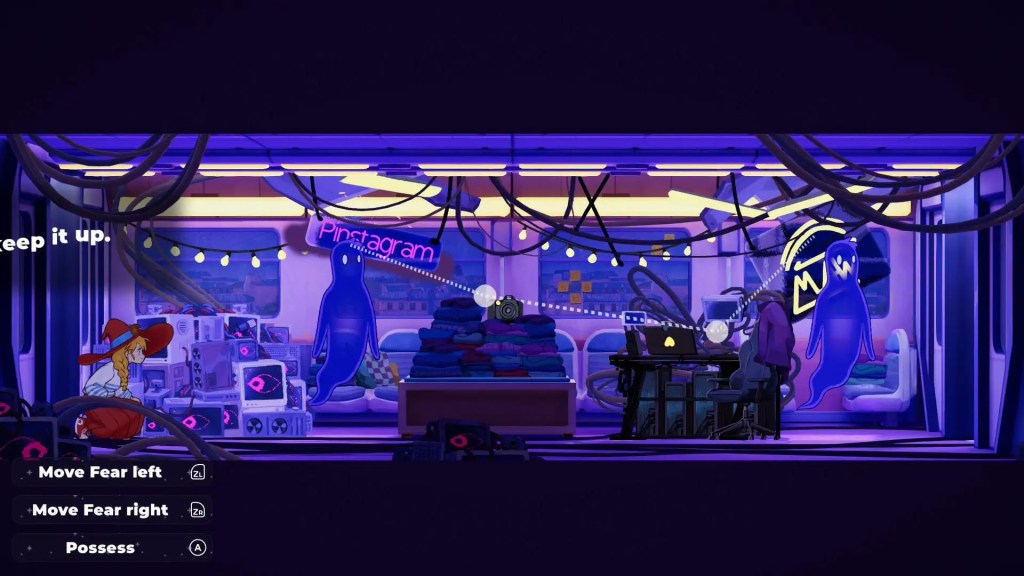
To pass through the train car past the shadows, you will need to move Fear to possess items and distract the shadows. The first setup features 2 barriers to hide behind and 2 shadows.
First, have Fear possess the streaming setup at the far right. This will draw both shadows to it, letting you move Lunne to the center barrier, as shown below:
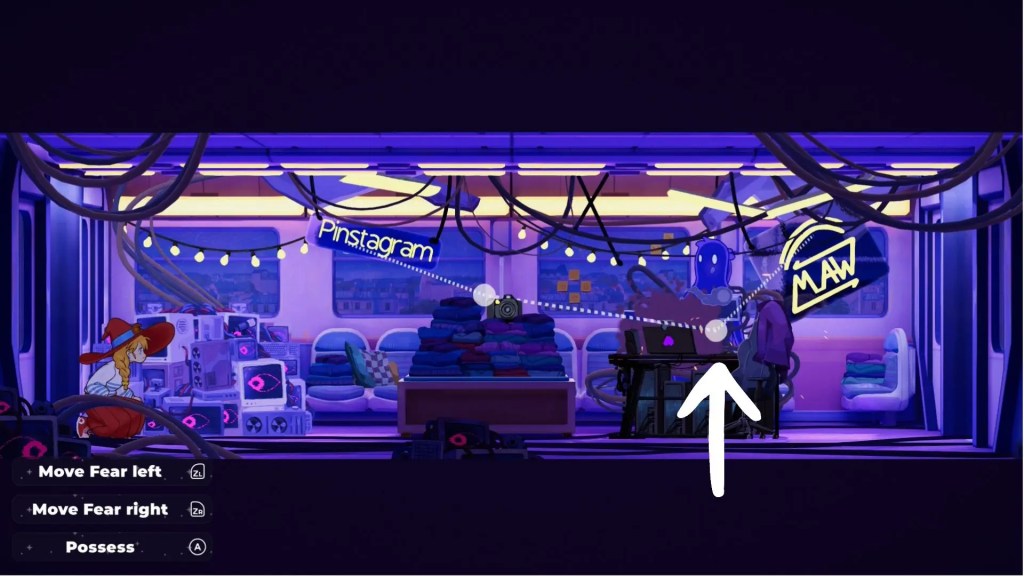
Then, have Fear possess the neon Pinstagram sign. This will move both shadows to look at the far left end of the train car, as in the screenshot below.

This will let you move safely through the door to the next train car. At this point, you will come up against a barrier and exit Mawuli’s heart until you know how to unlock it.
TIP: Shadows can see you if you’re behind smaller barriers directly below them, so just hiding won’t be enough if a shadow gets that close.
Mawuli Heart Puzzles, Round 2
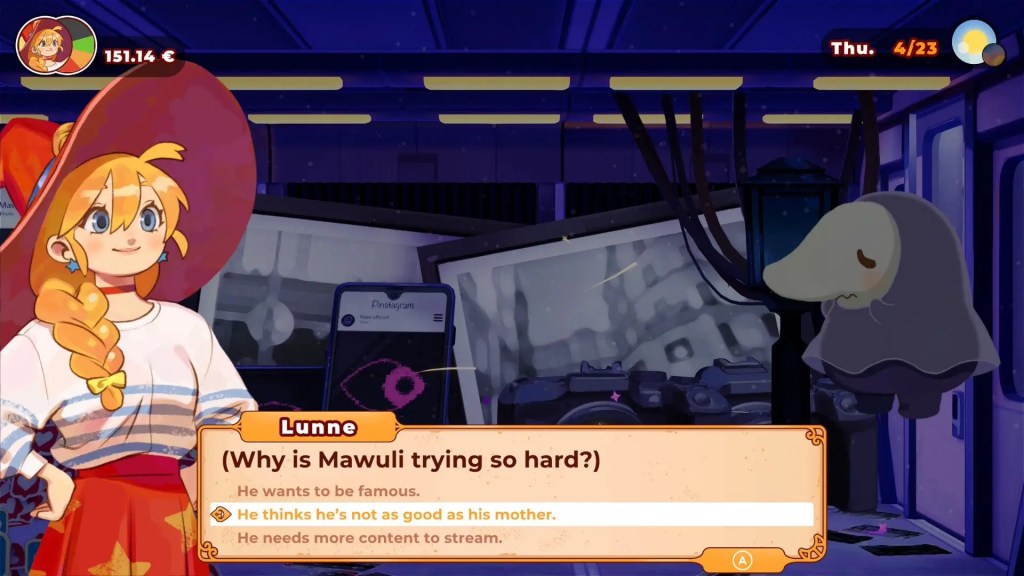
Before you can progress further along the train, you’ll need to answer a question about what’s ailing Mawuli. The question is “Why is Mawuli trying so hard?” and the answer is that he thinks he’s not as good as his mother.
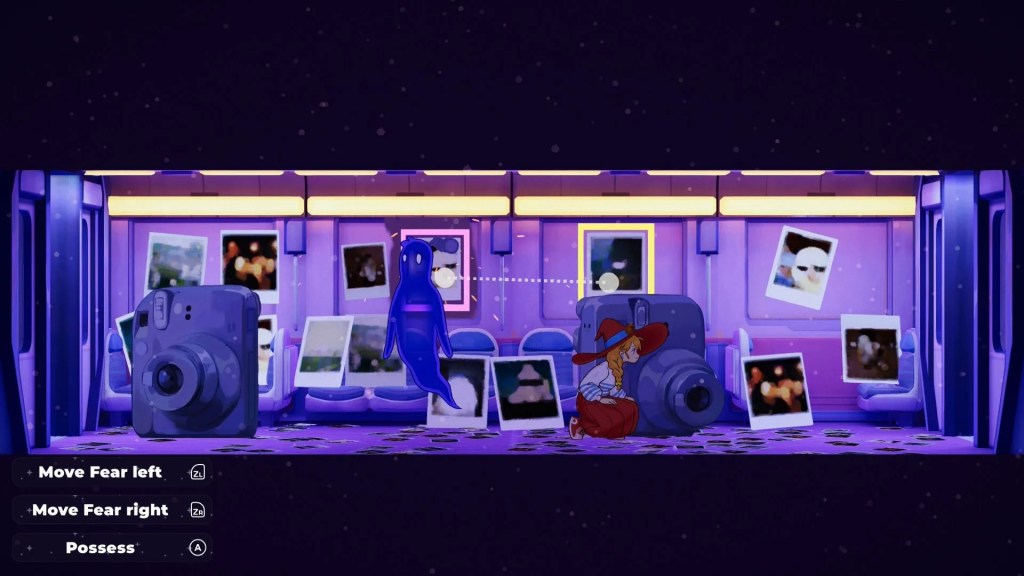
In the next shadow-filled train car, you will need to sneak behind the camera in the middle while the shadow is distracted, looking to the far right, as shown below:
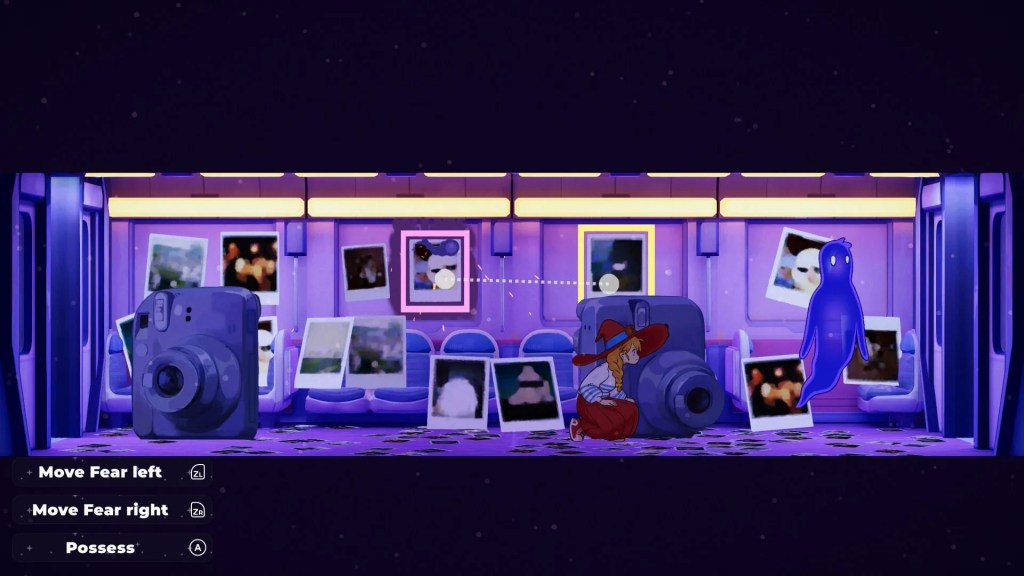
Then, have Fear possess the photo in the middle so that the shadow looks the other direction. This should let you move through to the other side and escape the car.
From here, you’ll move to another room that looks like there’s no way forward! However, when you possess certain items in this room, new barriers will appear. This will help you puzzle your way through. But be warned, the barriers aren’t tall enough to block you from view if the shadow is standing directly above you!
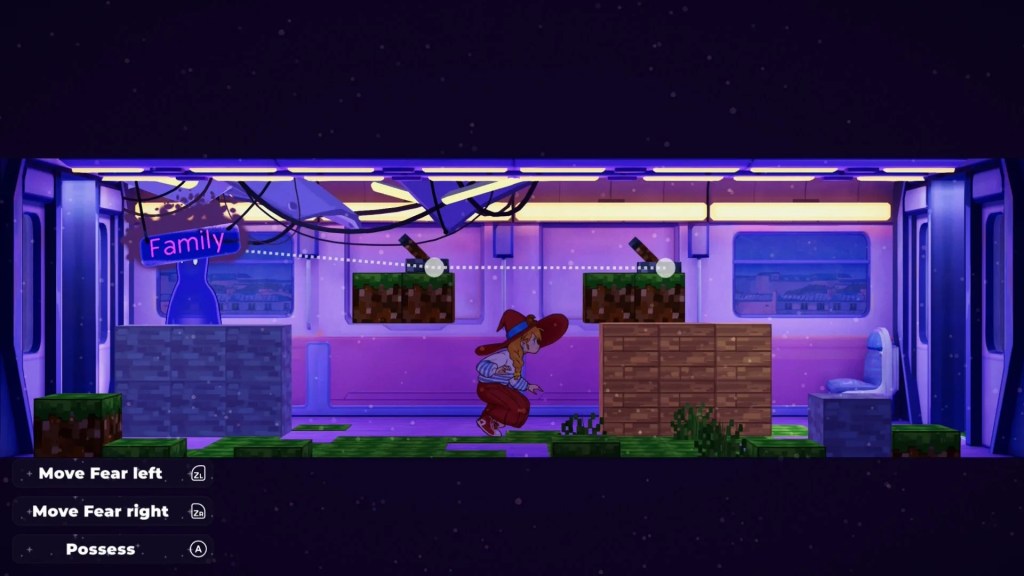
This is definitely a tricky one. To solve it, first possess the Minecraft-style in the middle to pull up a barrier there. Before moving Lunne, possess the barrier at the far right so the shadow isn’t standing right in front of the middle barrier, as shown below:
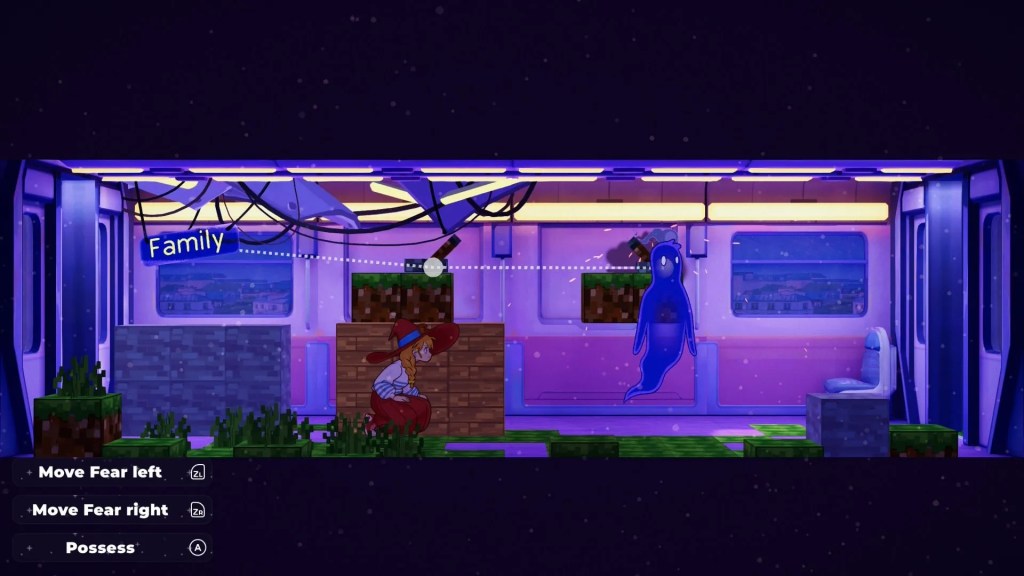
Then, move Lunne to the middle point and have Fear possess the Family sign at the far left. As the shadow moves this way, move Lunne to the very end barrier. This should let you cross all the way through.
In the next car, there will be a ton of shadows. Thankfully, Fear shows you the solution: possess the button above the door to open it, sending the shadows flying out of the train.
At this point, you’ll progress to another locked barrier. Lunne will try to open it, but no matter how you respond to the question, she doesn’t know quite enough to move past this point yet. You will need to get to know Mawuli better first.
**This guide is in progress. Last updated 10/19/2026**
Still here? Good.
That means the article did its job! If you’d like to see more of them (and get first crack at what’s next) our Patreon’s the place.
About the Author

Discover more from Bonus Action
Subscribe to get the latest posts sent to your email.